Your hands are always in water, your nails snag on everything, and the skin around them feels like paper by evening. The fix is smaller than you think. Nail care at home needs ten minutes once a week plus a few quick habits through the day. Here are 12 steps in the order you will use them, so start at number one tonight.
1. Pick one day and set a ten minute timer
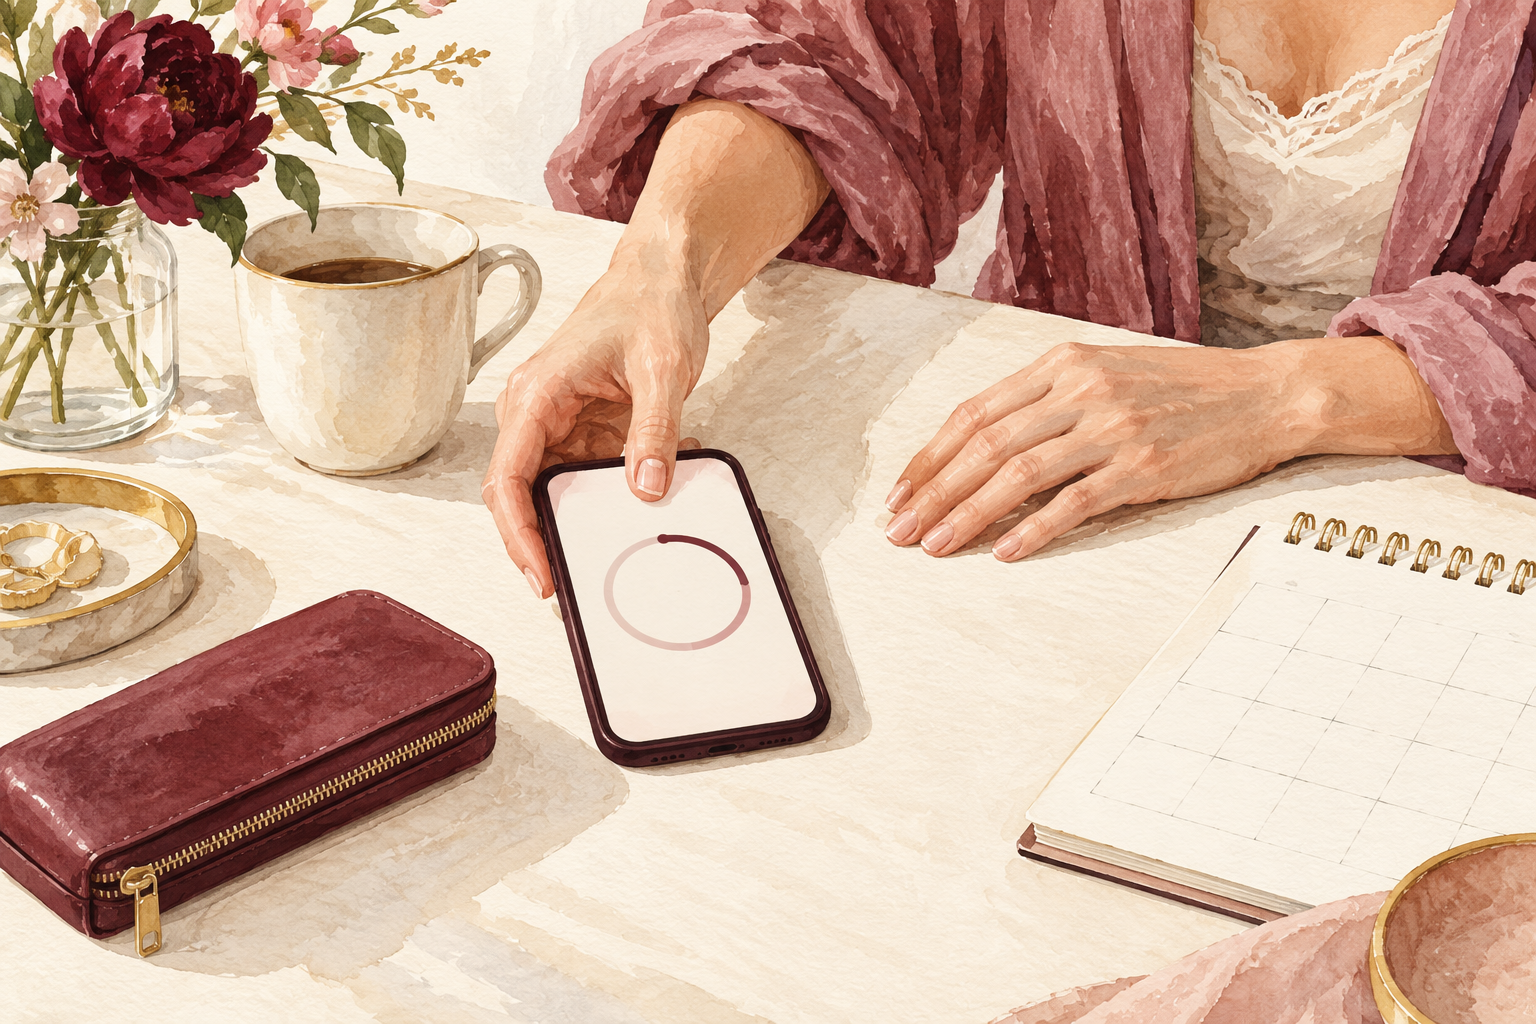
Choose a fixed evening, like Sunday, and set a timer for ten minutes. A routine that lives on a day you will remember is a routine you will actually do. Put it in your phone with an alarm, then sit down somewhere comfortable with a show on low. Ten minutes is short enough that you cannot talk yourself out of it. When the timer rings, stop, even if you are halfway through a hand, and finish it next time. Little and often keeps nails calmer than one big monthly effort. This is how nail care at home becomes a habit instead of a project.
2. Keep four tools in one pouch
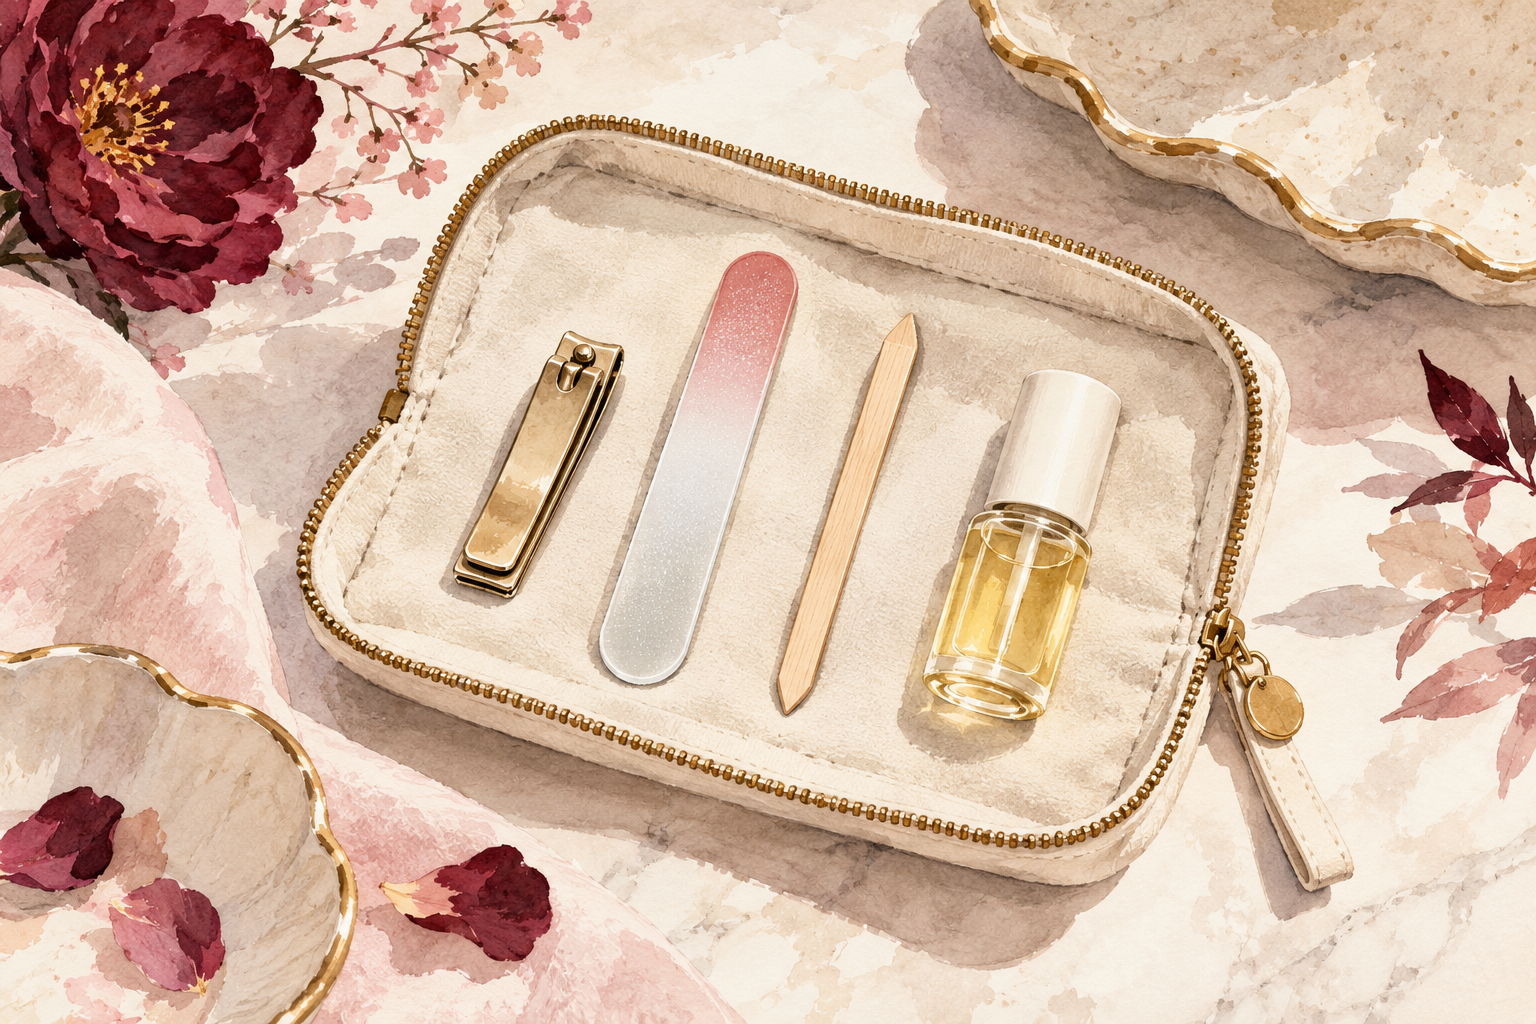
Gather clippers, a fine file, an orange stick and a cuticle oil, and keep them zipped together. That is the whole kit. When everything lives in one place, your routine happens on the sofa instead of getting put off until a day that never comes. A fine file is gentler than a coarse one, which shreds the edge. A bit of cotton and a gentle remover can go in the pouch too. Keep it where you watch your shows, and the pouch will be reached for without thinking. If your pouch is a zip bag from the drawer, that works just as well.
3. Look at your hands in good light
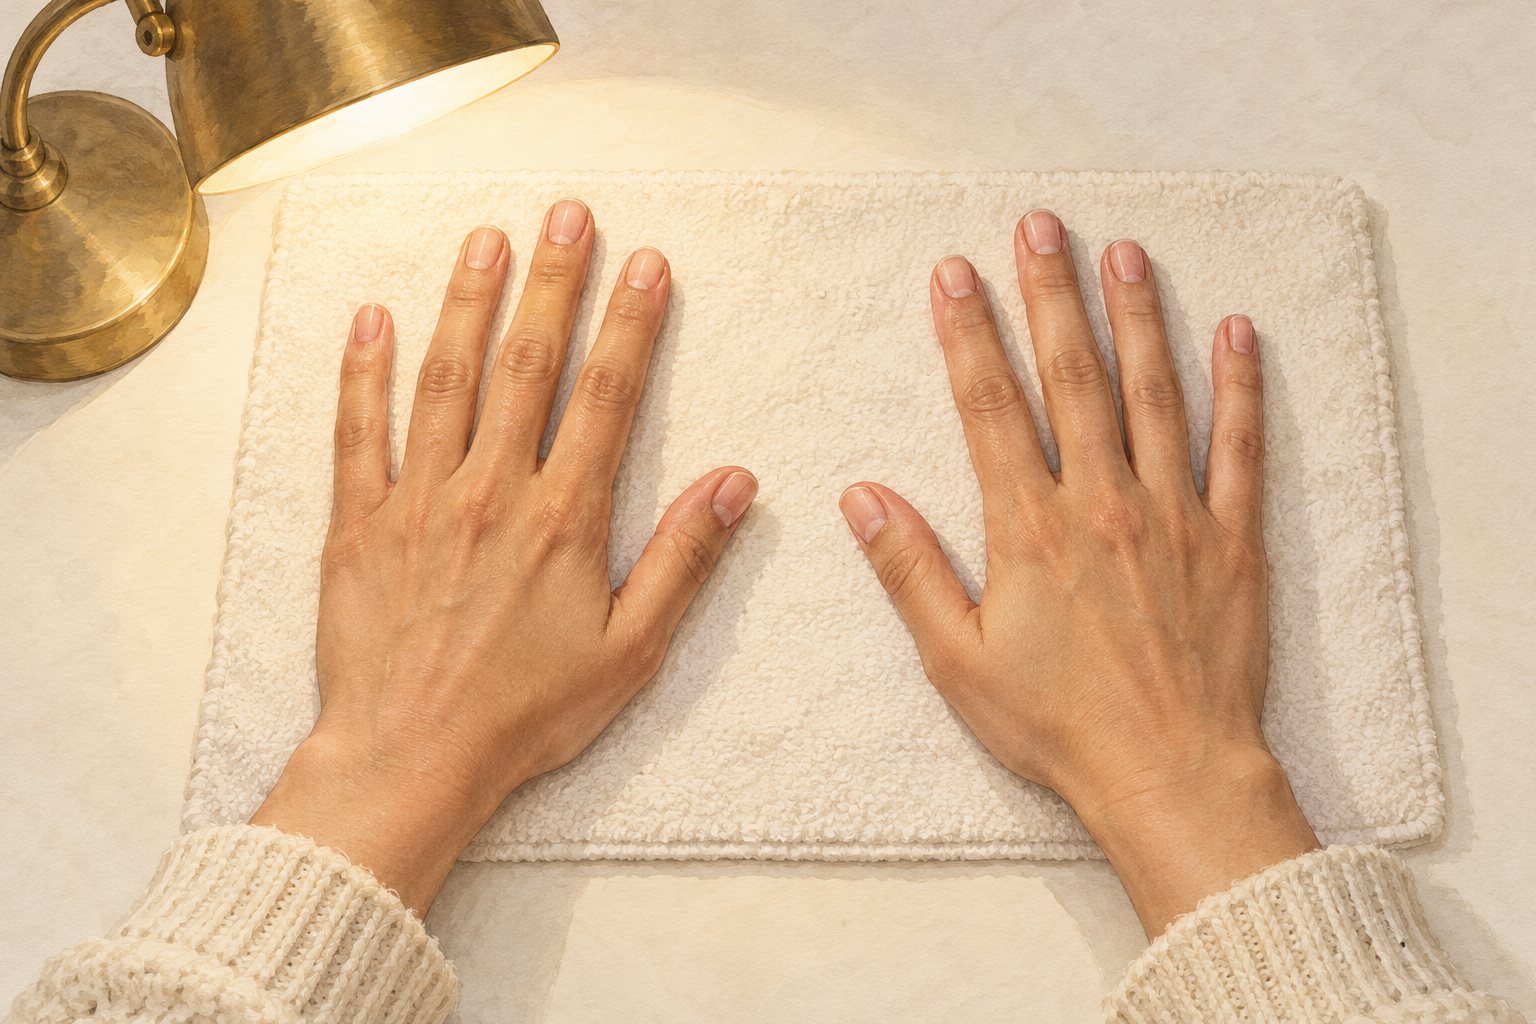
Hold both hands under a lamp and notice what you see before you touch a tool. Look for dry cuticles, peeling layers, ridges, snags and which nail breaks most. This is your starting point, and it tells you where to put your ten minutes. Peeling points to thirst, so lean on oil and cream. Breaking at the tip points to length and shape, so file more carefully. Take a quick photo so you can compare in eight weeks, because slow progress is easy to miss when you see your hands every day. Check the other hand too, since the two often differ more than you expect.
4. Take off old polish gently
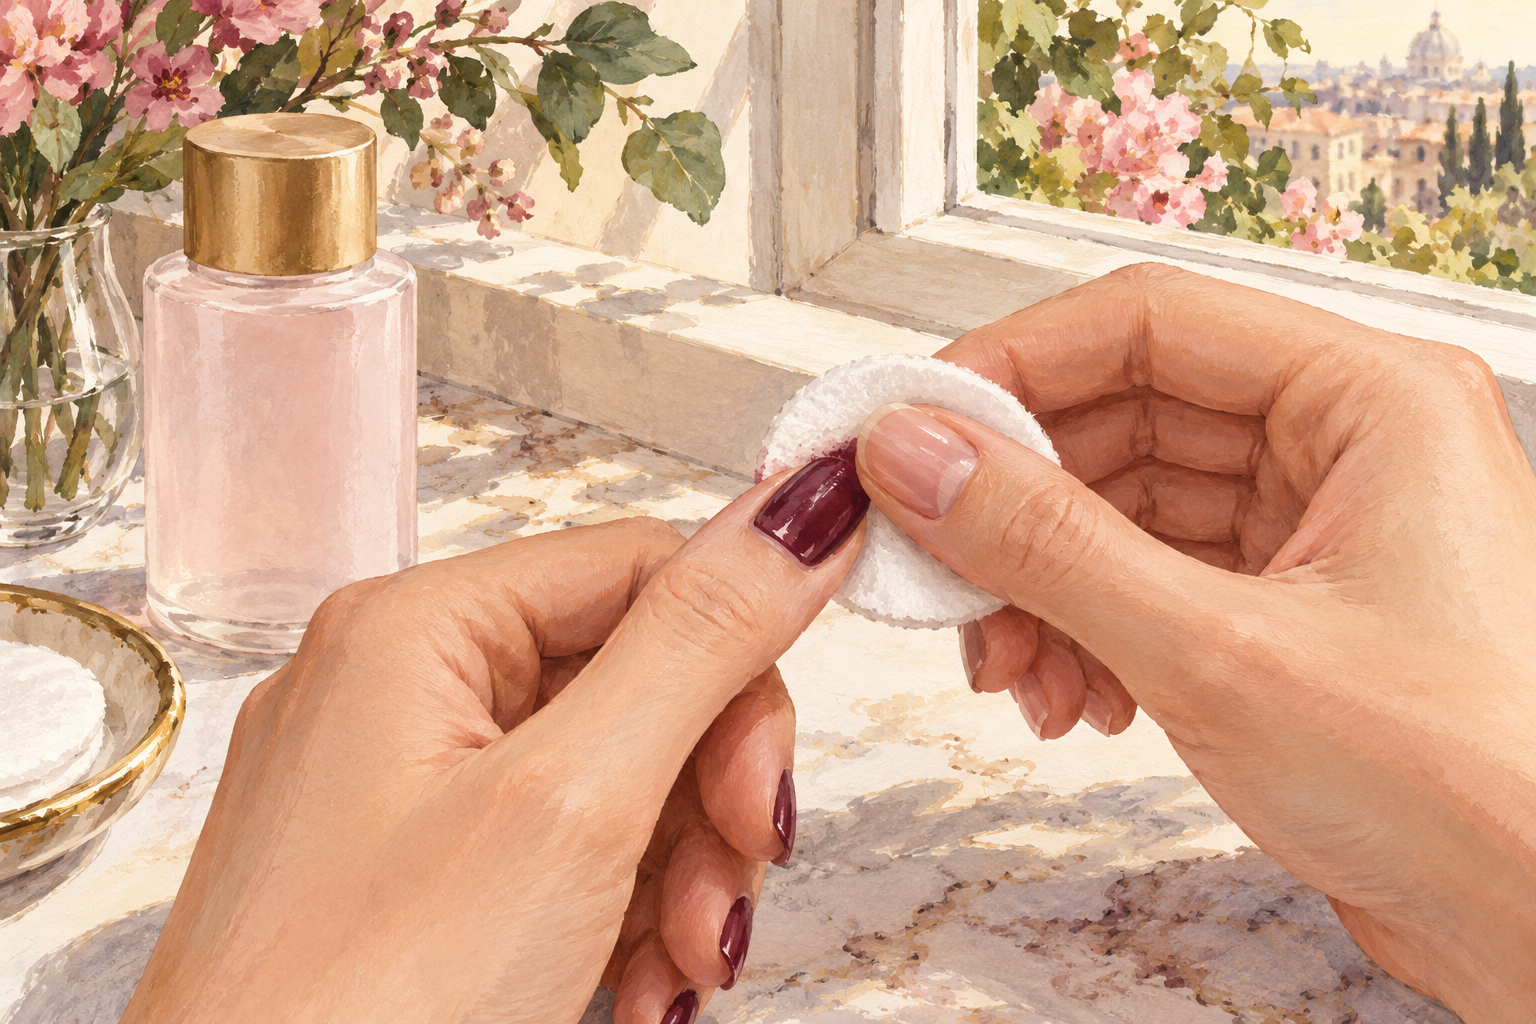
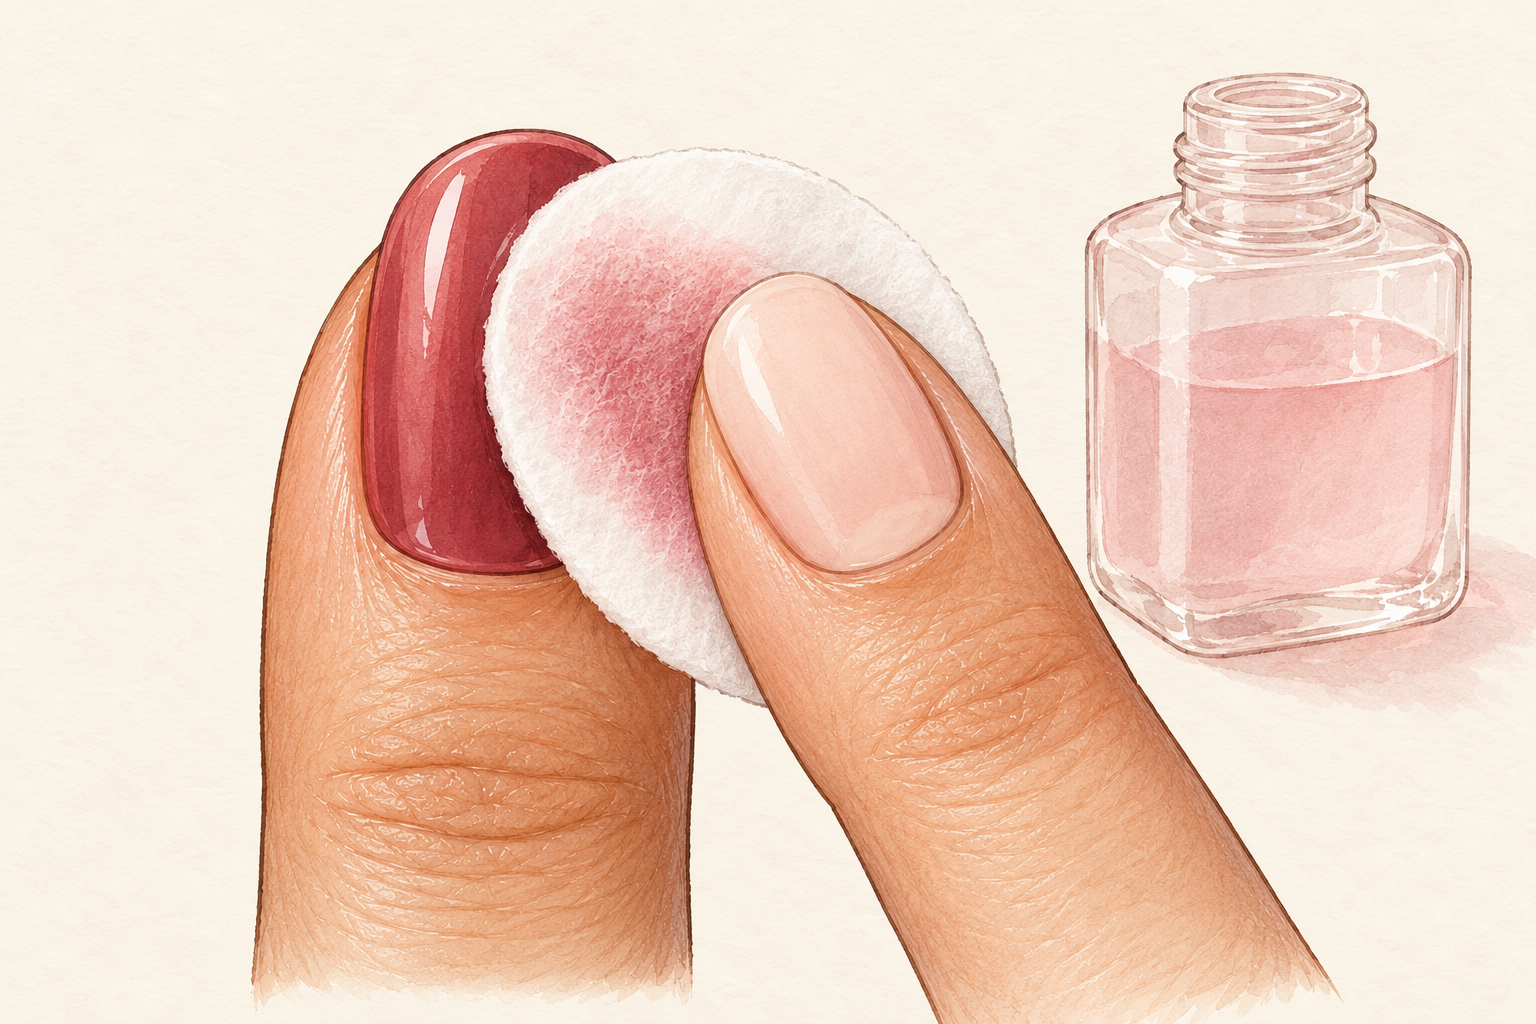
Press a soaked cotton pad on each nail for ten seconds, then wipe once. Scraping or picking at polish peels the top layer of the nail with it, and that is where a lot of peeling starts. A remover without acetone is kinder to dry nails. If glitter polish refuses to budge, wrap the nail in soaked cotton and foil for a minute rather than scrubbing. Wash your hands afterwards, because remover leaves them feeling papery, and open a window while you work, because remover fumes are strong in a small bathroom. A drop of oil on each nail at this point saves you a step later.
5. Trim straight across, then soften the corners
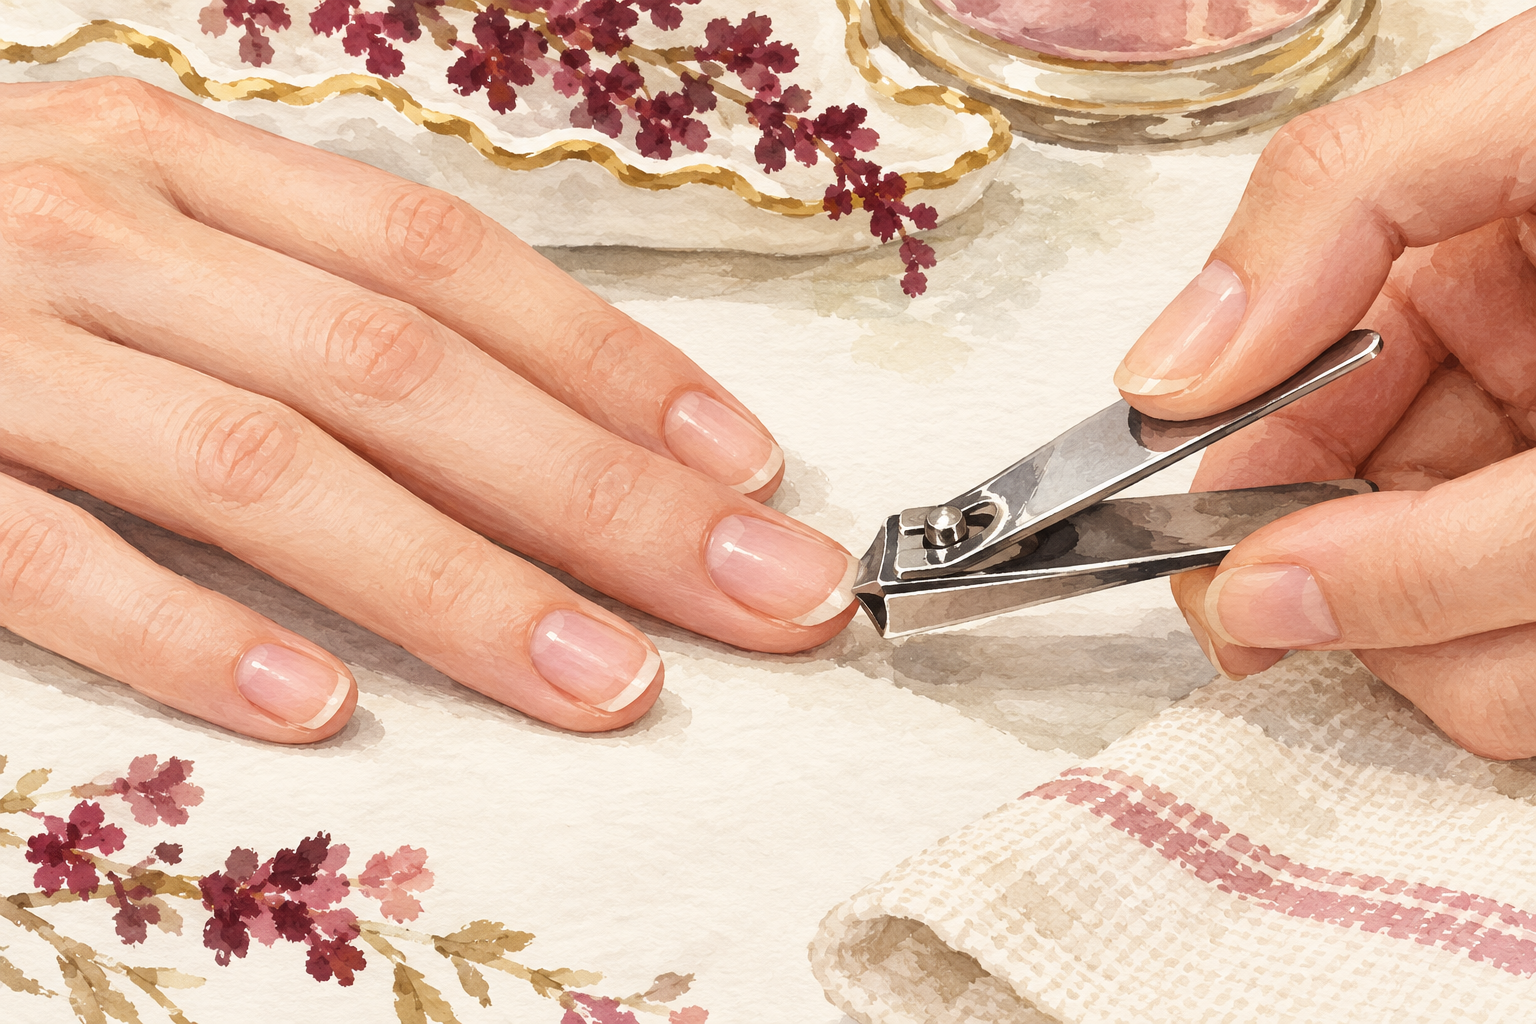
Cut the nail straight across in several small snips, then round the corners only slightly. One big bite can crack the nail, while small snips leave a clean line. Do this when your nails are a little soft after a wash, not bone dry. Leave a thin edge of white at the tip so you are not cutting into the tender skin below. A straight edge keeps the corners strong and stops the snag on your sleeve. If you want length, trim only the snags and keep the rest neat. A bin or a sheet of paper under your hand catches the clippings.
6. File in one direction and stop early
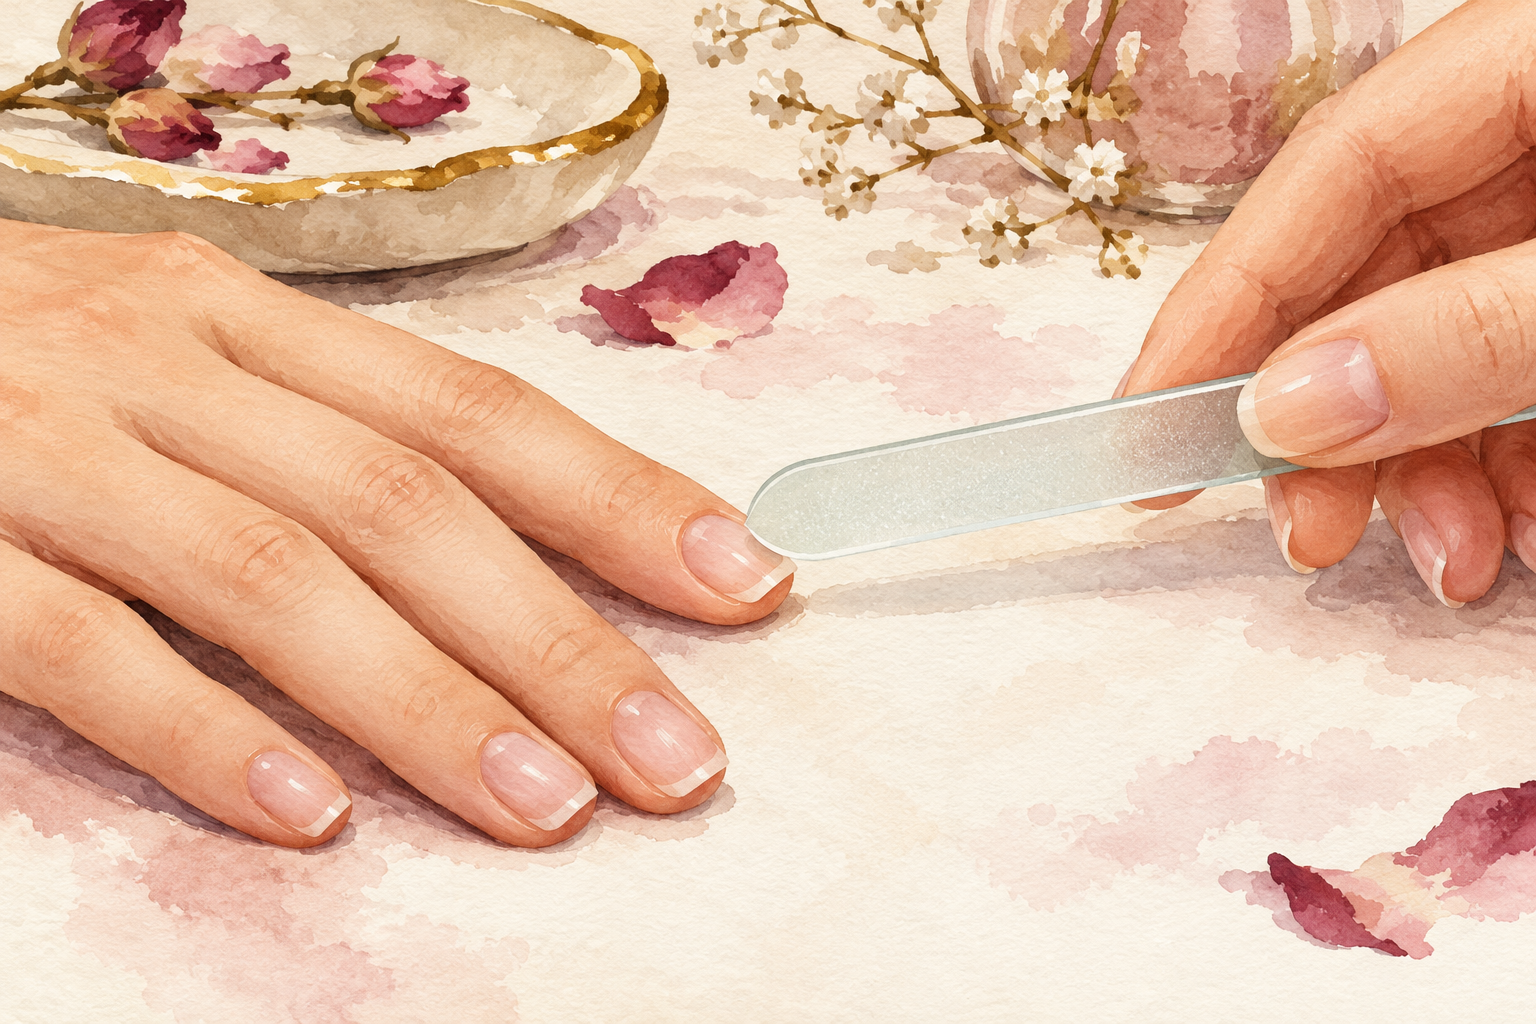
Glide the file from the outside edge toward the middle, and never saw back and forth. Sawing tears the layers apart and leaves the edge rough, which is how little peels begin. Hold the file almost flat against the tip, not pointing up under the nail. Two or three passes on each side is plenty. If you hear a scraping sound, you are pressing too hard, so ease off until the sound goes quiet. Run a fingertip over each edge, and if it catches, file it once more. A glass file is easy to rinse clean and kind to thin nails, so it is worth having.
7. Ease the cuticles back, never cut them
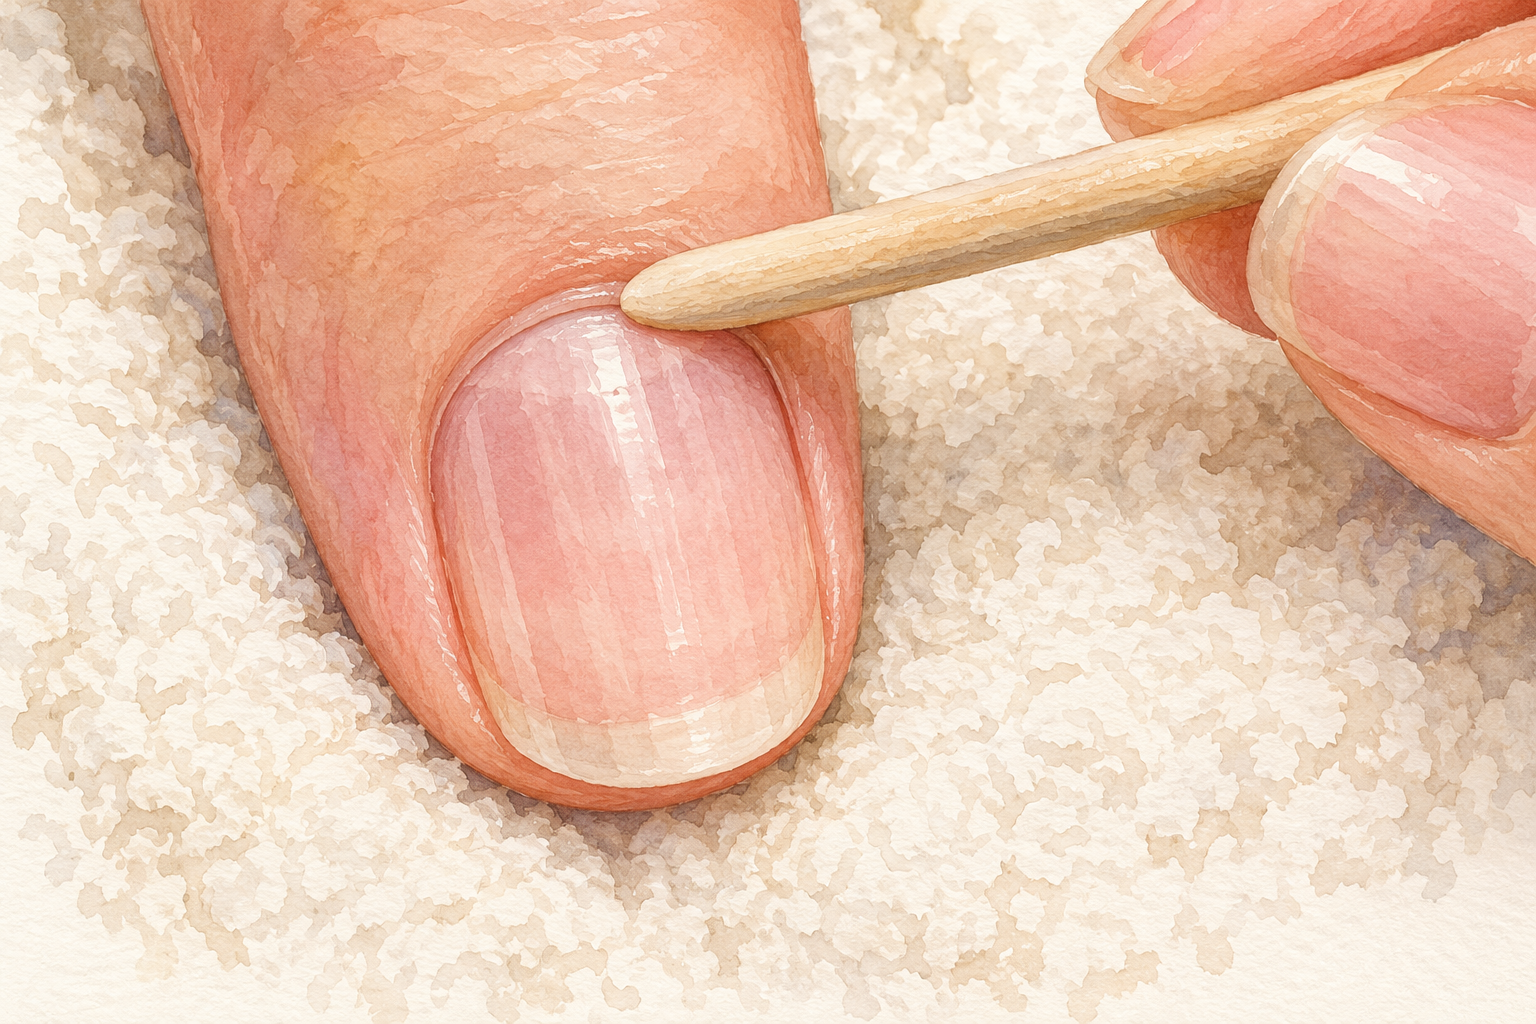
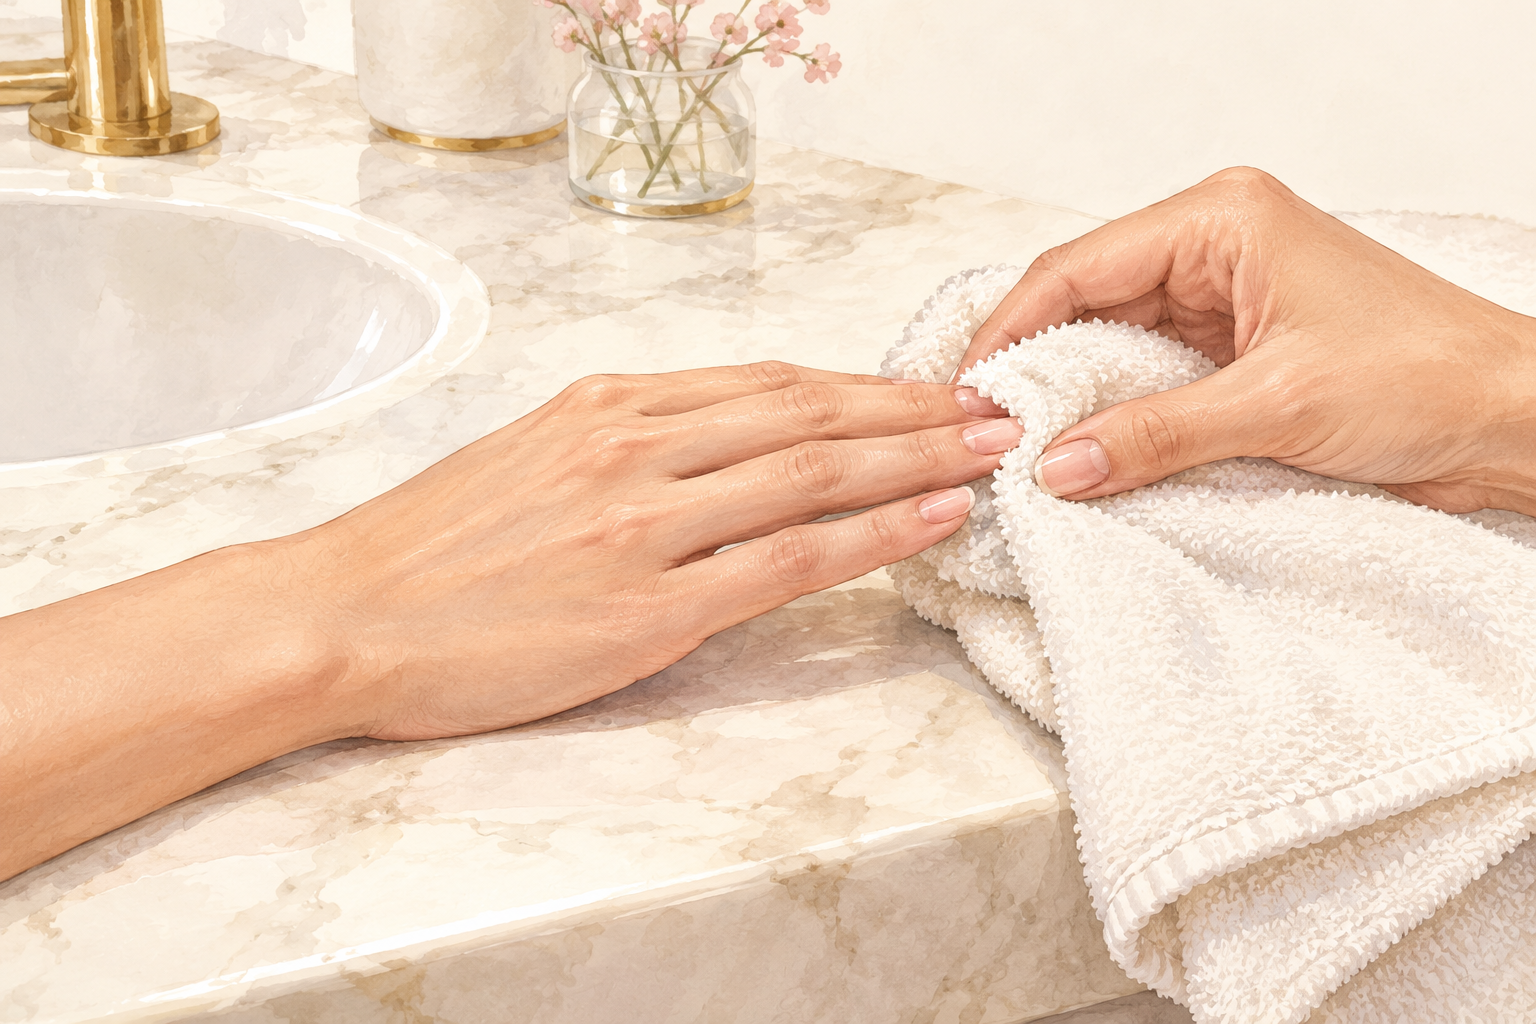
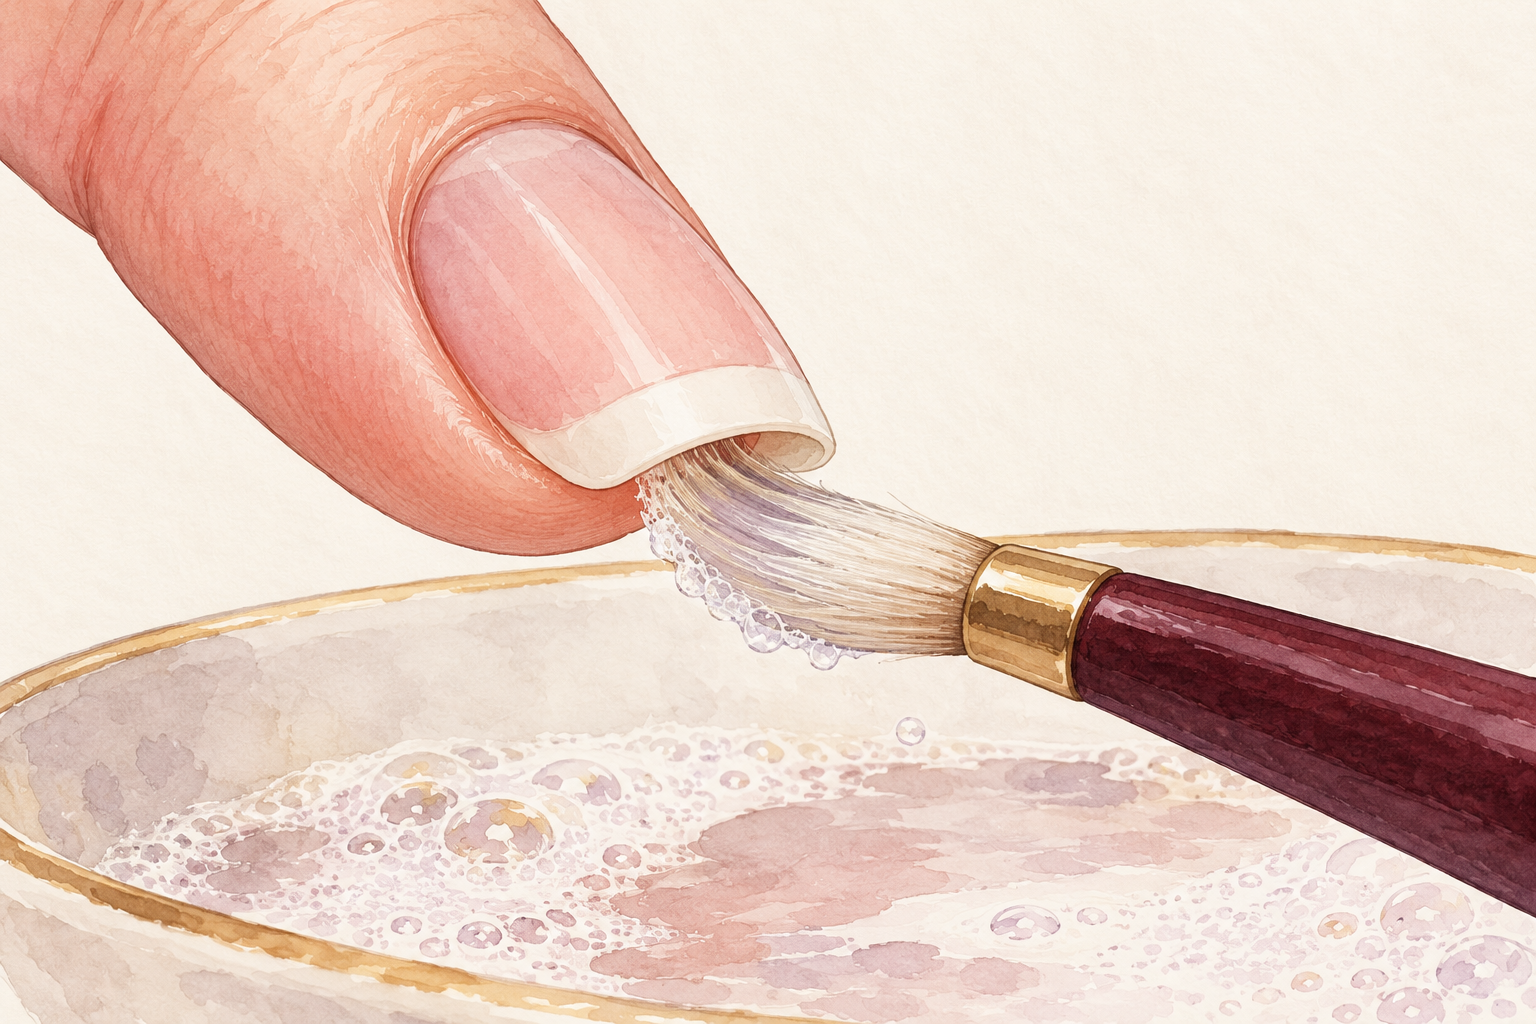
Soak your fingertips in warm soapy water for three minutes, then nudge the cuticle back with the soft end of an orange stick. The cuticle seals the skin, so cutting it only invites sore, red edges. Push only the dead, loose skin and stop the second it tugs. You will see a bit more nail and the skin will look tidier. Do this once a week, not daily, so the skin does not get irritated. Dry your hands well before you pick up anything else. A warm, slightly soapy soak softens the skin more than plain water does.
8. Buff once, lightly, and only if ridges bother you
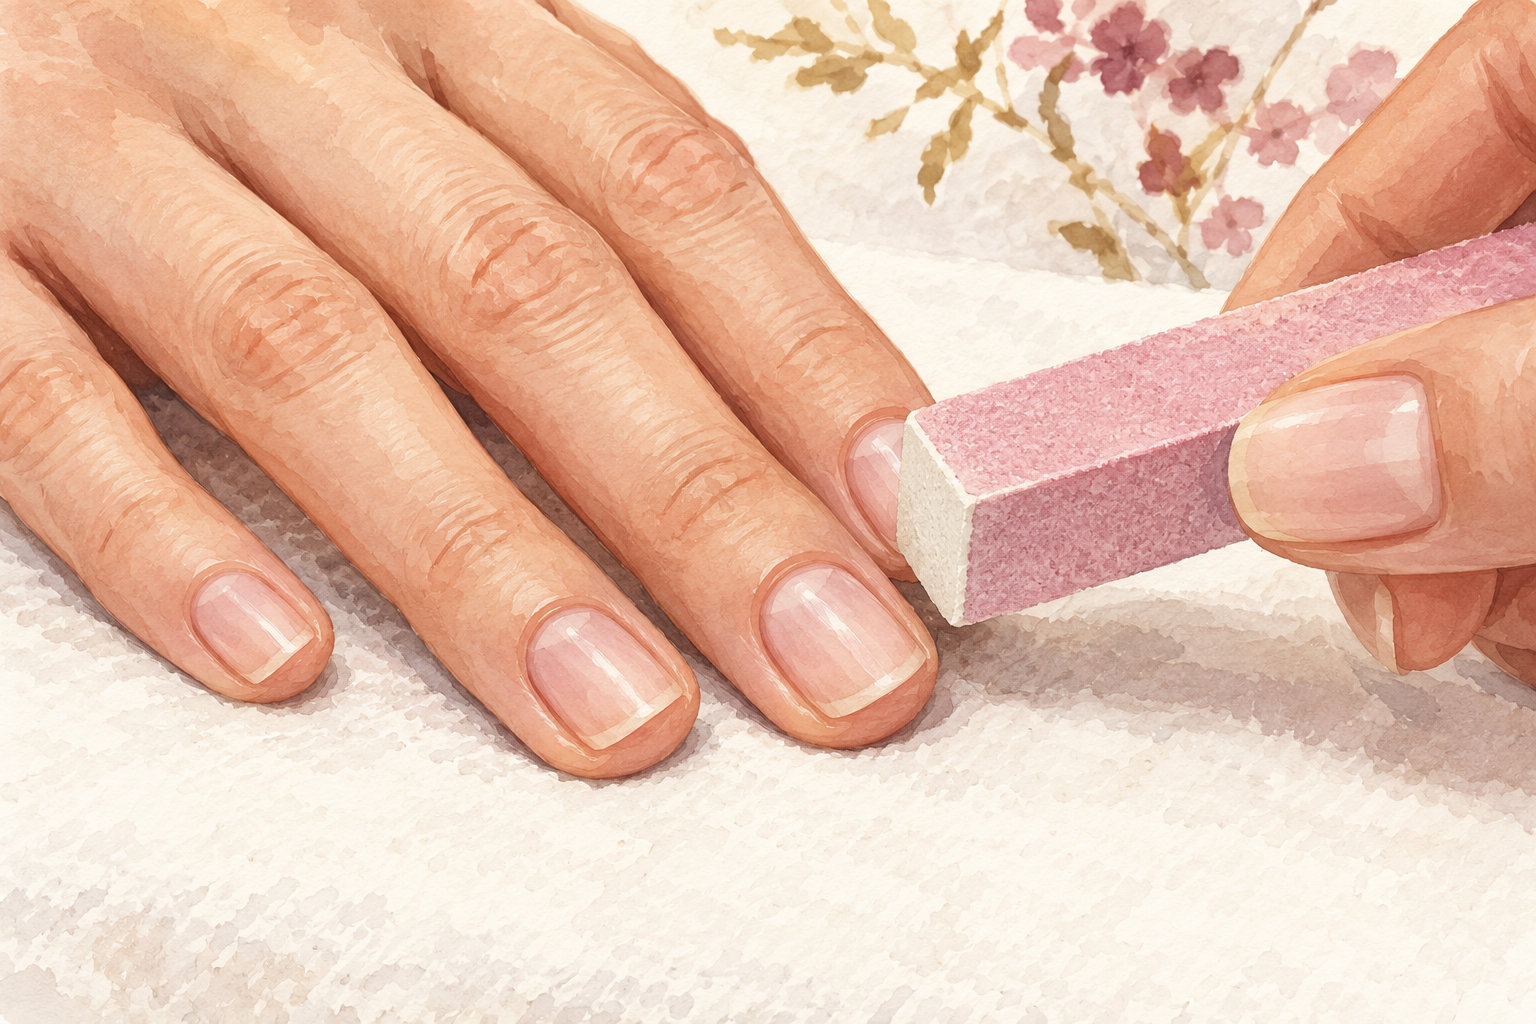
Use the smoothest side of a soft buffer for three or four light strokes, and skip it if your nails are thin. Buffing takes away a little of the nail every time, so more is not better. Do it no more than once a month. The goal is a smooth, soft shine, not a mirror. If a nail looks flaky or feels warm when you buff, stop and leave it. Rinse the dust off afterwards, then move straight to oil. Ridges that run lengthways are common and usually harmless, so do not chase them.
9. Finish with oil and cream
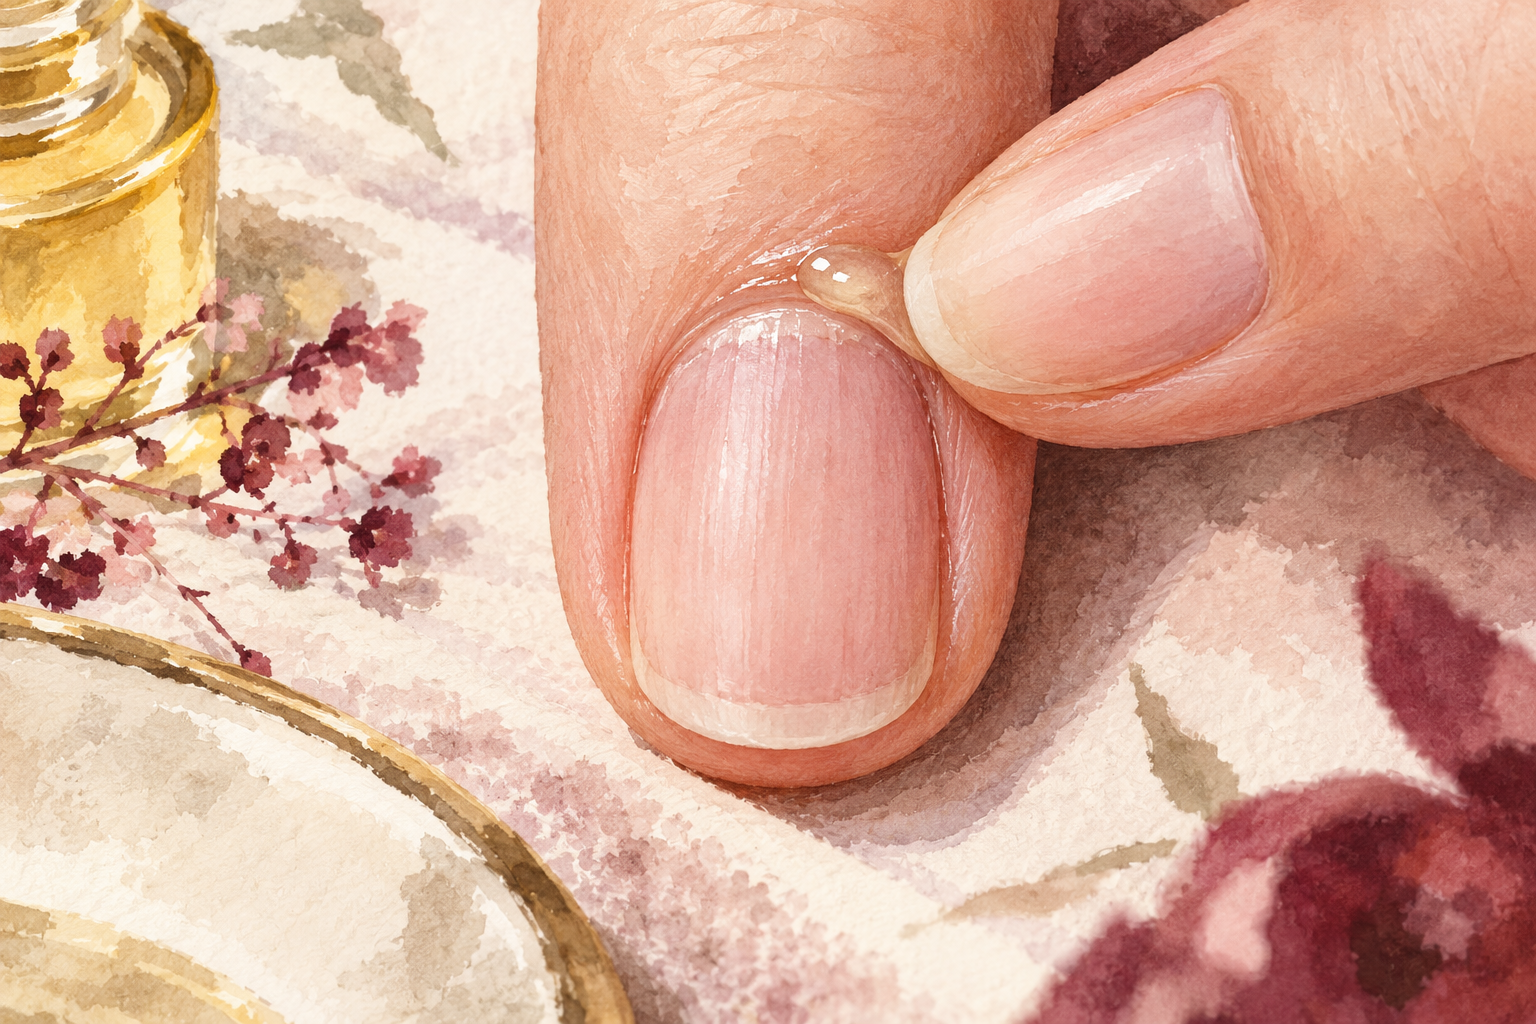
Press a drop of oil into each cuticle for ten seconds, then smooth cream over your hands. The oil softens the skin around the nail so the nail flexes instead of snaps. The cream seals it in. Do this at the end of your weekly session, and again before bed on dry days. A little goes a long way, so one drop per nail is enough. Your nails will look glossy even when they are bare, which is a quiet reward for such a small step. Rub any leftover oil into the backs of your hands so nothing is wasted. Simple oil and cream steps fit neatly with natural nail care if you like a gentle approach.
10. Moisturize after every wash
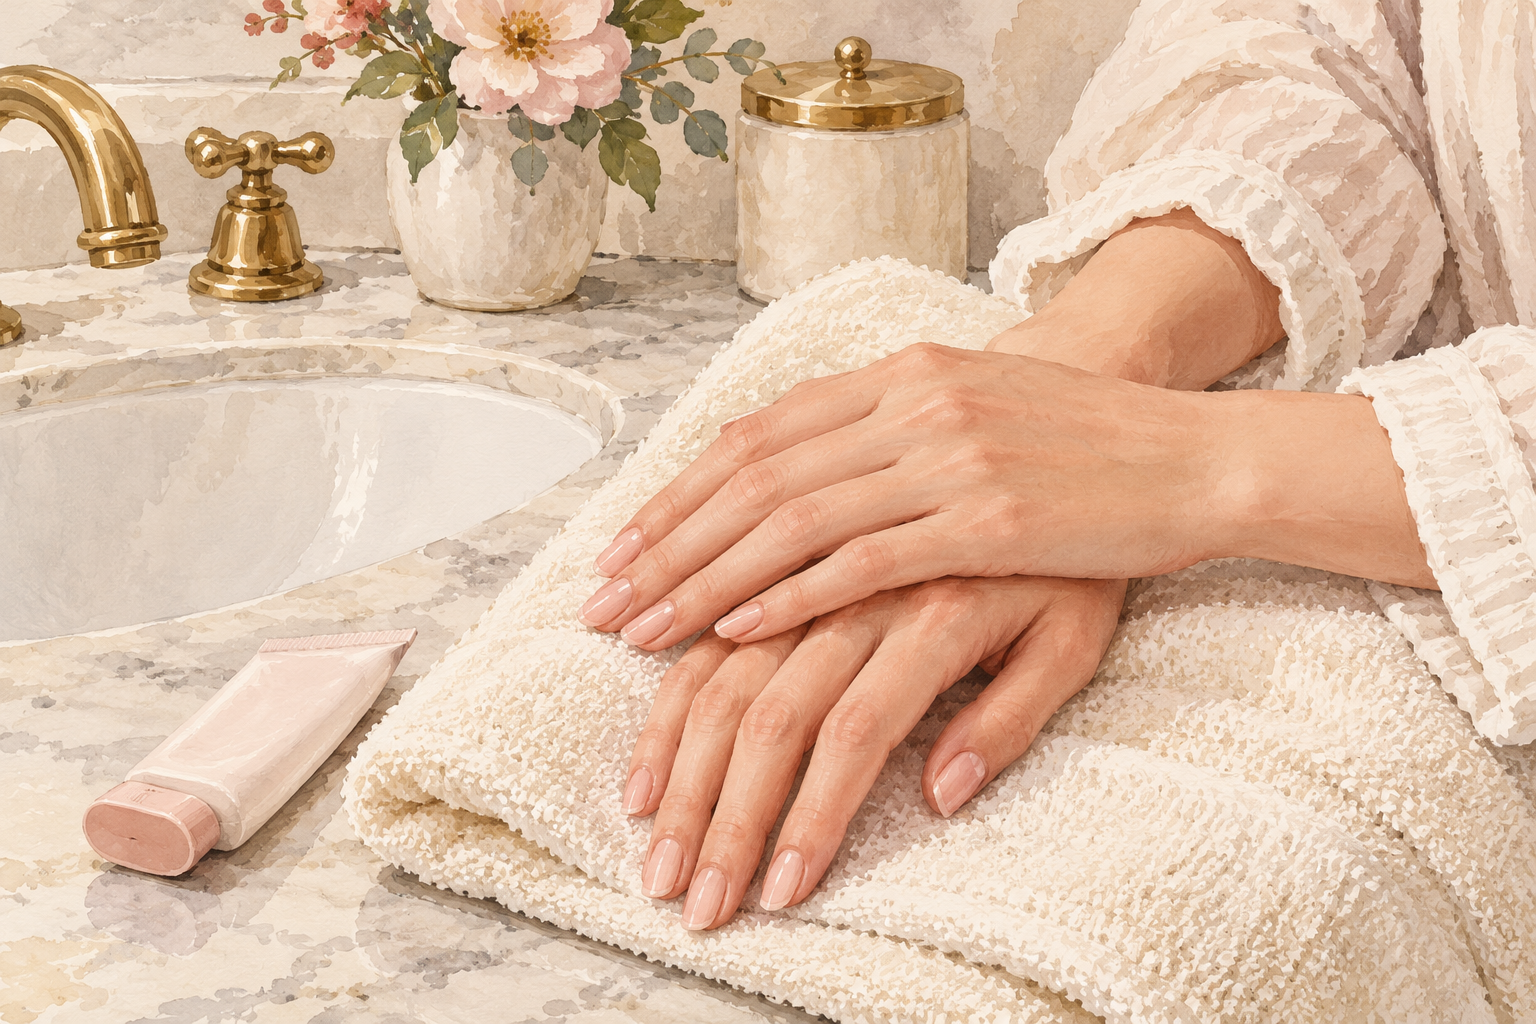
Keep a small tube by each sink and use it every time you dry your hands. Water is the quiet enemy of nails, because it swells them and then lets them shrink, and that cycle leads to peeling. Cream seals in moisture before that happens. Rub it into each nail and around the cuticles as well as the backs of your hands. Pick a cream that feels rich but not greasy, so you will reach for it during the day. Four or five small pumps a day beats one big slather at night. Dab a little extra around the cuticles, where the skin dries out first.
11. Wear gloves and use a tool, not your nail
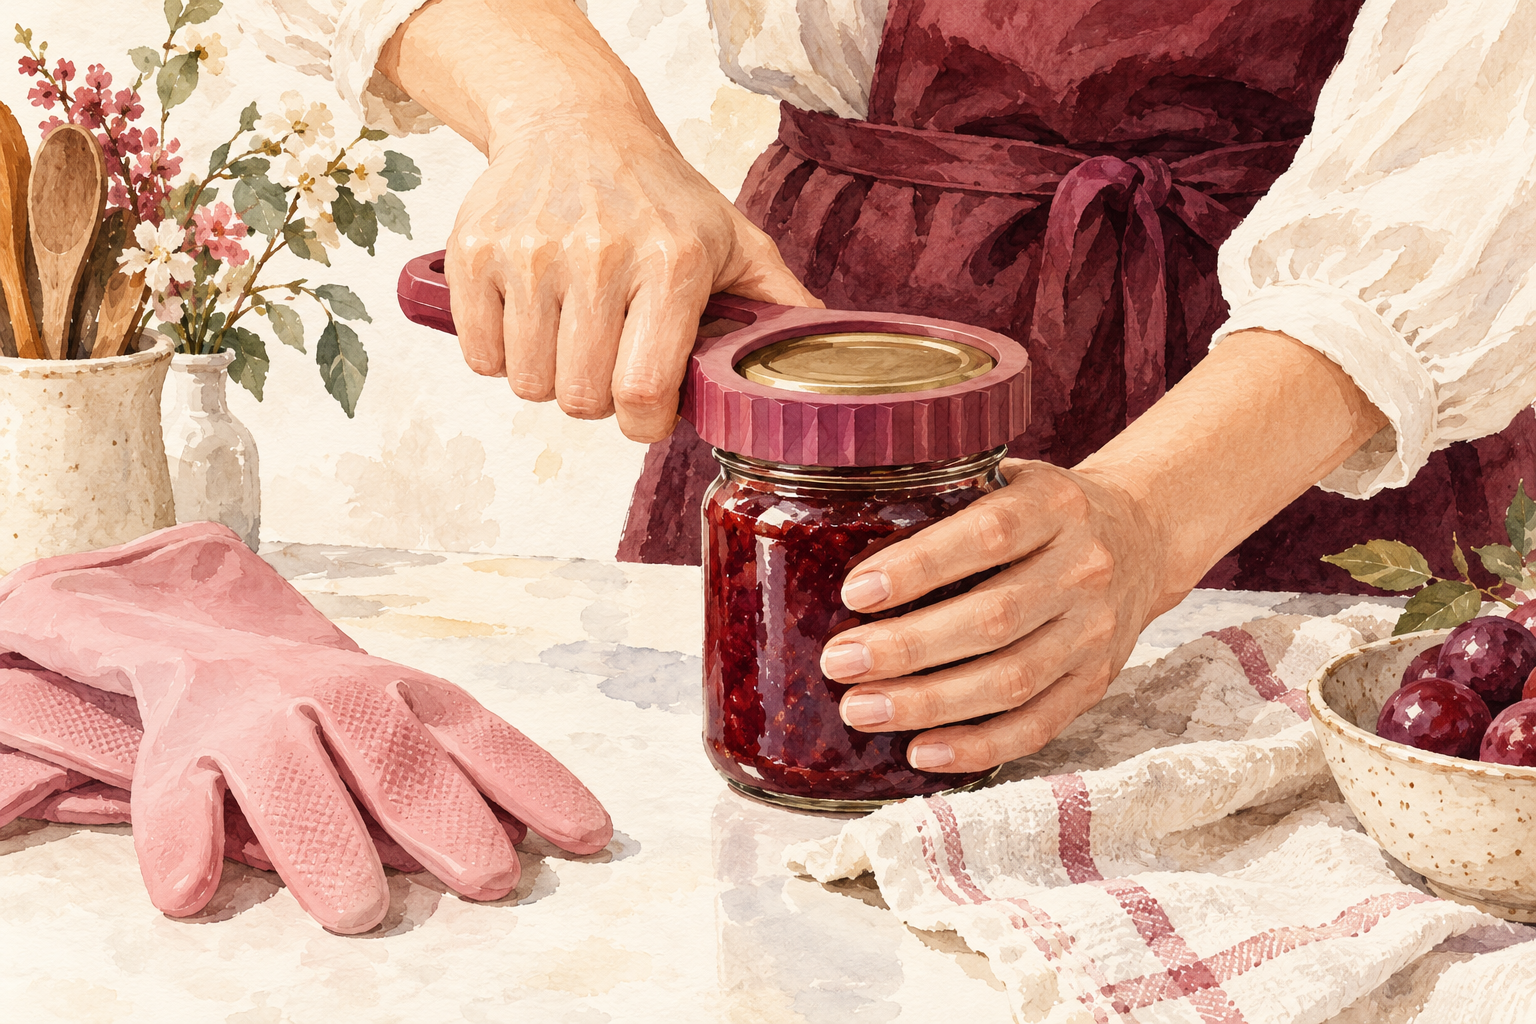
Wear gloves for washing up and cleaning, and use the edge of a spoon to lift lids instead of your thumbnail. Nails are not screwdrivers or can openers, and the tip pays for it each time. Gloves also keep hot water and strong cleaners off them. Give it a week to feel normal. Leave the gloves on the tap where you will see them. Little changes like these quietly protect your nails every day. Tie a pair of gloves to the sink, and the habit is half done. Gloves and a spoon are a quiet start, with nail care tips as the next thing to read.
12. Expect softer hands first, then stronger tips
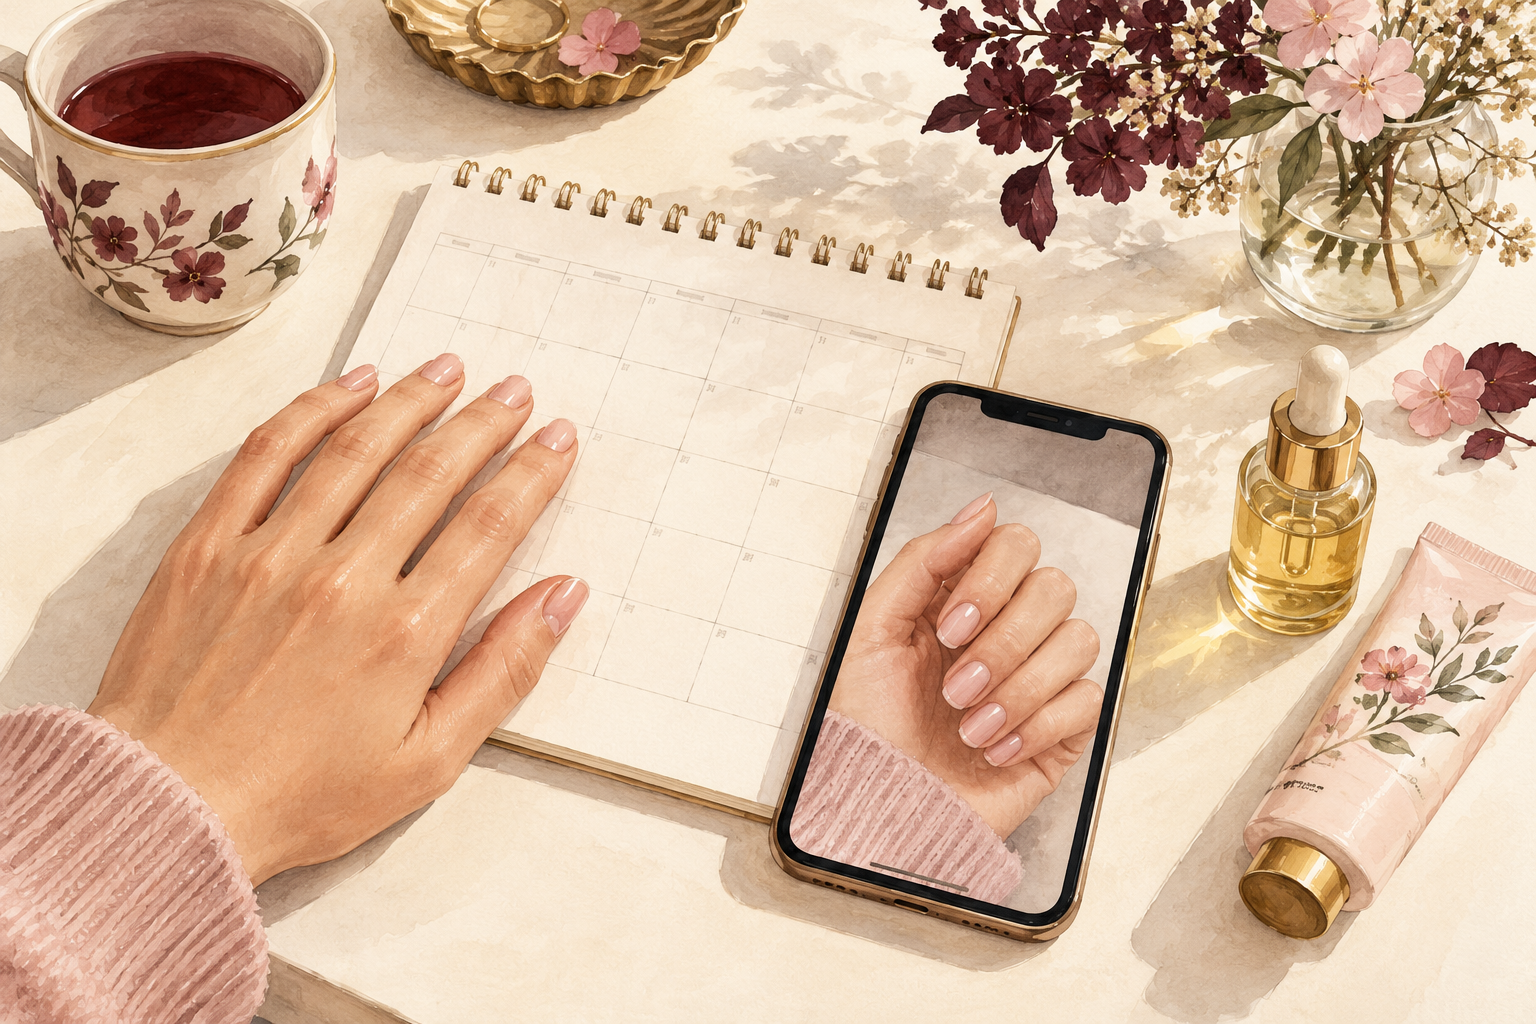
Look for small changes, not instant long nails. In week one you will mostly notice softer skin around the nails. By week four there are fewer snags and fewer sudden breaks. By week eight your photo should show smoother nails with stronger tips. When your nails look tired or thin, take a polish break for a week and use the oil and cream at night. A skipped week is not a setback, so pick the routine up where you left it. Photograph your hands in the same light as week one so the comparison is fair.
Complete the Routine: Nail Care at Home Starts Tonight
Tonight, set your timer and do steps 5, 9 and 10. Ten minutes a week is a small promise, and it grows into a habit, so choose one more guide below for this week.