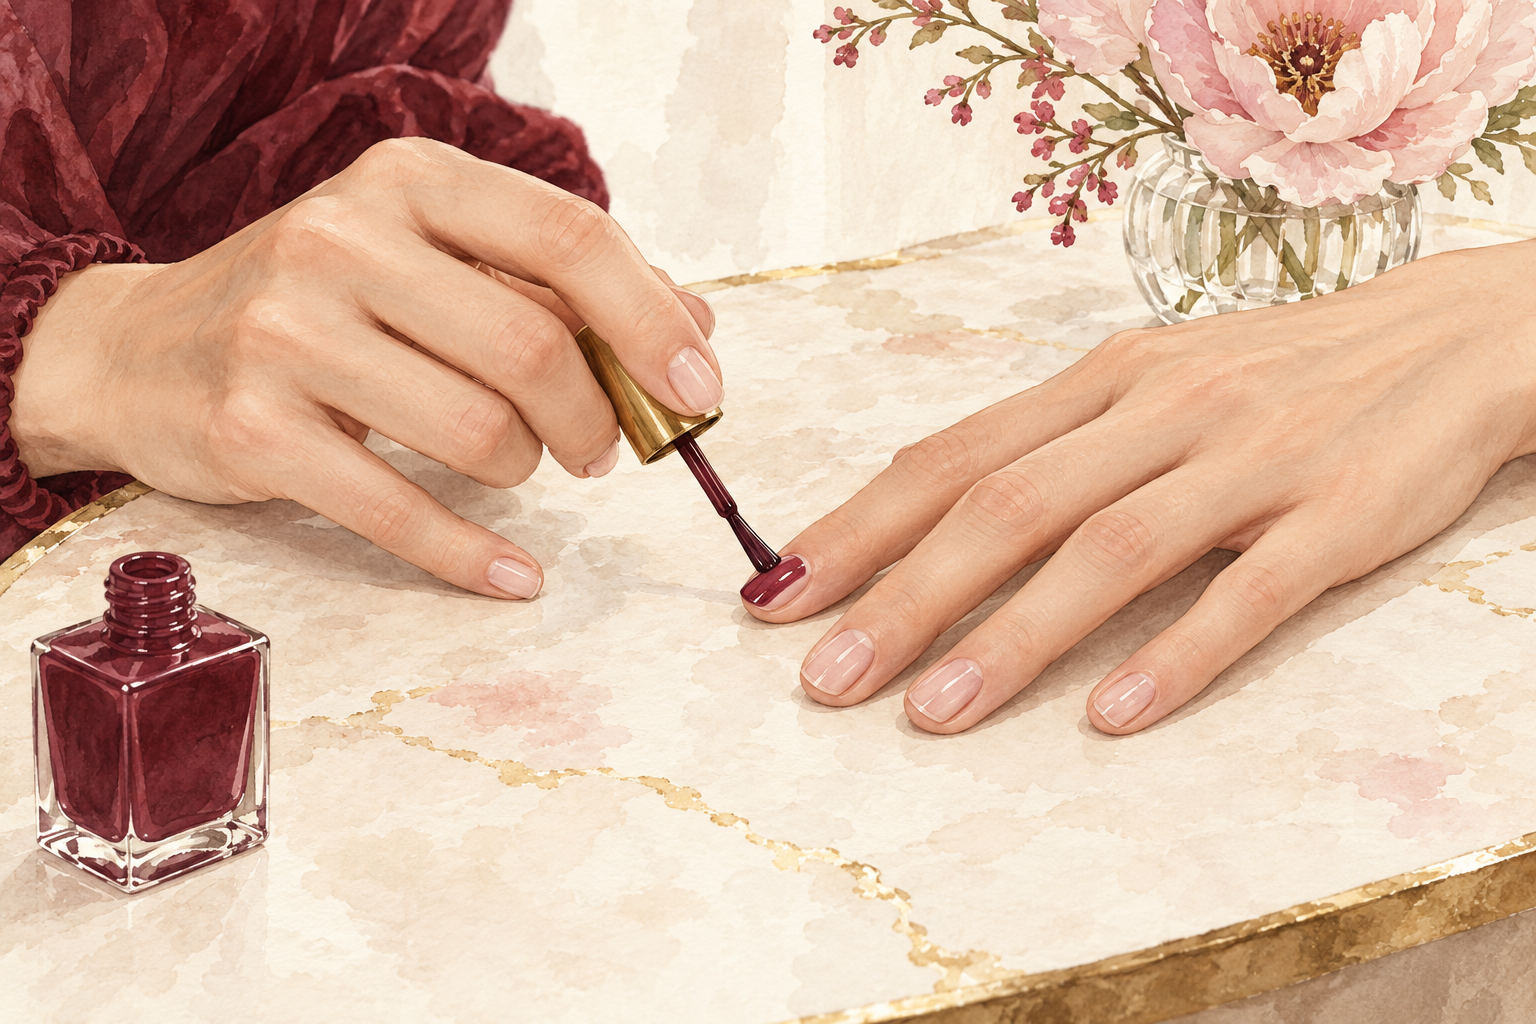
You painted your nails at the kitchen table, and the polish bubbled, streaked and peeled off by Thursday. The trouble is usually the order and the rushing, not your hands. These 12 steps show you how to do nails at home in one calm session, with timings from prep to top coat, so start at number one tonight.
1. Lay everything out before you begin
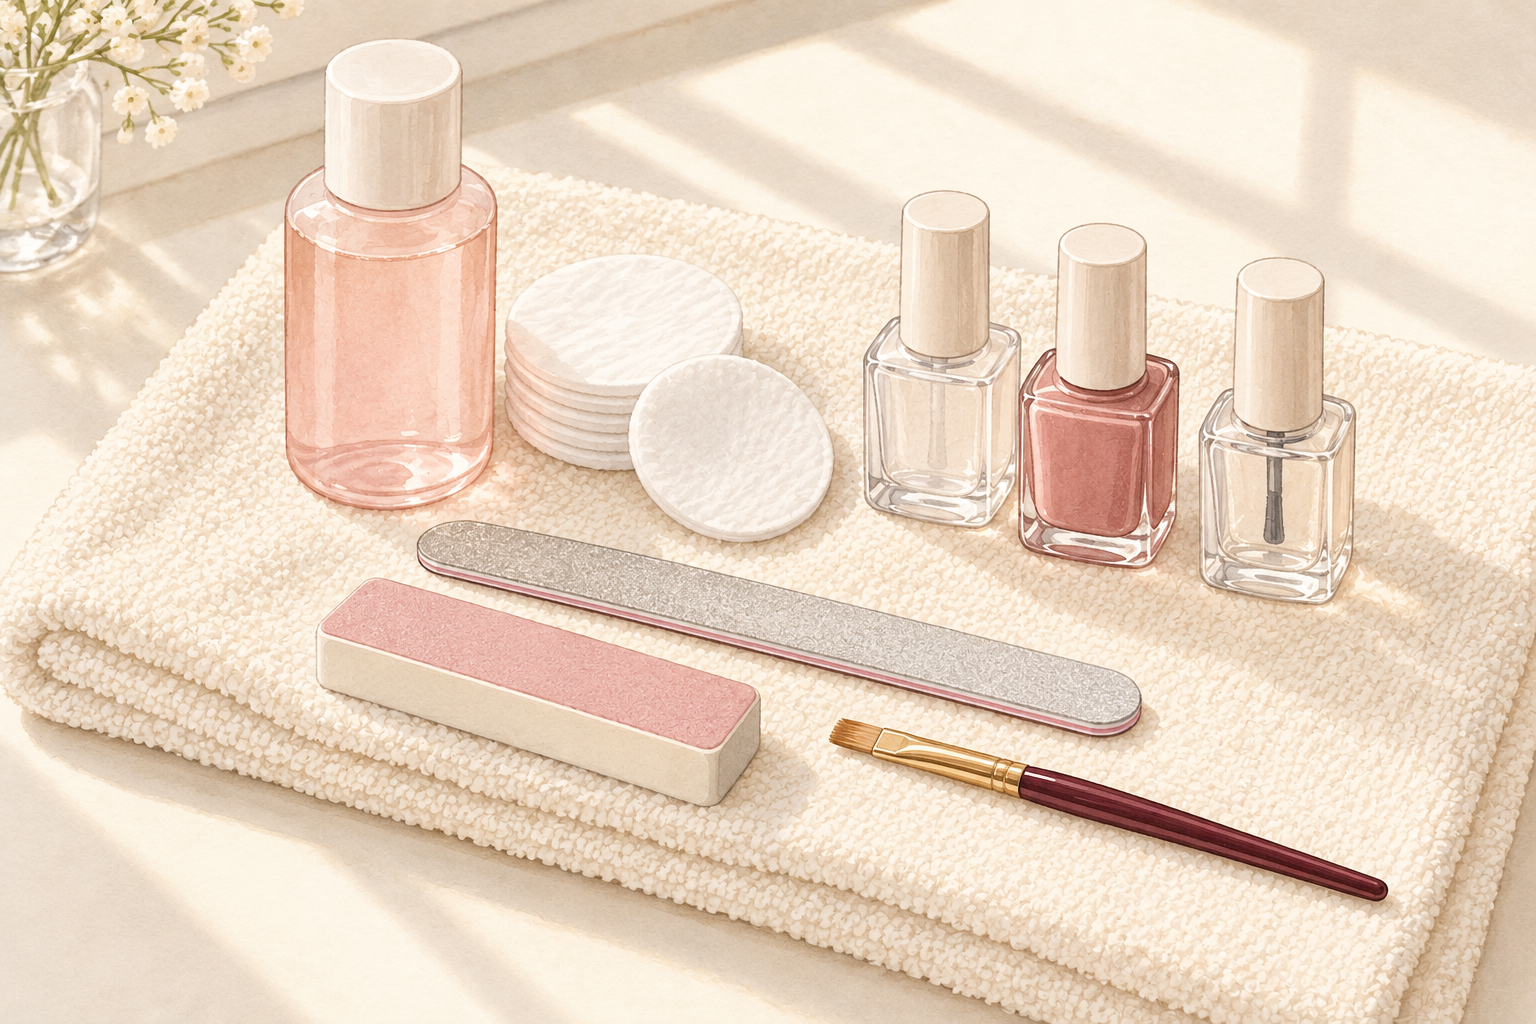
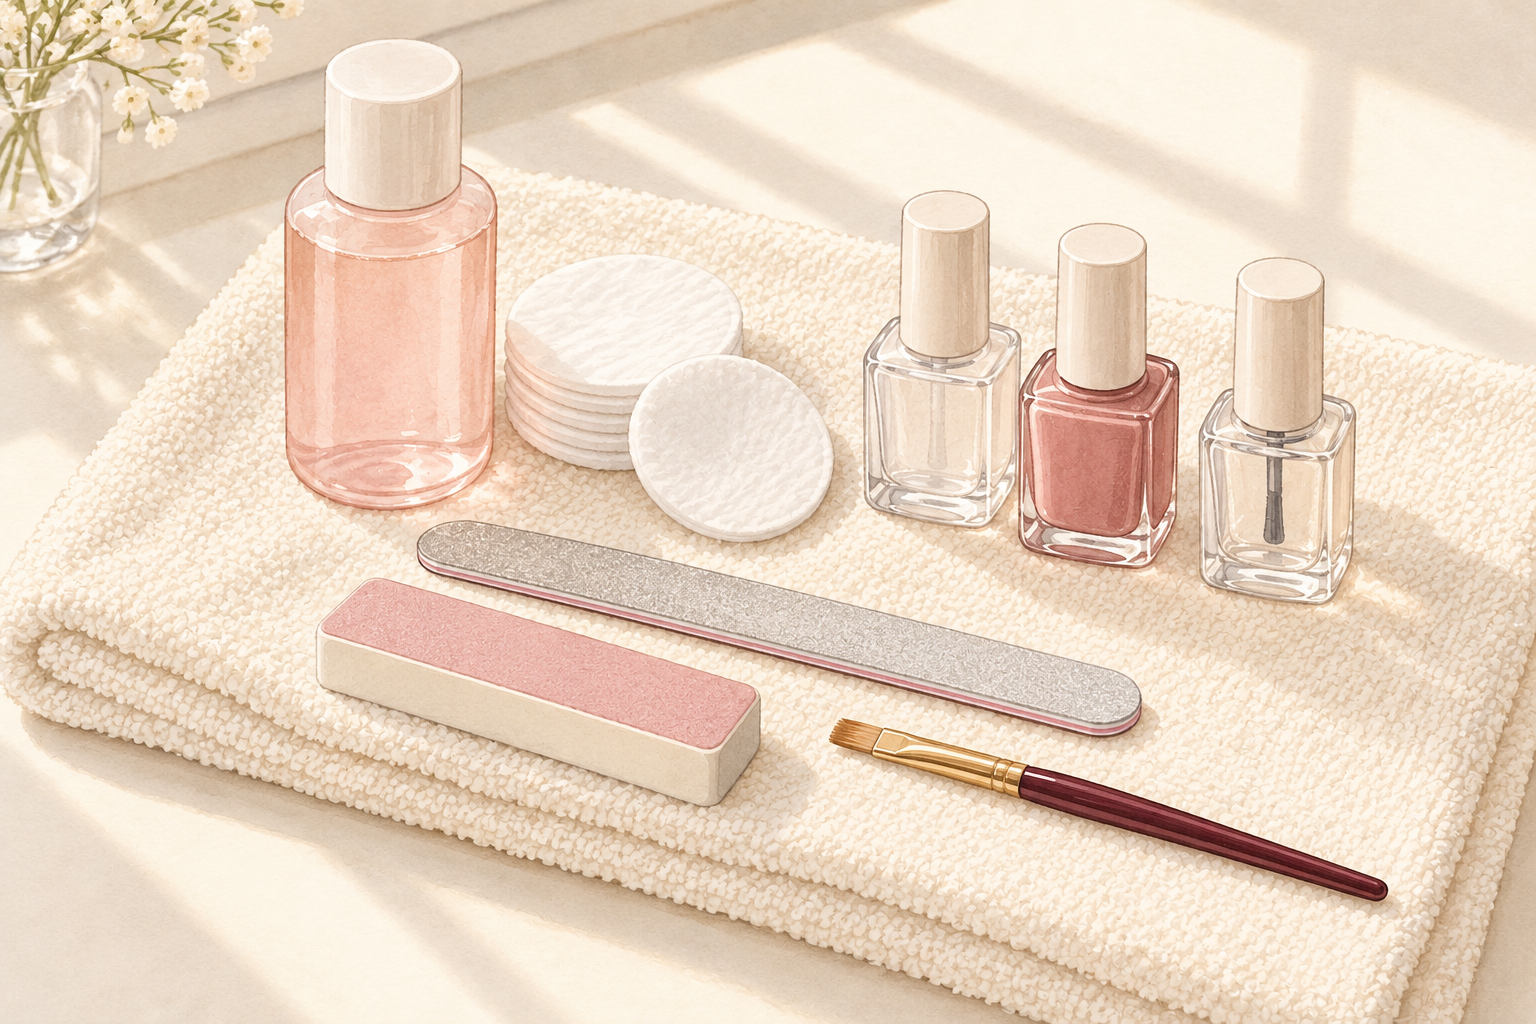
Spend five minutes clearing a table near a window and putting every tool in reach. You need remover, cotton pads, a file, a cuticle stick, base coat, color, top coat and a little cuticle oil. Lay a towel down and keep a spare pad for slips. Stopping halfway to look for something is how a coat ends up streaky. It also helps to switch your phone to silent. Do the whole session on an evening when you have no plans, because the longest part is the waiting. Pour yourself a glass of water and take your time. Warm light from a window beats a ceiling bulb for spotting streaks.
2. Remove old polish with patience
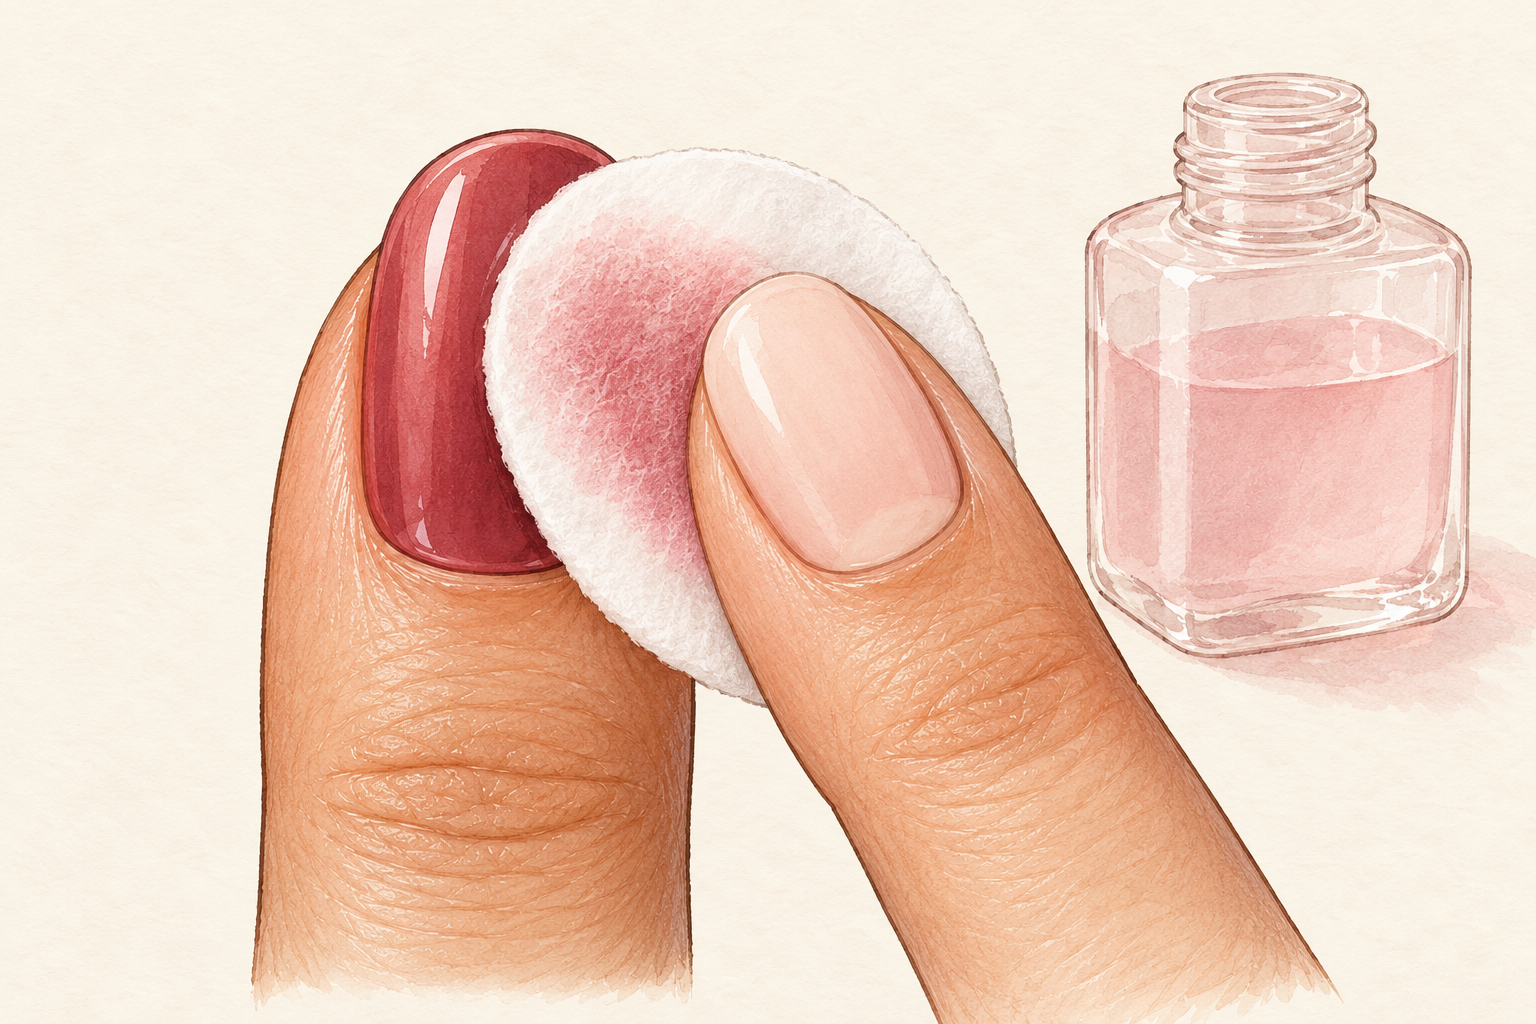
Press a soaked pad on each nail for ten seconds, then wipe from cuticle to tip in a single pass. Scrubbing back and forth smears color onto your skin and takes twice as long. Remover dries the skin, so rub in a little hand cream when you finish. Choose one without acetone if your nails are dry, though it may need another wipe or two. Work on one hand at a time so the pads do not dry out. Keep the used pads in a bin, since the fumes linger. This step takes about five minutes if you do not rush it. Wash the dust of old color off your fingertips before you move on.
3. Wash, dry and then hands off
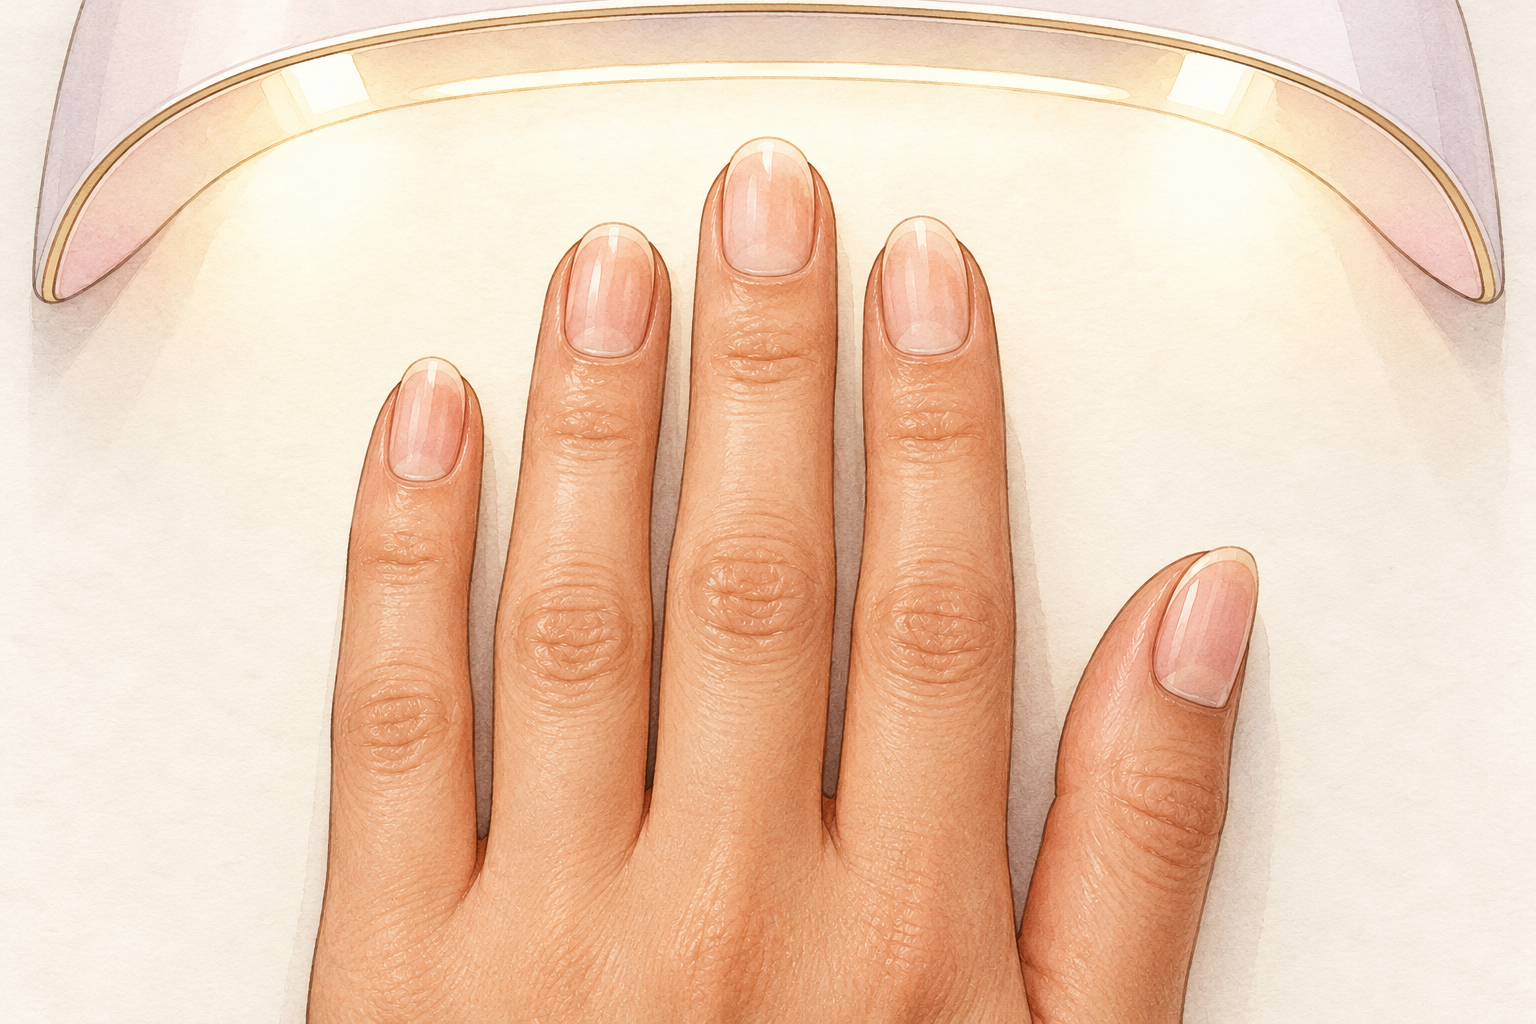
Wash with soap, rinse well and dry every finger, including under the tips. Water left on the nail stops polish from gripping, and so does any cream. Skip the lotion for now. Give your hands five full minutes to settle before the next step, and use that gap to set your tools within reach of your painting hand. Take your rings off, because they catch on wet polish later. Your nails should look pale and matte, not shiny, before you go on. If they still look shiny, wipe once more with a fresh pad.
4. Trim and file to one shape
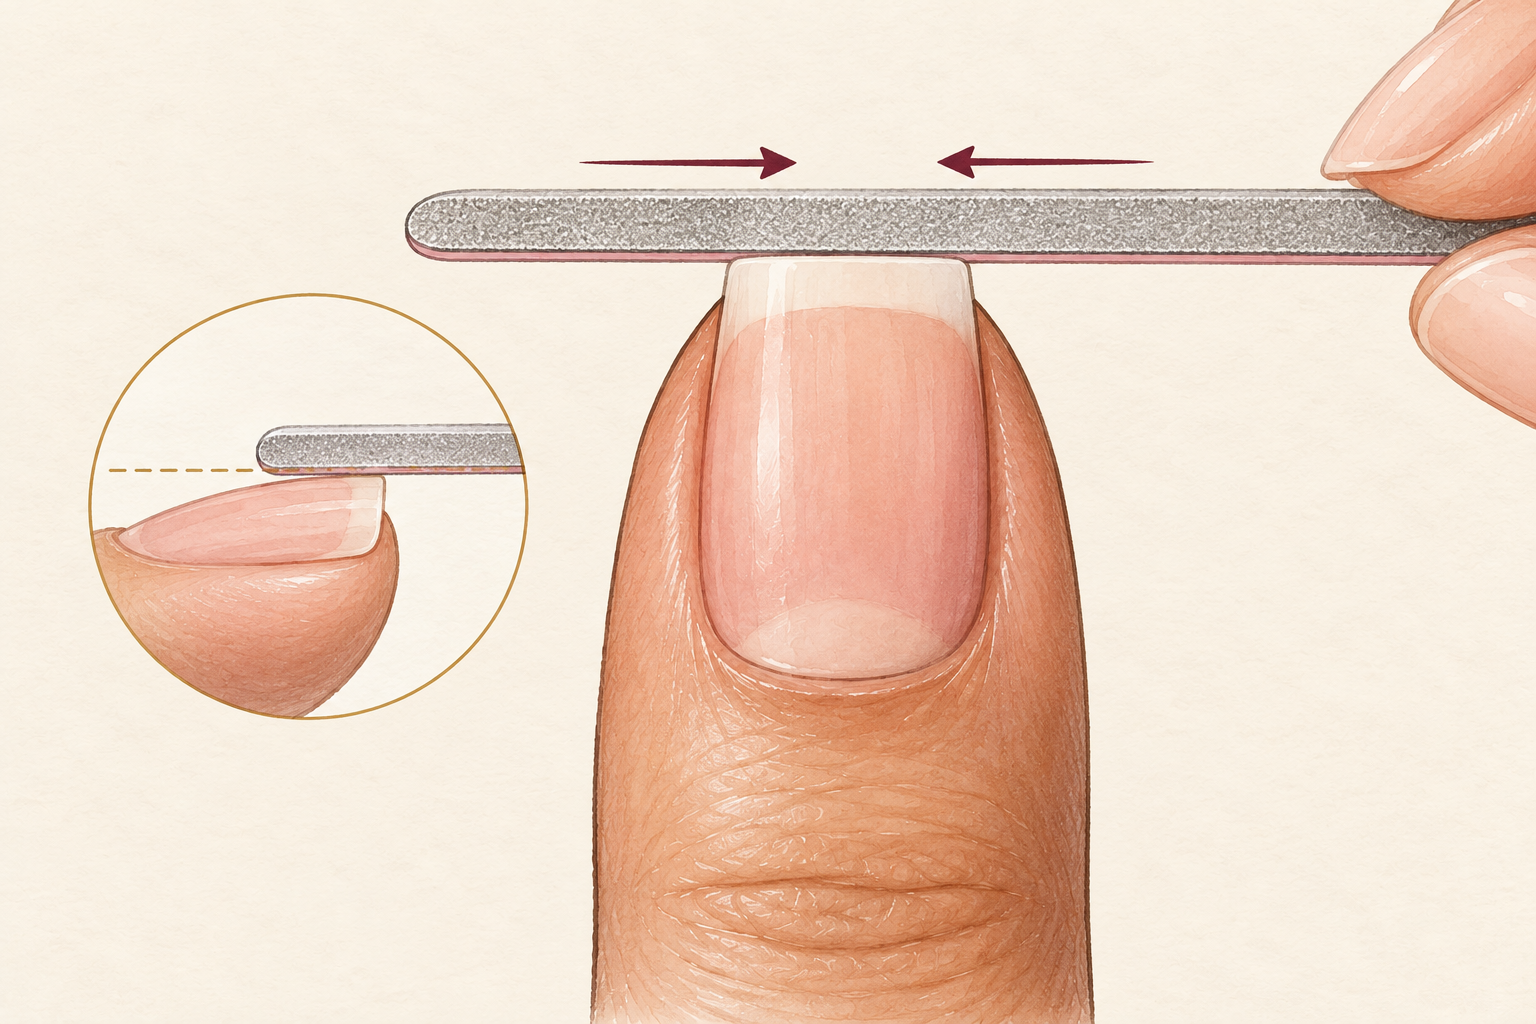
Trim almost straight across if your nails are long, then file from each side toward the middle in one direction. Sawing back and forth weakens the edge and splits the layers. Round the corners lightly so they do not snag. Short nails are the easiest to keep neat for a first attempt. Pick a shape you can keep, such as a soft square or an oval, and match all ten. Look at each nail from above and from the side, because a tilted tip is easy to miss. This takes about ten minutes and decides how the whole set looks. Filing beats clipping here, because you can stop the instant it looks right.
5. Soften and ease the cuticles back
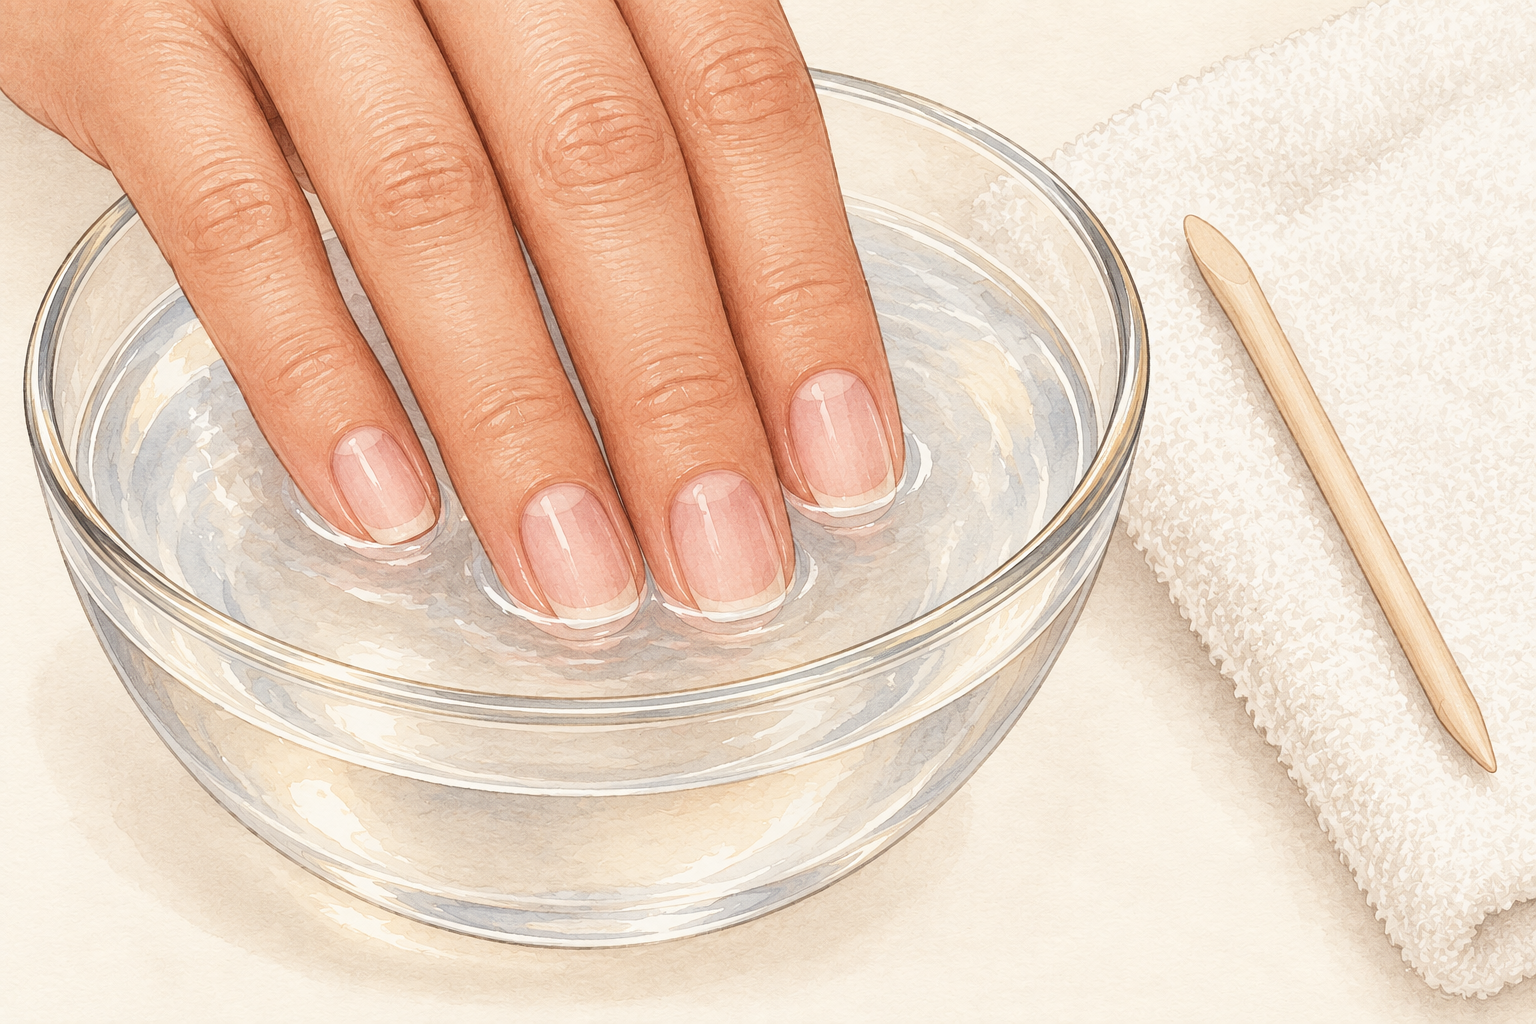
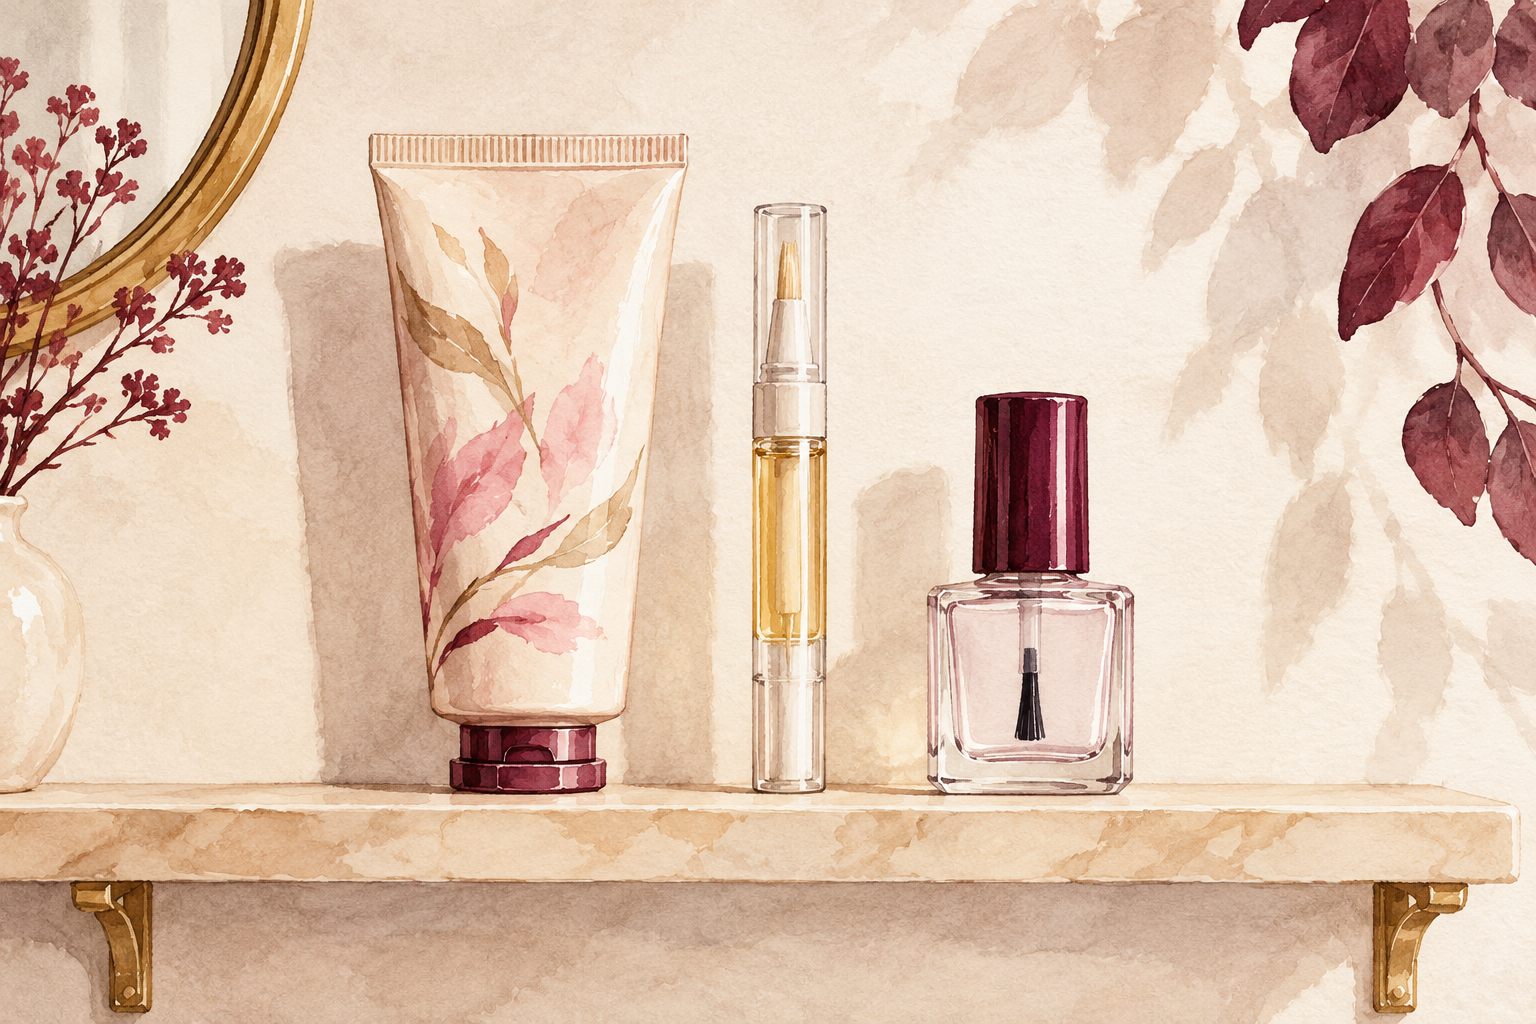
Soak your fingertips in warm water for a few minutes, then press the skin back with the wooden stick using very light pressure. Never cut the cuticle. A drop of cuticle oil afterwards keeps the skin soft. If it stings or bleeds, stop and leave it for another day. Pushing too hard is the usual reason hangnails show up a few days later. Do this gently and slowly, and use the rounded end of the stick, not the pointed one. It should take about three minutes. Do both hands, then dry them well before the next step.
6. Buff lightly, then wipe off the oils
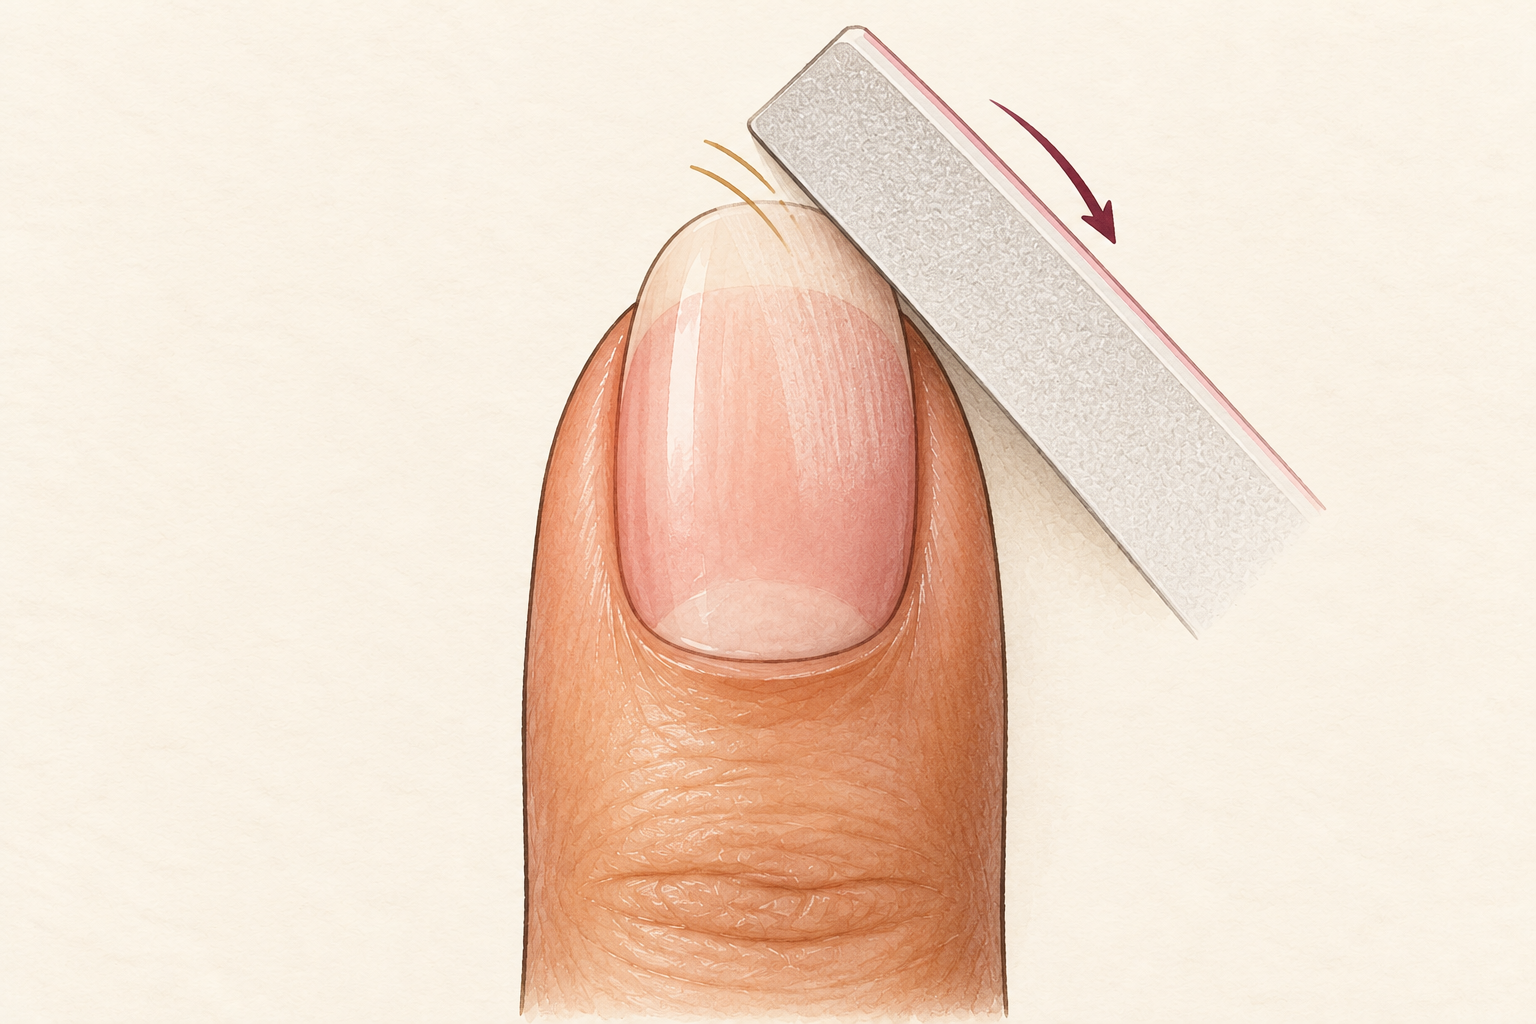
Make two or three light passes with a soft buffer, just to take off the shine. That helps the base coat grip. Overdoing it thins the nail, so keep it short. Then wipe each nail with a lint free pad and a little remover to clear dust and natural oil. Do not touch the nail with your fingers after that. Give the thumbs extra attention, because they tend to be oilier than the other fingers. This step is easy to skip, and it matters more than the color you choose. A clean, slightly dull nail holds polish like paper holds ink.
7. Paint a thin base coat and cap the tip
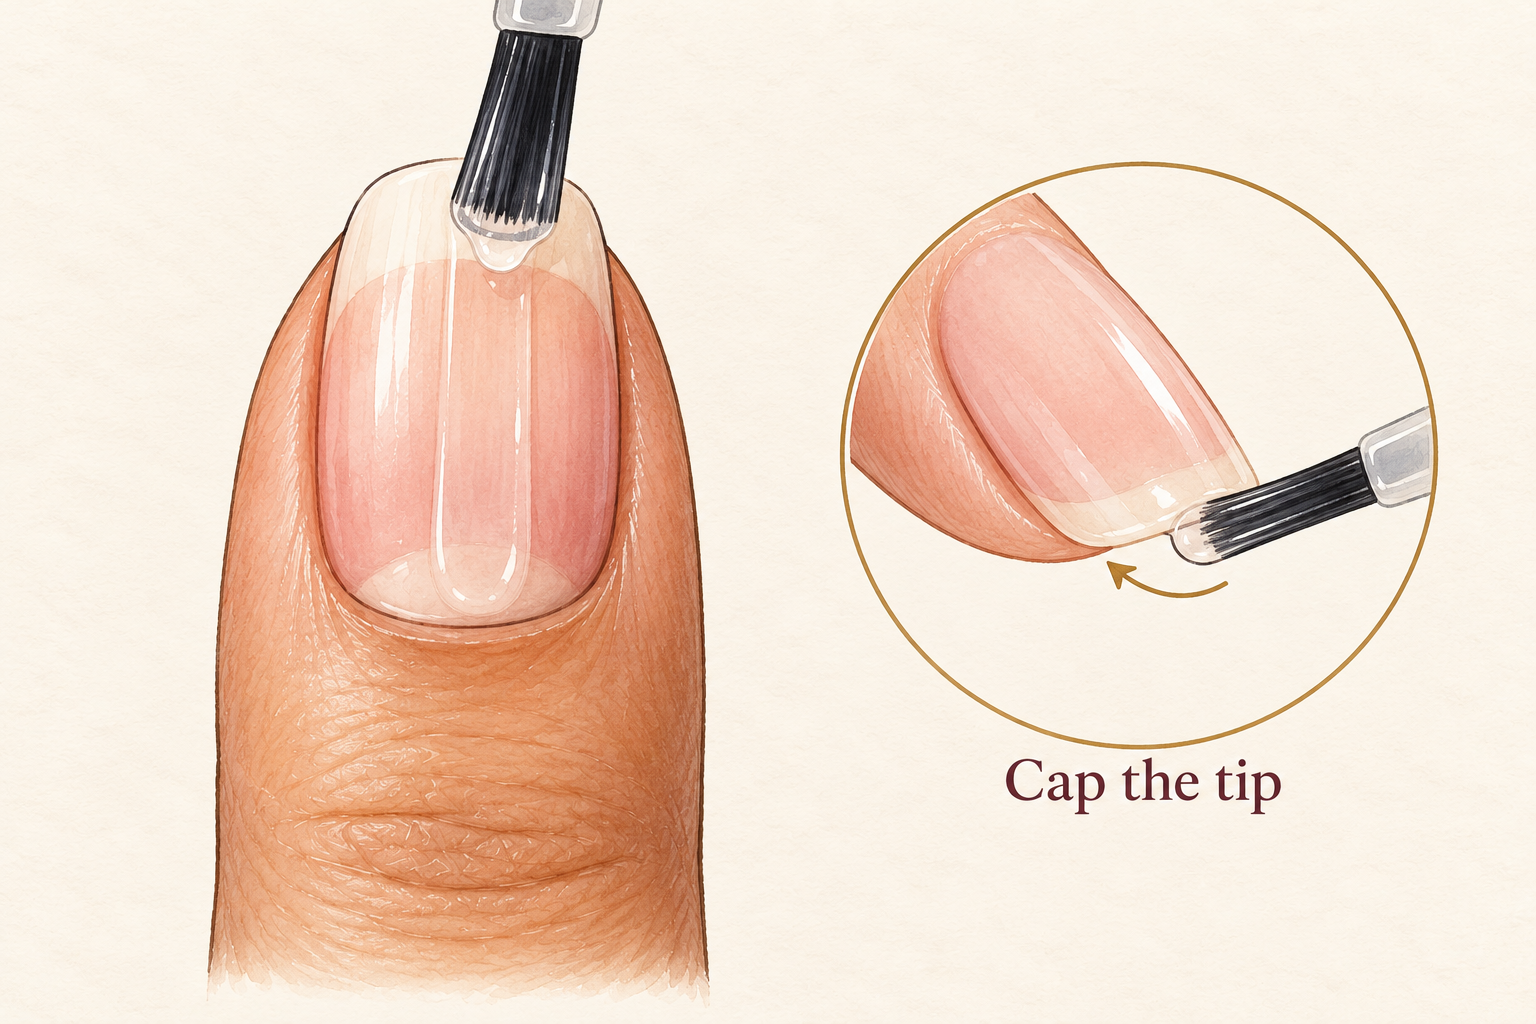
Wipe most of the polish off one side of the brush, then paint a thin layer down the center and one on each side. Run the brush along the free edge of the tip, which seals it and stops early chips. Leave it to dry for two minutes. Do not worry if it looks thin or patchy, because it only needs to grip. A thick base stays tacky and slides around under the color. If you rush here, the next two coats sit on a layer that has not set, and the whole manicure can peel off in one piece. Wait until the coat looks flat and no longer wet.
8. Paint two thin coats in three strokes
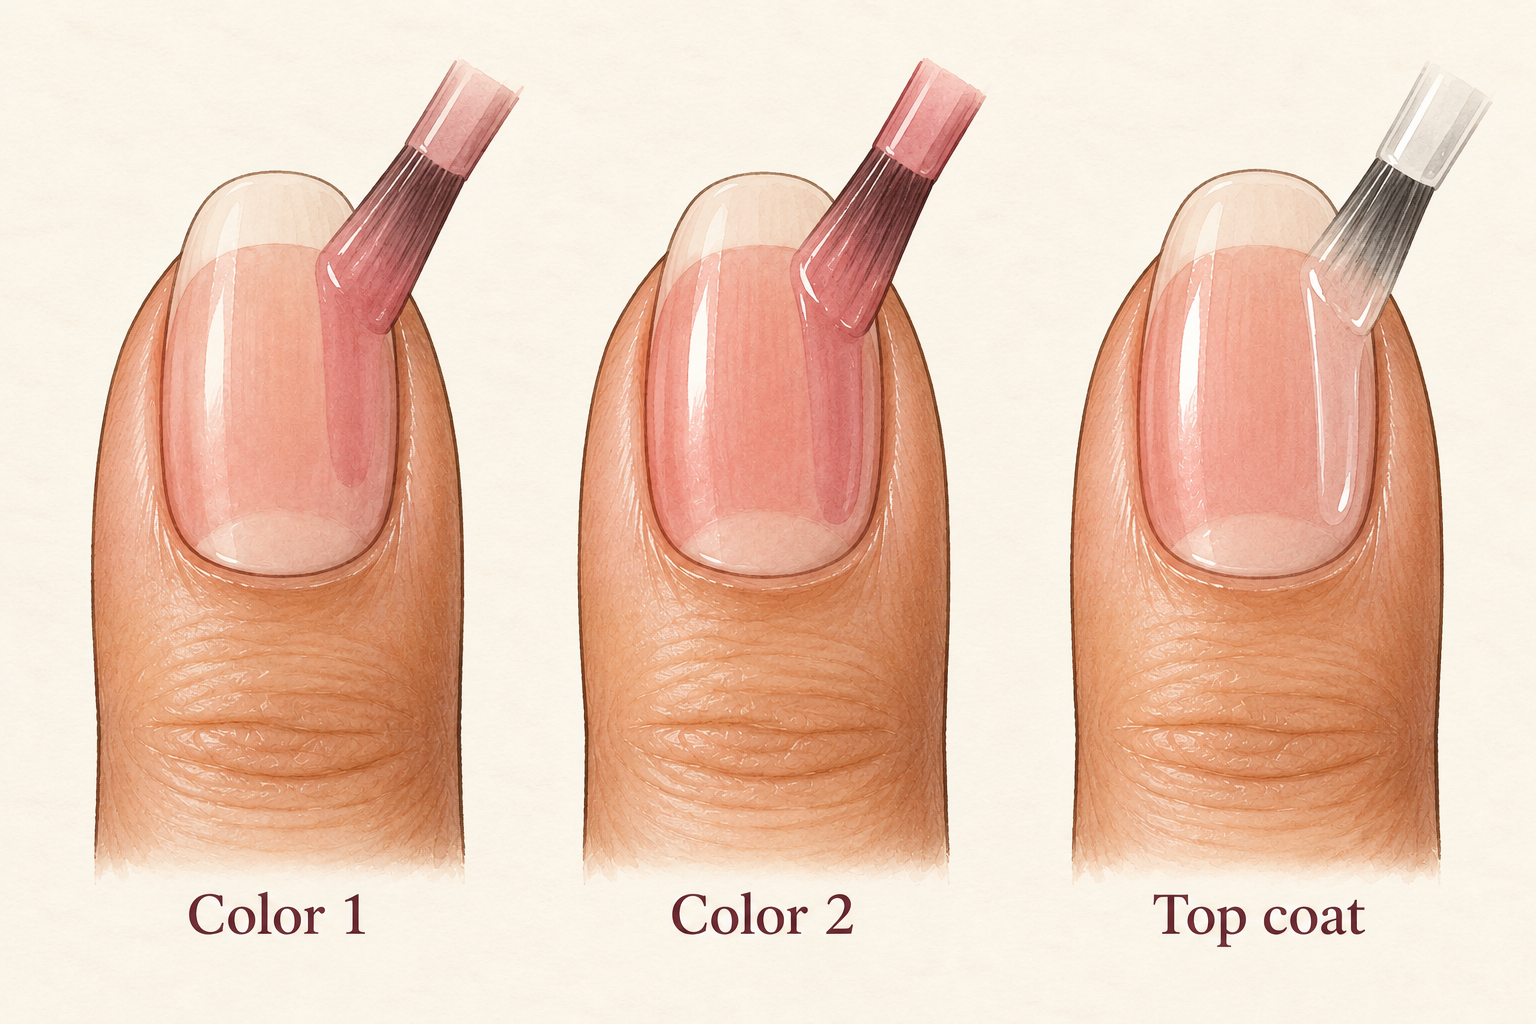
Place a small bead near the base of the nail, press, and pull down the center, then do the left and right sides. Leave a hair of space at the skin so the polish does not flood. Wait two minutes, then do a second thin coat. Two thin coats look smoother and dry faster than one thick one. Roll the bottle between your palms instead of shaking it, which keeps the bubbles out. Do the thumb first, then the fingers, and the whole hand takes about ten minutes. If a bead gets too big, wipe the brush on the bottle neck and try again. Thin layers take a little practice, so when you want a refresher, how to paint nails is there.
9. Finish with top coat and seal the edge
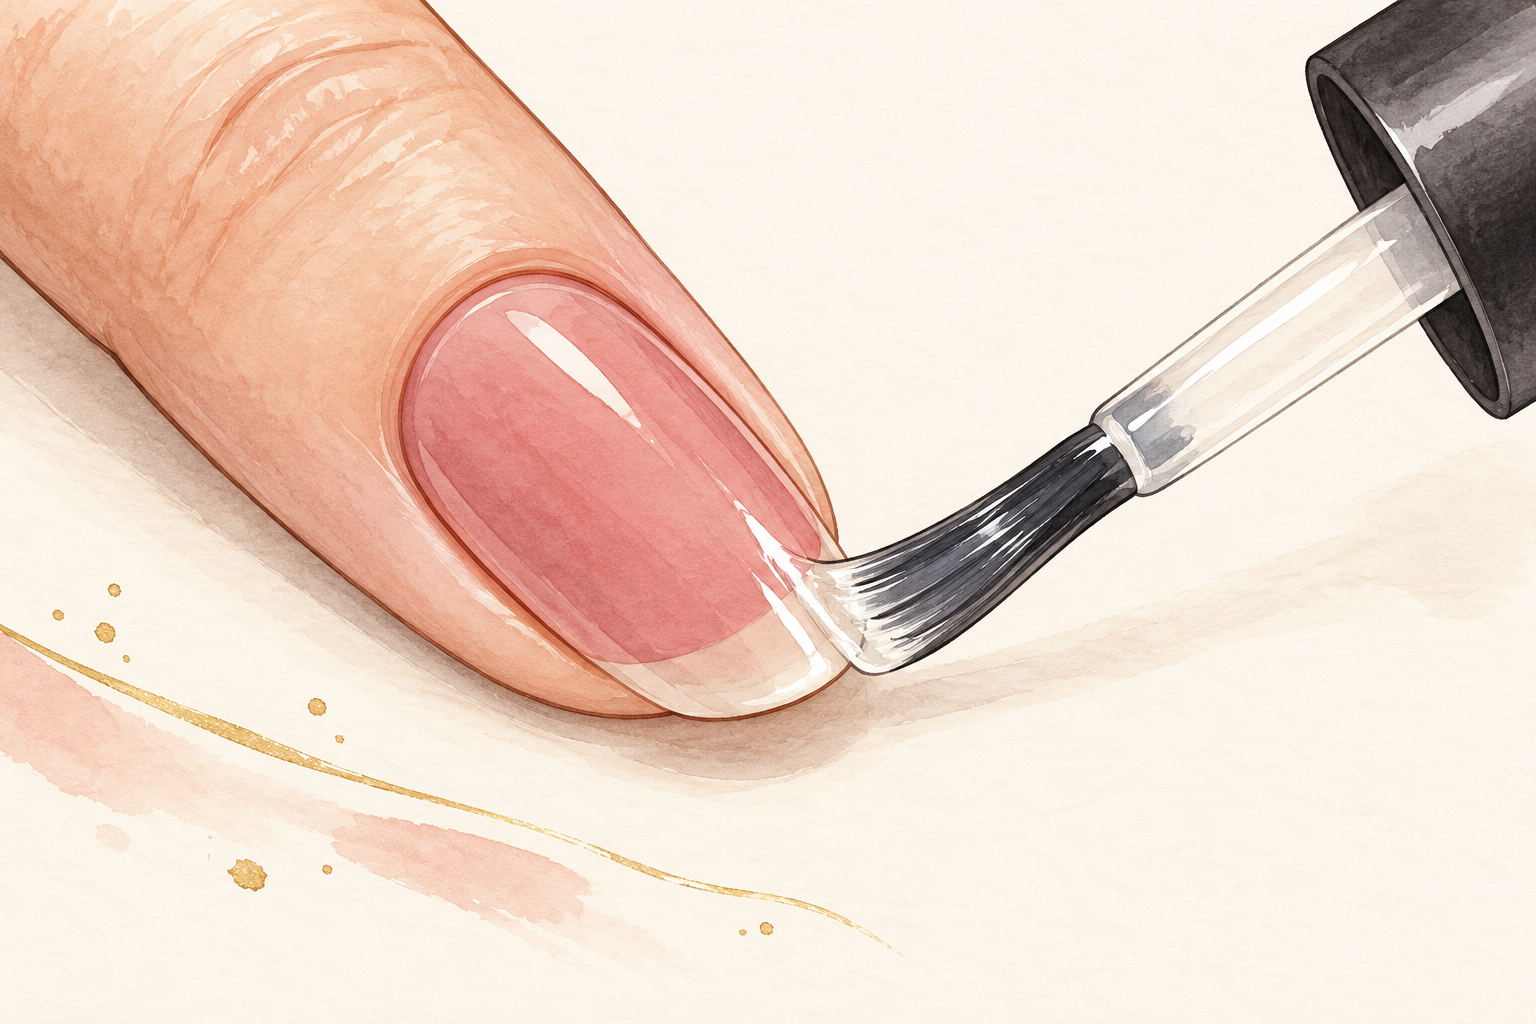
Wait two minutes after the last color coat, then sweep top coat over the whole nail and along the tip. Float the brush instead of pressing, so you do not drag the color. Top coat adds shine and protects the polish for a few days. Never use a thick layer to hide a mistake, because it stays soft for hours. On day three, add one more thin layer to extend the wear. That small touch up is worth the thirty seconds. It also refreshes the shine on the tips, where color wears off first.
10. Clean the edges, then stay still
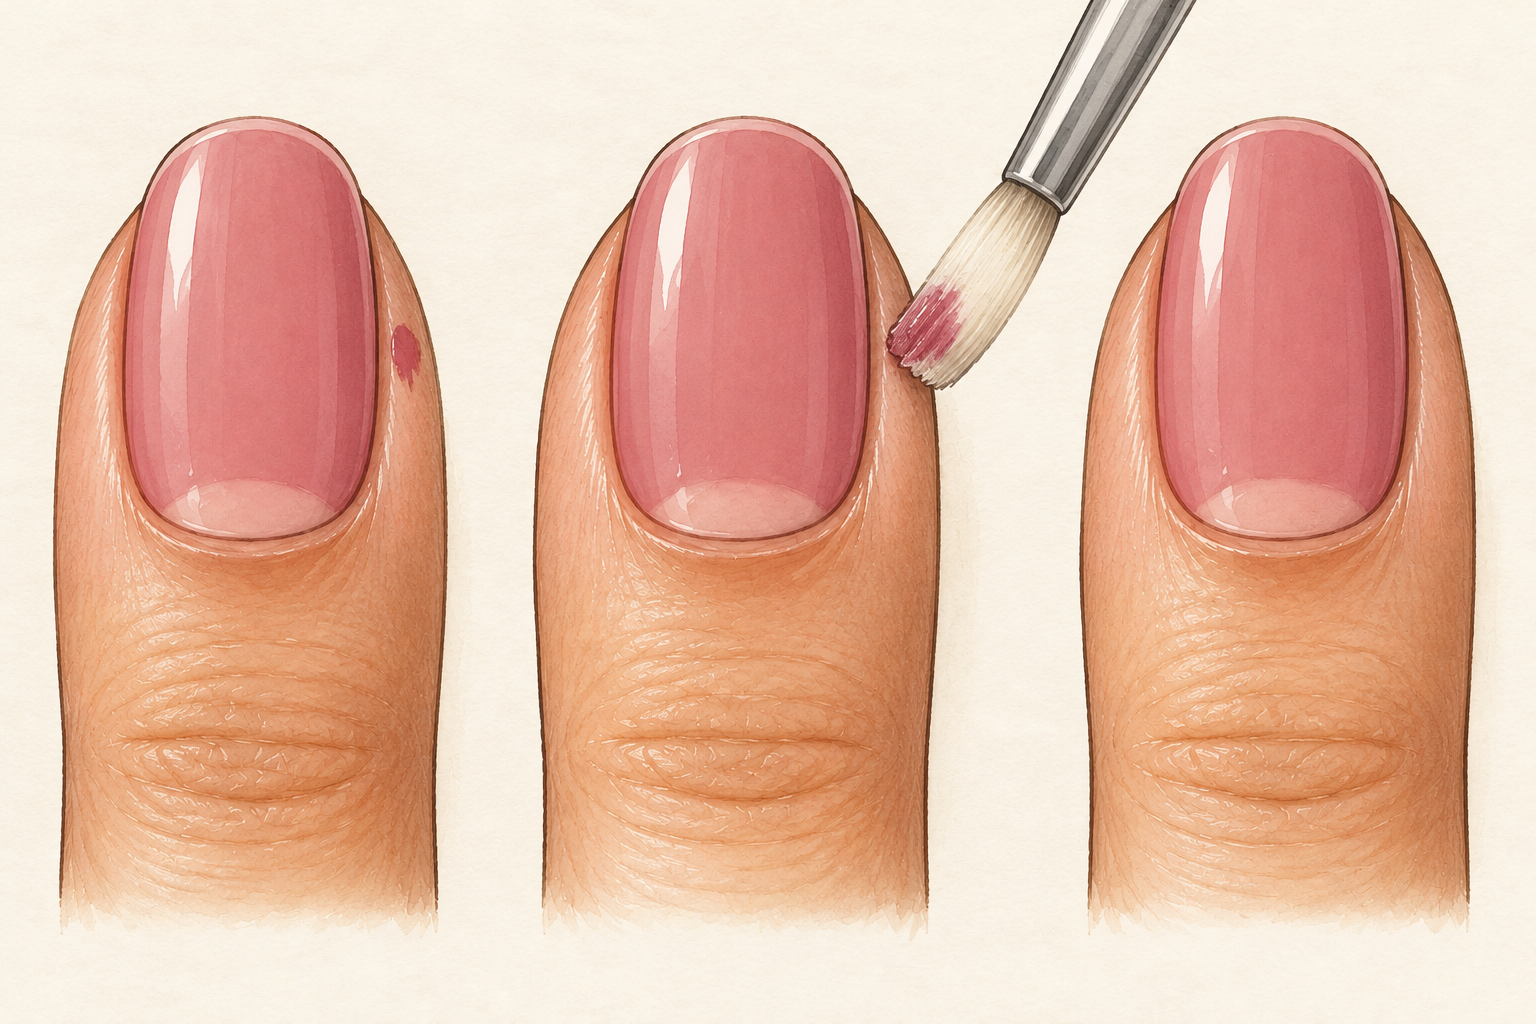
Dip a small flat brush in remover and trace any polish that touched your skin. Then keep your hands away from everything for at least half an hour, even if the top feels dry. Polish can feel dry while it is still soft underneath. Put on a show and rest your hands flat. Keep the room cool, since a warm room slows the drying. If you smudge one nail, wait until it is hard, then repaint only that nail instead of dragging a brush through wet color. Do not reach for your phone, your keys or your bag for the first stretch. A smudged nail now means a repaint in the morning.
11. Time each stage so you do not rush
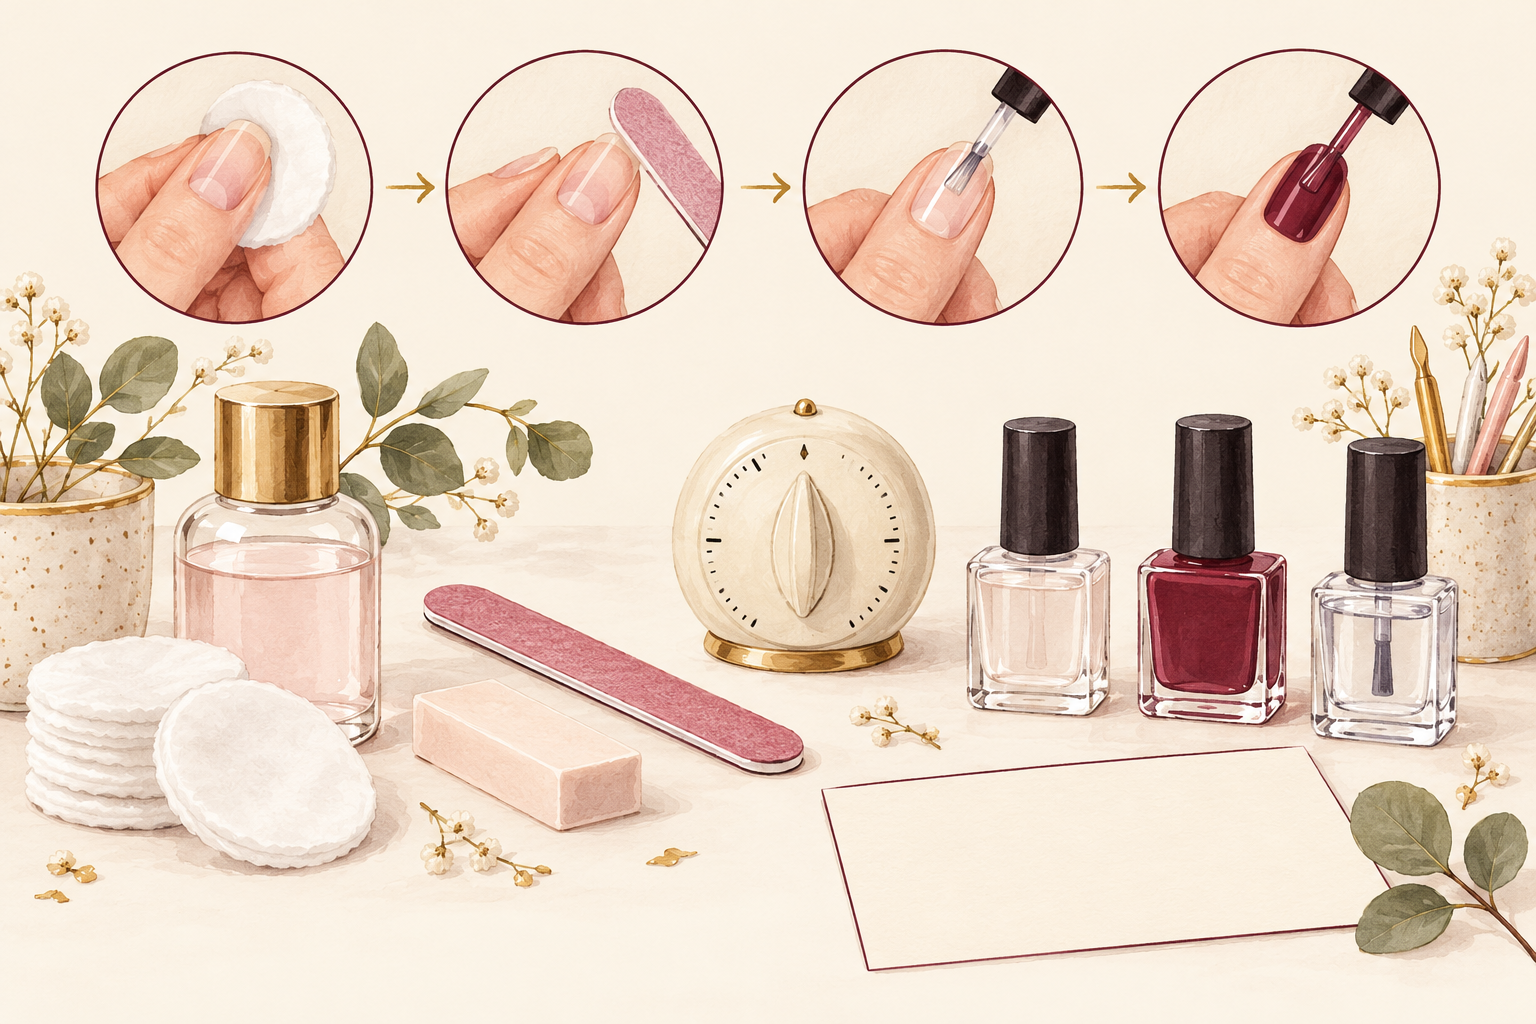
Plan about ten minutes for setup and removal, fifteen for shaping and prep, twenty for base and color, and five for top coat. Drying takes thirty minutes or more on top. The first time, the session runs a little over an hour and a half, and it gets shorter once your hands know the order. A quick polish job done in fifteen minutes will not last, but a calm one will. Set a timer for each drying gap, so you are not guessing. Write the times on a sticky note so the plan sits right in front of you. Plan the minutes first and the polish second, which helps anyone new to manicure at home.
12. Fix the usual mistakes the next day
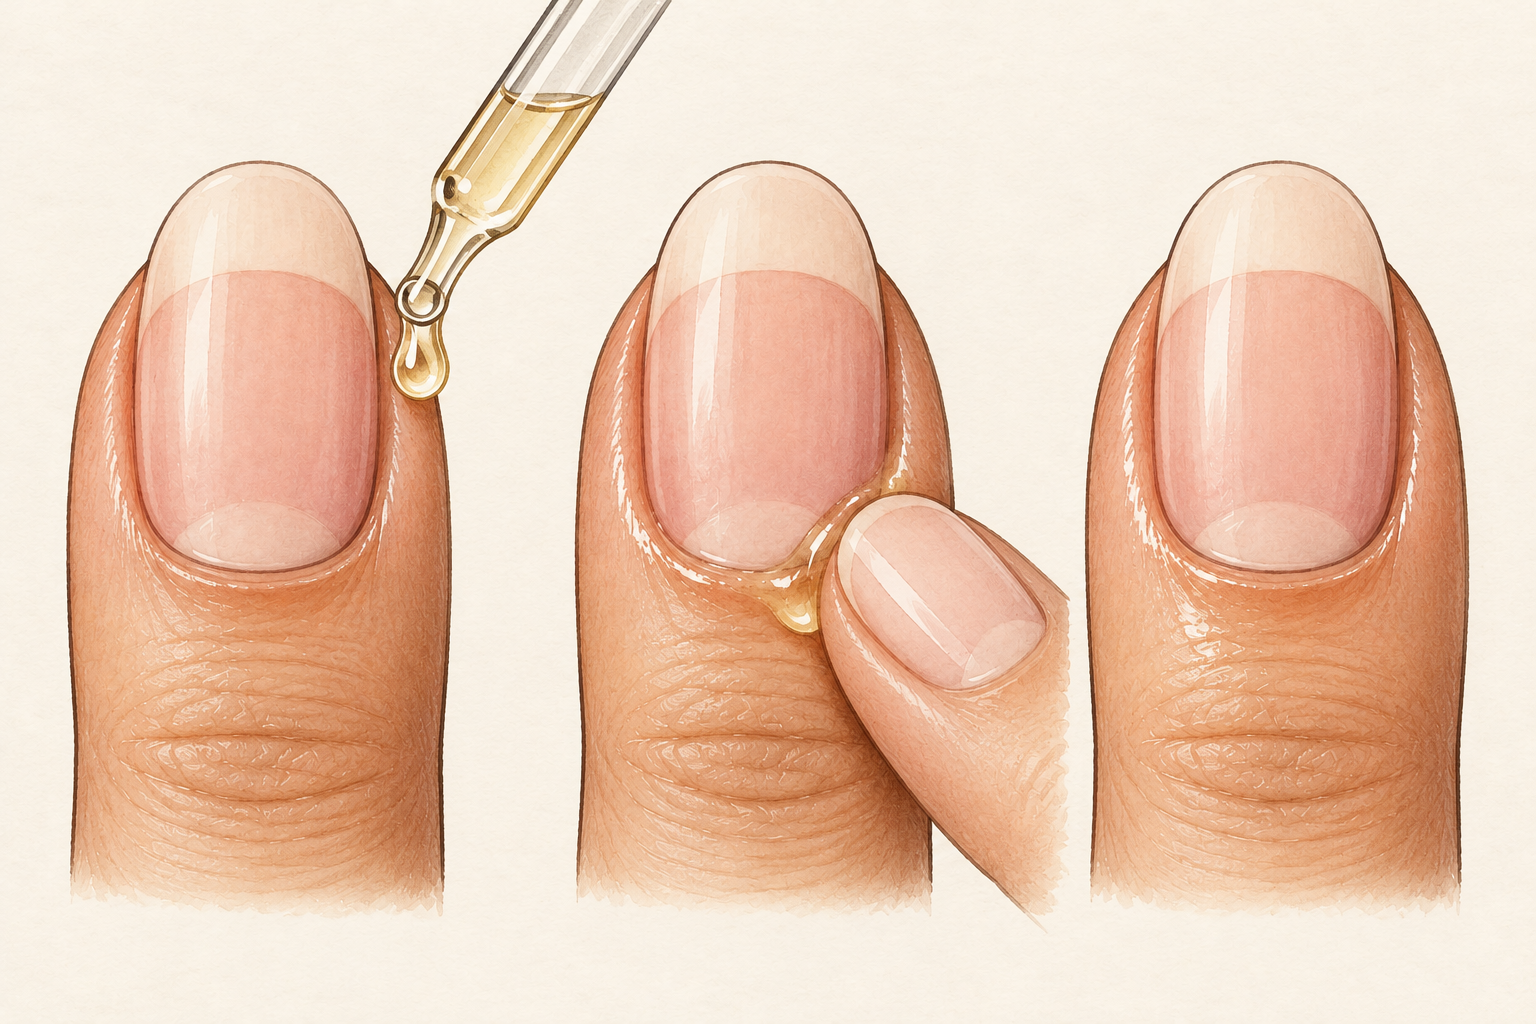
Painting over oily or damp nails, shaking the bottle too hard, thick coats and skipping the tip are the common slips. Rub in cuticle oil the next day and every day after, because it keeps the skin soft and stops the polish lifting at the edges. If a nail lifts or looks yellow after a week or two of wear, give your nails a few days bare. Learning how to do nails at home gets easier each time, so be patient with the first set. Take a photo of the result, and you will see exactly what to tweak next week.
Complete the Routine: How to Do Nails at Home Every Week
Tonight, set out your tools, file your nails to one shape and wipe each one clean before the base coat. The first full set is the one that teaches you timing, so head down to the guides below for the next nail skill.