You paint your nails on Sunday night, and by Tuesday there is a chip on your thumb and a smudge on your ring finger. It is usually the prep and the first day that go wrong, not the polish. These 12 steps give you a manicure at home that looks tidy and lasts, so start at number one tonight.
1. Clear a table and find good light
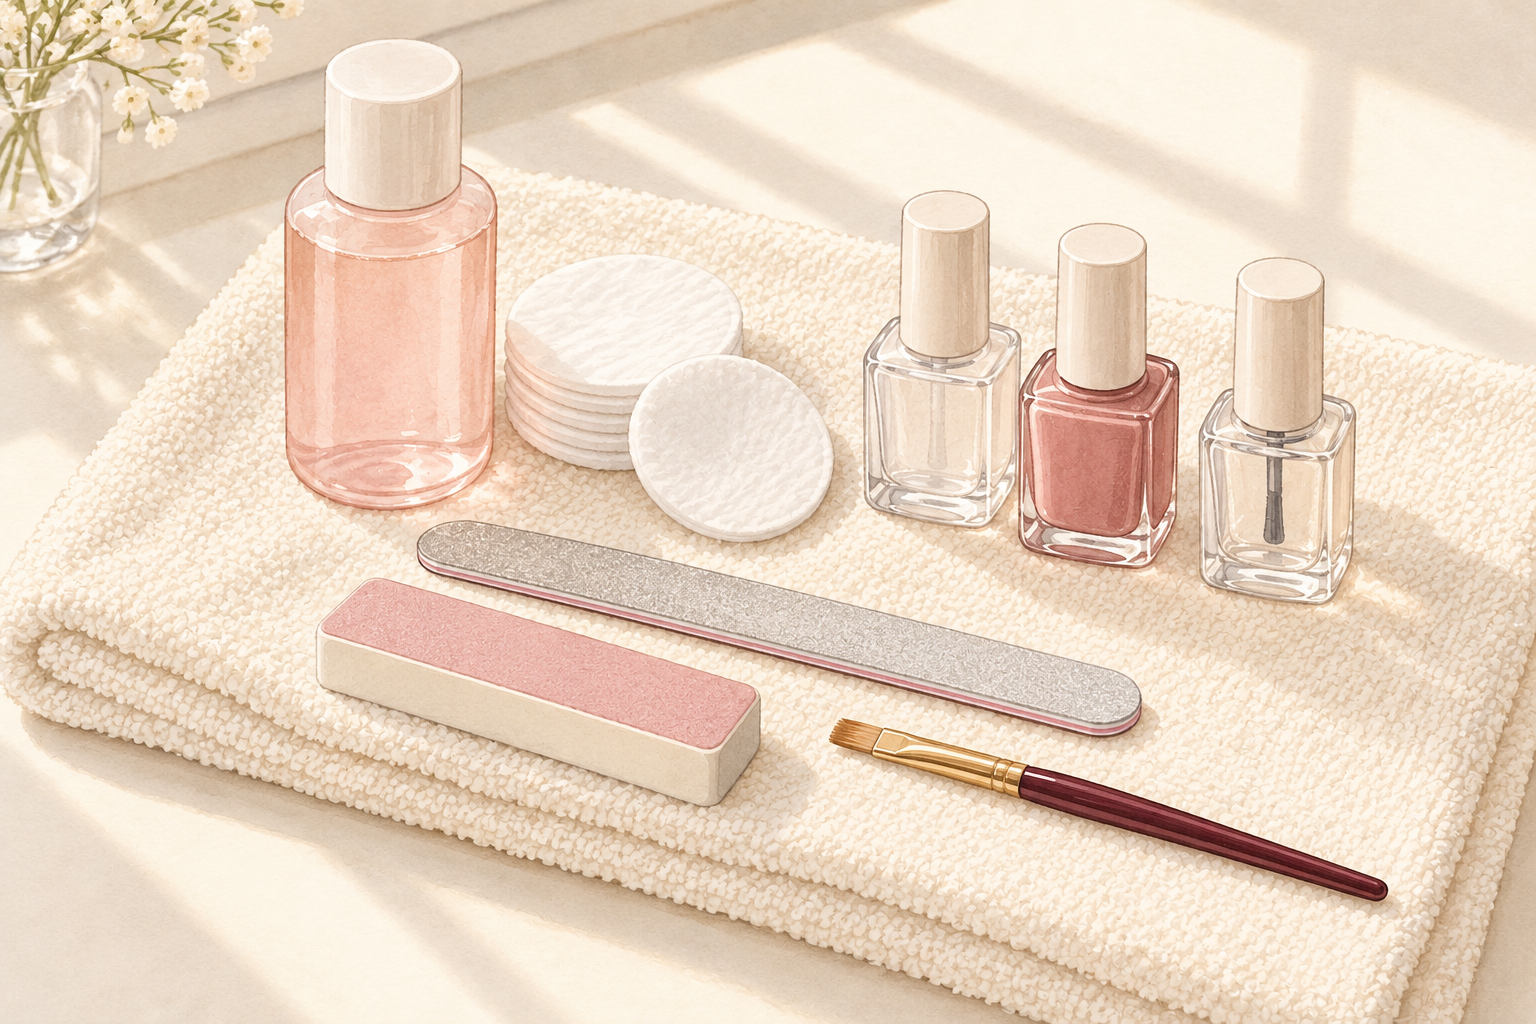
Sit near a window with a towel down and everything within reach before you open a single bottle. You need remover, cotton pads, a file, a buffer, base coat, color, top coat and a small brush. Good light shows streaks and missed edges while you can still fix them. Put your phone on silent, because a call in the middle of a coat ruins a whole hand. Open the window if you use remover, since the fumes are strong in a small room. Five minutes of setup saves you from smudging while you hunt for the file. Lay the towel flat, because a wrinkled one tips your bottles. Good light and a flat towel are a fun start to any DIY manicure.
2. Take off old polish with a gentle remover
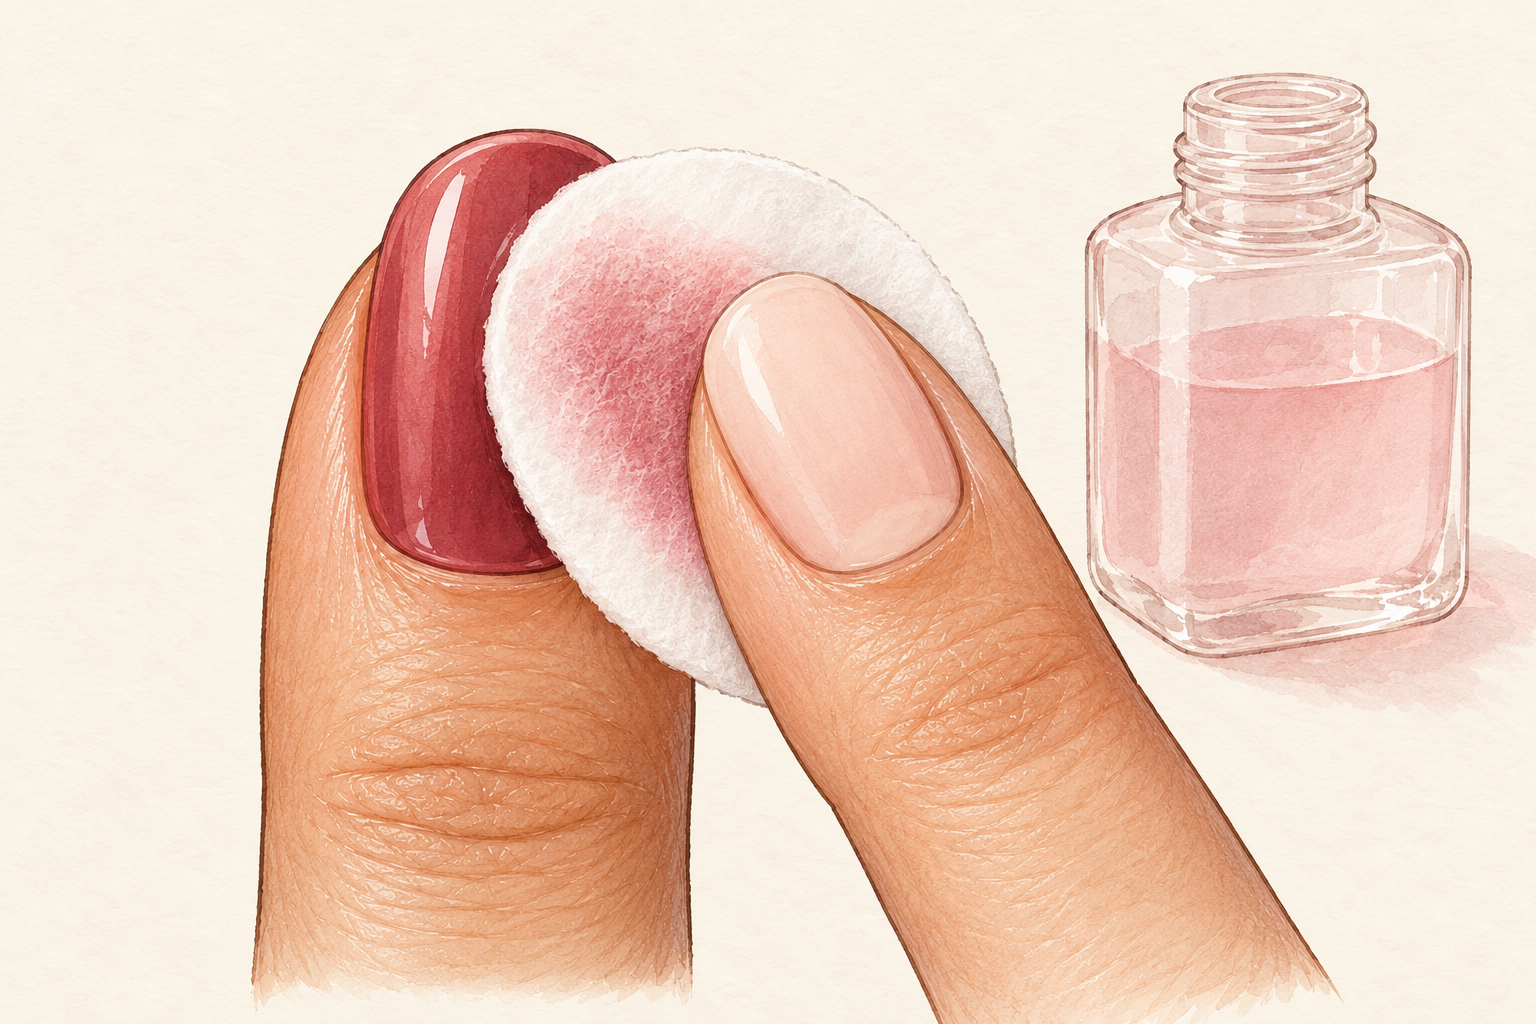
Press a soaked cotton pad on each nail for a few seconds, then wipe from cuticle to tip in one pass. Choose a remover without acetone if your nails are dry, because it is kinder to them. Work one nail at a time so the polish does not dry and smear across the skin. Color stuck on the skin can wait for the cleanup later. Never pick or scrape at stubborn bits, since that peels thin layers of nail away with it. Wash your hands afterwards to rinse off the residue, then pat them dry before the next step. Dry hands give the next steps a clean start.
3. Trim and file to one shape
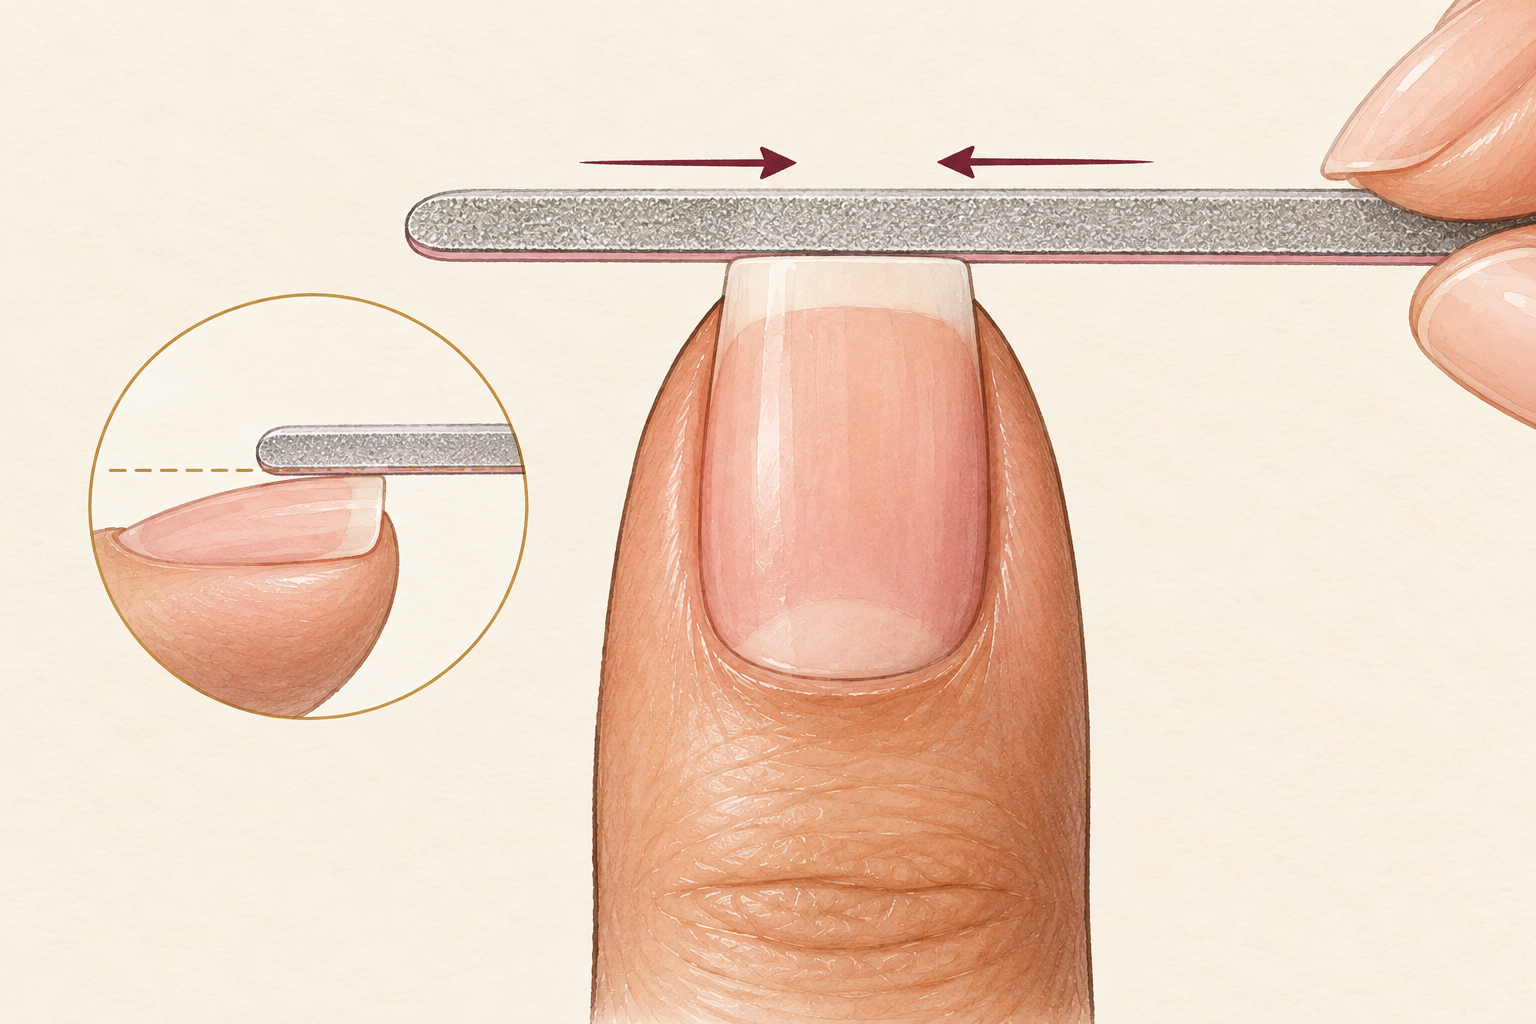
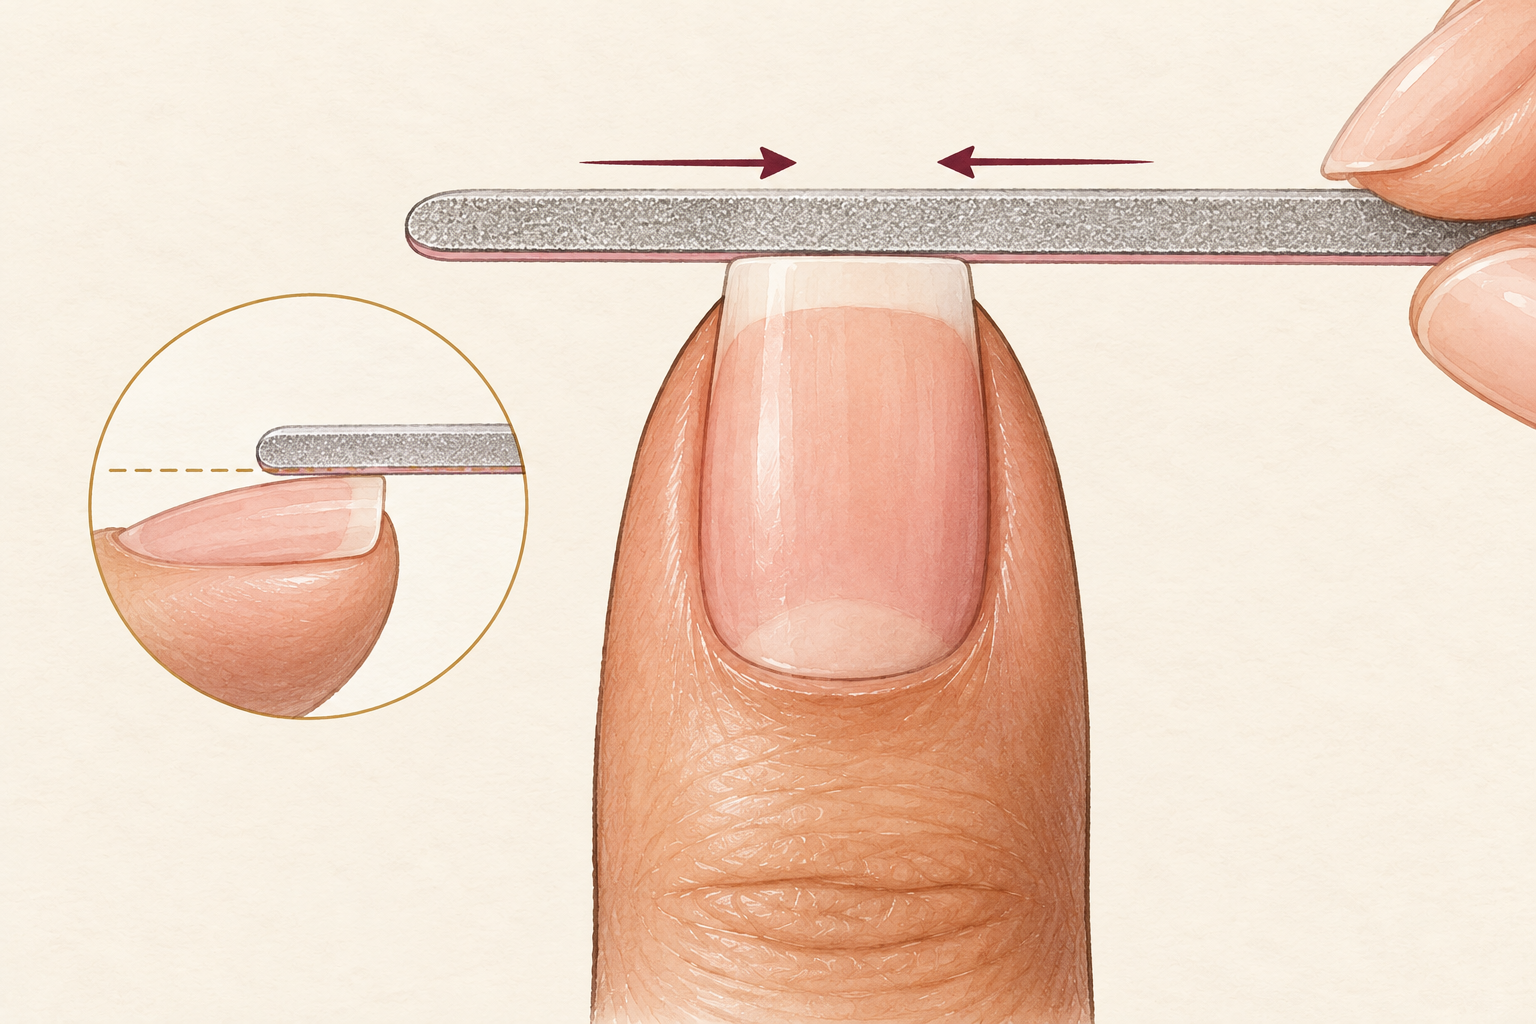
Trim after a shower or a warm soak, when nails are softer, cutting almost straight across. Then ease the corners with a fine file, moving in one direction instead of sawing back and forth. Sawing tears the layers and leaves a rough edge that catches your sleeve. Match the length across all ten nails, because even nails make a plain manicure at home look finished. Take less off than you think you need. You can always file more later, but you cannot put length back, and a little white at the tip is perfectly fine. If one nail is much shorter, file the others down a hair to match.
4. Soak, then leave the cuticles alone
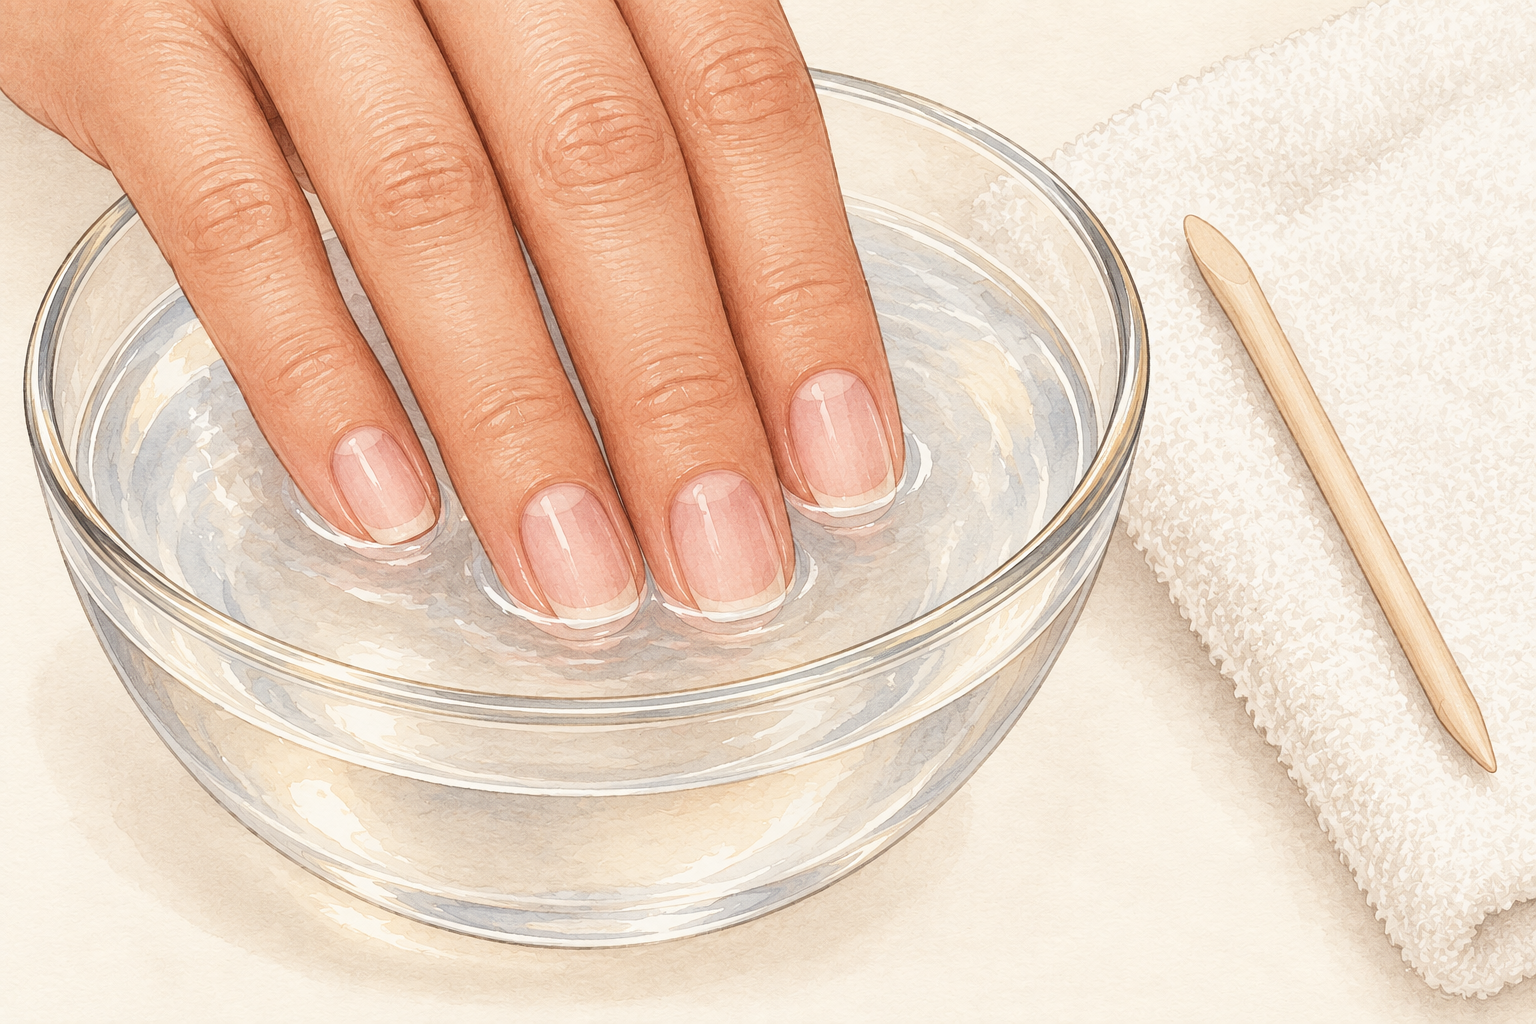
Rest your fingertips in warm water for about five minutes, then pat them dry. The skin around the nail turns soft and easier to tidy. Never cut your cuticles, because they seal the nail to the skin, and trimming them leaves tiny sore gaps. If you spot a hangnail, clip it off cleanly instead of pulling it. You can press the loose skin back very lightly with a towel, and you should stop the second it hurts. A drop of oil on each nail while you wait keeps the skin from tightening as it dries.
5. Buff once, very lightly
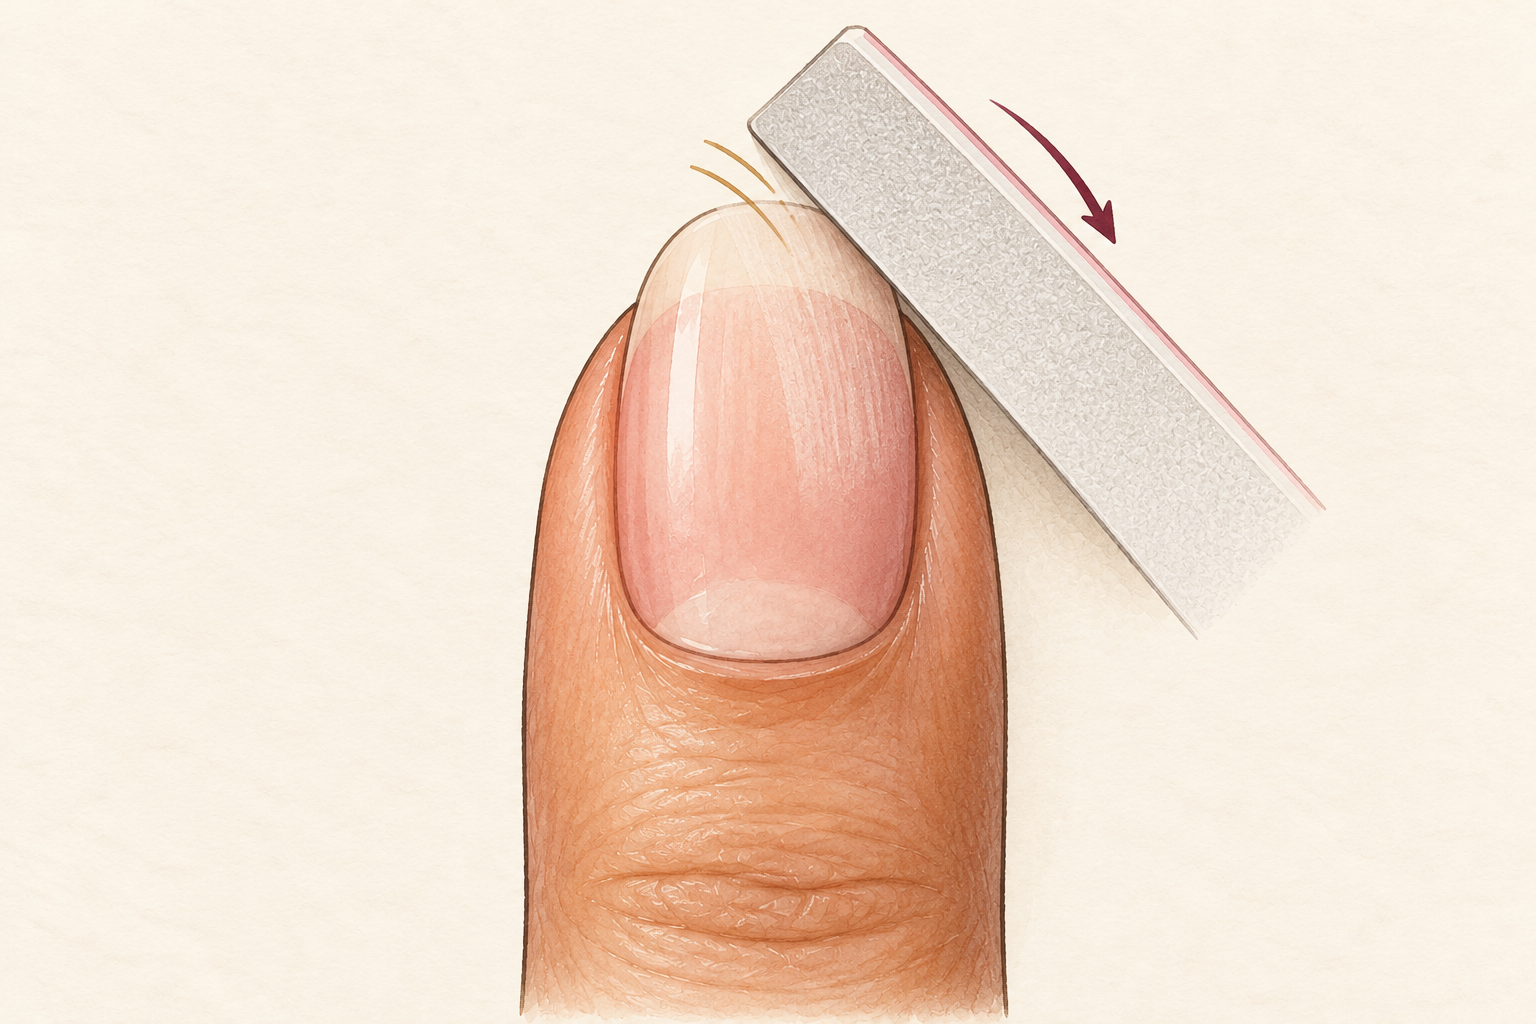
Use a fine buffer for two or three soft passes per nail, just enough to dull the shine. Polish grips a slightly matte surface better than a glossy one. Too much buffing thins the nail, so skip this step if your nails are soft or peeling. Brush the dust away with a clean, dry brush, and do not use water, which would turn it into paste. Do this every few manicures, not every time. If the nail starts to feel warm under the buffer, you are pressing too hard, so lift off and let it cool.
6. Wipe away the oils before you paint
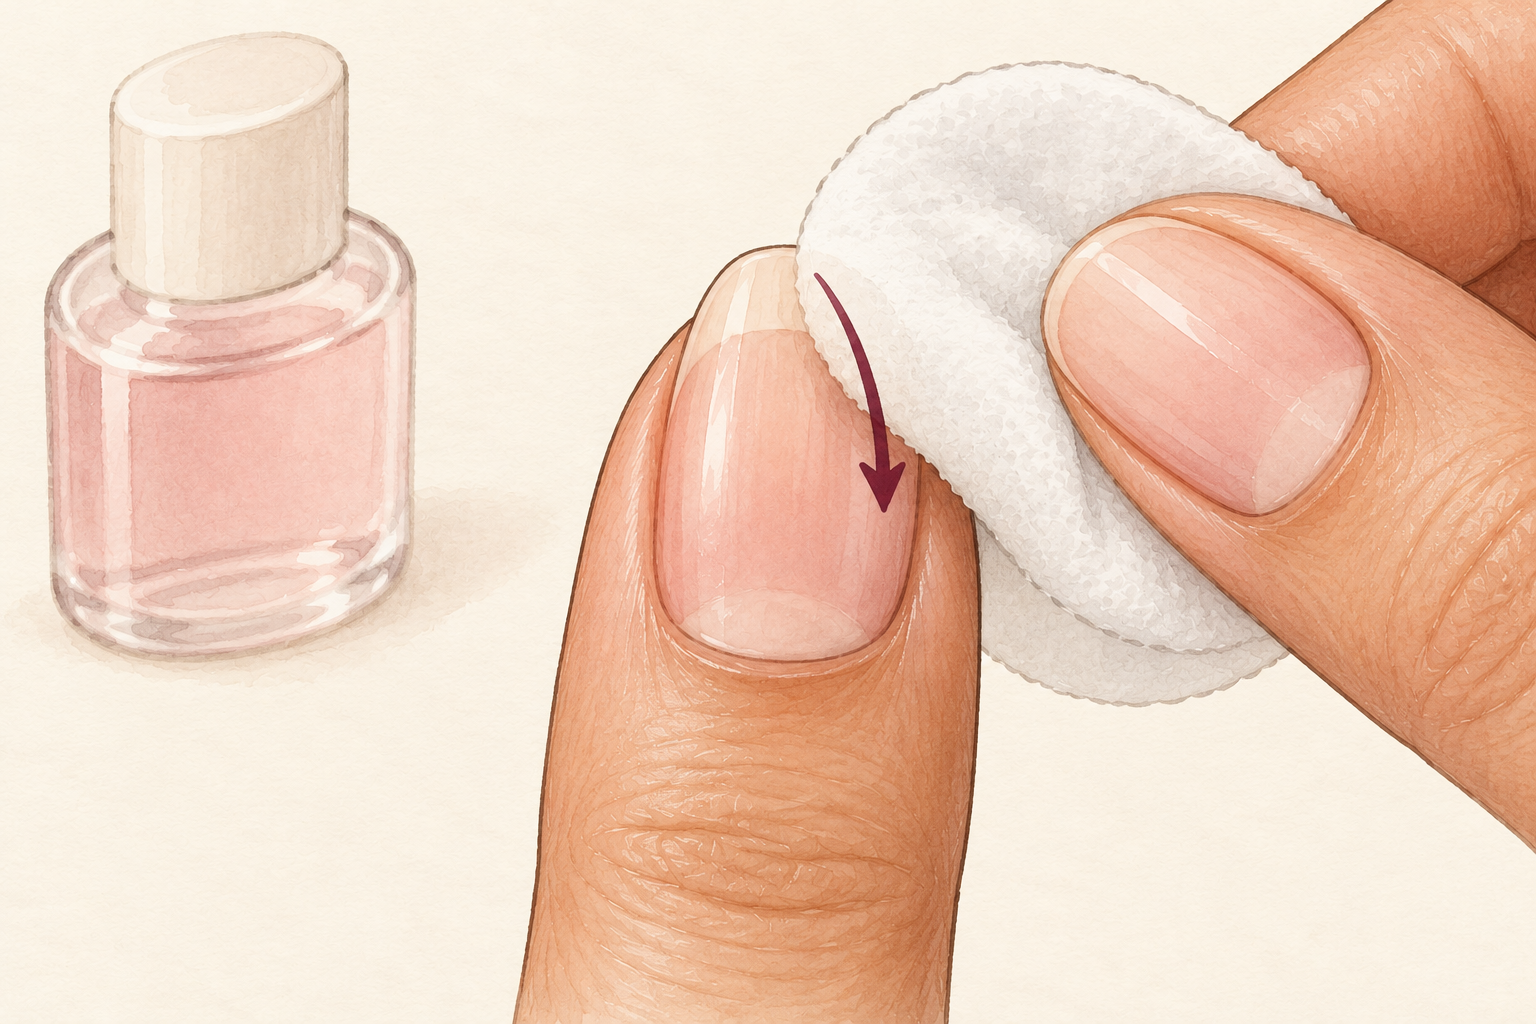
Swipe each nail with a pad of remover so no oil or cream is left behind. Natural oil and hand cream leave a thin film, and polish slides off a film like water off a leaf. After that wipe, try not to touch the nail surface with your fingertips again. If you plan to use cuticle oil, save it for after the top coat. A beautiful red once lifted off two thumbs by day two for exactly this reason. Keep the window open, since remover is strong smelling and your nose will thank you. Let the nails sit for a minute until the surface looks matte and dull. A fan or a cracked door helps too.
7. Brush on a thin base coat and cap the tip
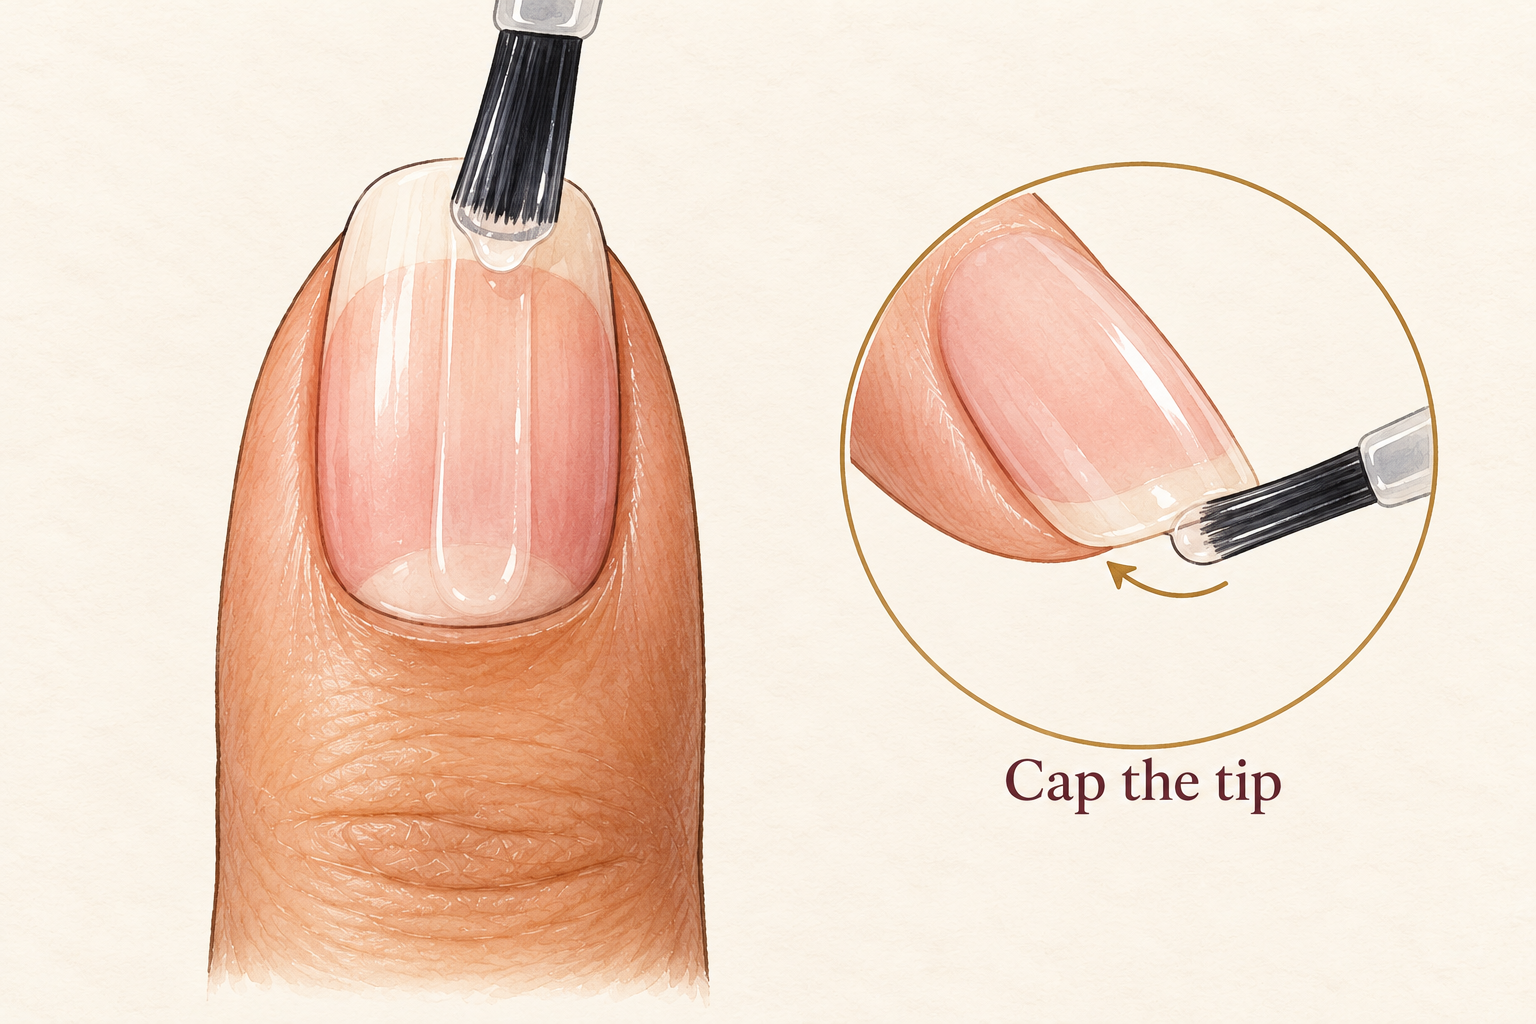
Wipe one side of the brush on the bottle neck, so you carry a small bead, and paint one stroke down the middle. Add one stroke on each side and leave a hairline of space from the skin. Then run the brush along the very tip of the nail. That is called capping the edge, and it stops chips where they start. Wait about two minutes before the color goes on. A thick base coat stays soft underneath and drags the color with it, so thin is always better here. It should look almost see through, like a veil.
8. Build color in two thin coats, then top coat
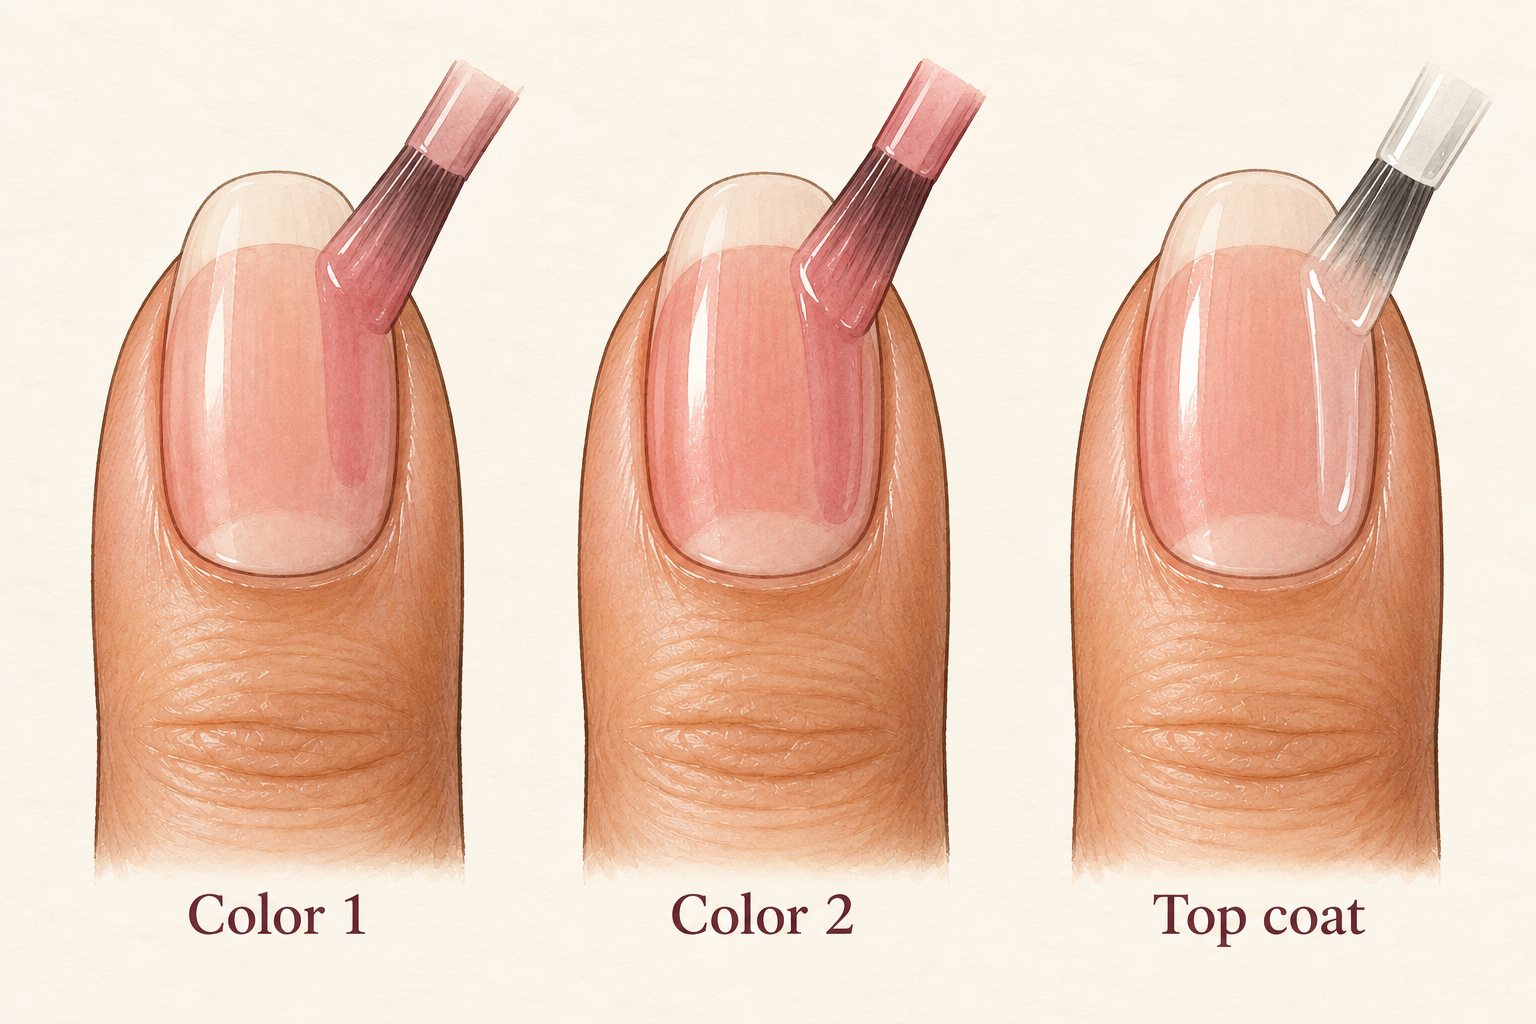
Paint the first coat sheer, wait two or three minutes, and add a second. Roll the bottle between your palms instead of shaking it, since shaking adds bubbles. Cap the tip each time you paint. Finish with a thin layer of top coat about two minutes after the last color, sweeping it over the tip again. Resist a third coat of color, which makes the surface thick and slow to harden. If you smudge one nail, leave it, finish the others, and fix it once everything has set. A fresh dab of top coat melts small dents. Clean coats come from patience, so keep how to paint nails perfectly nearby for reference.
9. Tidy the edges with a small brush
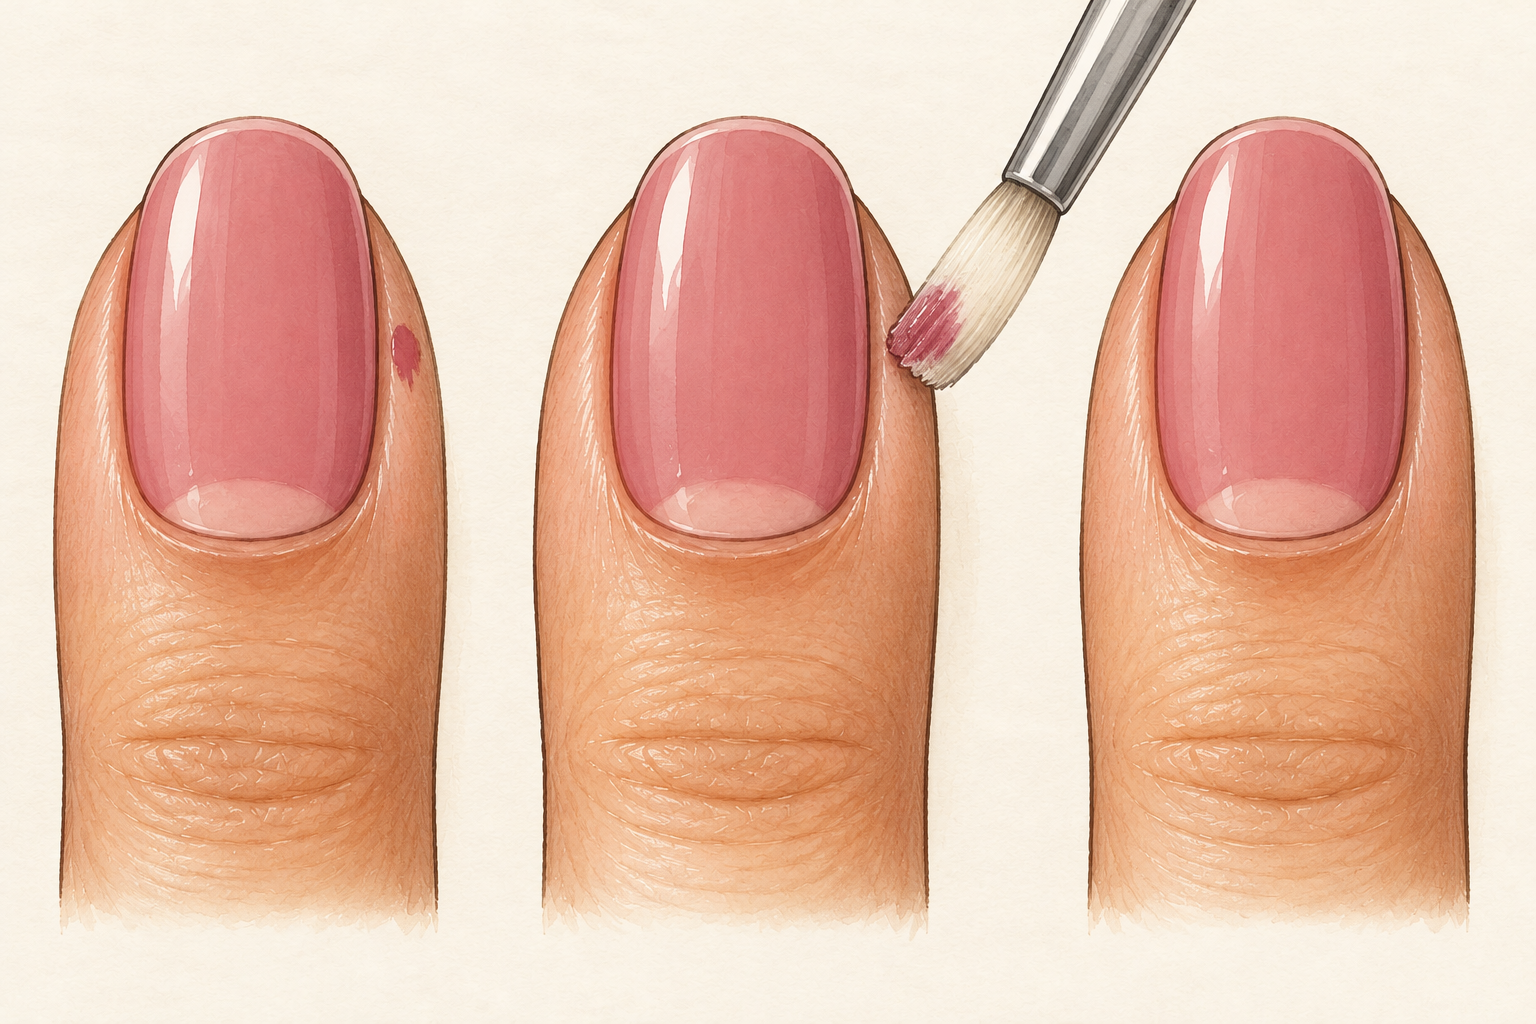
When the top coat feels set, dip a small flat brush in remover and trace the skin line. Keep the brush barely damp, because too much remover creeps under the polish. Wipe it on a pad after every nail so you do not smear color back on. Go slowly, one nail at a time, with your elbow resting on the table. Hold your breath for each stroke, like threading a needle. A clean edge is what makes a plain manicure at home look finished and sharp. Leave the cuticle oil for an hour, then rub one small drop into the skin only.
10. Treat the first 24 hours as a setting time
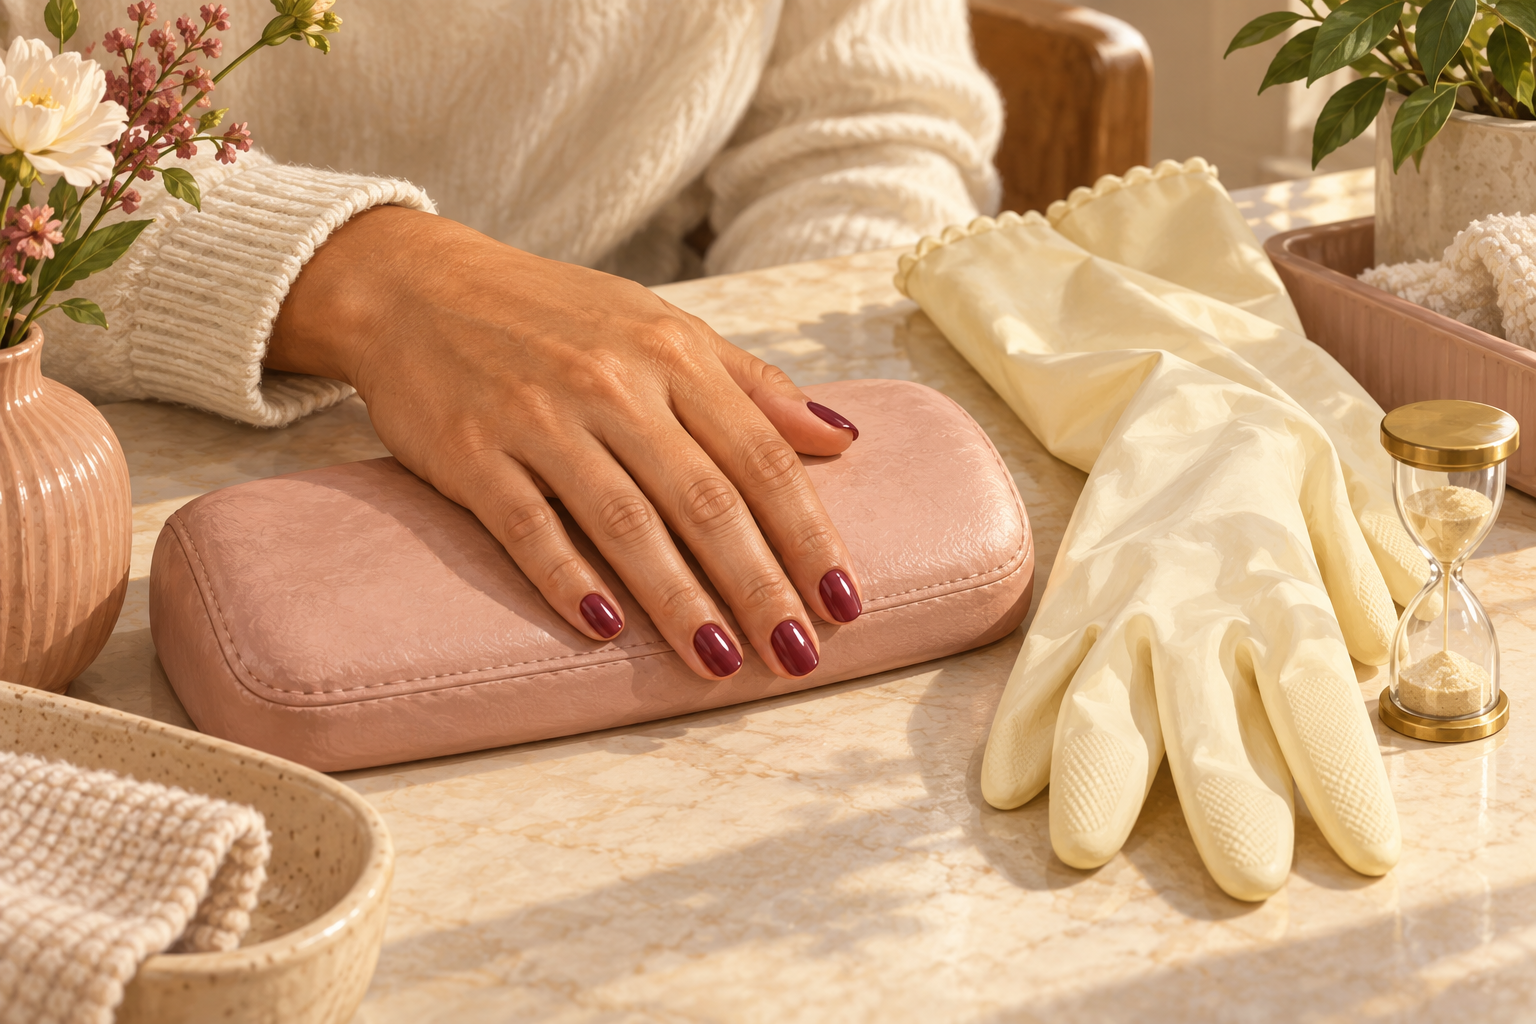
Pretend your nails are still wet for a full day, because polish feels dry in ten minutes but stays soft underneath for hours. Skip hot dishwater, long baths and opening cans with your fingertips. Wear gloves for chores, and sleep with your hands away from the sheets. Plan the manicure for the evening, so the sleepy hours do the drying. On day three, brush one more thin layer of top coat over the tips to refresh the shine. A small chip or two by day seven is normal, so do not feel you failed. Even a careful set gets a nick or two.
11. Swap the habits that cause early chips
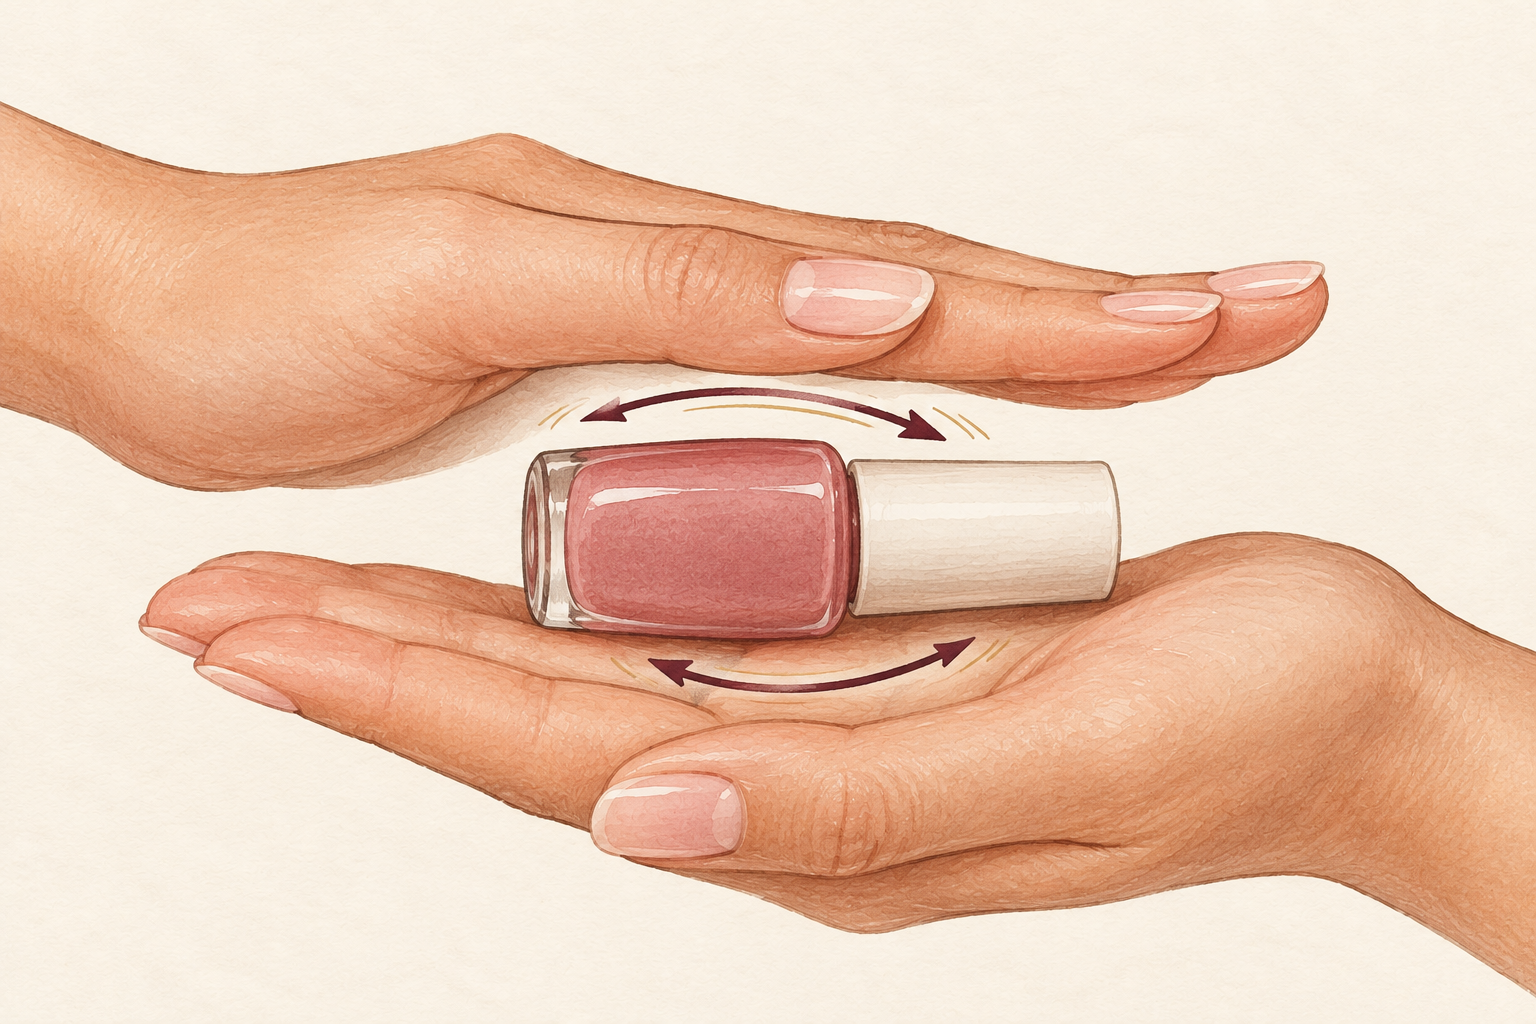
Swap thick coats for thin ones, shaking the bottle for rolling it, and painting over cream for a clean wipe. Leaving the tip unpainted is another classic cause, and skipping the top coat is a third. If you keep catching your nails on things, choose a shorter length for the next set, because a long edge takes more knocks. Do not use your nails as tools for peeling stickers or opening cans. Nobody does this perfectly every time, so pick two of these swaps and start there. Even two swaps will add a day or two to your set.
12. Remove it at one week and rest your nails
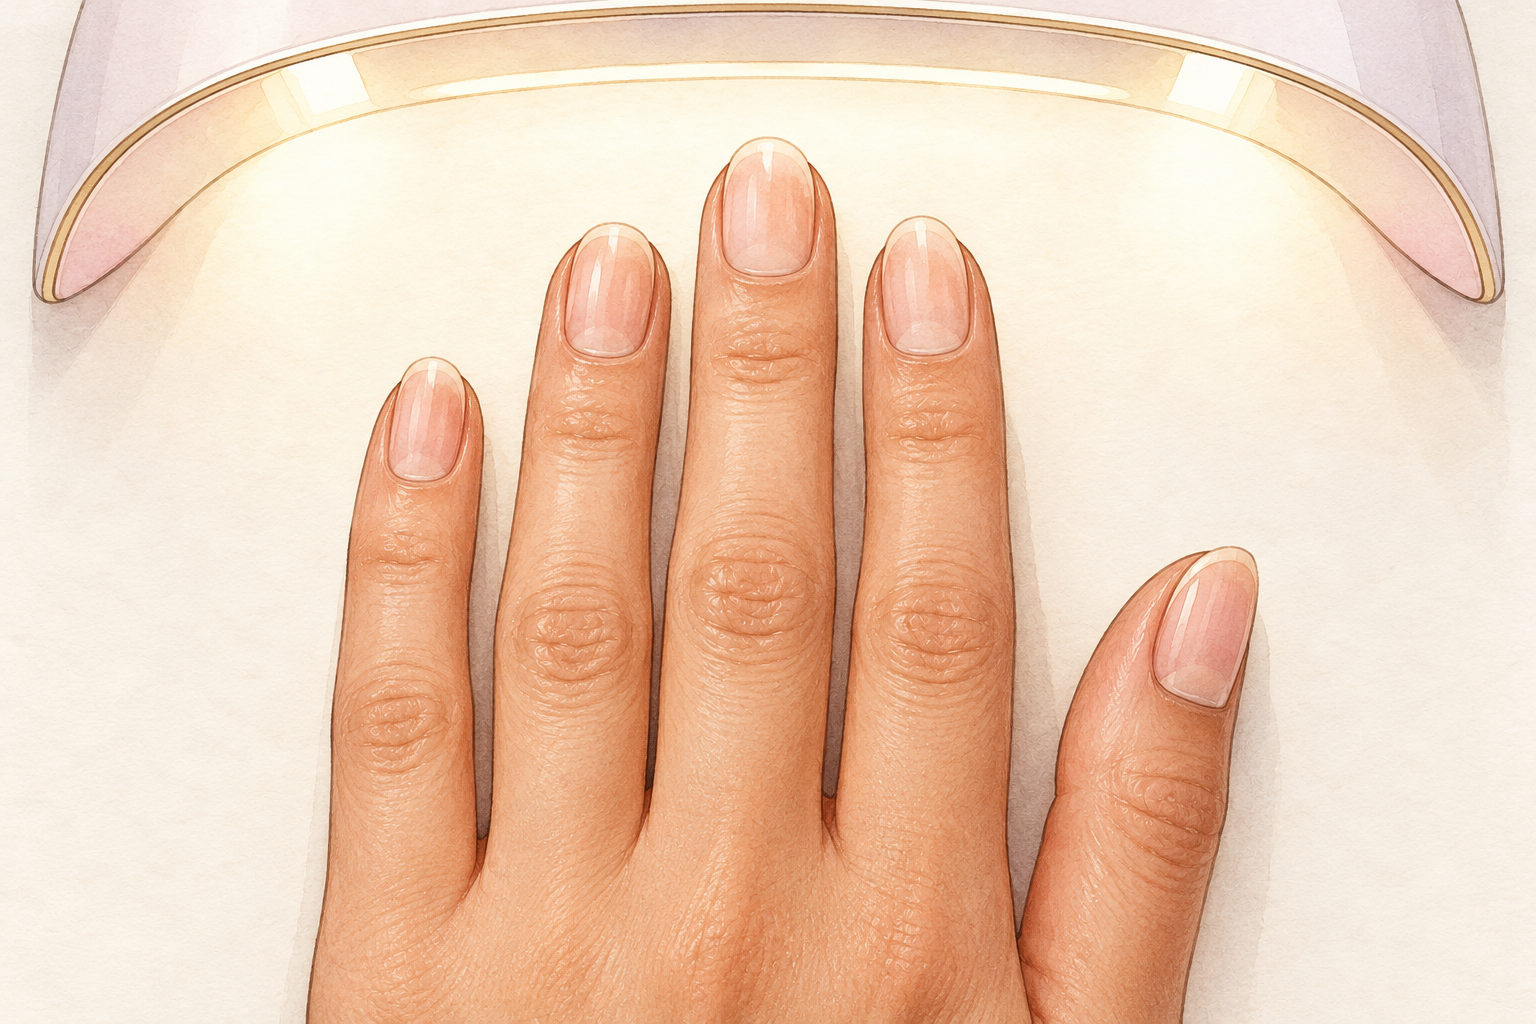
When the polish chips badly, wipe it off with a gentle remover instead of peeling it. Peeling lifts thin layers of nail with it, and that is where the weak patches start. Wait until the polish is ready to come off by itself, and it will slide away with one wipe. Leave your nails bare for a day or two between manicures, with a drop of oil and hand cream morning and night. If your nails look yellow or feel soft, rest them for a few weeks. If the skin beside a nail turns red and sore, skip polish for two weeks and keep it clean, dry and creamed.
Complete the Routine: A Manicure at Home You Can Repeat
Tonight, wipe your nails, brush one thin top coat over the tips, and rub a drop of oil into the skin around them. Practice is what makes a manicure look neat, so the guides below are the next step for building your home nail routine.