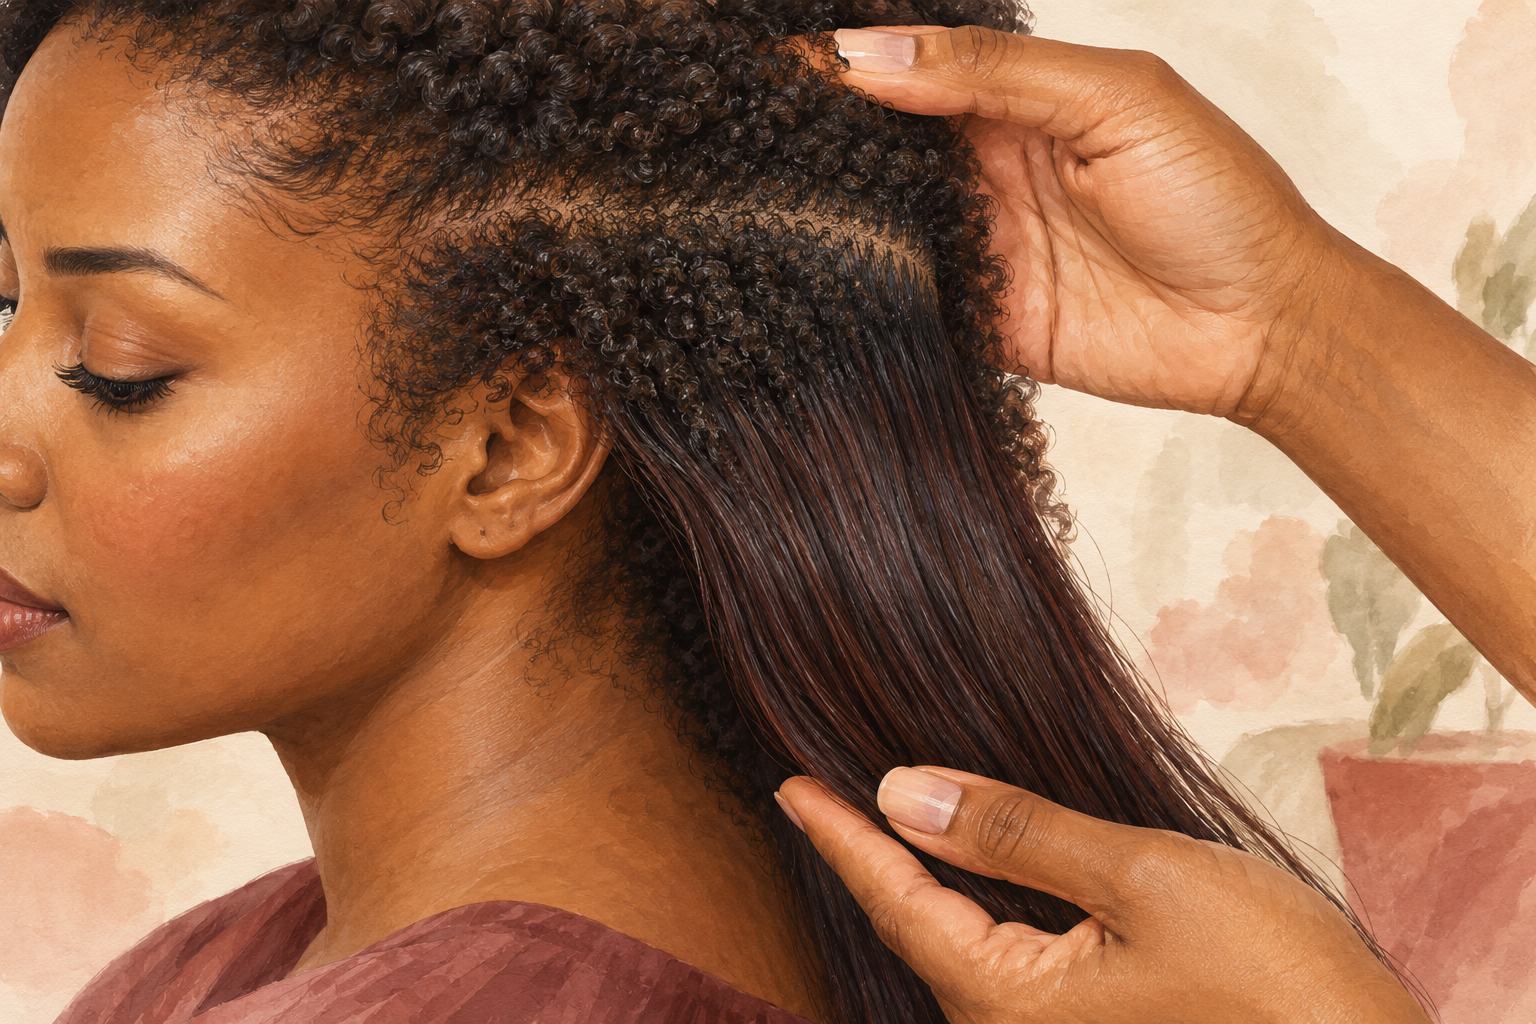
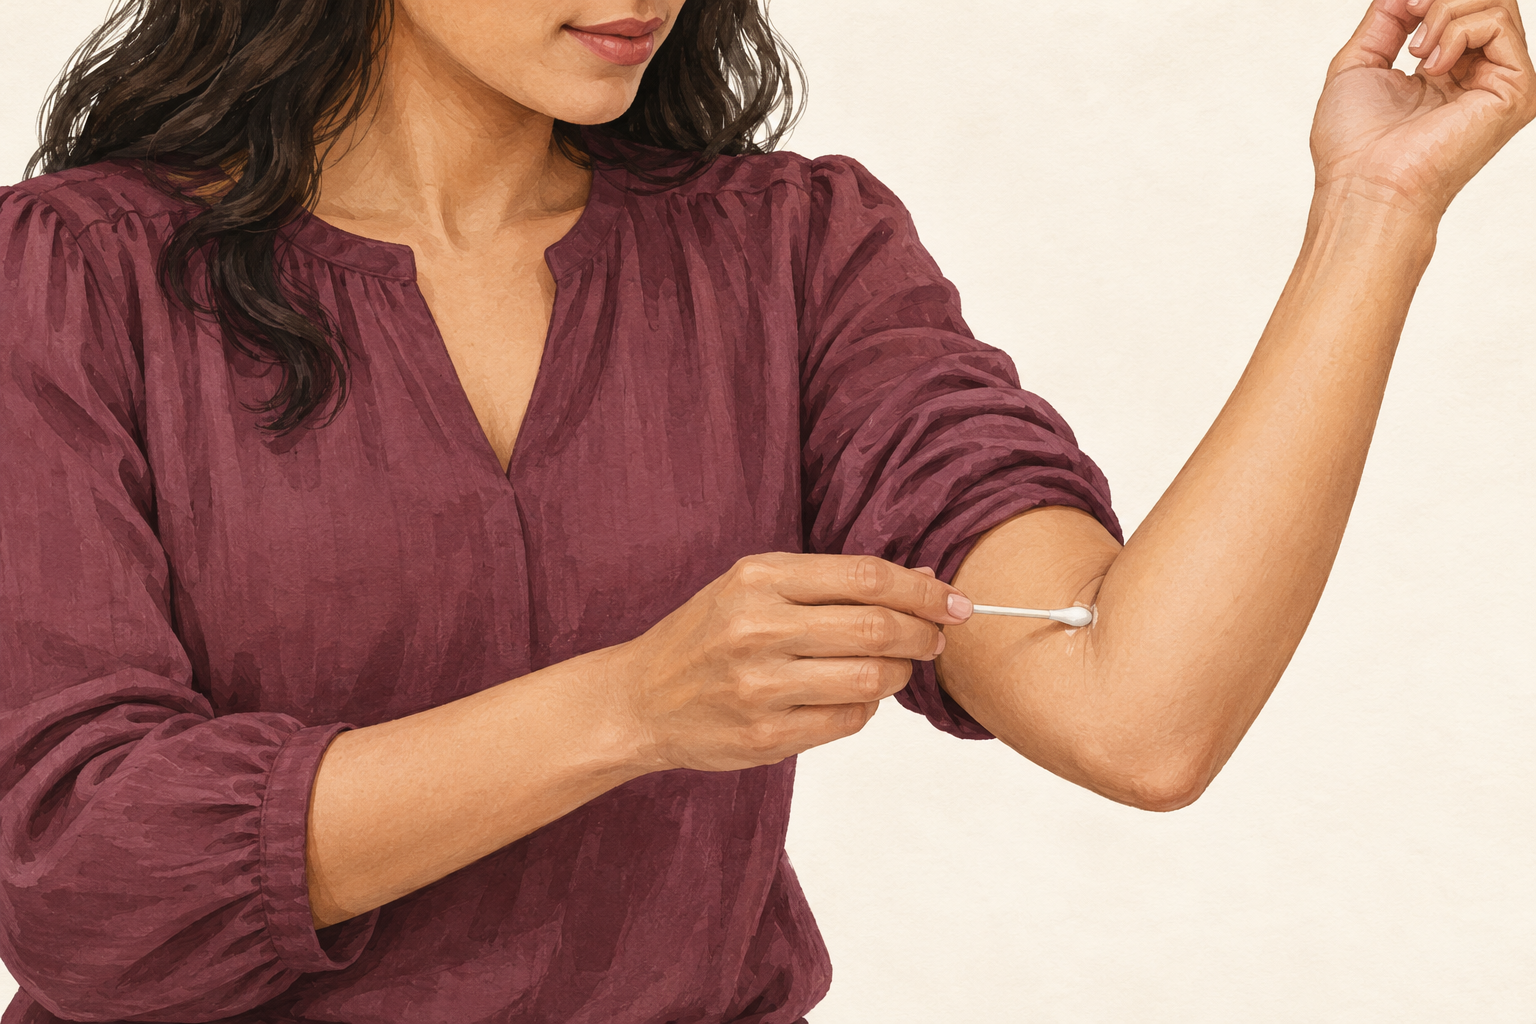
Your ends look see through, your brush is full of snapped bits, and every new jar promises to fix it by Friday. Hair that has already broken cannot be glued back, but it can feel soft, look glossy and stop snapping. These 12 damaged hair repair steps run in the order that works, so start at number one tonight.
1. Spot the damage in good light
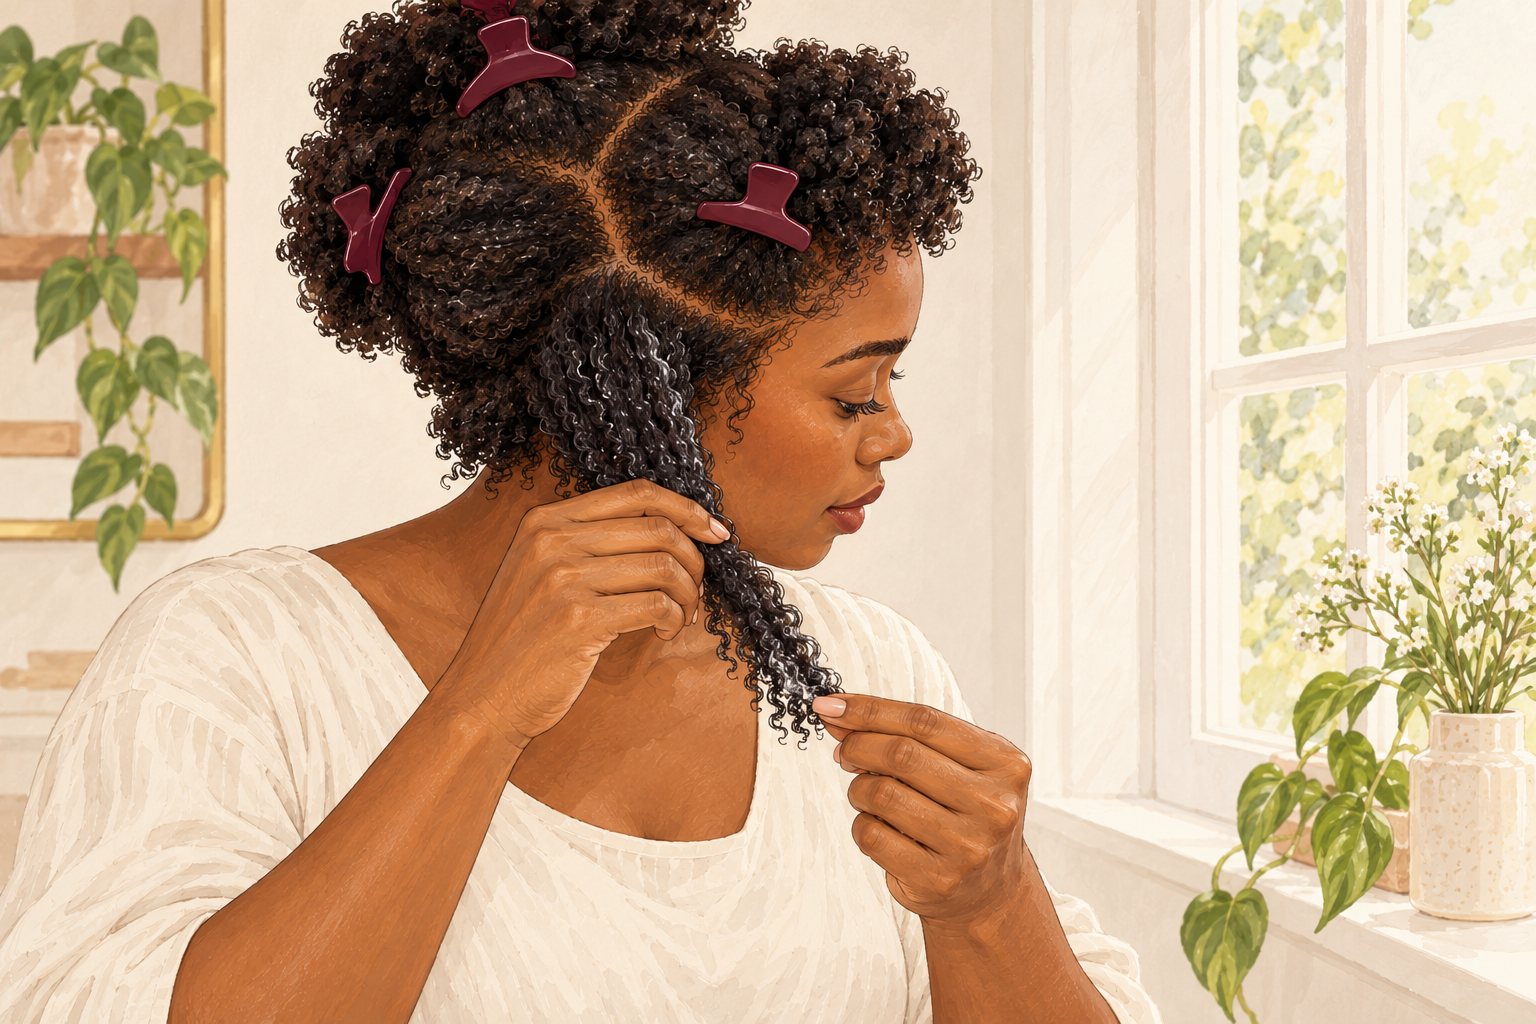
Hold a few ends up to a window and look for splits, white dots, rough patches and ends that look thin. Run a strand between your fingers. Smooth is healthy, bumpy or crunchy is damaged. Notice whether the trouble sits only at the tips or climbs higher up the strand. Check the hair at the front, which gets touched most. Write down what you see, because slow change is easy to miss. This takes three minutes and shows you what you are actually working with, instead of what the labels say. Take a close photo of your ends so you can compare in two months.
2. Name what did the damage
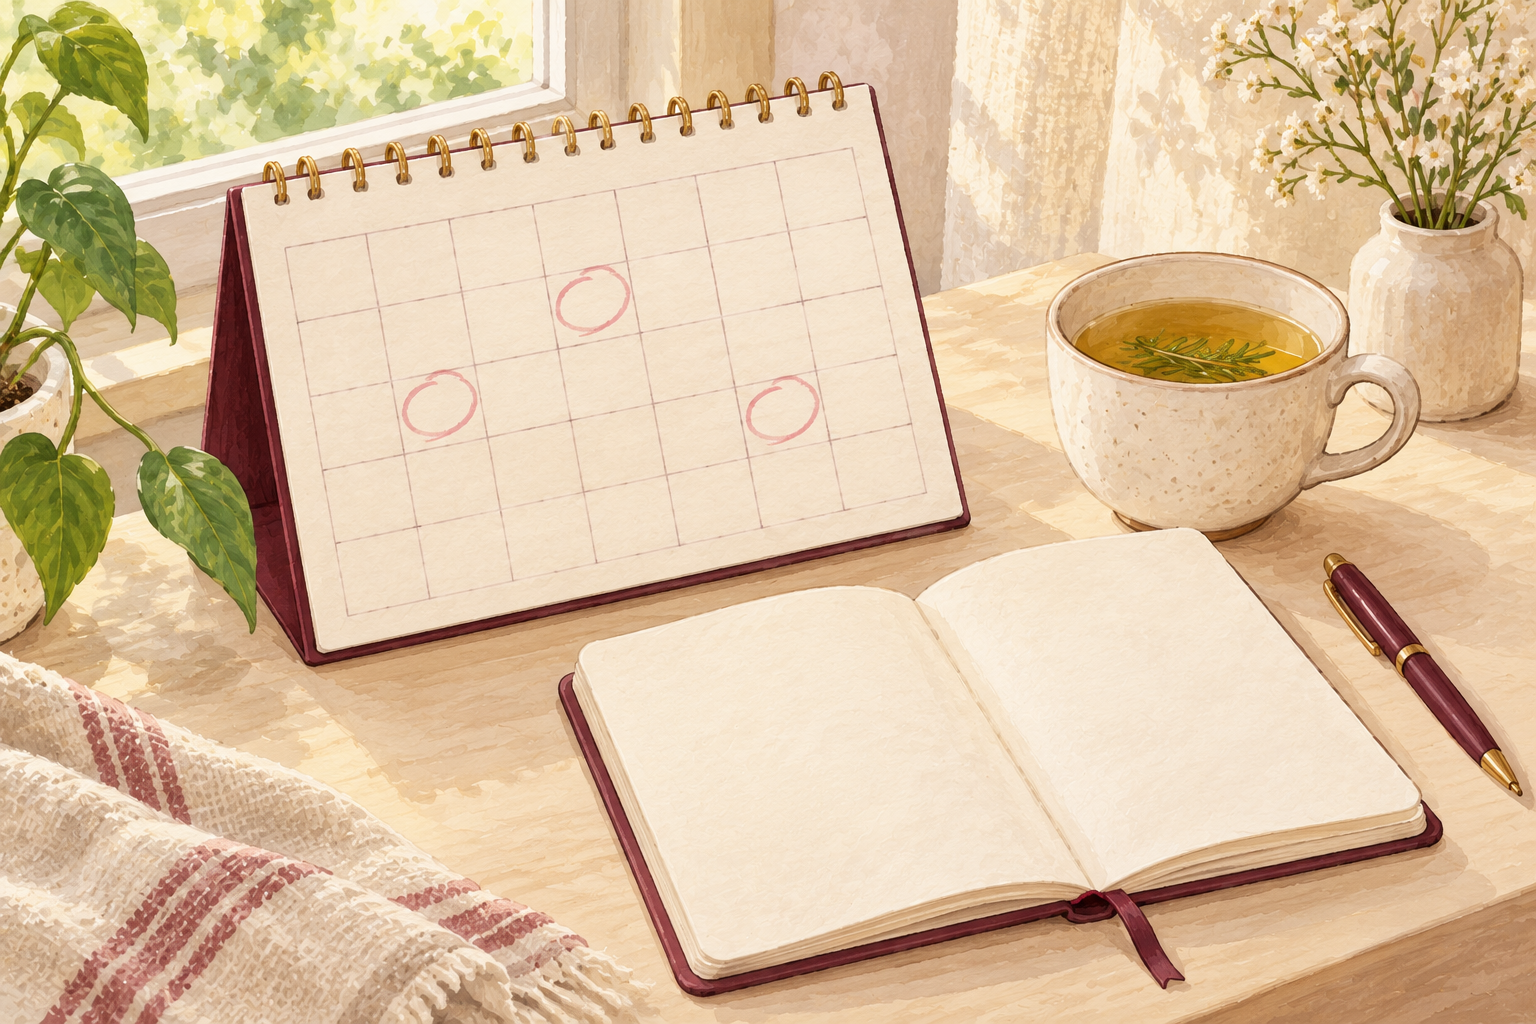
Think back over the last few months and write down what you did to your hair. Hot tools, bleach, box dye, tight styles, rough towel drying and chlorine all hurt hair in different ways. Bleach leaves it porous and brittle. A daily flat iron leaves the ends crispy and dull. You cannot fix a habit you have not named. A mask will not outrun a flat iron set to its highest heat. Pick the biggest culprit on your list and make it the first thing you change. If you color your hair at home and straighten it daily, tackle the heat first, because it is free to cut back.
3. Decide how much to trim
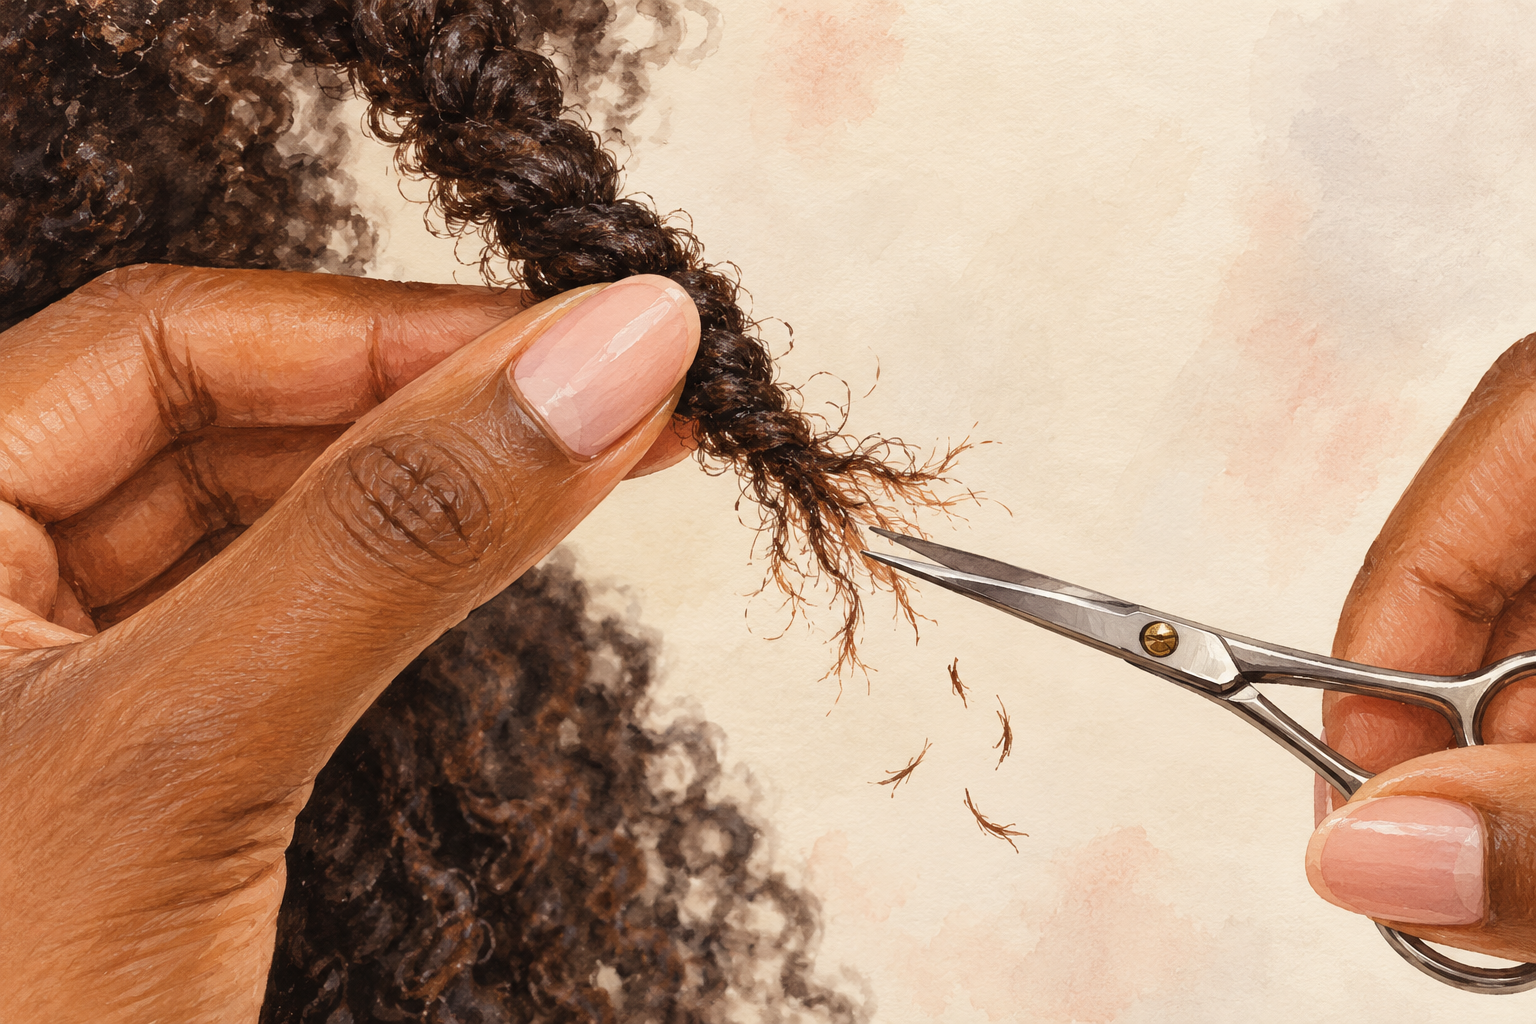
The only thing that fully removes damaged ends is cutting them off, so choose how much. If your ends are split, frayed or see through, take off a small amount every six to eight weeks so the damage stops traveling up. If the damage sits higher up, you may need a bigger cut or a slow trim plan. A tidy blunt edge also makes every other step work better. Even ends hold moisture more evenly, so masks sit better on them. Lose a little length now rather than drag a brush through ends that snap. Your hair will look thicker straight away. If you are nervous, ask for a dusting, which takes off only the frayed tips.
4. Turn down the heat and use a protectant
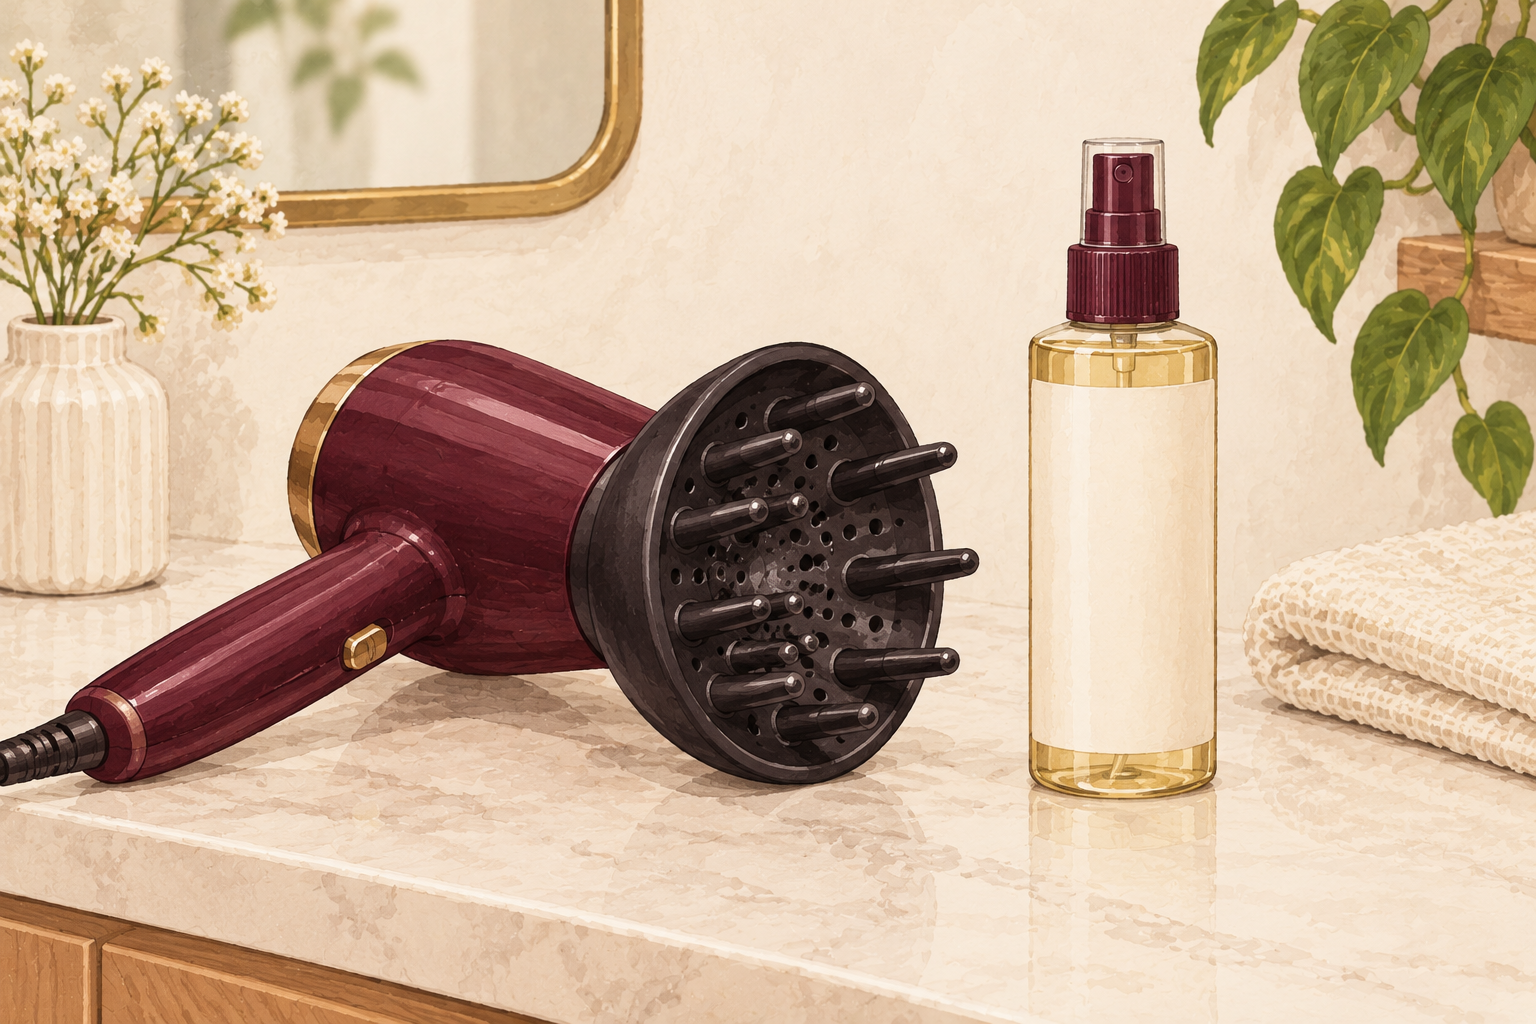
Set every tool to the lowest setting that still works, and spray a heat protectant on damp hair first. Hold the dryer about a hand’s width from your head and let your hair air dry when you have time. Keep hot tools to once a week or less while you recover. If your hair only looks right at the highest heat, that tells you how much it has already had. Wait until hair is completely dry before using a flat iron, because steam damages wet strands. Take a minute at the end to cool your hair with the cool shot button.
5. Wash gently and less often
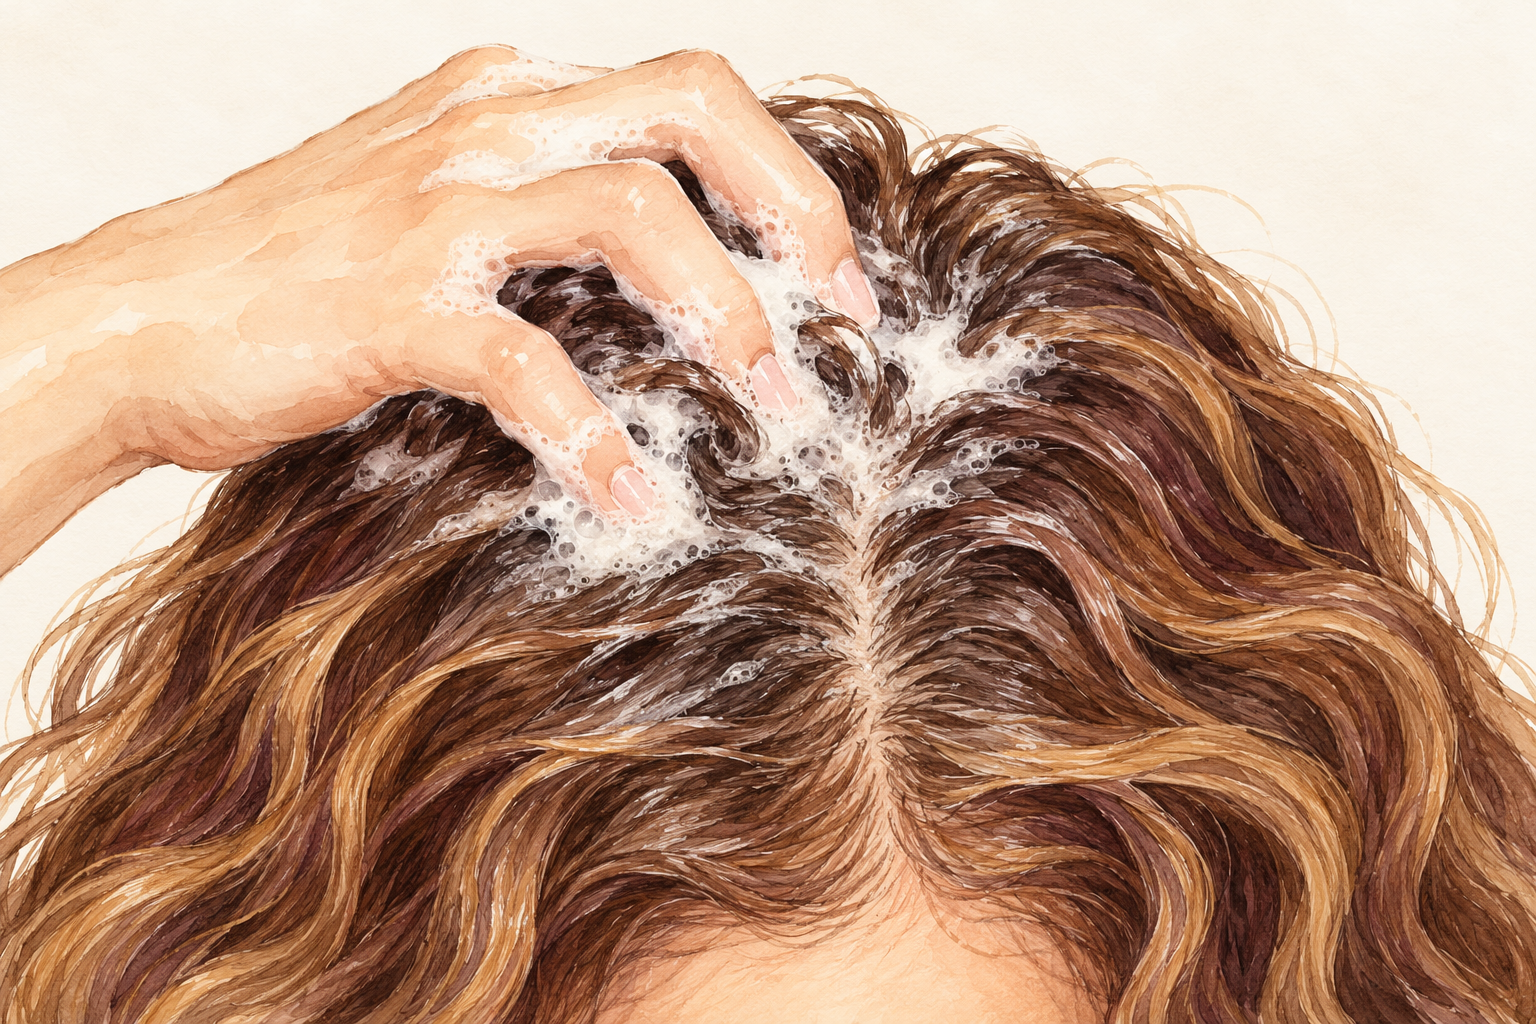
Use lukewarm water, because very hot water roughs up the outer layer of the strand. Shampoo mostly the scalp and let the suds run down the lengths. Put conditioner on the mid lengths and ends. Try washing every other day or less if your scalp allows it. Pat your hair dry with a soft towel or an old T shirt instead of rubbing, because rubbing roughs up wet hair when it is at its weakest. Finish with a cooler rinse for a smoother look. Hair that dries slowly in air is happier than hair that dries fast in a blast of heat.
6. Detangle from the ends upward
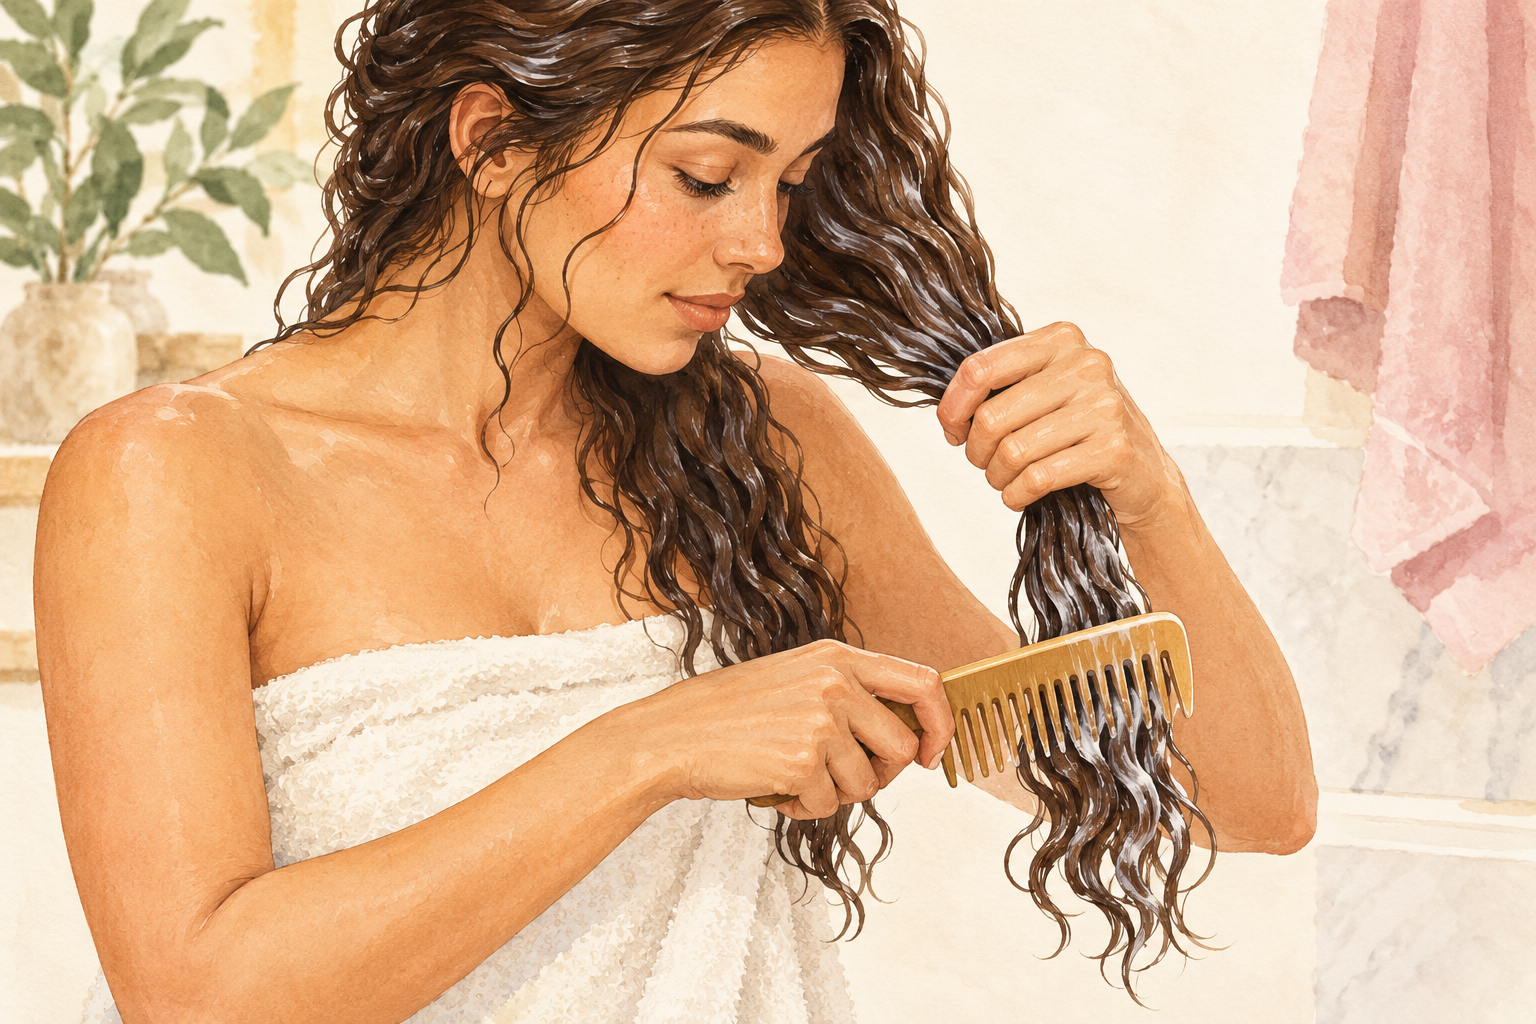
Wet hair stretches and snaps easily, so detangle with a wide tooth comb once conditioner is on. Start at the very ends and work up in small sections. Hold the hair above your comb so you are not tugging at your scalp. Brush dry hair only to neaten it. If you meet a stubborn knot, add more conditioner and be patient. Forcing it is how you end up with a pile of broken pieces on the bathroom floor. Never start at the roots, which pulls the whole knot tighter. A few minutes now saves weeks of breakage later. Keep your fingers ready to work out tangles gently before the comb.
7. Do the wet strand stretch test
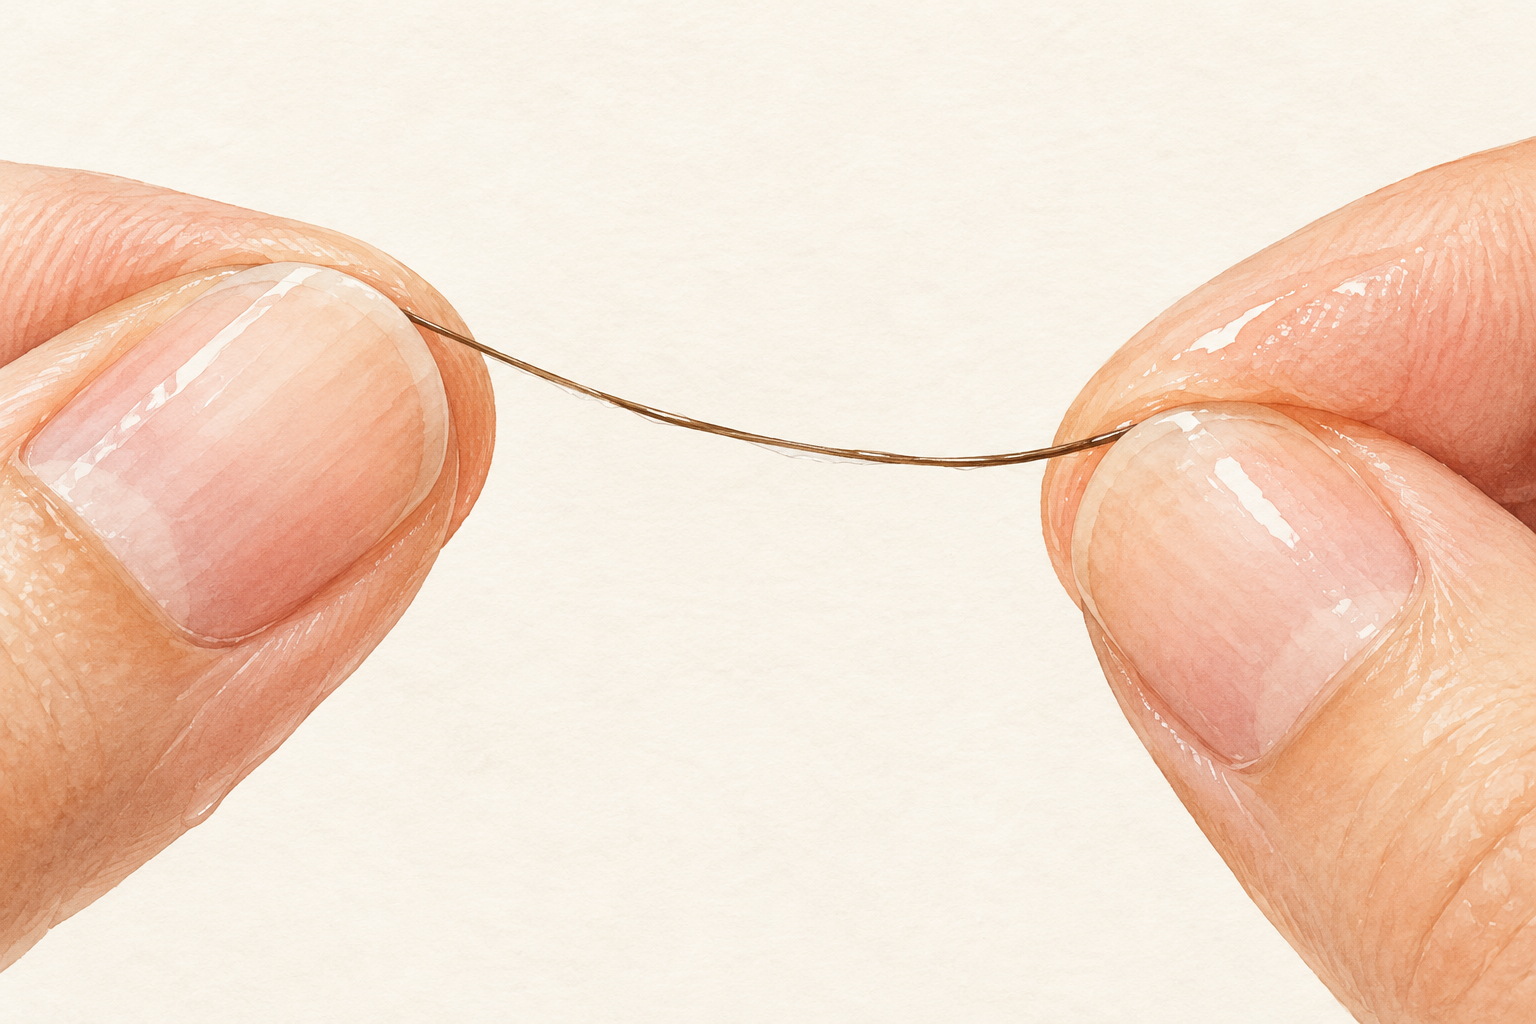
Pull one clean, wet strand and stretch it gently between your fingers. If it stretches a long way and feels gummy or limp, it wants protein. If it snaps fast with barely any stretch, or feels rough and straw like, it wants moisture. A strand that stretches a little and springs back is in good balance. It is a rough home check, so repeat it on two or three spots. Use the answer to choose what goes on your hair this week. If the answer is mixed, you probably need both, taking turns.
8. Alternate protein and moisture
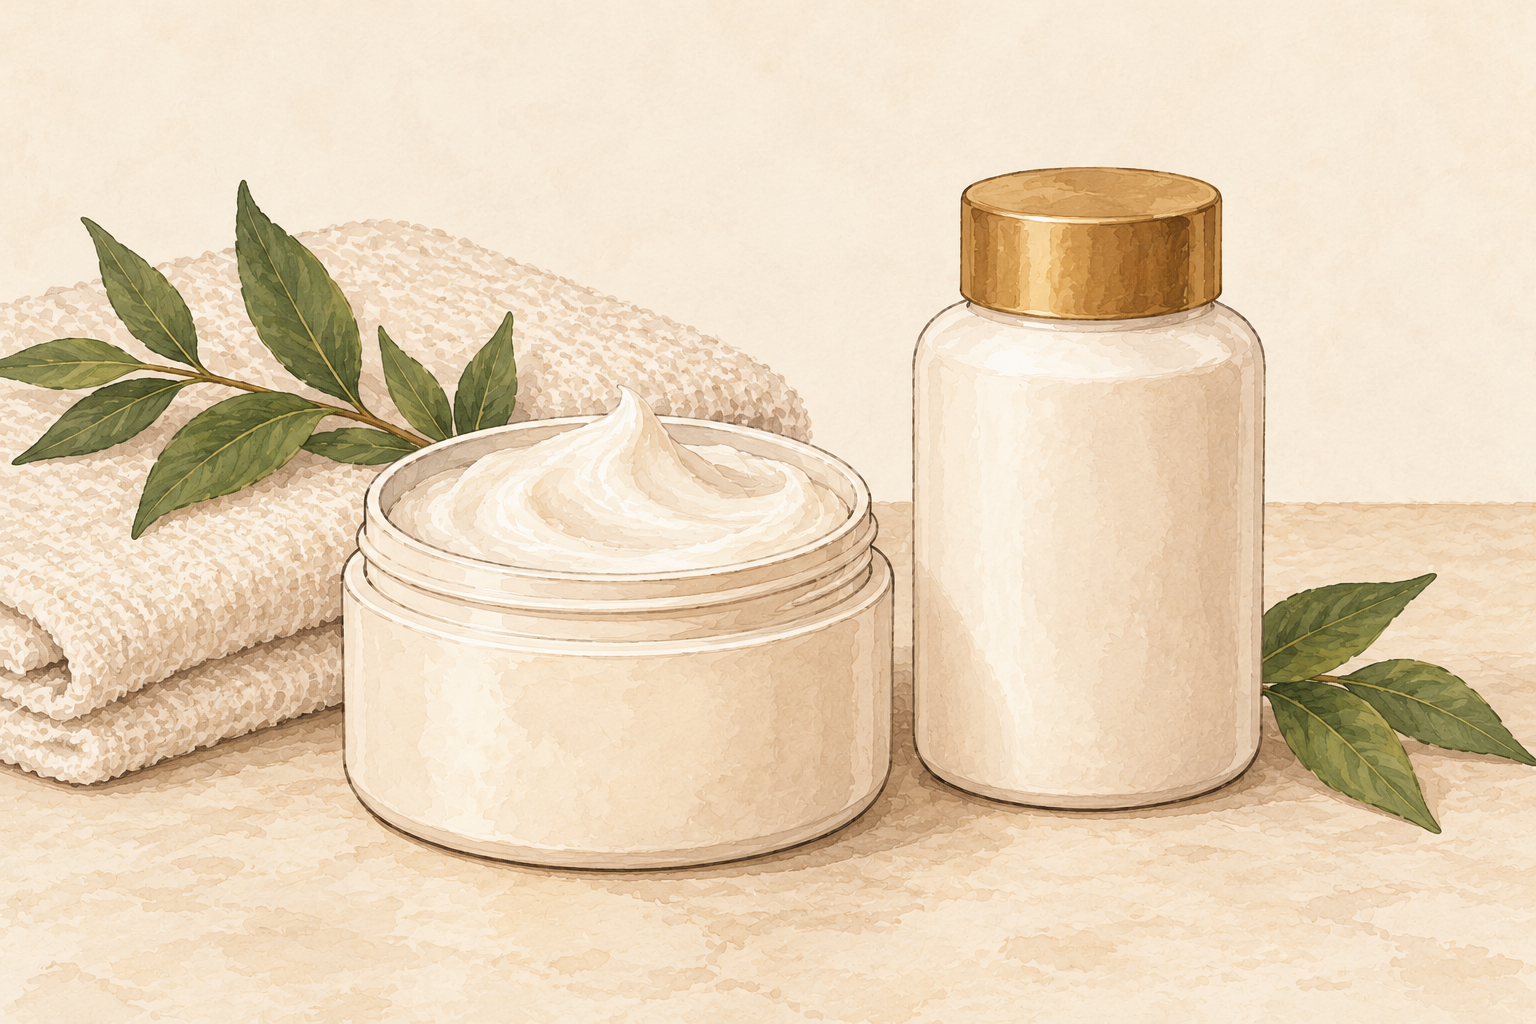
Lean toward what the test said, but keep the other in rotation. Moisture steps include a rich conditioner or a deep mask. Protein steps are lighter and less frequent, because too much leaves hair stiff and brittle. A simple pattern is a moisture treatment most weeks and a protein one every few weeks. Watch how your hair responds. If it starts to feel hard or crunchy, back off the protein and go back to moisture. Hair that feels soft but flat and stretchy is asking for a little protein instead. Keep the pattern for a month before you change it. Write the dates on a calendar so you remember which one came last.
9. Use a deep conditioning mask weekly
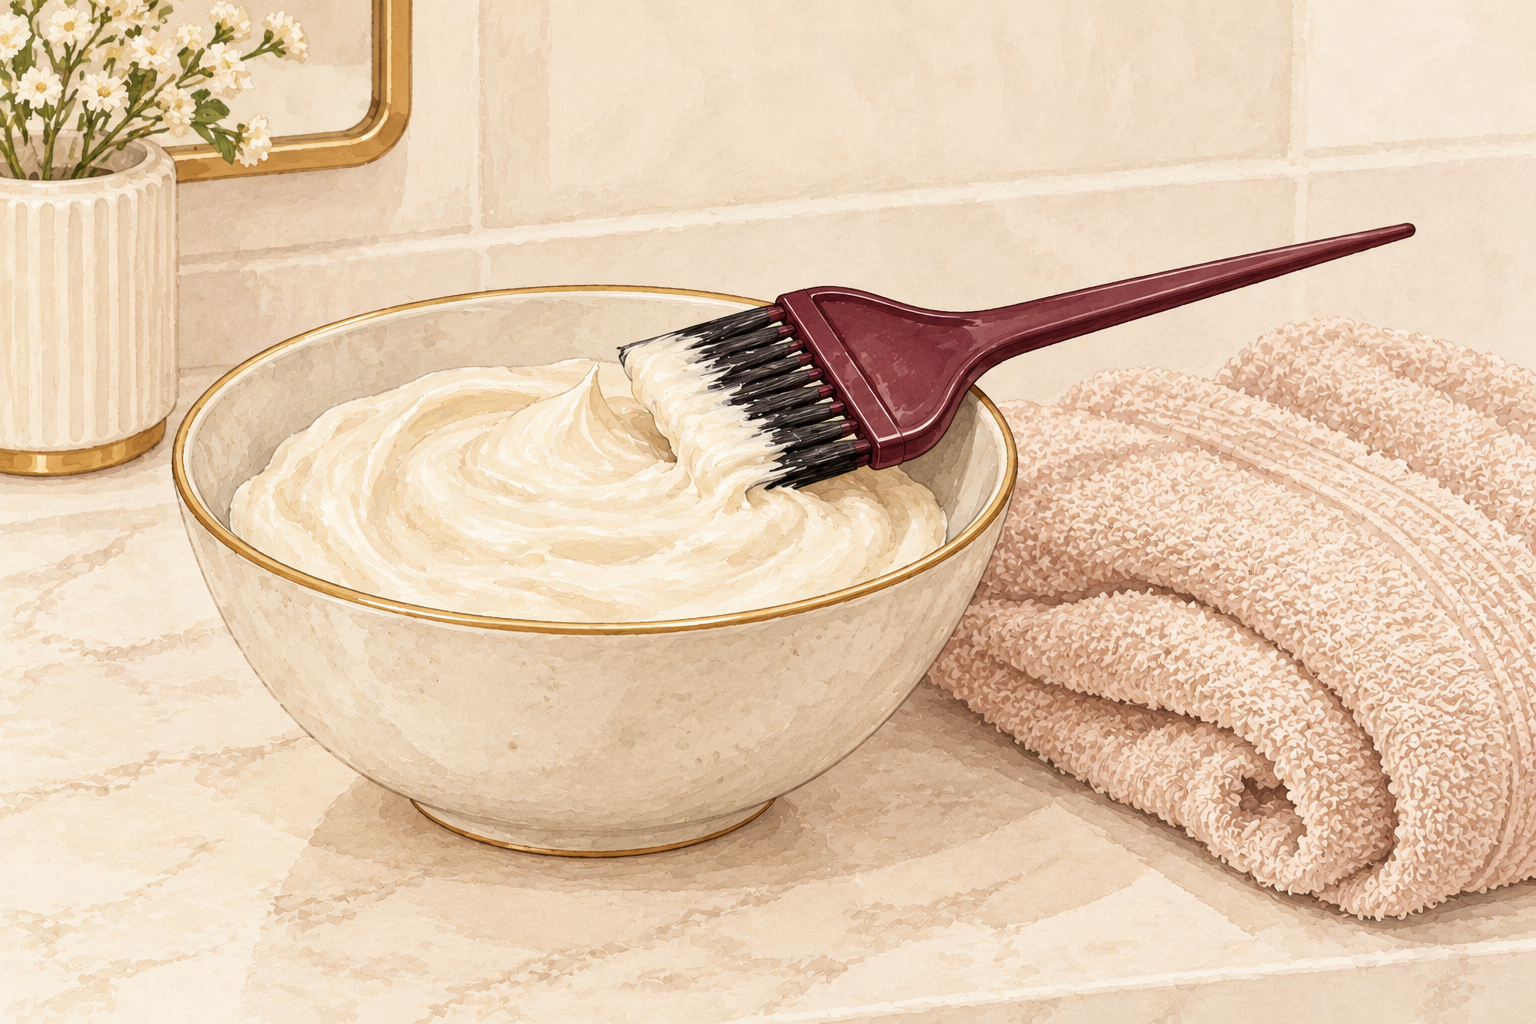
Smooth a mask over clean, damp lengths and leave it on for ten to twenty minutes. It is a thicker conditioner that stays on longer, so it softens the outer layer and cuts friction. Rinse with lukewarm water. Once a week is enough for most hair. Masks can help hide and guard against split ends, but they will not work miracles. Keep them as one part of damaged hair repair, not the whole plan. Skip the roots if they get oily, and focus on the dry ends. Rinse it out well, since leftover mask weighs hair down.
10. Treat bond products as a bonus
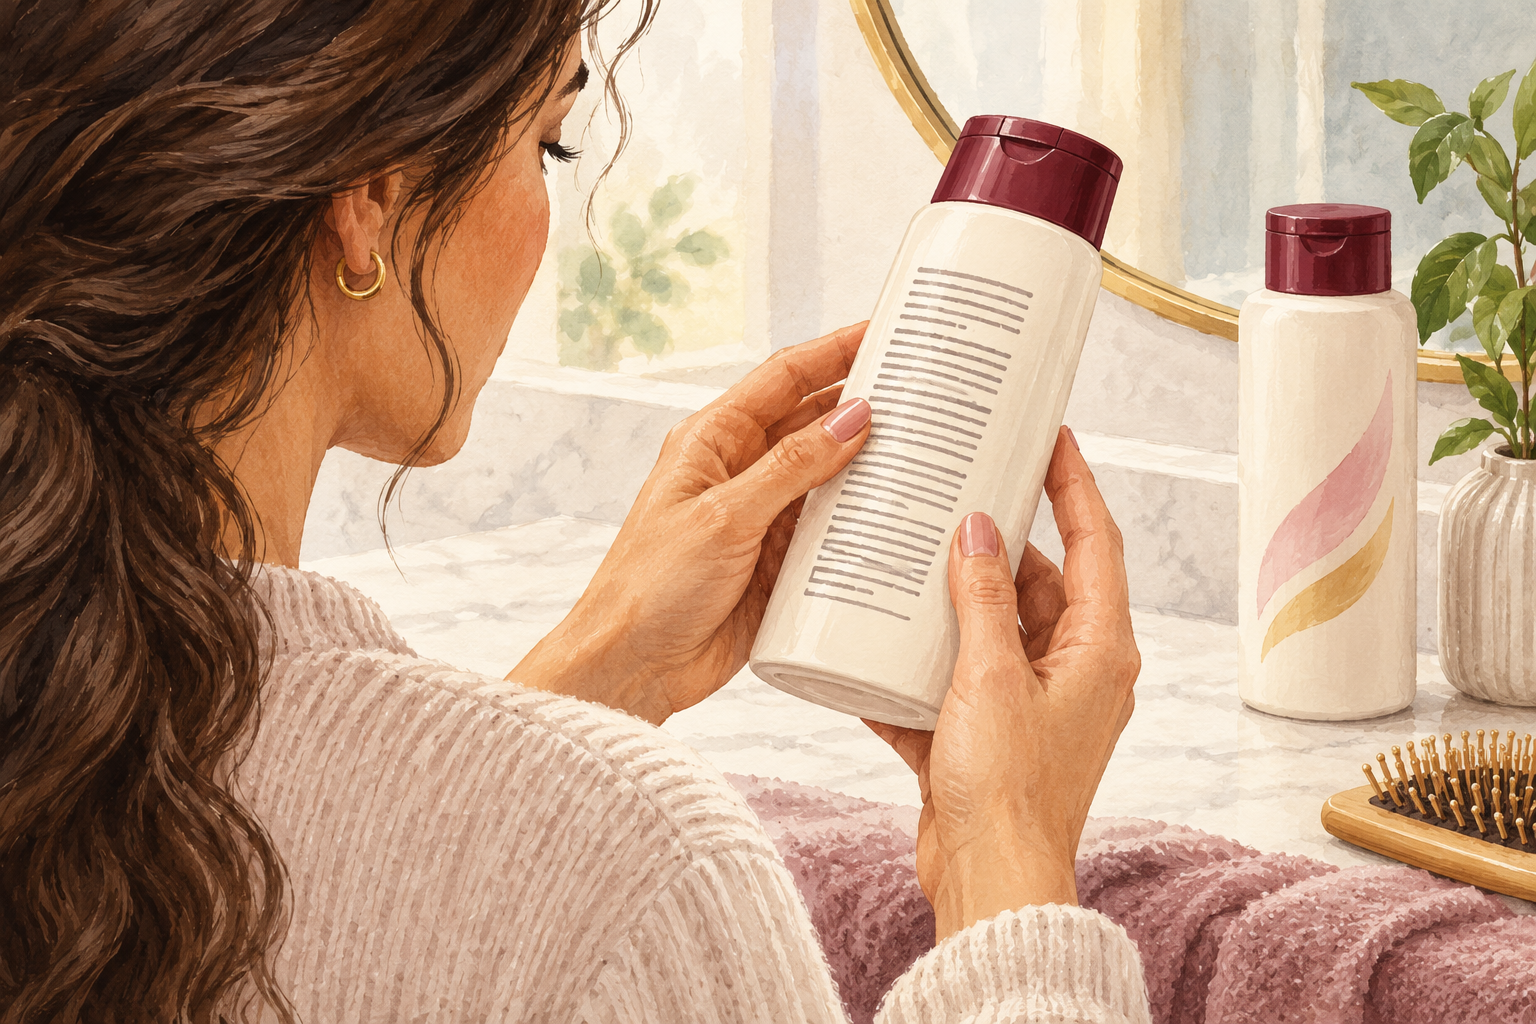
If you own a bond care product, follow the timing on the pack and do not stack it with other treatments. Some women find their hair feels stronger after using them, especially bleached hair. Treat them as a nice extra, not a repair. They cannot undo heavy damage that needs cutting. Skip it if your scalp tingles or your hair feels worse afterwards. Spend that money on a trim instead. Oils add shine and slip but do not mend anything, so use them lightly. A drop or two on dry ends is plenty.
11. Expect week one, four and eight
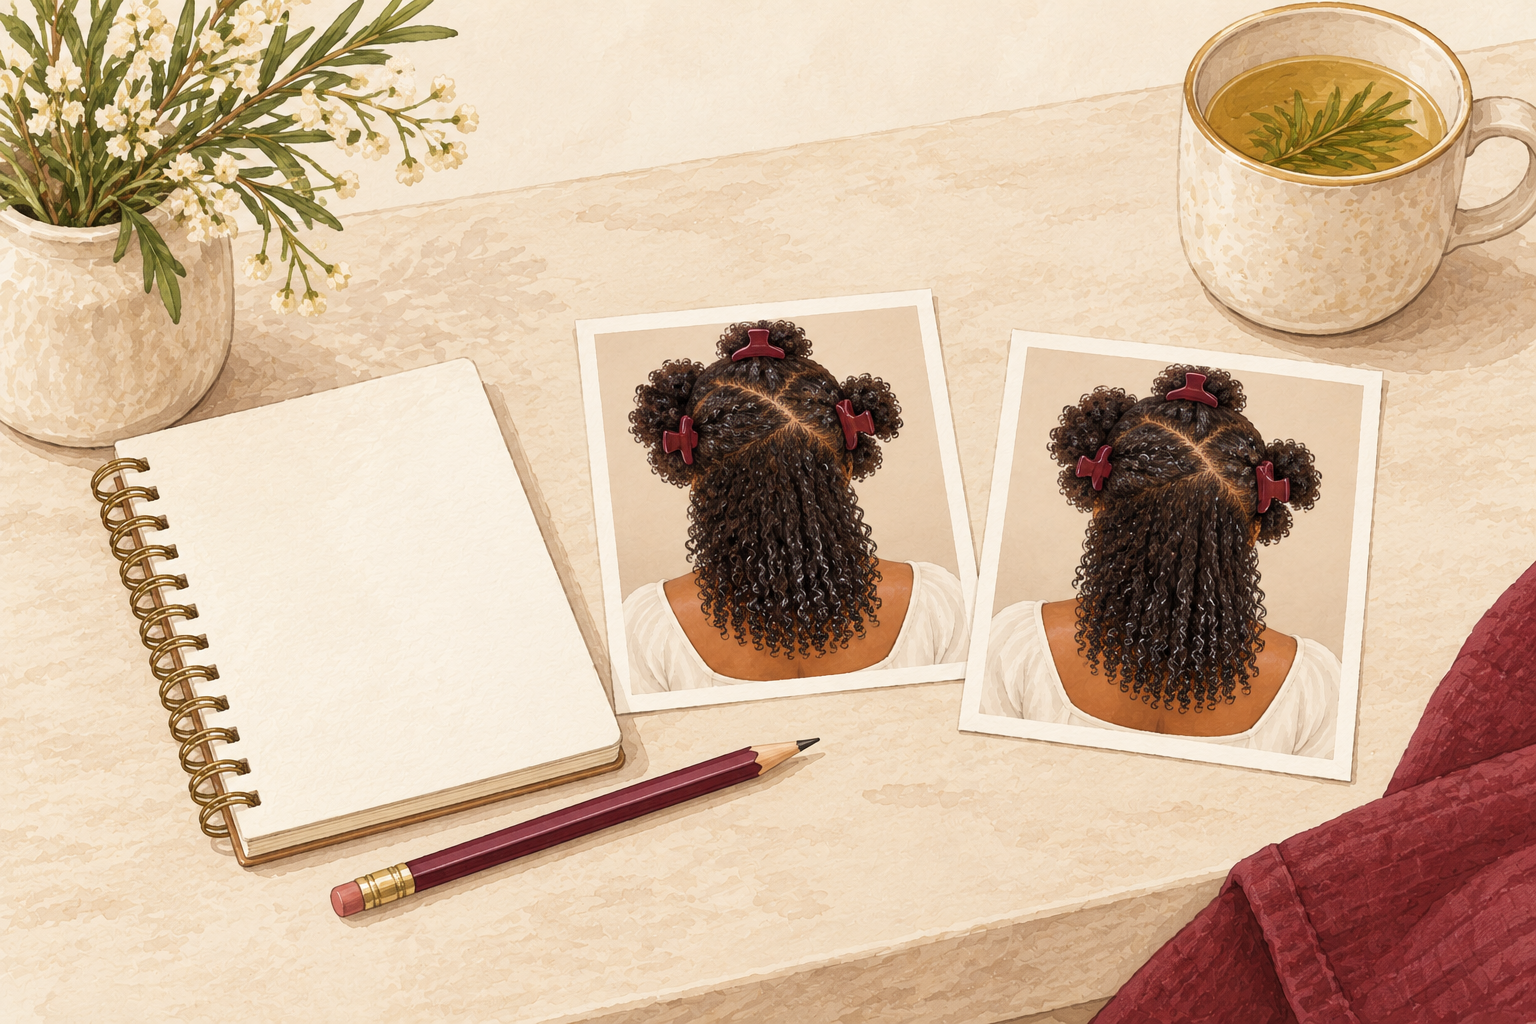
In week one your hair often feels smoother after a trim and a good mask, but nothing has really changed yet. By week four you should see less hair in the brush and fewer snapped bits on your shoulders. By week eight the new growth at your roots is healthier, while the older lengths still look tired until they are cut. Take a photo of your ends each week in the same light. Stand by the same window at the same time of day. Memory is a poor judge of slow change. Do not worry if week one looks the same as day one.
12. Avoid the mistakes that reset the clock
Bleaching again too soon, switching products every week and using oil as a repair all restart the damage. Wait eight to ten weeks, or longer, between color jobs. Between colors, tie your hair loosely, because tight bands snap damaged lengths. Let your hair settle on one routine for a month. If breakage or thinning has not improved after a few months, go back to the gentlest steps and change only one thing at a time. Hair repair is a slow job, so patience is part of the plan. Not all hair trouble comes from styling. Give each change a full month, and your hair will tell you what is working.
Complete the Routine: Make Damaged Hair Repair a Habit
Tonight, do the wet strand stretch test and write down what you find. Then learn more with a hair mask for damaged hair and tips on caring for damaged hair.