You scrunch in your usual products and wait for the curls to form, and half of them hang there limp and stretched while the rest frizz out sideways. Damaged curly hair can look like two different heads at once, and it is hard to know whether to add moisture or take something away. These 12 fixes sort that out, so start at number one tonight.
1. Accept what can and cannot come back
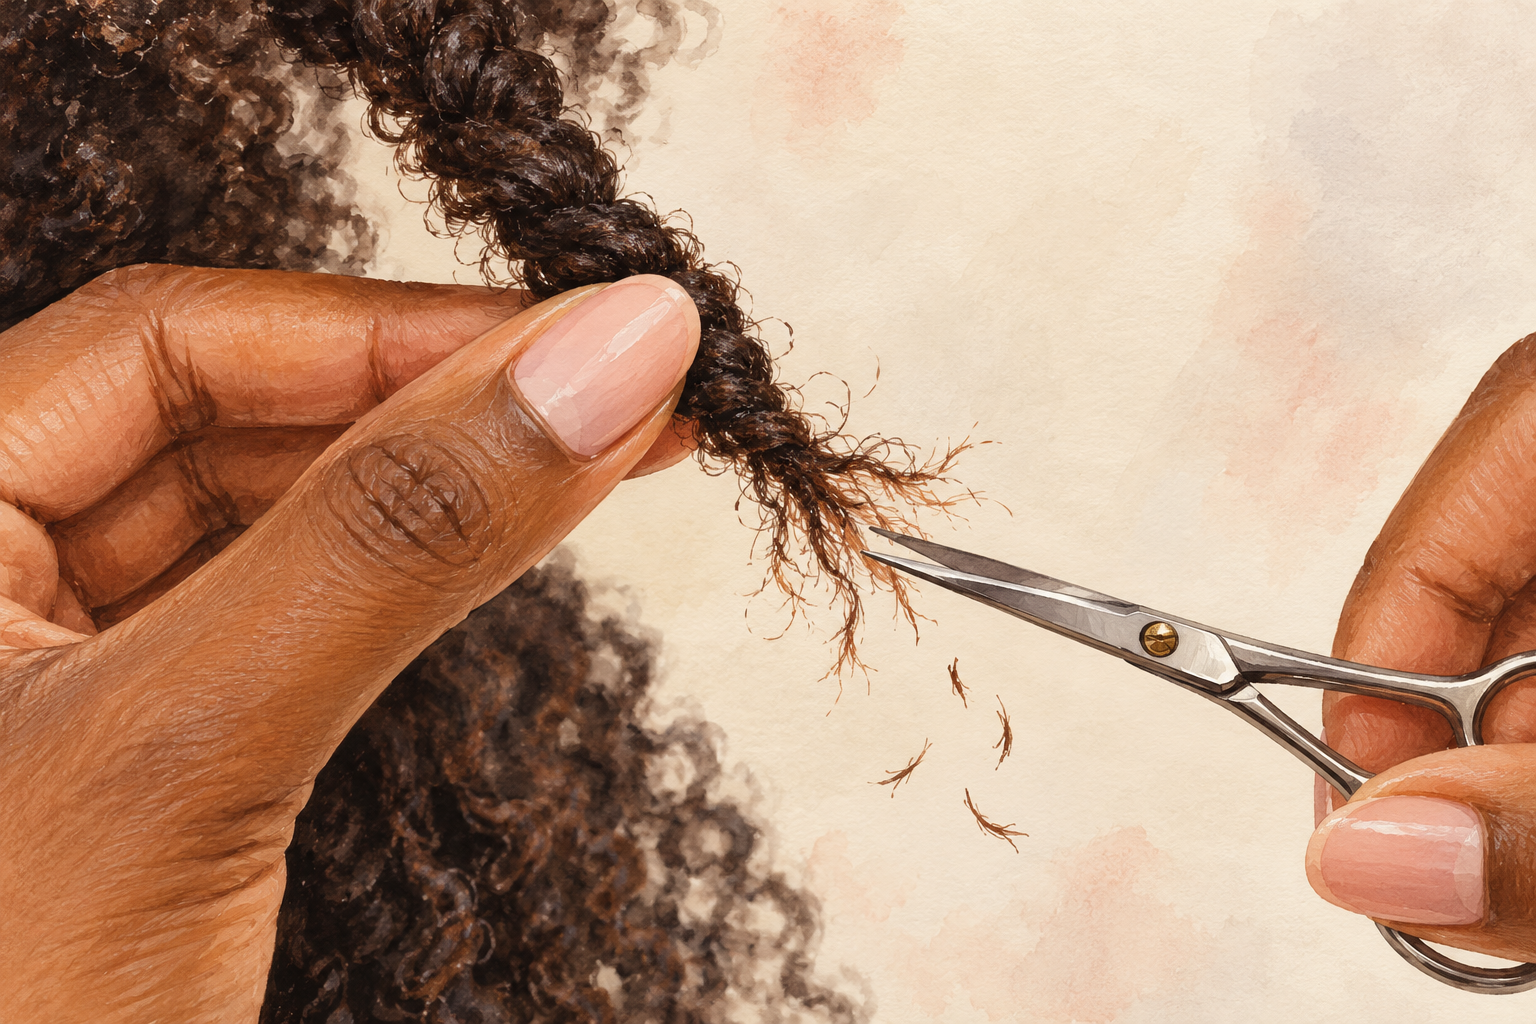
Curl pattern lost to heat or bleach will not return on the strands that took the damage. What you can do is stop more of it, keep the curls you have well hydrated, and let healthy ones grow in at the roots. Trimming off the worst sections is the only thing that truly removes damage, and I know that is not the answer anyone wants. It does save you from chasing miracle jars. Think of your next eight weeks as protecting the hair you have and growing in the hair you want, because patience pays off more than any single product.
2. Find the culprit behind the damage
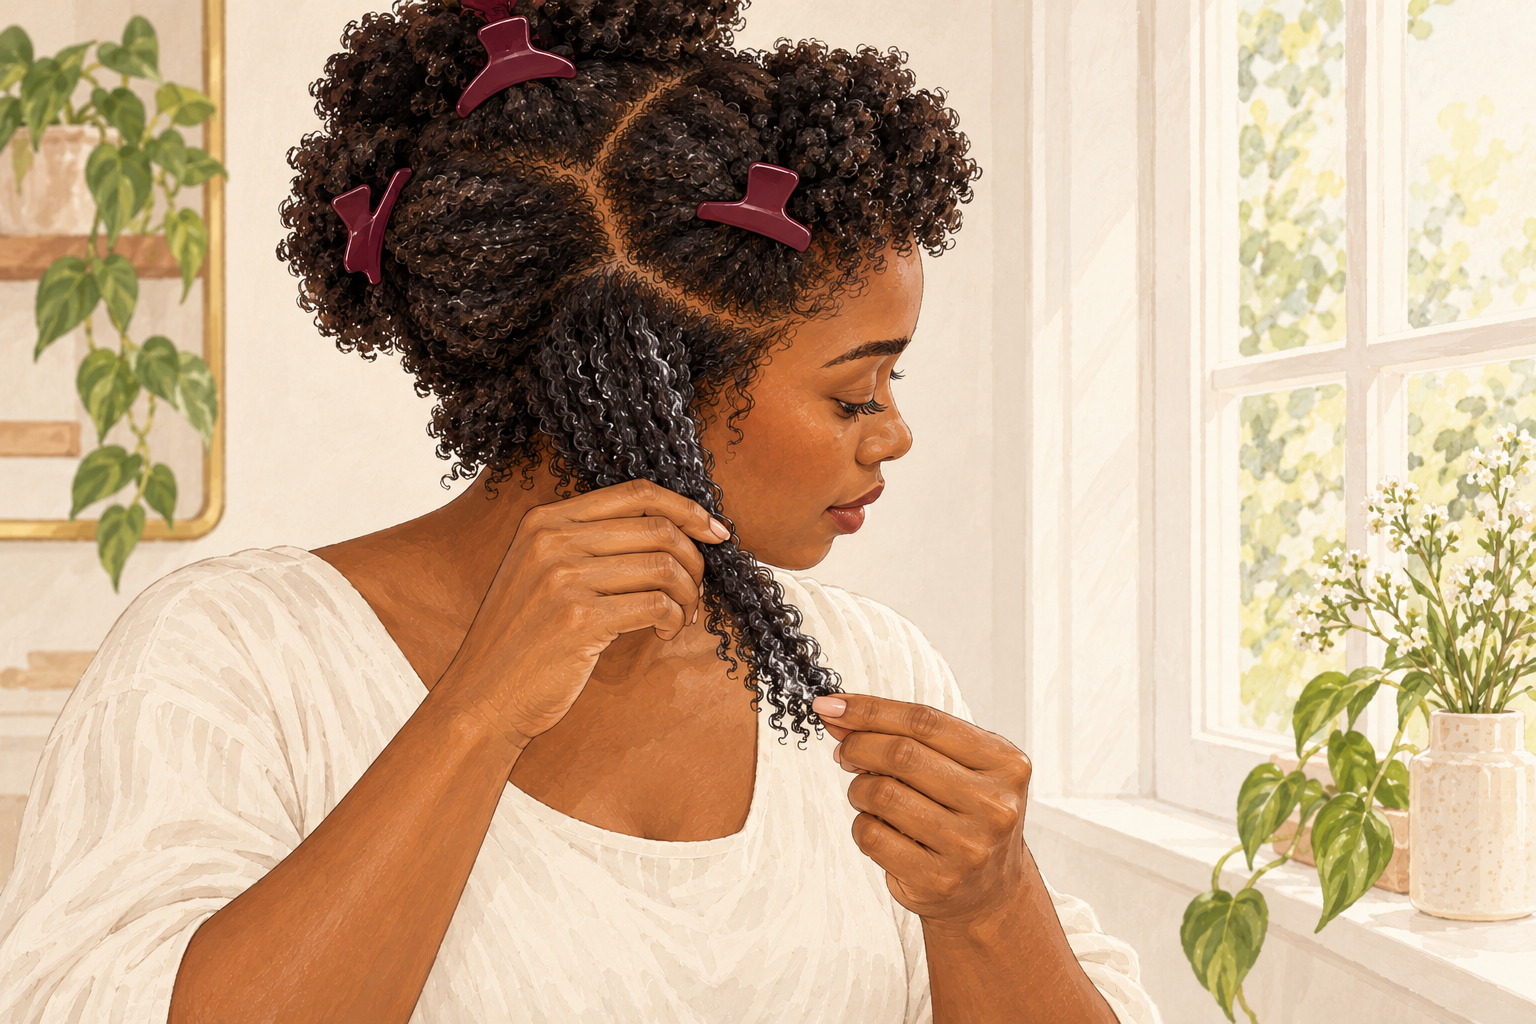
Look at where the odd strands are sitting on your head. Loose or straight sections scattered through the curls often point to heat or bleach. Dry frizz and snapped pieces at the front and crown usually mean rough combing or tight styles. Breakage at the nape suggests friction from collars, scarves or a rough pillowcase. Knowing the cause tells you what to stop first, which saves money and time. Jot down which sections look worst before you start treating, and check them again at week four. You may find the damage lives in two or three spots rather than the whole head. This small bit of detective work is the base for every fix below.
3. Try the gentle strand stretch test
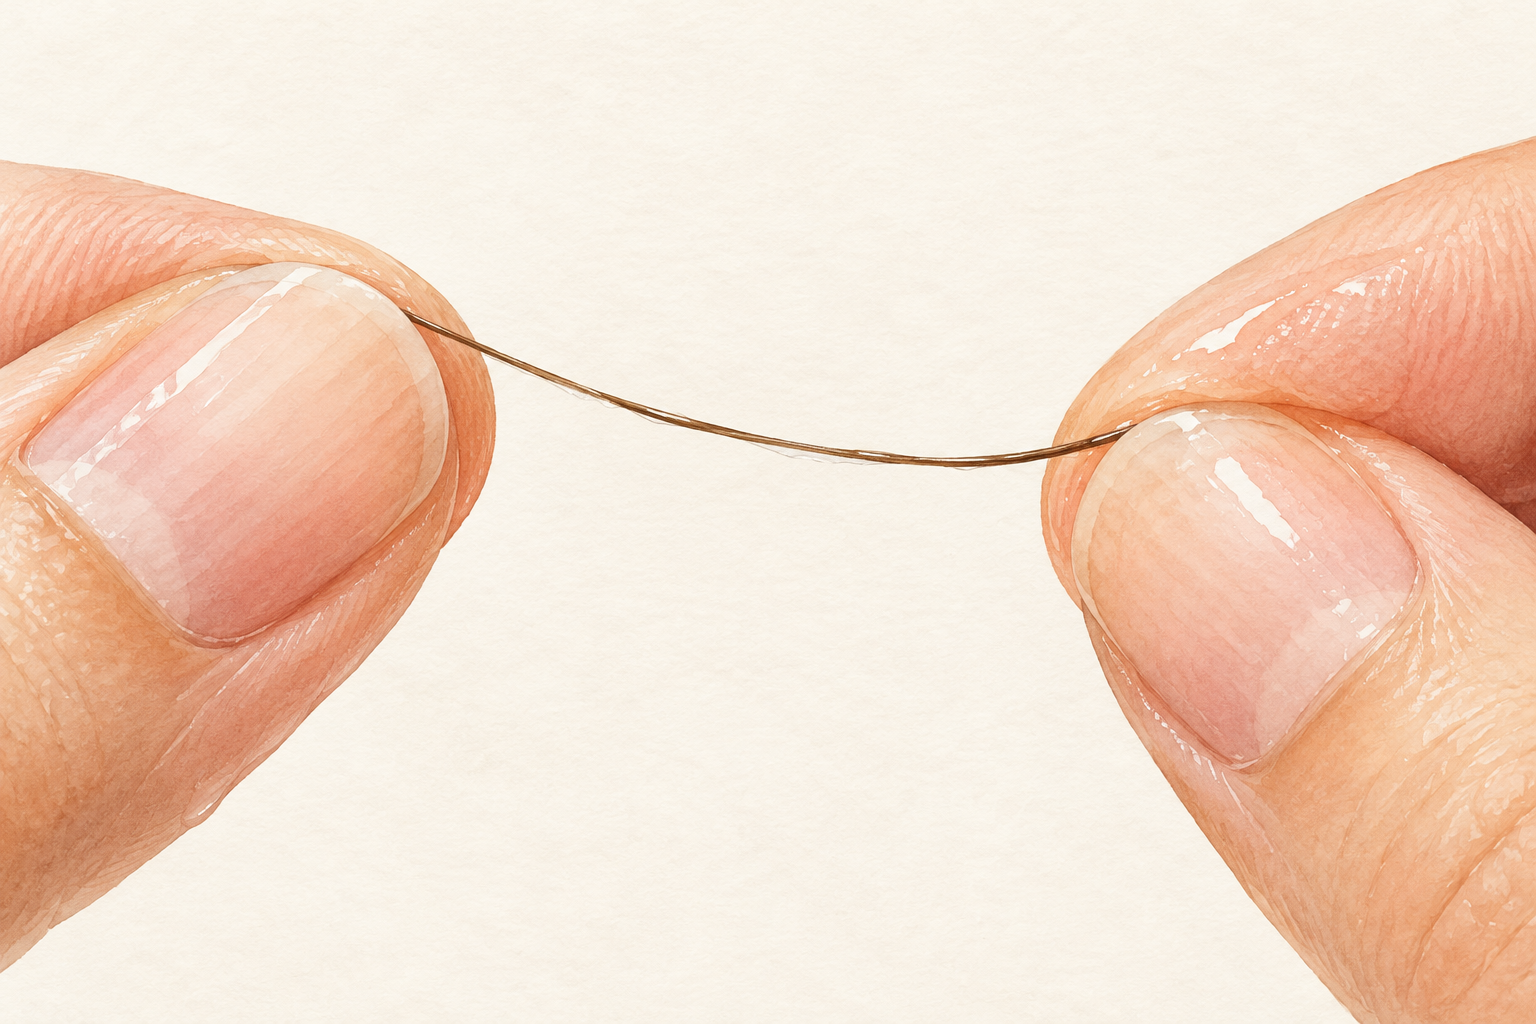
Take one wet strand that has already shed and stretch it very gently between your fingers. If it snaps with barely any stretch, it is dry and brittle and wants moisture. If it stretches a long way, feels gummy and does not spring back, it is overloaded with moisture and wants a little protein. This is a rule of thumb many curly girls use, so treat it as a clue and not a verdict. Use a strand from your brush or the shower floor, never one you pull out on purpose. Repeat it after each wash day to see the pattern. If the test is unclear, treat the result as mixed and begin with moisture.
4. Wash gently and less often
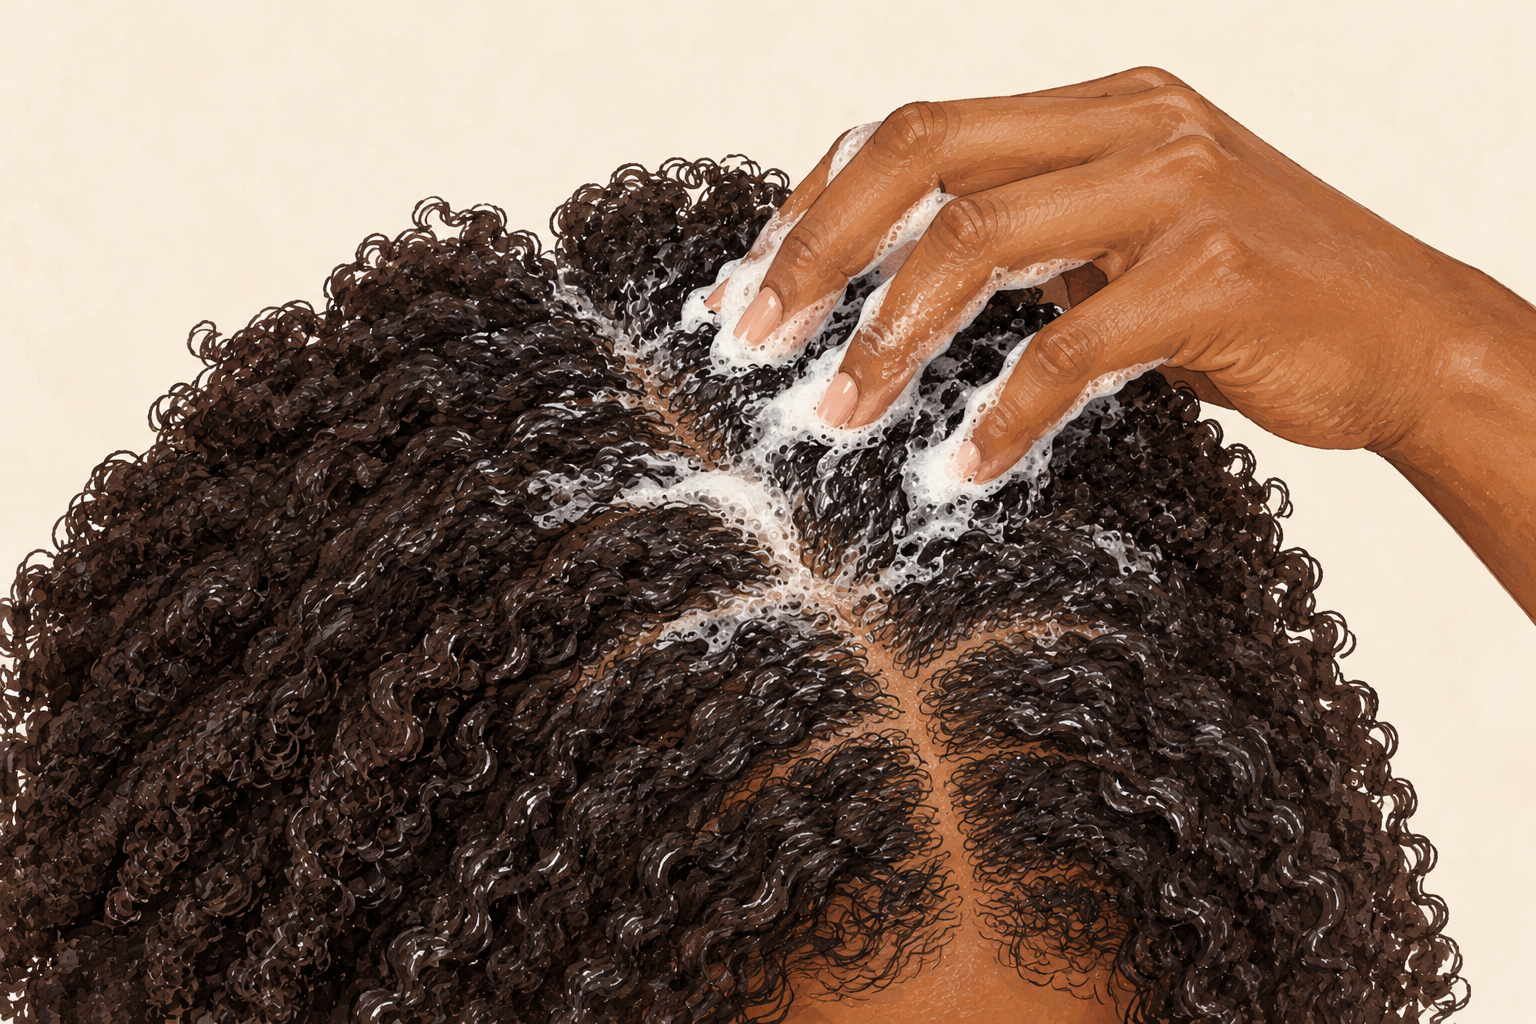
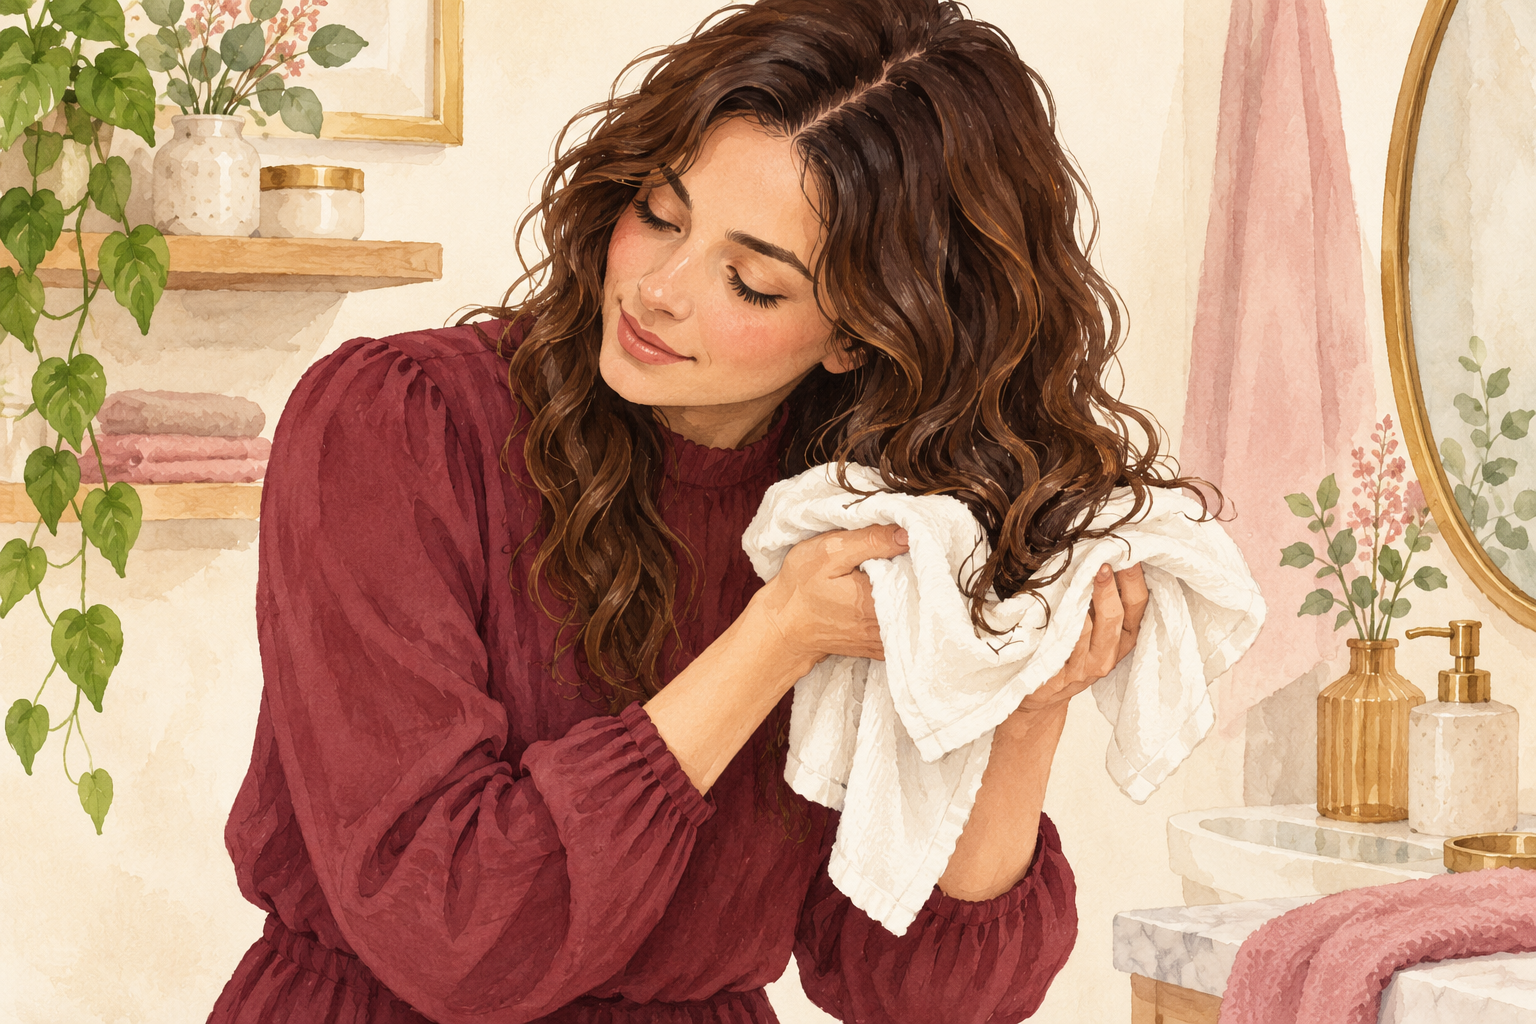
Wash once or twice a week, working the shampoo into your scalp and letting the foam run down the lengths. Do not scrub the lengths themselves, since curls are the most fragile when wet. Use lukewarm water, which is kinder than very hot. If you use gels or oils, rinse a little longer, because leftover product blocks moisture from getting in. A scalp that itches or feels heavy is your sign to wash, and a scalp that feels tight is your sign to wait. A clarifying wash once a month clears the buildup. Squeeze the water out with your hands afterwards, never a wrung towel.
5. Condition every length, not just the ends
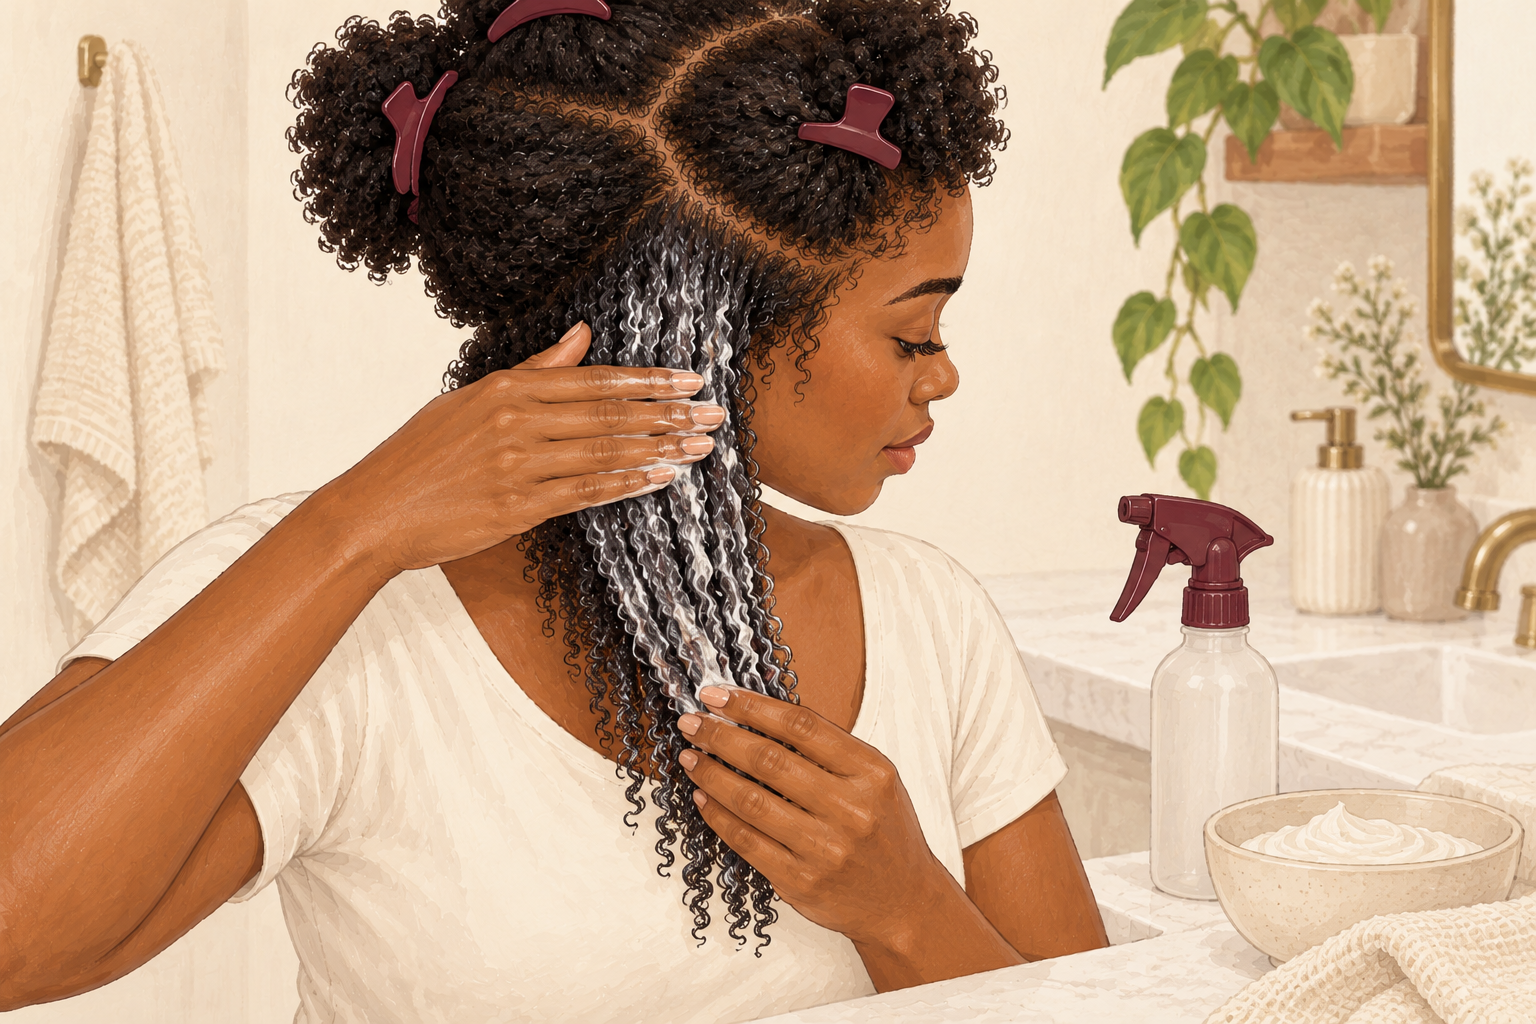
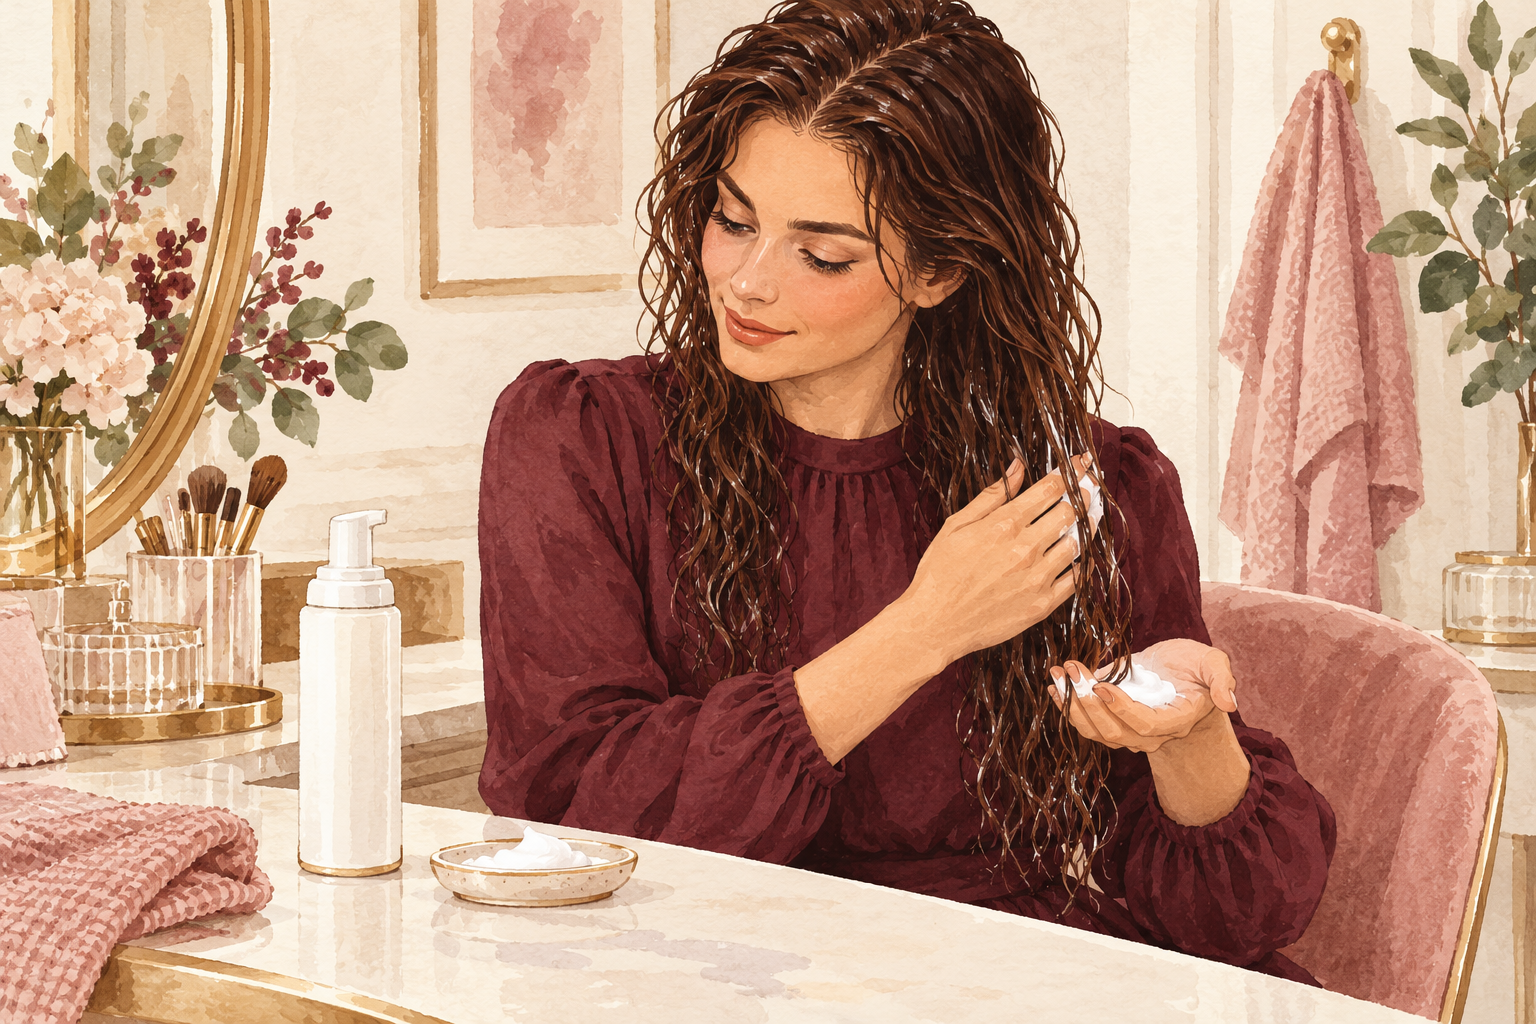
Smooth a thick, creamy conditioner from root to tip and leave it on for three to five minutes before rinsing. Most damaged curly hair is thirsty before anything else, so give it time to soften the strand. Finish with a leave in or a little oil to hold the moisture in. Oil seals but does not add water, so apply it to damp hair. If your hair is very dry, try conditioning before you shampoo, which protects the lengths from being stripped. Rinse until the water runs clear and the curls feel slippery. Comb it through gently with your fingers so every curl gets coated.
6. Deep condition once a week

Apply a rich deep conditioner to wet hair, put on a shower cap and leave it for fifteen to twenty minutes. A warm towel over the cap helps it soak in. Rinse well, since leftover product weighs curls down and makes them limp. Do this weekly for a month, then reassess. If your hair starts to feel soft but heavy, with curls that will not hold their shape, skip a week because it has had enough. Curls recover best on a calm, steady schedule, not a burst of treatments. A hooded dryer on low works too, if you have access to one.
7. Add one light protein treatment and watch
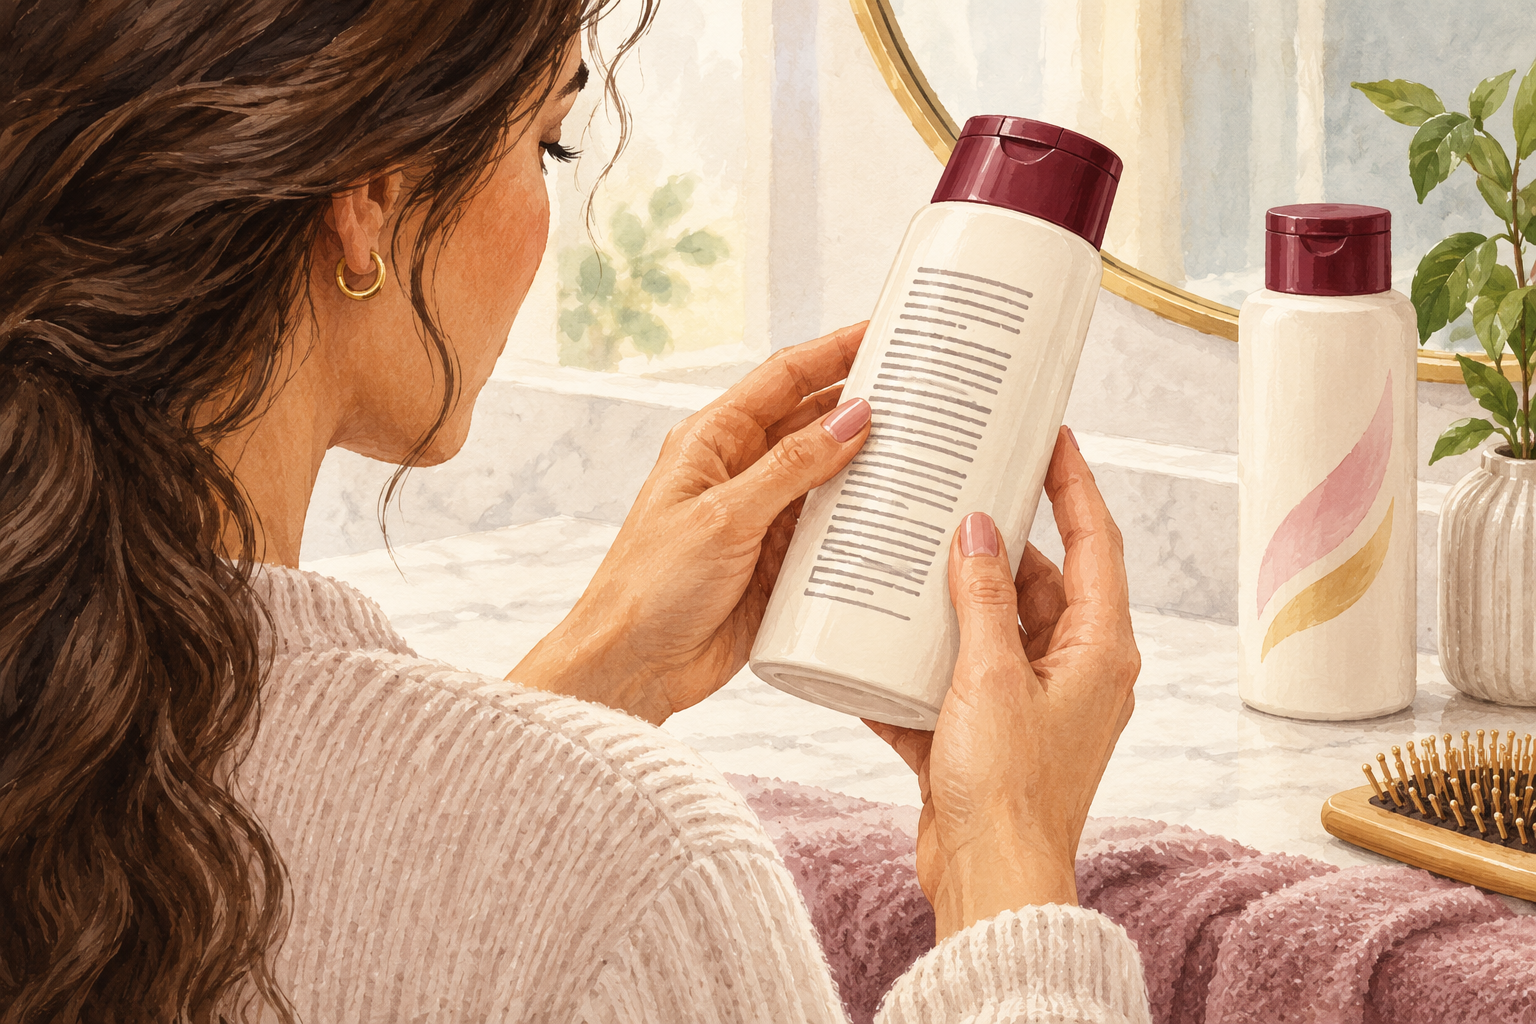
If the stretch test showed gummy, overstretched strands, try a single light protein treatment on clean, damp hair. Follow the label for timing, rinse, then use a moisturizing conditioner. Check your curls the next day. Springy and defined means it helped, while crunchy, straw like or stiff means you used too much. Use it once at first, not every wash. Protein works like scaffolding for weak strands, and too much scaffolding leaves them brittle. Wait a week before you decide whether to do it again. Pick a formula that lists protein near the top only if your strands were gummy.
8. Make a simple moisture and protein schedule

Treat moisture as your main routine and protein as a small extra, about once every three or four weeks. Notice how your hair feels a day after each treatment and adjust. If it feels stiff, go back to moisture for several washes. If it feels limp and stretchy, add a light protein again. The balance shifts as your hair recovers, so your schedule should too. Write it down on a note in your phone, because it is easy to forget which treatment you did last. Most heads settle into a rhythm within two months, and then it feels automatic.
9. Detangle wet hair in small sections
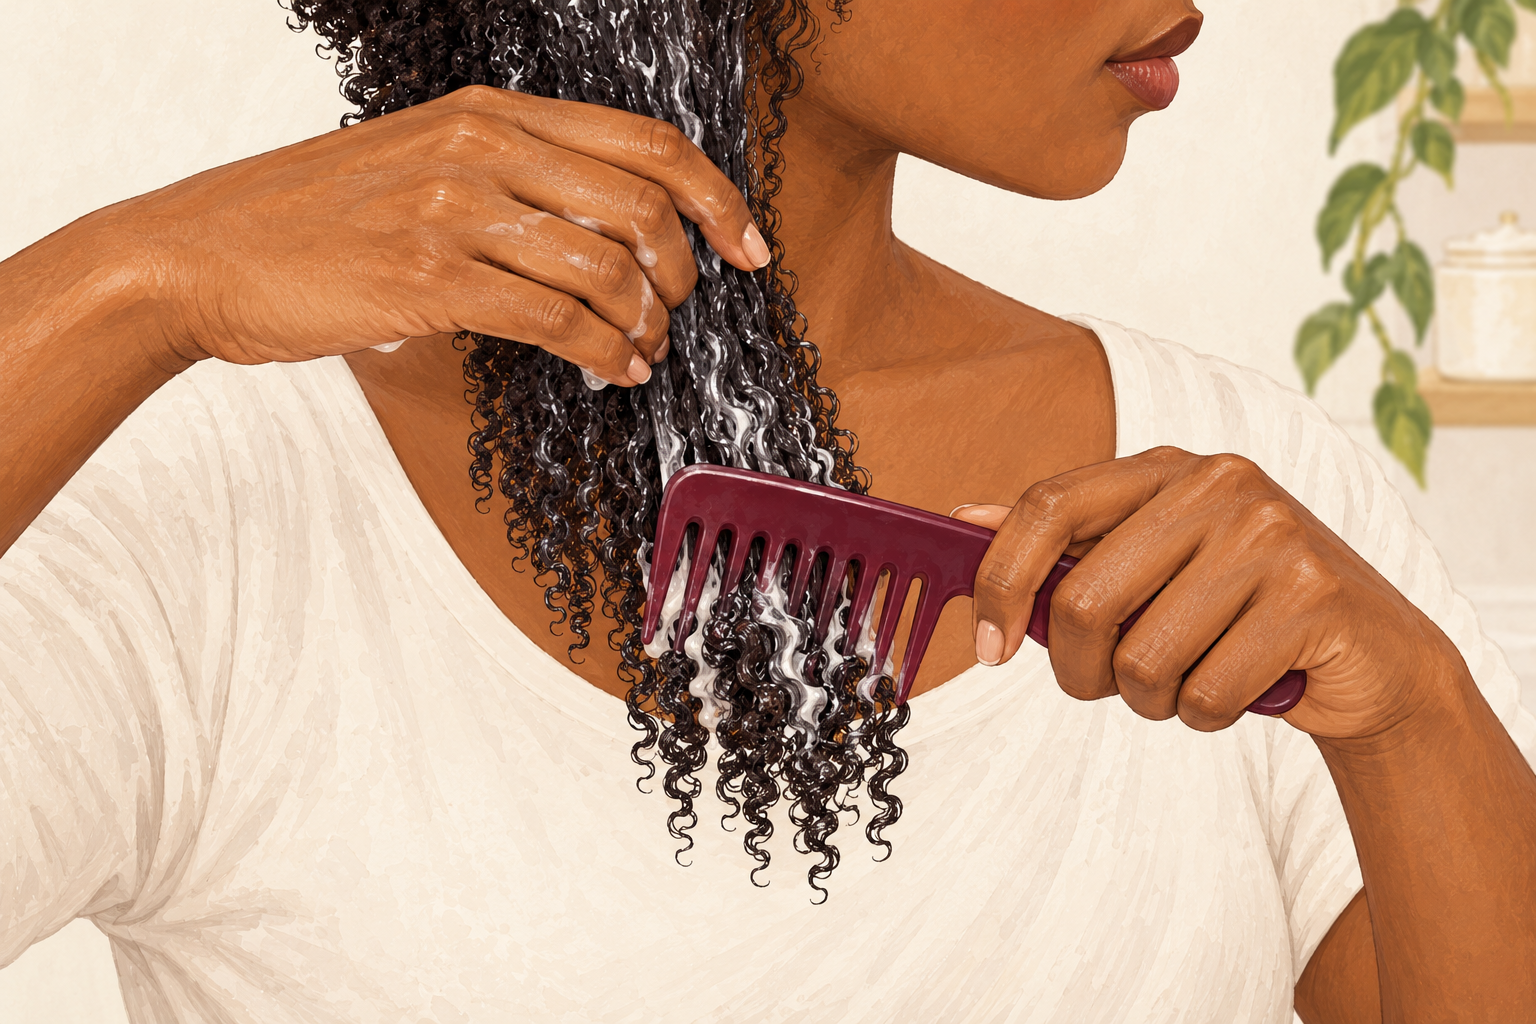
Work in sections with conditioner on wet hair, starting at the ends and moving up. Use your fingers first, then a wide tooth comb made for curls. Never brush dry curls, since that is where most snapping happens. If a knot resists, stop and add more product instead of pulling. Do it in the shower where slip is highest. Pin up the finished sections so they do not tangle again. You will lose fewer hairs on the comb, and that is one of the first signs your damaged curly hair is calming down. Tiny sections of about two inches feel slow at first and save you hours of repair later.
10. Protect your curls while you sleep
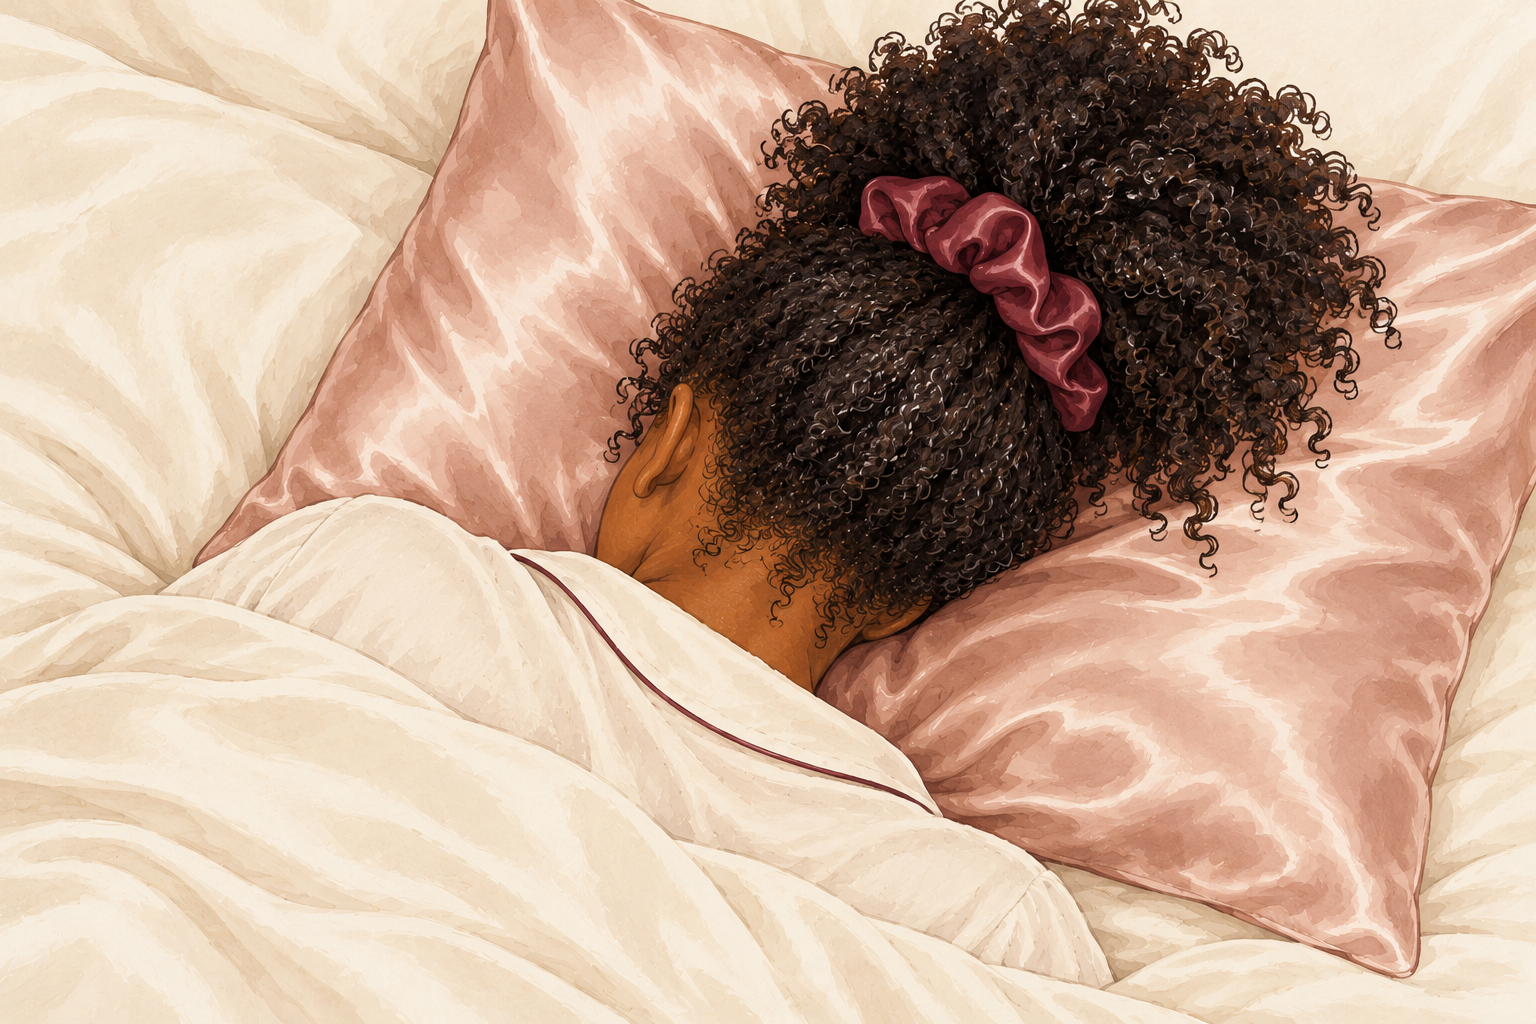
Gather your hair into a loose pineapple on top of your head, or a loose braid, before bed. Satin or silk against your hair lets it slide instead of catch. Avoid tight elastics, which snap curly strands right where they sit. A soft scrunchie is the gentler choice. Do it on dry or nearly dry hair, so the curls are not squashed while wet. A bonnet over the top keeps everything in place and stops cotton from drinking the moisture you worked for. In the morning, shake the curls out with your fingers instead of a brush. Wrap your hair and tie it loosely, with no pull at the hairline.
11. Swap heat and harsh habits for gentler ones
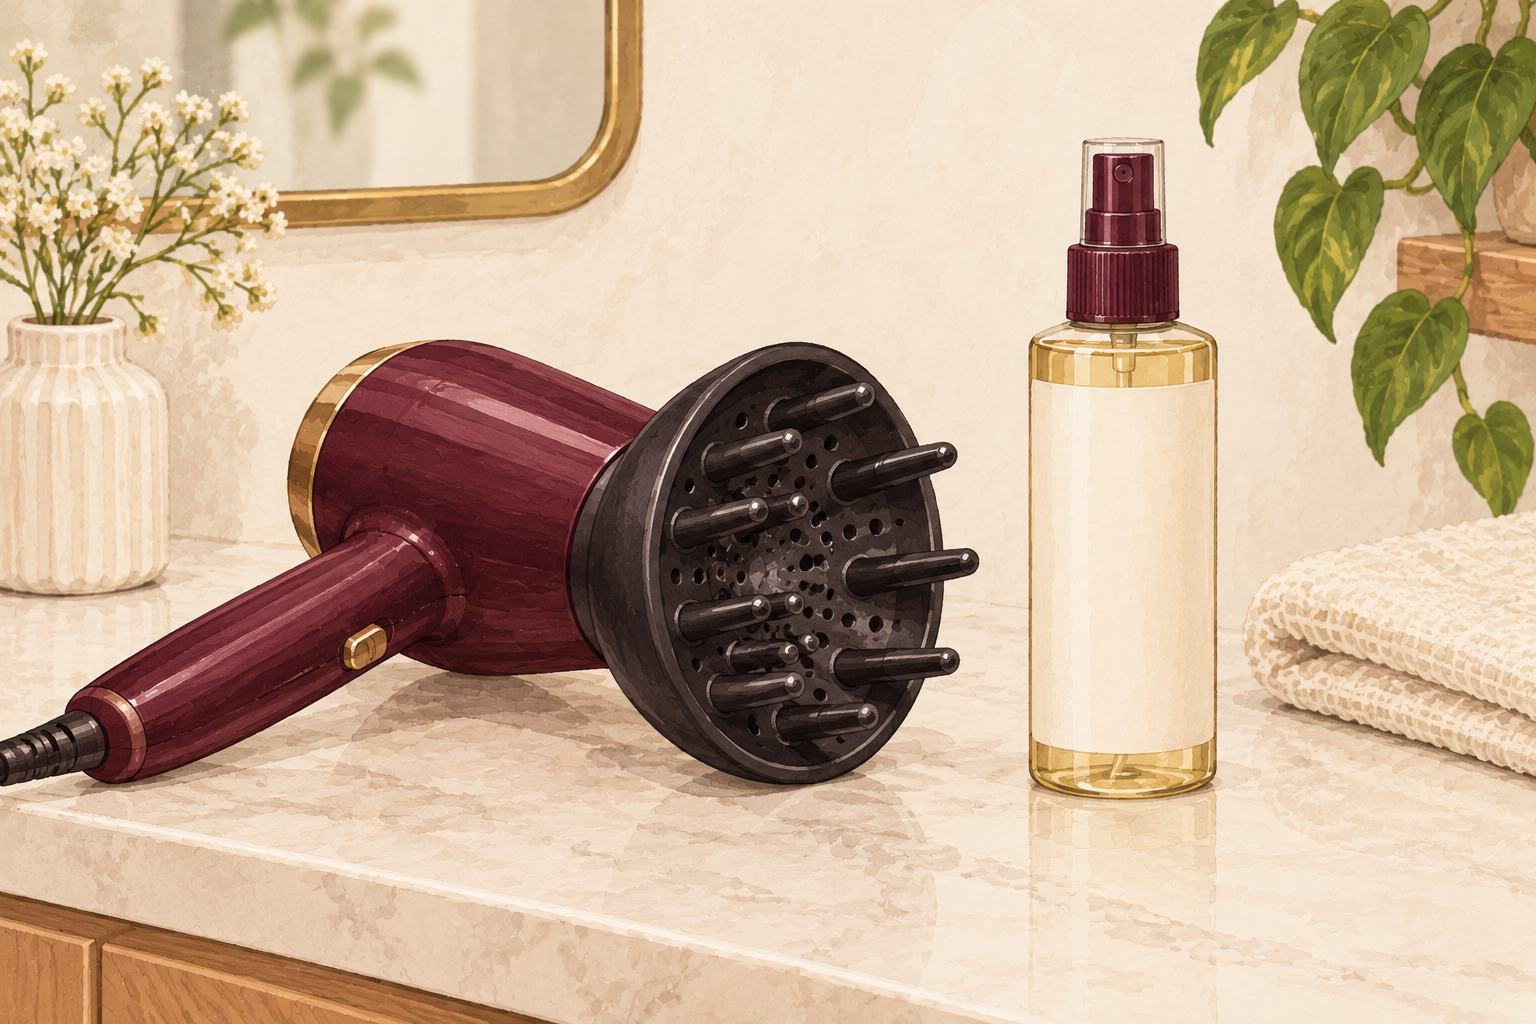
Skip hot tools while your curls recover, or turn them right down and use them rarely. Heat is the biggest repeat offender for damaged curly hair, and a loosened curl will not tighten again. Strong sun dries curls too, so a wide brimmed hat helps on bright days. Avoid tight styles, brushing dry and stacking more product on top of the problem. Air dry or use a diffuser on low heat and a low speed. Give yourself a month off the hot tools and see how the curls behave. Let your hair dry until about eighty percent dry before you touch the diffuser.
12. Trim, then expect slow progress
When you feel ready, trim off the stretched, limp ends so healthy curls can take over. A small trim beats a big chop, though dead ends held on to for sentiment only snag the rest. In week one, hair usually feels softer after washing. By week four, you may see fewer snapped pieces on the sink and tighter curl clumps. By week eight, new growth at the roots shows the pattern you are working toward. The damaged strands will not transform, and that is normal. If you see thin patches, hold the gentlest routine steady for a month.
Complete the Routine: Next Steps for Damaged Curly Hair
Tonight, detangle with conditioner in your hair and tie it loosely before bed. For more repair ideas, read damaged hair repair and hair mask for damaged hair.