Your waves used to bounce, and now they hang flat on top and frizz at the ends. Heat, bleach and rough brushing wear out the wave pattern, and damaged wavy hair needs a lighter touch than thick curls do. These 12 fixes show what can come back and what needs a trim, so start at number one tonight.
1. Compare your roots to your ends
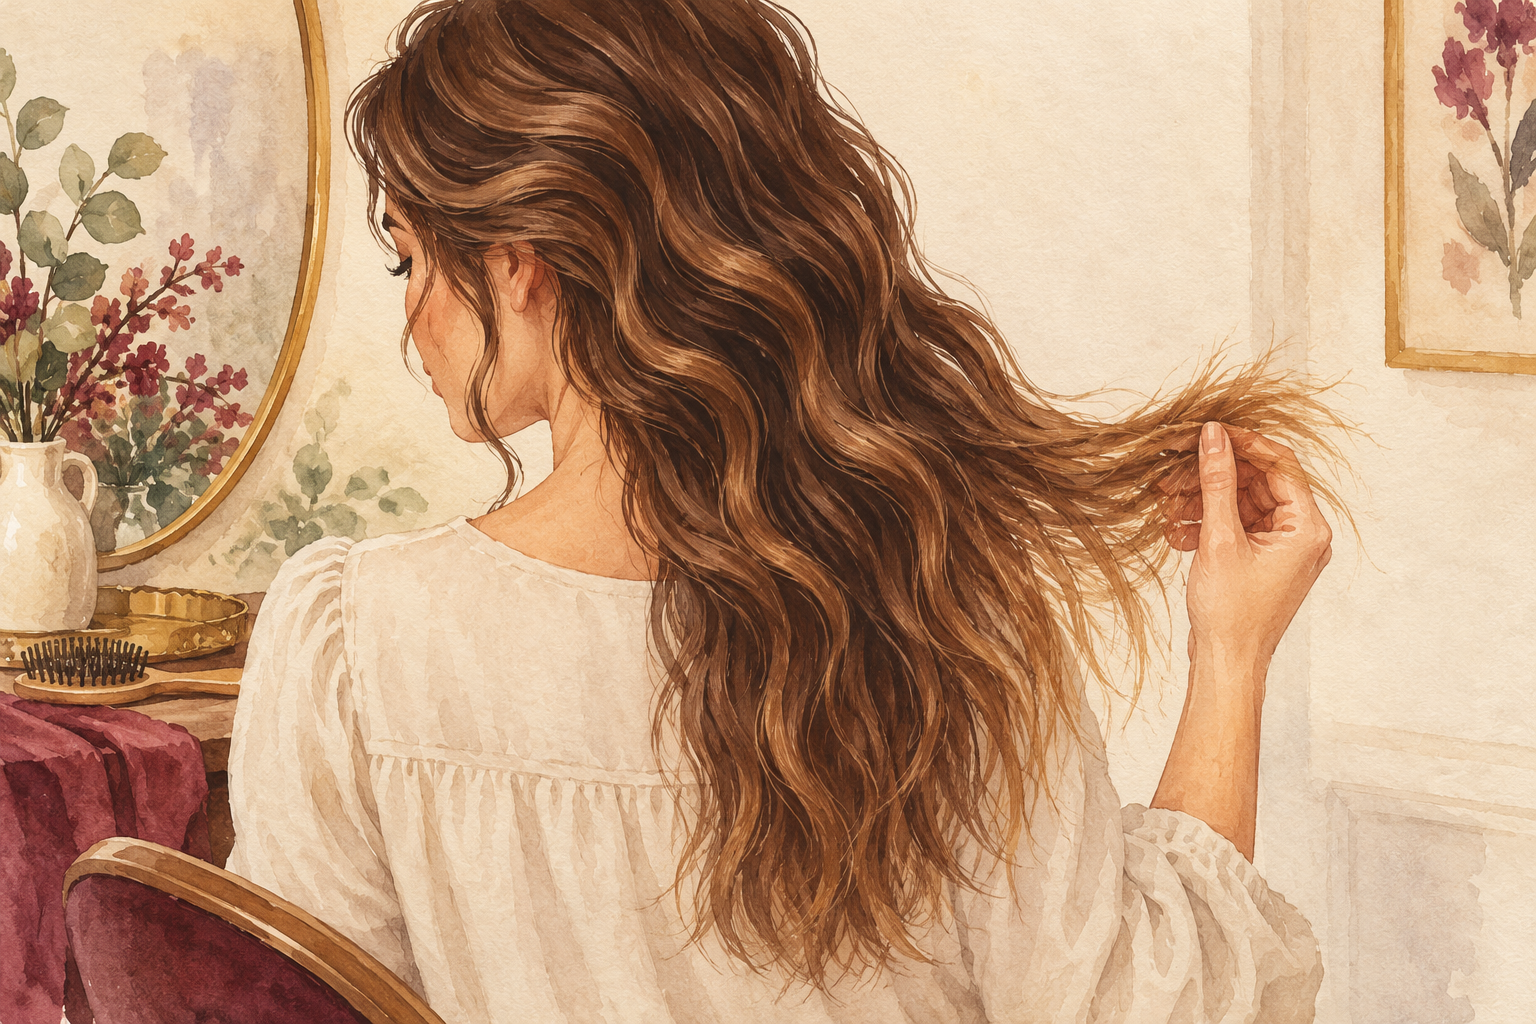
Rinse your hair, let it air dry with nothing in it, and compare the new growth at the roots with the ends. Waves at the roots that fade to flat or frizzy lengths mean the damage sits in the older hair. That tells you where to focus, because roots do not need the same care as ends. Run your fingers down from root to tip, and notice where the texture changes from smooth to rough. It is often at ear level or lower. You will likely see the wave come back at the roots as new hair grows in, which is a good sign to keep in mind.
2. Do a gentle wet stretch test
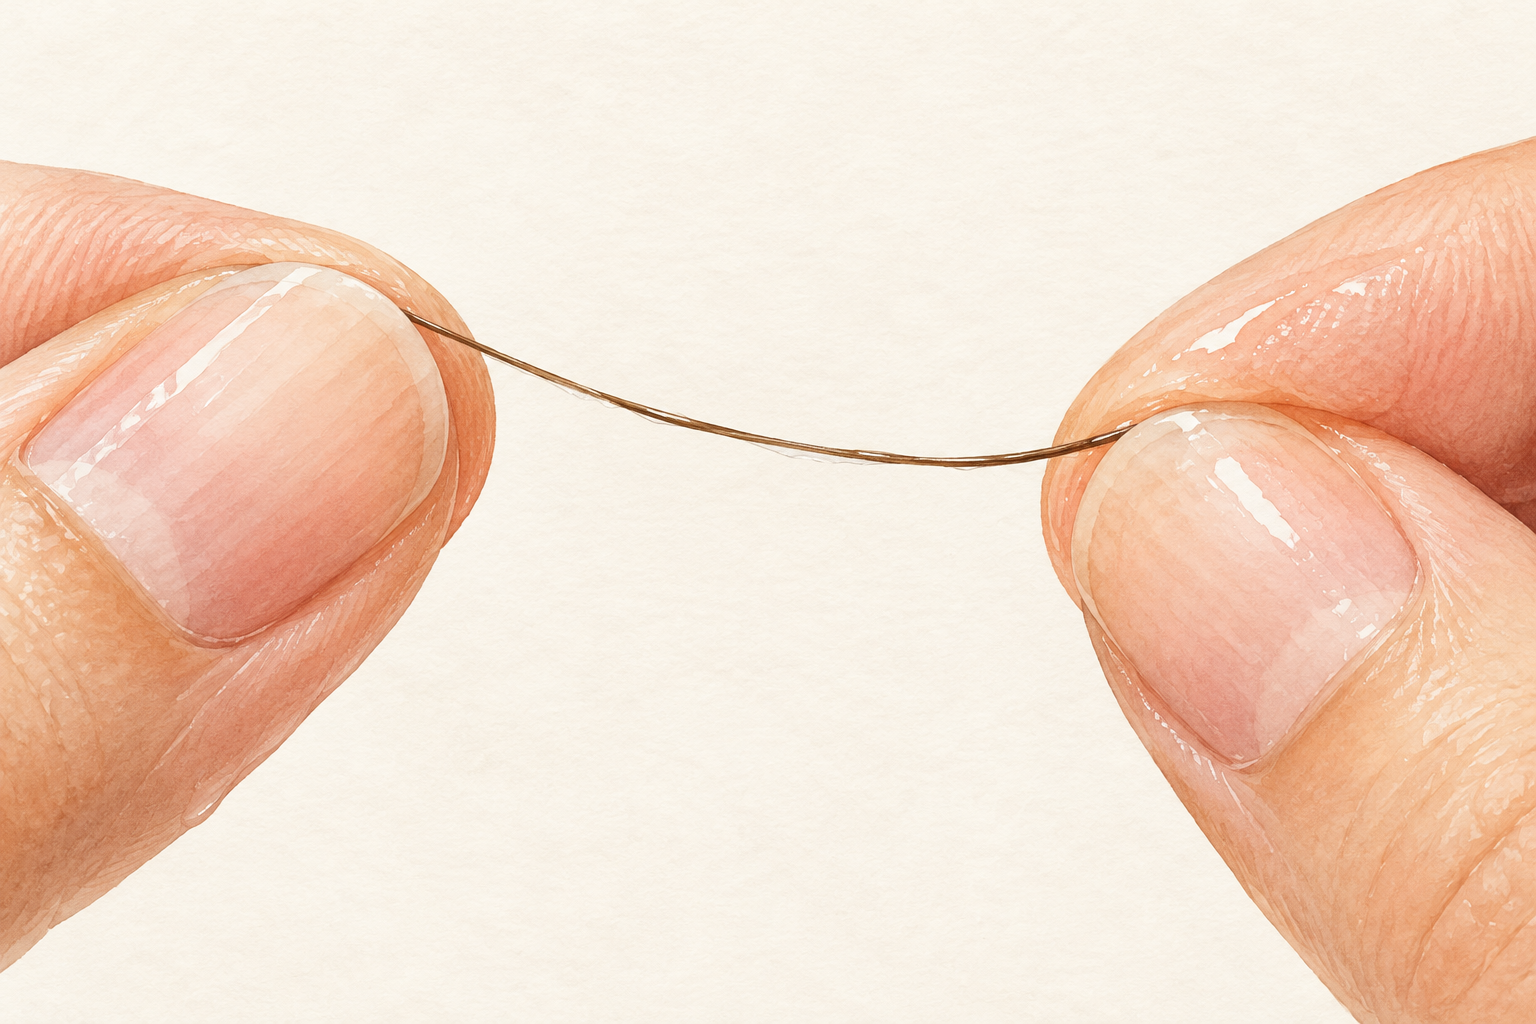
Take one wet strand and pull it softly between your fingers. Healthy hair stretches a little and springs back to its wave. Damaged hair either stretches and stays stretched, like old elastic, or snaps with very little pull. Test two or three strands, and be gentle, because you are checking, not breaking. A strand that snaps right away needs rich moisture and a trim. One that stretches and stays limp wants a little protein, such as a mask with silk or rice in it. Knowing which one you have saves you from the wrong product, and from a month of waves that feel worse each week.
3. Cut off the ends that will not wave again
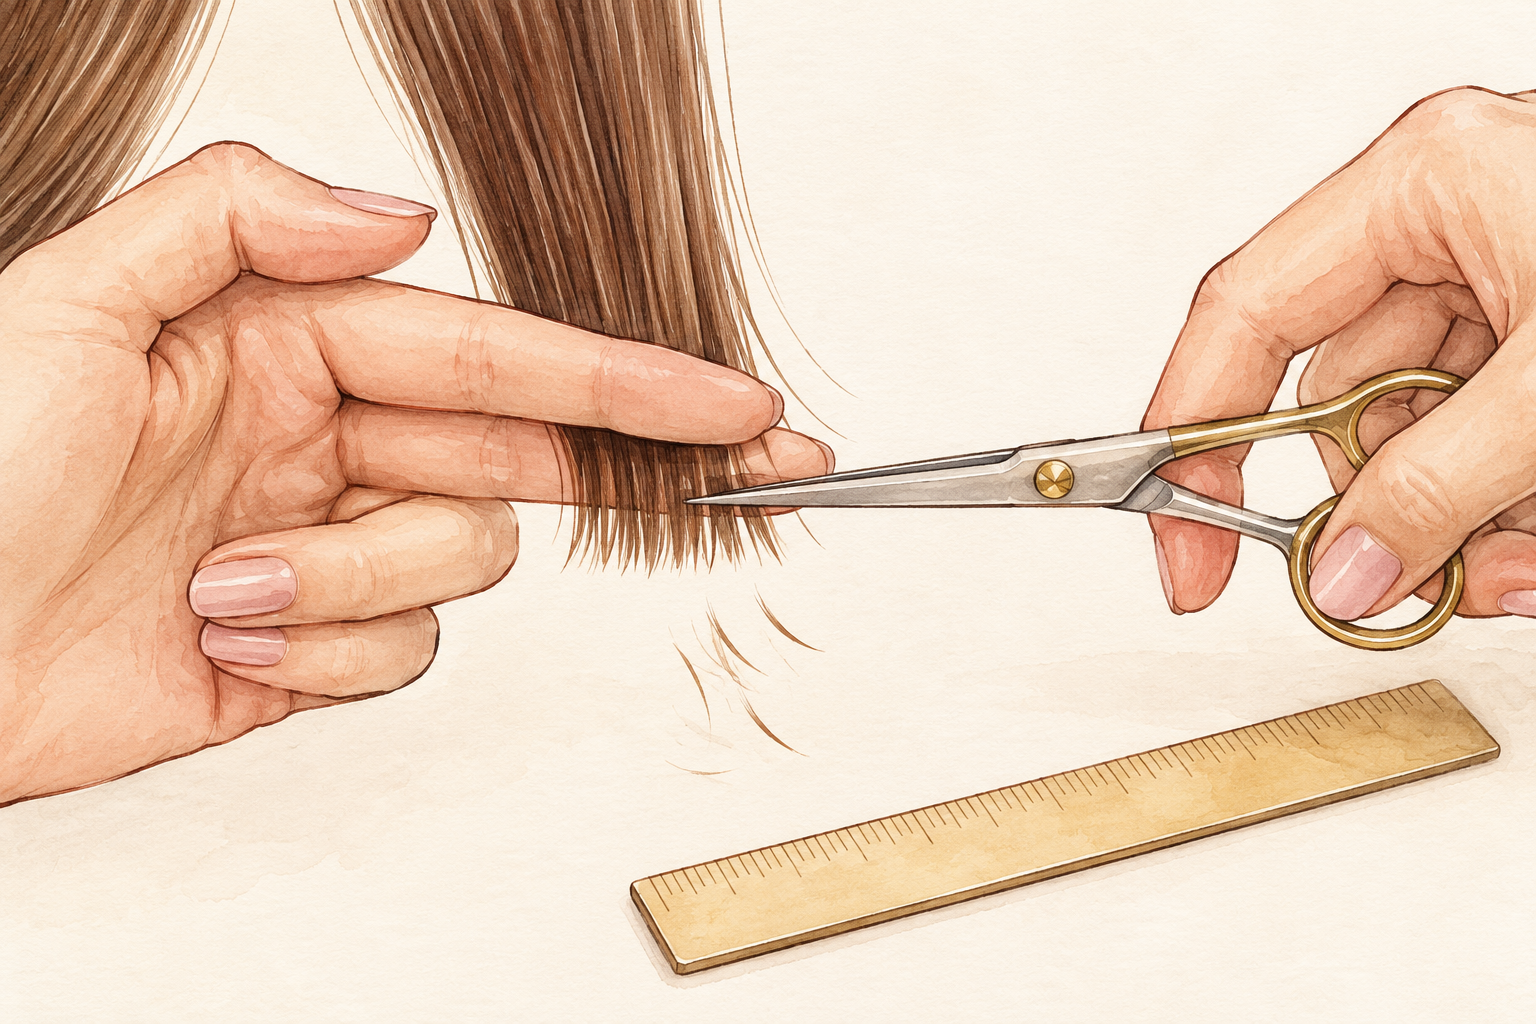
Trim off the worst of the straight, frayed ends, even if it is only an inch. Hair that has been bleached or heat styled to death will not bring its wave back, and those ends drag the rest of your waves down. A trim lets the wave pattern show again from the roots down. Start small, one inch, and see how it looks. You can always cut more later, but you cannot add it back. Dry cutting your waves, wave by wave, helps you see the shape. After a trim, damaged wavy hair often looks lighter and bouncier at once.
4. Shampoo the scalp only
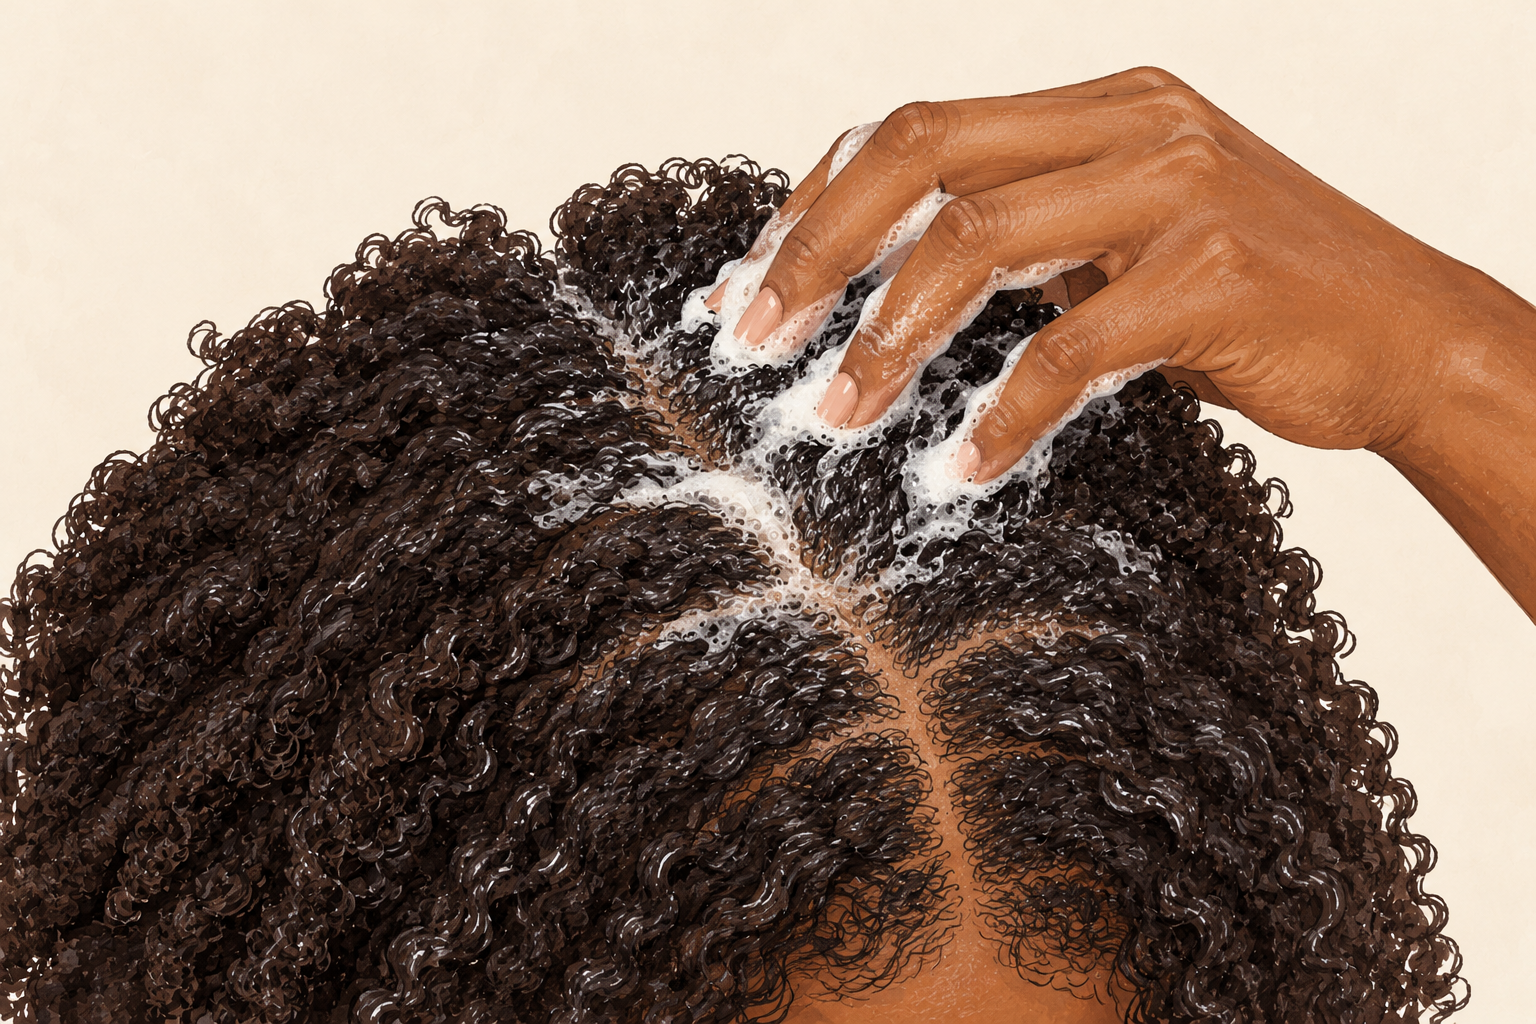
Use a small coin of mild shampoo on your roots and let the suds rinse down the lengths. Rubbing shampoo through damaged ends strips what little oil they have left, and the frizz gets worse. Wash two or three times a week if you have oily roots, or less if you are dry. Choose a gentle formula, and skip anything labeled for deep cleaning or oily hair. Rinse with lukewarm water, not hot. Your scalp should feel clean without squeaking. If your roots go flat by day two, a quick root only wash fixes it without drying the rest.
5. Condition the ends first and comb with it in
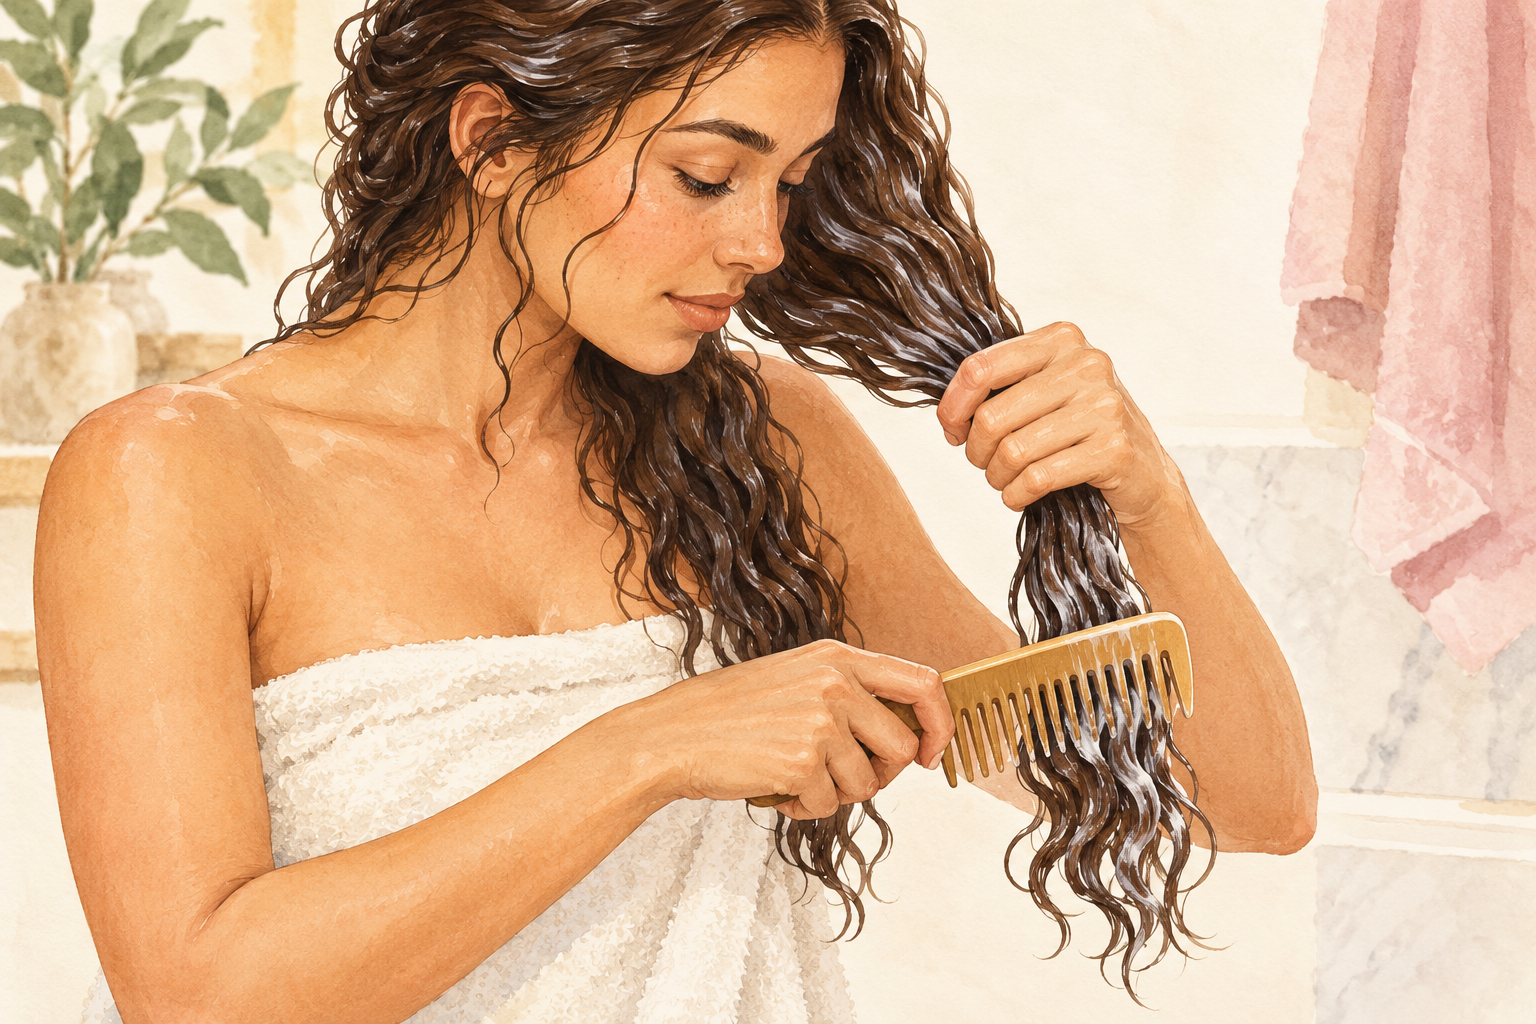
Smooth conditioner onto the ends first, then upward, and comb through gently with a wide tooth comb while the conditioner is on. Damaged hair breaks easily when tangled and wet, so the slip matters. Start at the bottom, working a small section at a time. Use a palm full for shoulder length hair. Leave it on for three minutes, then rinse most of it out. Take a lighter hand at the roots, because waves go flat under heavy conditioner. If your comb snags, stop, add more conditioner and ease it through, instead of pulling. Hold the hair above the knot with your other hand so the pull never reaches your scalp.
6. Use a weekly mask, but keep it light
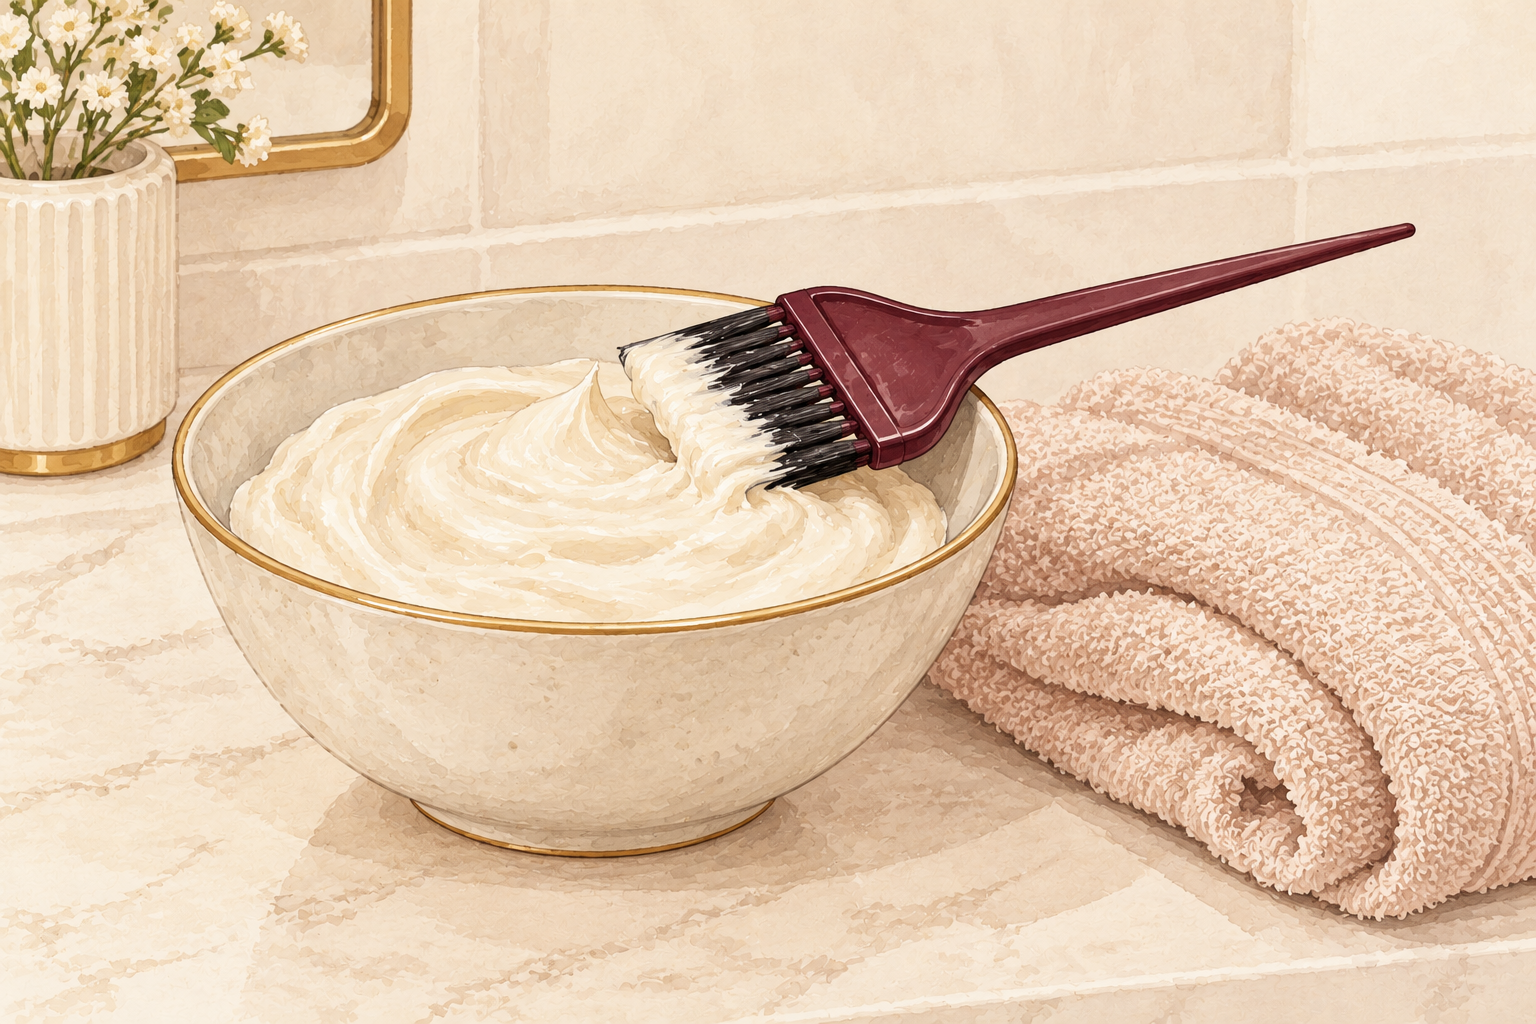
Apply a mask to the ends once a week for ten to fifteen minutes under a shower cap. Waves are fine to medium in body, and a heavy butter mask leaves them limp and greasy. Choose a mask that feels creamy and rinses clean. Pair a moisture mask with a protein one every other week if your hair swings between mushy and snappy. Keep it on the ends and mid lengths only. Rinse well, and then finish with a cool splash of water. If your waves feel weighed down after, use less or skip a week. Rinse until your fingers glide through without a film.
7. Scrunch in cool water before you step out
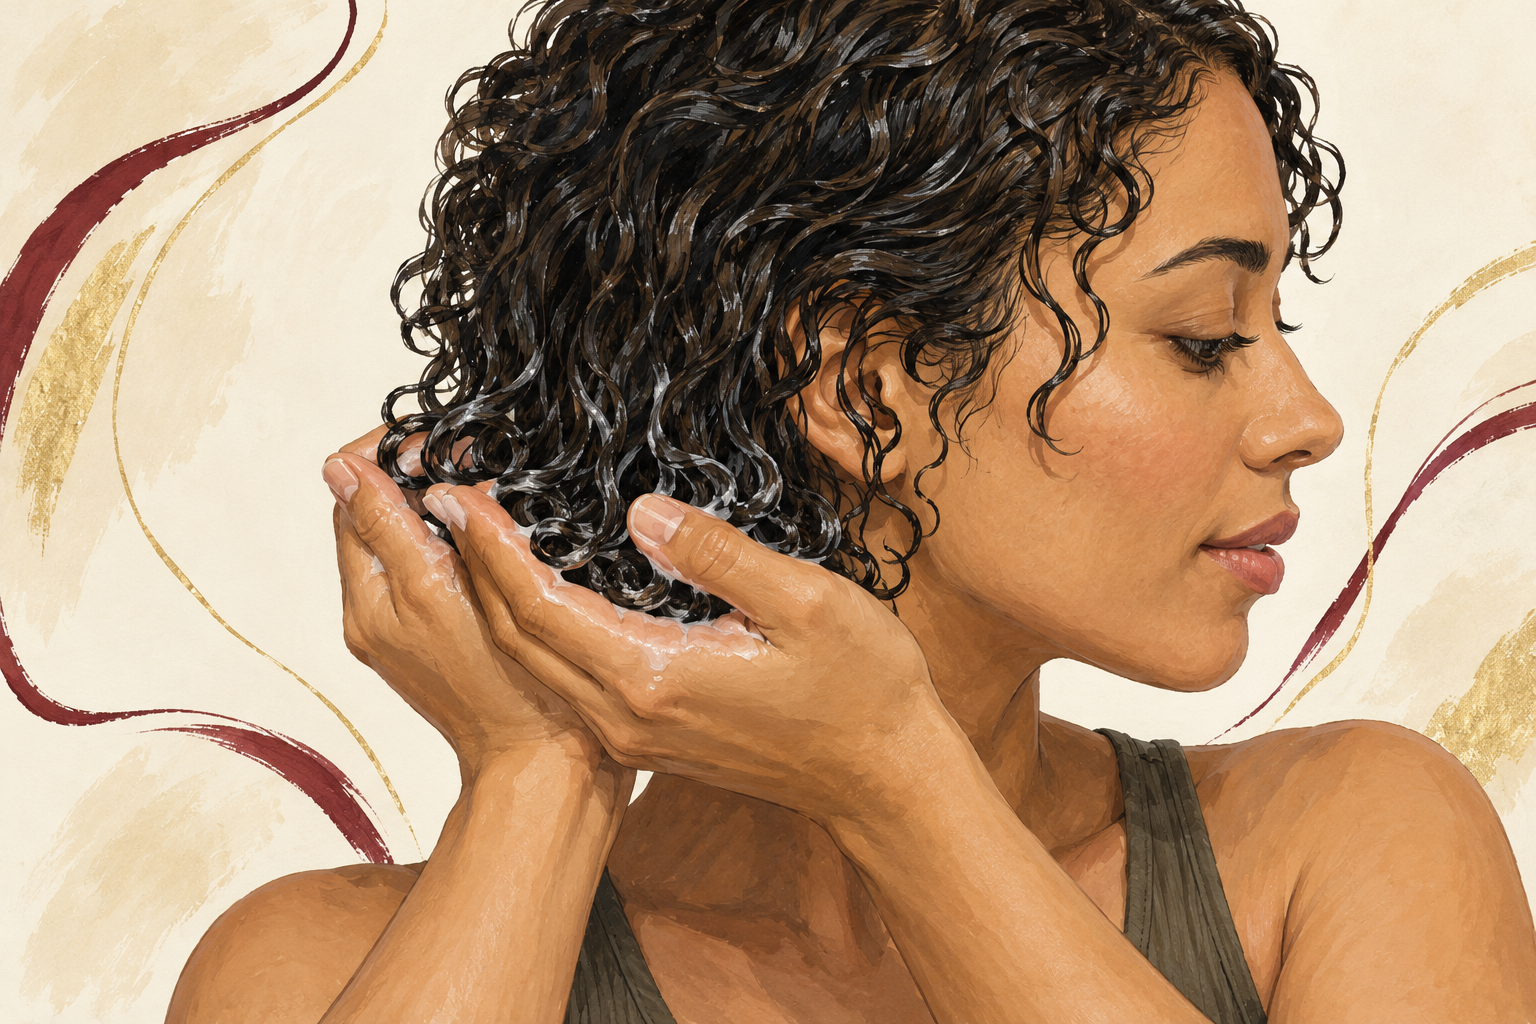
Cup the ends in your hands and scrunch upward under a splash of cool water in the shower. Cool water helps the outer layer of the hair lie flat, which gives you more shine and less frizz. Squeeze the water out gently, and do not rub or wring. This also helps your waves clump together as they start to dry. Do it for about thirty seconds. Waves need that scrunch to remember their shape, and damaged hair needs it more than healthy hair. It is a thirty second step you can add to any wash, and you will see the shine on the first day.
8. Start with a pea of leave in
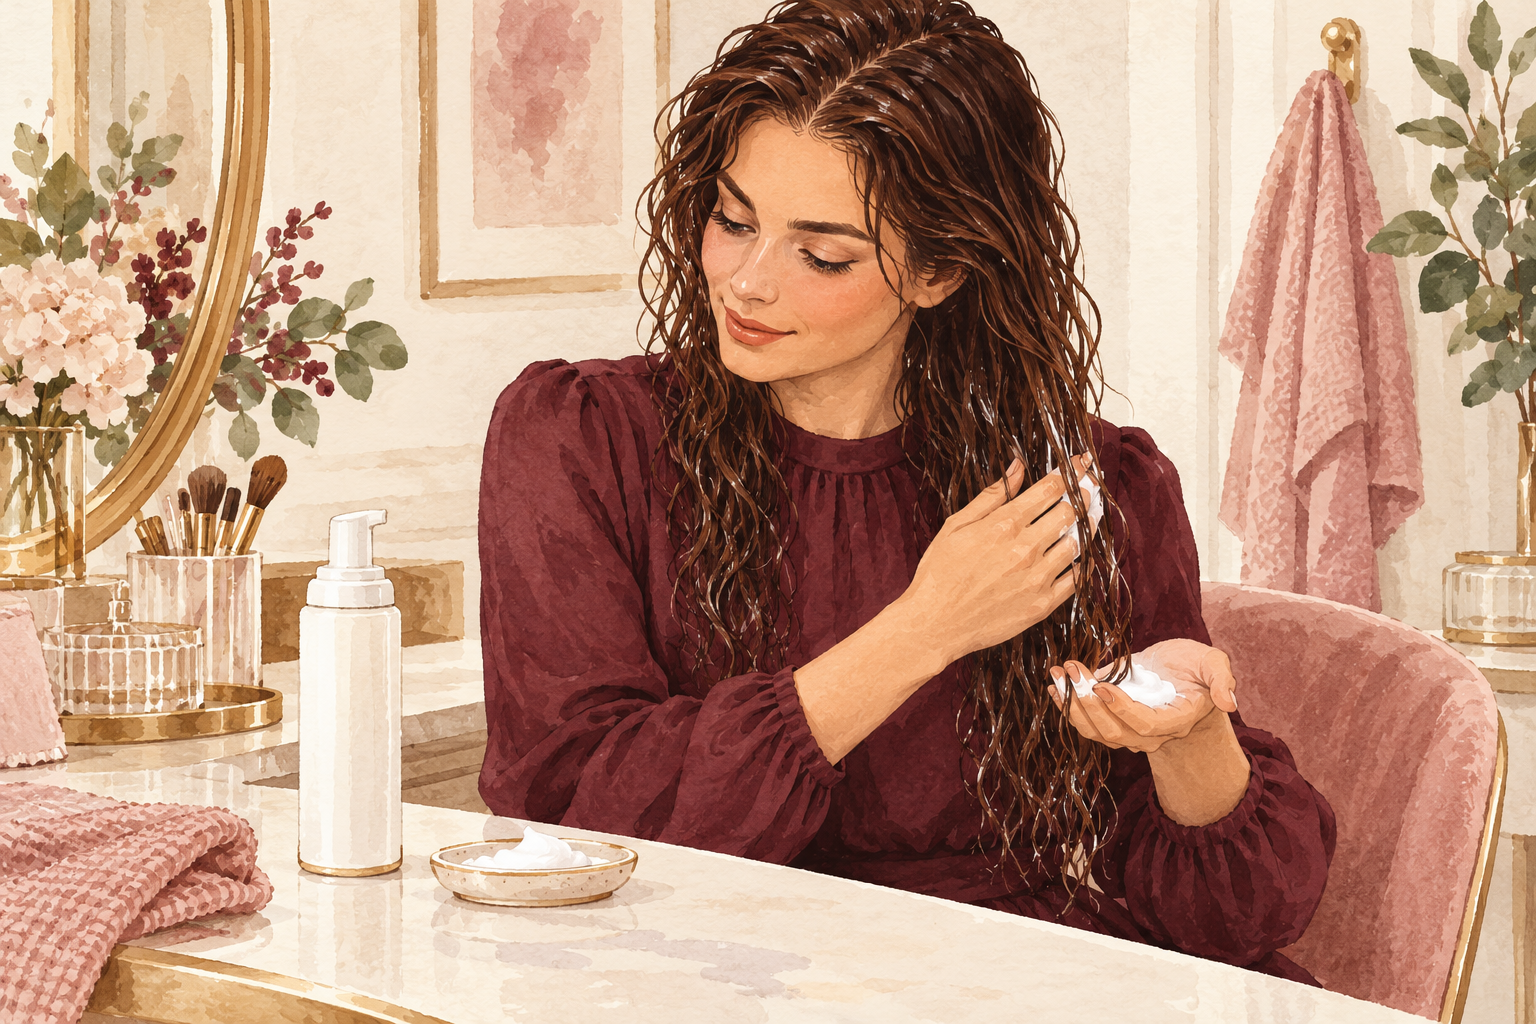
Smooth a pea sized amount of light leave in cream through damp ends, then scrunch in a little mousse for hold. Waves go limp under heavy products, so start small and add a little at a time. Apply to the ends and mid lengths, leaving the roots alone. Wavy hair needs lightness to keep its lift. If your hair feels sticky or looks greasy, you used too much. Mousse gives the wave a soft shape without the weight of gel. Apply it when your hair is soaking wet, then leave it alone to dry. A golf ball of mousse is plenty for shoulder length waves.
9. Dry without rubbing or touching
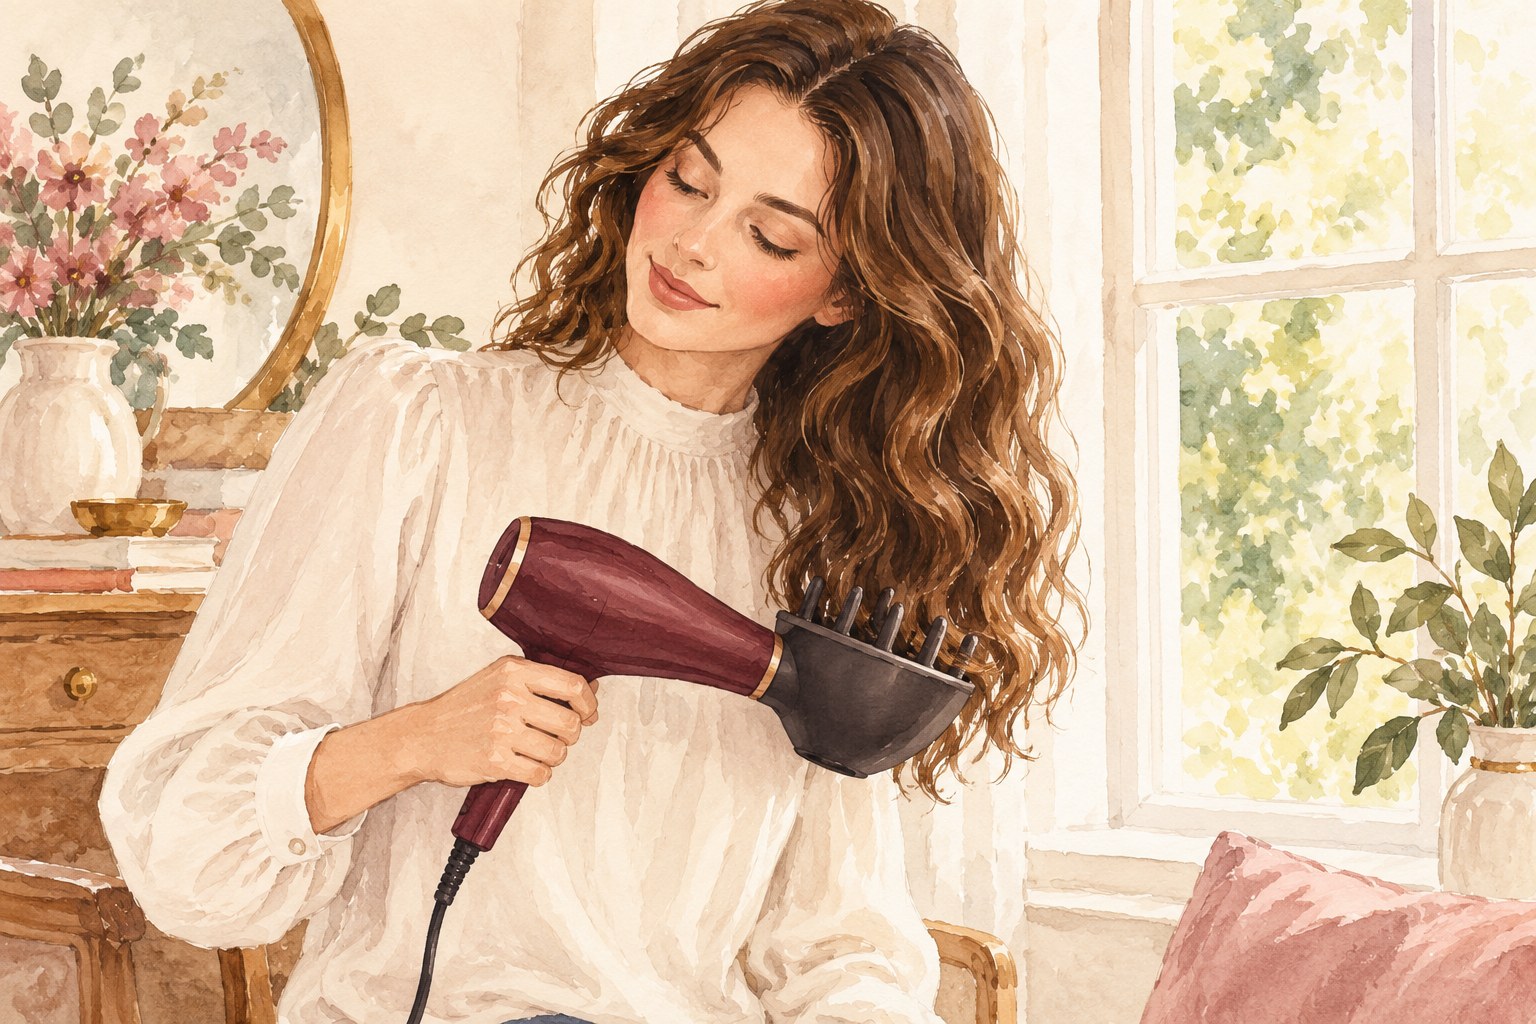
Blot with a soft cotton tee shirt, then let your hair dry untouched, in the air or under a diffuser on low. Rubbing with a towel roughens the outer layer and creates fuzz. Touching waves as they dry breaks up the clumps, and you end up with frizz. Hold the diffuser still, without waving it around. If you air dry, give it an hour or two. Keep your hands in your lap and resist the urge to fluff. When the hair is fully dry, scrunch gently to soften any crunch, which should leave the wave bouncy. If the top dries before the underneath, flip your head and give the back a few minutes more.
10. Swap the daily flat iron for a heat day plan
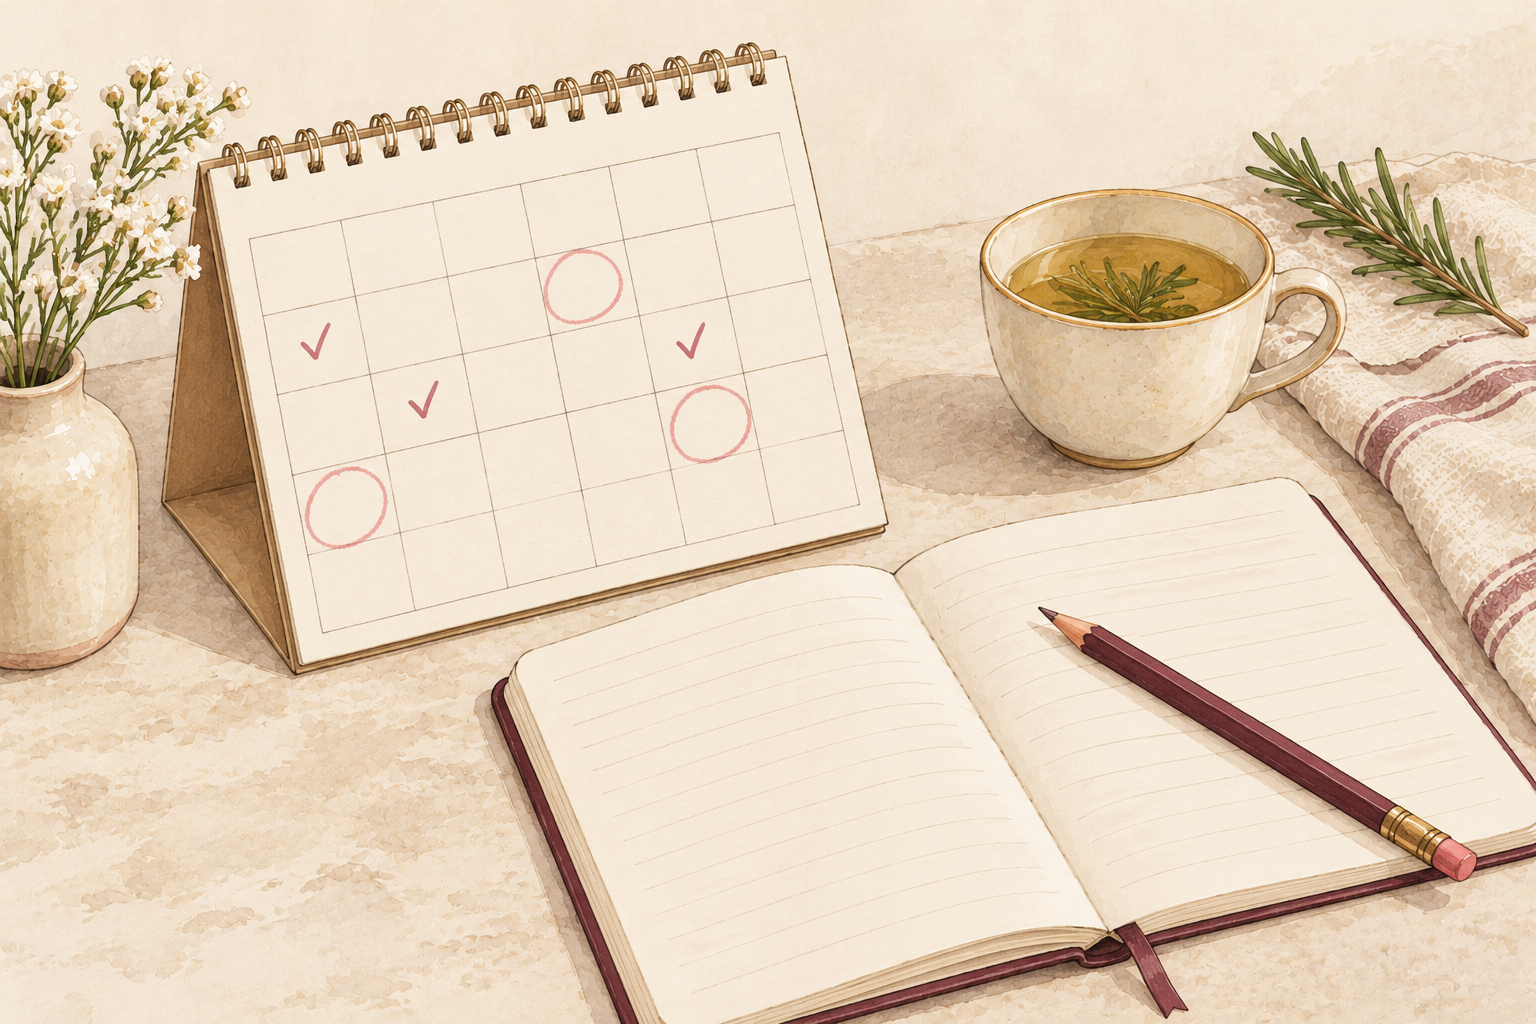
Cut flat ironing to one or two days a month, and always spray a heat protectant first. Daily heat is what flattens waves for good. Use the lowest setting that works, and go over each section only once. Let your hair dry before you use any hot tool, since steam from wet hair damages it fast. Try heatless waves on other days, like a braid overnight or a soft twist set. Your natural wave pattern comes back slowly as new hair grows in, so every skipped heat day helps. Pick your two heat days and mark them on a calendar.
11. Replace tight ties and rough brushing
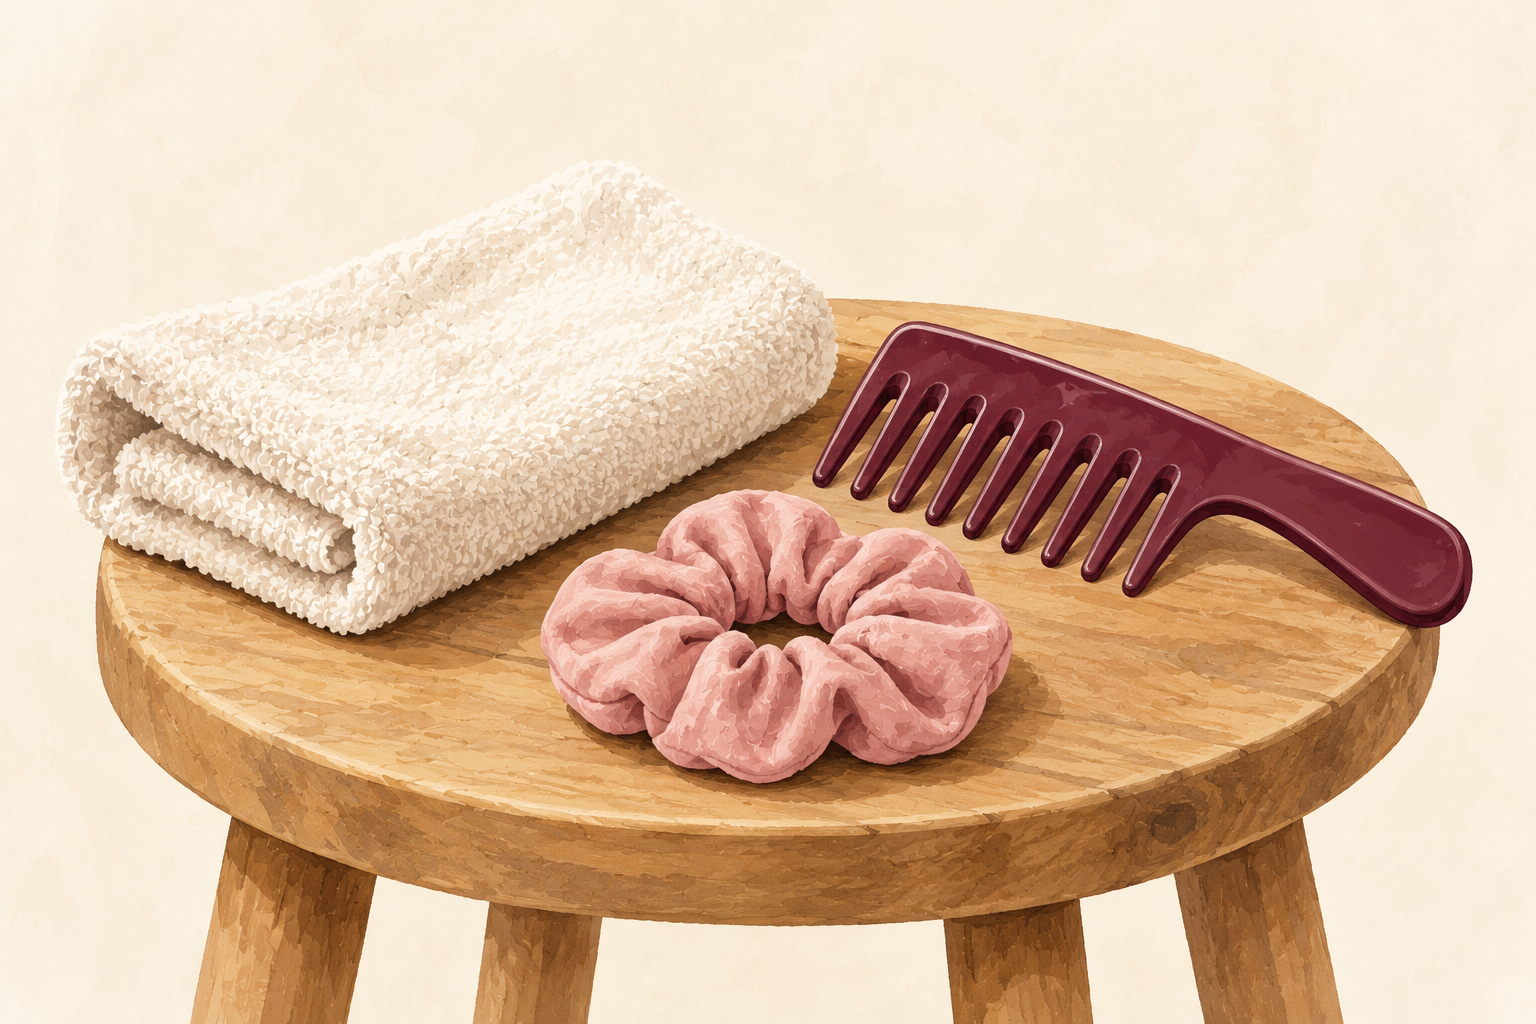
Swap thin elastics for a soft scrunchie or a claw clip, and detangle wet hair with fingers or a wide tooth comb. Tight ties leave a dent and snap the weak ends. Dry brushing pulls apart the wave clumps and rips fragile strands. If you must brush, do it on wet hair with conditioner in, from the ends up. Change where you put your ponytail from day to day so one spot does not take all the strain. Waves are delicate when they are damaged, and small daily habits like these usually do more good than one fancy treatment.
12. Protect your waves at night and be patient
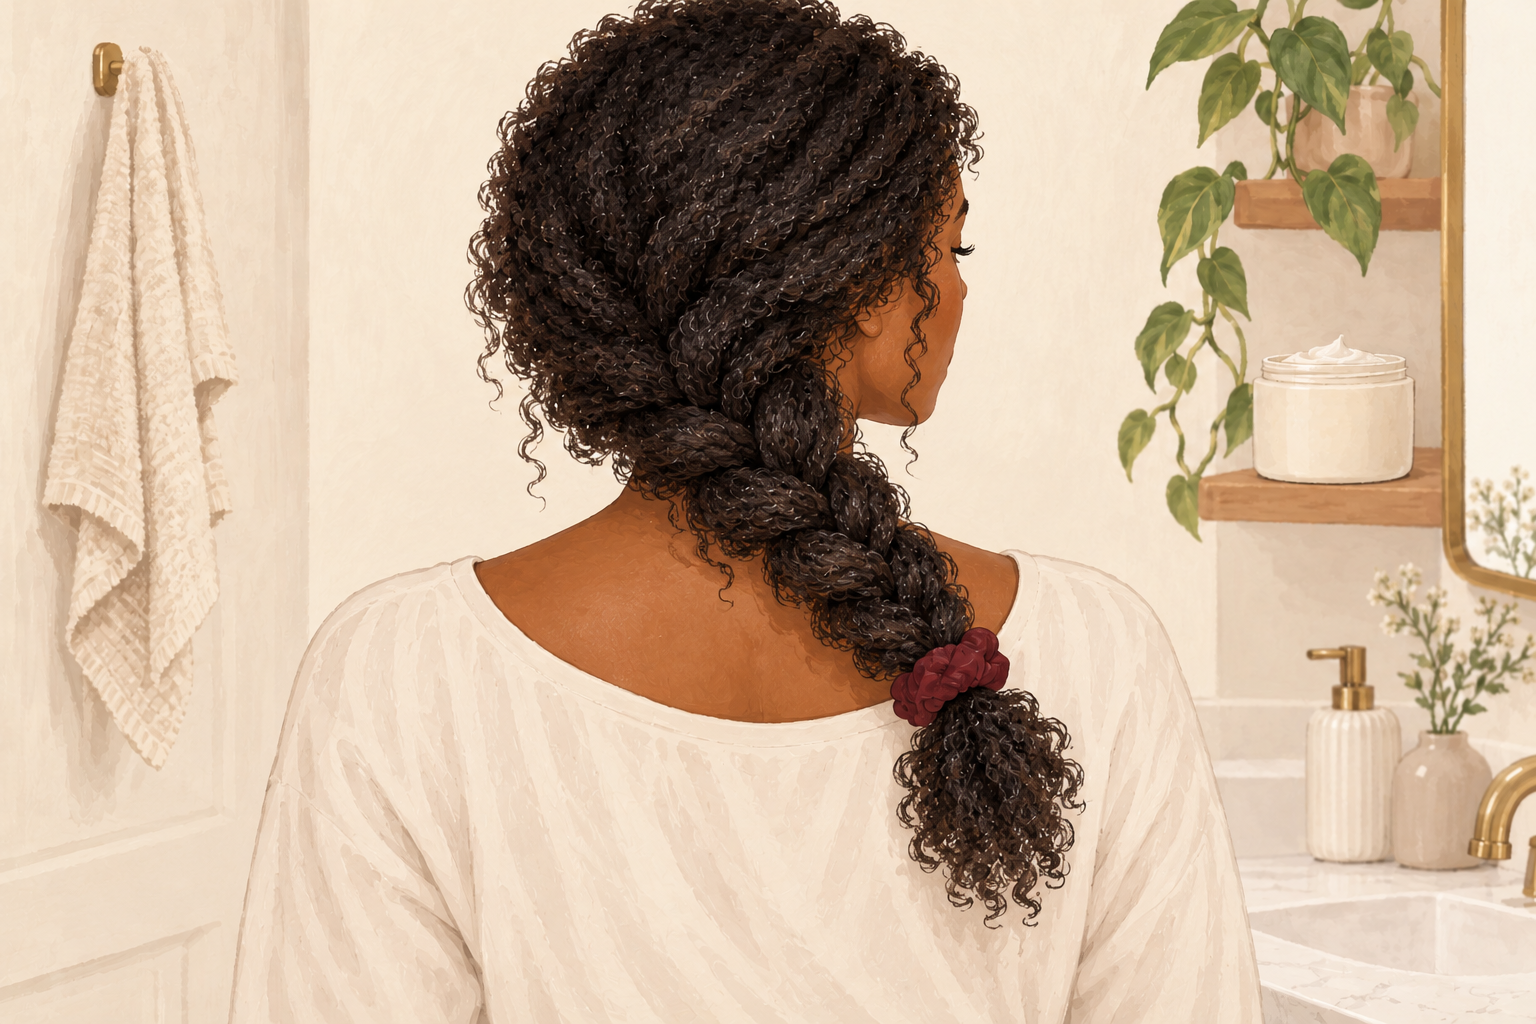
Sleep in a loose braid or a soft pineapple on a satin pillowcase. Cotton drinks moisture from your hair and rubs it rough while you sleep. In the first week, you will likely notice smoother ends and less fuzz. By week four the waves hold their shape longer, and by week eight the new growth shows a clear, bouncy wave. The old damaged hair will not fully recover, so give it time and trims. A small trim every ten weeks keeps the ends from dragging the wave down again. Take a photo each month, in the same light. Damaged wavy hair comes back slowly, but it does come back.
Complete the Routine: Care for Damaged Wavy Hair Every Week
This week, start with numbers 3, 4 and 5. For more help, read about hair mask for damaged hair and heat damaged hair to plan your next steps.