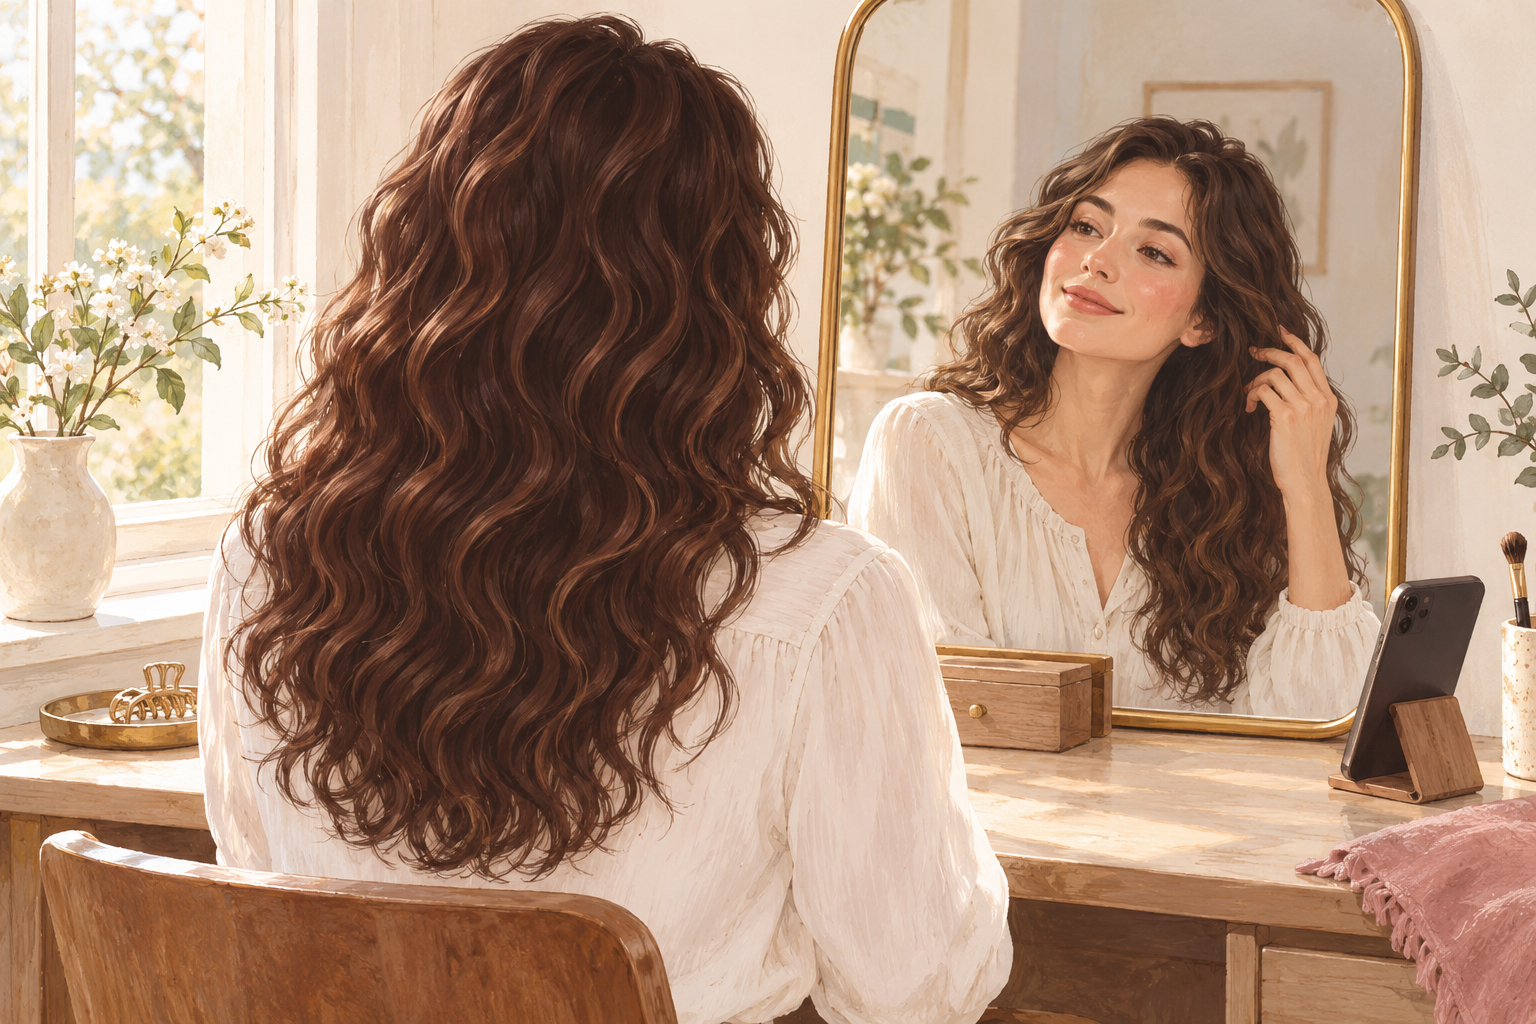
Your curls look great from the chin down, but at the roots they lie flat against your head, and by afternoon the whole shape has slumped. You added more product and it only made things heavier. A curly hair routine for volume is mostly about taking weight off the root and holding the lift while your curls dry. These 12 steps do exactly that, so start at number one tonight.
1. Gather a small volume kit
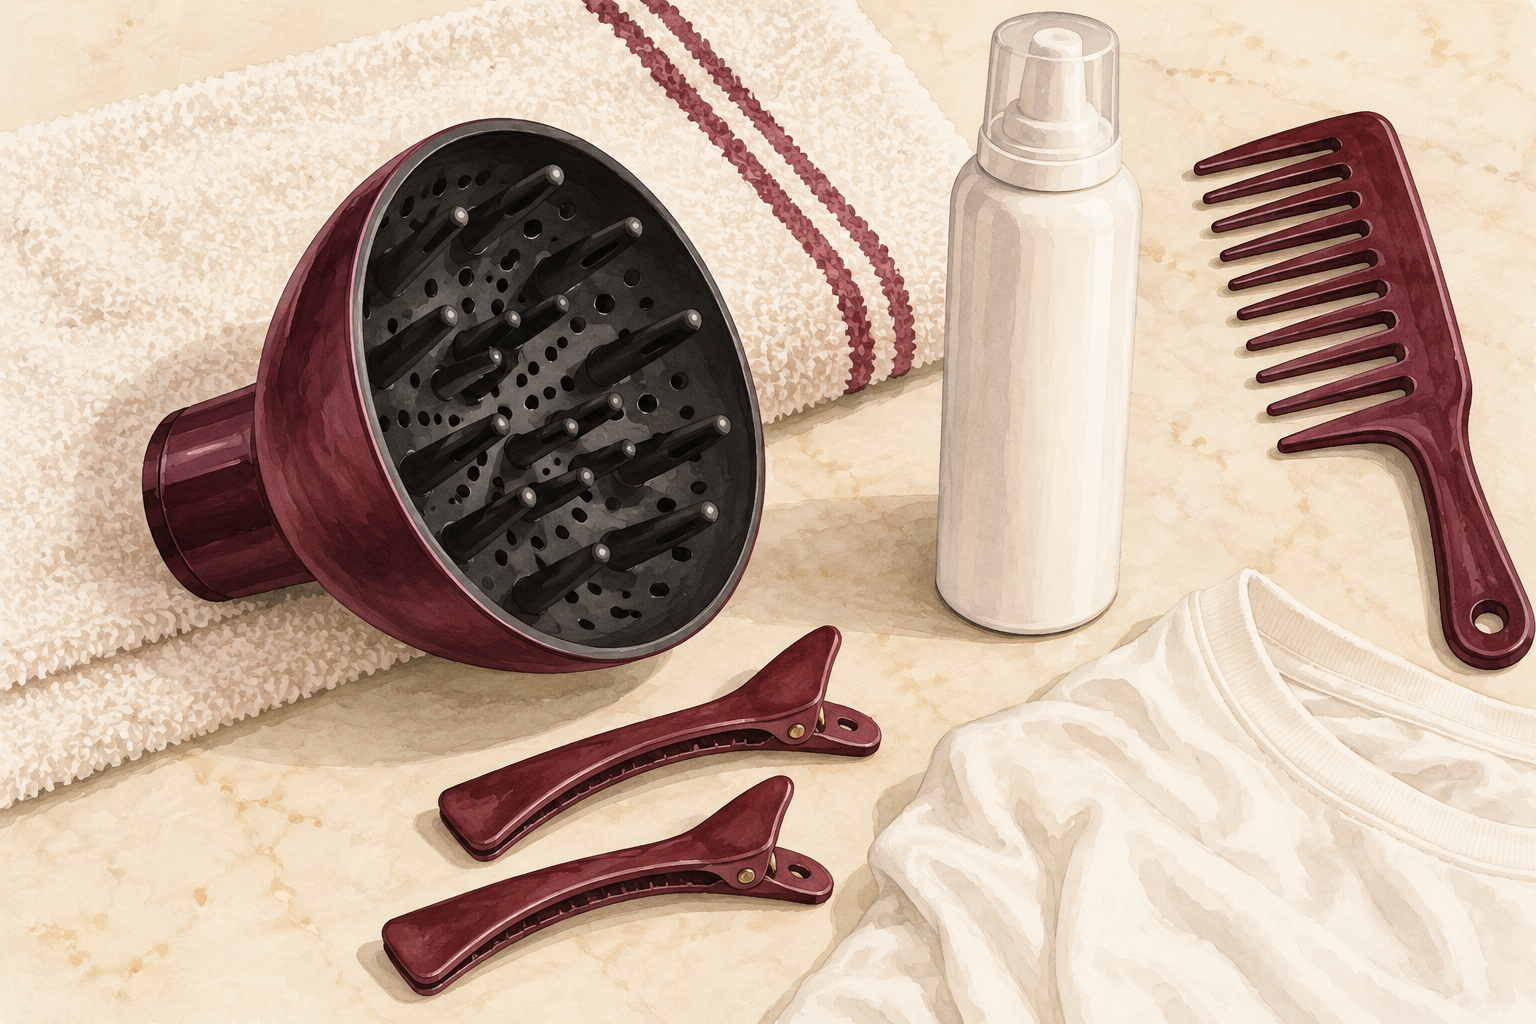
Set out a diffuser for your dryer, two or three duckbill clips, a soft cotton t shirt, a light mousse or foam and a wide tooth comb. That is the whole list. The clips are the secret weapon, because they hold your roots up while the curls dry. Pick a mousse that feels airy on your fingers, like whipped cream, not a thick gel that sits like paste. Put everything within reach of the mirror before your hair gets wet, because curls do not like to wait while you hunt for a clip. Check that the diffuser fits your dryer before wash day, not during it.
2. Find where your roots go flat
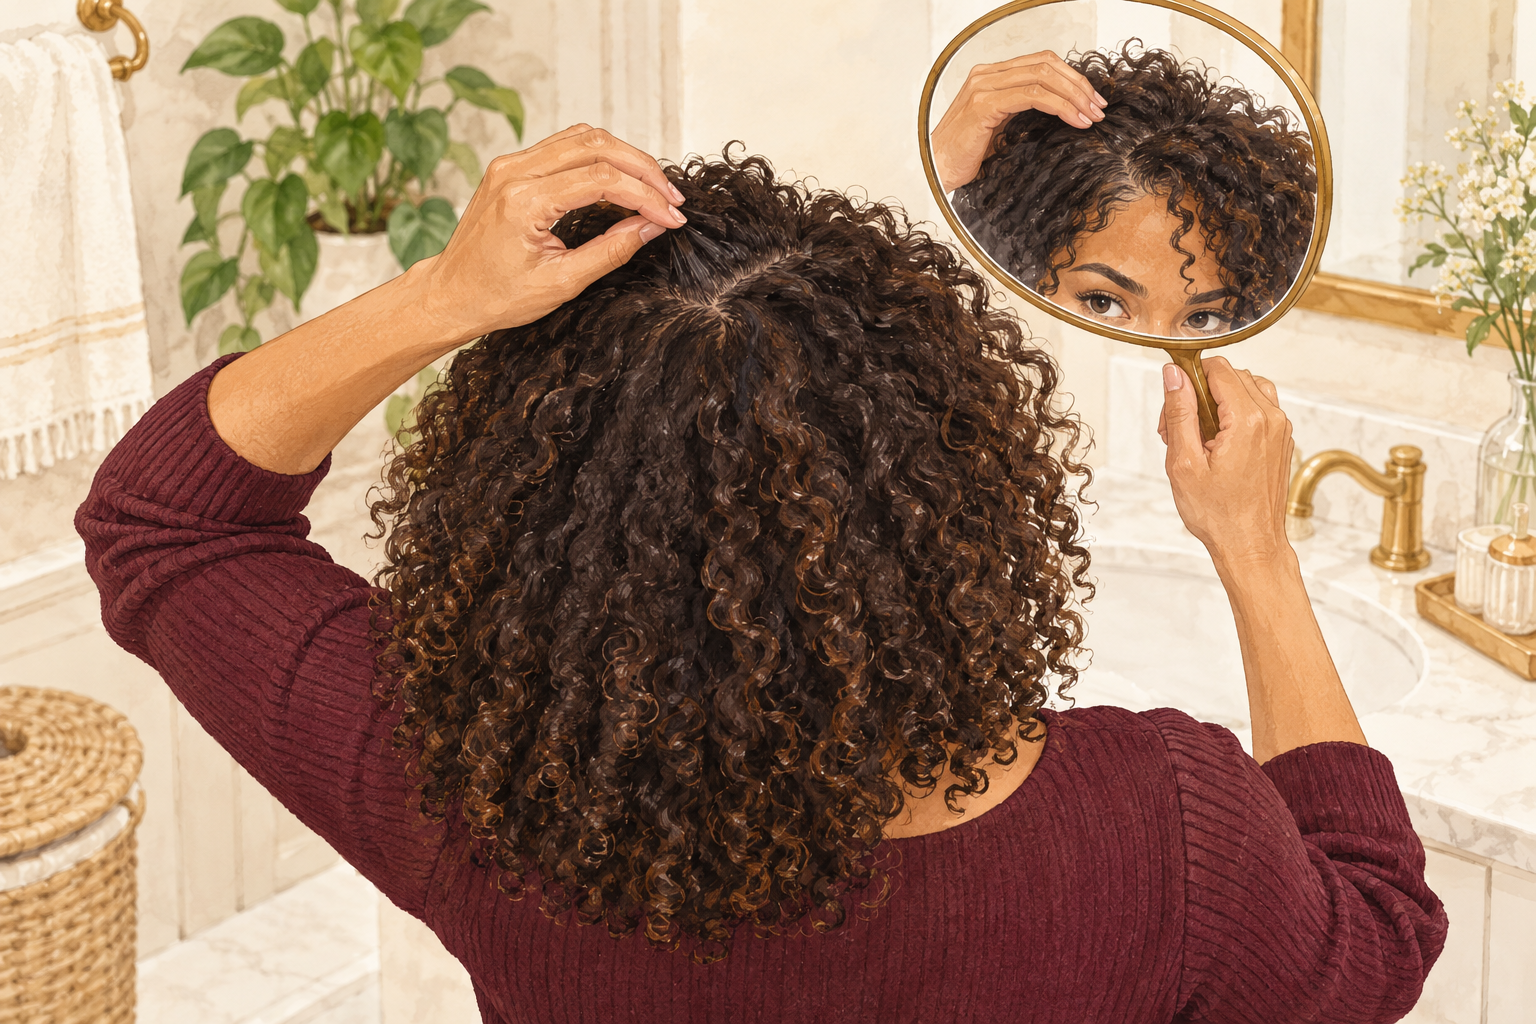
Look at your dry hair in the mirror and find the exact spots that collapse. For most heads it is the crown and the front, where the weight of the length pulls the roots down. Press a flat hand on the area and feel how heavy the curl is above the scalp. Those are the places you will clip later and apply less product to now. Note whether the weight comes from length, oil or product. Knowing the spot beats guessing, and a quick photo from above helps you compare later. Check again after a week, since a good curly hair routine for volume should move these spots.
3. Wash the roots thoroughly
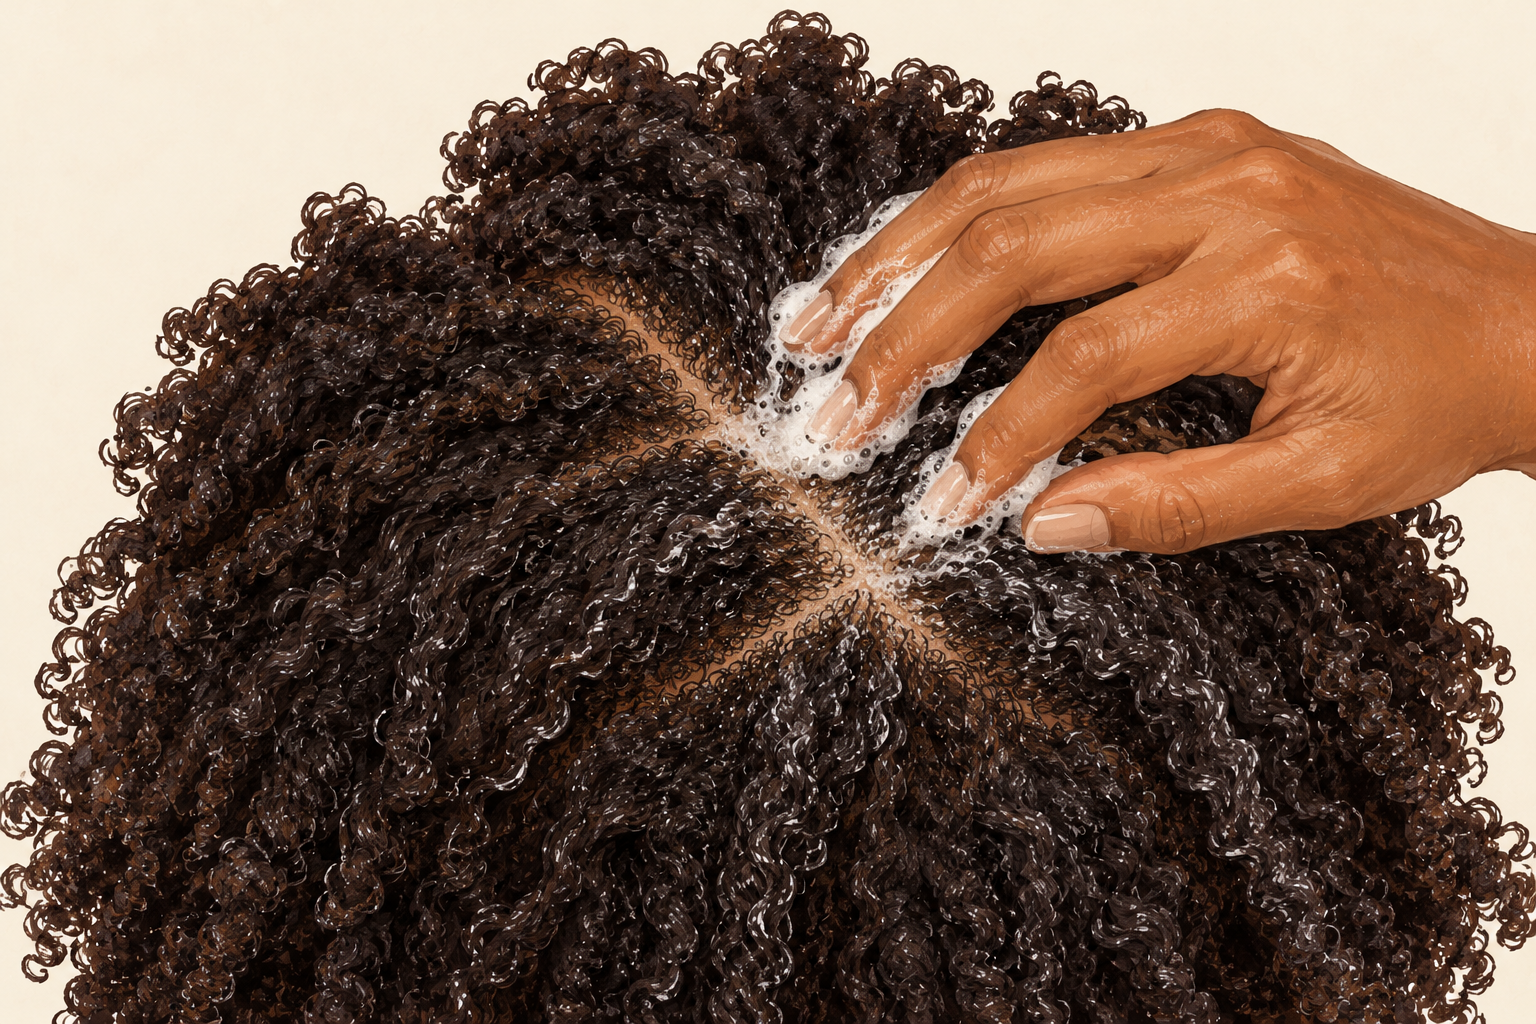
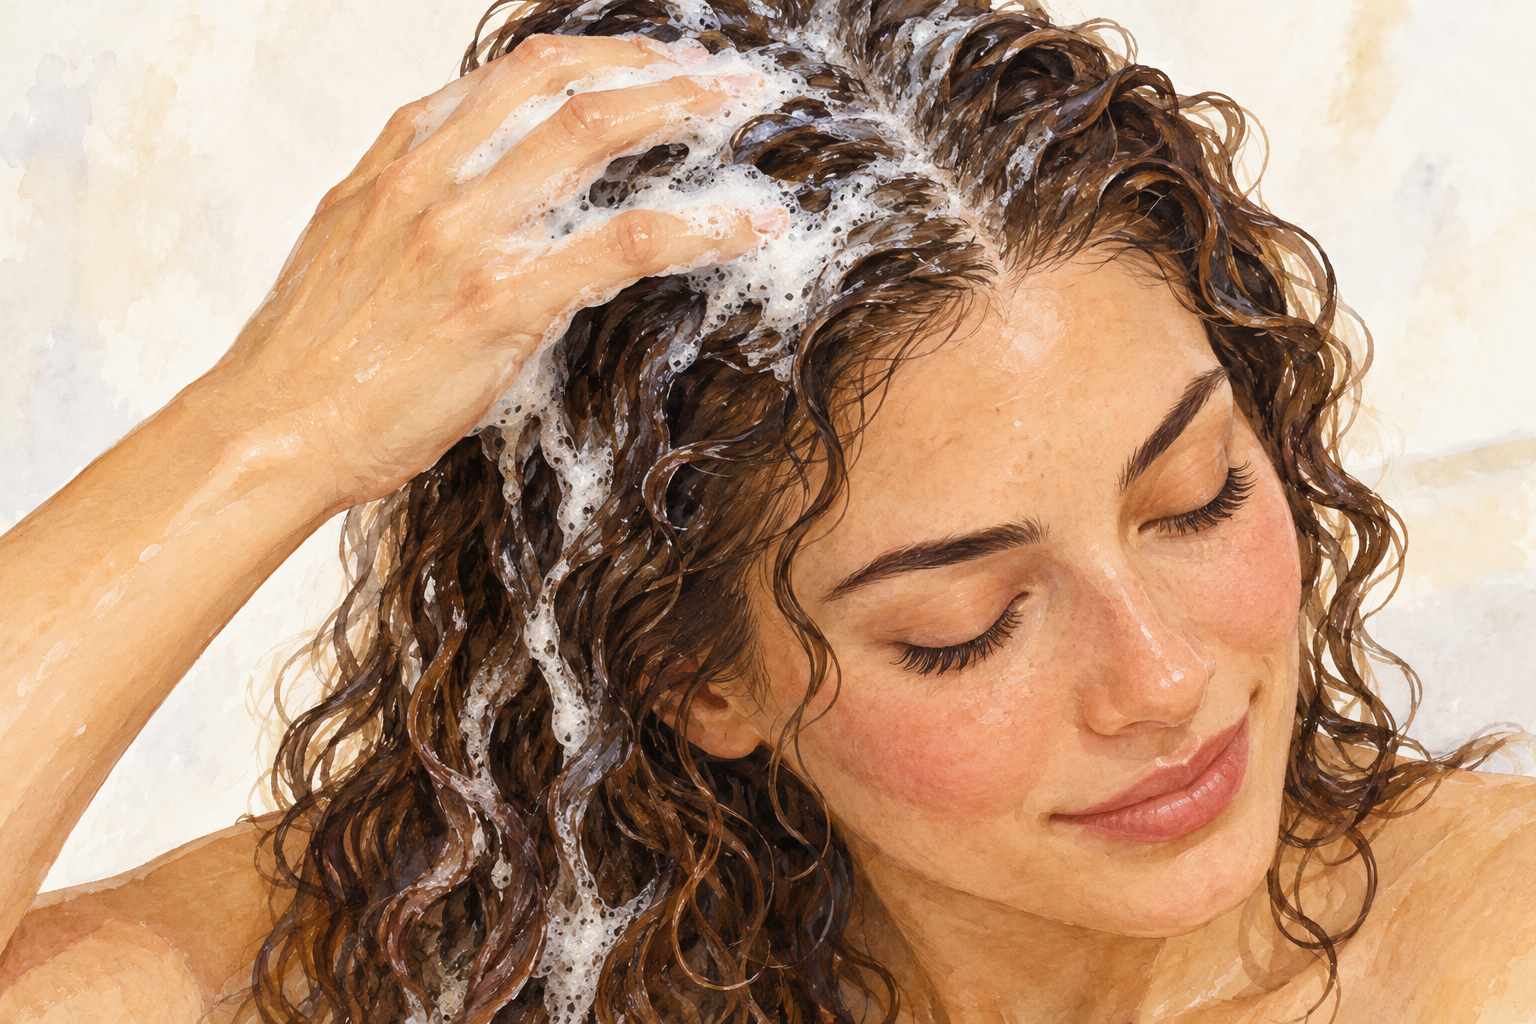
Shampoo your scalp for a full minute and let the foam run down the lengths. Oil and old product at the roots are the first things that flatten curls, so this is where the lift begins. Use fingertips, never nails. Rinse longer than you think, because leftover shampoo is heavy. Clarify with a deeper wash once every two to four weeks if you use a lot of product. Your roots should feel light and squeaky clean before you move on, and your scalp should tingle, not sting. Pat the scalp dry afterwards with the corner of a towel.
4. Condition from the ears down
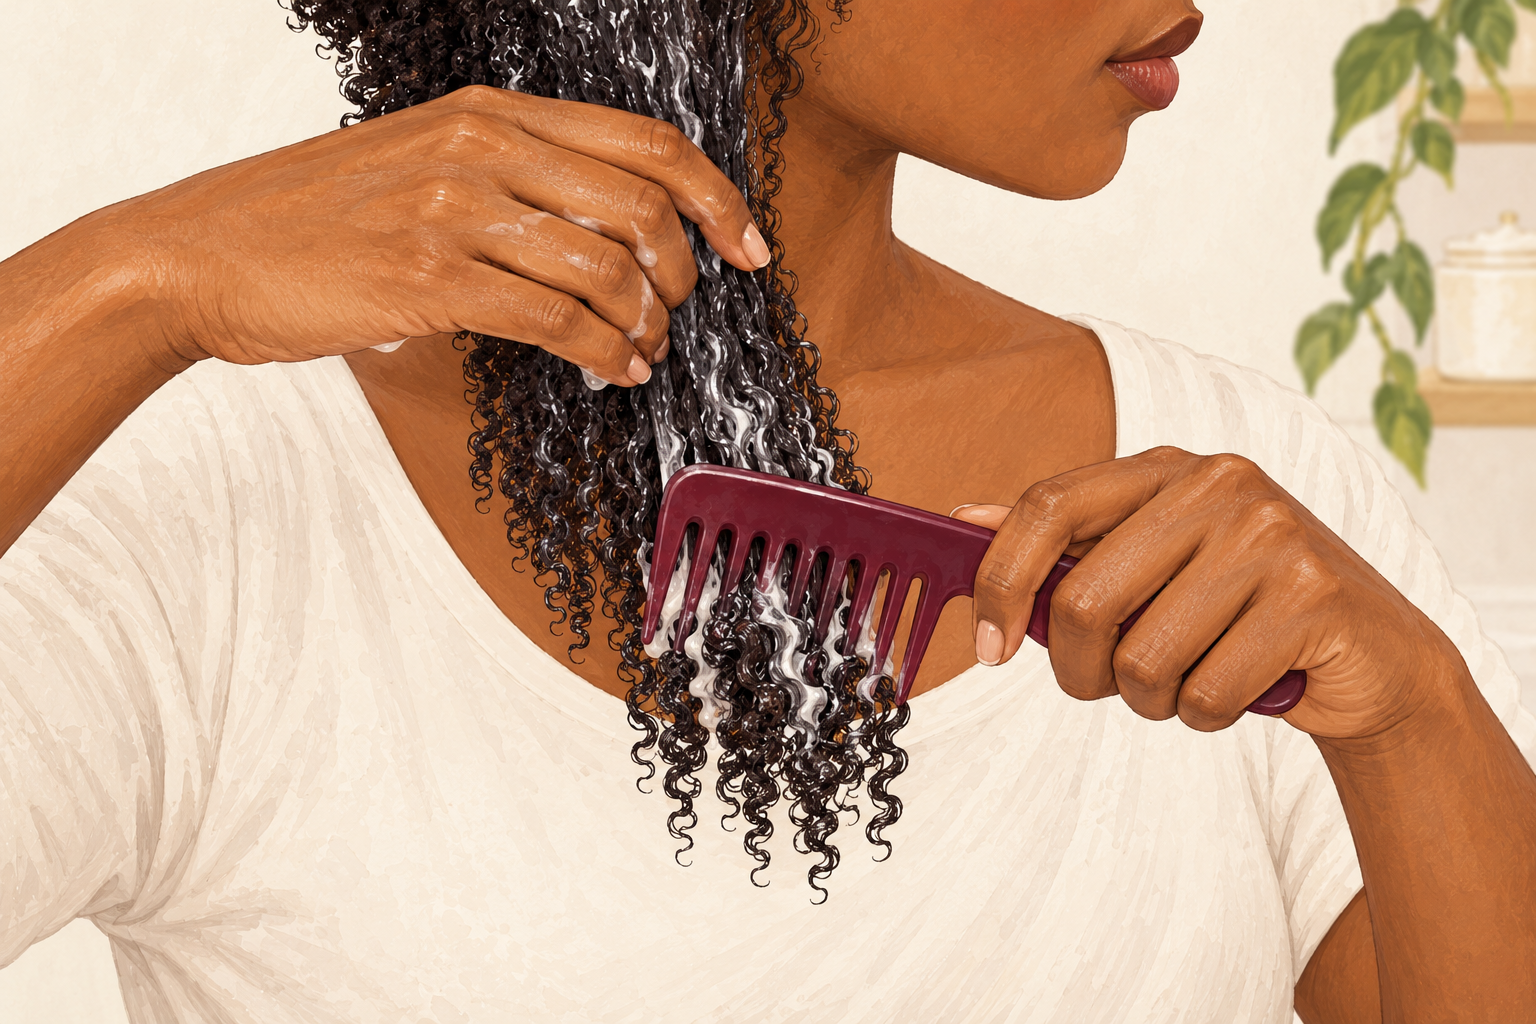
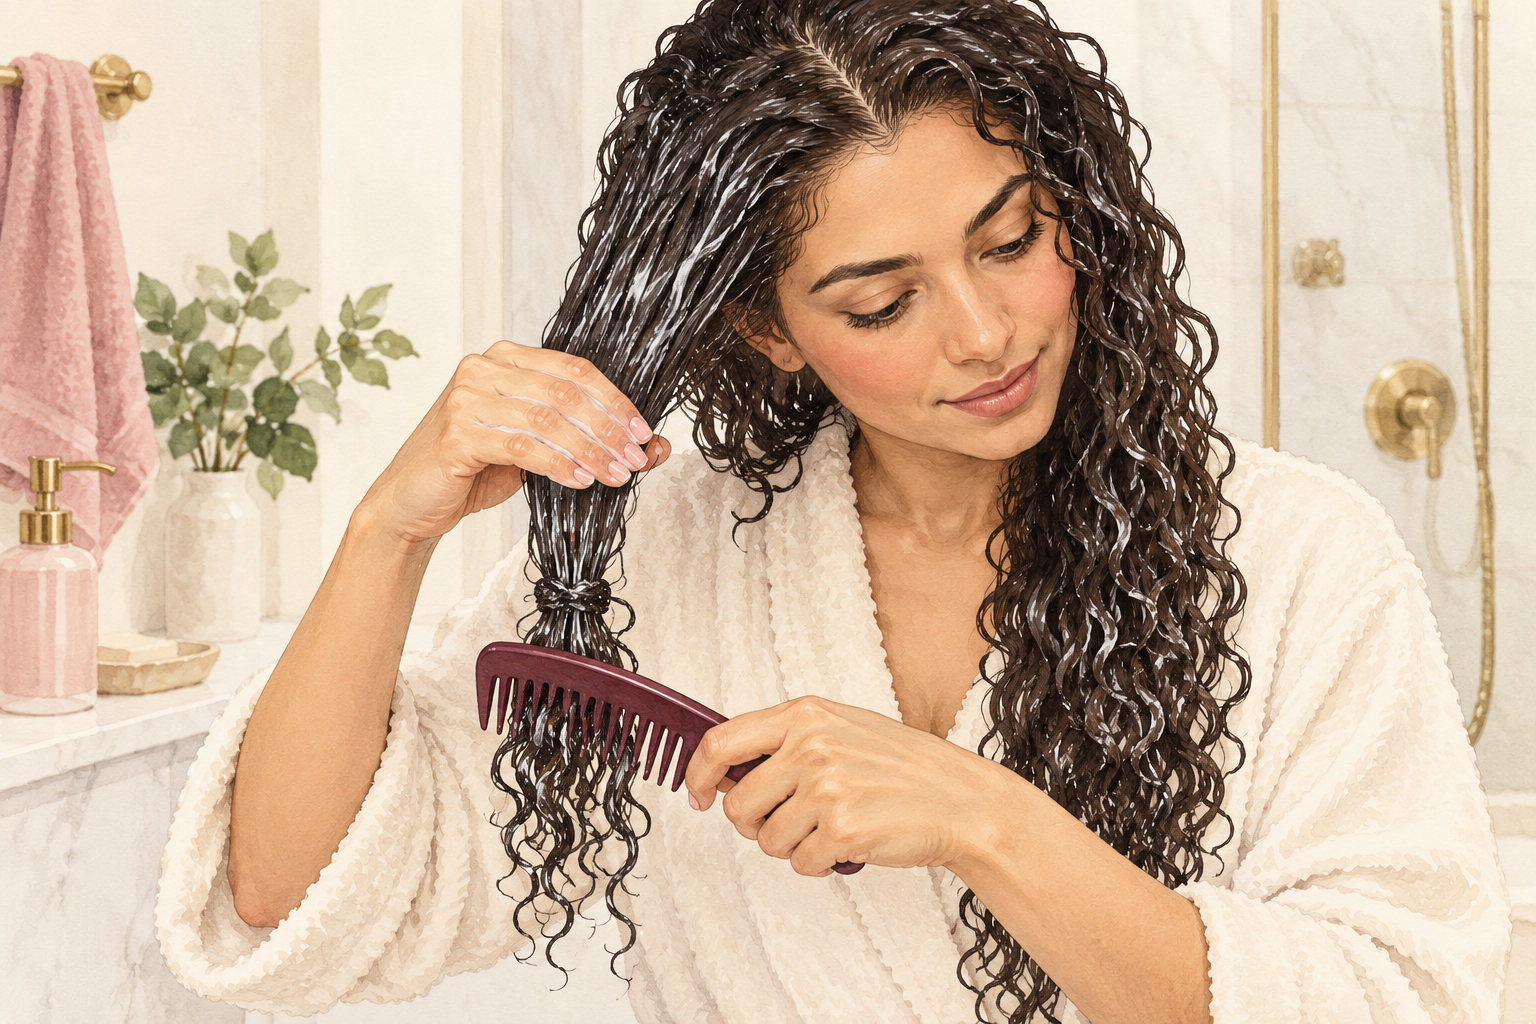
Smooth a light conditioner through the mid lengths and ends only, and keep it an inch off the scalp. Conditioner on the roots is the fastest way to make curls limp. Comb through gently with a wide tooth comb in small sections, then rinse most of it out. A little stays behind, and that is what softens the curls. If your hair is very dry, finish with a cool rinse to help the curls lie flat and shiny. Your goal is soft curls with light roots, not a coated head. Squeeze, do not wring, so the clumps stay together.
5. Squeeze out the water with a t shirt

Tip your head forward and scrunch your curls upward with an old cotton t shirt. A terry towel roughs up the surface and breaks curl clumps apart, while a t shirt soaks water without the fuzz. Press for about a minute and leave your hair damp, not dripping. Do not rub or twist. Squeezing out the extra water also stops products from sliding off your roots later. A soft microfiber towel works too, if you have one. Keep the shirt only for your hair. The curls should look wet and clumped, with a glossy shine.
6. Use a light foam, not a heavy cream
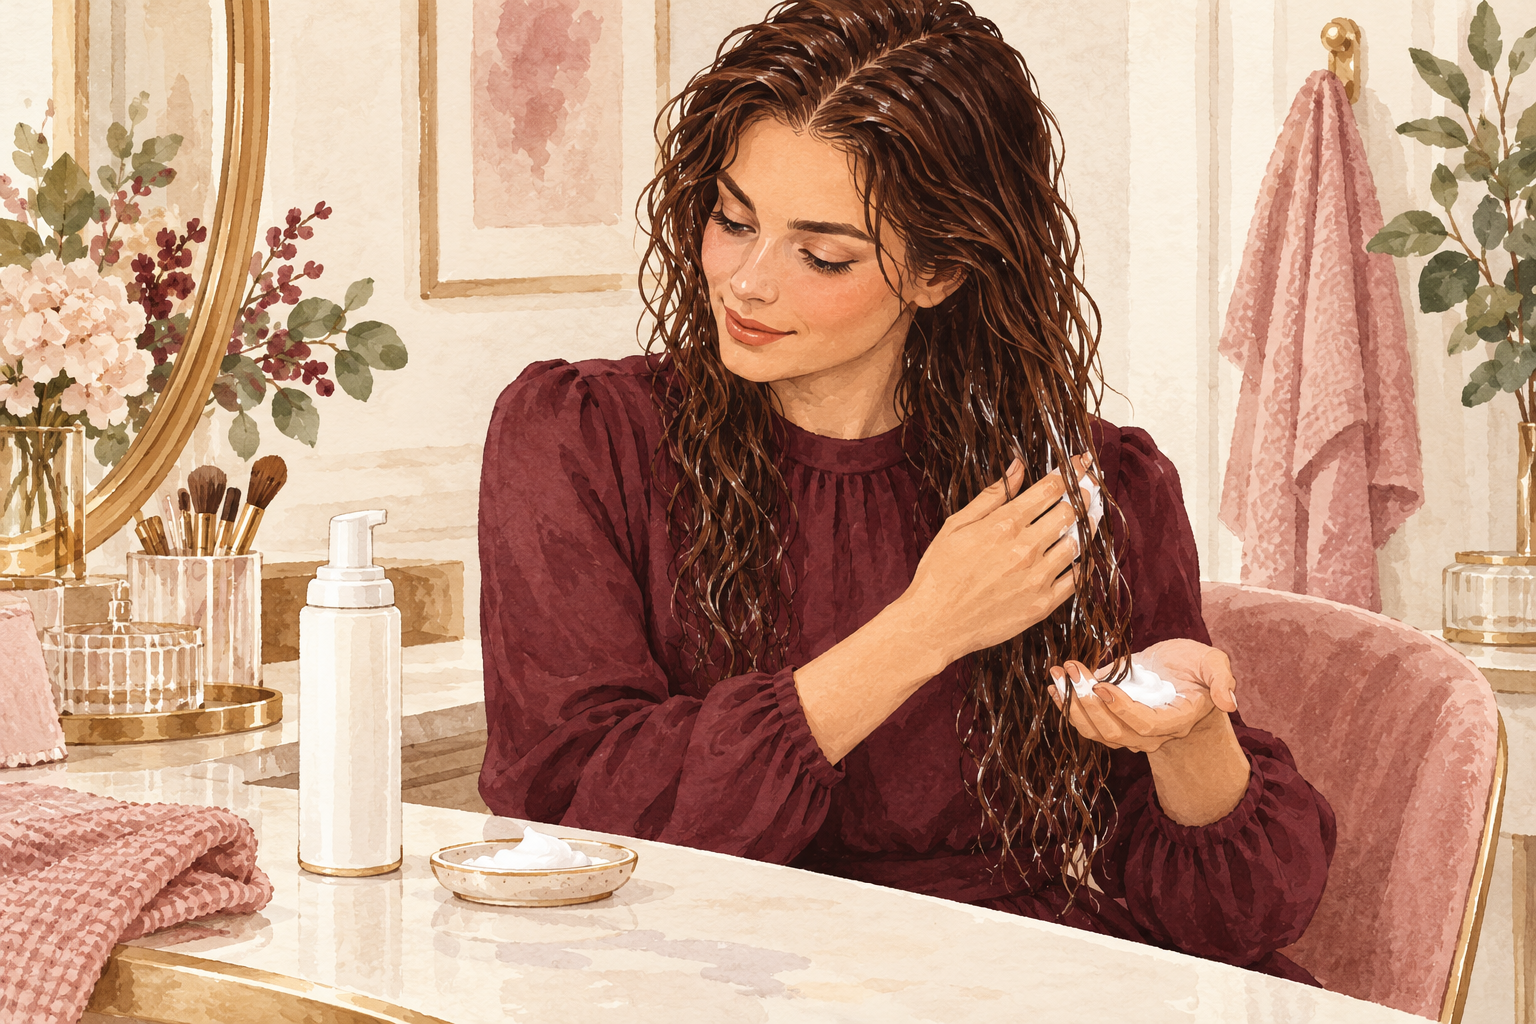
Apply a golf ball sized puff of mousse to the lengths first, and only a thin dab to the roots. Heavy creams and thick gels weigh the curl down and flatten the root. Rake the foam through, then scrunch upward toward the scalp. Use less on the crown, where flatness shows most. If your curls feel stiff or sticky, you used too much. Start small and add a little more after the first wash day, because you can always add but you cannot take it away. The foam should disappear into the hair within a few seconds. Stiff, crunchy curls at this stage are fine, because you will scrunch the cast out once they are dry.
7. Flip your head upside down

Bend forward from the waist so your curls hang toward the floor, then rake through the roots with spread fingers. Gravity pulls the roots away from the scalp, and the lift sets as the curls dry in that position. Scrunch upward in small pulses, ten or so. Switch your parting to the other side now and then, since a deep side part lifts the roots more than a middle one. Come up slowly so you do not feel dizzy. If your back protests, a kitchen chair makes this easier. Hold the position for half a minute before you reach for the dryer.
8. Clip the roots up
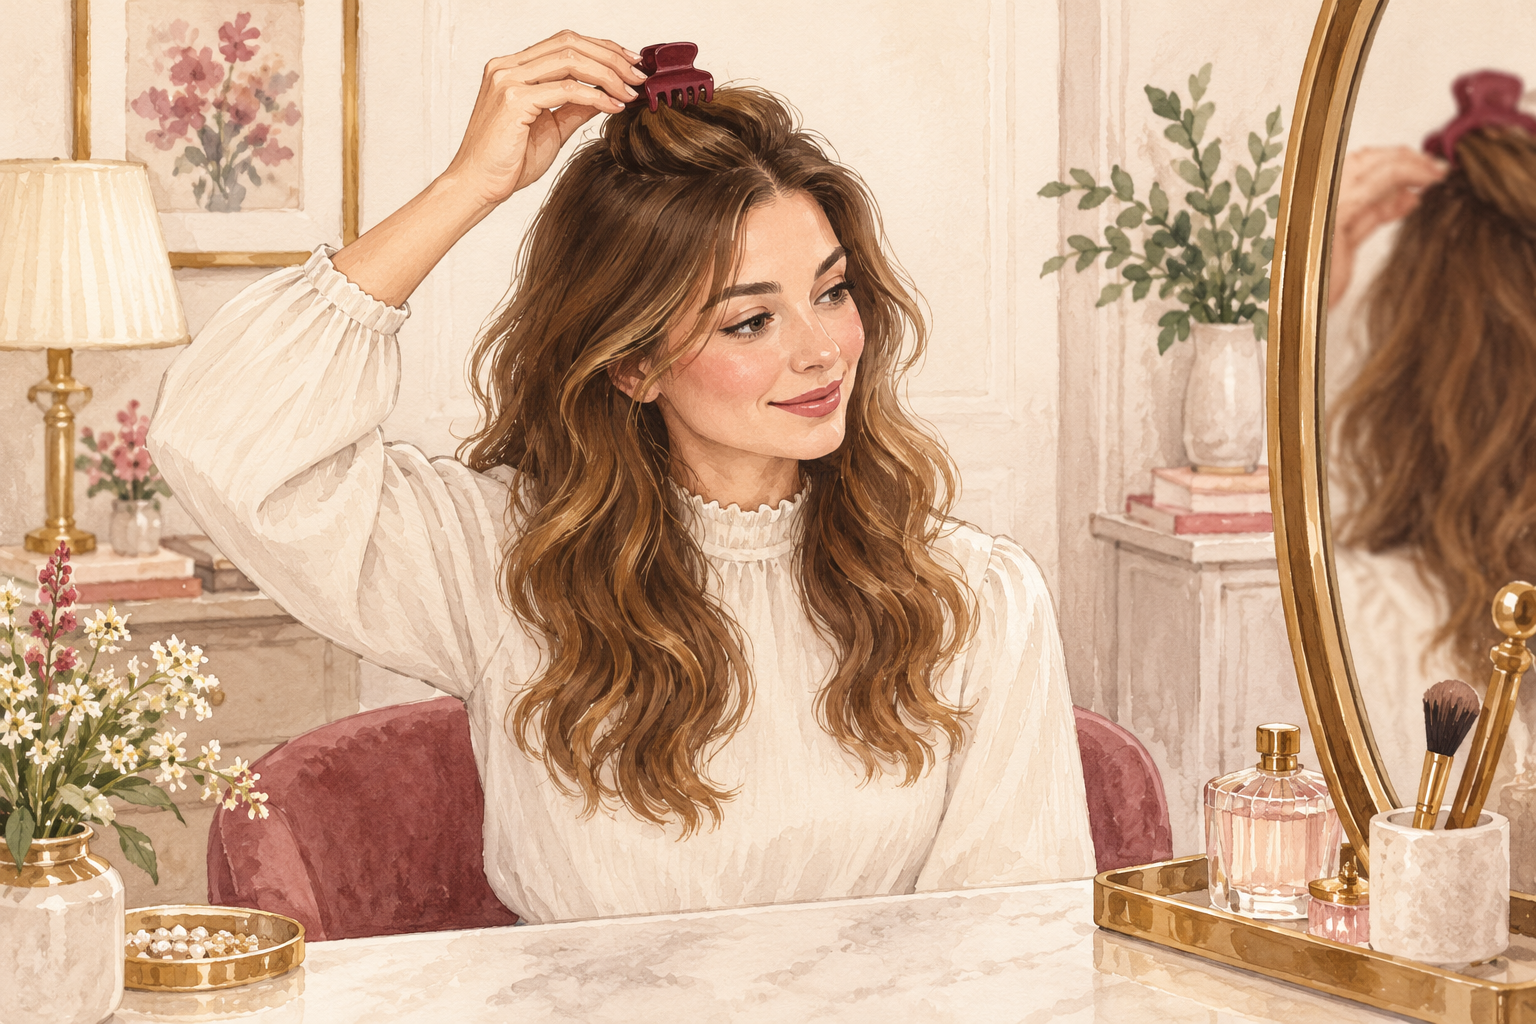
Slide a duckbill clip under each flat section at the crown and lift it straight up from the scalp. Clips hold the root in an upright position while the curl dries, so it sets with height. Use two or three clips, spaced evenly across the top of your head. Place them near the root, not halfway down the curl. If you feel pulling, move the clip. Leave them on until the roots are completely dry. Taking them out too early means the lift collapses again. Check in the mirror that the clip is not leaving a dent in the root. Lift the clips straight out, never twist them.
9. Diffuse upside down on low heat
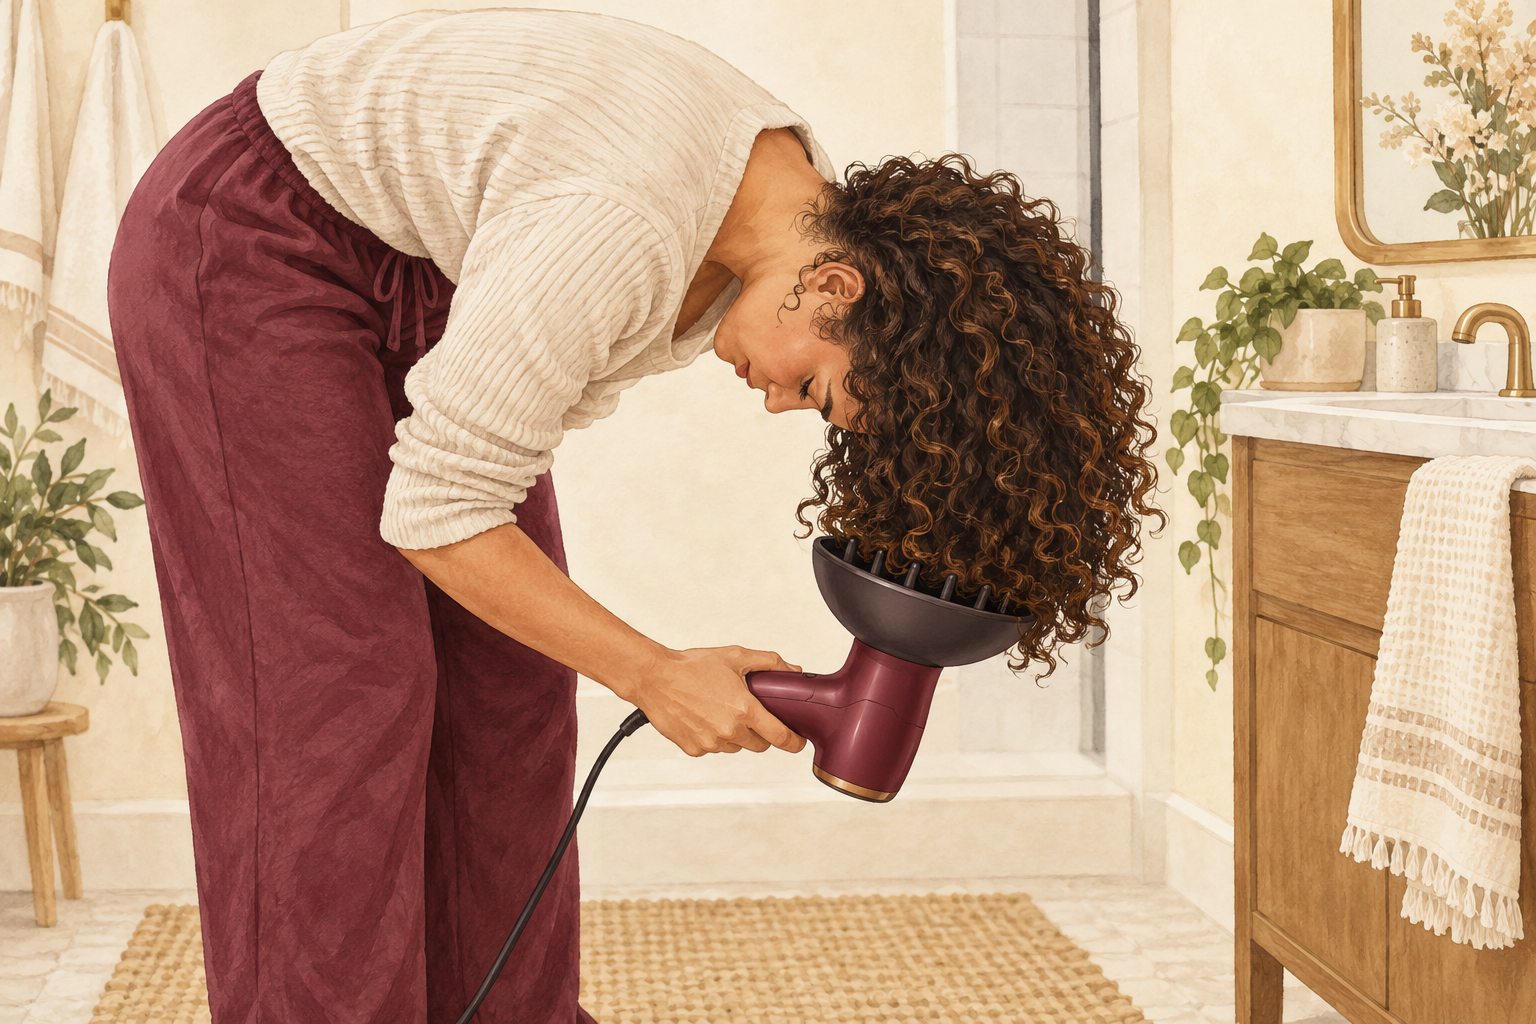
Cup your curls in the diffuser from underneath and dry on low heat and low speed. High speed blows the clumps apart and brings frizz. Hold each section for about thirty seconds, then move on, and push the diffuser gently up toward the roots. Dry until the roots are about eighty percent dry. Air drying the rest is gentler than finishing with hot air. If you do not own a diffuser, scrunch and air dry with the clips in, which takes longer but still works. A little patience here saves you from frizz all week.
10. Break the cast and shake out the roots
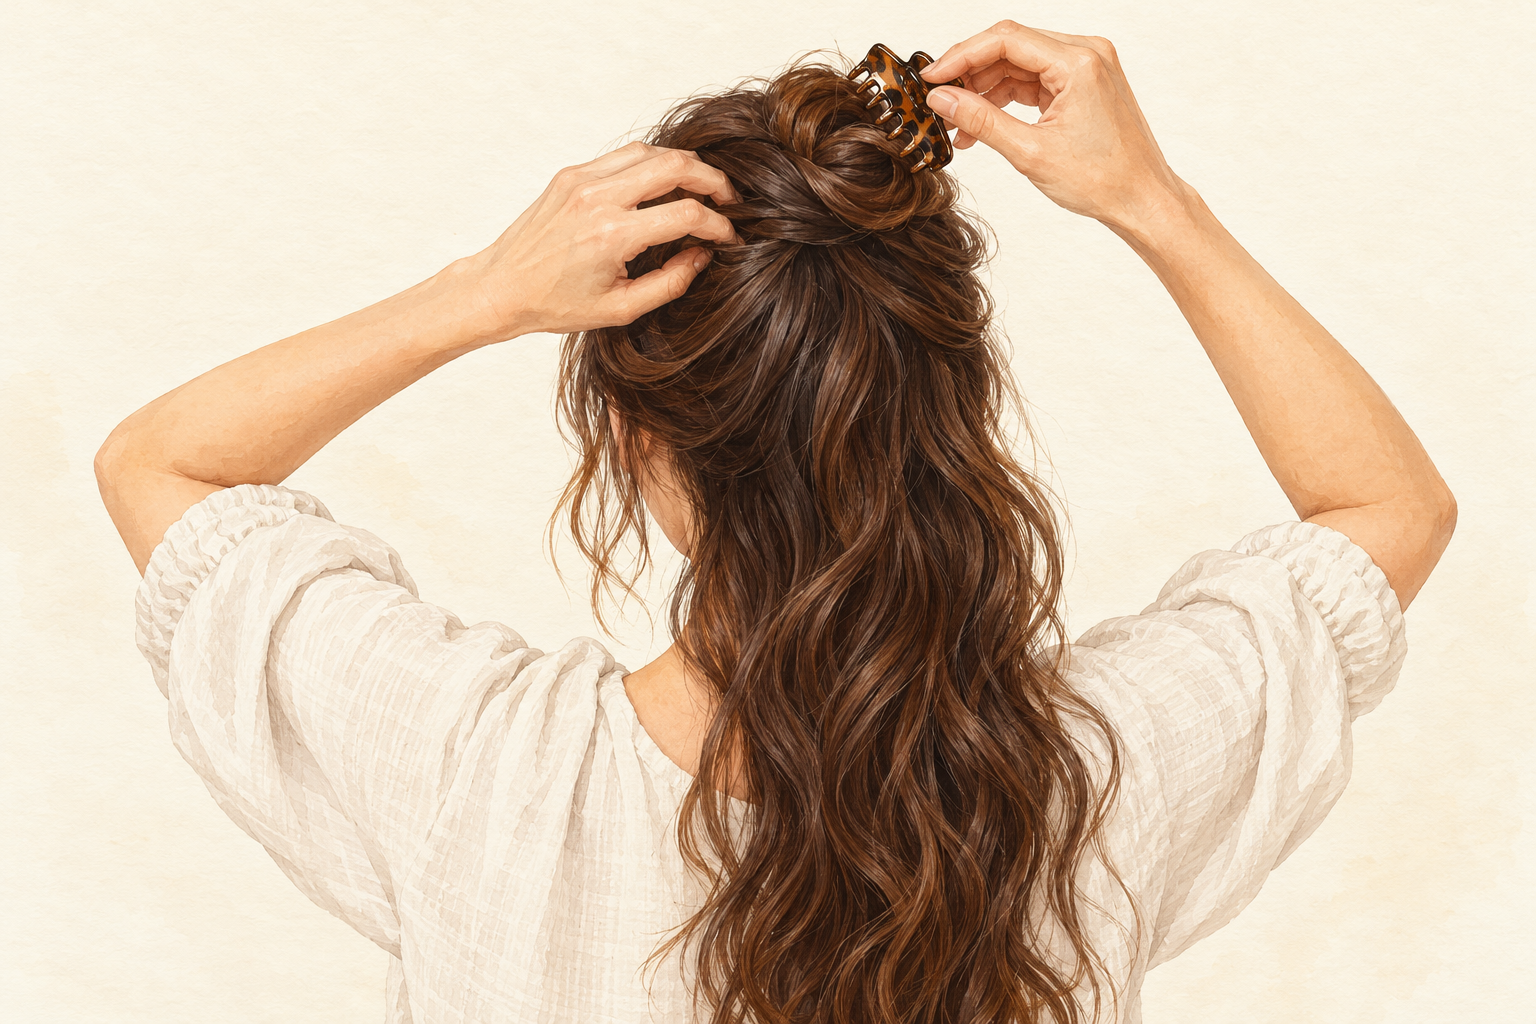
Once your hair is fully dry, scrunch your curls gently to break the crunch. The cast from the mousse is meant to hold the shape, so crunchy is a good sign. Scrunch up from the ends, then use your fingertips to lift at the roots, not a comb. Shake your head loosely. Your curls will soften and the volume stays. If the roots still look flat, scrunch a second time with a little oil in your palms, not on the scalp. The roots should feel airy and a little crisp, with no wet patches left at the scalp. Press a fingertip on the crown to check.
11. Pineapple at night and refresh in the morning
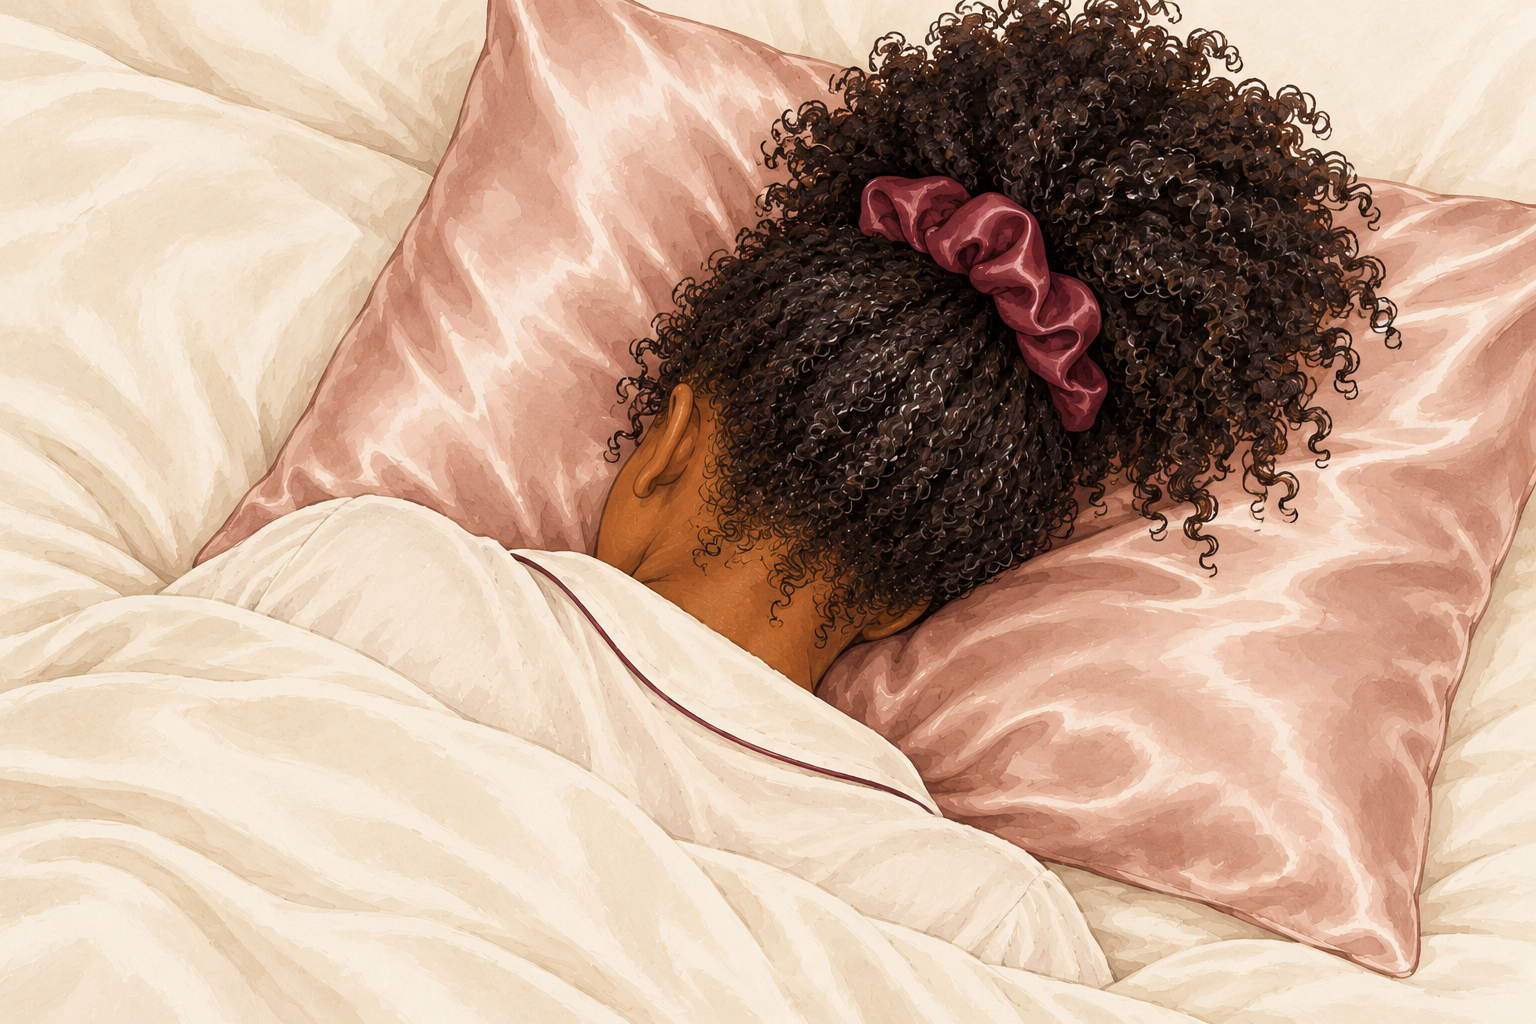
Gather your curls on top of your head in a loose pineapple with a soft scrunchie, and cover with a satin bonnet. This keeps the roots lifted overnight and the curls from flattening on the pillow. In the morning, shake out, fluff the roots with your fingertips and mist lightly with water if needed. Don’t add more product on day two unless the curls feel dry. A pinch of leave in on the ends is plenty. Your volume should last through day two. A damp spray bottle of plain water by the bed makes the refresh quick. Wash your satin bonnet weekly, because it picks up oil.
12. Expect lift within two or three washes
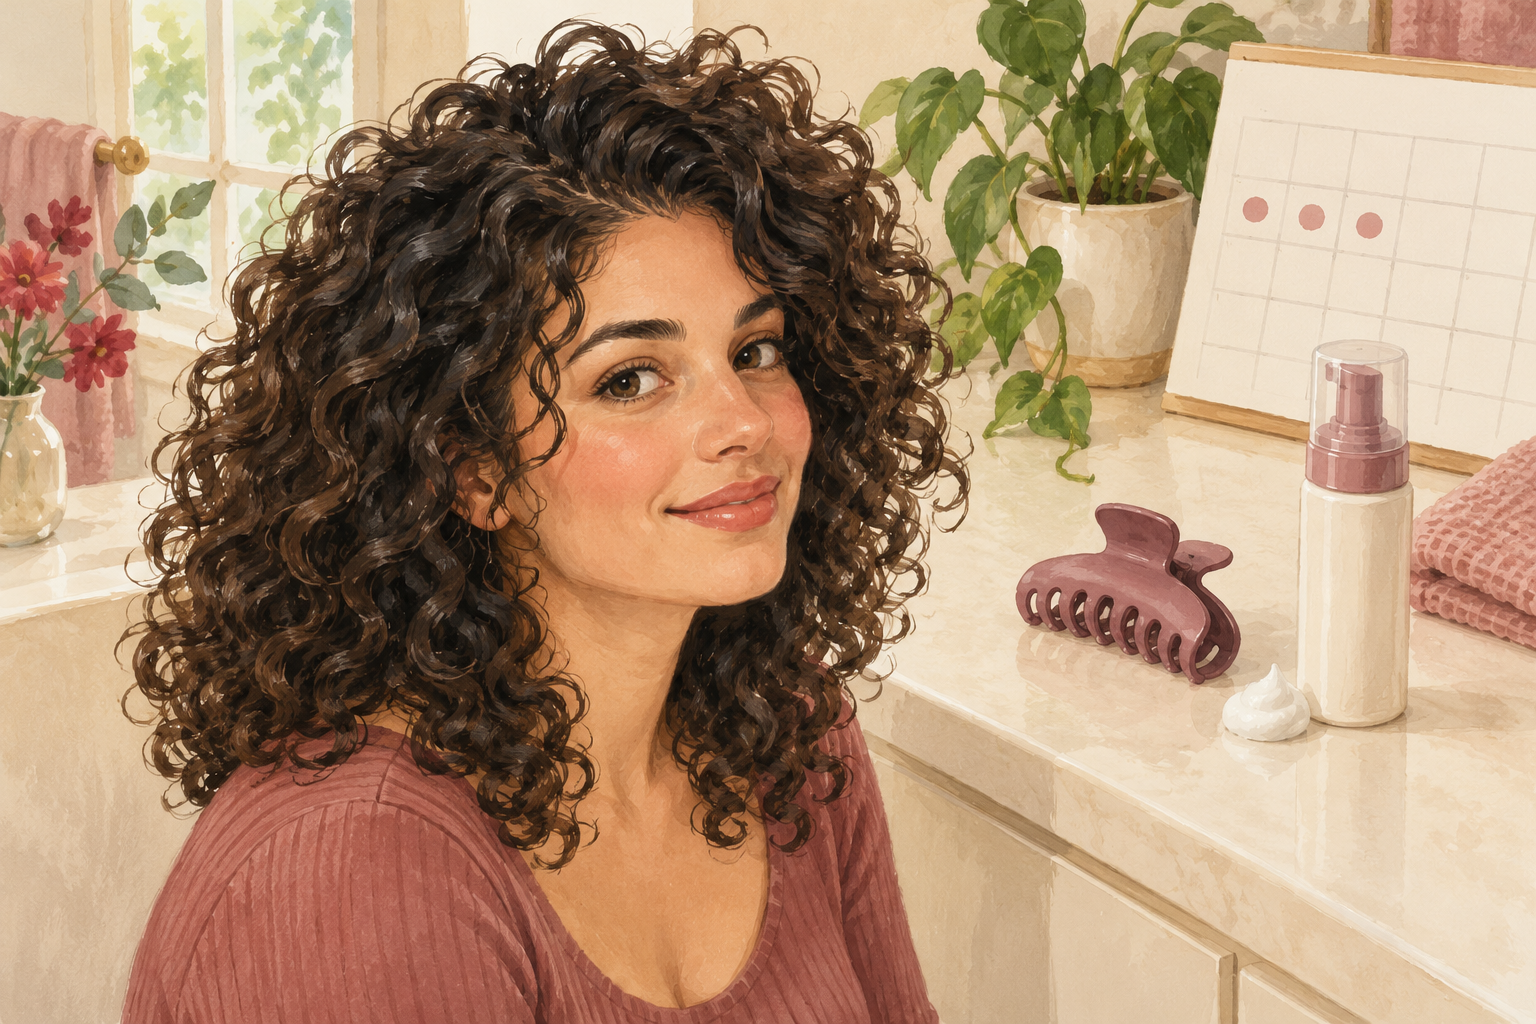
Give the routine three wash days before you judge it. The first try might feel awkward and the roots might lift only a little. By the second, you will have the clip placement and the amount of mousse right. By the third, you should see taller roots and more bounce. Clarify every few weeks to keep the roots clean, as in step three. If your volume fades by noon, use even less product at the crown. Keep notes on what worked, because every head is a little different. Take a photo from above after each wash day, so you can see the lift growing.
Complete the Routine: A Curly Hair Routine for Volume to Repeat
Tonight, wash your roots well, use a light foam, clip the crown and diffuse on low. For other routines, read easy curly hair routine and curly hair routine products.