You spend twenty minutes with the dryer, your hair looks lovely in the mirror, and by the time you reach the bus stop the roots have collapsed. Learning how to blow dry hair for volume is mostly about the roots and the cooling, not about a bigger dryer. Here are 12 steps that set the lift properly, so start at number one tonight.
1. Wash light and keep conditioner off the roots
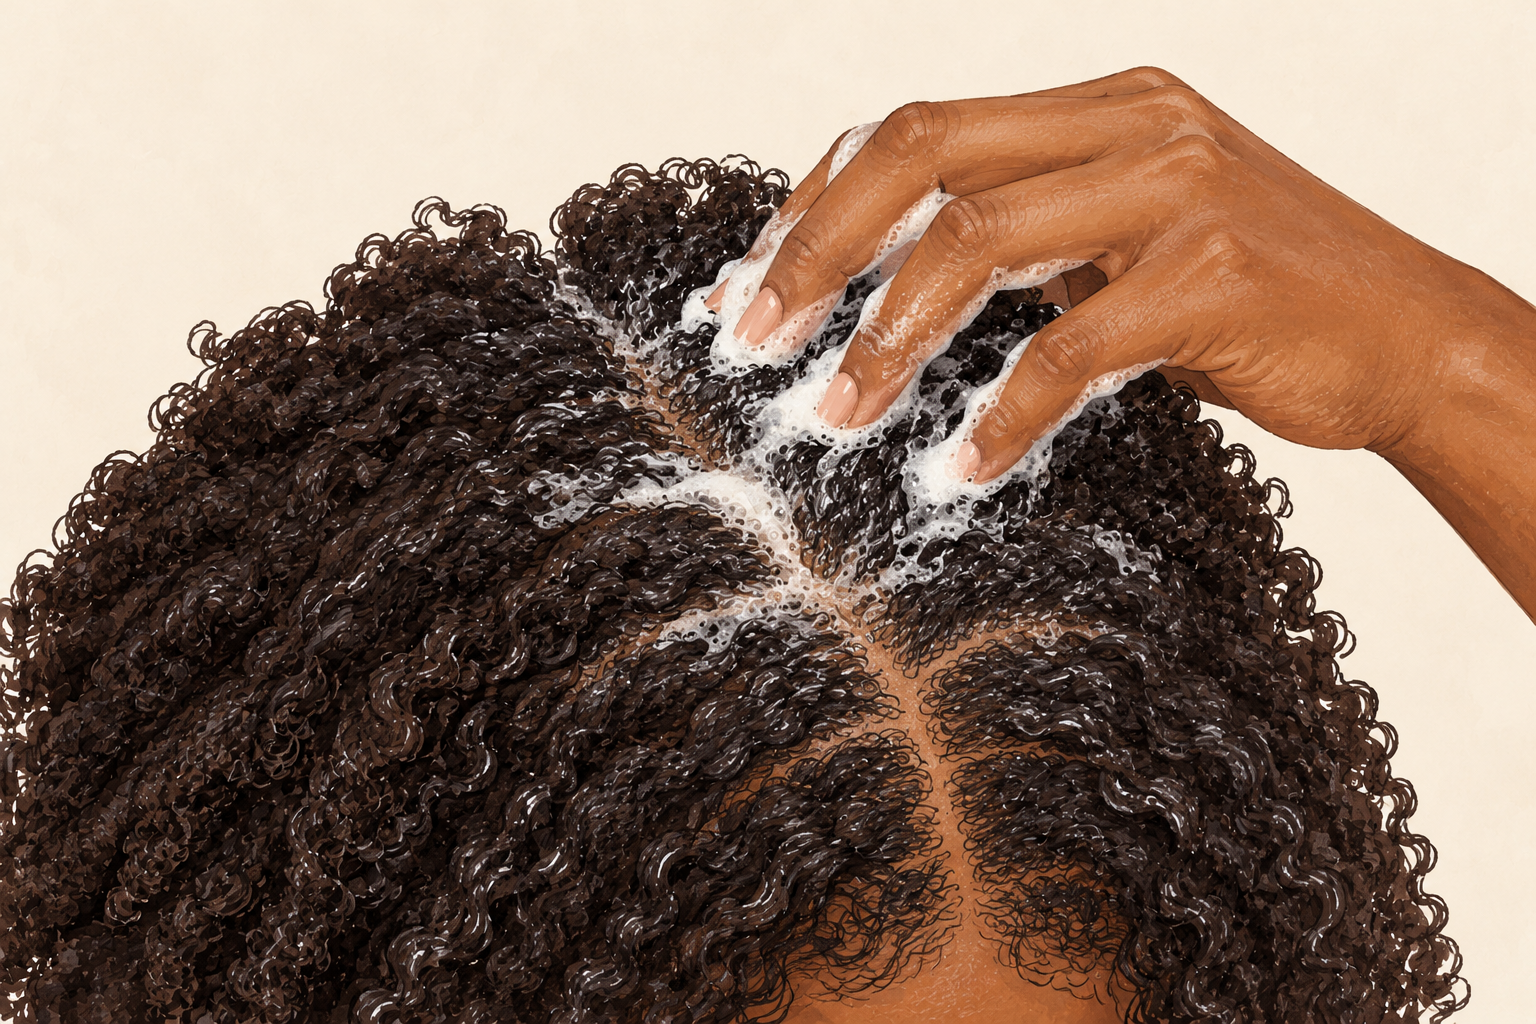
Shampoo your roots well and put conditioner only from the ears down. Heavy conditioner at the roots weighs them down before the dryer even comes out, and no technique can fully rescue that. Rinse for a full minute longer than feels needed, because leftover product leaves roots limp by lunchtime. Comb the conditioner through the lengths with a wide tooth comb, then finish with a cool rinse to smooth the strands. If your roots turn oily by day two, wash a little more often instead of piling more product on top. Light on the scalp and richer on the ends is the rule.
2. Squeeze, do not rub, and let the water drip off first
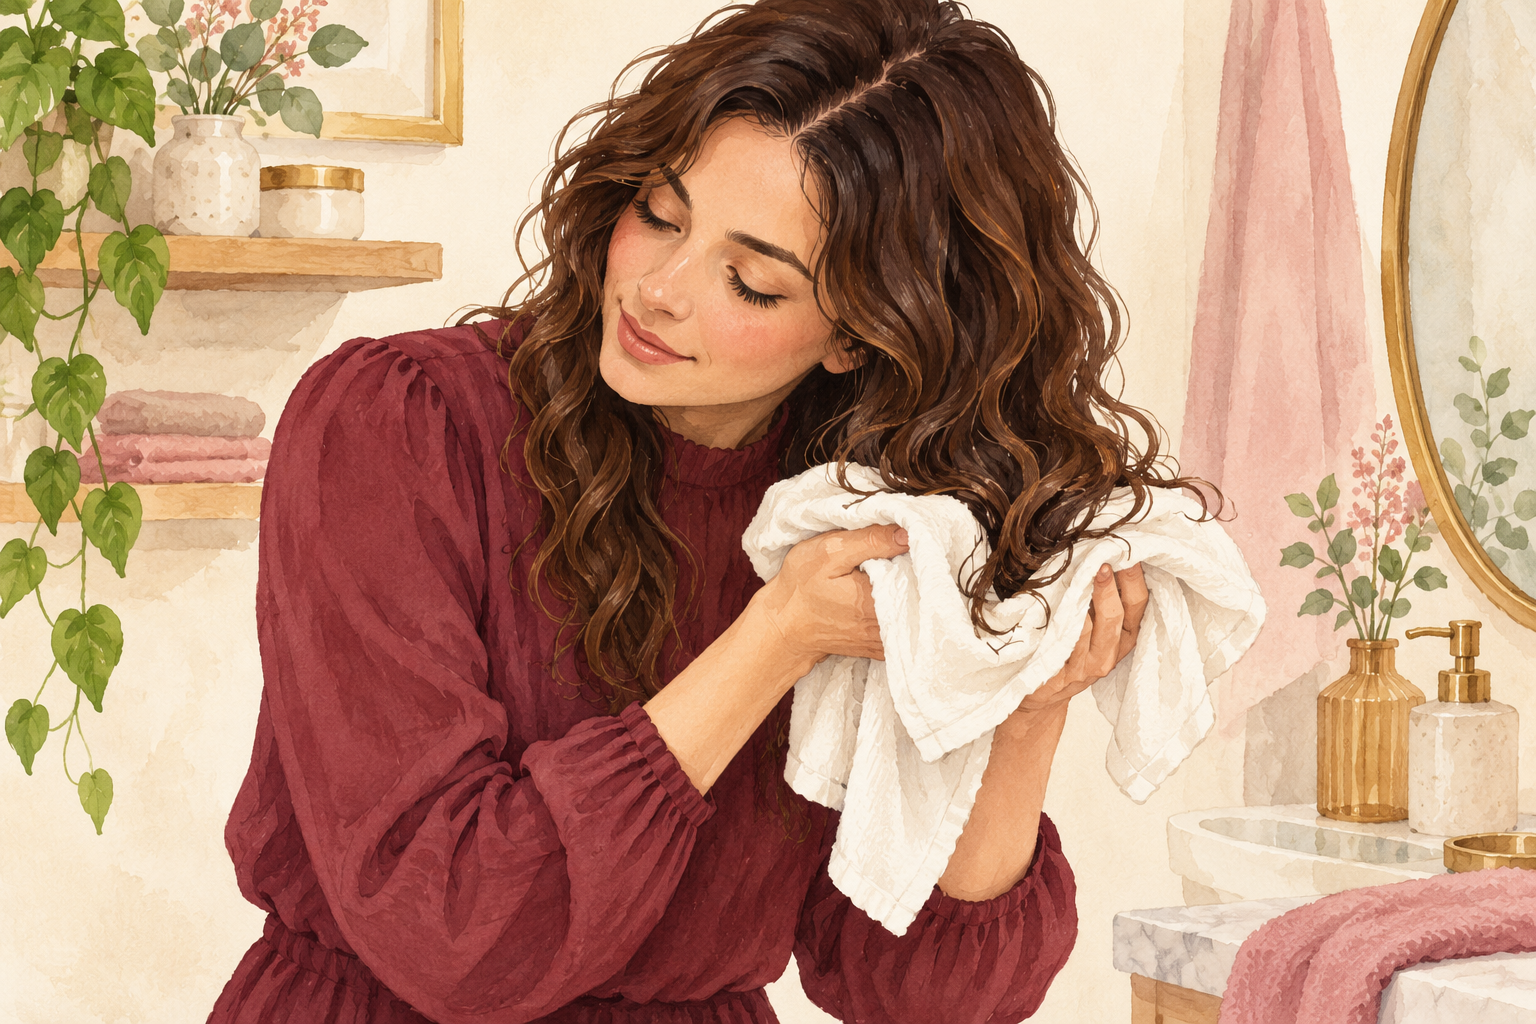
Press the water out with a soft towel, then give your hair about twenty minutes to air dry. Rubbing roughens the surface and creates frizz, so squeeze section by section instead. Hair that is dripping takes twice as long under the dryer, and long heat is what hurts it. You want it damp, like a wrung out flannel, not wet. Use the wait to get your tools ready. This one pause saves you ten minutes of hot air and leaves your ends in better shape when you finish. A damp, not soggy, start is the first secret of how to blow dry hair for volume.
3. Lay out your tools before the dryer goes on
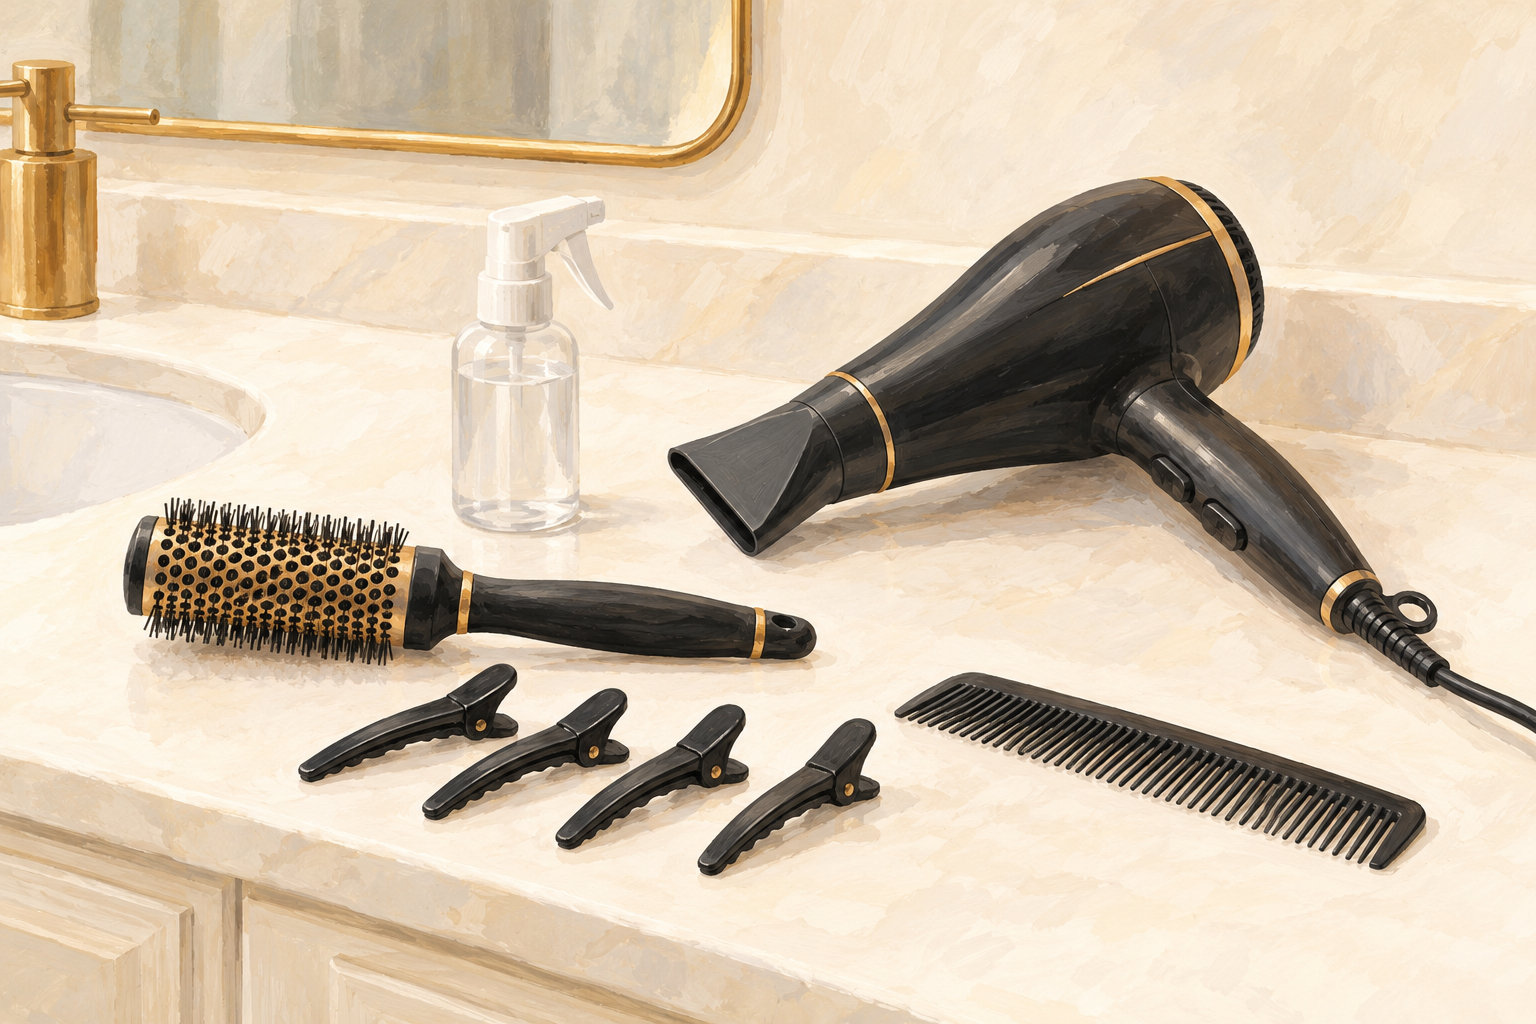
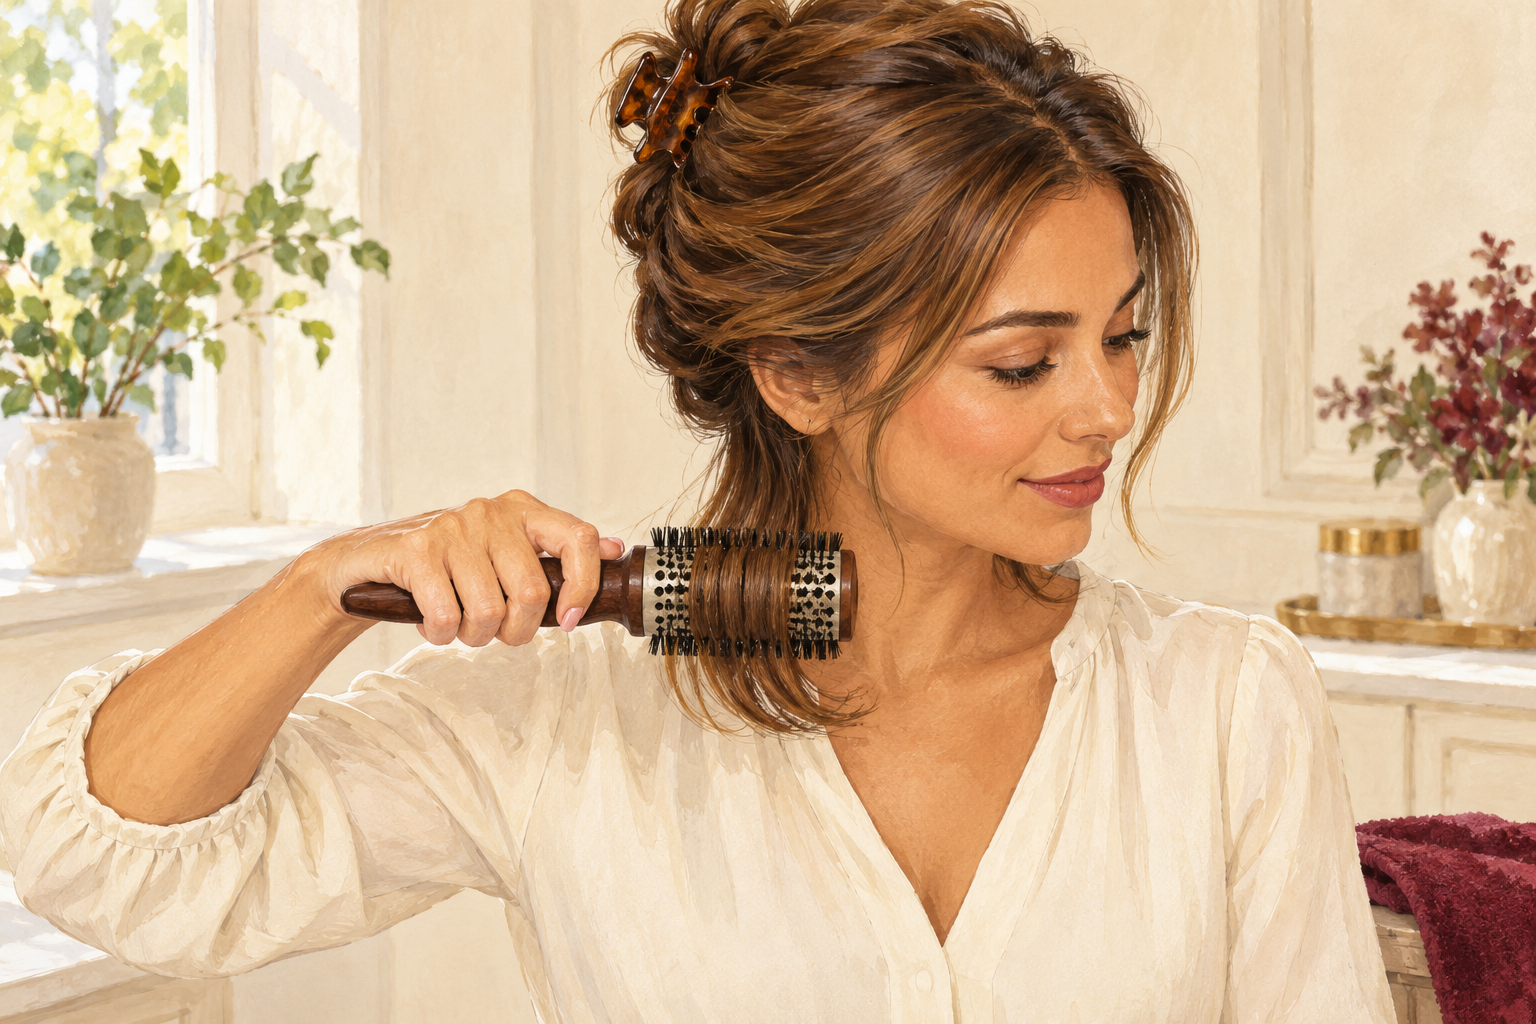
Set out a dryer with a slim nozzle, four clips, a comb and a round brush on the counter. The nozzle matters most, because it points the air at the roots instead of blowing it everywhere. Check that the dryer has a cool shot button, since you need it in step nine. A wide paddle brush works if you do not own a round one. With everything within reach you will not stop halfway with one section half dry, and half dry sections are how the lift gets lost. Pop the clips on your wrist so they never go missing.
4. Put protection on the lengths and a little mousse at the roots
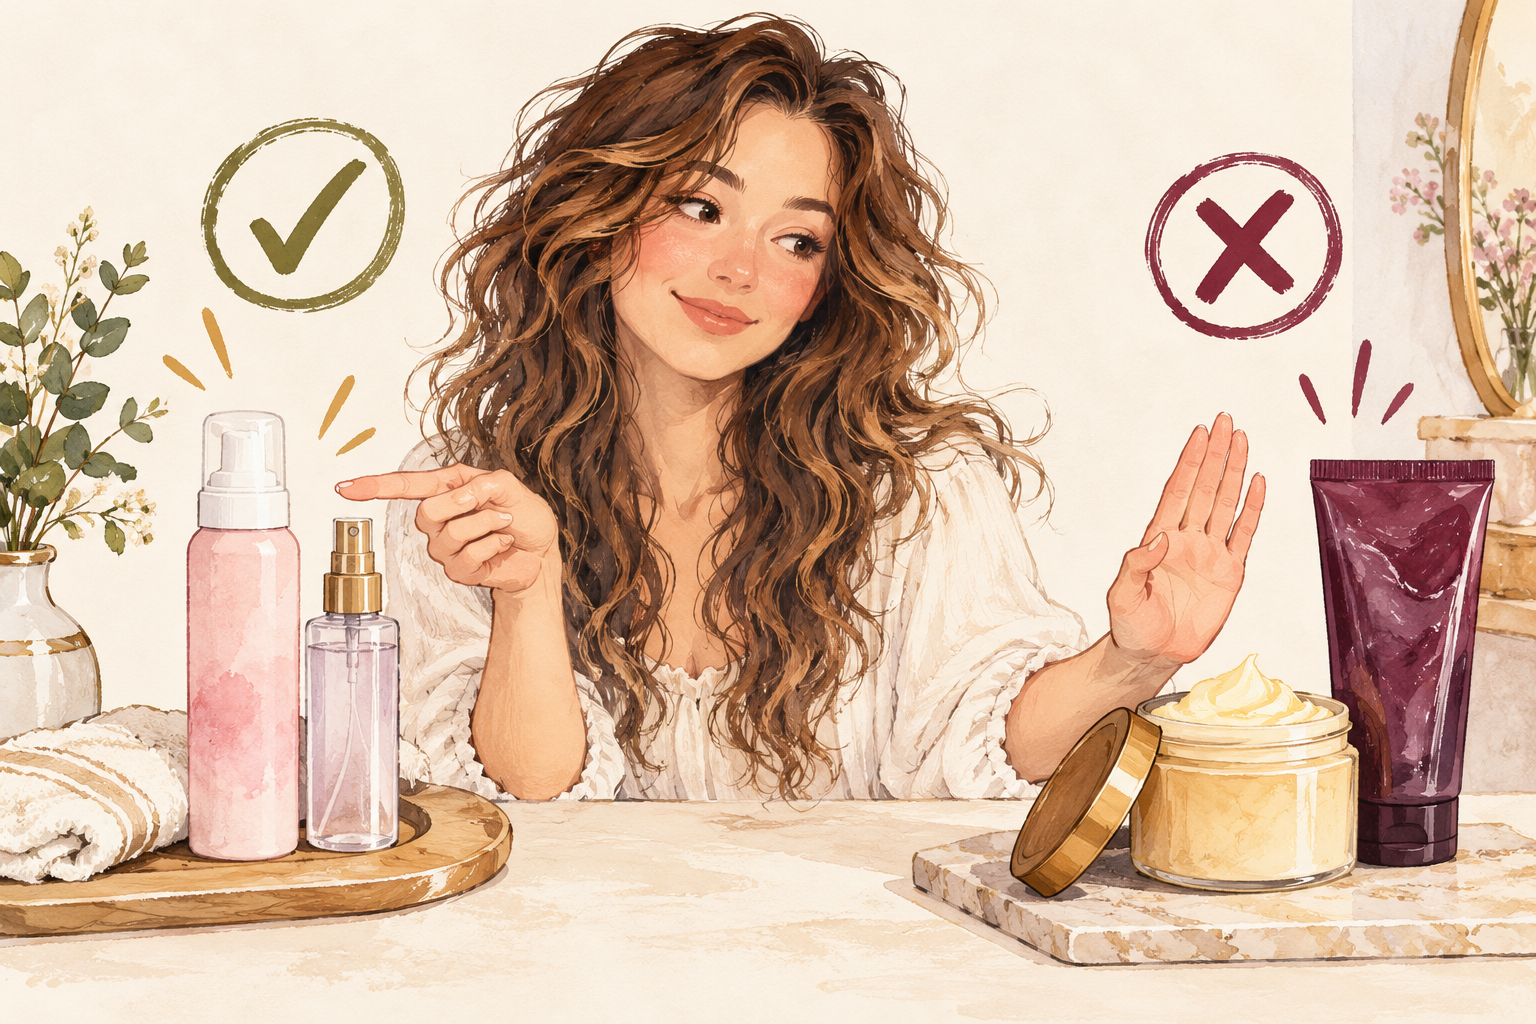
Mist heat protectant through the lengths and work a golf ball sized puff of light mousse into the roots. Skip the mousse if your roots feel heavy already. Rake it through with your fingers and avoid combing it flat. The protectant is a safety layer for the middle and ends, which take the most heat, so give those a second light mist. Too much product here is the quickest way to flat hair, so use less than you think you need. Wipe your palms over your ends so nothing is wasted, and never rake mousse on while your hair is dripping.
5. Rough dry the roots against the way they fall
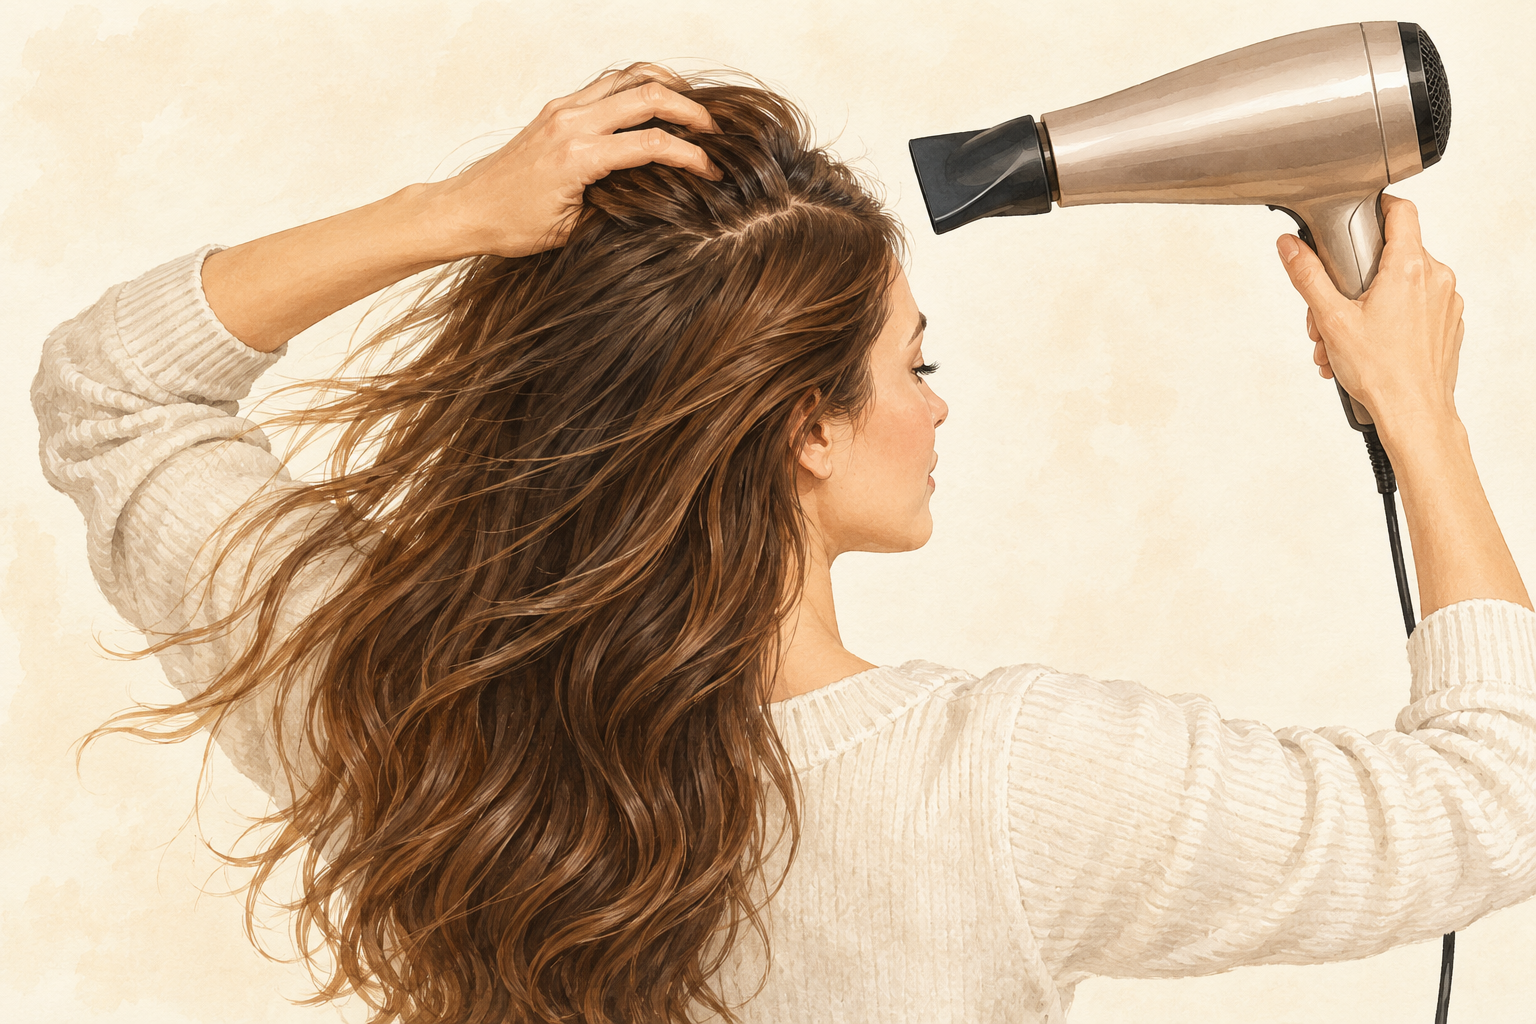
Flip your head over, or push the hair the opposite way to its parting, and dry the roots first. Roots set in the direction the air pushes them, so if you normally part on the left, blow them to the right. Keep the dryer moving and use your fingers like a comb. Stop when the hair is about seventy percent dry. This takes three or four minutes and does most of the lifting before you pick up a brush. Flip back up slowly, because standing up too quickly will make you dizzy, and shake the hair loose with your fingers so the roots stay high.
6. Split your hair into four sections
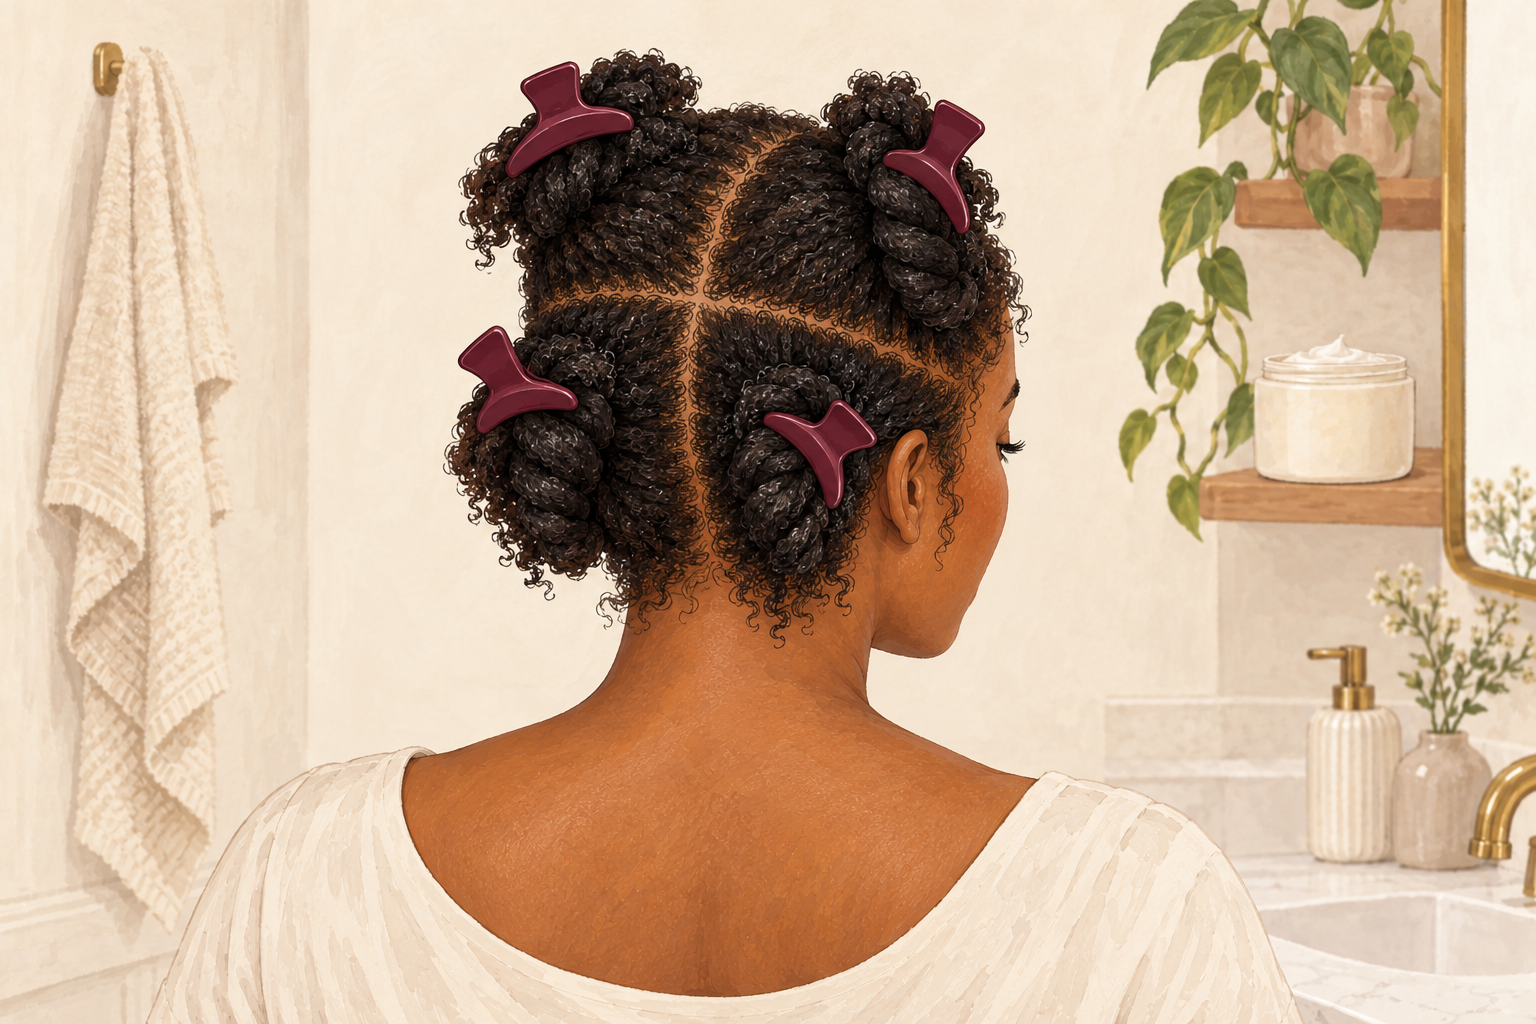
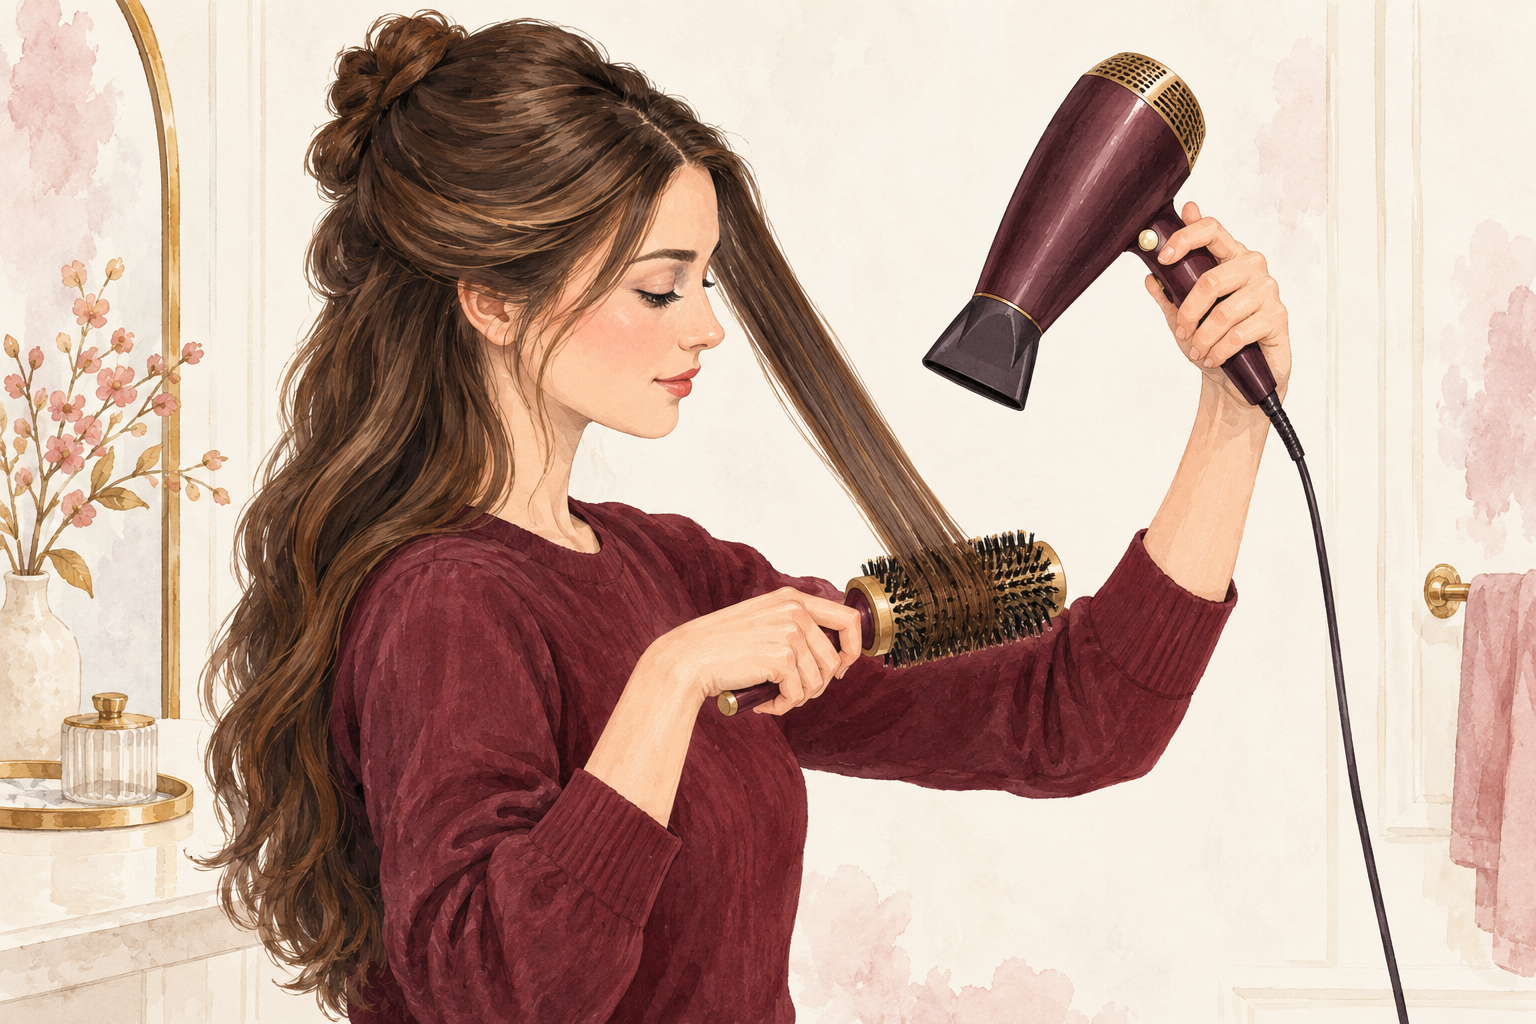
Part down the middle, then across from ear to ear, and clip the top two sections out of the way. Start with the underneath layers at the back, because they dry fastest and are the easiest to practice on. Small sections give more lift than big ones and let the heat reach the roots instead of the surface. Each section needs two to three minutes. Waving the dryer over your whole head scorches the outside and leaves the inside damp, which is the opposite of what you want. Twist each clipped section into a loose bun so it stays put.
7. Lift each section straight up and aim the nozzle at the roots
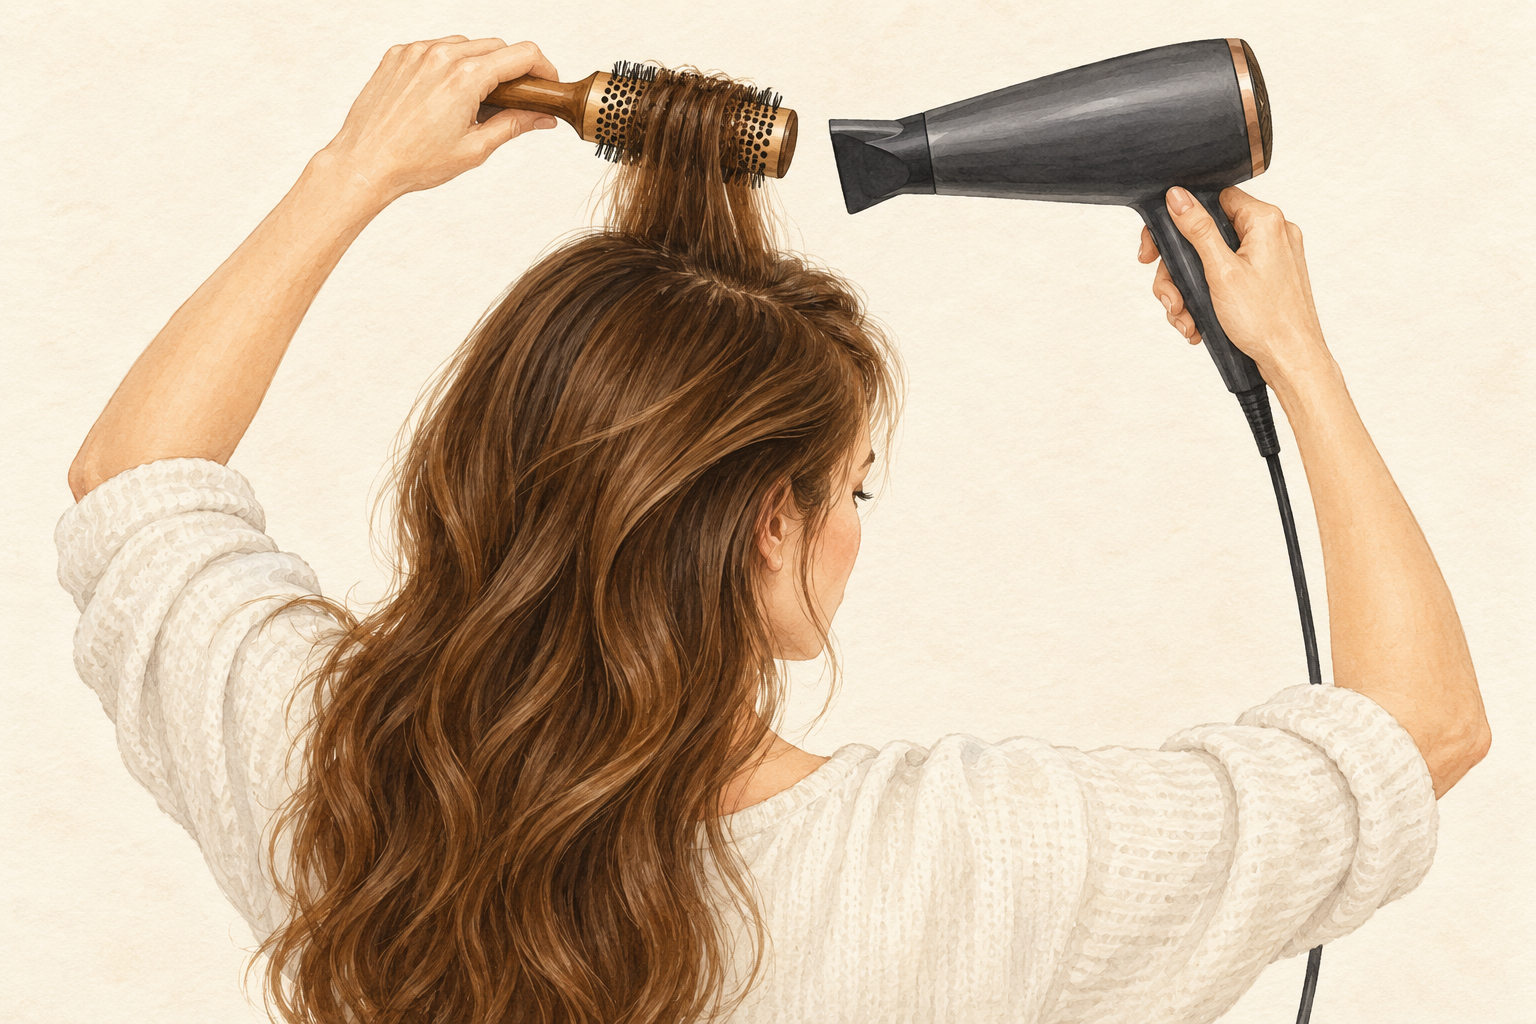
Slide a round brush under the section at the root, lift it up and away from your scalp, and aim the nozzle along the brush. Hold the dryer about six inches away and keep it on medium heat. Pull the brush slowly toward the ends, and follow it with the airflow. Do the roots first, then the lengths. If your scalp feels hot, move the dryer back. Higher heat and a close dryer both rough up the hair, and neither gives you more volume. Your hair should feel warm, never hot, against the back of your hand.
8. Stop when it is nearly dry, not bone dry
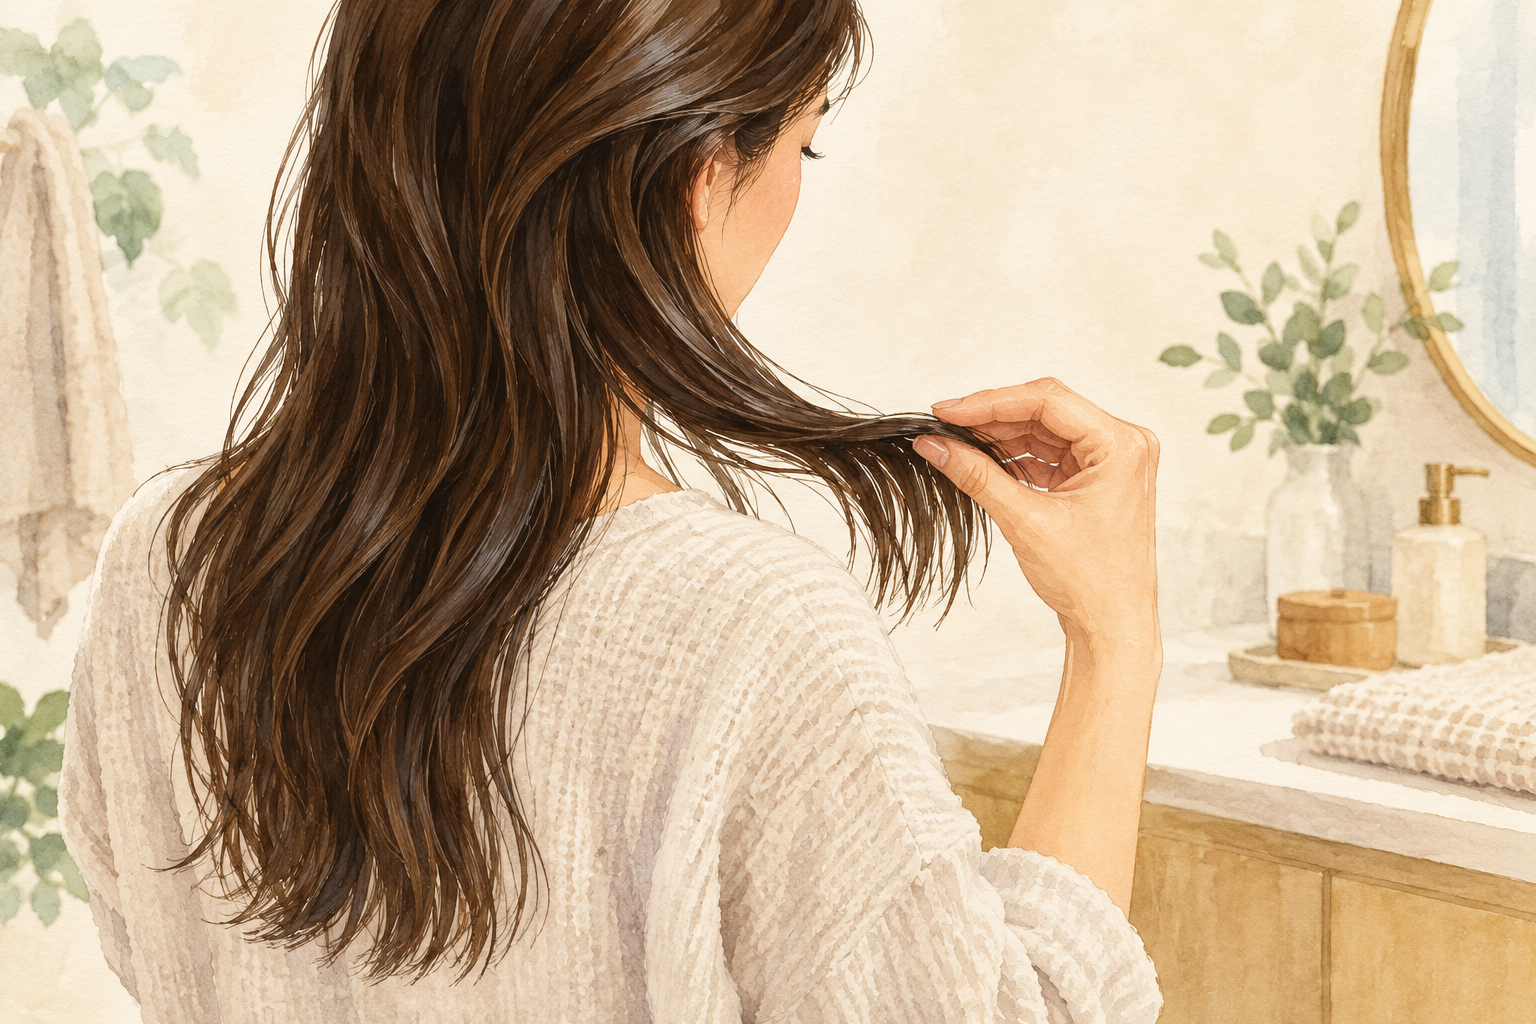
Check each section with the back of your fingers and stop when it feels barely cool and almost dry. Bone dry hair has been heated longer than it needed to be, and it loses bounce and turns frizzy. Run your hand along the lengths, since the ends dry last and are the easiest to miss. Finish the ends on a lower setting, pointing the dryer downward. Move to the next section the moment this one is done. Rushing through feels faster, but damp patches will quietly flatten by evening. A good test is to hold the section to your cheek, since even a little dampness feels cold.
9. Hit the cool shot while the section is still lifted
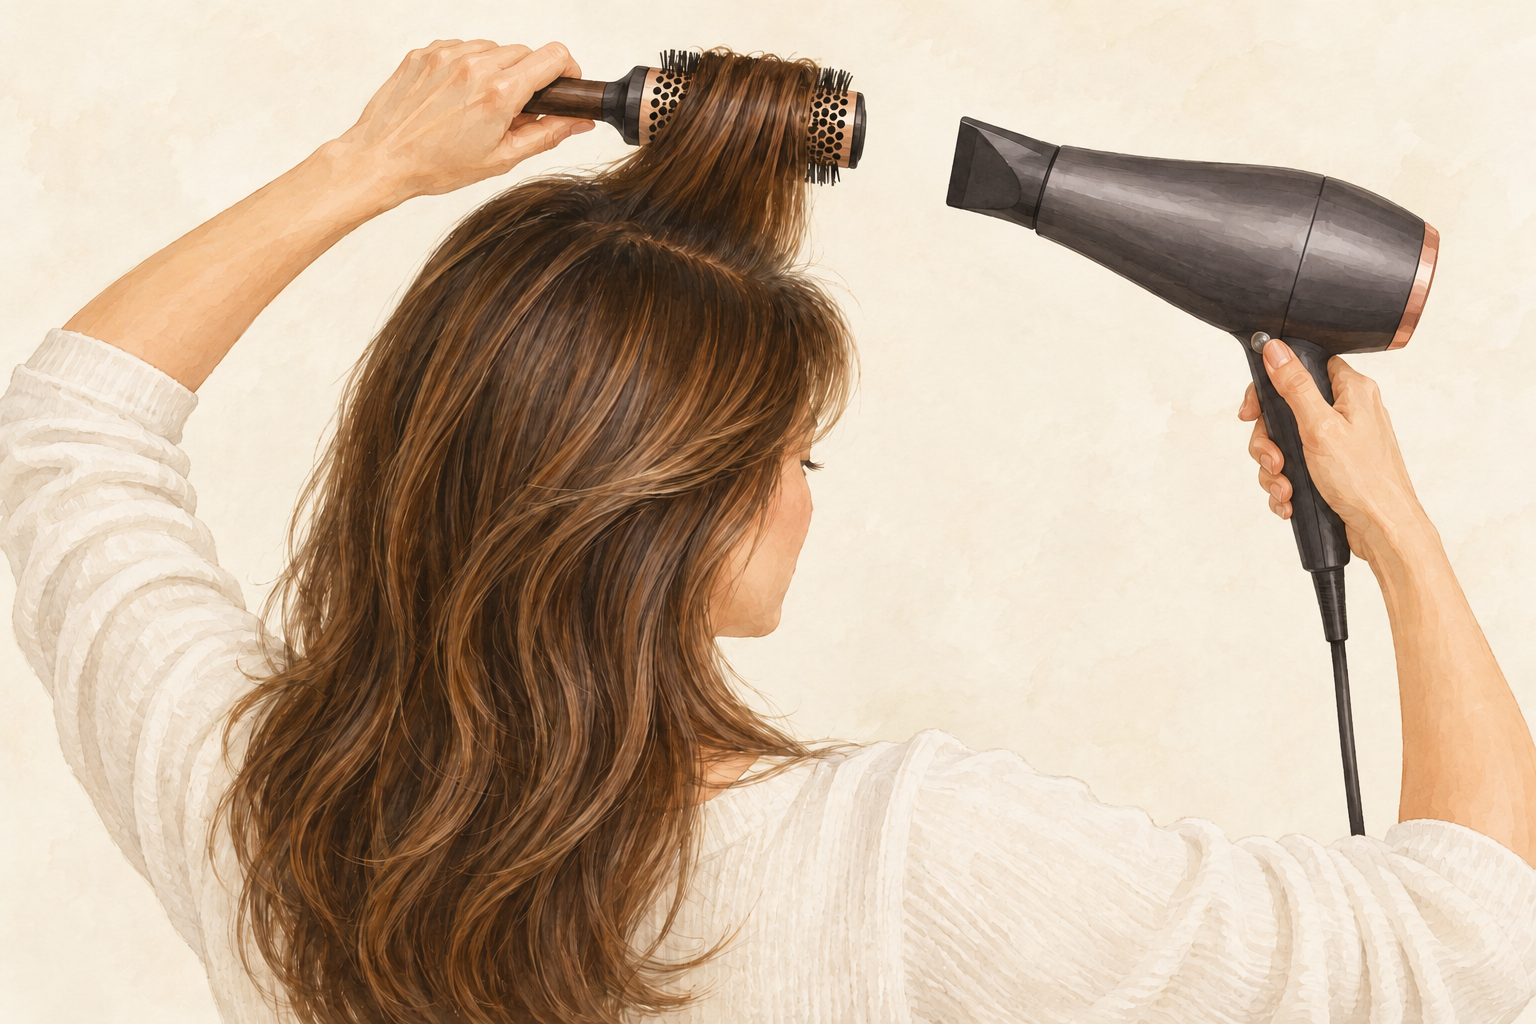
Hold the section up at the root and press the cool shot for ten to fifteen seconds. Hair sets in the shape it cools in, so this is the step that makes the lift last. Do it on every section, especially the crown and the front. If your dryer has no cool shot, switch to its coolest setting and be patient. Letting go too early lets the root fall right back down. This one habit gives more hold than any spray, and it adds no product at all. If the root still drops after you let go, hold it another five seconds next time.
10. Release the clips and finish with your fingers
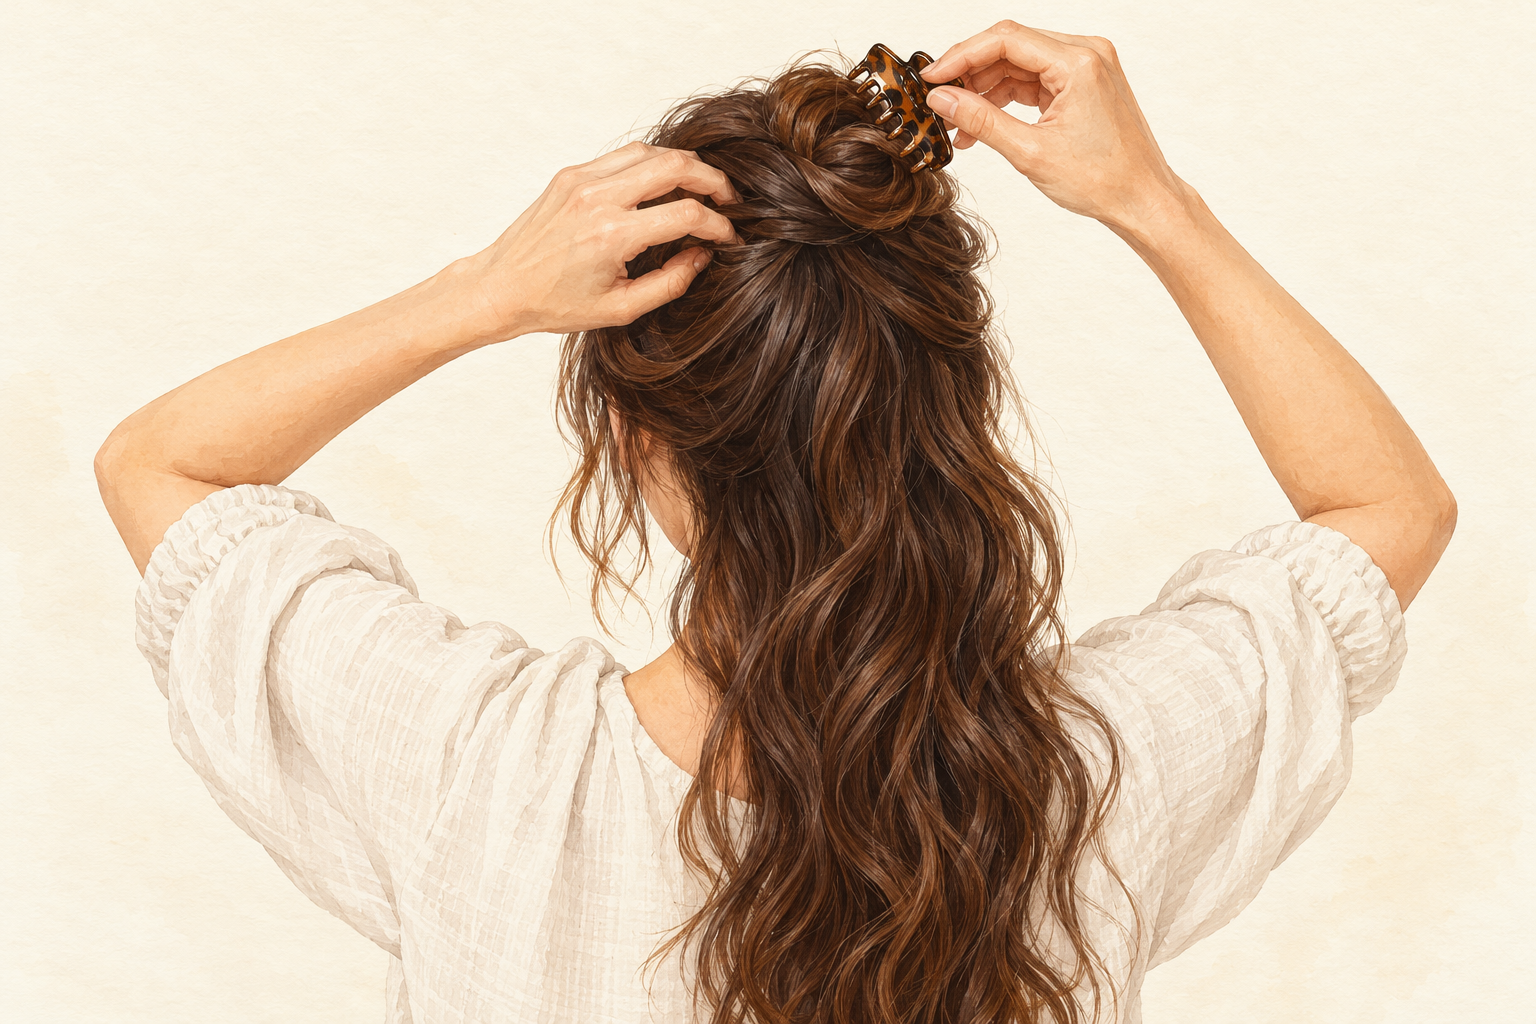
Take the clips out, flip your head back up and shake the hair out with your fingertips. Lift the roots at the crown and front, then brush the lengths once, lightly. A little flexible hairspray at the roots helps, but a heavy coat pulls the lift back down. Keep the finish soft so the hair can still move when you turn your head. If it looks stiff, run your fingers through it once more. You should be able to touch your hair without it feeling crunchy, and a mirror check from the side shows if the crown sits high.
11. Fix flat roots and puffy ends on the spot
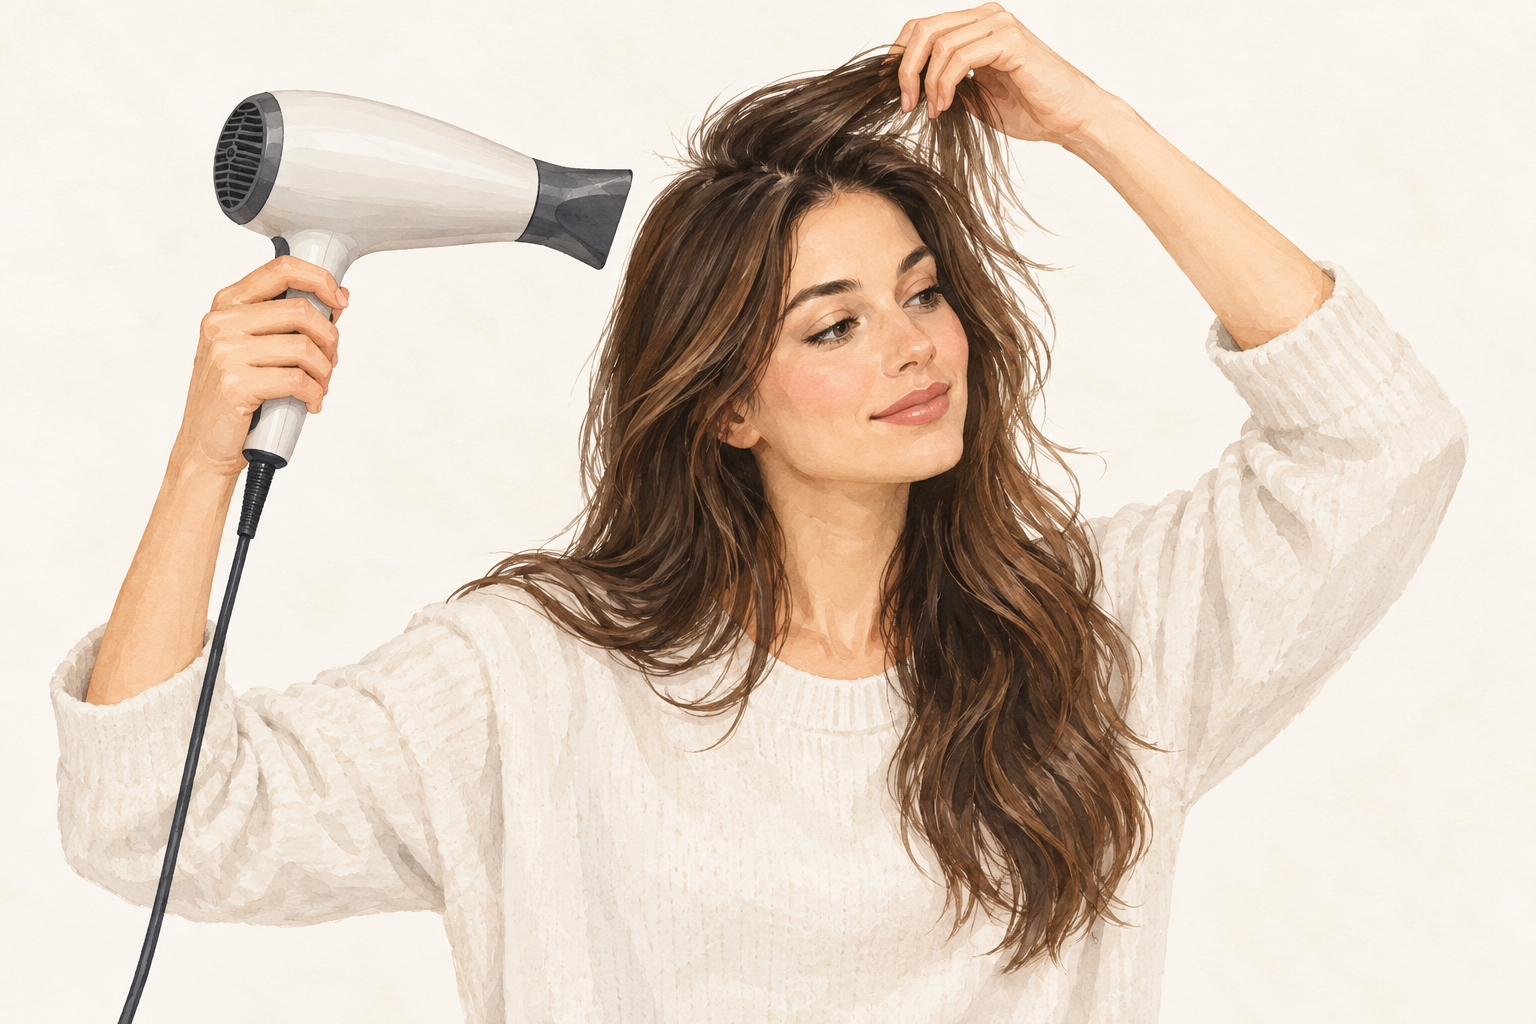
If the crown is flat, redo only that section with warm air and a cool shot. Puffiness at the ends usually means they were left damp or the heat was too high, so dry them last on a lower setting. Skip the brush on wet ends, because wet hair is fragile. A single drop of smoothing oil warmed between your palms calms frizz, but keep it off the roots. Fixing one section takes under two minutes, so there is no need to start over. Resist the urge to turn the heat up to fix it.
12. Make the lift last and go easy on the heat
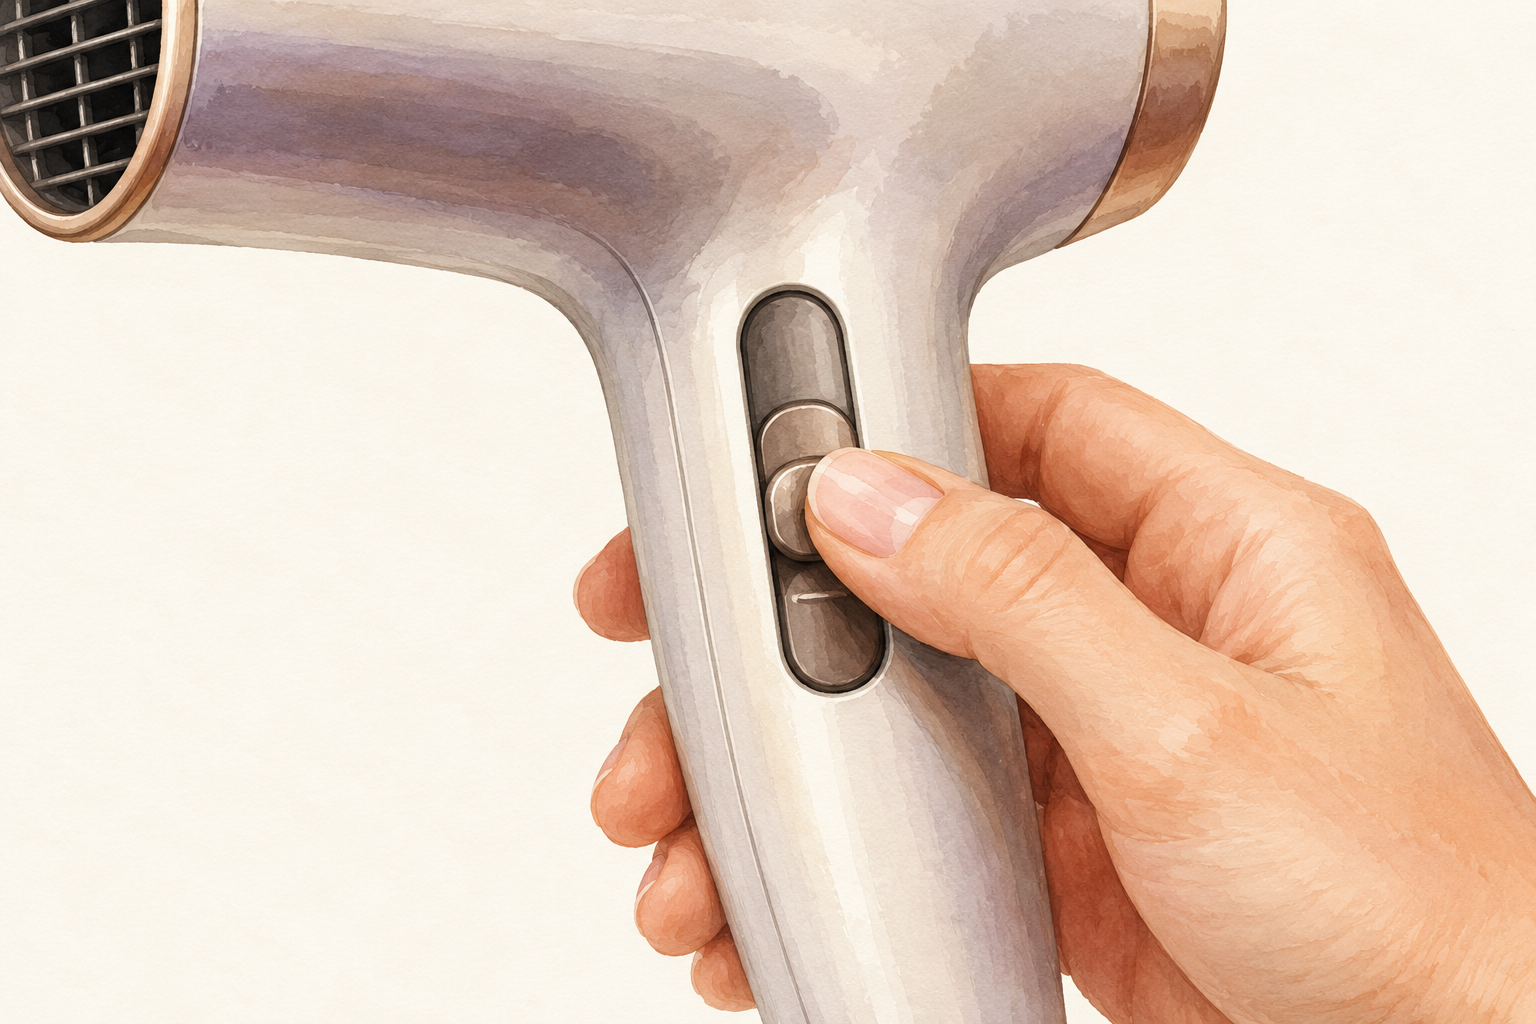
Expect a good day or two, then flip your hair upside down on day two and give the roots a few seconds of warm air and a cool shot. A little dry shampoo at the roots helps if they look oily. Fine, silky hair loses lift fastest, so do not blame your technique. Try a few air dry days each week, and swap hot settings for medium. Give each change two or three tries before deciding it does not work, because your sectioning gets quicker every time. By your fourth blow dry the whole routine should take around twenty minutes.
Complete the Routine: How to Blow Dry Hair for Volume Again
Next wash day, practice on one front section and finish with the cool shot. When you want bounce at the ends, read about how to blow dry hair with round brush and the guide on blow dry hair.