You sit down for easy diy nails at home, and ten minutes later there is polish on your skin, a streak across the thumb and a bubble you cannot unsee. Neat nails come from a few repeatable moves, not steady hands. Here are 12 steps in the order you do them, so start at number one tonight.
1. Lay out your small kit
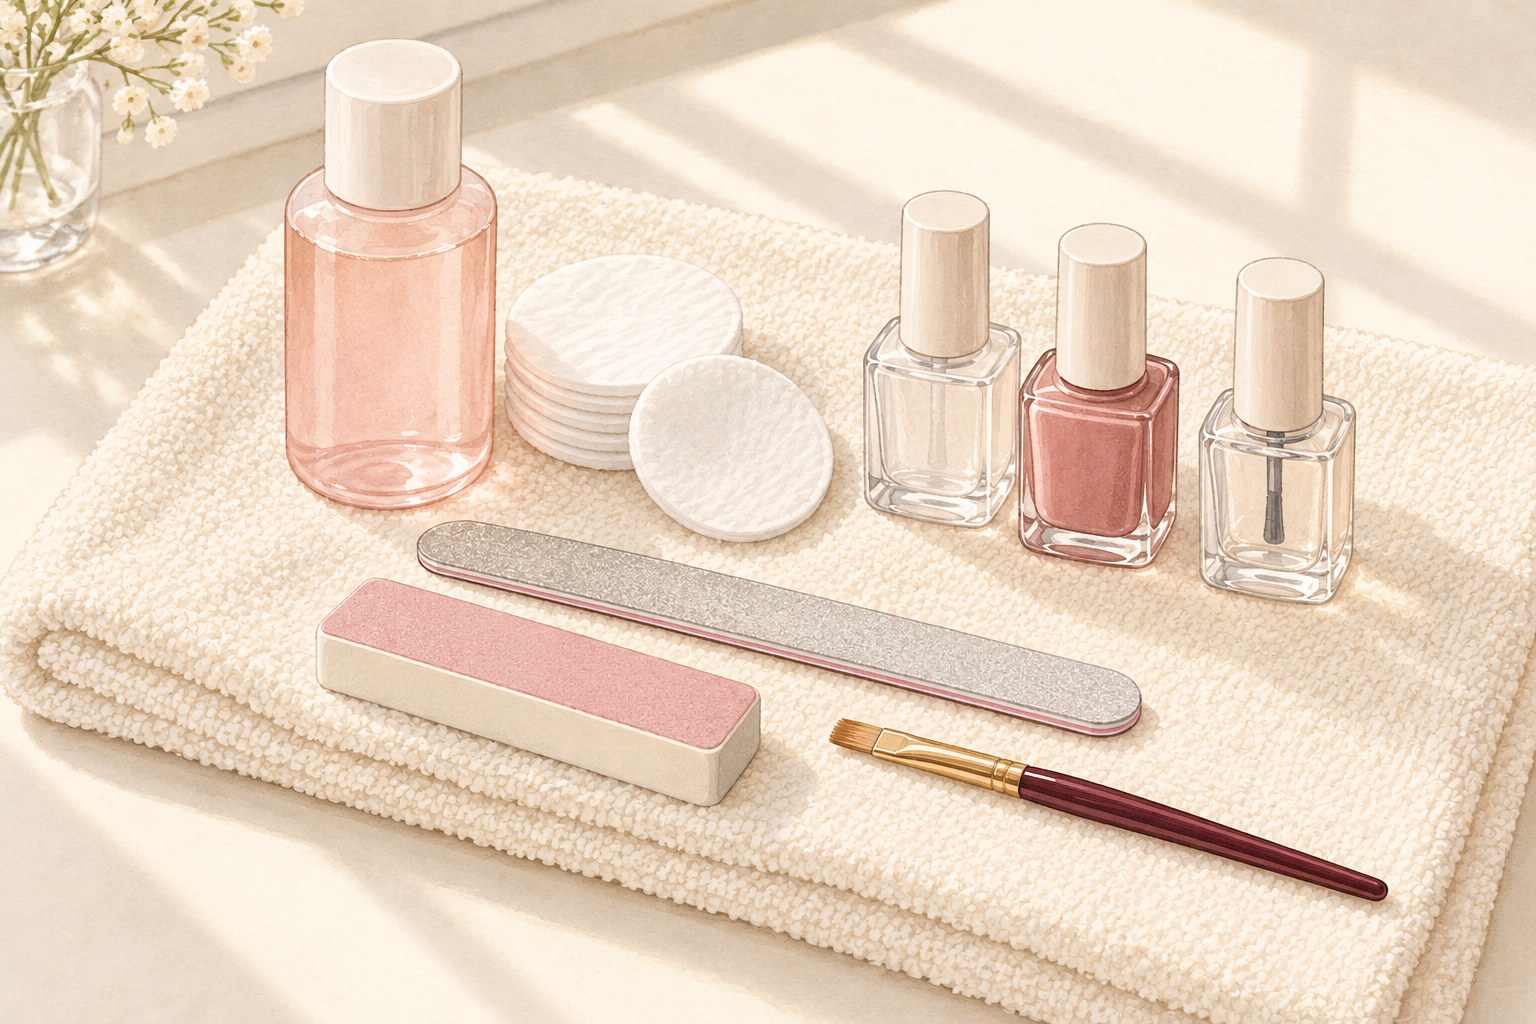
Set a fine file, an orange stick, cotton pads, remover, base coat, one color and top coat on a clean towel. Add a flat brush for clean up and a bottle of cuticle oil for the end. Having it all within reach matters, because you cannot go hunting through drawers once the polish is wet. Sit beside a window so daylight lands on your hands and you can see every edge. Put your phone on silent and give yourself about forty minutes for the first full round. Rushing is the quiet reason neat nails turn messy, so take the time.
2. Shape short, soft squares or ovals
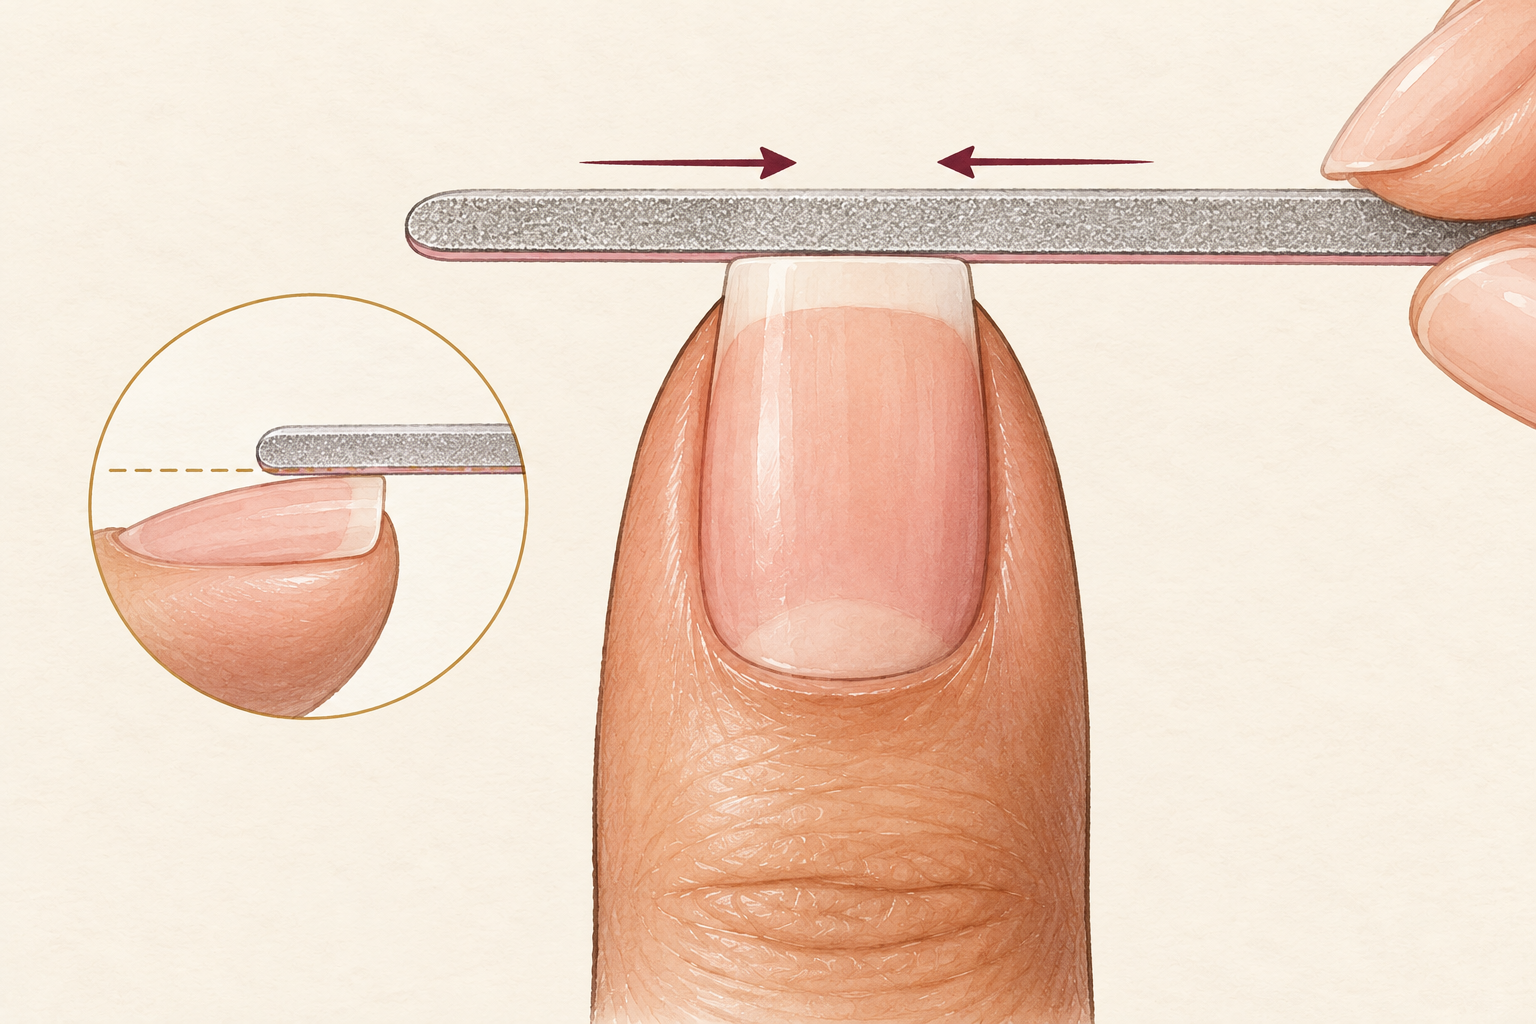
File your nails short, then round them into a soft square or a gentle oval. Short nails are the most forgiving, because there is less nail to paint and fewer places to smudge. Move the file in one direction from the side toward the middle, and match every nail to your shortest one. Do this before any color goes on, since filing painted nails chips the edge. Run a fingertip along each tip afterwards, and if it catches, give it one more light pass. A smooth shape makes the polish sit flat and look like you meant it. A dull file leaves a hairy edge, so swap it when it stops feeling smooth.
3. Wipe every nail clean
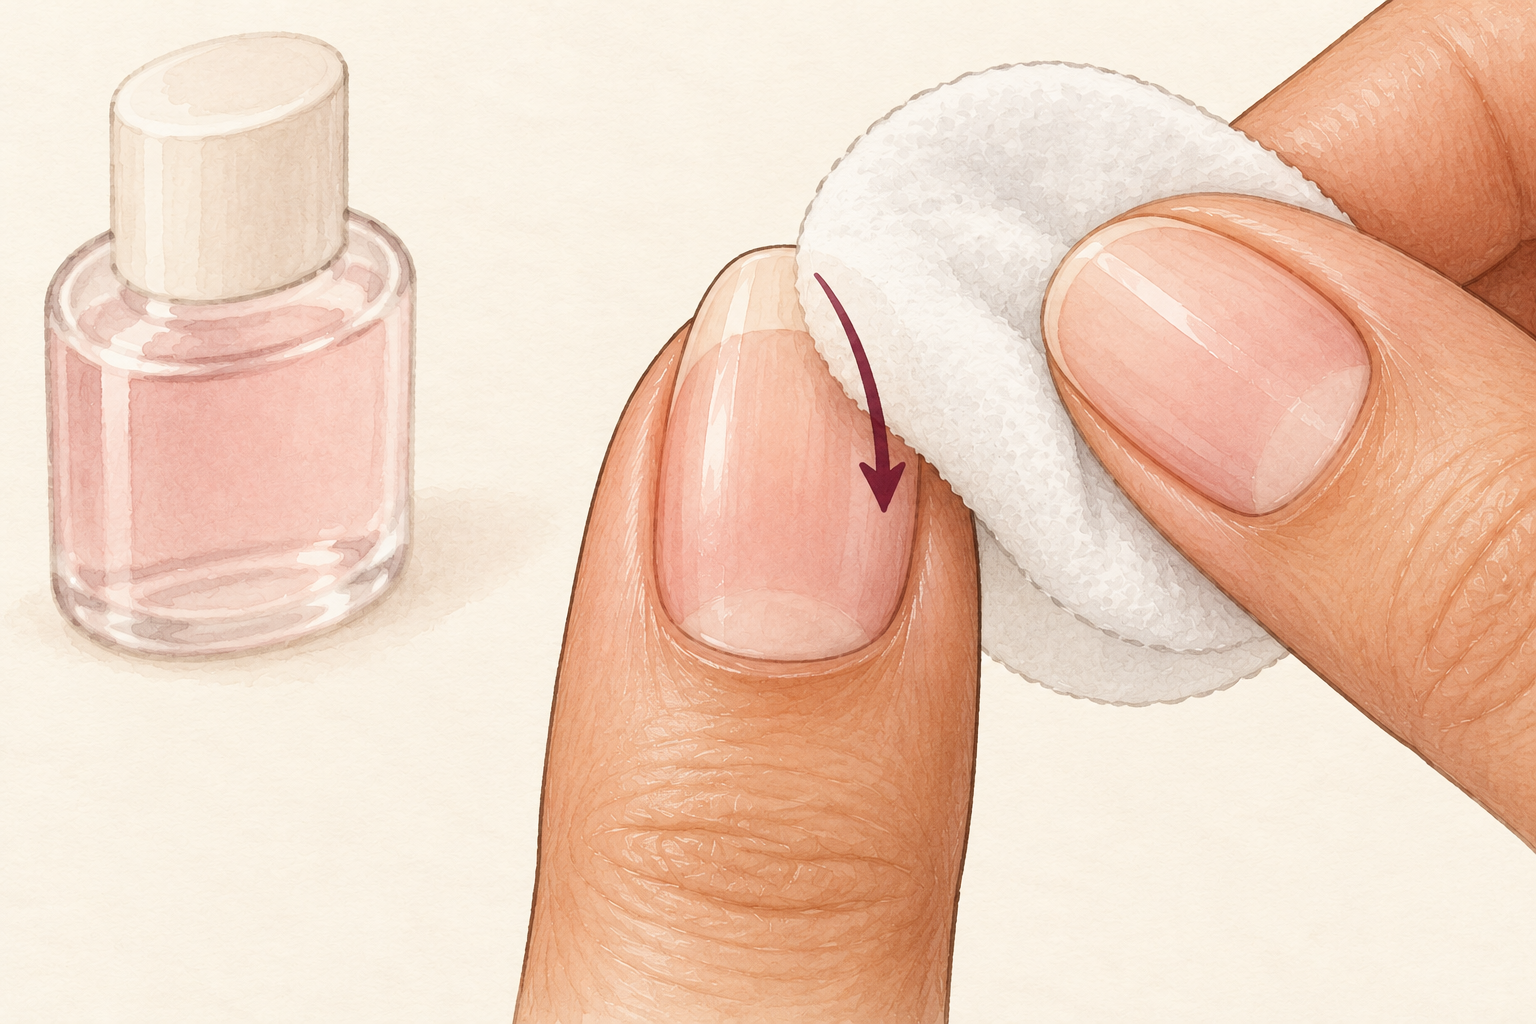
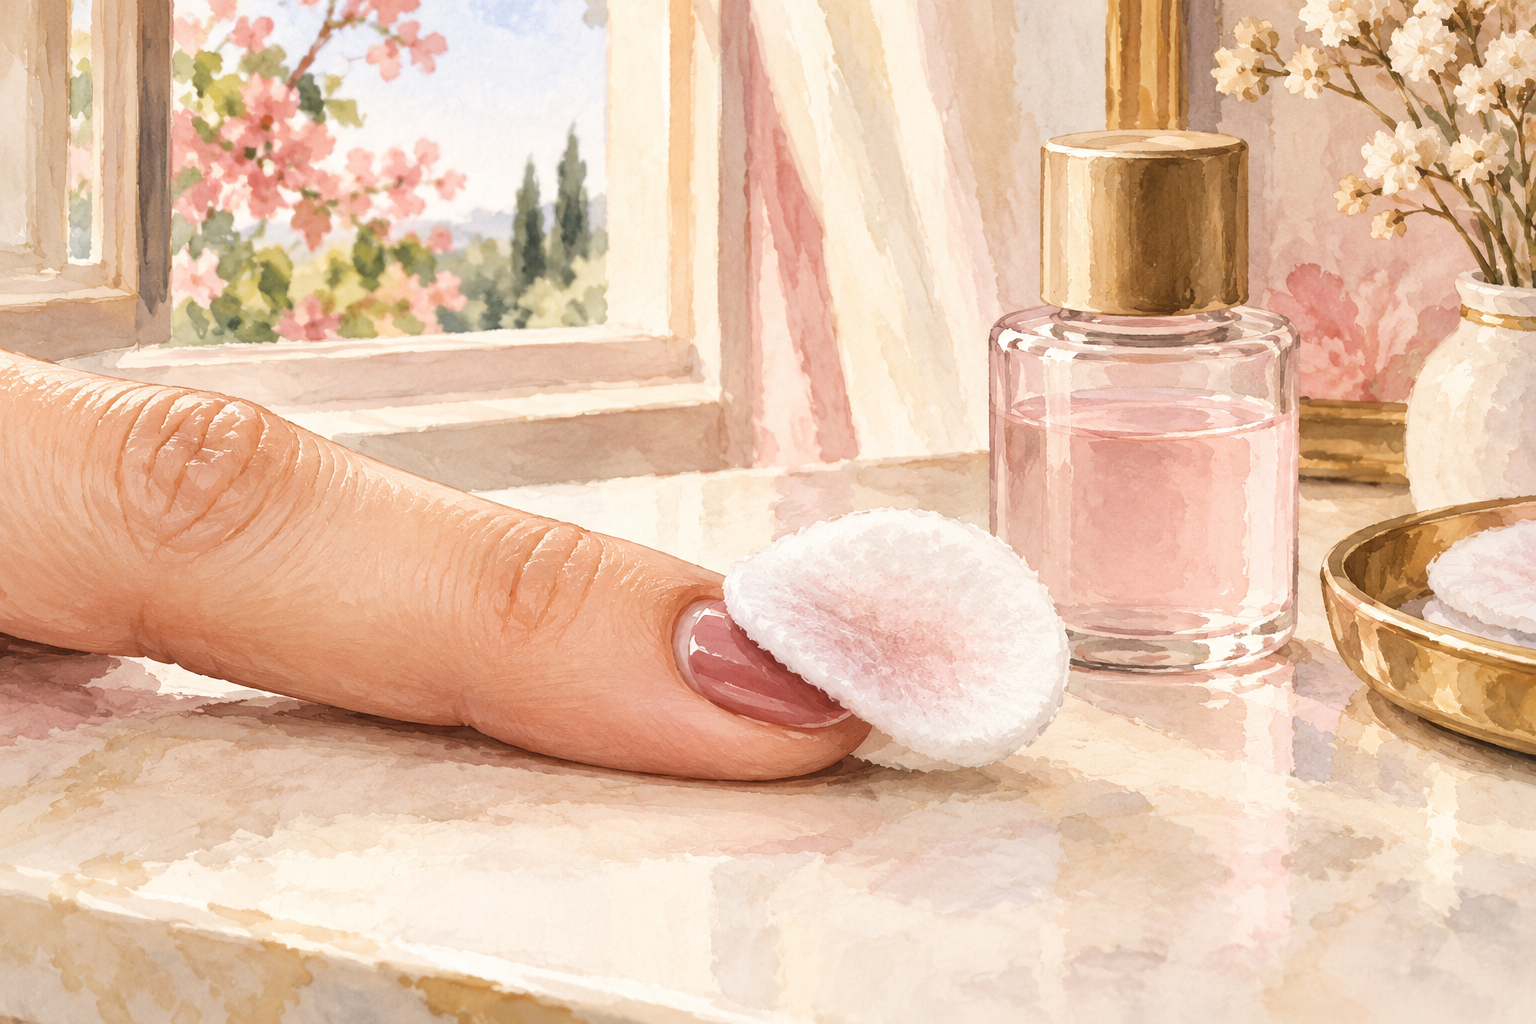
Swipe each nail with a cotton pad and a little remover, then stop touching the surface. Natural oil and leftover hand cream sit on your nails, and polish slides right off an oily surface. A fingertip puts that oil straight back, so hold the nail by its sides from here on. Keep a window open while you work, because remover fumes build up fast in a small room. If you need to ease the cuticle, do it after a warm wash with a soft stick and never cut it. Clean, dry nails give the first coat something firm to hold. Wash your hands first if they feel greasy, and dry them fully. If greasy fingers cause the trouble, how to prep nails is the place to read next.
4. Put a barrier on the skin
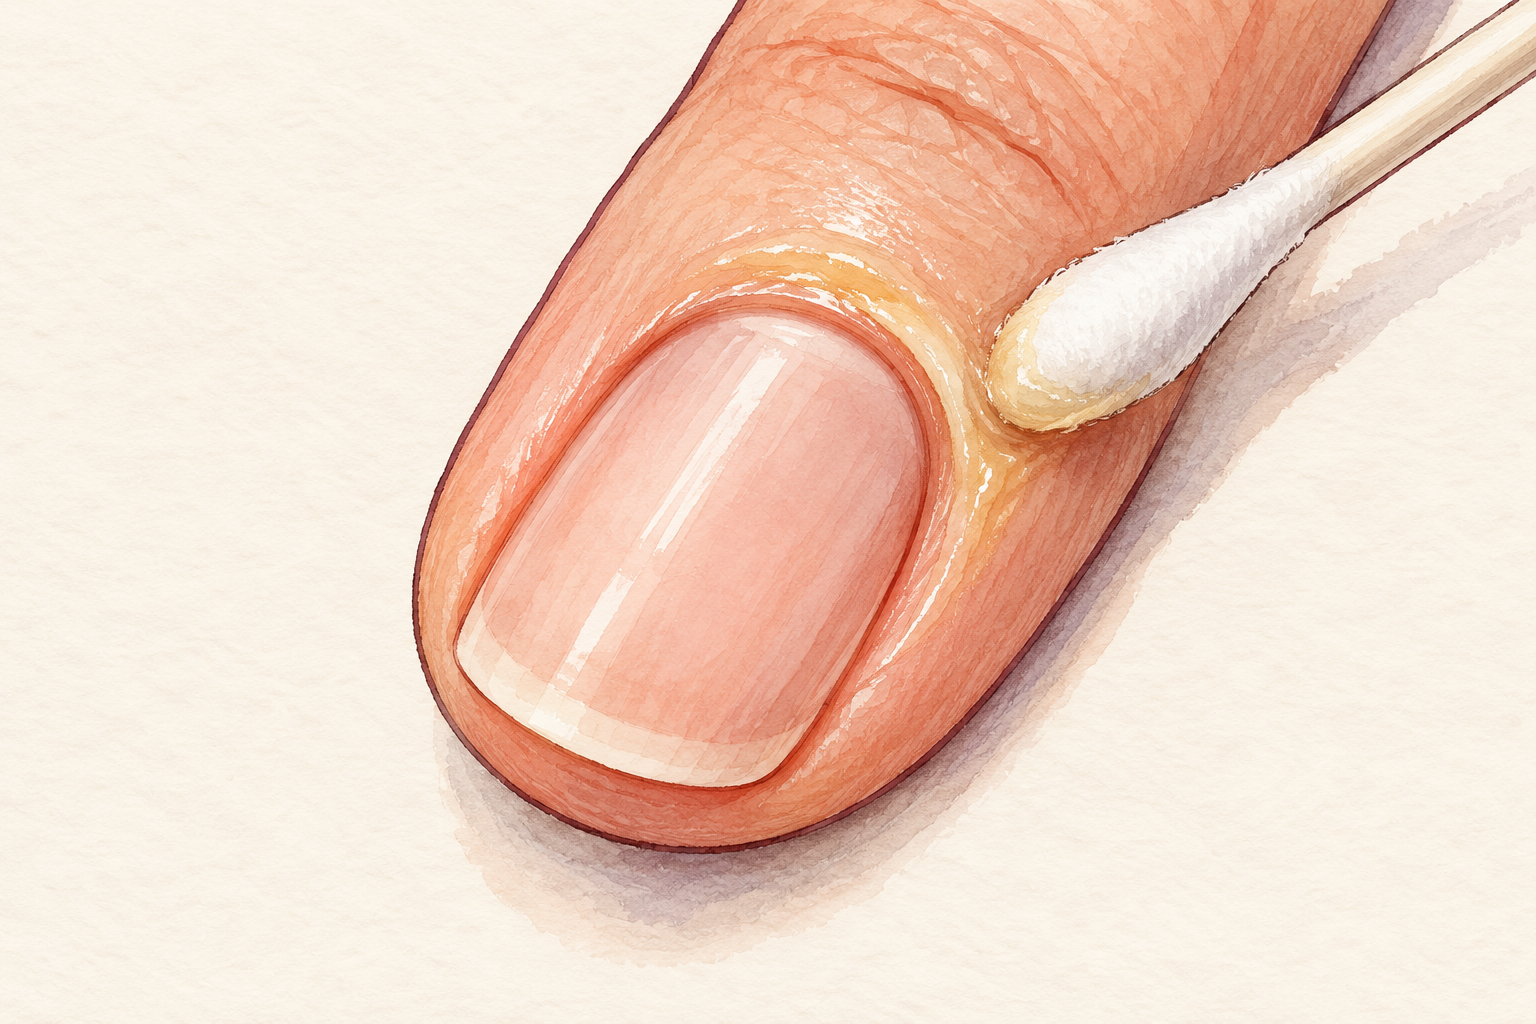
Dab a little petroleum jelly or thick cuticle balm on the skin around each nail with a cotton bud. Polish that lands on the balm wipes off in one swipe afterwards. Keep it well off the nail itself, because a greasy nail has no grip and the color will peel. Go slowly at the corners where the skin curves, since that is where most polish escapes. It sounds lazy, and it is, but it saves you ten minutes of scrubbing at the end. Do one hand fully before starting the other, so the balm does not smear. Wipe a stray smear of balm off the nail with a dry cotton pad.
5. Pick a forgiving color and a thin base coat
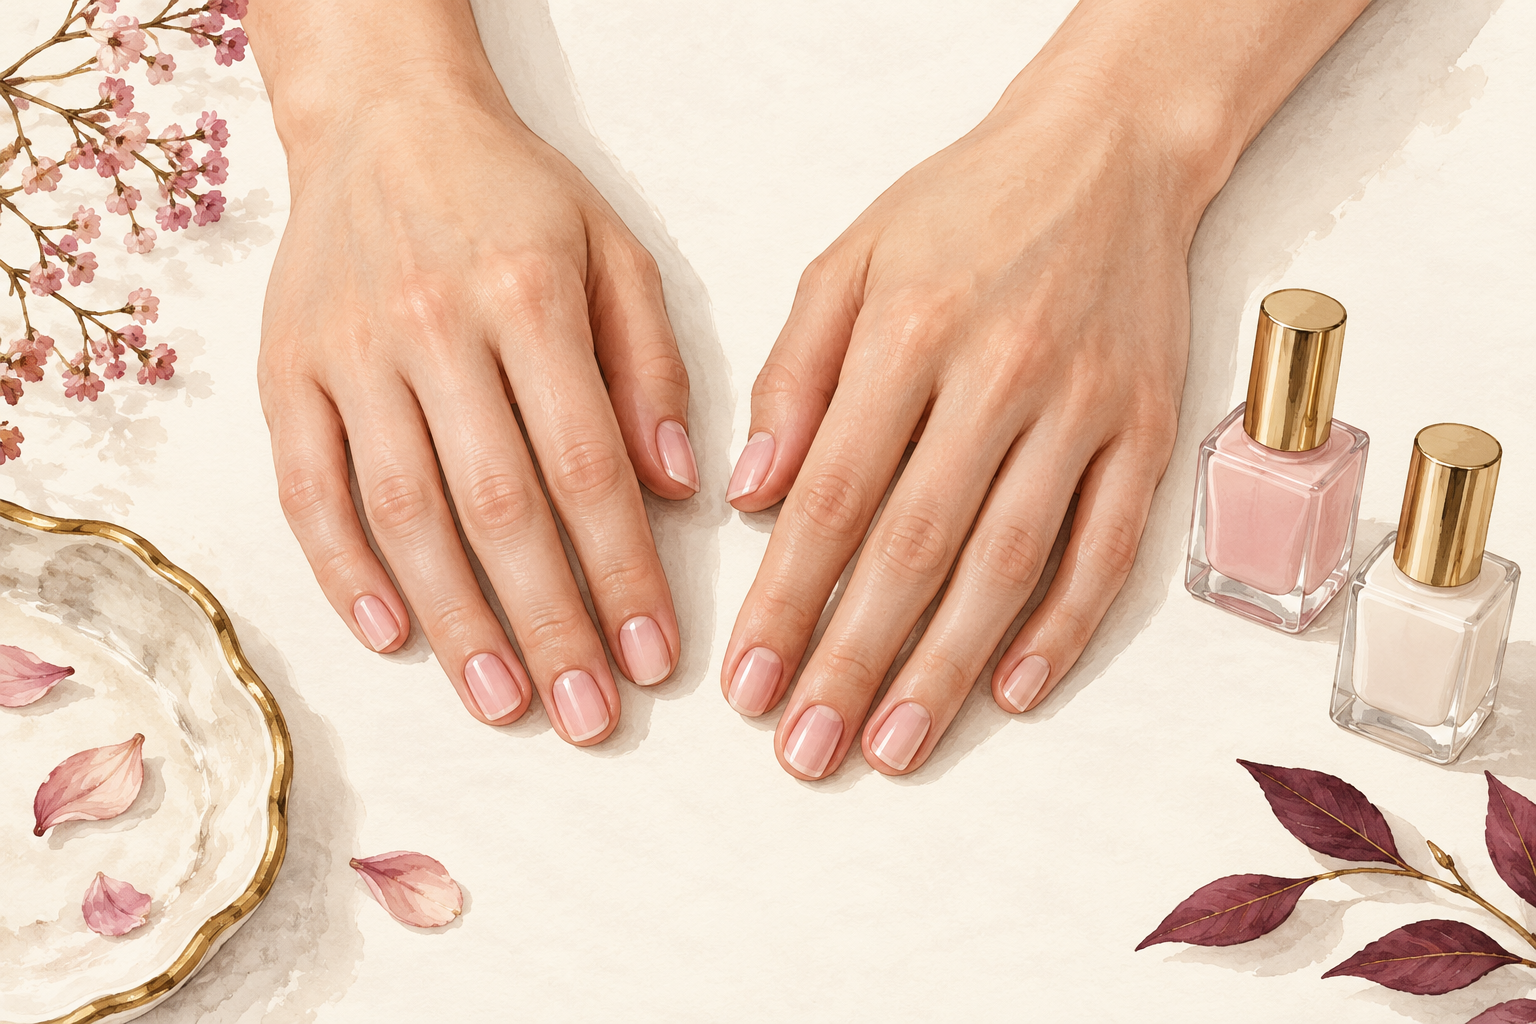
Choose a sheer pink, a milky white or a soft nude for your first rounds. These shades hide streaks, uneven edges and fingerprints, because they never show where a stroke began. Dark and neon colors show every flaw, so save them until the moves feel automatic. Brush on one very thin base coat and wait two minutes. The base helps the color grip and keeps pigment from staining the nail. Wipe one side of the brush on the bottle neck each time you load it, so you only carry a small bead. Check the color on a scrap of paper if you are unsure how it will dry.
6. Use the three stroke method
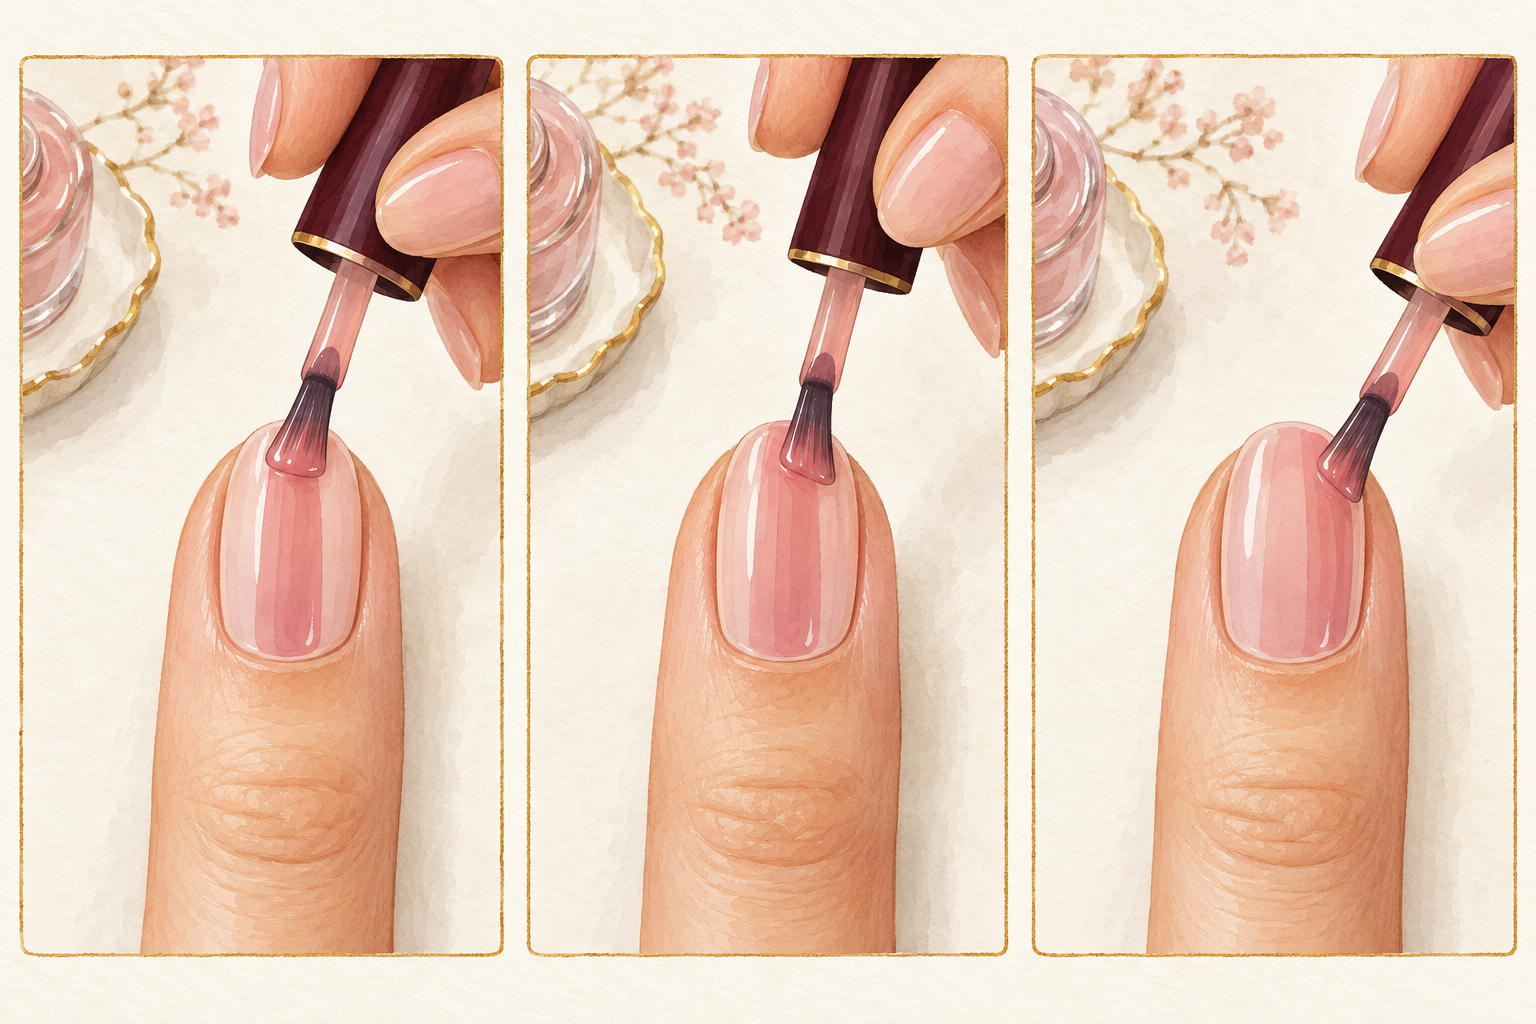
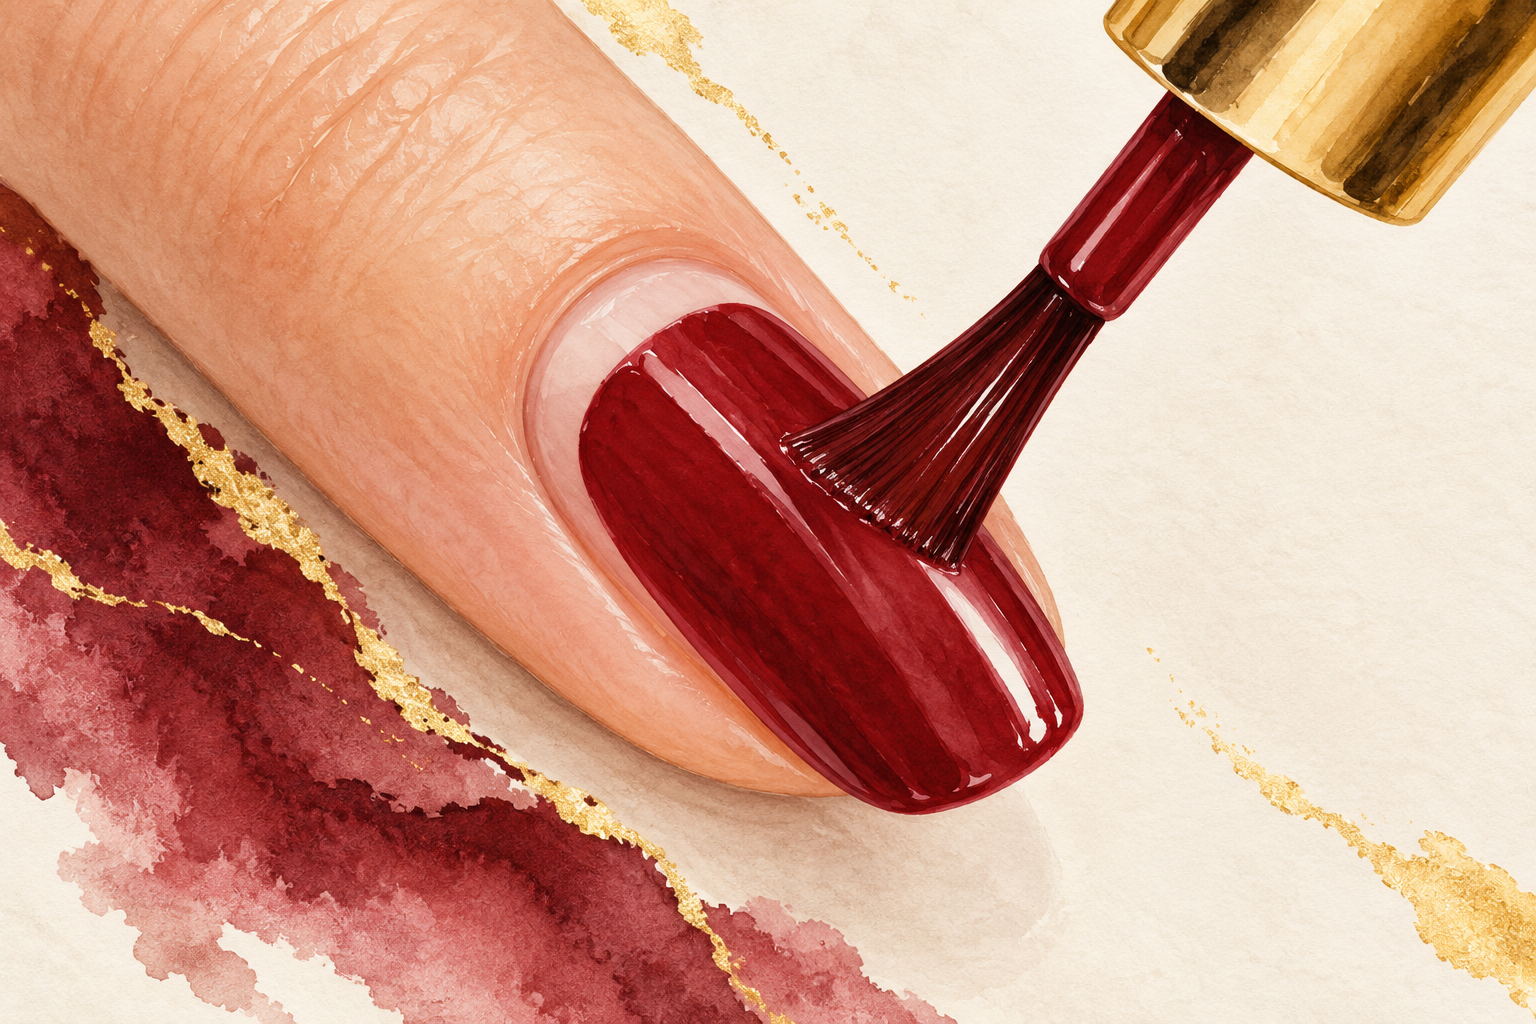
Place the bead in the middle of the nail, a hair’s width from the cuticle, and push it gently back toward the cuticle. Then pull it down to the tip in one stroke. Do one stroke on the left and one on the right. Three strokes cover the whole nail, and stopping there is the trick behind neat easy diy nails at home. Going back over wet polish drags it and leaves ridges. If a spot looks thin, leave it alone, because the second coat will even it out. Do your thumb last, since it is the widest nail and the hardest to cover. Keep how to paint nails perfectly open on your phone while you practice the thumb last of all.
7. Wait between two thin coats
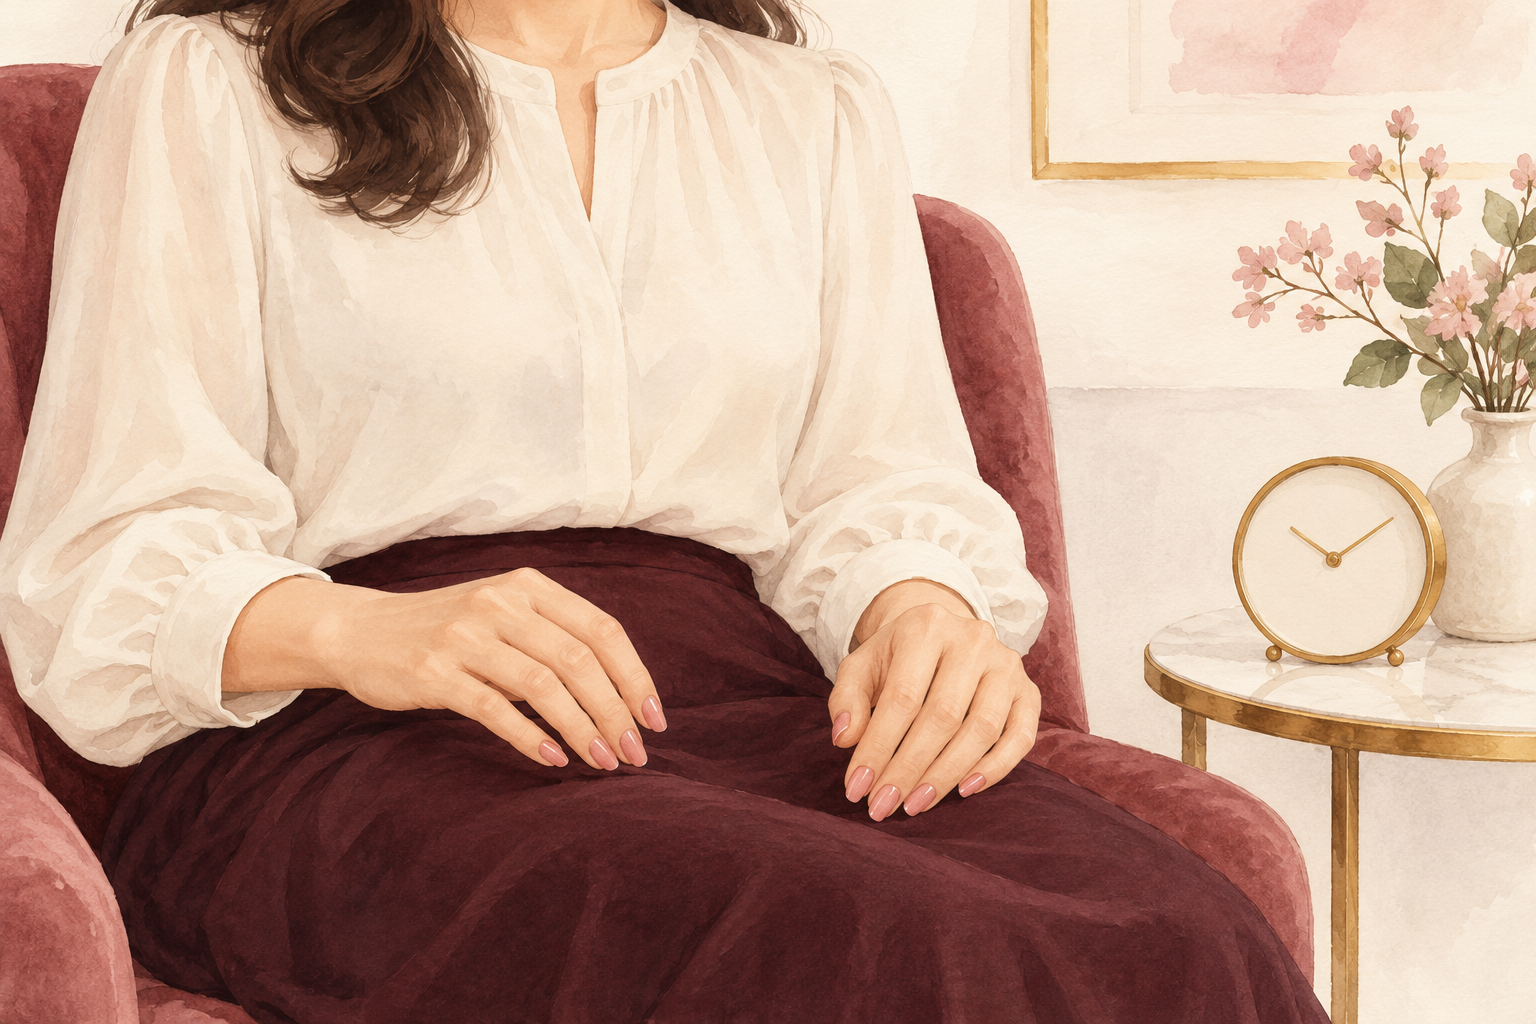
Give each coat about two minutes, until it is just tacky, before the next one goes on. Two thin coats dry faster and look smoother than one thick coat, which stays wet underneath and smudges the moment you pick up your phone. Thin layers also trap fewer bubbles. Check the bottle for its own dry time, since formulas differ. A streaky first coat is normal, so resist the urge to fix it. Rest your painting hand on the towel while you wait so nothing brushes against it. Waiting is what turns a lumpy finish into a smooth one.
8. Cap the free edge
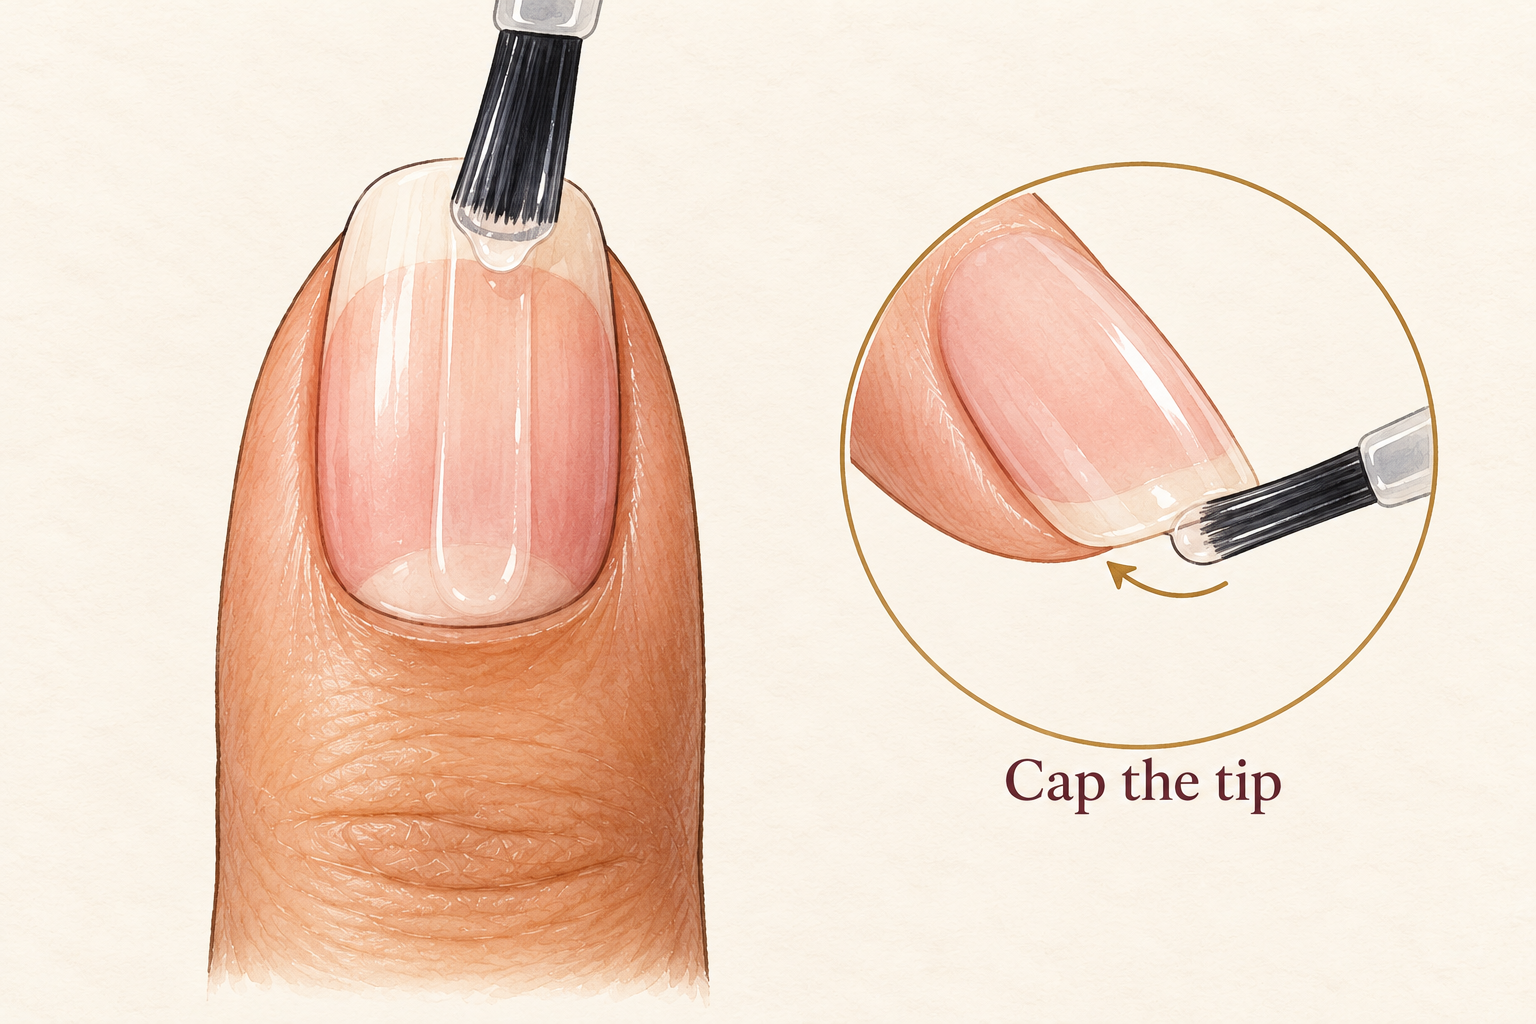
Run the brush along the very tip of the nail with just a trace of polish. This seals the thin edge so the color chips less where your nails meet keys, bags and doors. Do it on the first coat, the second coat and the top coat. Use less polish than you think you need, because too much here makes a thick, dented edge. Hold the brush flat and make one smooth pass from side to side. It takes three seconds per nail and adds days to the life of the set. Do it on every finger the same way so the set looks even.
9. Clean the edges while the polish is tacky
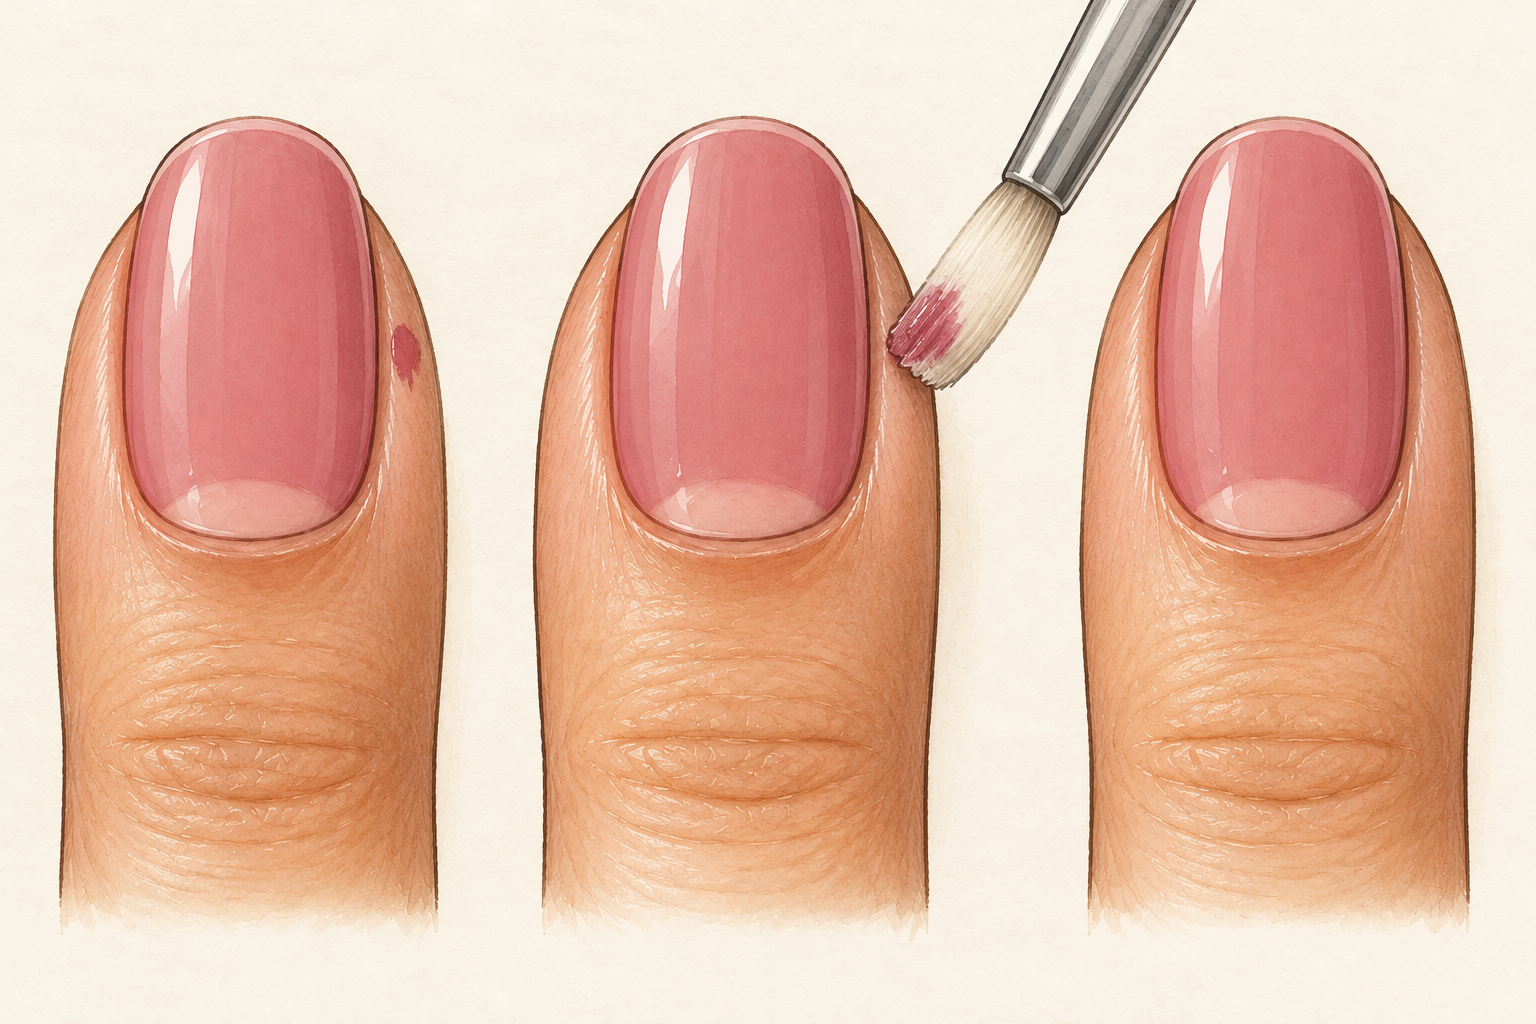
Dip a small flat brush in remover, squeeze off the extra on a tissue, and trace along the skin. Work while the polish is still slightly tacky, since dry polish is harder to lift. A brush with too much remover creeps under the color and ruins the edge. Take off only what sits on the skin, then wipe the brush clean before the next nail. If you used balm, the polish will come away easily. A tidy edge makes even a plain color look done on purpose. Keep the room ventilated while you use the remover.
10. Use tape for a clean straight line
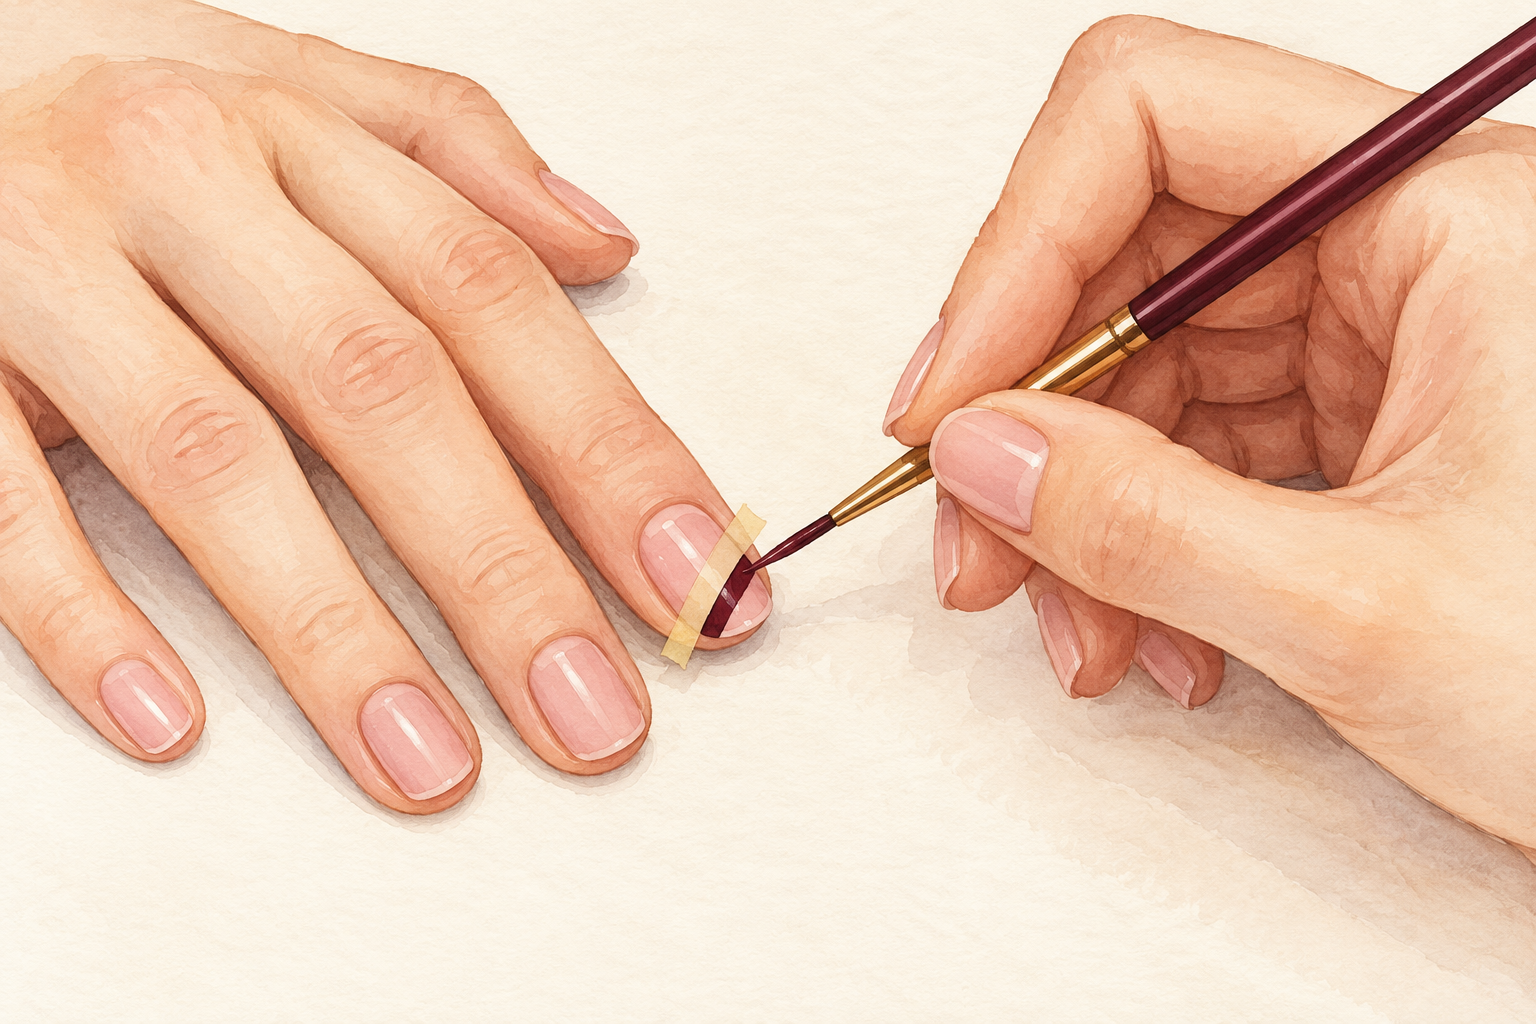
Press a thin strip of low tack tape across the nail where you want a tip or stripe. Make sure the base color is fully dry first, or the tape will lift it. Paint the stripe over the tape edge, then peel the tape away while that stripe is still slightly wet. The line will not be perfect, and a little softness looks charming. Press the tape down lightly with your fingertip so it holds without tugging the base coat. Wipe any small bleed with a cotton bud and a drop of remover. Do not leave the tape on long, because wet polish skins over fast, and finish with the top coat once the line is dry.
11. Float on a glossy top coat
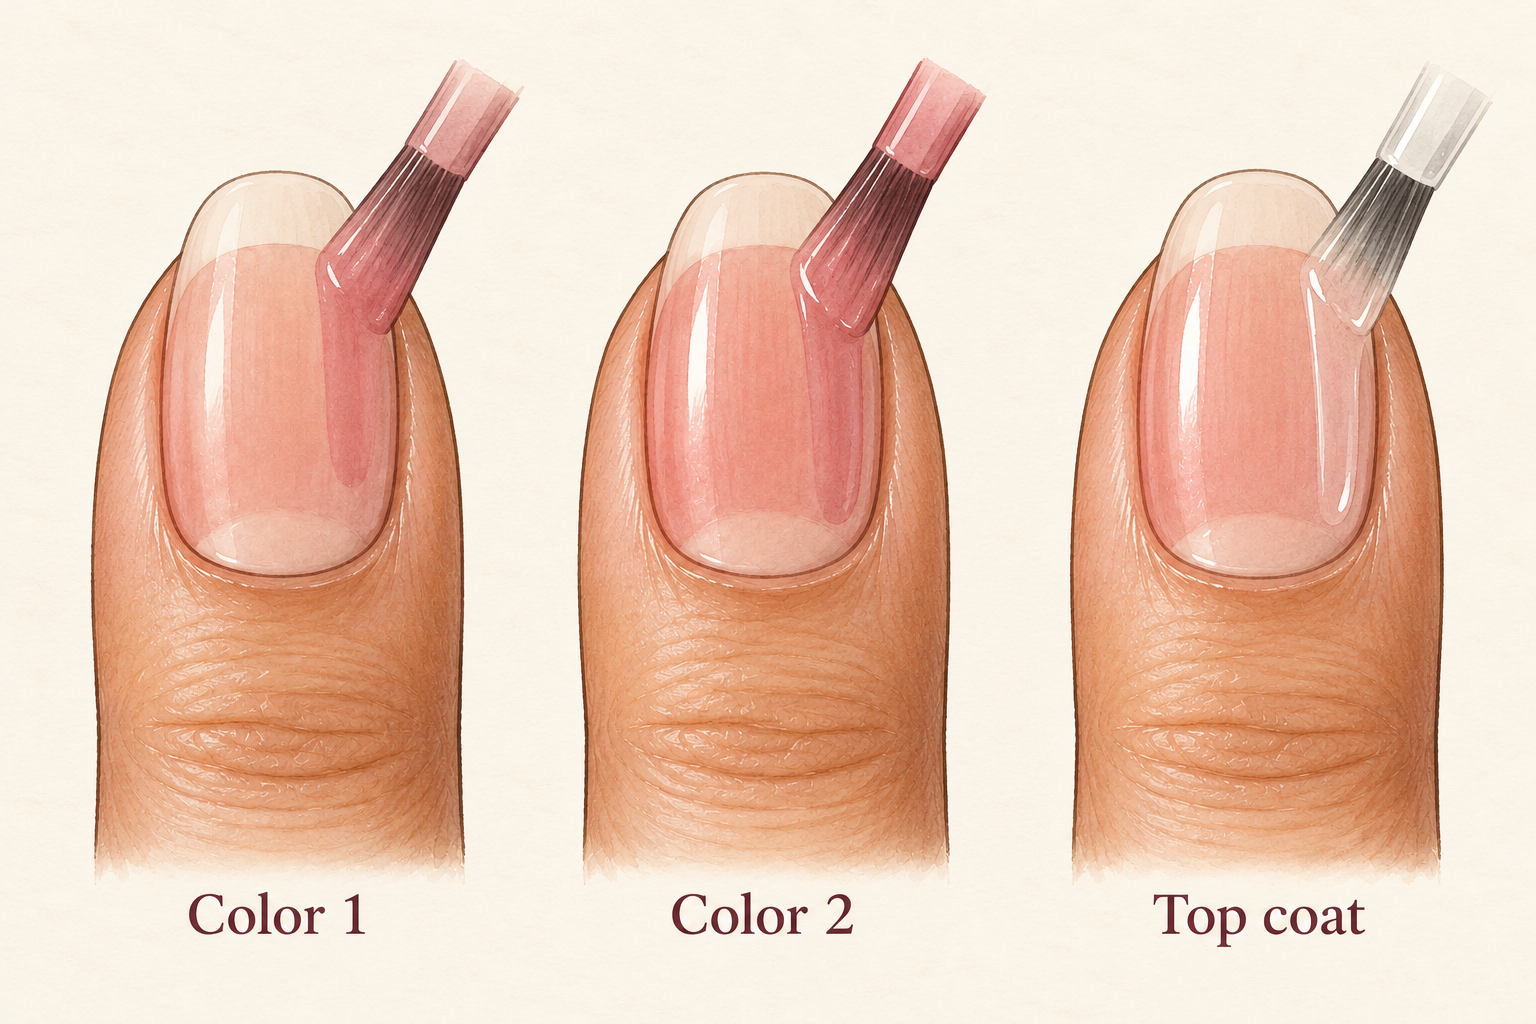
Load the brush generously and let a thin layer glide over the nail without pressing down. Pressing drags the color and leaves streaks. Wait about five minutes after your last coat or stripe, then cover the whole nail and cap the tip once more. The gloss evens out tiny ridges and hides the places where your strokes overlapped. Keep your hands still for the next ten minutes, because polish feels dry long before it is. Hard tasks like opening cans and typing fast can wait for an hour. Check your nails in daylight for any bare patches before you stop.
12. Fix the common slips and keep them fresh
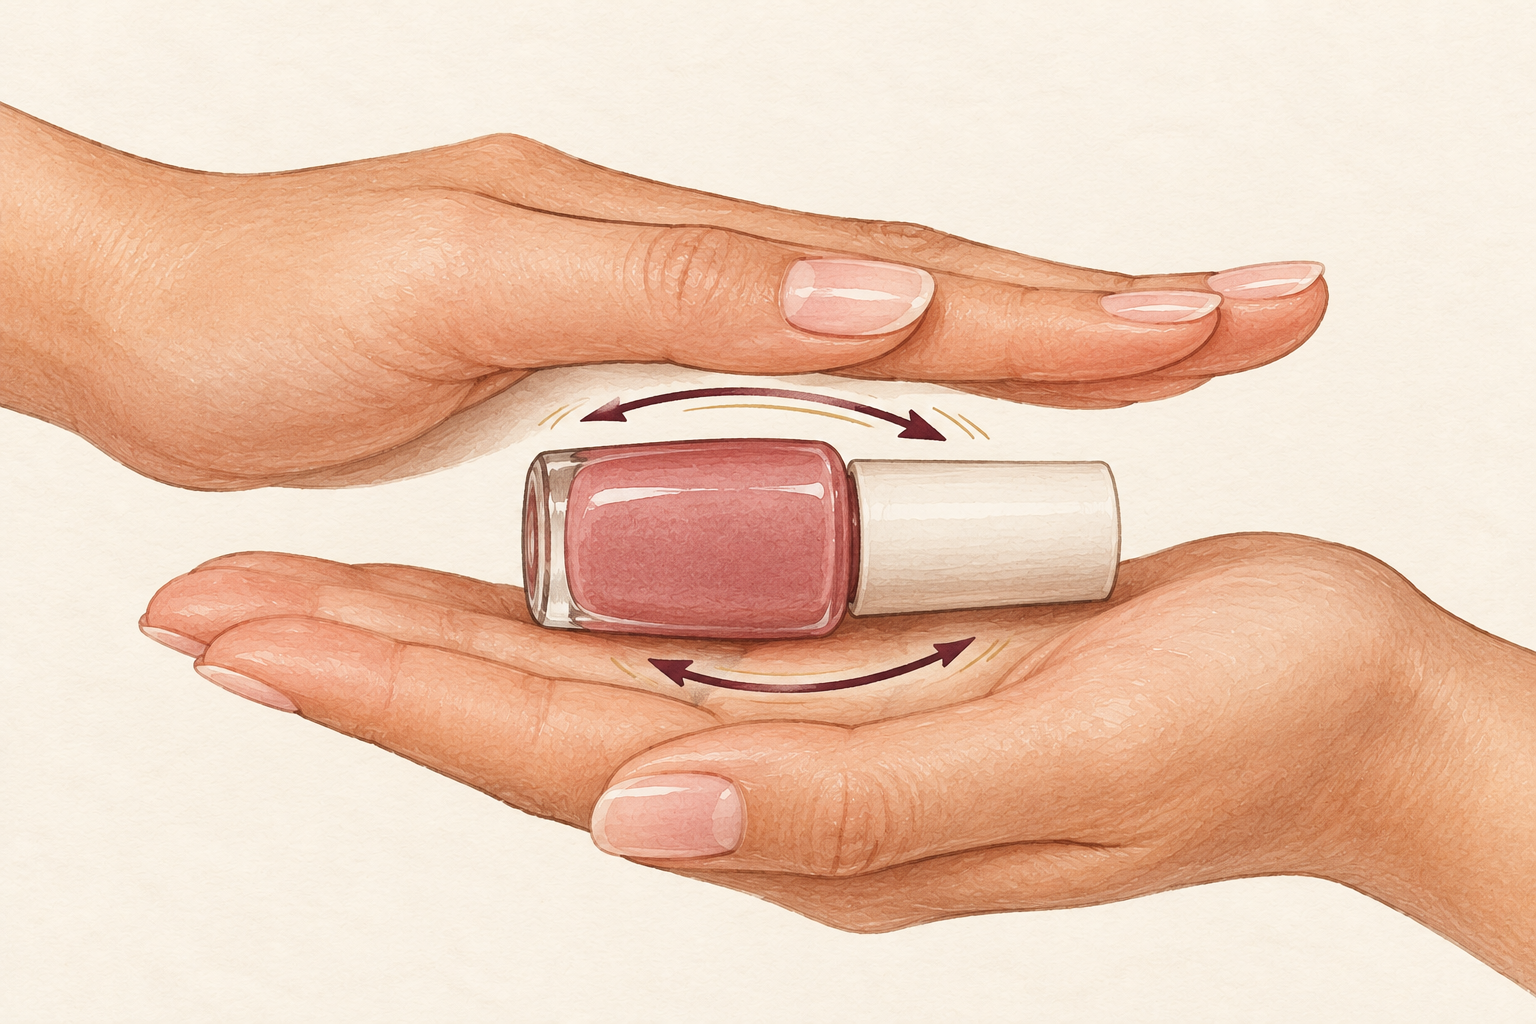
Roll the bottle between your palms instead of shaking it, because shaking whips in tiny bubbles. Do not paint straight after a shower, when nails are swollen and damp. Leave a small gap at the cuticle so the polish does not flood and lift. Skip the hair dryer on wet coats, which can bubble the surface. Press a drop of cuticle oil into each nail at night and add a thin layer of top coat on day three. Each try will look a little neater than the last. Slow is quicker here, because redoing a smudge takes longer than waiting.
Complete the Routine: Easy DIY Nails at Home for This Weekend
This weekend, pick one sheer color, wipe your nails clean and practice the three stroke method on one hand. A calm first try is worth more than a perfect one, so enjoy the process. Pick the next guide below when you feel like it, with no pressure to master it all.