You finally tried diy gel nails at home, and by day four the gel at your thumb has curled up like a sticker, with a tiny bubble near the tip of your ring finger. You can feel it catching on your sleeve. Lifting almost never means you are bad at this. Here are 12 fixes, so start at number one tonight.
1. Spot which problem you have
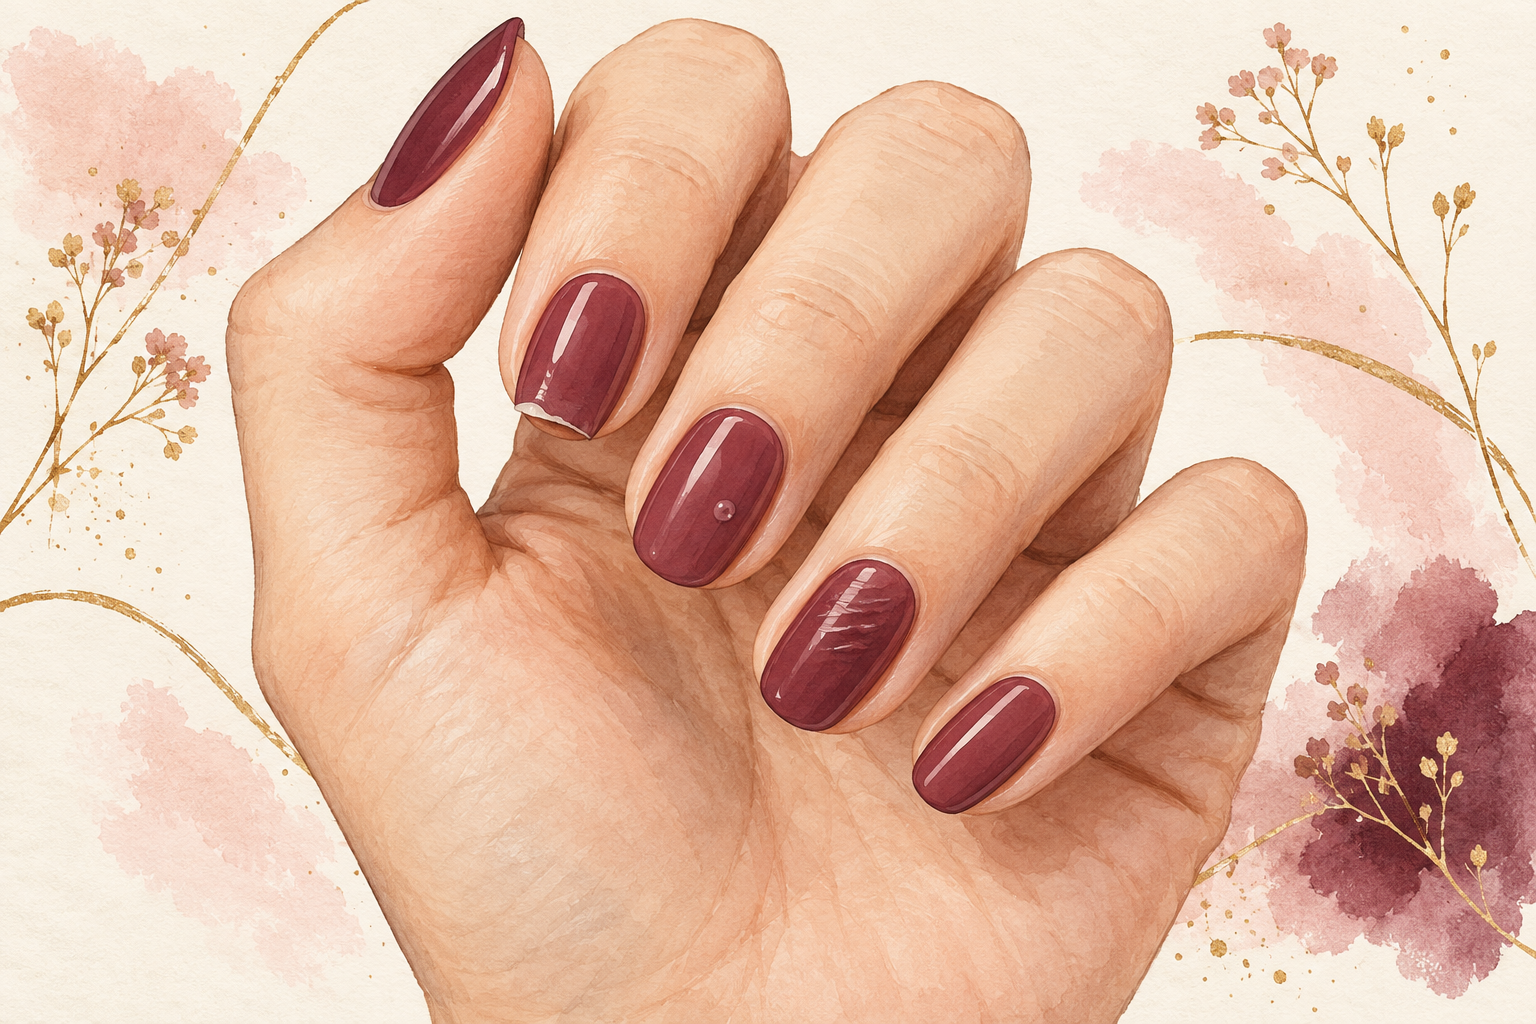
Look at each nail in daylight and find where the trouble starts. Lifting at the cuticle or sides usually points to skin, oil or too much gel near the edge. Lifting at the tip points to a missed cap or a rough edge. Tiny bubbles or pinholes point to air, shaking or a thick coat. Wrinkles and a soft center point to a coat that was too thick or cured too briefly. Write down what you see for each finger. Spotting the pattern tells you which of the next steps to fix first. Take a quick photo as well, so you can compare after your next set.
2. Understand what lifts the edges
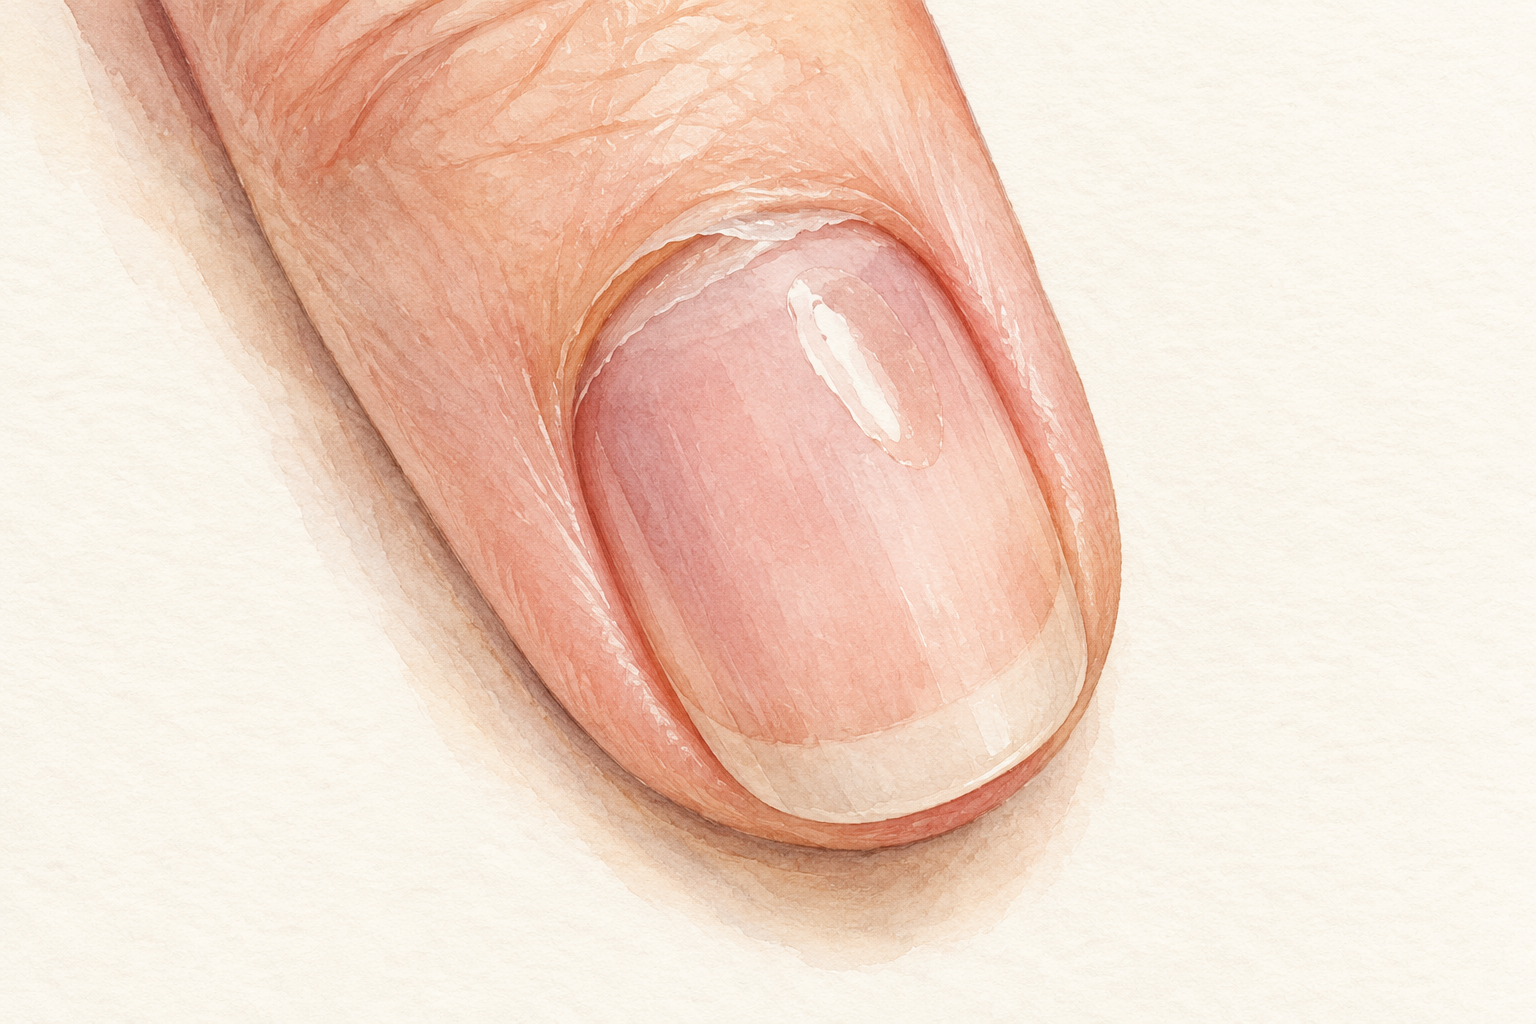
Gel lifts when it cannot grip the nail, and the usual reasons are oil, skin and a glassy surface. Natural oil from your fingertips and hand cream under the base coat is the top reason. A thin film of skin on the nail plate stops the gel bonding. A shiny, unbuffed nail gives it nothing to hold. So the answer is rarely a better bottle. It is a cleaner, slightly rougher nail, and that is what the next steps build. That is why diy gel nails at home often fail on the thumbs first.
3. Understand what makes the bubbles
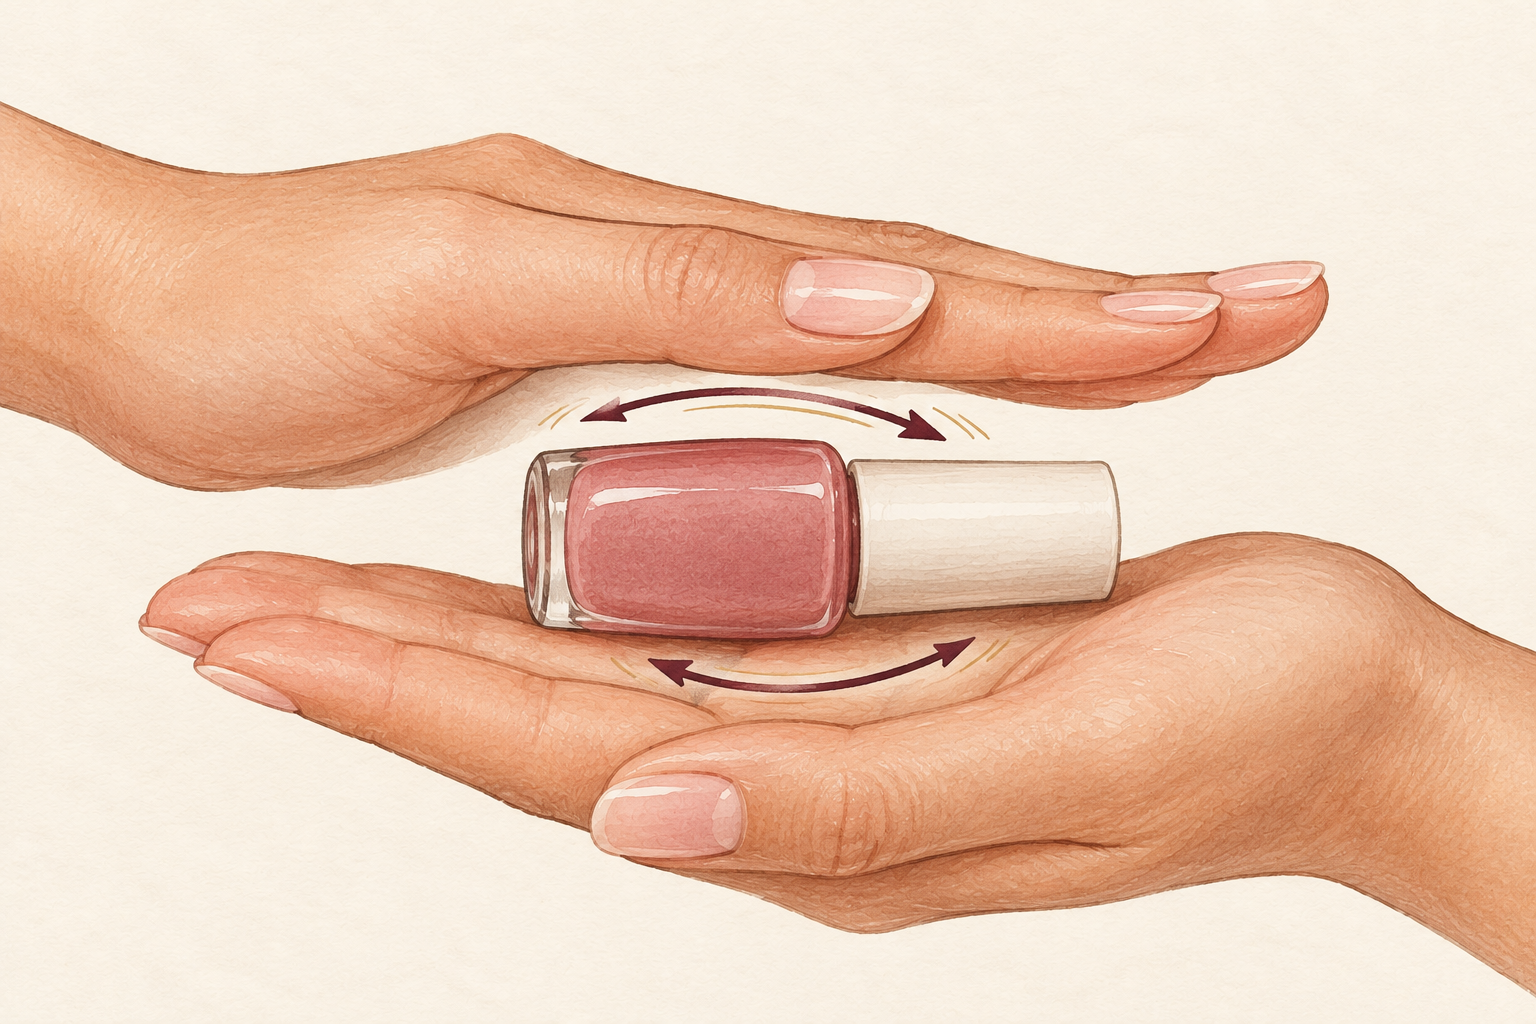
Bubbles come from air, thick layers and rushed curing. Shaking the bottle whips in tiny air bubbles that show up as pinholes after curing, so roll it gently between your palms instead. A thick coat traps air and cures on top while it stays soft underneath. Painting over a damp or dusty nail can also leave small craters. Once you know the cause, the fix takes seconds. Bubbles are a sign of speed, not skill, and slowing down by a minute usually clears them. Gel on a clean, dry nail rarely bubbles.
4. Stop making it worse
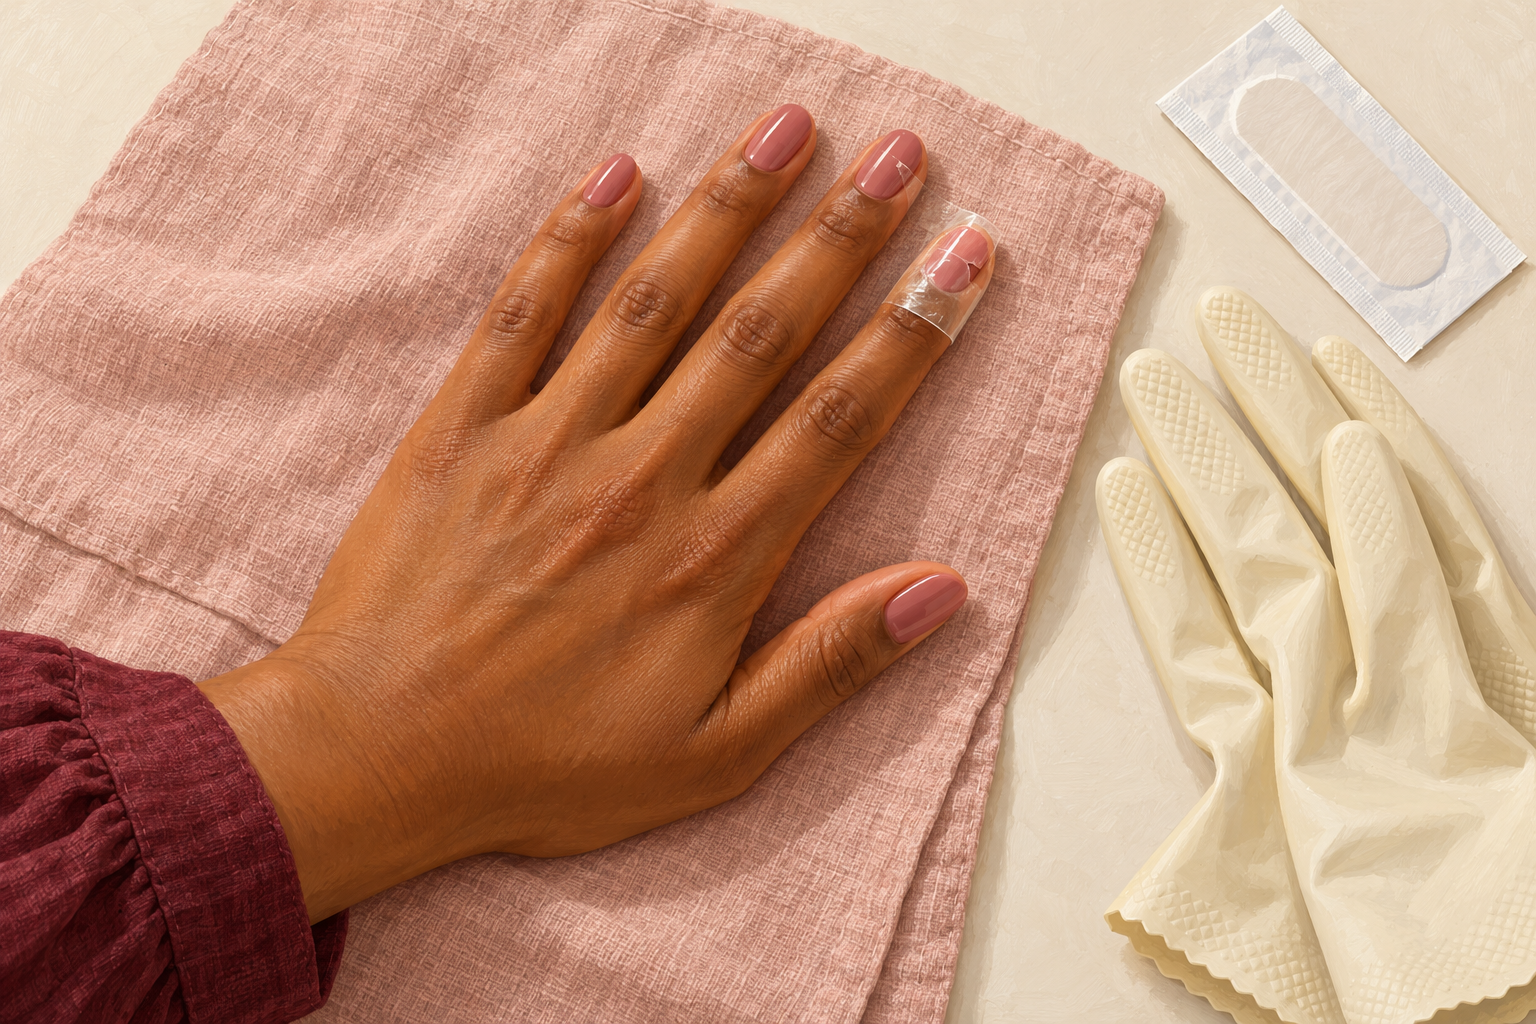
Do not peel, pick or press at a lifted edge, and keep water off it until you can fix it. Peeling tears away layers of your own nail, which makes the next set lift even sooner. Water slips underneath a lifted corner and loosens the rest. Wear gloves for washing up, and keep your hands out of hot baths for the day. If a corner is catching, wear a plaster on that finger for the night rather than picking at it. Fix it within a day, because a small lift spreads quickly. Resist the urge to press it back down with your thumb.
5. Clear the cuticle film first
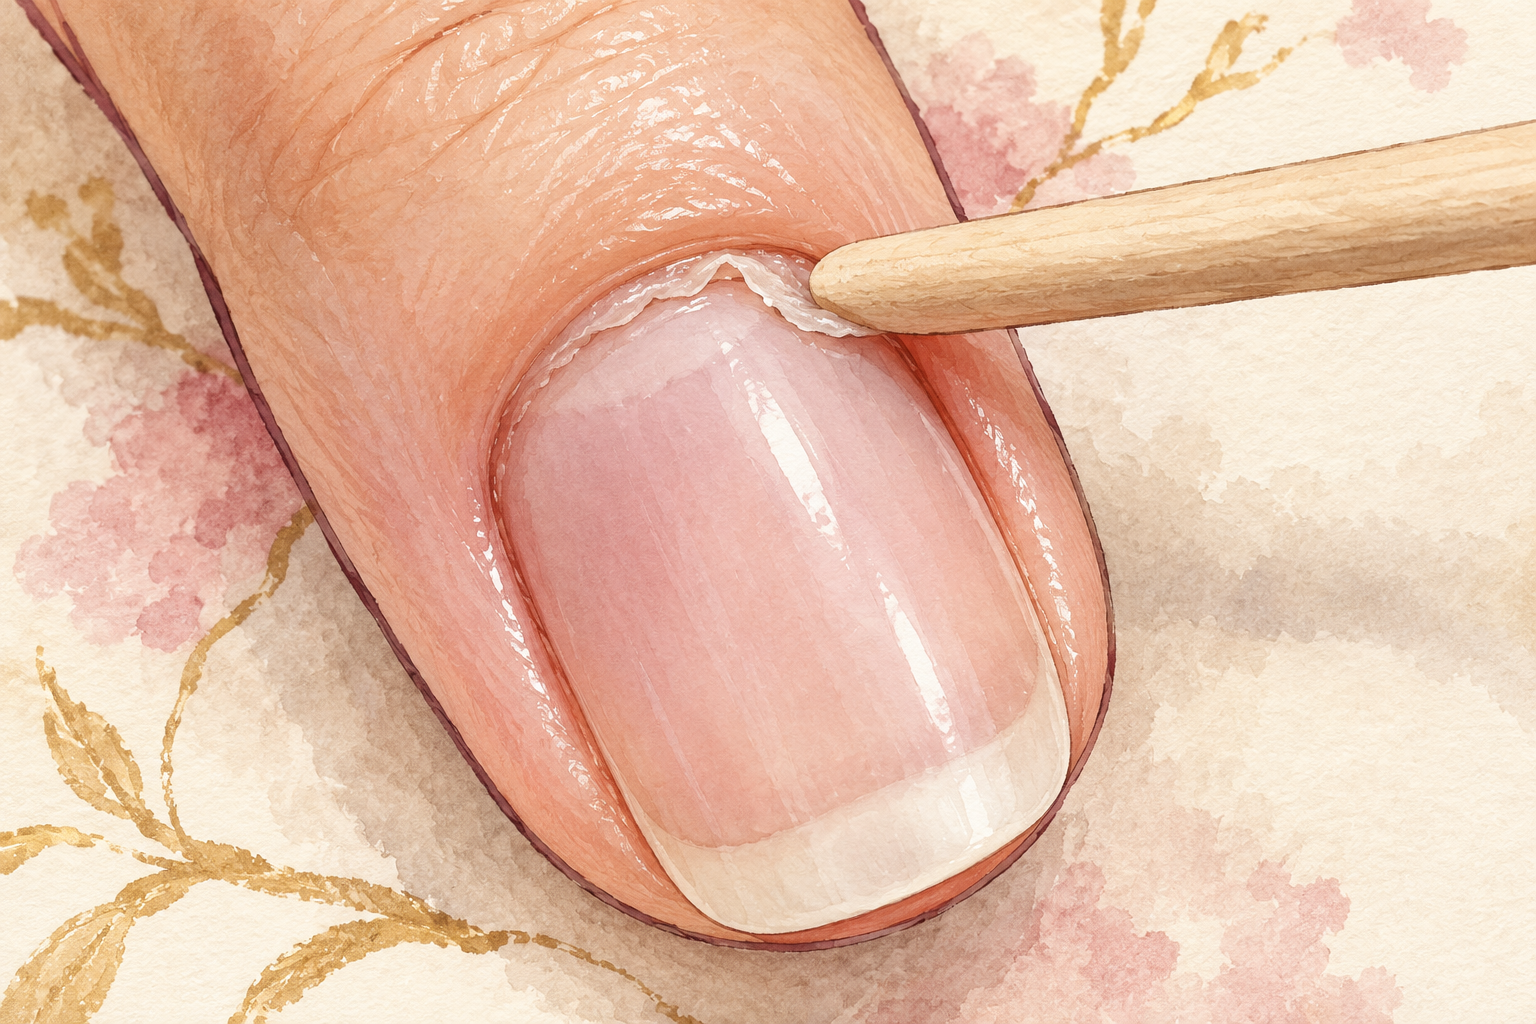
After a warm wash, ease the cuticle back with a soft wooden stick to clear the thin film of skin on the nail. Gel cannot stick to skin, so this is the single biggest fix for lifting at the base. Be gentle and stop if the skin looks pink or raw. Cutting living cuticle leaves a sore edge and invites trouble, so leave that part alone. A soft stick works better than a metal pusher on dry skin. Do it every set, and your thumbs will thank you. Dry your hands well before you carry on, because damp skin lifts gel.
6. Take the shine off, but only just
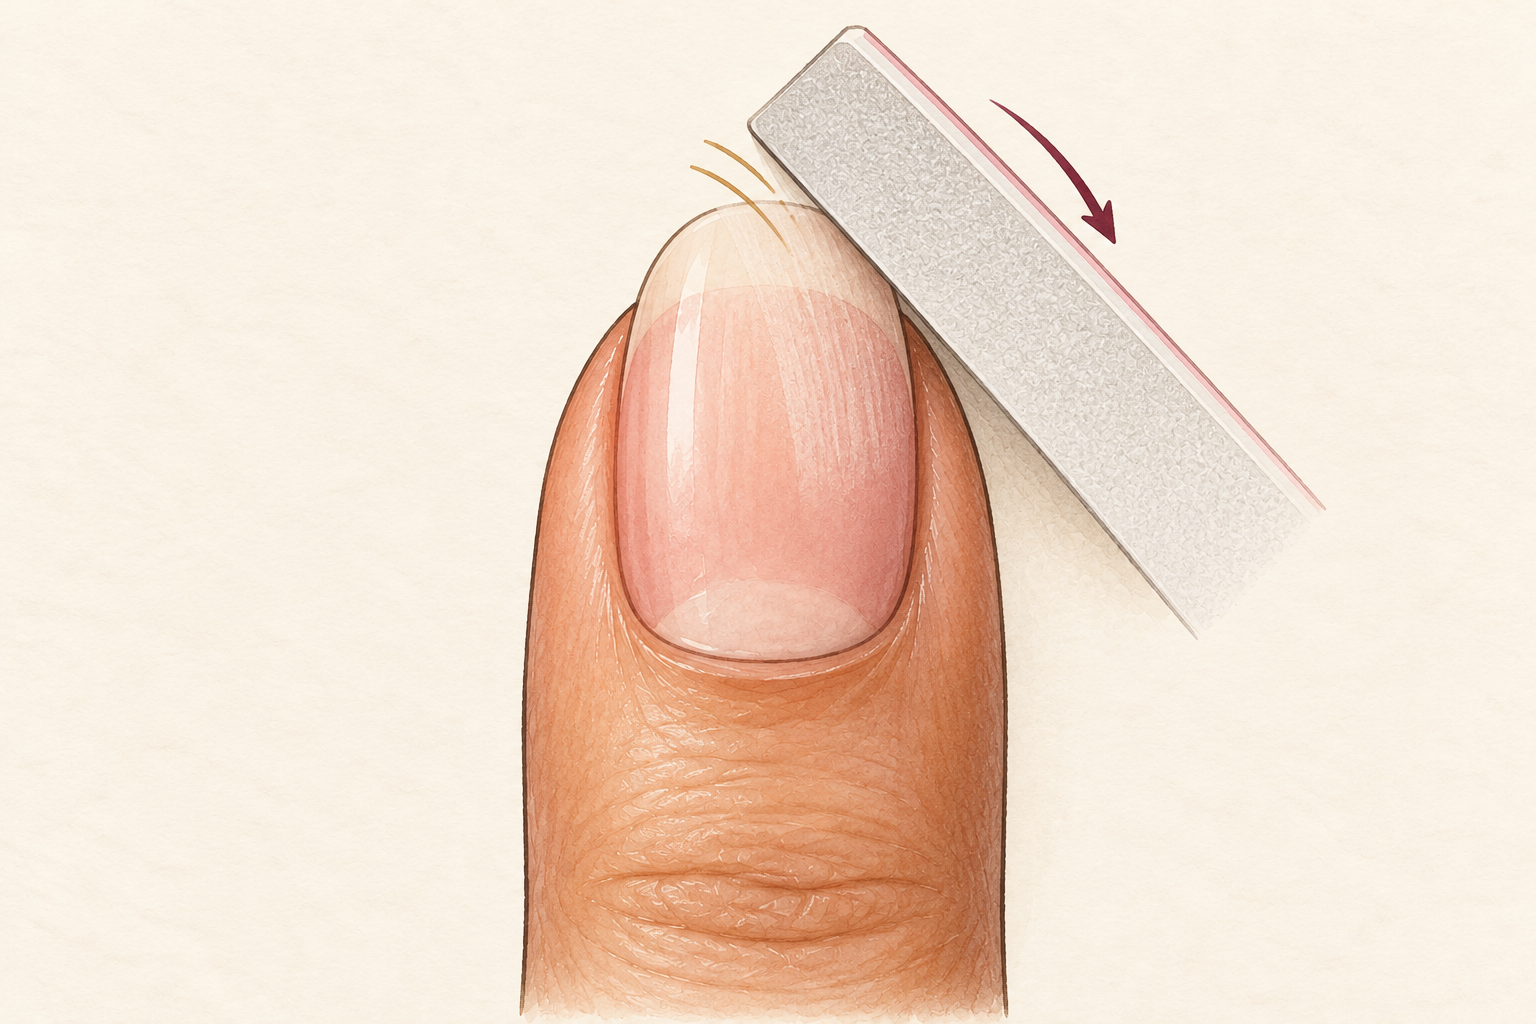
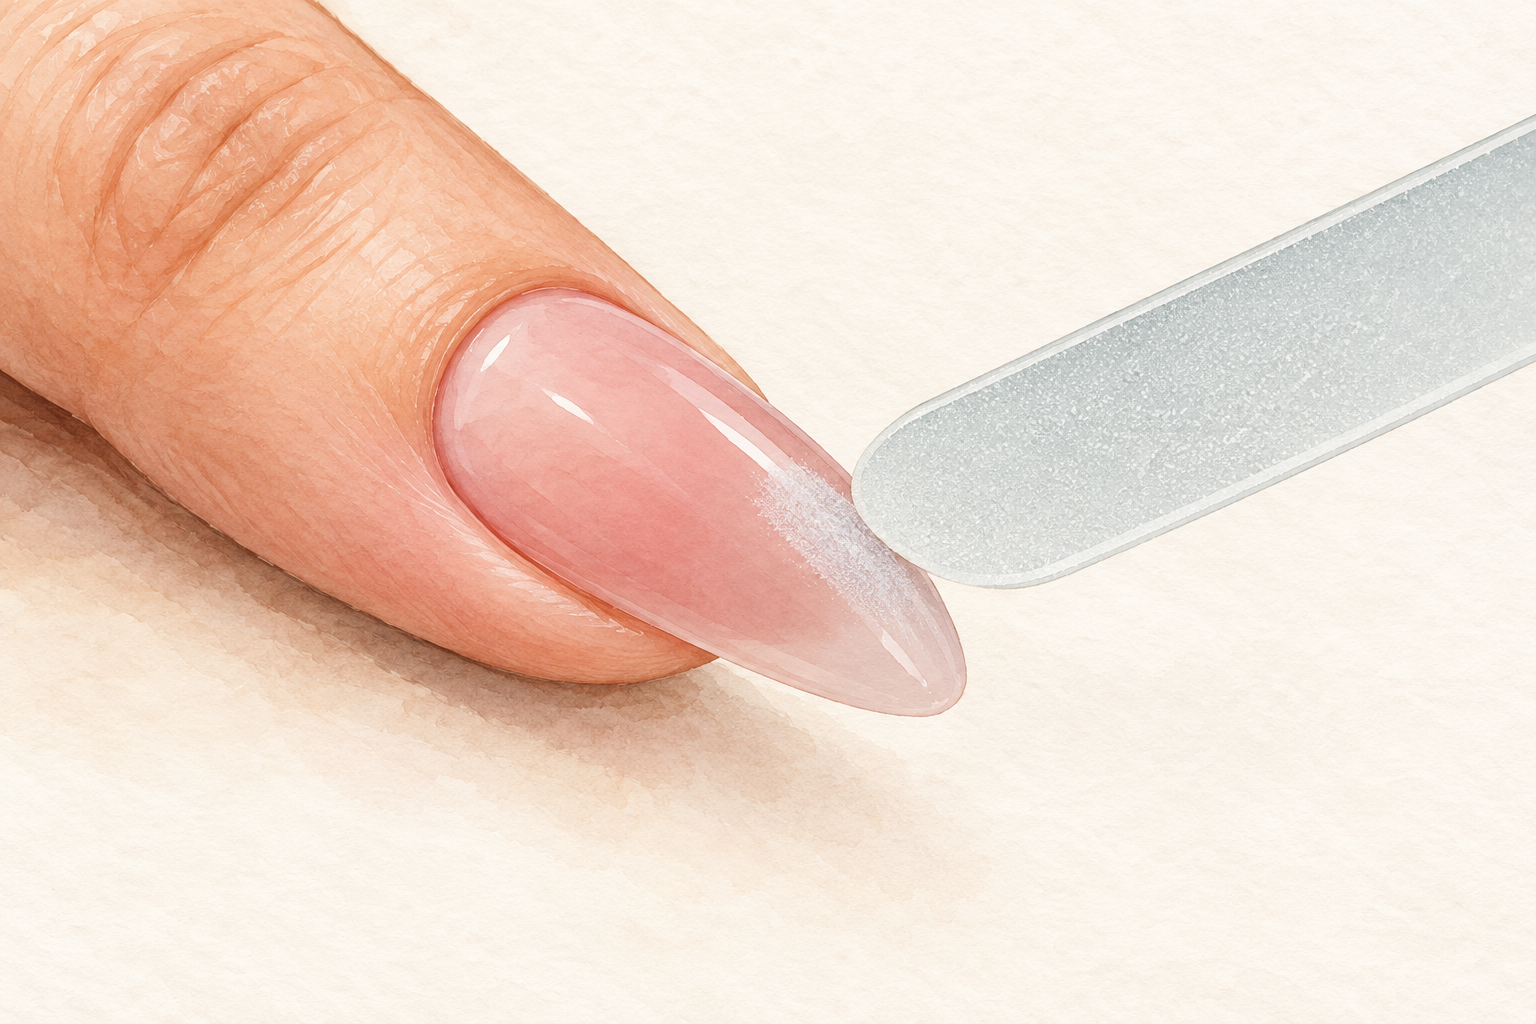
Buff the nail with the soft side of a fine block until the gloss turns matte, about ten light strokes per nail. Gel grips a slightly dull surface much better than a glassy one. Press lightly, because heavy buffing thins the nail and makes it bend later. A coarse file leaves scratches that show through the color. Brush off the dust with a clean brush, not your fingers. Check the nail from the side, and if any shiny patch remains, add two more strokes there. Stop when the whole nail looks evenly dull, like frosted glass.
7. Wipe away oil before the base coat
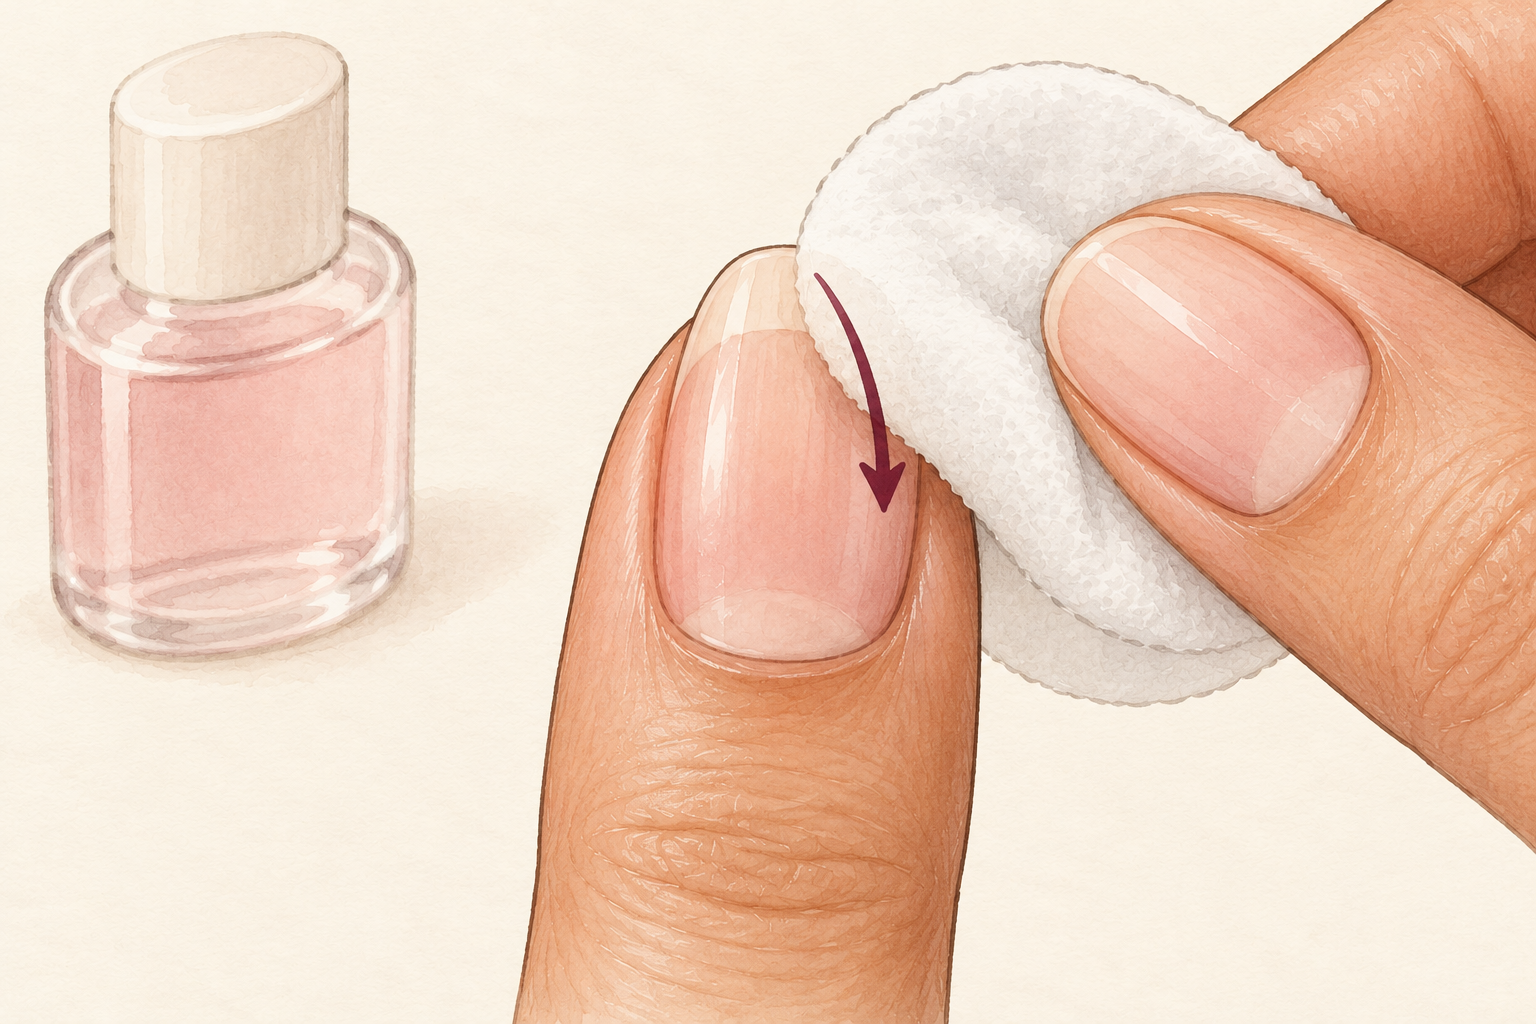
Wipe each nail with a lint free pad and a cleansing liquid, then stop touching it. Cuticle oil, hand cream and even the natural oil on your fingertips can make gel peel within a day. If you used cream earlier, wash your hands again first. Wipe from the cuticle toward the tip in one direction. Apply the base coat straight away while the nail is clean. This is the step most beginners skip, and the thumbs pay for it first. Keep oil for the end of the routine, when the top coat is on. Let the cleanser dry for a few seconds before you paint.
8. Make every layer thinner than feels right
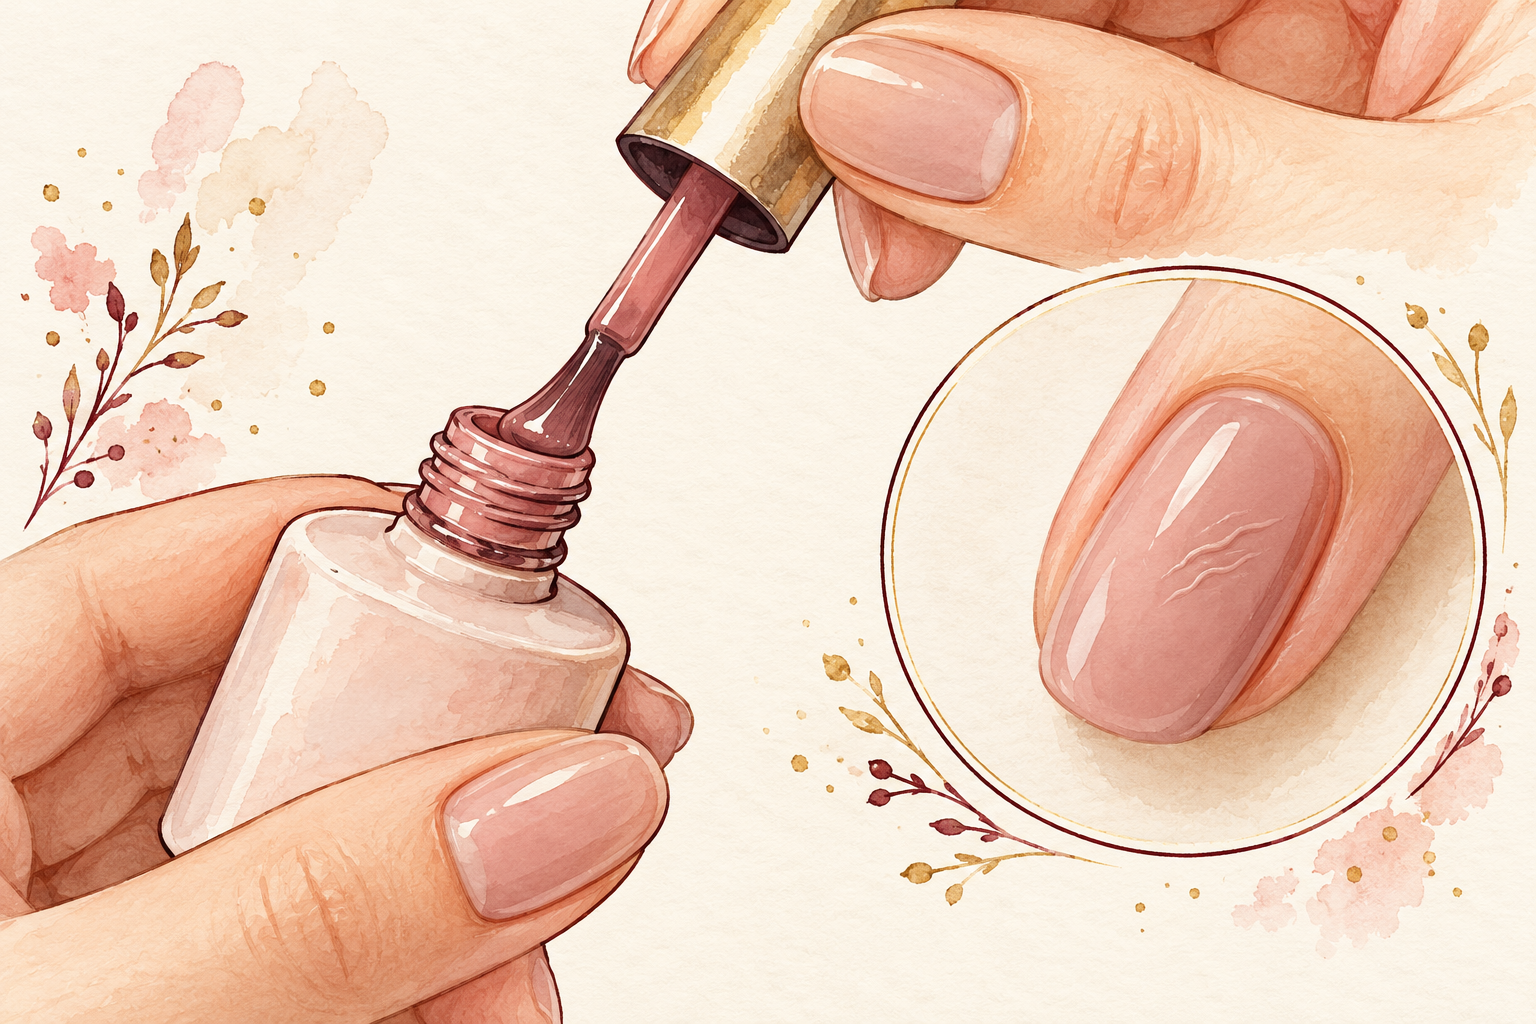
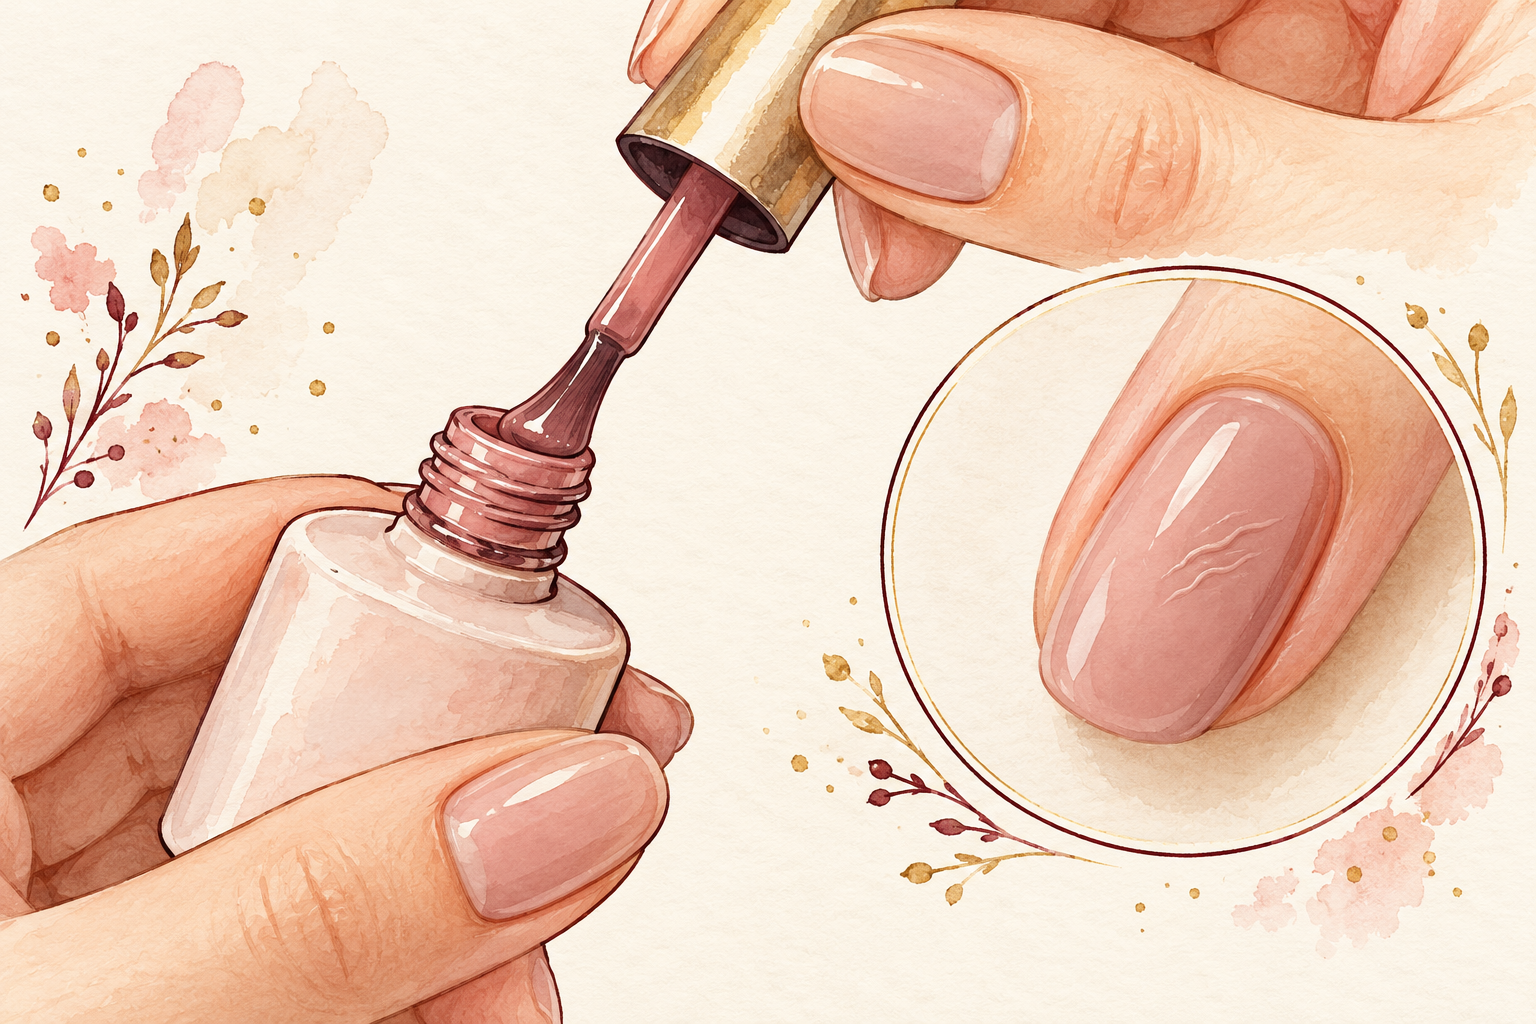
Wipe most of the gel off the brush on the bottle neck, then paint a coat so thin the nail still shows through. Thick gel pools at the sides, flows onto the skin and wrinkles when it cures. Leave a hair’s width of space around the edge, because gel that touches the skin lifts there first. Two thin coats of color always look better than one heavy one. A streaky coat before curing is normal, and the second layer settles it. Cap the tip with a thin stroke on each coat. Rest your wrist on the table so the brush stays steady. Thin layers are the core habit, so keep how to do gel nails at home nearby as you practice.
9. Roll the bottle and cure for the full time
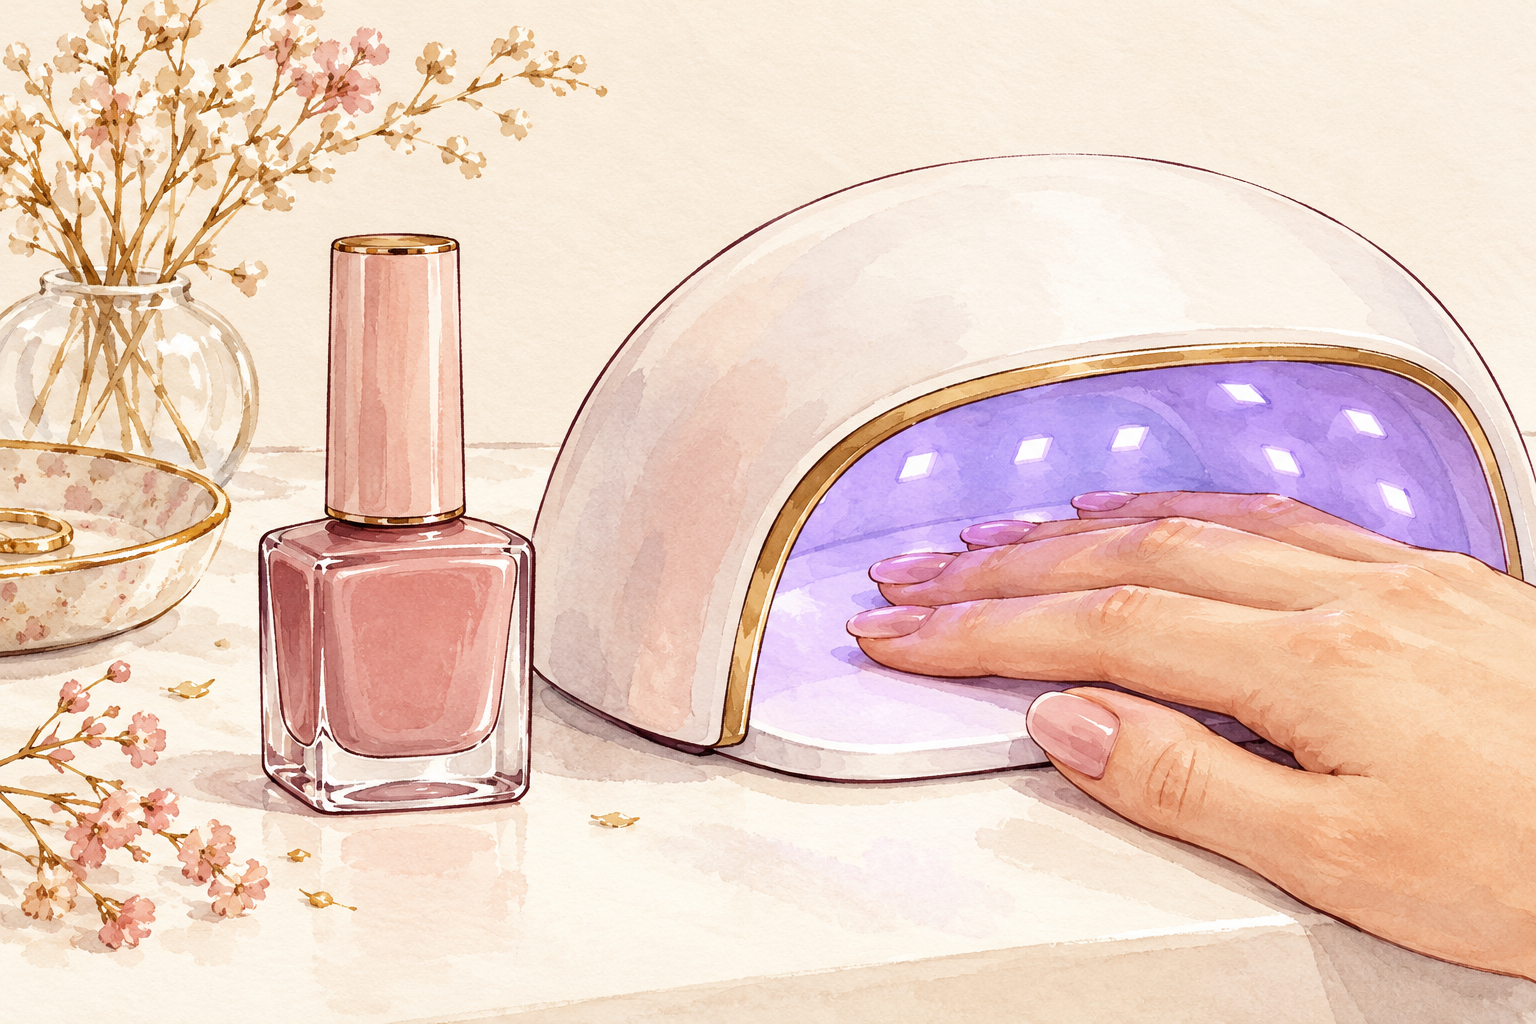
Roll the bottle between your palms rather than shaking it, and cure every layer for the time printed on the label, using a lamp that suits your gel. Do your thumbs on their own so they sit flat under the light. A soft, smeary base means the lamp or the time is wrong, and that is worth checking before you blame the gel. Keep gel off your skin, since repeated contact can cause an allergic reaction in some people. If you spot bubbles after curing, file them lightly and add one fresh thin layer.
10. Repair a lifting corner before it snags
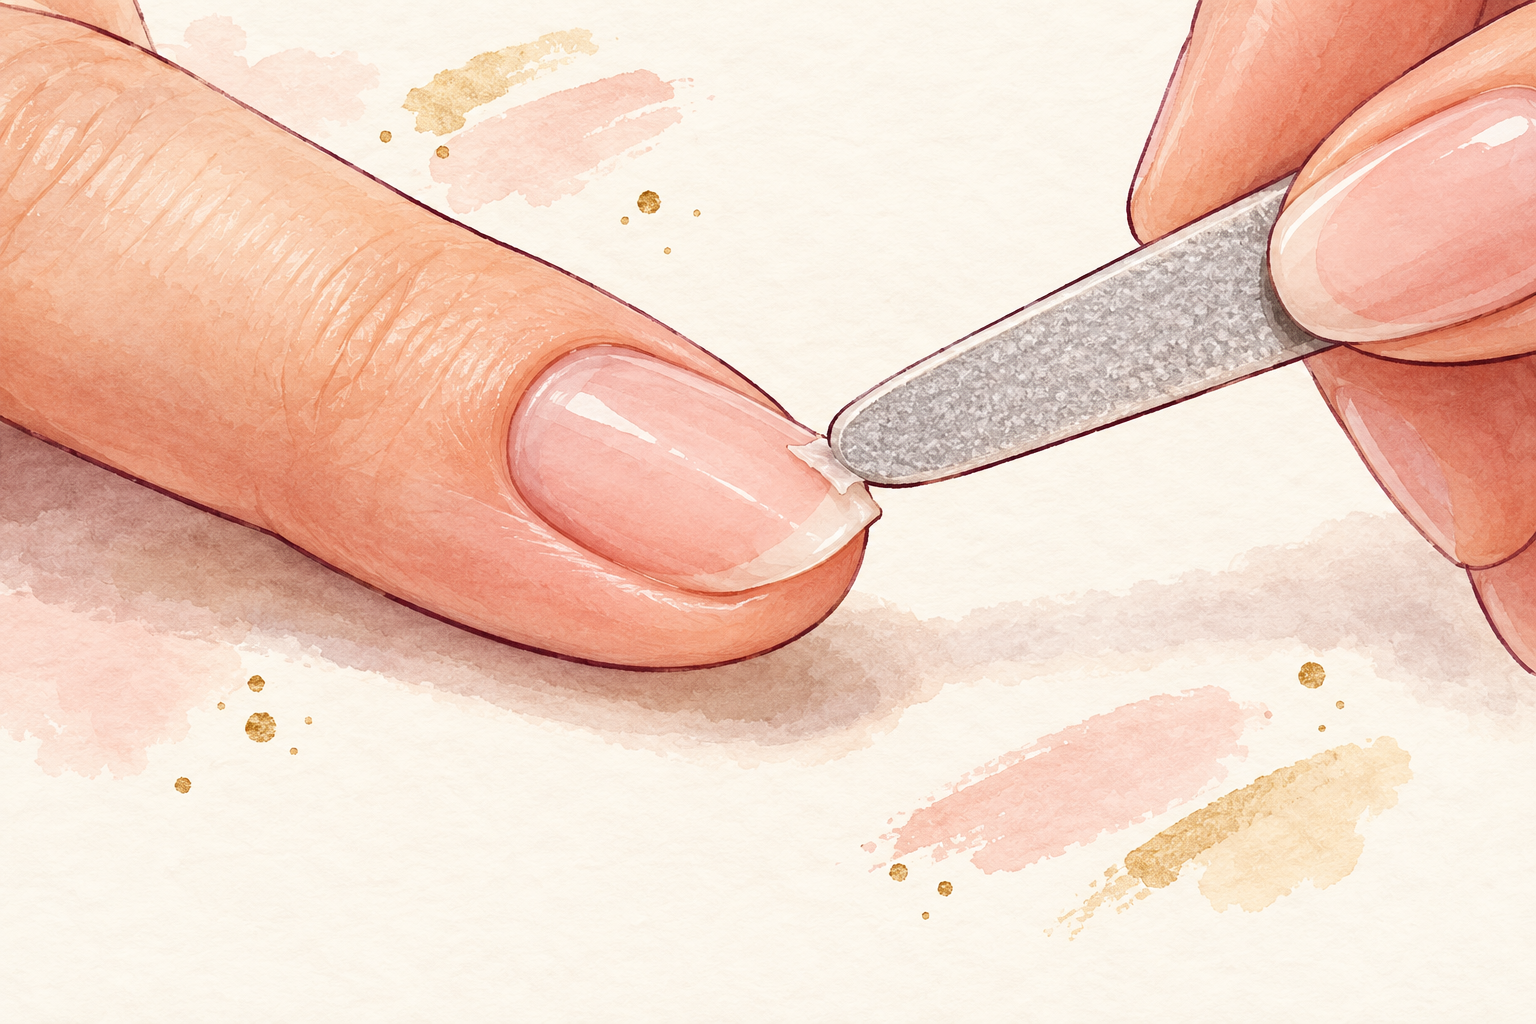
Trim the loose bit with small scissors, buff the edge flat, wipe it, then add a thin dab of top coat over the spot and cure. Do not peel it, because peeling tears off layers of your own nail. Keep the repair layer as thin as you can so the edge does not catch again. If the lift runs across half the nail, soak the whole set off and redo that nail. Patching a big lift only hides it for a day or two. Small repairs can carry a set to the end of the week. Press the dab only at the corner, so the rest of the nail stays smooth.
11. Build habits that protect the set
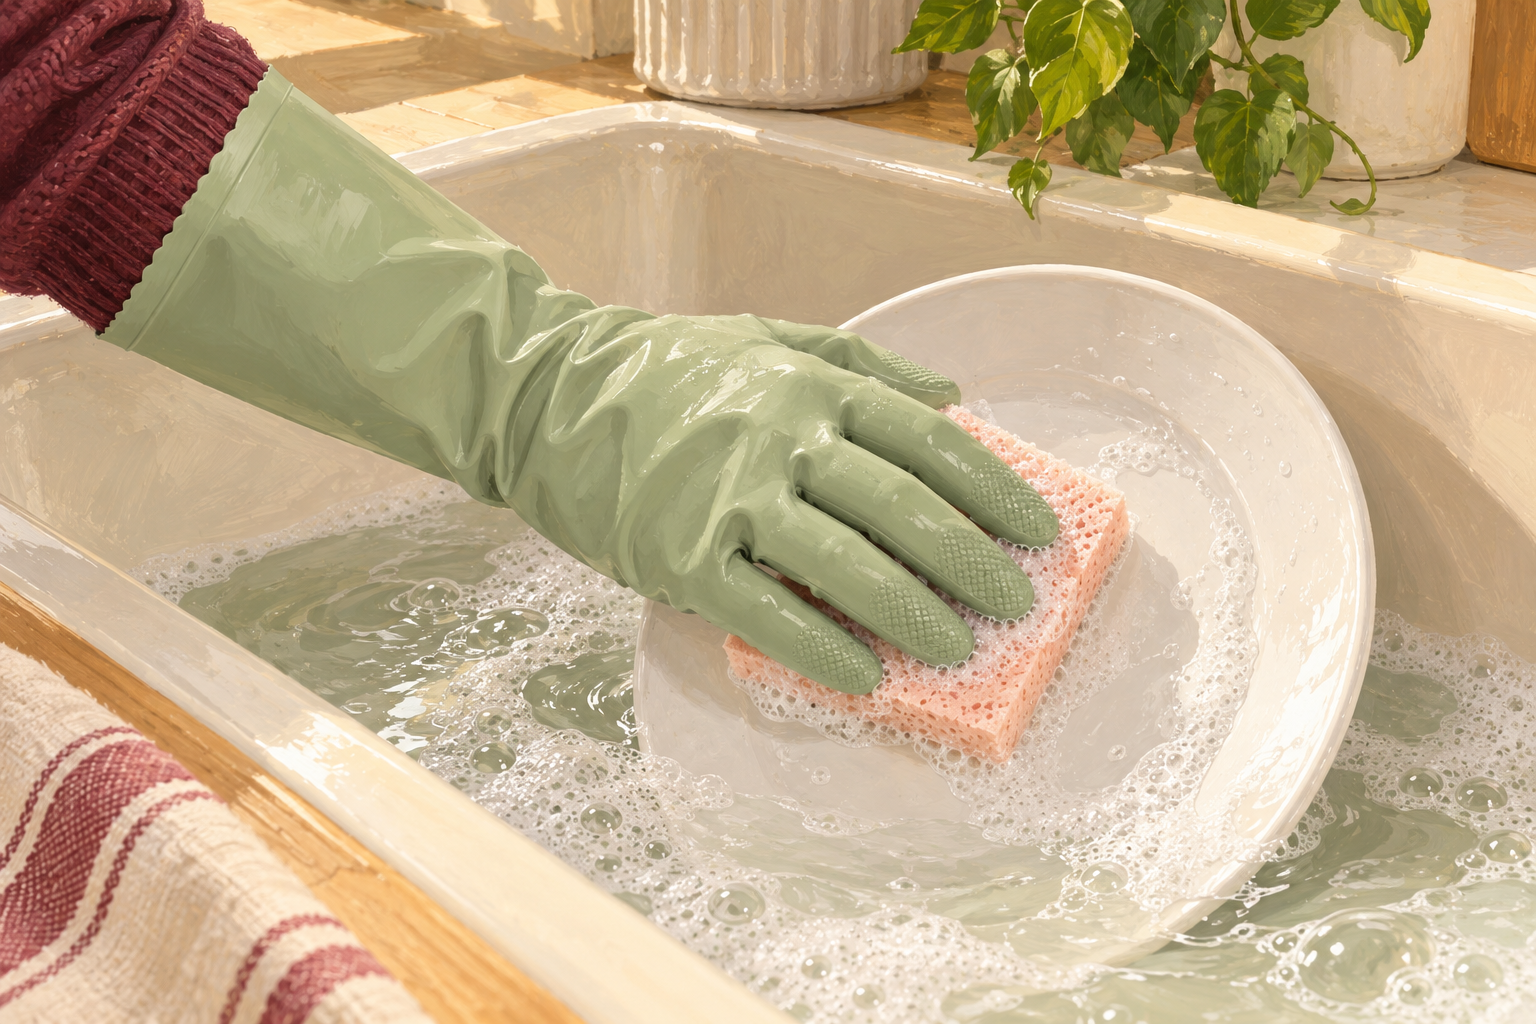
Wear gloves for washing up, and press a drop of cuticle oil into the skin each night. Keep the oil on the skin and off the gel edge. Do not use your nails as tools for lids or labels, because the tip lifts first. Before curing, rub a water resistant sunscreen over your hands or wear dark gloves with the fingertips cut off. That takes one minute and protects your skin over the years. A fresh thin top coat on day four refreshes the shine and keeps the tips sealed. Tidy snags with a file right away instead of waiting for them to catch.
12. Know what to expect and take it off safely
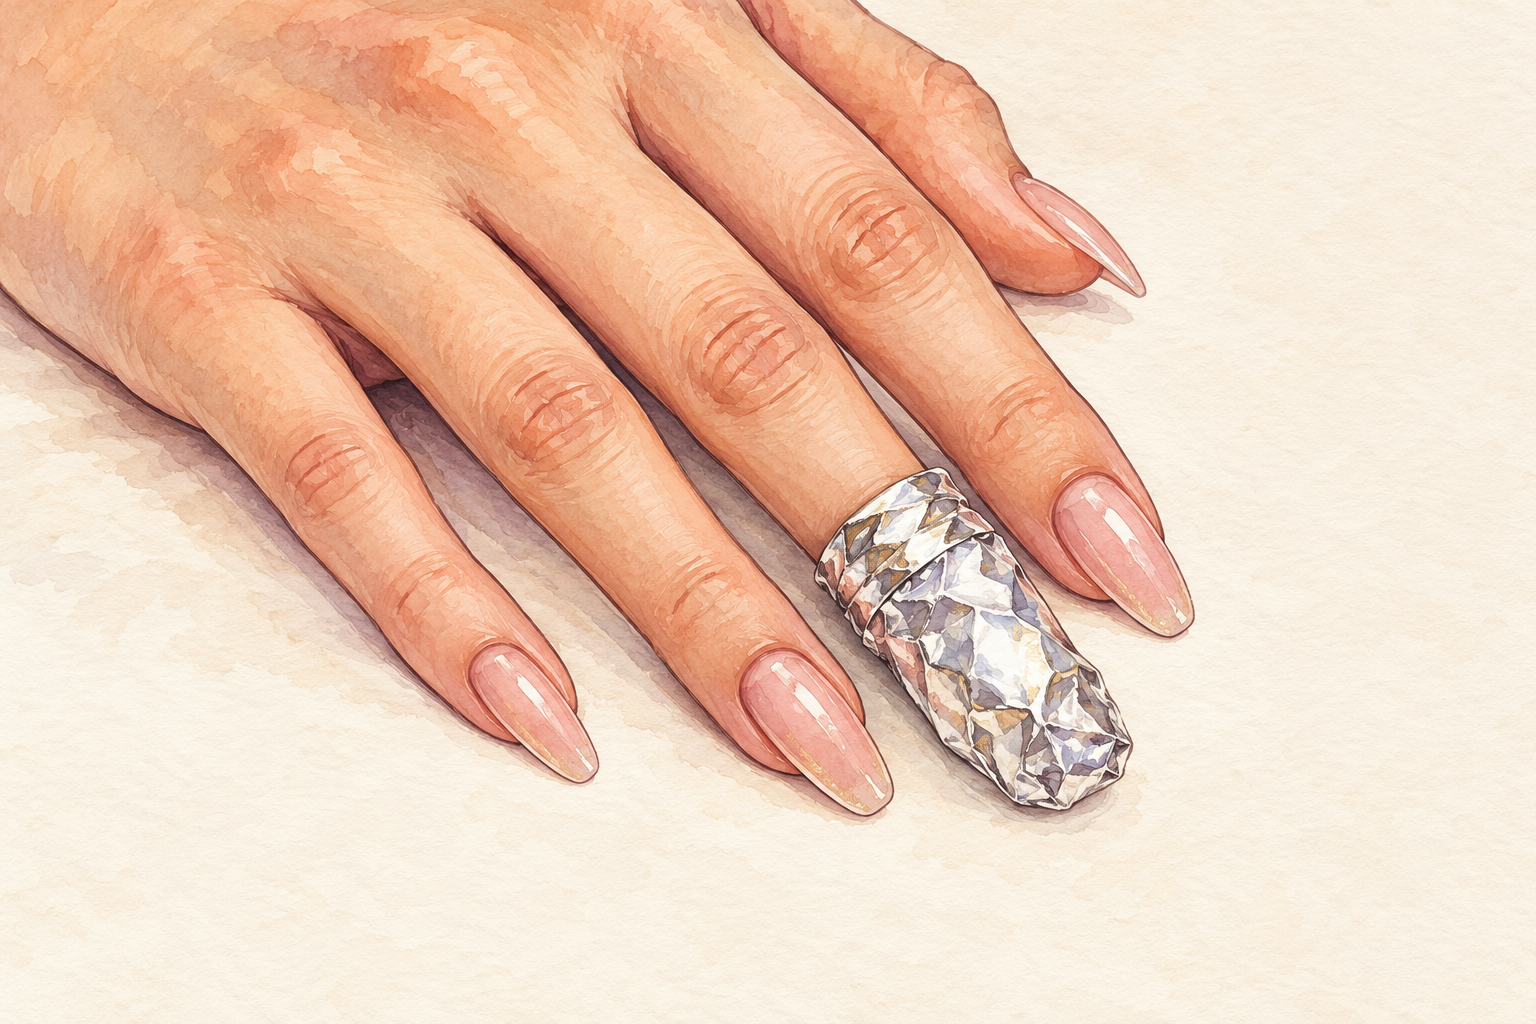
In week one, expect small flaws and perhaps a corner that needs a touch up. By week four your coats will be thinner and a set should last close to two weeks. If your gel still lifts within three days after all this, look at your prep, not your polish. To remove it, file off the top coat, press acetone soaked cotton on each nail, wrap it in foil for fifteen minutes and slide the softened gel off gently. Go one to two weeks bare afterwards with plenty of oil. A note on your phone about what you changed each time makes the pattern easy to see. Removal day is easier with remove gel nails at home open beside you.
Complete the Routine: Make Your DIY Gel Nails at Home Last
Tonight, do the prep on one hand only and compare it with your usual way. Set care is mostly habits, and a few small fixes can rescue a set that feels off. Between sets, the guides below have more ideas when you want them.