You spend an hour on a careful manicure, and by the next afternoon the tip of your index finger has chipped and a corner of the thumb has peeled away in one thin sheet. The color was never the problem. It was the ten minutes before the first coat. Here are 12 steps for how to prep nails, so start at number one tonight.
1. Take off every trace of old polish
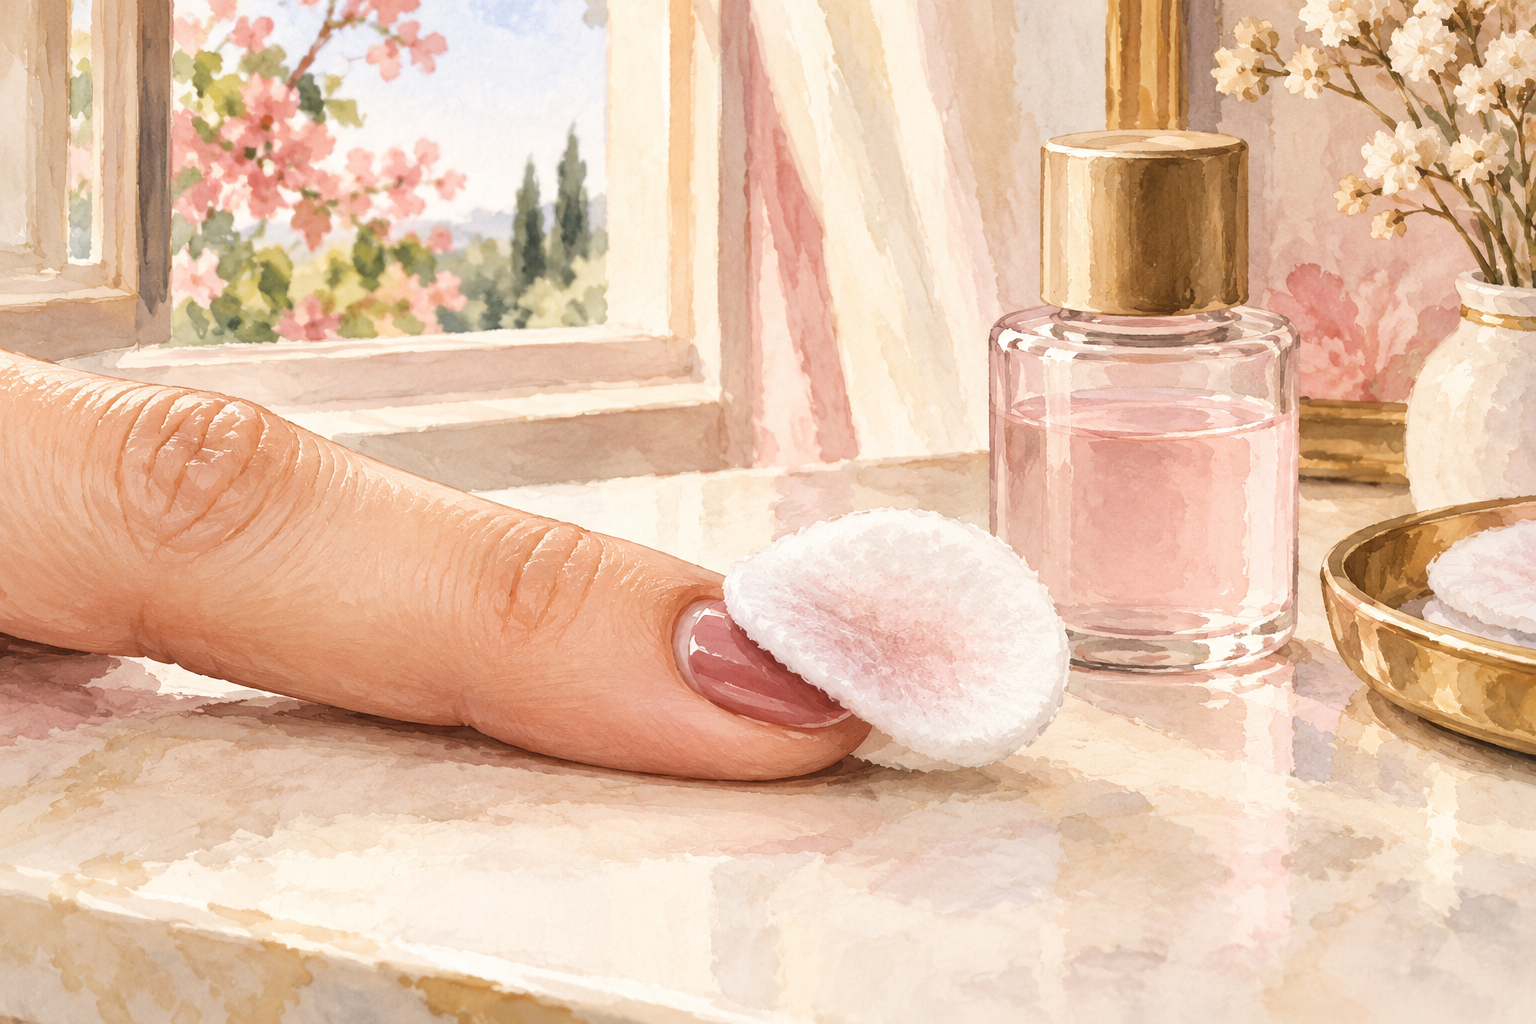
Press a remover soaked cotton pad on each nail for ten seconds, then wipe once from the cuticle toward the tip. Learning how to prep nails properly always starts with a bare nail, because polish over polish traps oil and flakes. Check the sides and around the cuticle, since a thin stripe left there lifts the new coat. A cotton bud dipped in remover clears the corners. Use only as much remover as you need, and keep a window open, because the fumes build up in a small room. If the polish is glitter, hold the pad for twenty seconds so it softens before you wipe.
2. Wash your hands and brush under the nail
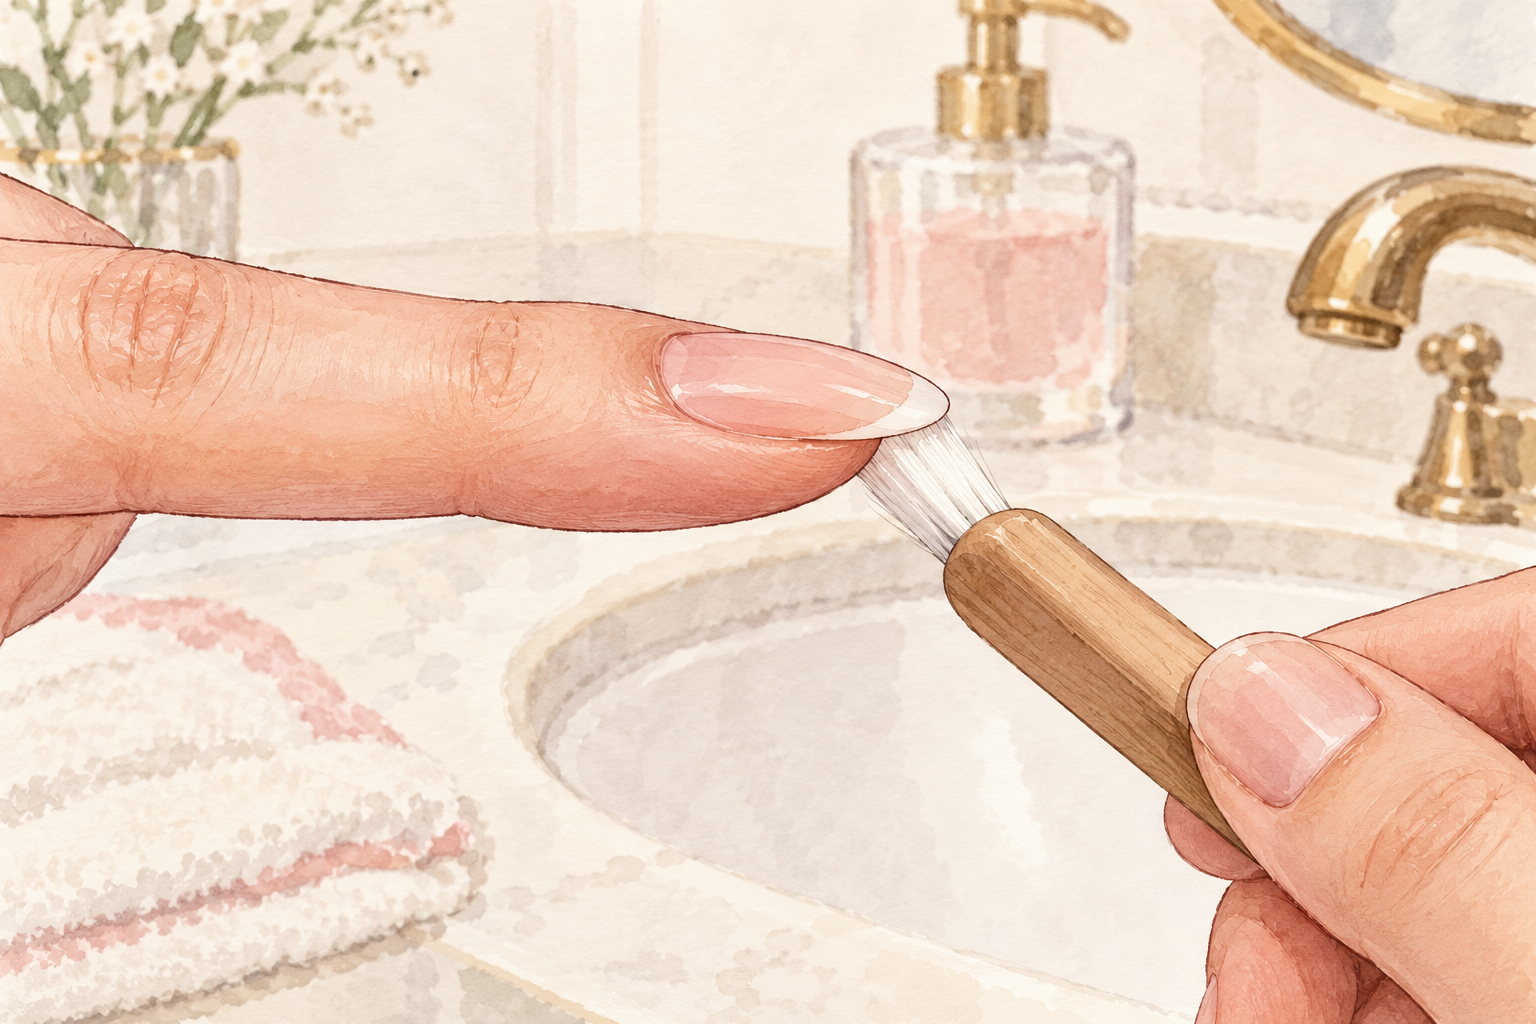
Wash with soap and warm water for twenty seconds, and brush gently under the free edge. This lifts off the oils and bits that hide under the tip, and it softens the skin around the nail for later. Dry your hands properly, between the fingers as well. Wait a few minutes before filing, because nails that are still swollen with water file badly and tear. If your nails are very soft, let them dry for longer. Clean, dry nails are what polish grips best. Rinse the brush afterwards and let it dry, so it is ready next time.
3. Cut straight across, then round slightly
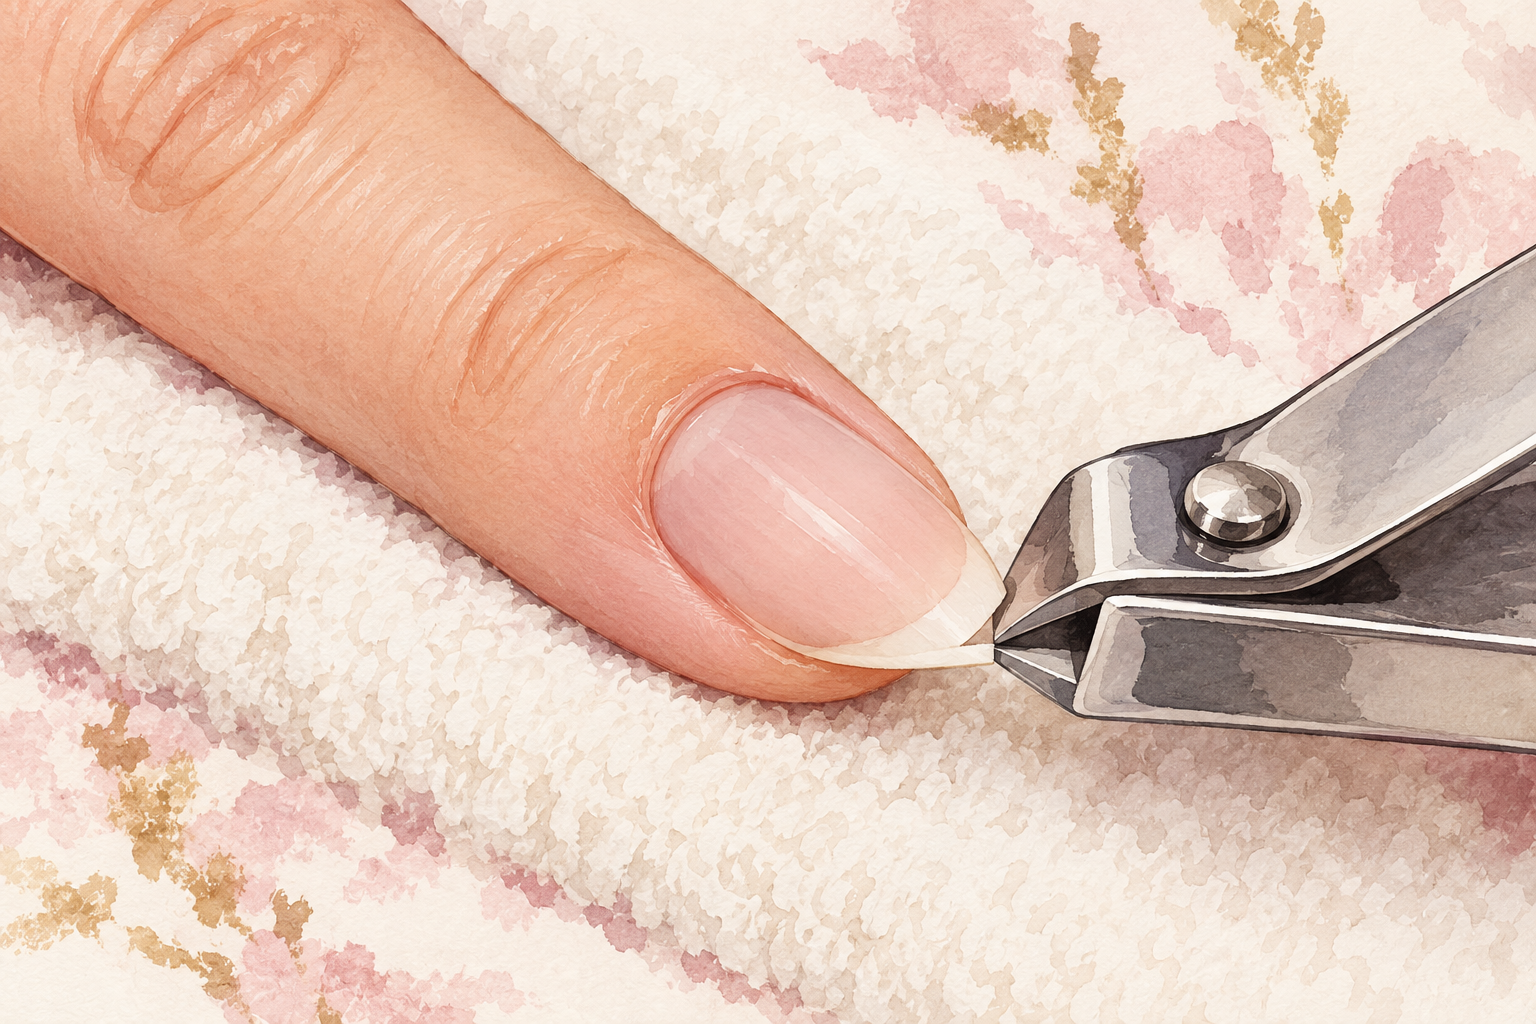
Trim with sharp clippers, cutting straight across, then soften the corners just a little. A straight edge holds up best, and it stops corners catching on sleeves. Cut when the nails are dry rather than soaking wet, because soft nails tear. Take several small snips instead of one big bite. Leave a thin line of white at the tip. Tidy any ragged bit with the file instead of picking at it, and keep the lengths even across all ten. If one nail breaks later, you can trim the rest to match instead of living with one odd short nail.
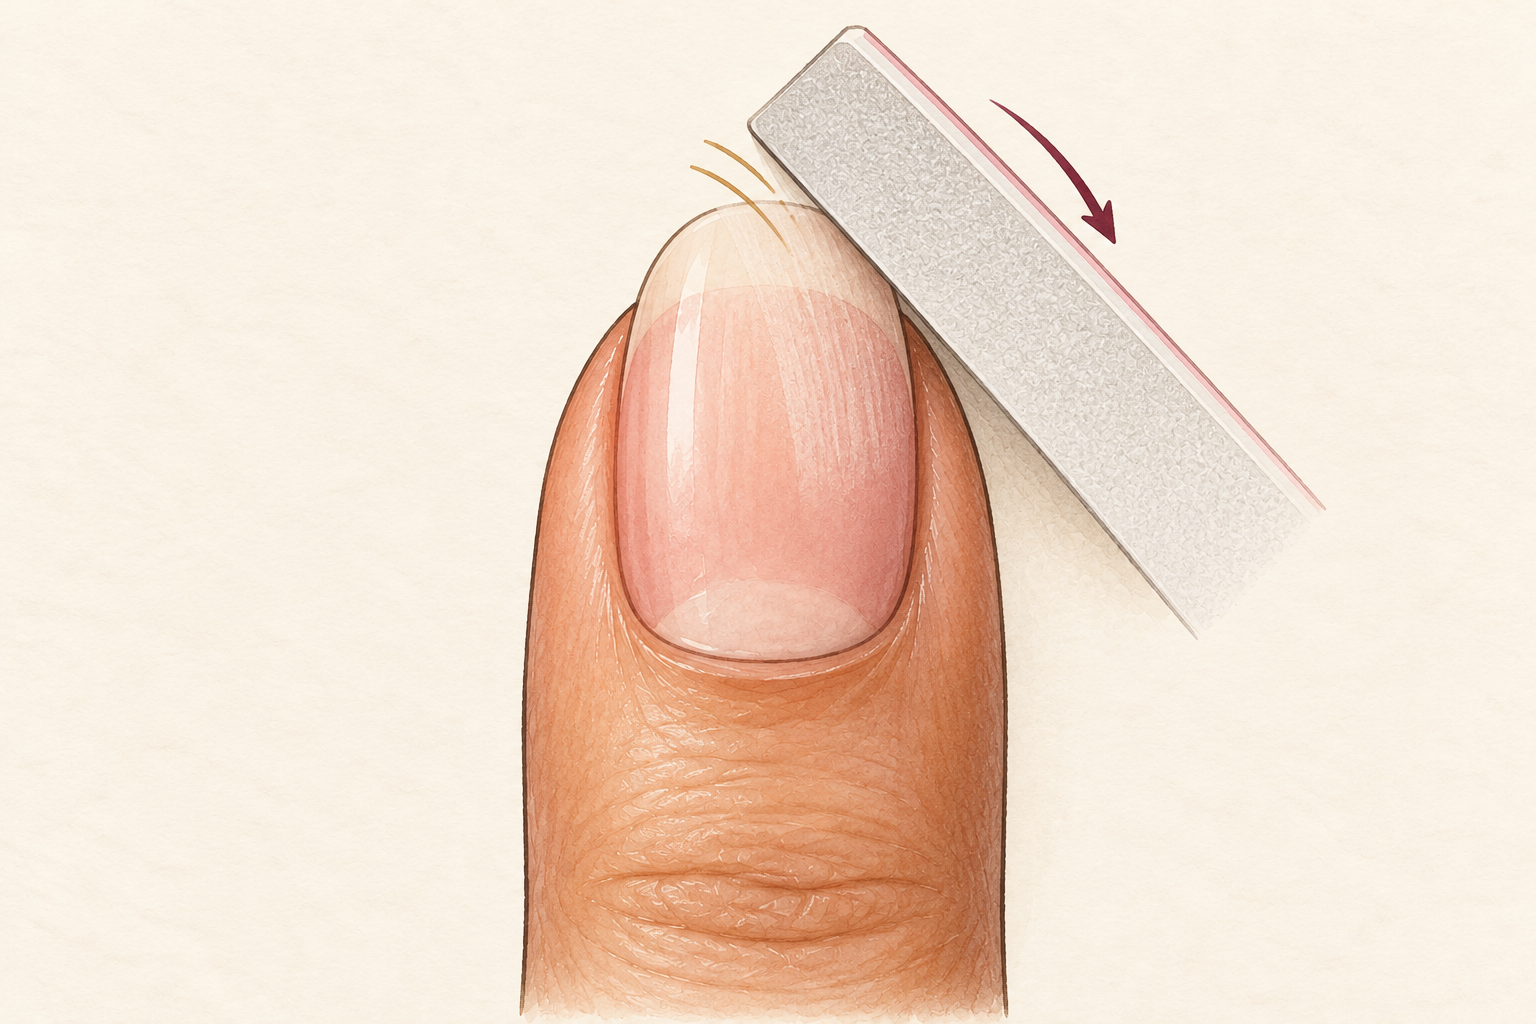
4. File in one direction to smooth the edge
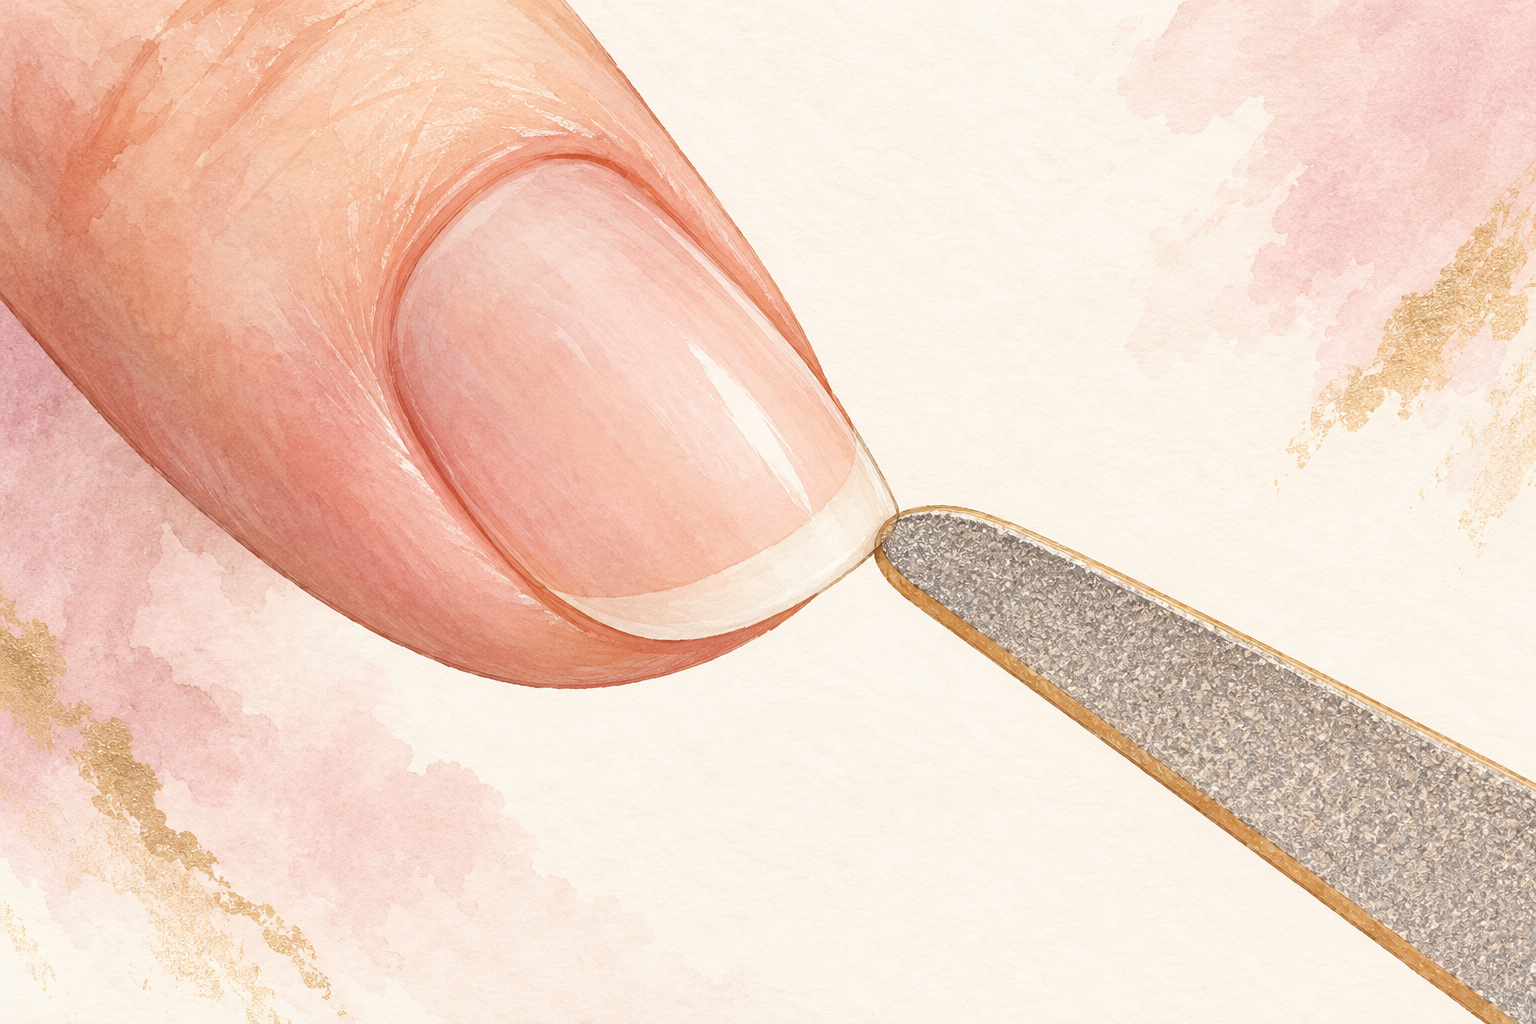
Stroke a fine file from the side toward the middle, and never saw back and forth. Sawing frays the layers of the nail and starts peeling. A smooth edge matters for polish because a rough one catches on everything and chips first. Two or three light passes on each side is plenty. Stop when you cannot feel any snags as you run a fingertip across the edge. File before you push the cuticles, so the dust does not settle on freshly cleaned skin. If the file squeaks or scrapes, you are pressing too hard, so ease off until it goes quiet. Ease off the pressure, and check nail care tools before your next manicure.
5. Ease the cuticles back and never cut them
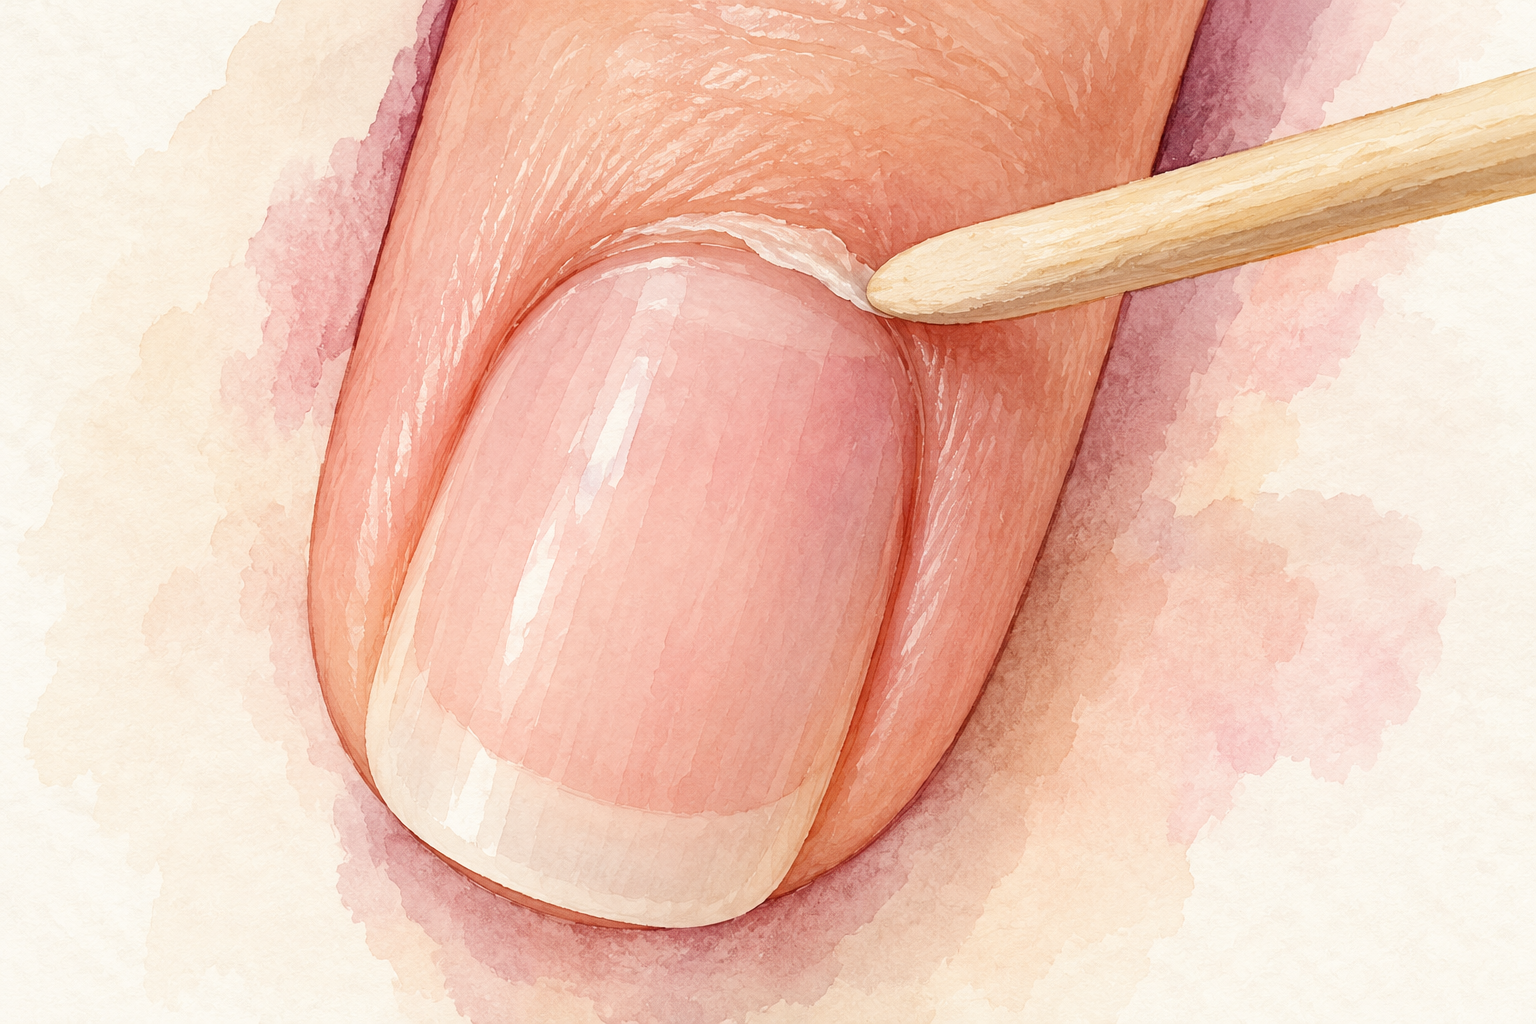
With soft, damp skin, nudge each cuticle gently with a soft stick, working from the middle to the sides. Leave the cuticle itself where it is, because it seals the skin to the nail like a little hem. Remove only the thin film on the nail plate, which is what stops polish from bonding. A neat cuticle line also gives the color a clean place to start. Do it after your wash, when the skin is soft, and stop if it tugs or feels sore. A rushed push at the cuticle is a common reason for sore skin and red edges the next day.
6. Buff away the shine, lightly
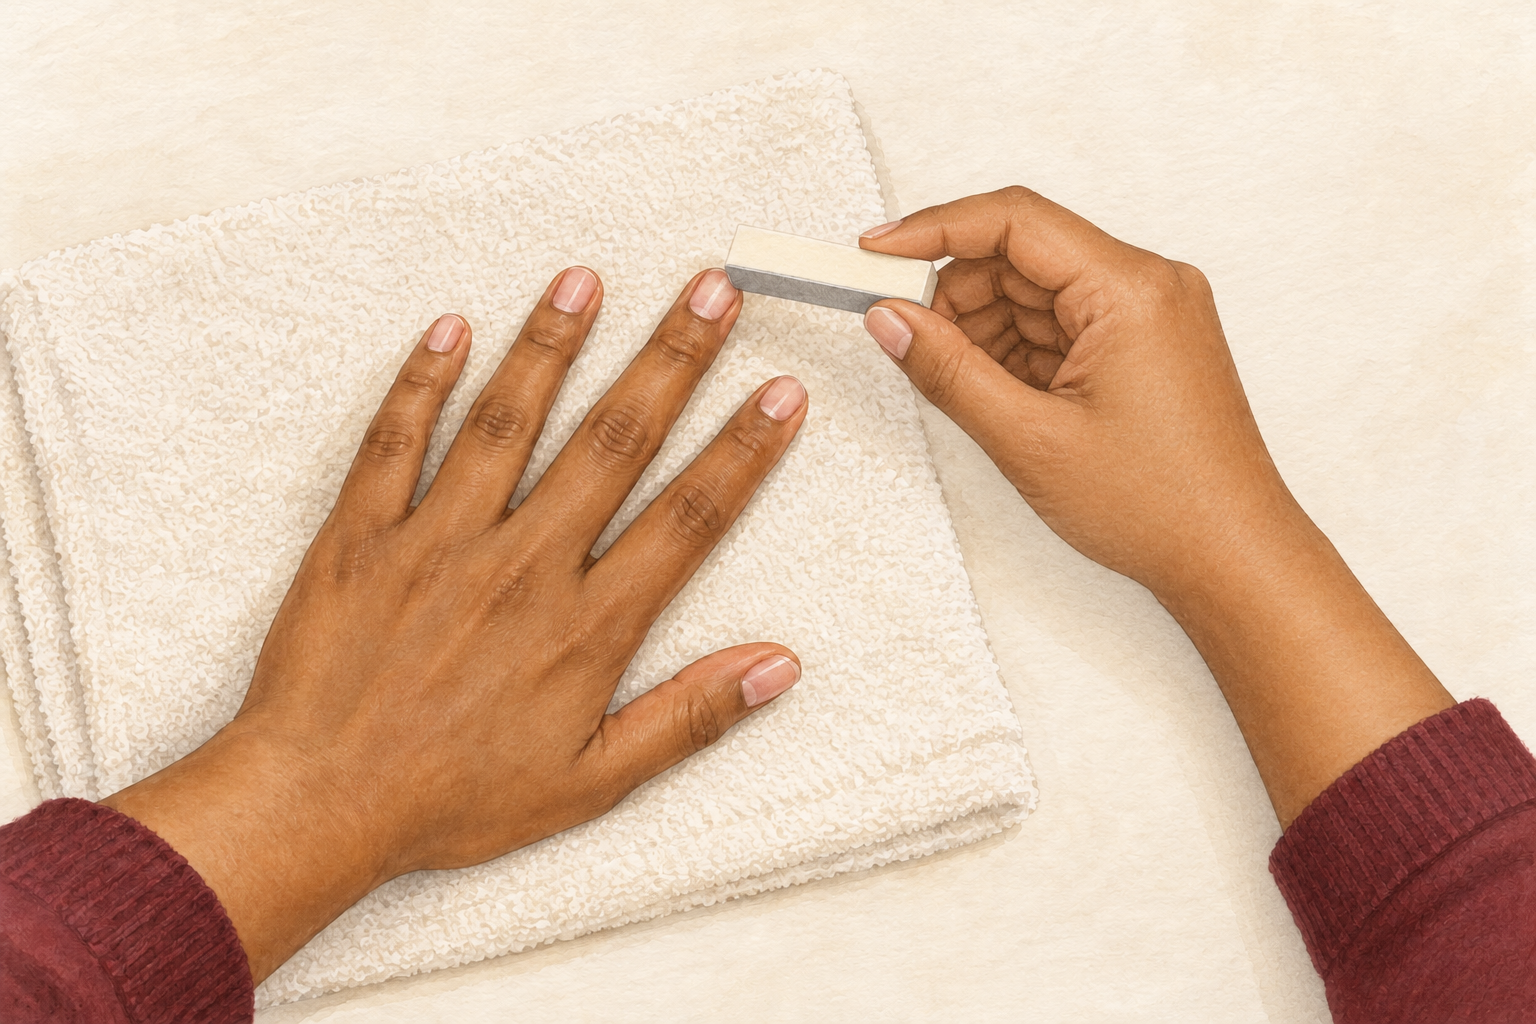
Make two or three light passes with a soft buffer, just enough to dull the gloss. This is the step in how to prep nails that people either skip or overdo, so stay gentle. A dull surface gives polish something to hold on to, and it smooths mild ridges. Buffing too hard thins the nail and makes it peel, so stop as soon as the shine is gone. Do it once for each manicure at most, and never on a nail that is already thin. Ridges that stay after a gentle buff are best covered with a ridge filling base coat, not more buffing.
7. Wipe every nail clean
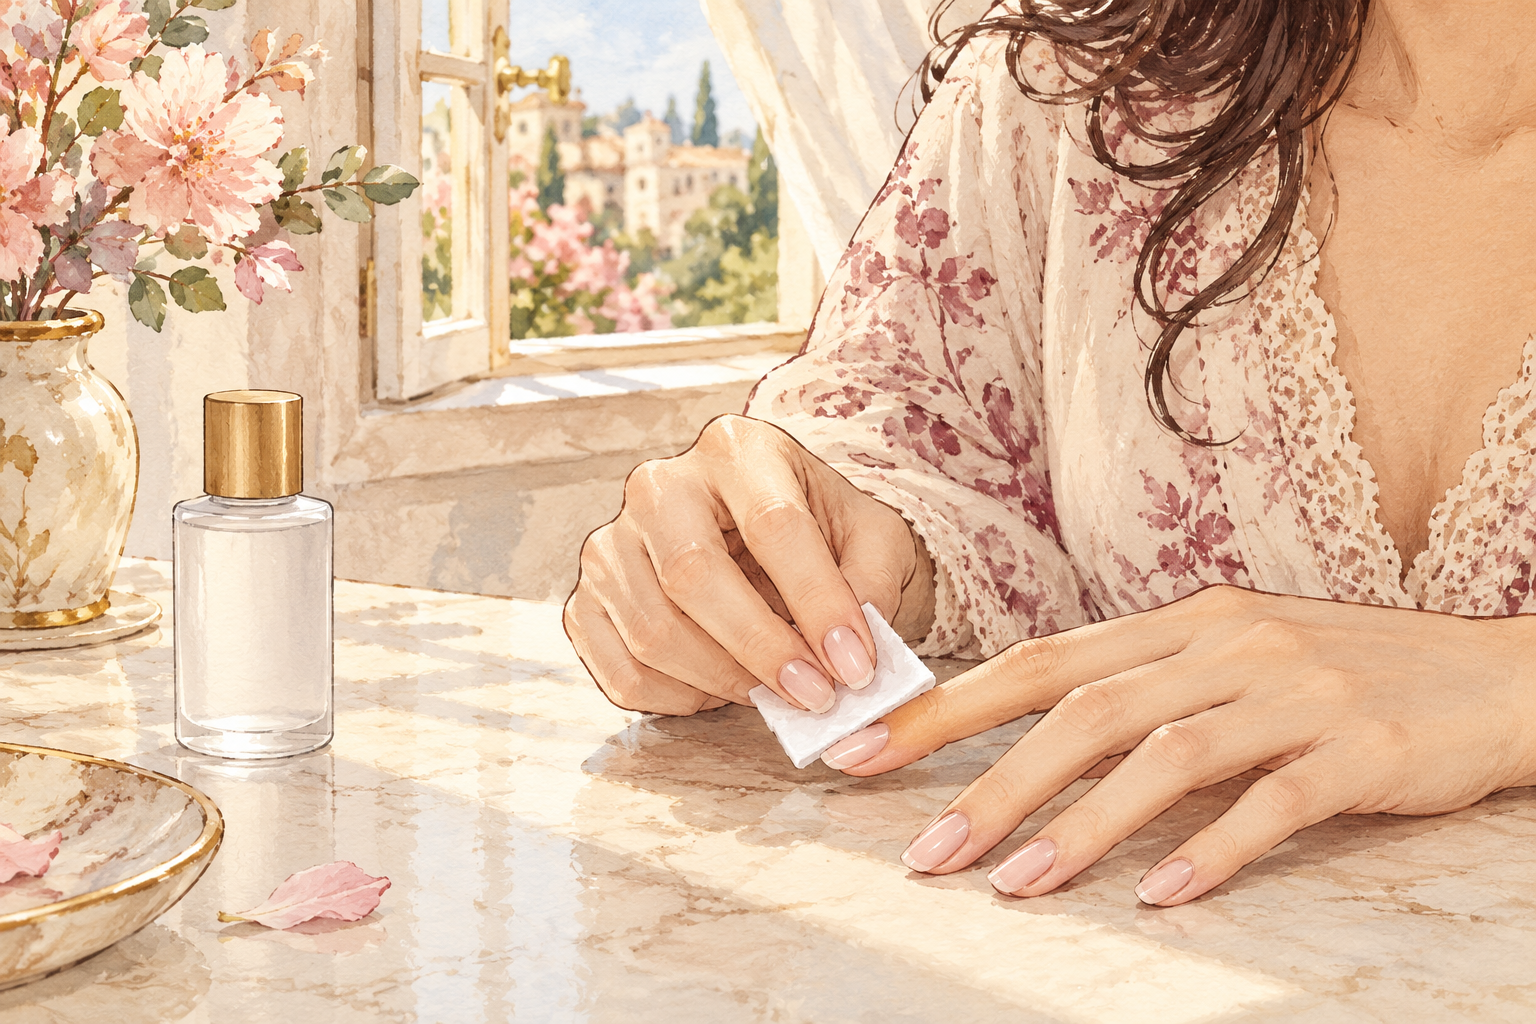
Wipe each nail with a lint free pad dampened with rubbing alcohol, or a splash of remover, to clear away dust and skin oil. This is the step that most improves how long polish lasts, and most people skip it. Work with a window open and keep the bottle away from flames. Let it dry for a minute. After the wipe, do not touch the nail surface again, because your fingers put the oil right back. Hold nails by the sides while you paint. Dust that stays behind shows up as tiny bumps under the polish, so be thorough on the edges.
8. Brush on a thin base coat and let it dry
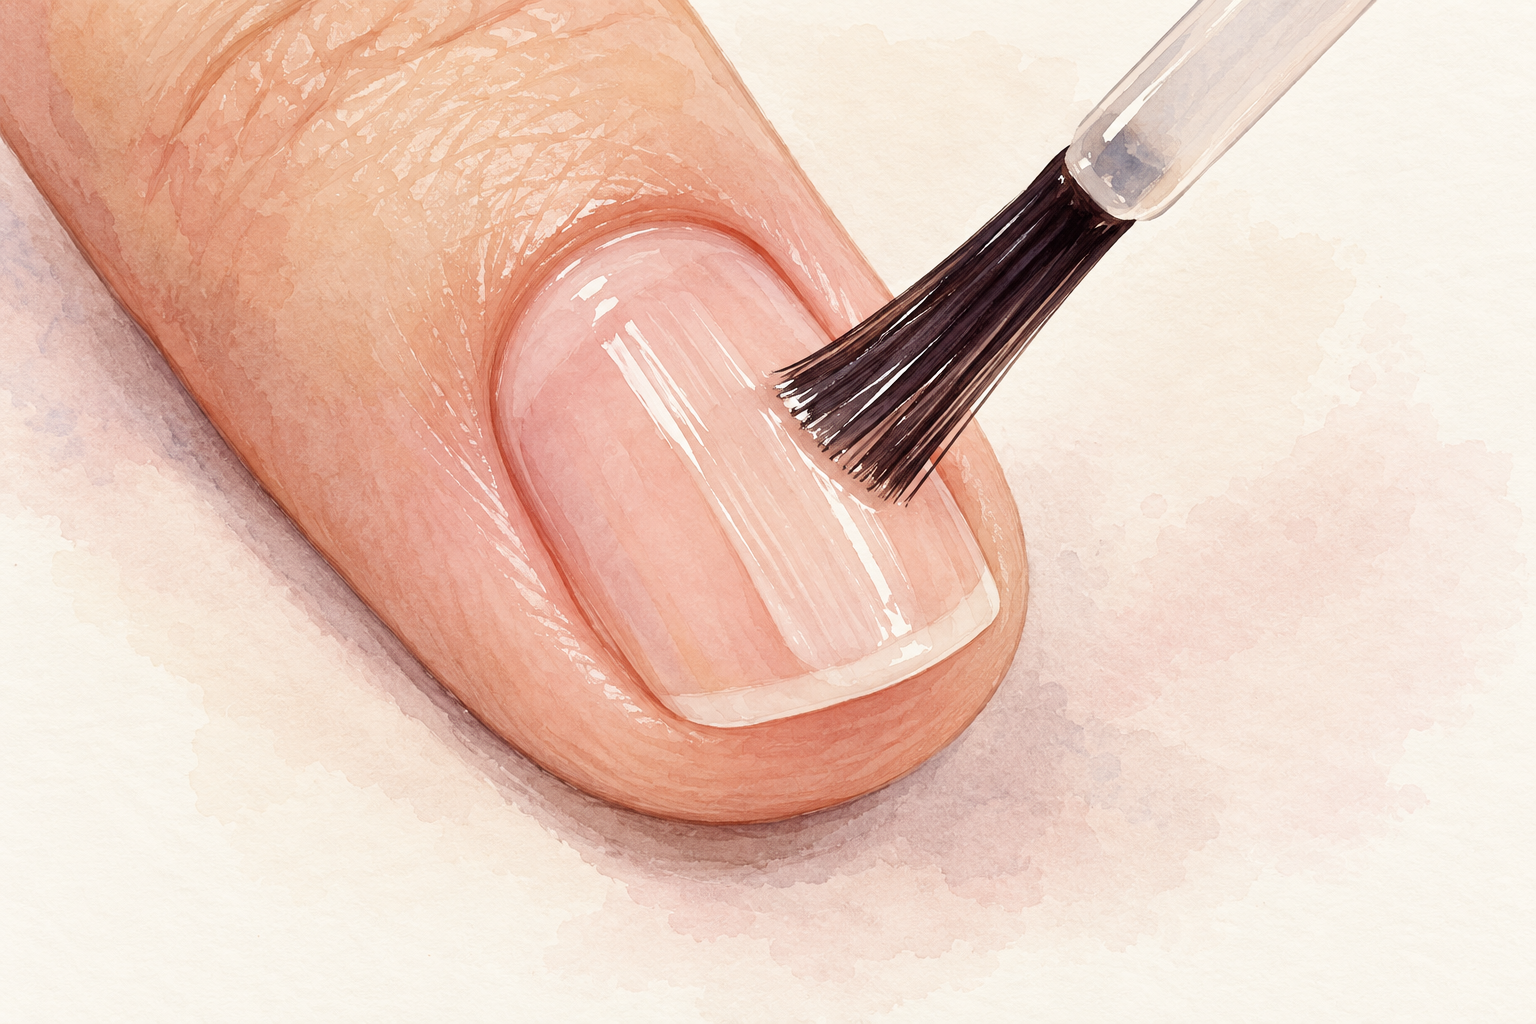
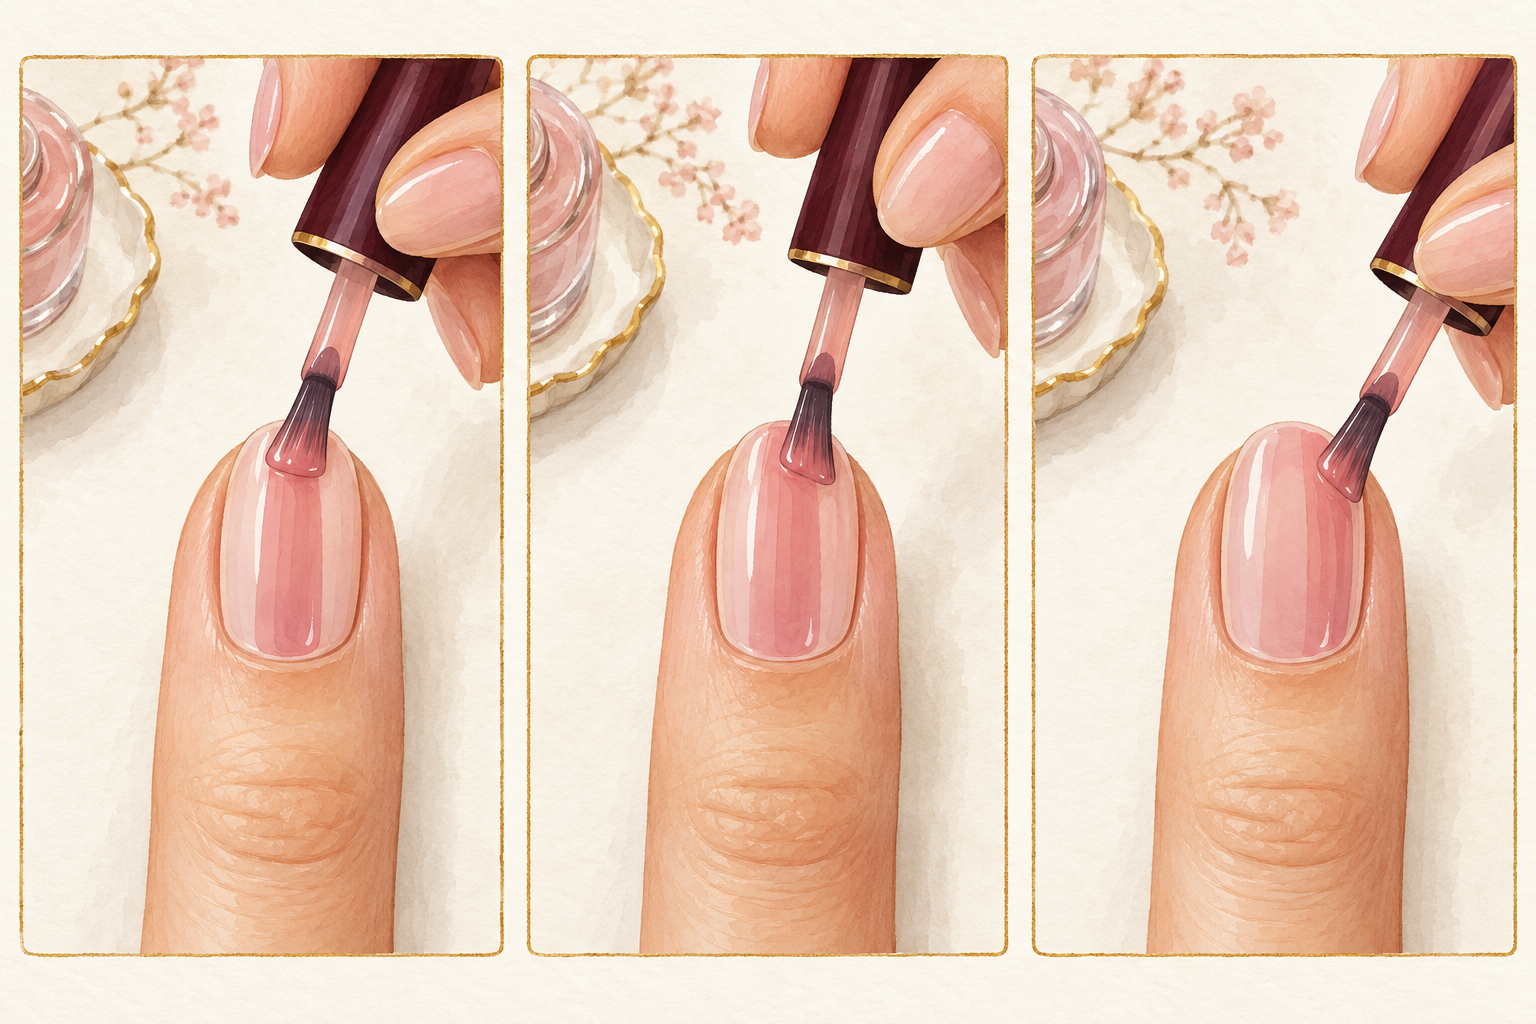
Paint a thin base coat in three strokes, one down the middle and one down each side, staying a hair away from the skin. Good base coat work is the last part of how to prep nails before color goes on. Let it dry for a minute or two until it feels tacky rather than wet. A thick base coat stays soft underneath and can slip, which defeats the whole idea. A base coat helps polish stick, but it does not mend a nail that is already peeling. Skip the base coat and the color often stains your nails yellow within a week. Next comes the color, and the page for that is how to paint nails.
9. Cap the free edge on every coat
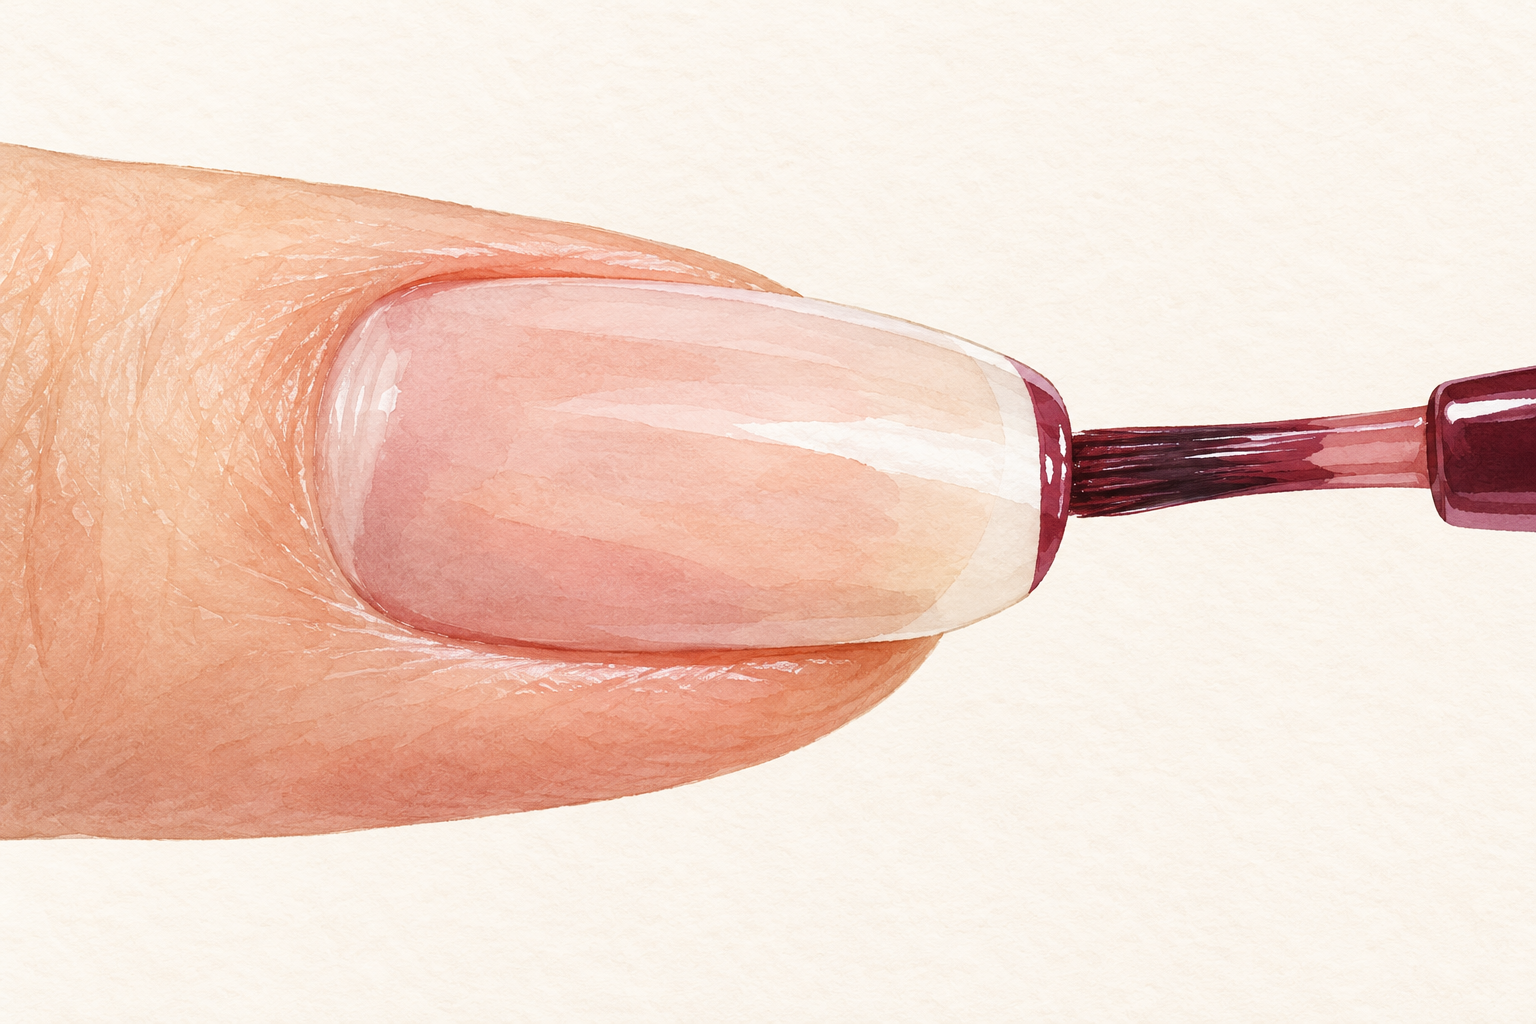
Run the brush along the very tip of the nail with each layer: base coat, color and top coat. This seals the edge, which is where chips begin. Do not flood the tip, or the polish will pool and bubble. Wipe most of the polish off the brush on the bottle neck first. Capping takes two seconds per nail and adds noticeable wear time. Go from one side of the tip to the other in one smooth sweep. If a bead of polish forms at the tip, wipe it off with the brush before it dries.
10. Prep when your nails are dry
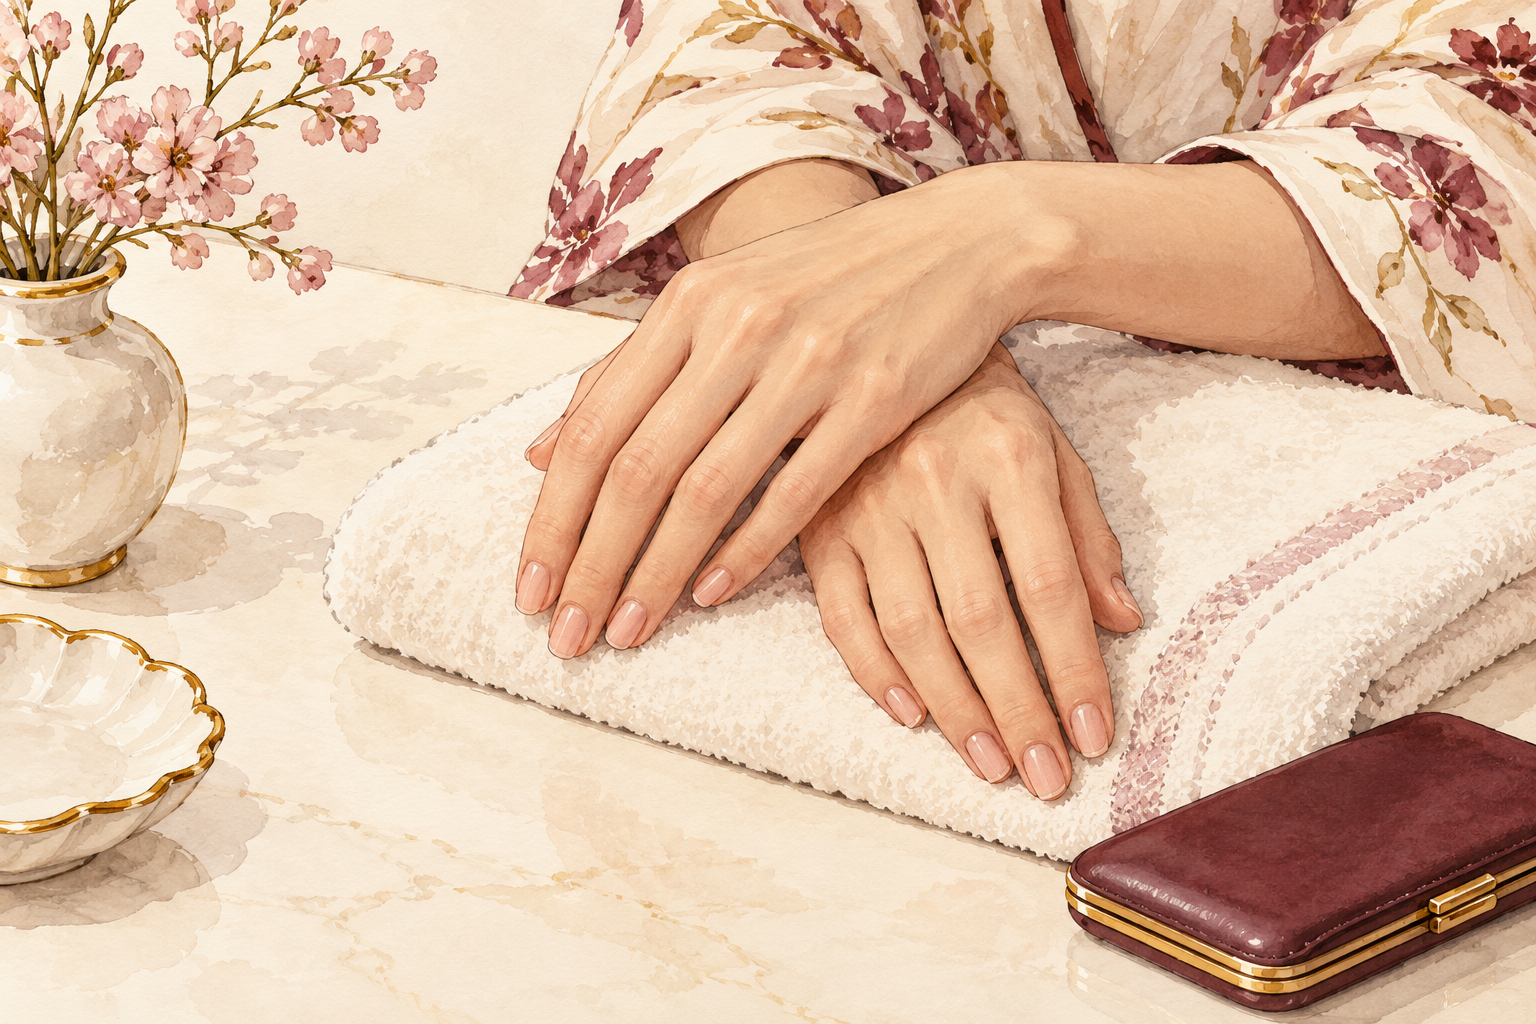
Avoid doing your manicure straight after a bath or washing dishes. Nails swell with water and shrink afterwards, and that loosens polish. Wait at least an hour after soaking, or prep before you shower and paint later. Too much water softens and weakens nails, so wear gloves for washing up. If your nails are very soft, do not file them hard until they have dried out. Pick a quiet evening so you are not rushing between steps. A relaxed hand paints a straighter line than a hurried one.
11. Swap the mistakes that cause early chips
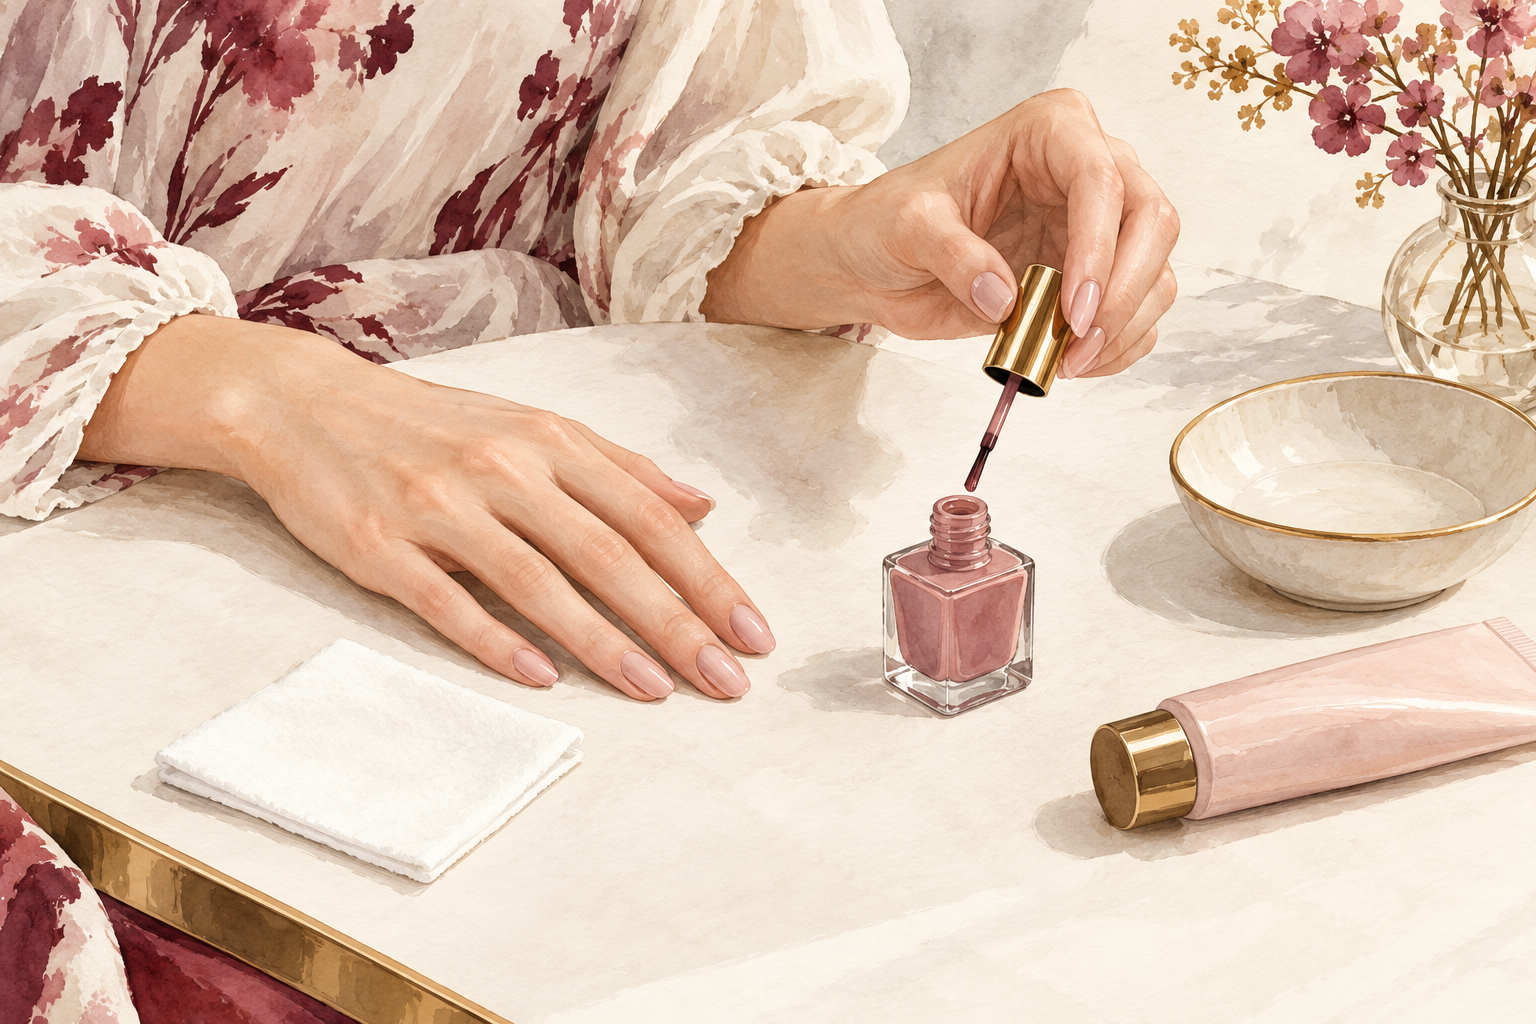
Slathering on hand cream before polishing, polishing right after a soak, and painting thick coats are the three usual culprits. Swap the cream for a clean, dry nail, the soak for patience, and one thick coat for two thin ones. If you tried how to prep nails once and it did not work, repeat it and change just one thing. That way you learn which swap made the difference. Keep a note on your phone of what you changed each time. Within three manicures, you will know exactly which swap does the most for your nails.
12. Moisturize after the top coat, not before
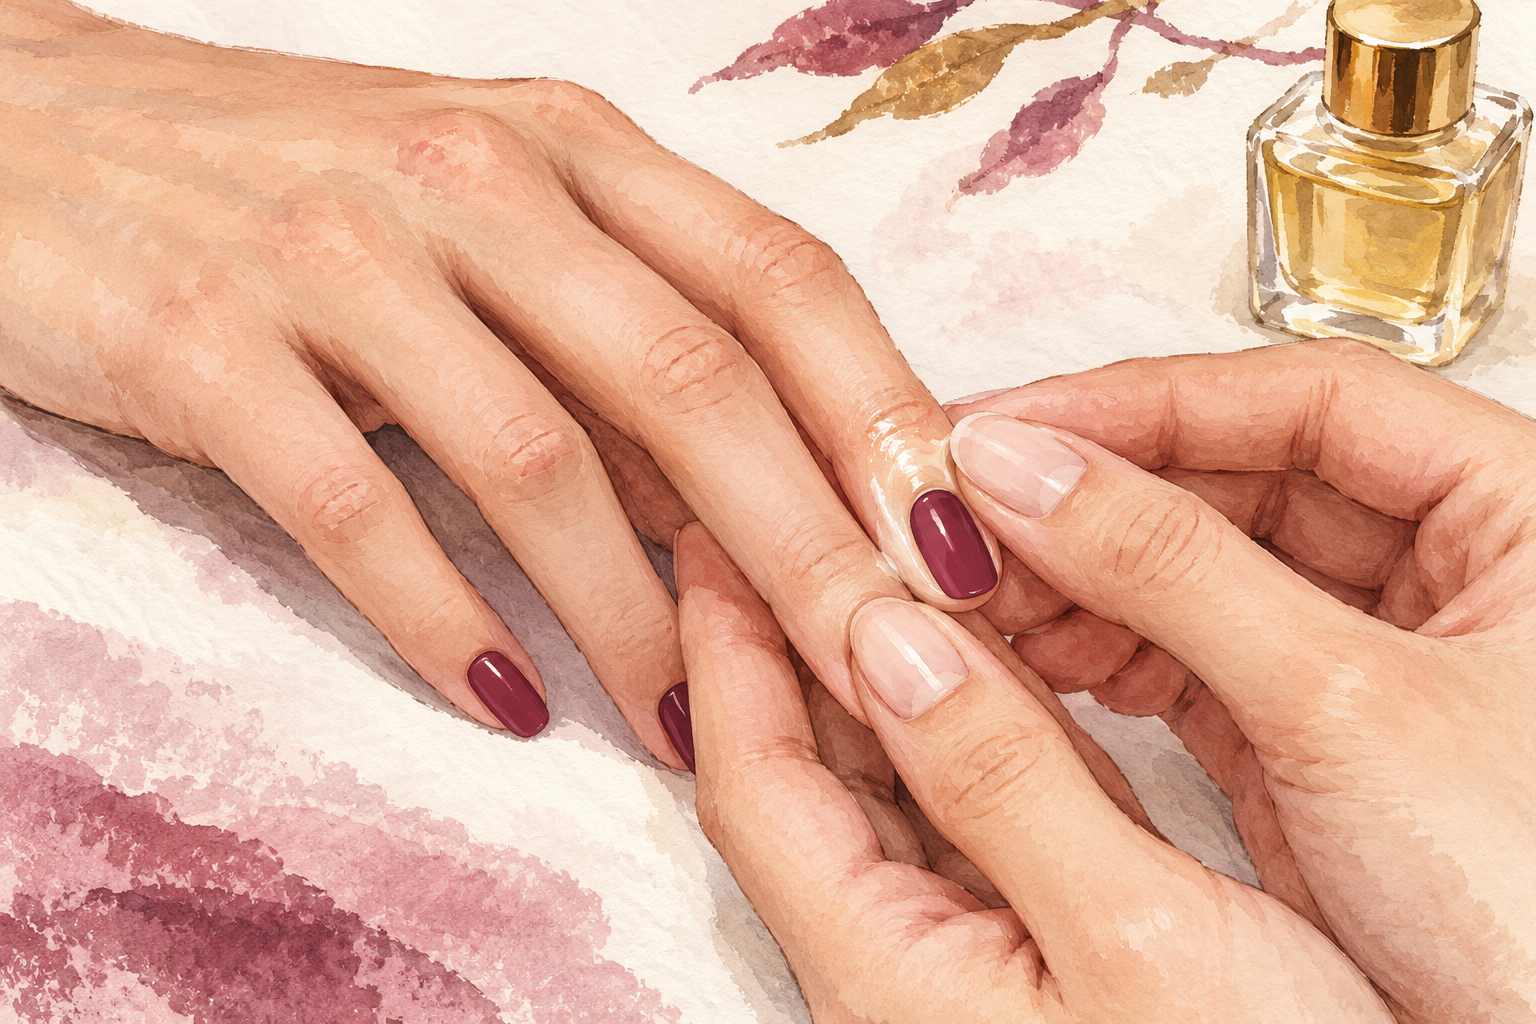
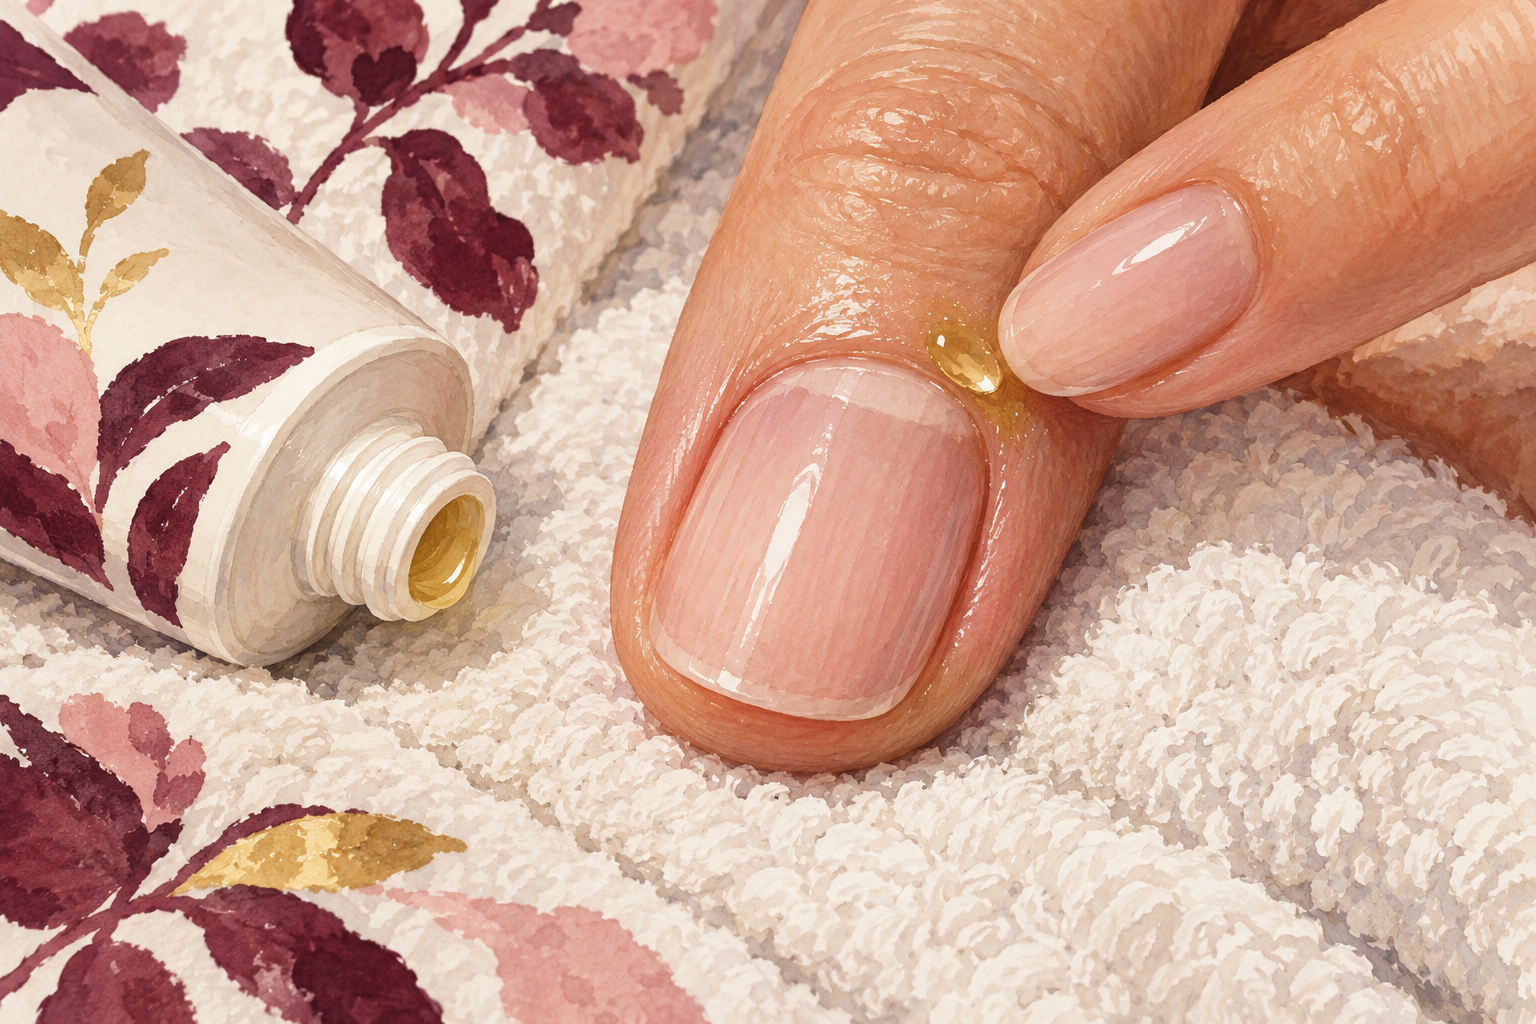
Once the polish has dried completely, rub a little oil or cream into your cuticles and hands. This keeps the skin around the nail from cracking, and it will not affect the polish after it has set. Do it again before bed each night. On day one the polish should look smooth and sealed at the tips. Day four brings the first tiny signs of wear at the edge, and by day seven you will probably see a chip or two, which is when to redo it. Add a fresh thin top coat on day three to push the wear closer to ten days.
Complete the Routine: How to Prep Nails Tonight for Polish That Lasts
Tonight, take off old polish, file in one direction, ease back your cuticles and wipe each nail with alcohol. Polish that lasts is a habit you build, so try a guide from below this week and notice what changes.