You finish the last nail, reach for your phone, and find a crease across the thumb you painted ten minutes ago. Learning how to paint nails without smudges, bubbles or a thick wobbly edge comes down to order and patience, not a steadier hand. Here are 12 steps with the stroke counts and drying times that matter, so start at number one tonight.
1. Wash your hands and wipe each nail bare
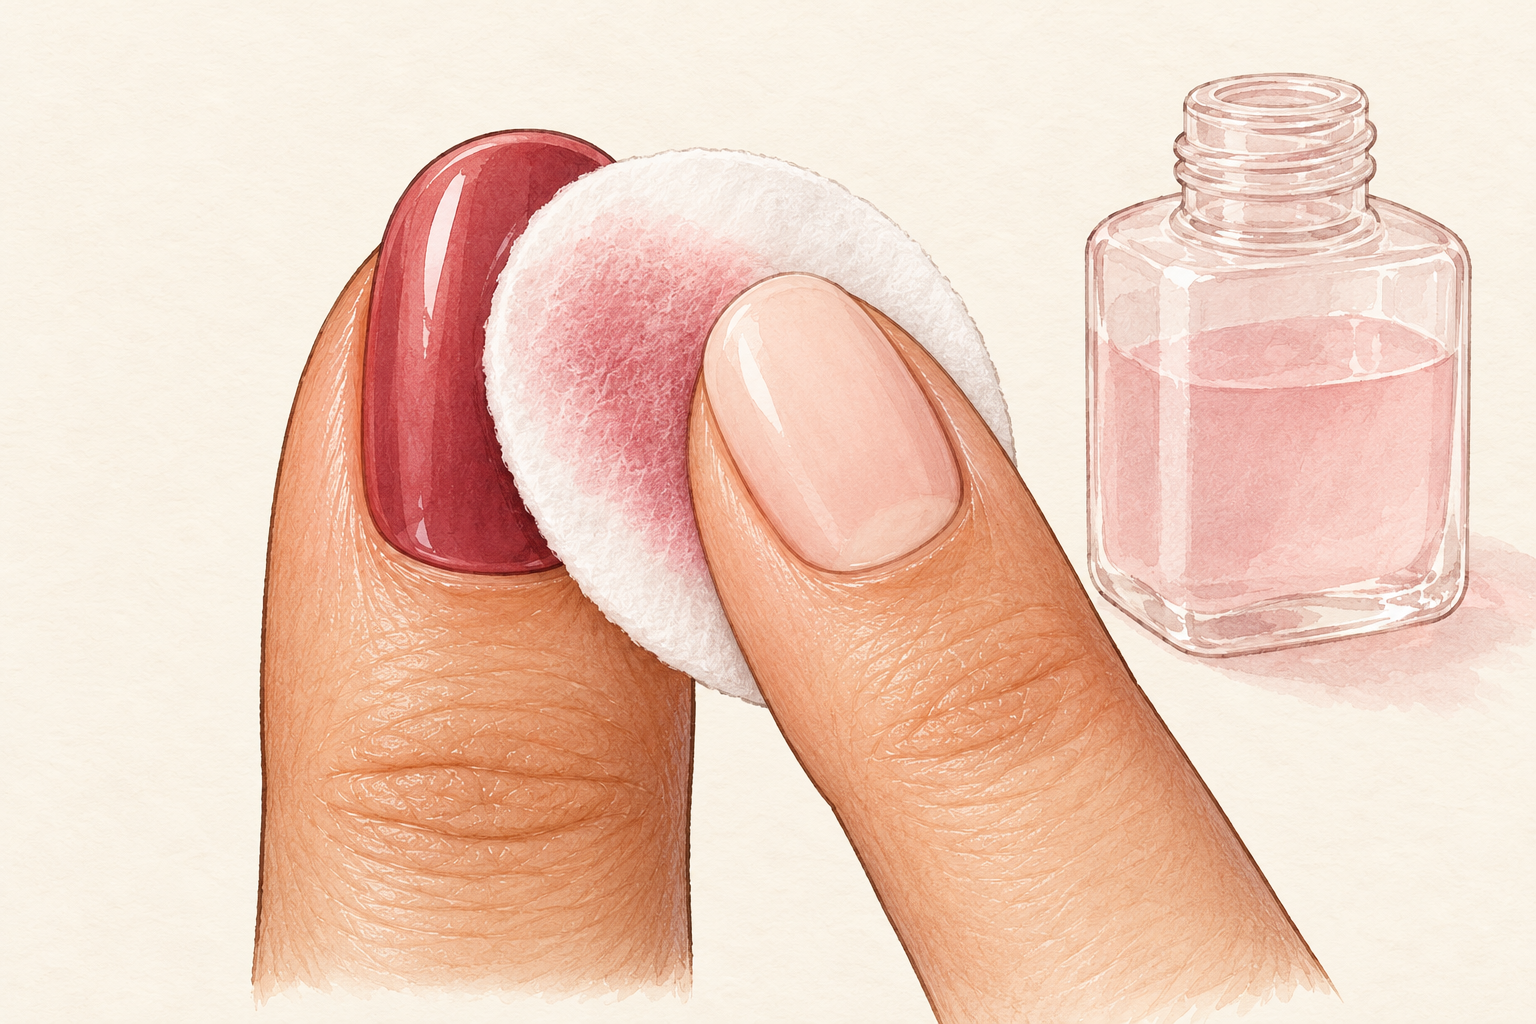
Wash with plain soap, dry well, then wipe every nail with a pad and a little remover. Lotion and natural oil stop polish from gripping, so the nail should feel slightly squeaky and dull. Open a window first, since remover fumes build up fast in a small room. Remover dries the skin, so smooth cream over your hands afterwards, but keep it off the nail until you have finished painting. Do not skip this step even if your nails look clean, because oil you cannot see is why polish chips by the second day. Give your nails a full minute to air dry before the next step. A clean nail at home makes everything later easier, so read nail care at home too.
2. File into shape before the color goes on
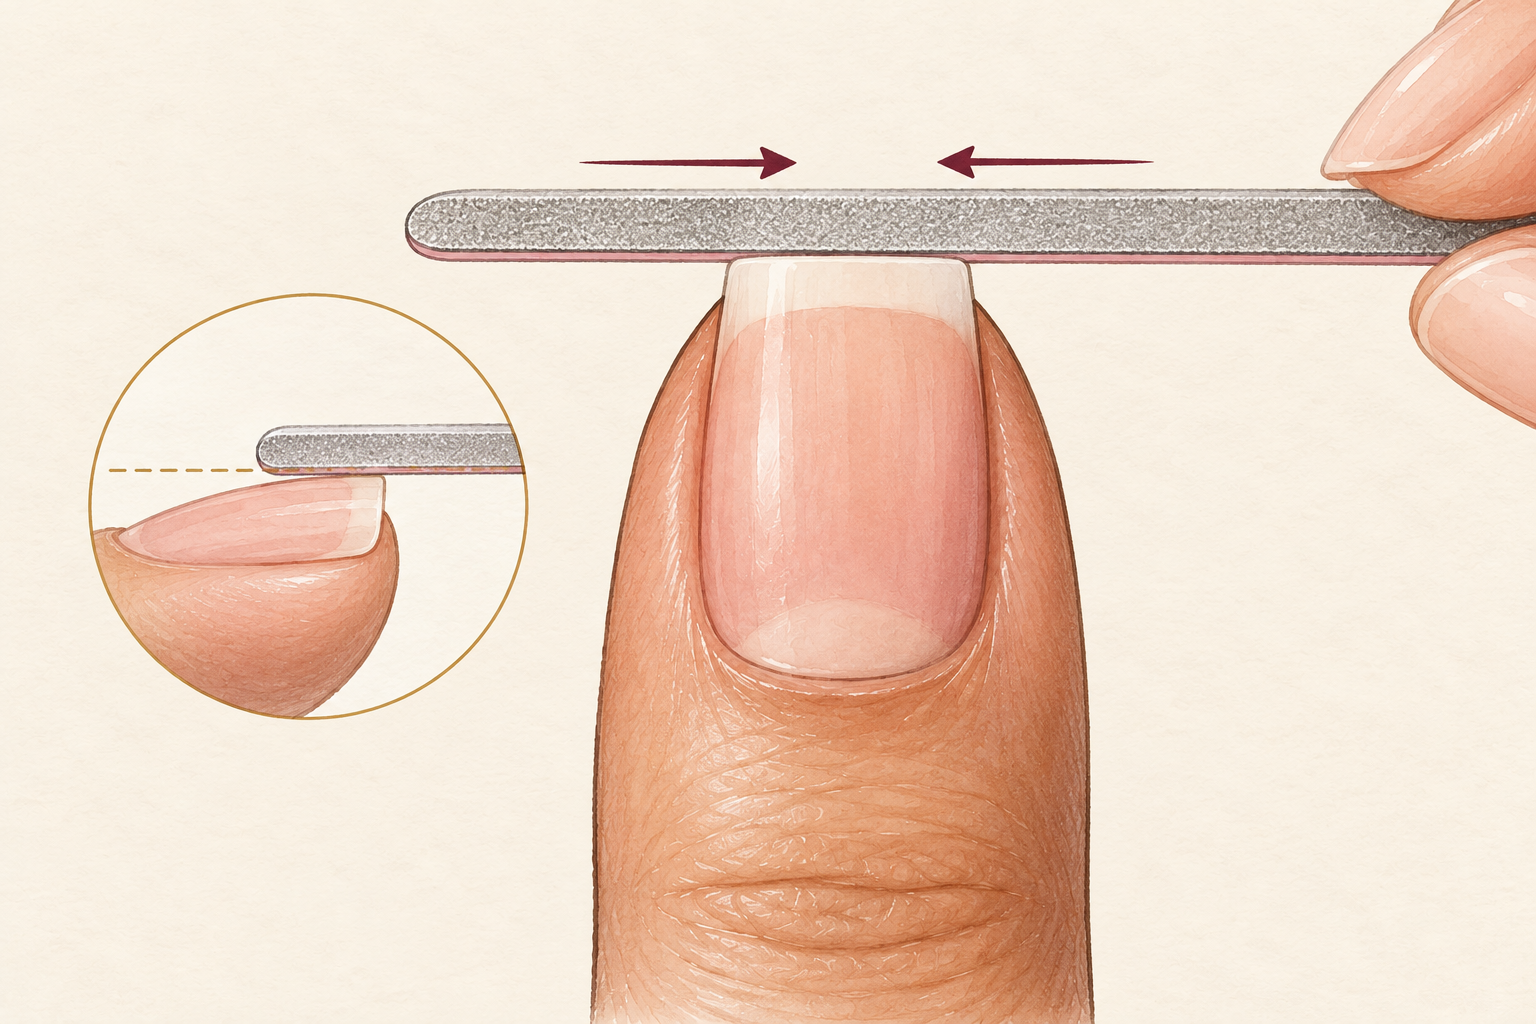
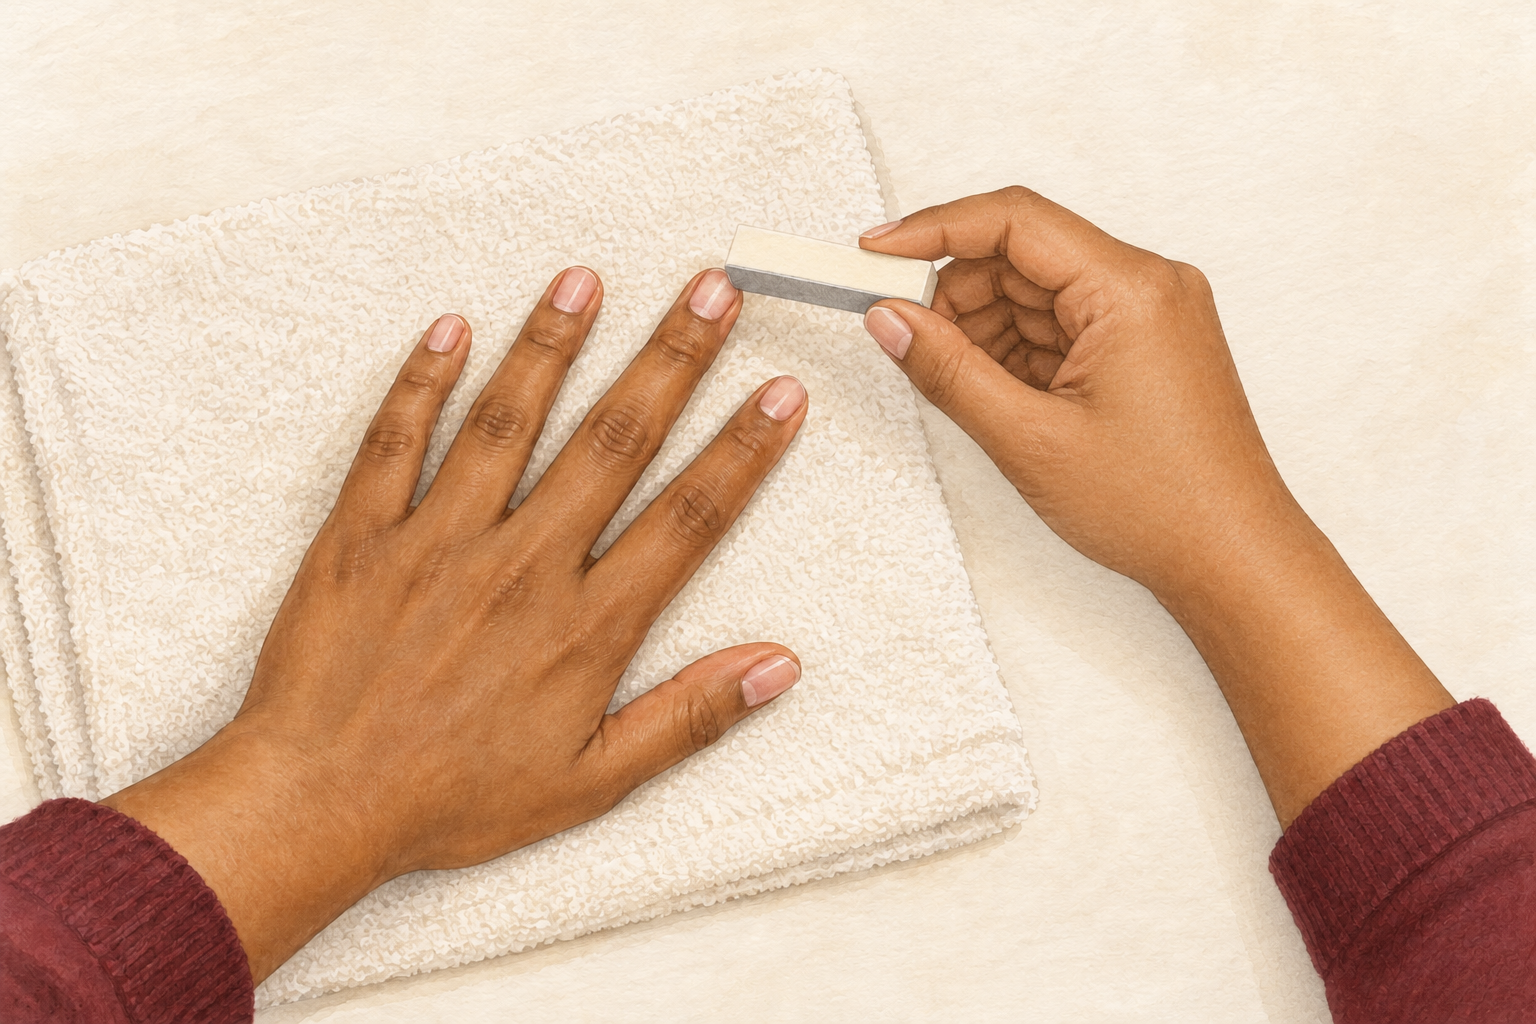
Shape first, because filing painted nails chips the edge and snags the polish. Use a fine file and stroke from the sides toward the center, lifting off between strokes instead of sawing back and forth. Keep all ten nails a similar length so the polish sits evenly across your hand. Run a fingertip over each edge, and if it catches, smooth it now, because a rough edge will catch on everything. Brush away the dust with a clean dry brush or a tissue so none ends up under the base coat. A tidy edge now saves a lot of fixing later.
3. Set up so everything is within one handed reach
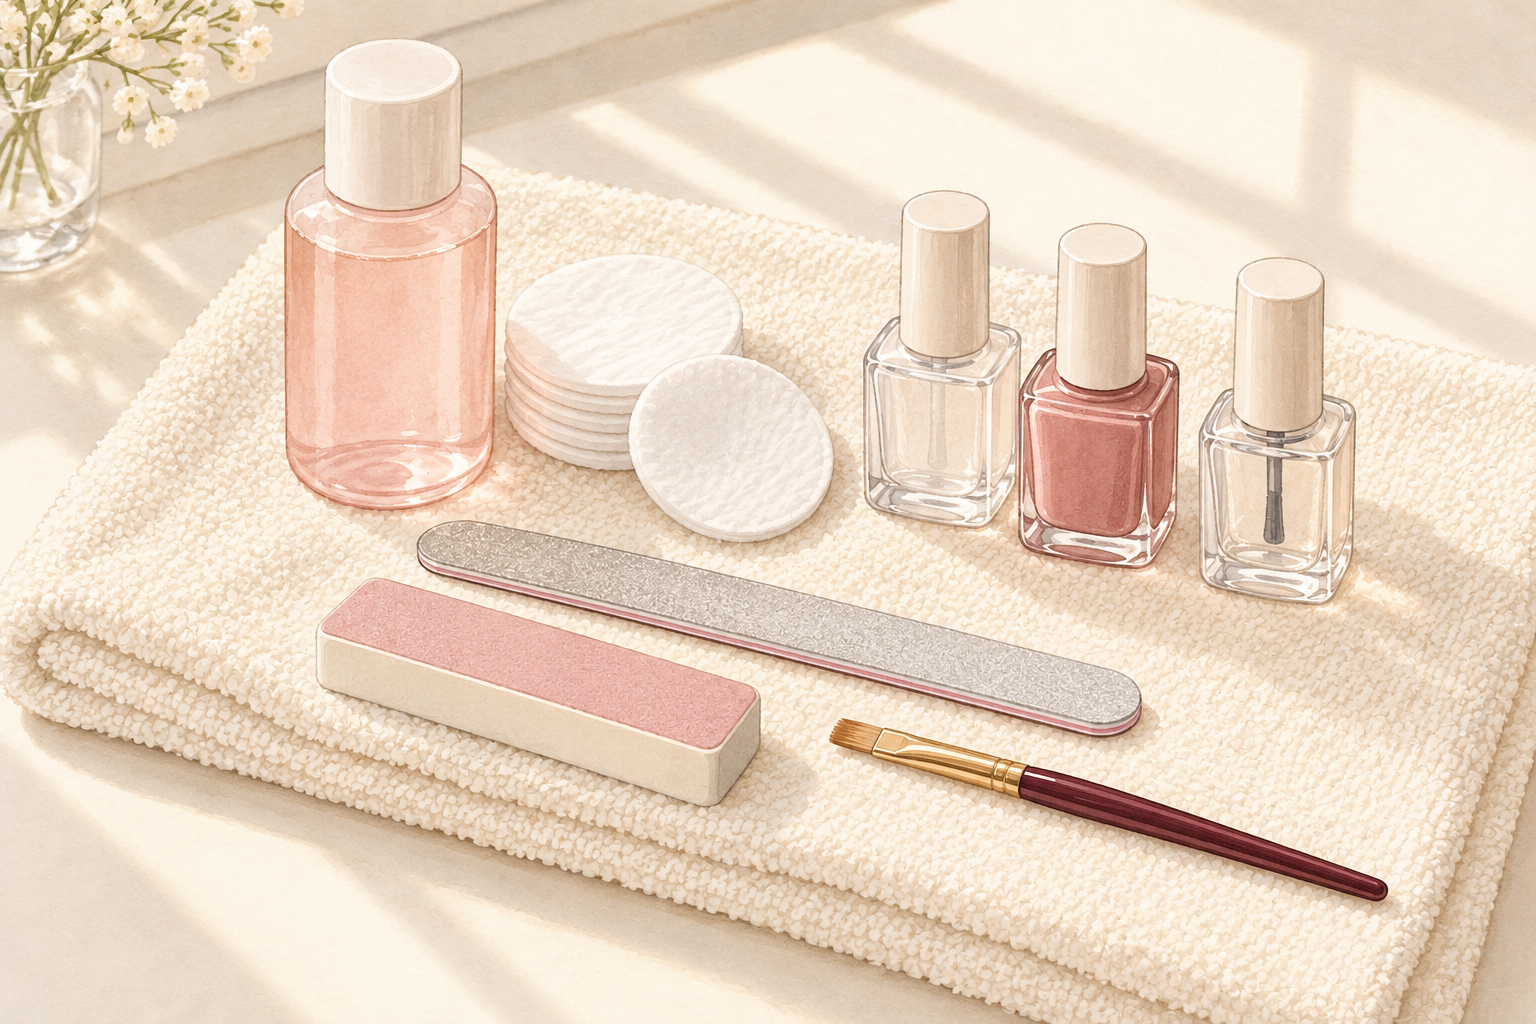
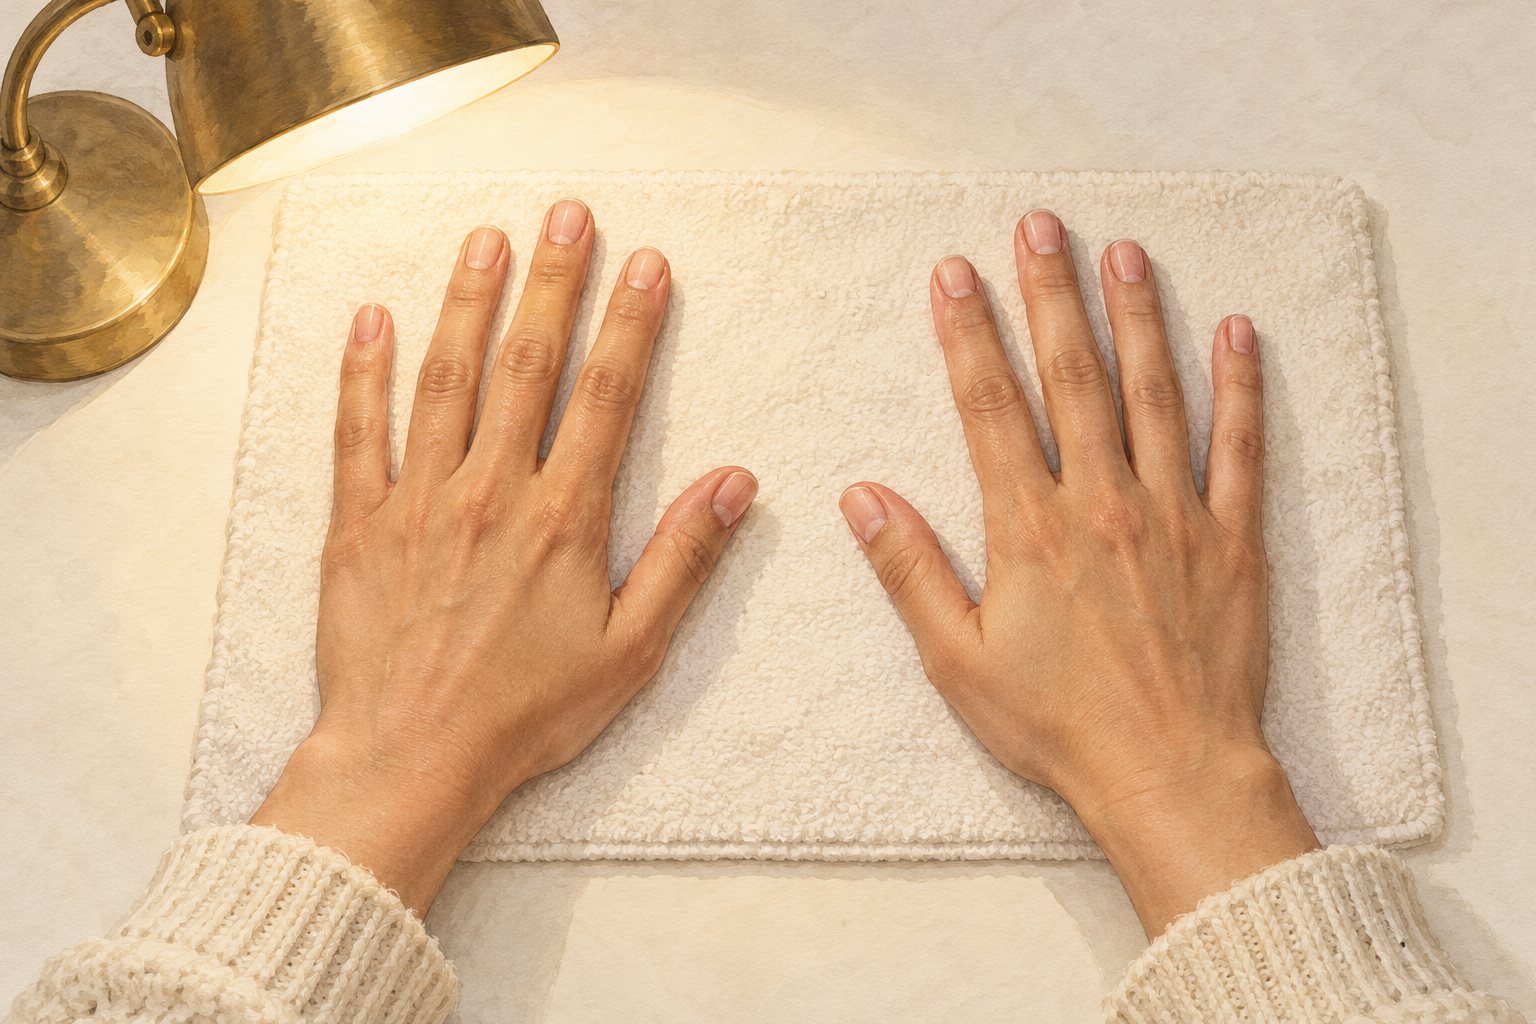
Lay out the base coat, color, top coat, a cotton bud and a cup of remover in a row before you begin. Once you start, you only have one clean hand, and a bottle you cannot open is a smudge waiting to happen. Roll the color between your palms for ten seconds instead of shaking it, which keeps bubbles out. Sit at a table in good light and rest your forearm flat so the brush hand has something to steady against. Loosen every cap now, just a little. Keep a tissue under your wrist so spills never reach the table.
4. Brush on one thin base coat
Wipe one side of the brush on the neck of the bottle so only a small bead stays on the bristles. Place that bead near the middle of the nail, press the brush down so it flares, and pull it toward the tip. One thin layer is enough. It gives the color something to hold on to and keeps pigment off the bare nail, which stops yellow stains. Wait about two minutes, until the layer looks tacky rather than wet, before you move on to color. If the base looks streaky, ignore it, because the color coats will hide it.
5. Use the center, left, right count for every coat
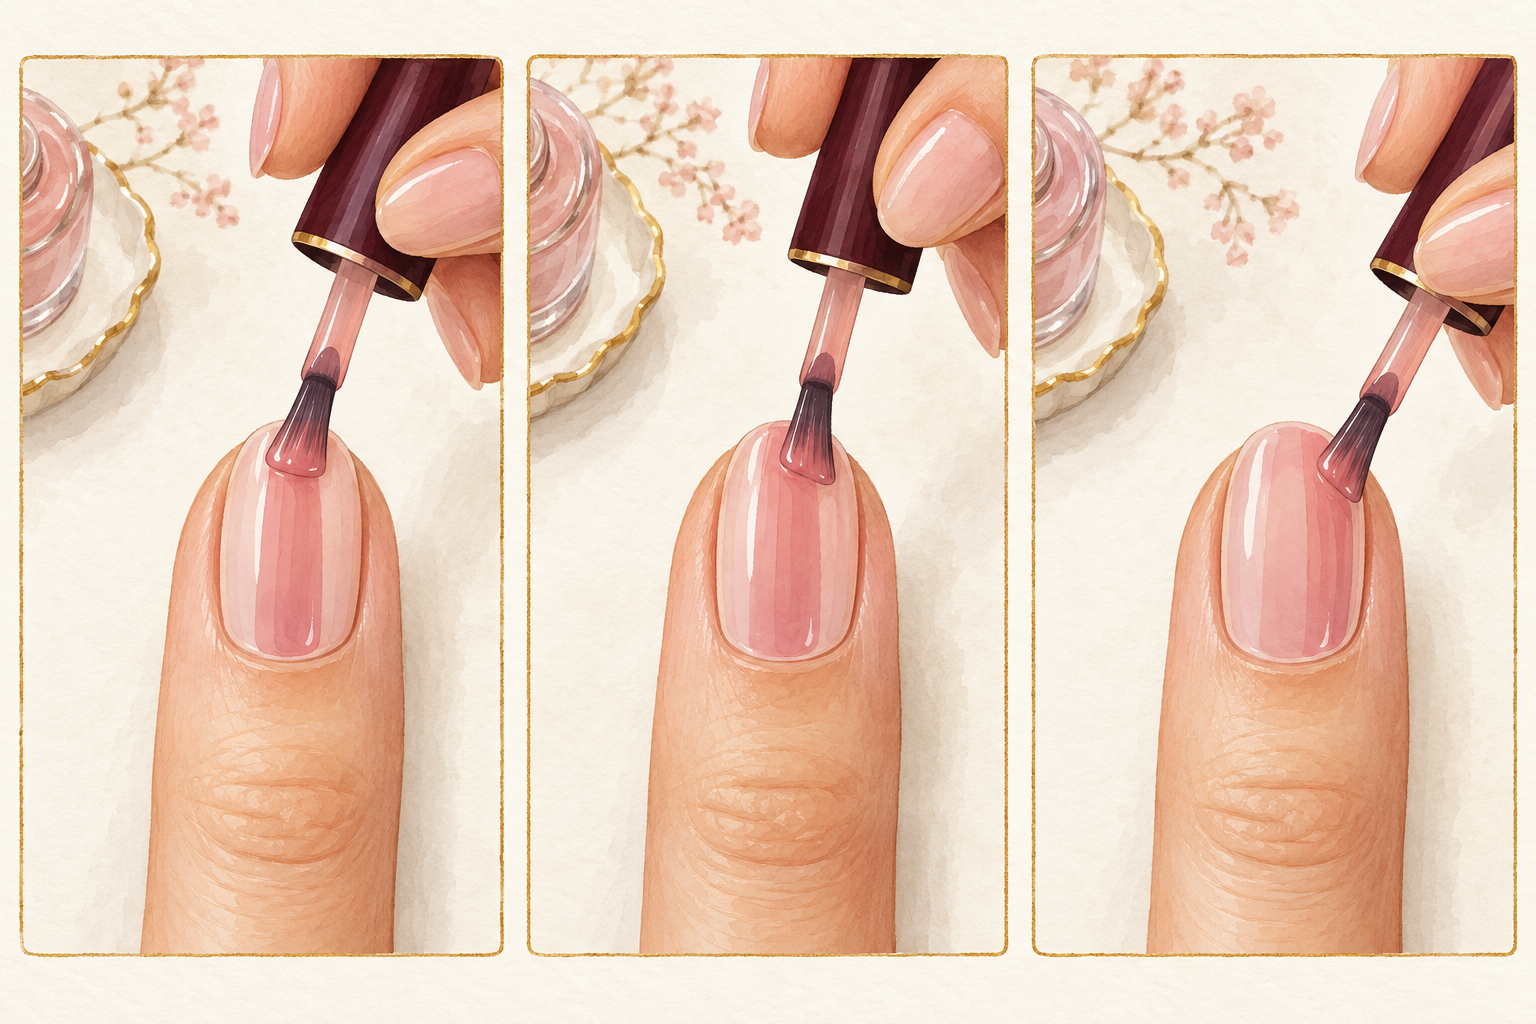
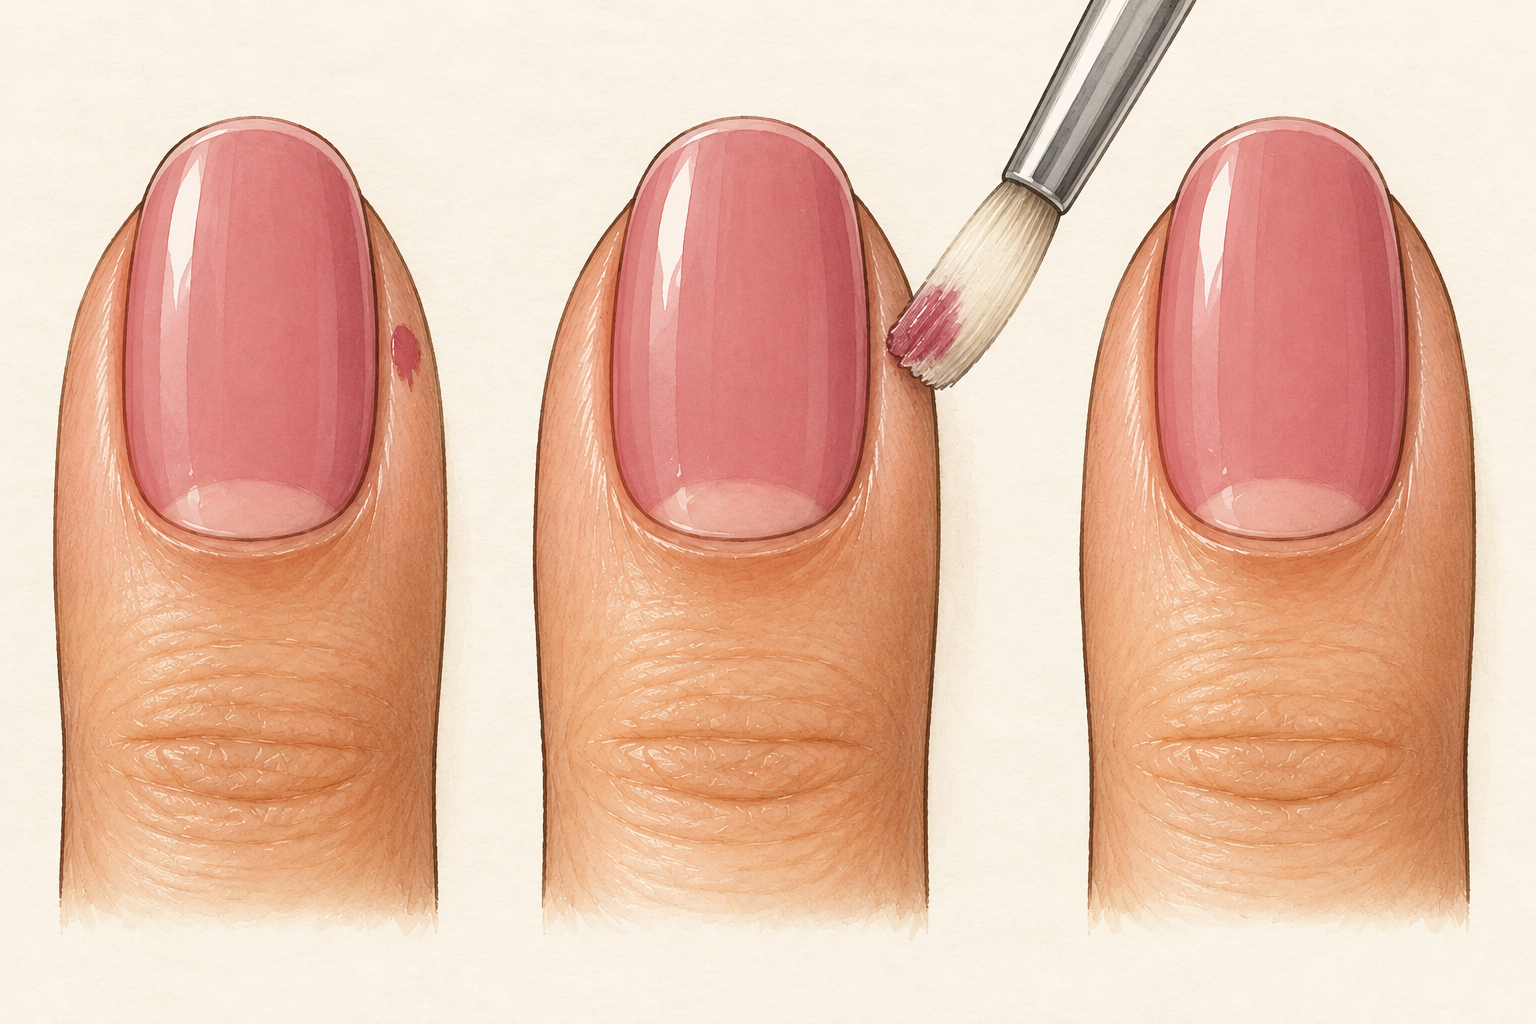
Learning how to paint nails neatly is really a count of three. Place the bead a hair away from the cuticle and nudge it toward the skin, then draw straight to the tip for stroke one. Add one stroke on the left and one on the right, with the same light pressure. Do not go back over wet areas, because that drags the polish into streaks. Leave a hairline gap at the side walls on the first coat, because it makes cleanup much easier later. Slow, steady pressure gives a smoother stroke than a fast one. Steady pressure becomes second nature with practice; keep how to paint nails perfectly nearby.
6. Cap the tip with one quick swipe
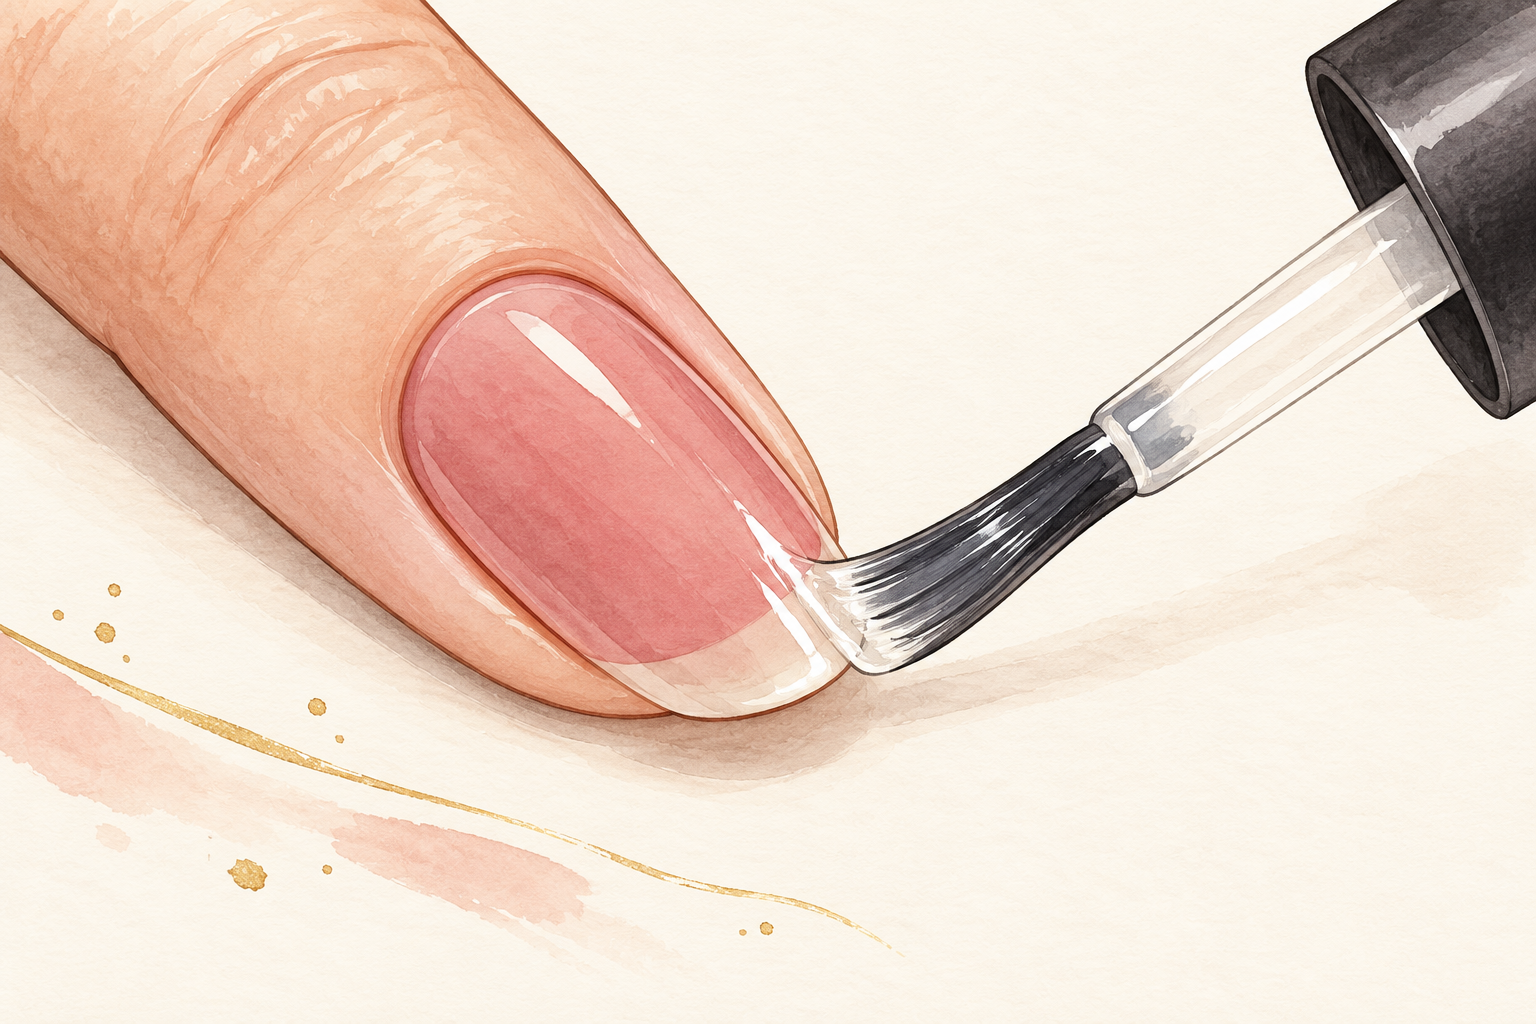
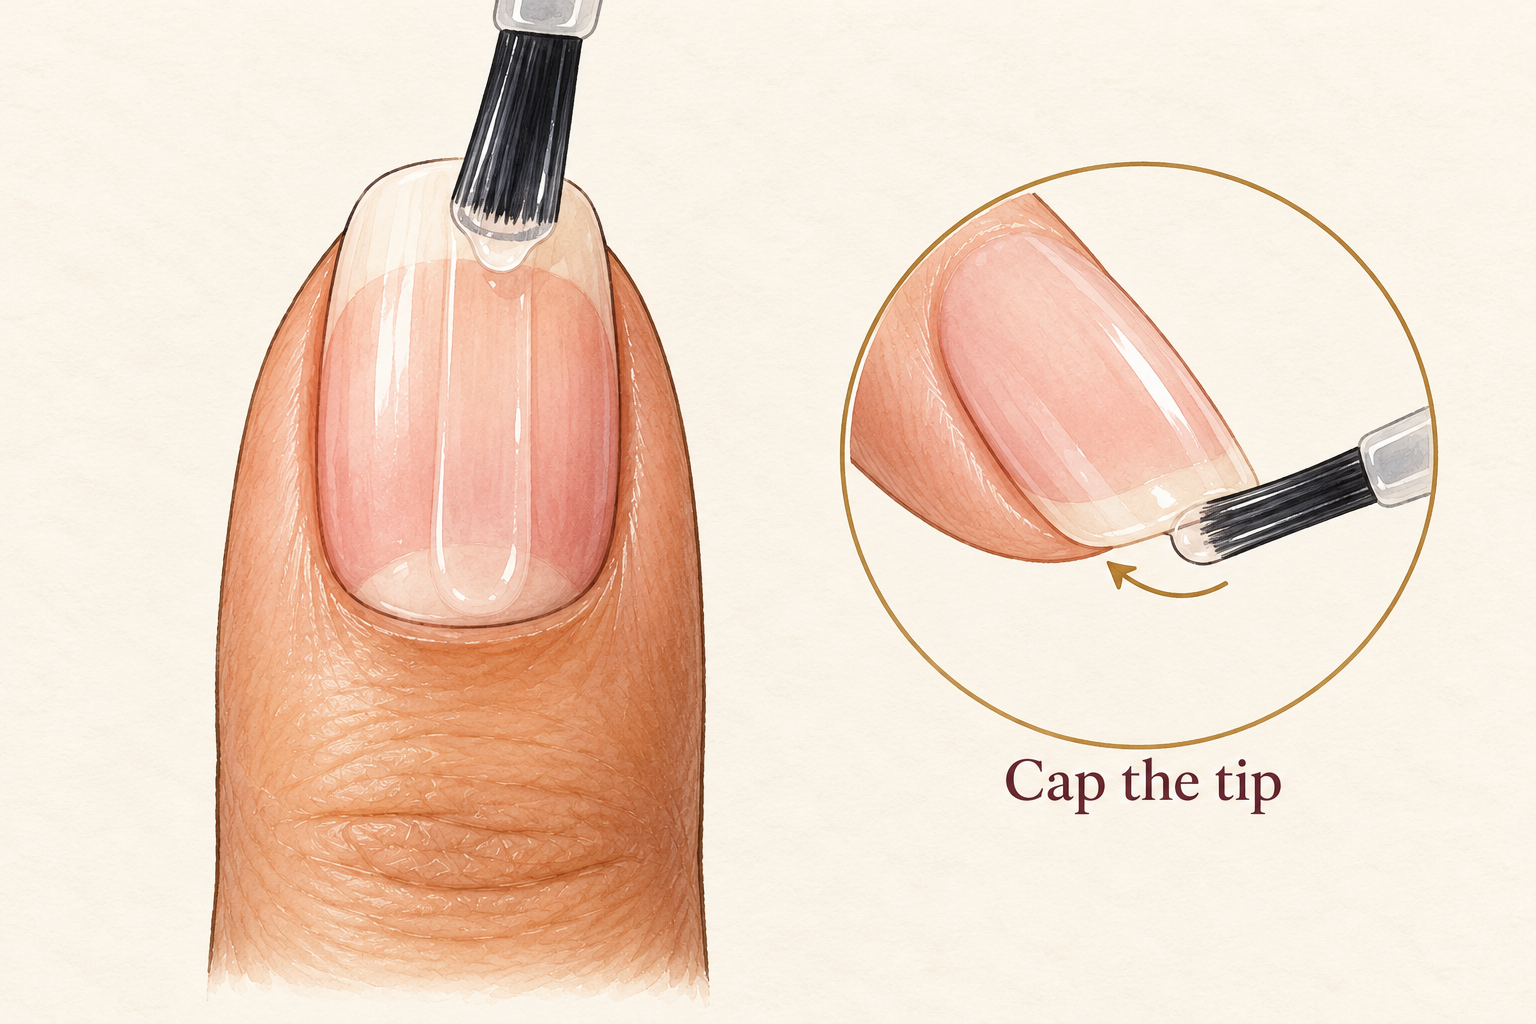
Run the brush once along the very edge of the nail with the thinnest film of polish. That sealed tip is what stops chips from starting at the corners. Do it on the base coat, on every color coat and on the top coat. Use almost no polish, because a thick cap rolls over into a ridge. If your nails are long, do it from the underside edge as well. It takes a second per nail and adds days to a manicure, so never skip it. Chips almost always start at the tip, which is why this tiny step matters.
7. Paint your weaker hand first
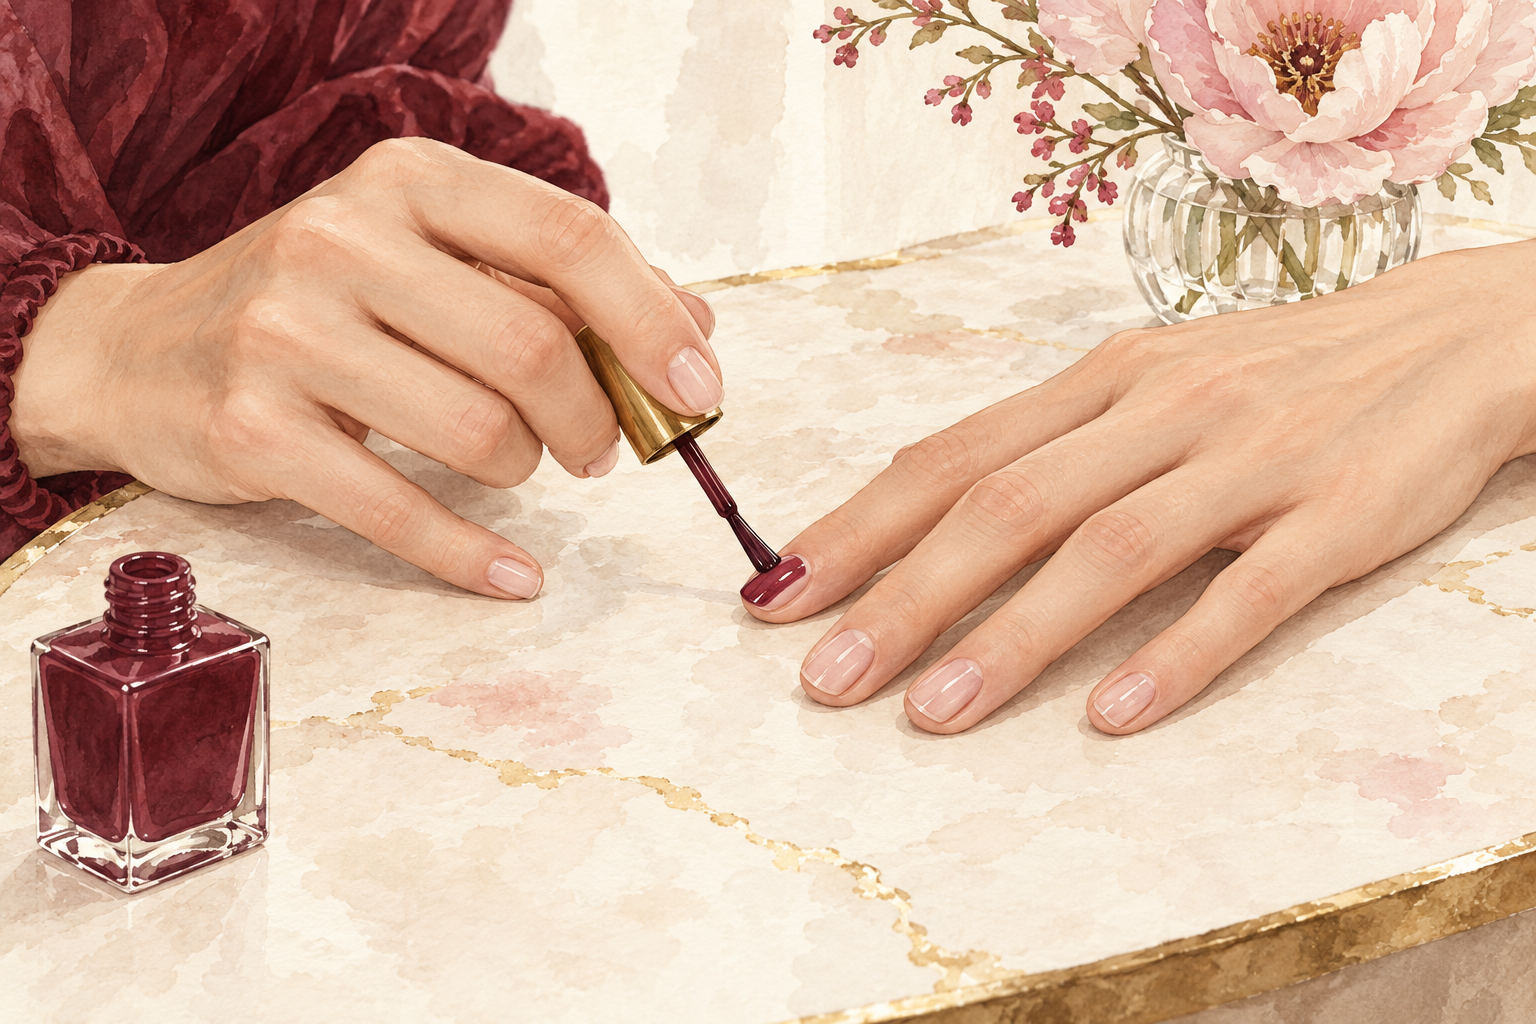
Do your non dominant hand first, so your steadier hand takes on the tricky one. Paint the thumb last on each hand, since it is the nail that smudges most often. Anchor your little finger on the table and move the brush, not your wrist. Between nails, dab the brush back on the bottle neck. Resist the urge to check your phone until both hands have their first color coat. If a stroke goes wrong, leave it for now and fix it in step ten. Keep a lint free pad beside you, in case a bottle tips over.
8. Wait between coats until the shine settles
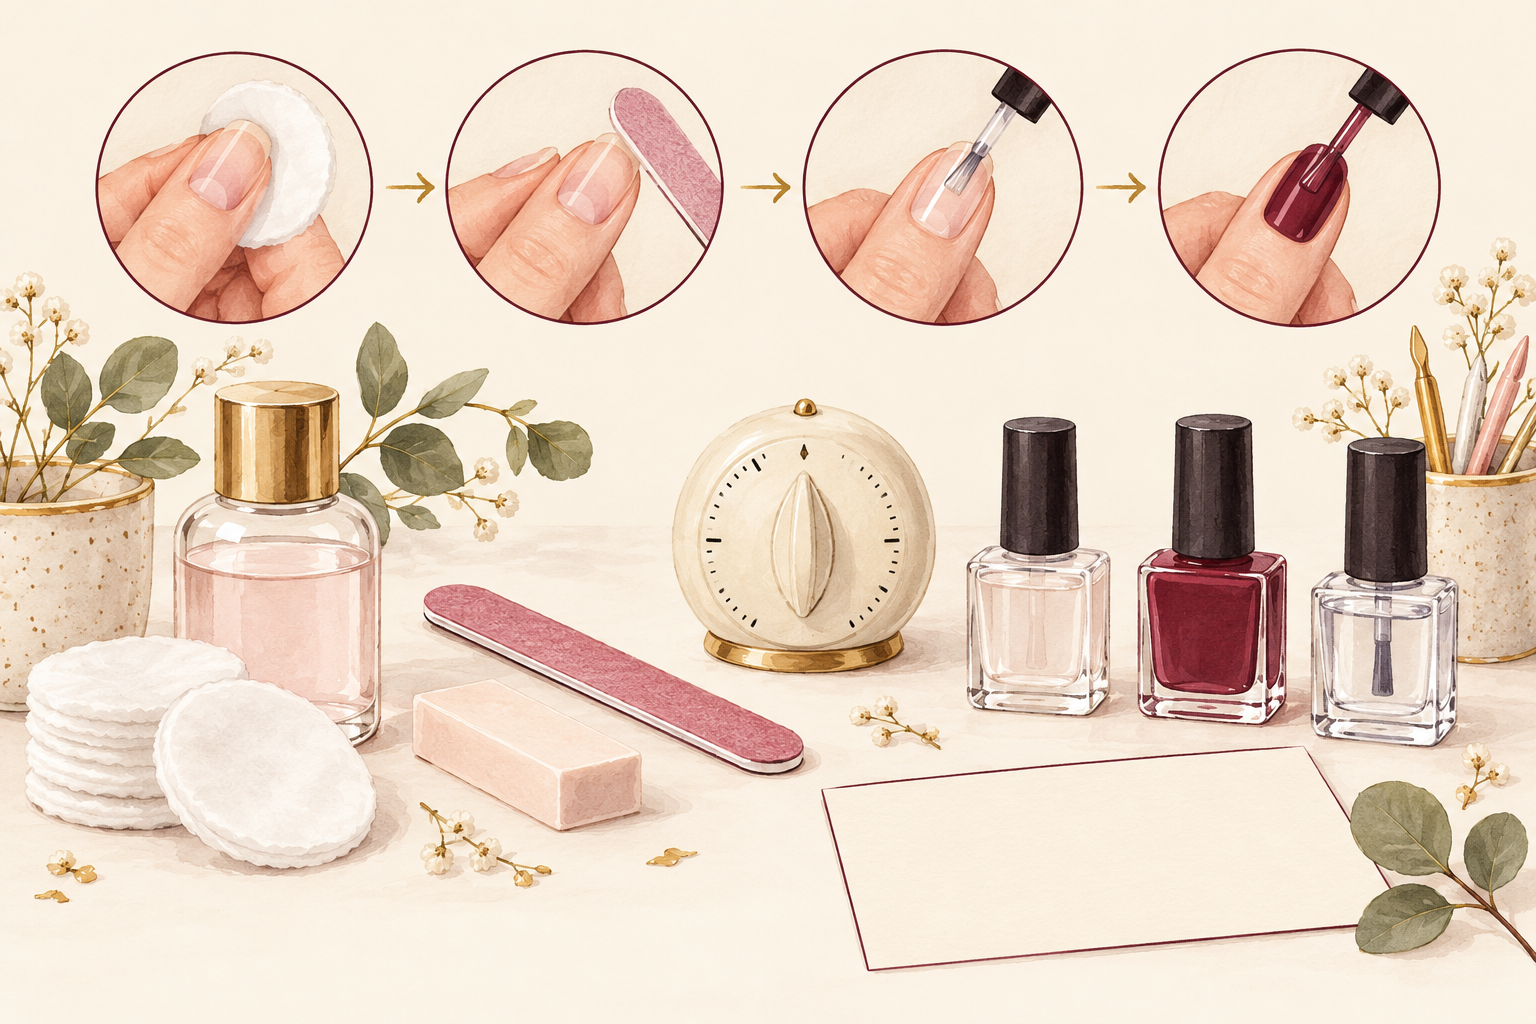
Give each coat two to three minutes, until it no longer looks wet and sliding. The best way to paint nails neatly is to keep every coat thin, because each layer needs time to dry before the next. If you press a coat while it is still gooey, the next stroke drags the color into streaks. A quick scroll on your phone is fine, but a long one means the first coat dries too far to blend. Use a timer so you are not guessing, and flip the phone over so it does not tempt you into touching the screen.
9. Do two color coats, then one floating top coat
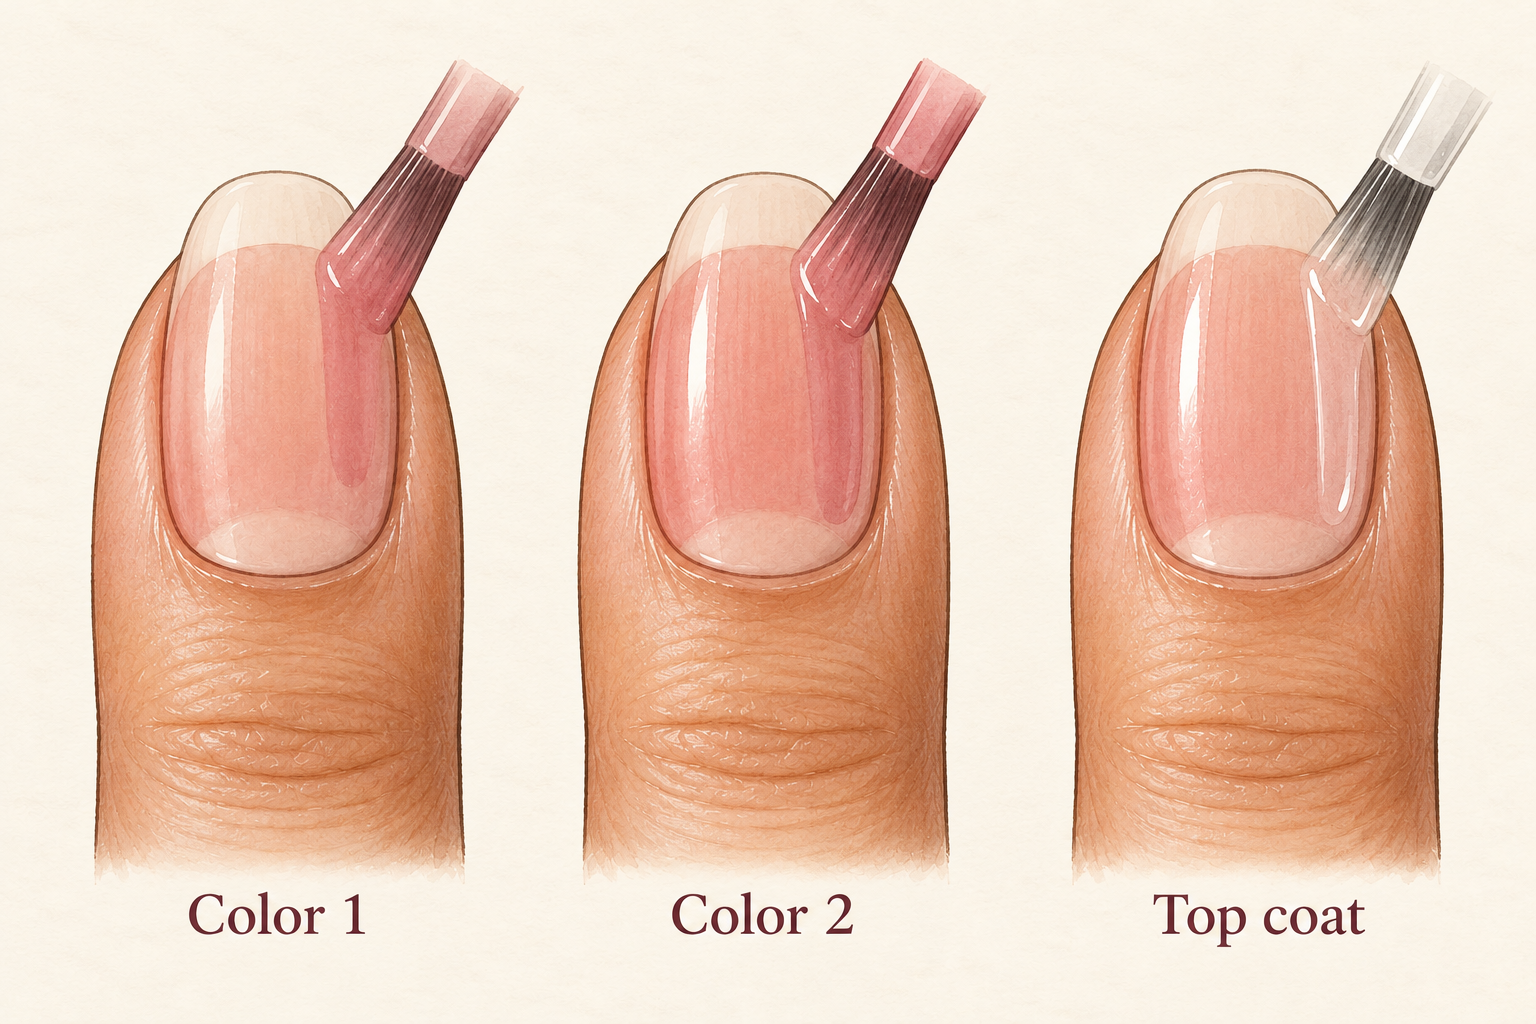
Two thin coats almost always beat one thick one, since many shades go patchy after a single pass. For the top coat, load the brush well and float it over the surface so the bristles barely touch the color. Pressing down drags the polish underneath. Leave a few minutes between the second color coat and the top coat so the layers stay separate. Cap the tip once more. The result should look glassy, with no brush marks. If you see a dent, wait before you try to fix it.
10. Clean the edges once the polish has set
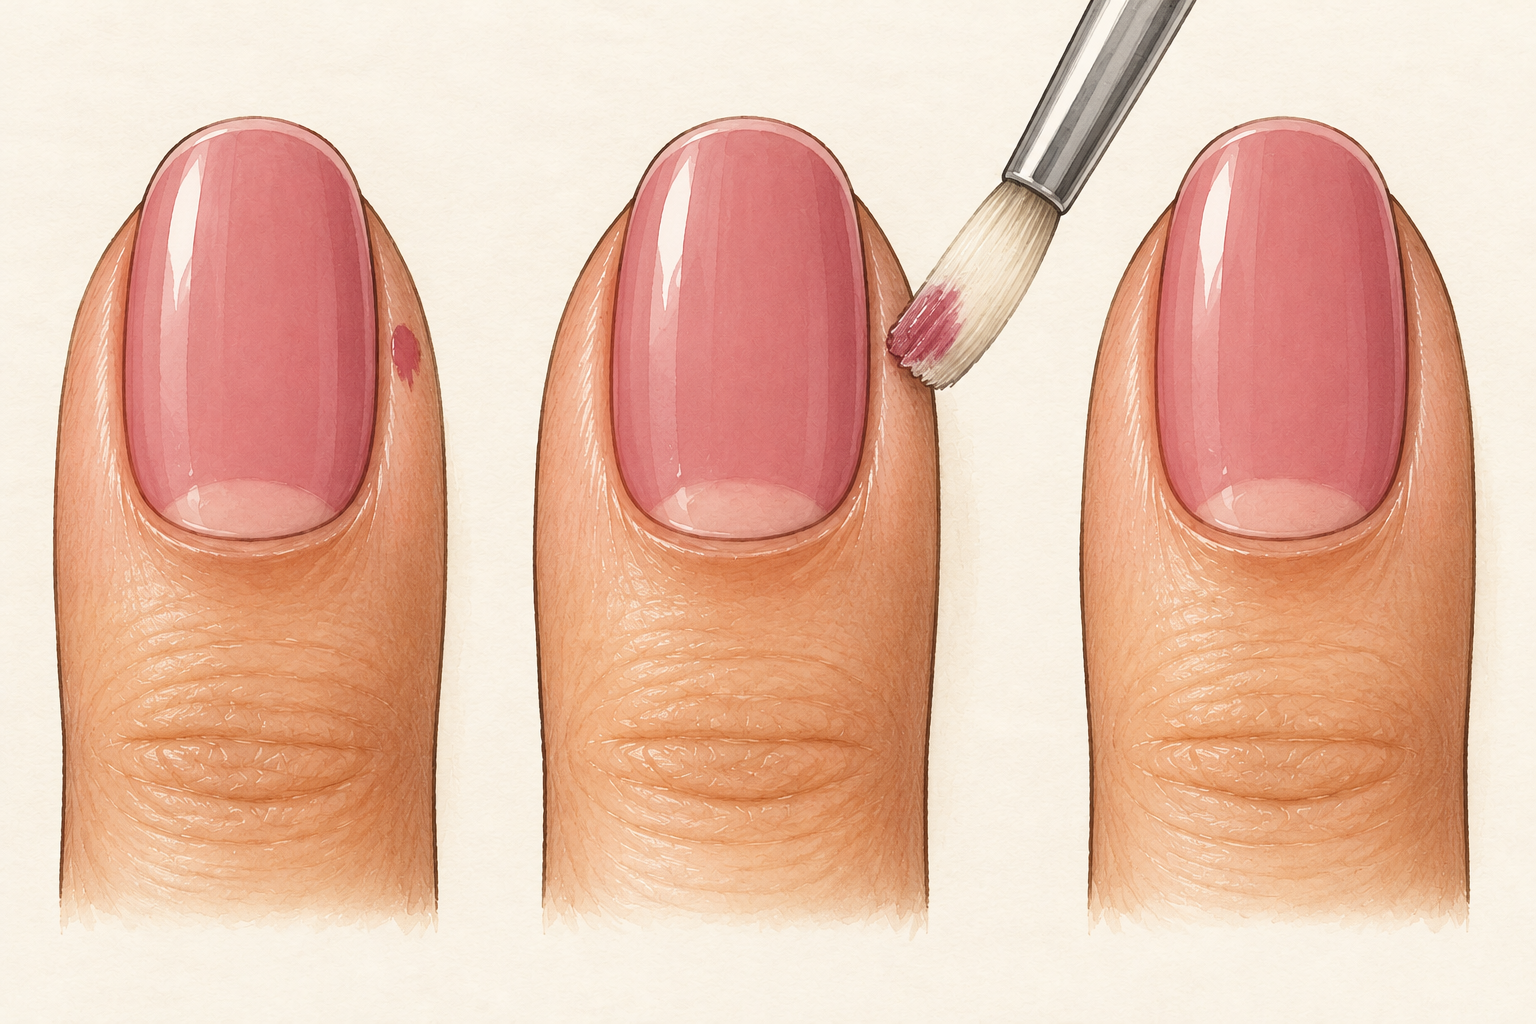
Wait about ten minutes, then dip a small flat brush or cotton bud in remover and squeeze most of it off. Trace along the skin line in one smooth pass. A cotton bud soaked to dripping bleeds remover under the polish and lifts it. If the line wobbles, leave it and clean it again once it has dried further. A little oil on your skin before you start painting makes this step easier. Wash your hands afterwards, then pat them dry instead of rubbing, and keep the soap away from the nails for a few minutes.
11. Treat the first hour and the first night as unfinished
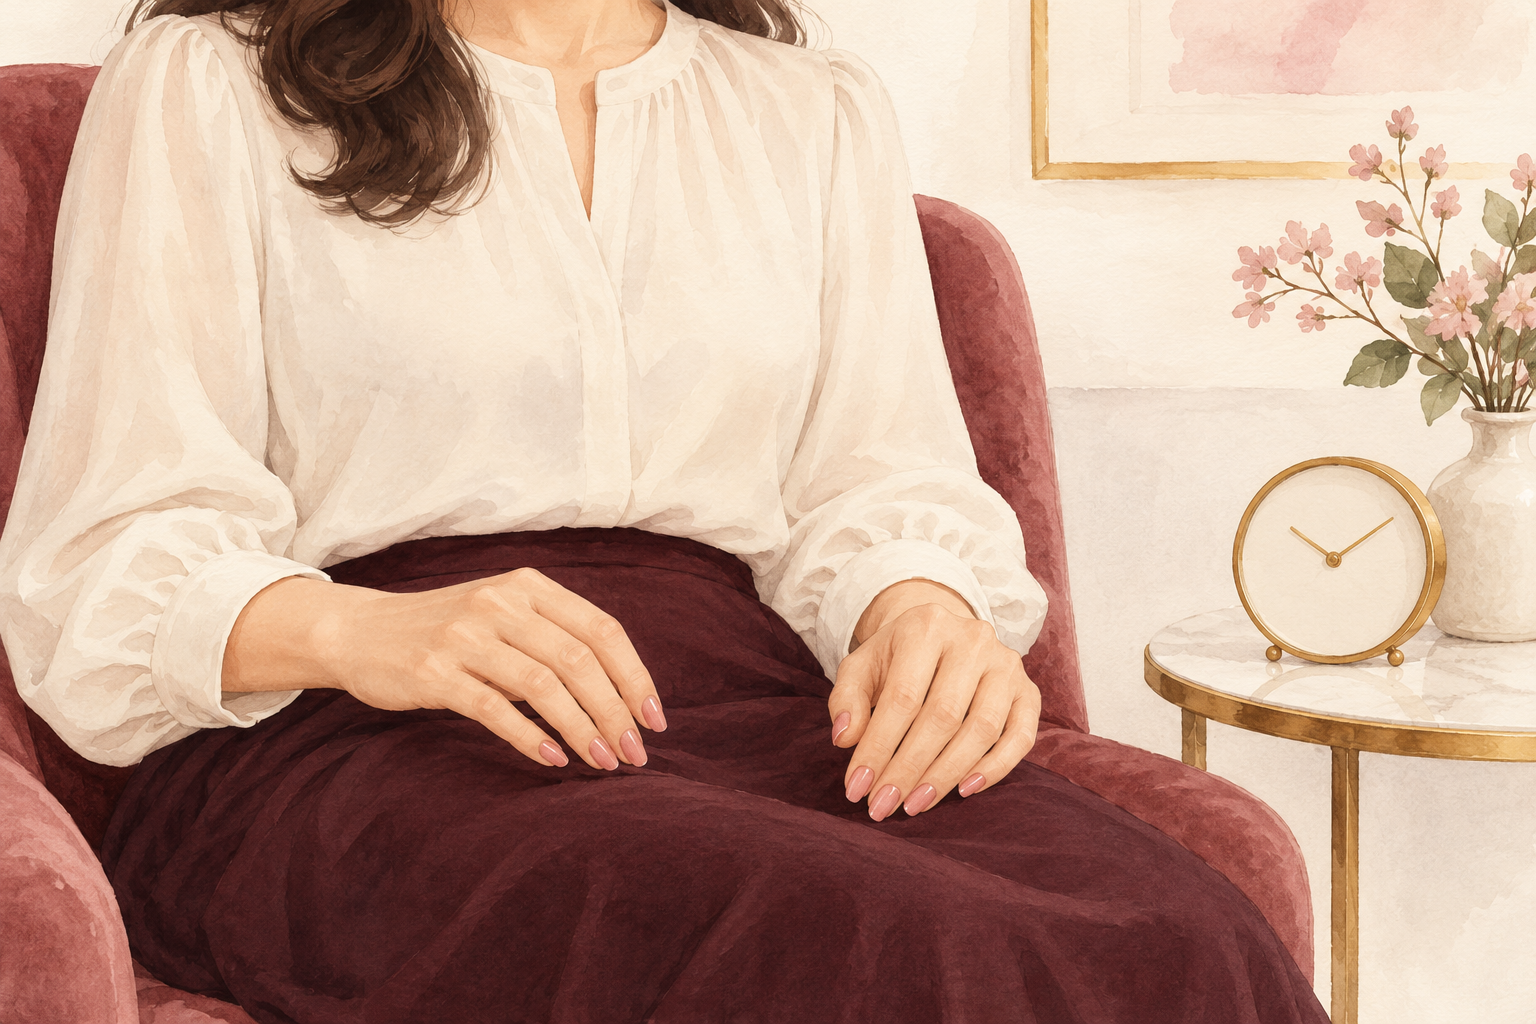
Polish feels dry on top long before it is hard underneath, and it can take twelve hours or more to fully set. At around ten to twelve minutes you can hold your phone gently. After an hour it takes a light touch but can still dent. Sleep on your back with your hands on top of the covers, because pillows leave flat spots. Skip the hairdryer on hot, which bubbles the polish. Drying drops only firm up the top layer, so patience is the real trick. Put on a show and keep your hands flat on a towel until the episode ends.
12. Refresh the top coat every two or three days
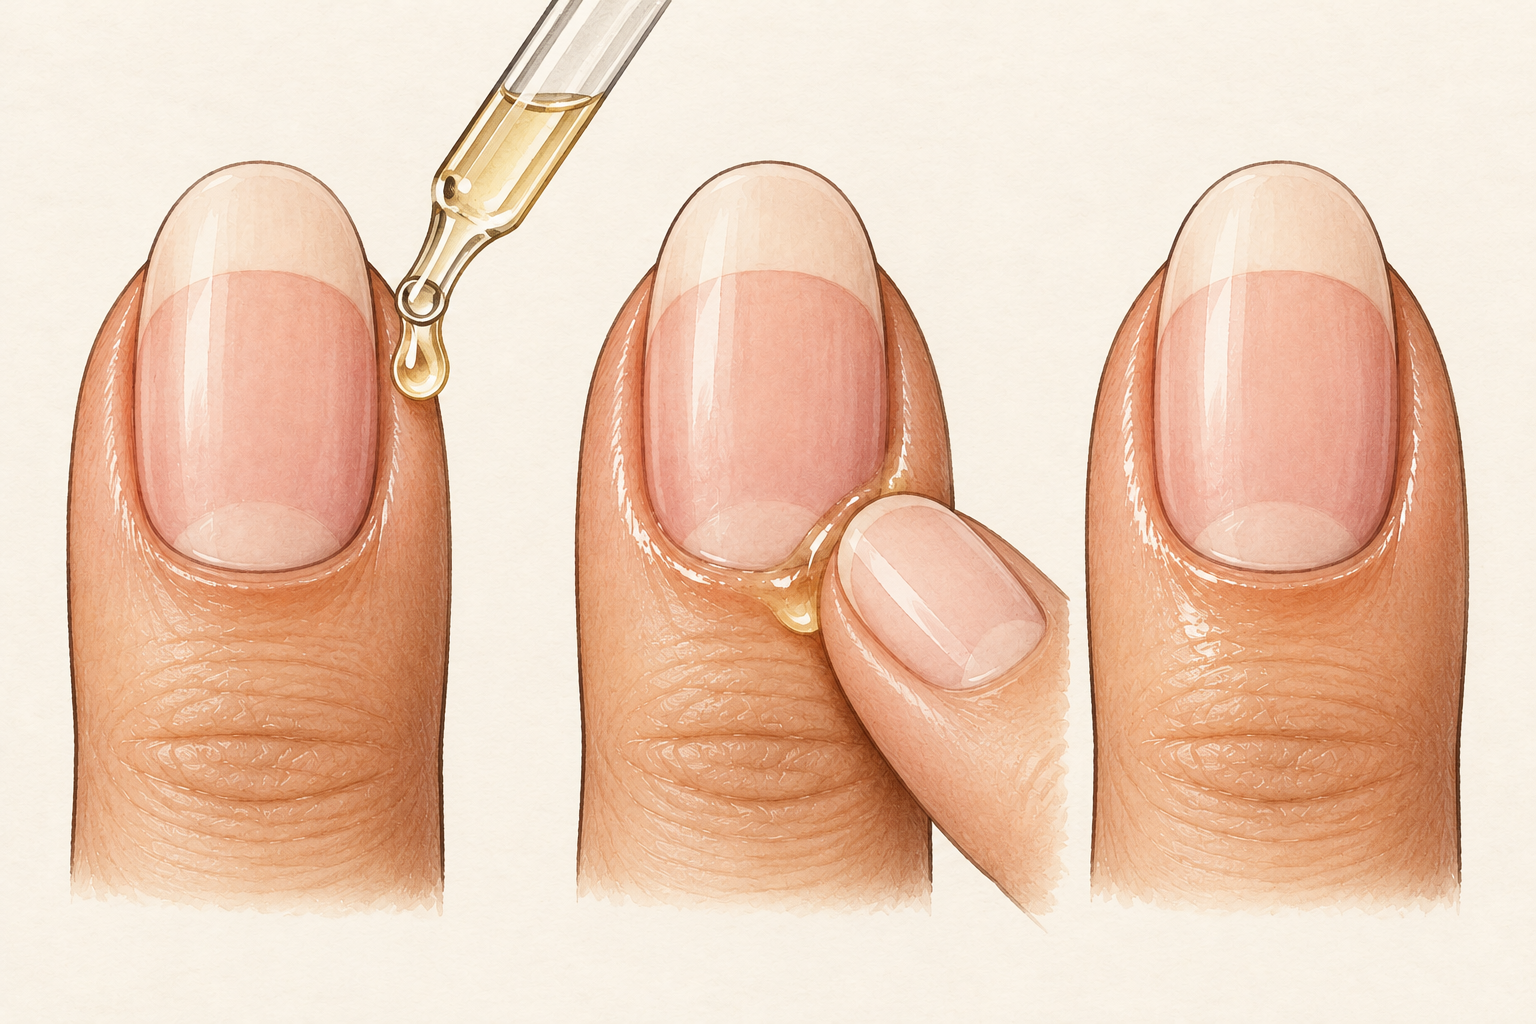
Brush on a thin new layer of top coat every two or three days on clean, dry nails, and cap the tip again. It keeps the shine and helps the manicure last. A drop of cuticle oil each night keeps the skin around it soft. After about a week the polish starts to lift at the edges, and it is better to remove it than to layer more on top. Give your nails a few bare days between sets so they can rest. Start the next set only once your nails feel smooth and flexible again.
Complete the Routine: How to Paint Nails Tonight
Pick a color you love, lay out your tray from step 3 and try the base coat and two color coats with the three stroke count. Painting is a skill that comes back with practice, so one neat nail is already progress. Save the rest for another evening, and the guides below will wait for you.