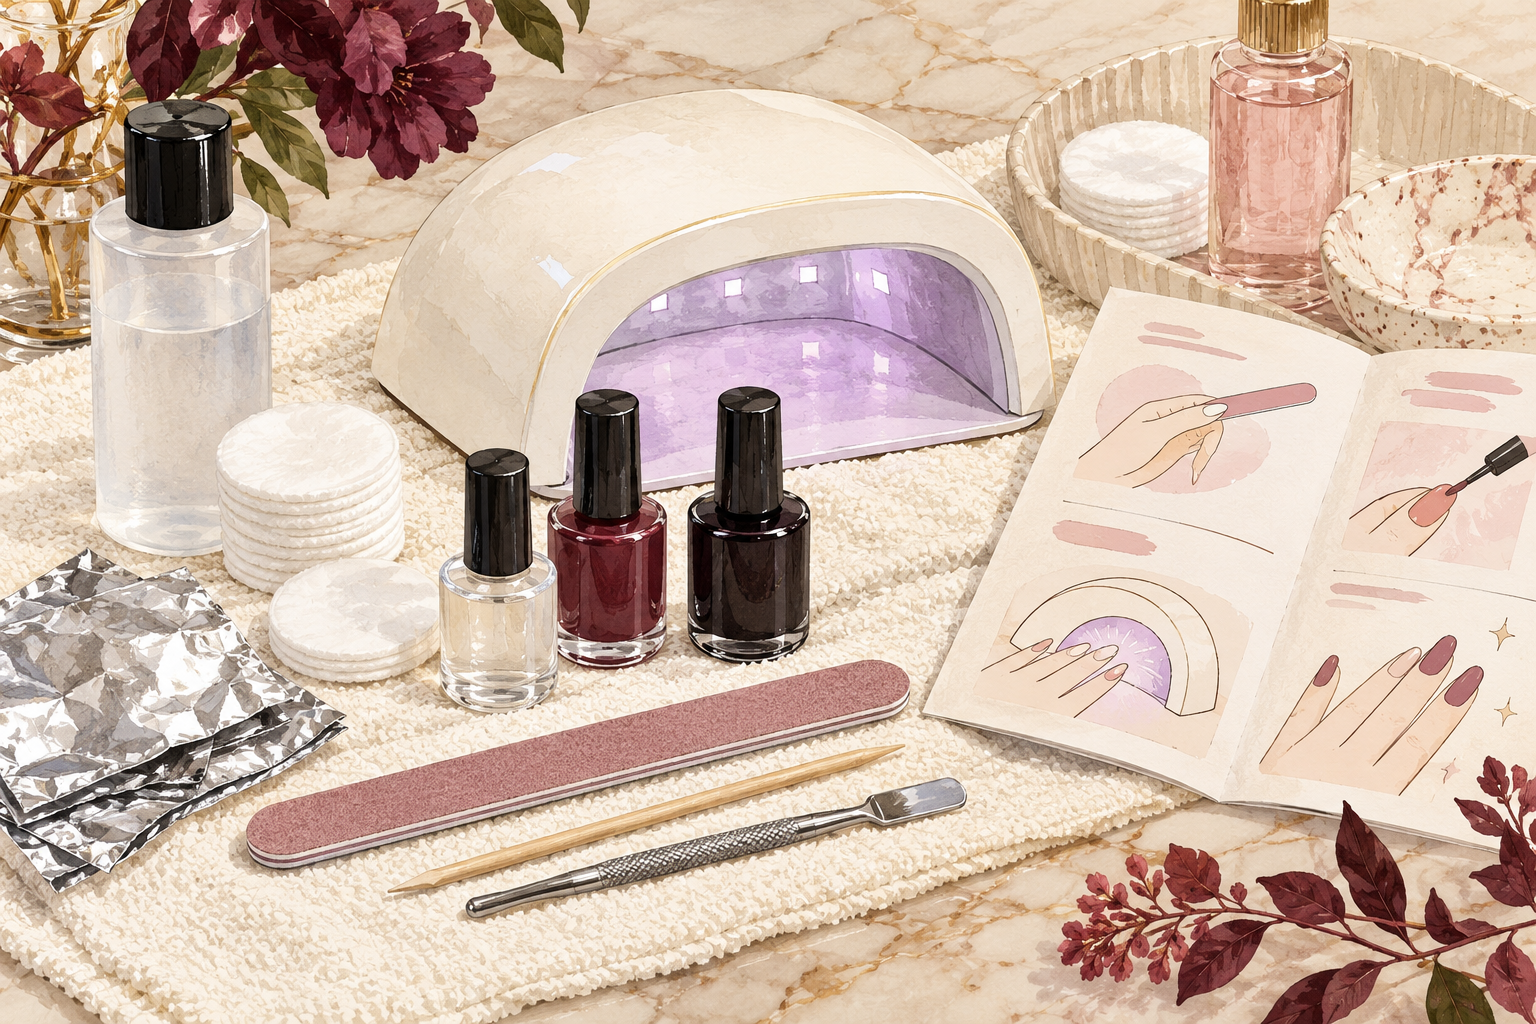
You open the drawer where your manicure things live and find a rusty cuticle nipper, three worn emery boards, a crusty polish and a tiny tool nobody can name. A nail care kit should make your next ten minutes easier, and most of what ends up in the drawer does the opposite. Here are 12 rules to build a small one that works, so start at number one tonight.
1. Name your two biggest nail problems first
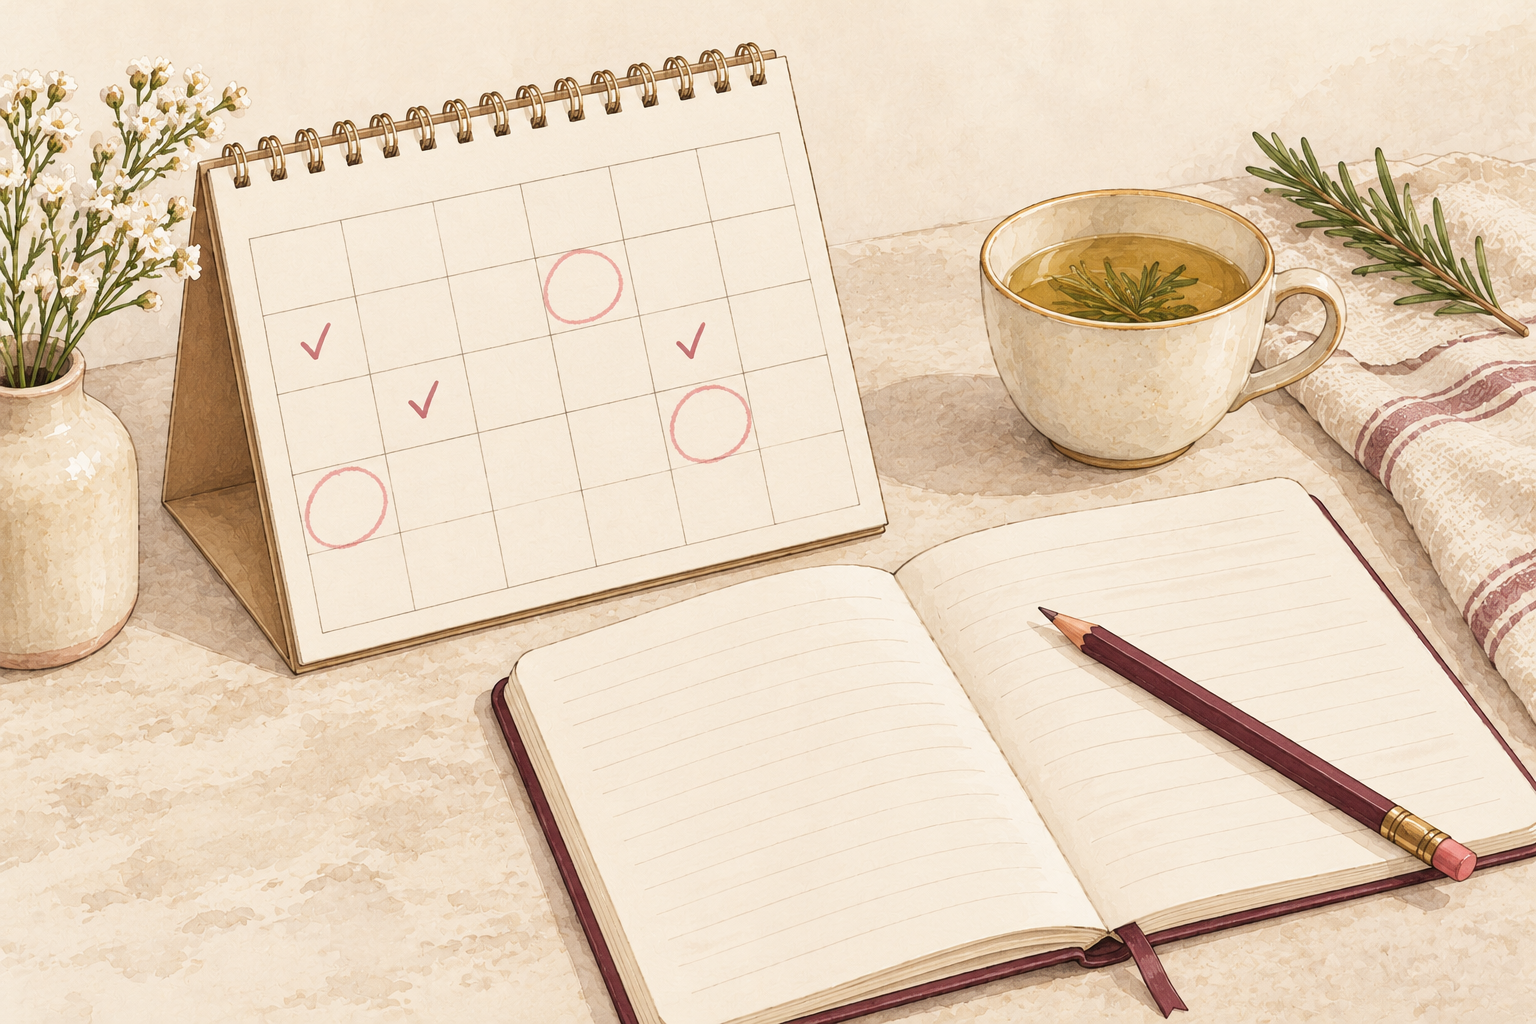
Write down the two things that bug you most, such as snagging tips and dry cuticles. Those two problems decide your kit, so a set of twenty pieces is rarely needed. If your issue is ragged edges, you need a good file. If it is dry skin, oil and cream matter more than any metal tool. Checking this first stops you from collecting gear that solves a problem you do not have. Stick the note inside the drawer, and read it before you ever add something new. It stops impulse buys, which is where most clutter starts.
2. Keep a core of five pieces
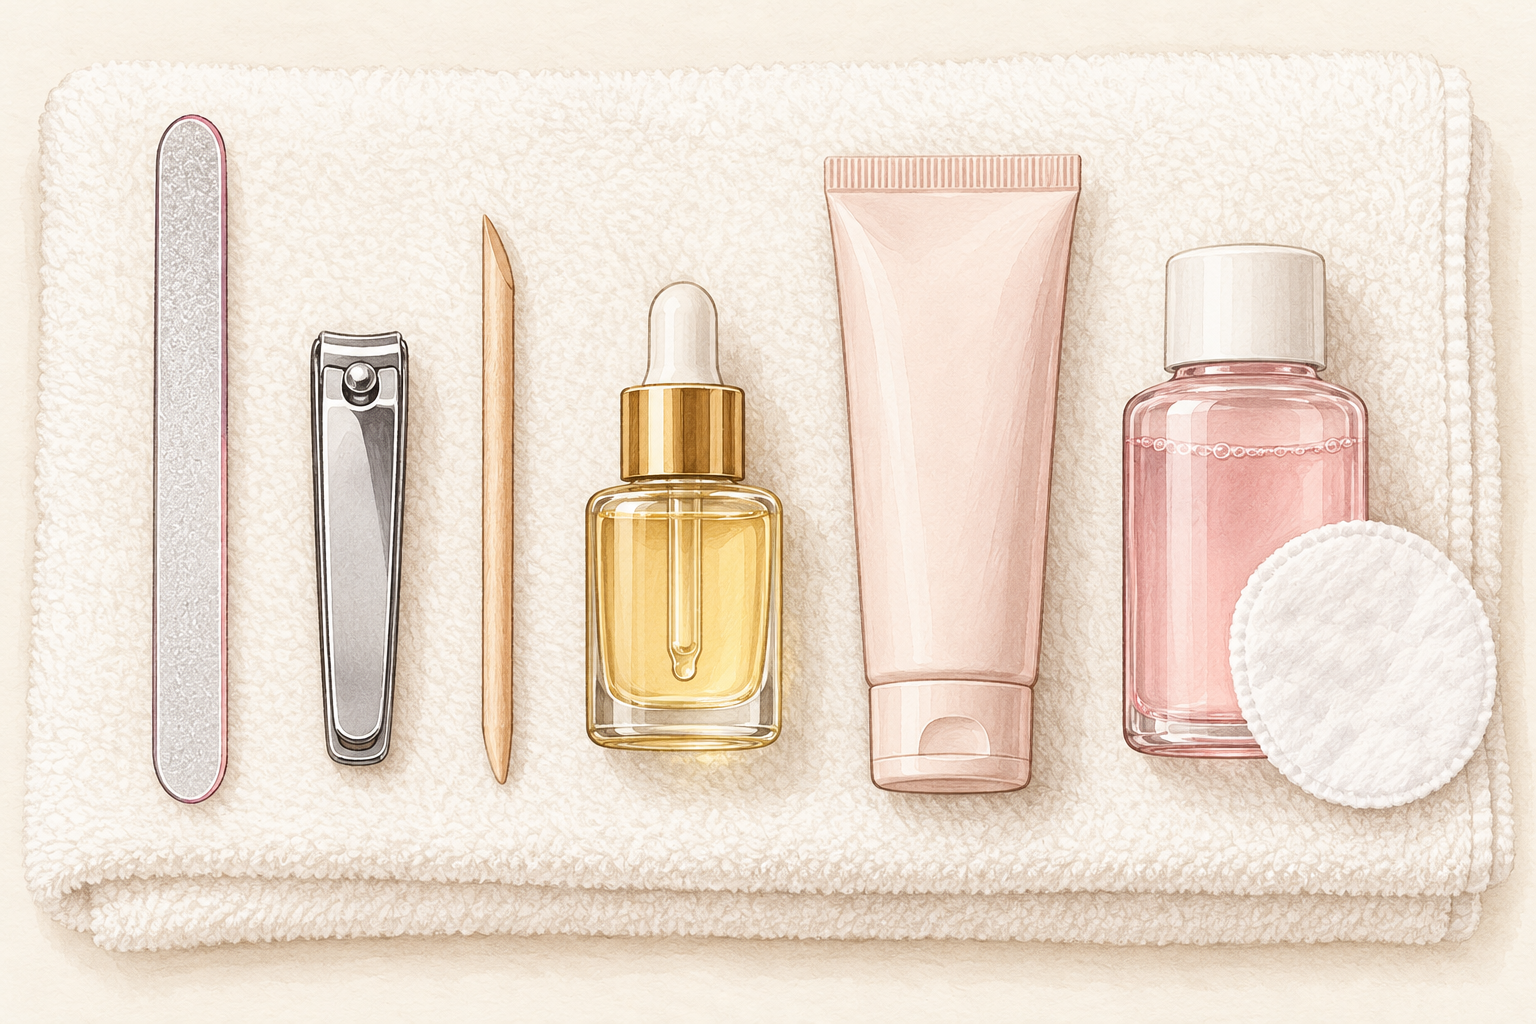
The core of any nail care kit is clippers, a fine glass file, cuticle oil, hand cream and one wooden stick. That covers trimming, shaping, softening and a gentle tidy of the edges. A buffer block with one smooth side is a fine extra. Everything else is a want, not a need. Five pieces fit in a pouch you can keep by the sofa, which is where you will actually use them. Add a single polish remover bottle later if you wear color. Keep the whole thing small enough to carry in one hand. When the kit feels right, pair it with nail care for the habits that come after.
3. Accept that a bigger set is not a better kit
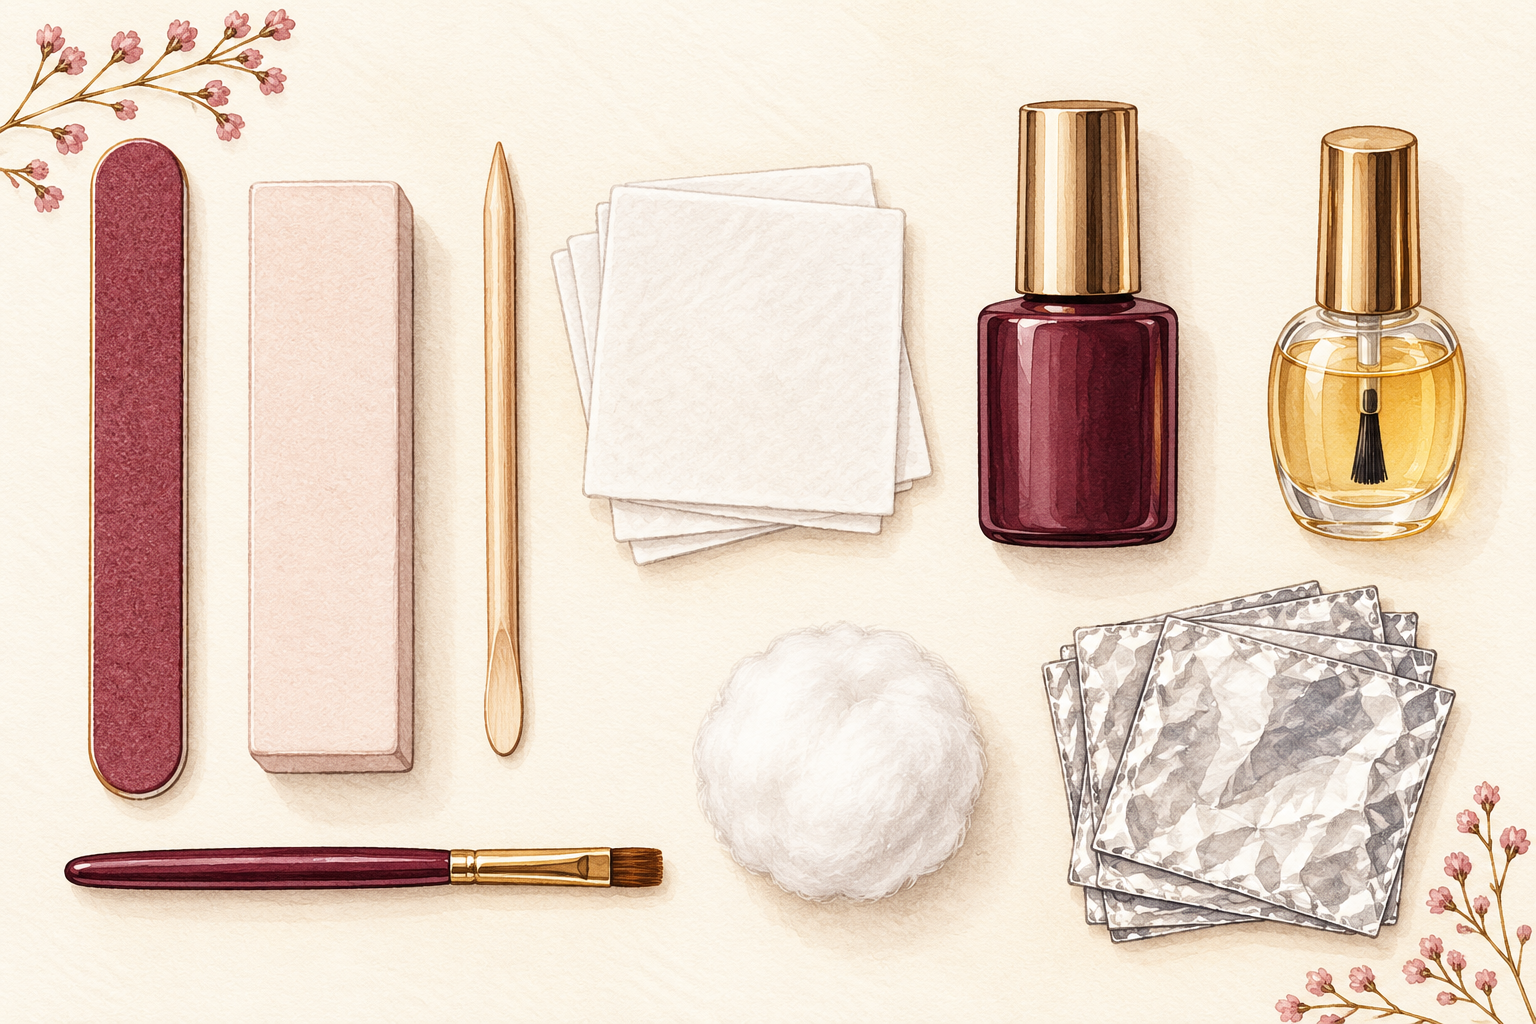
A larger set looks generous, but half the pieces are made to fill the case. Many are thin metal, with edges that snag and tips that slip, which is why a pre made kit so often disappoints. A pedicure set may look useful until you notice you use two of the pieces. More tools also means more things to clean and keep dry, and more chances for a dirty one to end up on your skin. Five tools you trust beat twenty two you avoid. A tidy set is also much easier to wash and dry.
4. Pick clippers with a straight edge that close cleanly
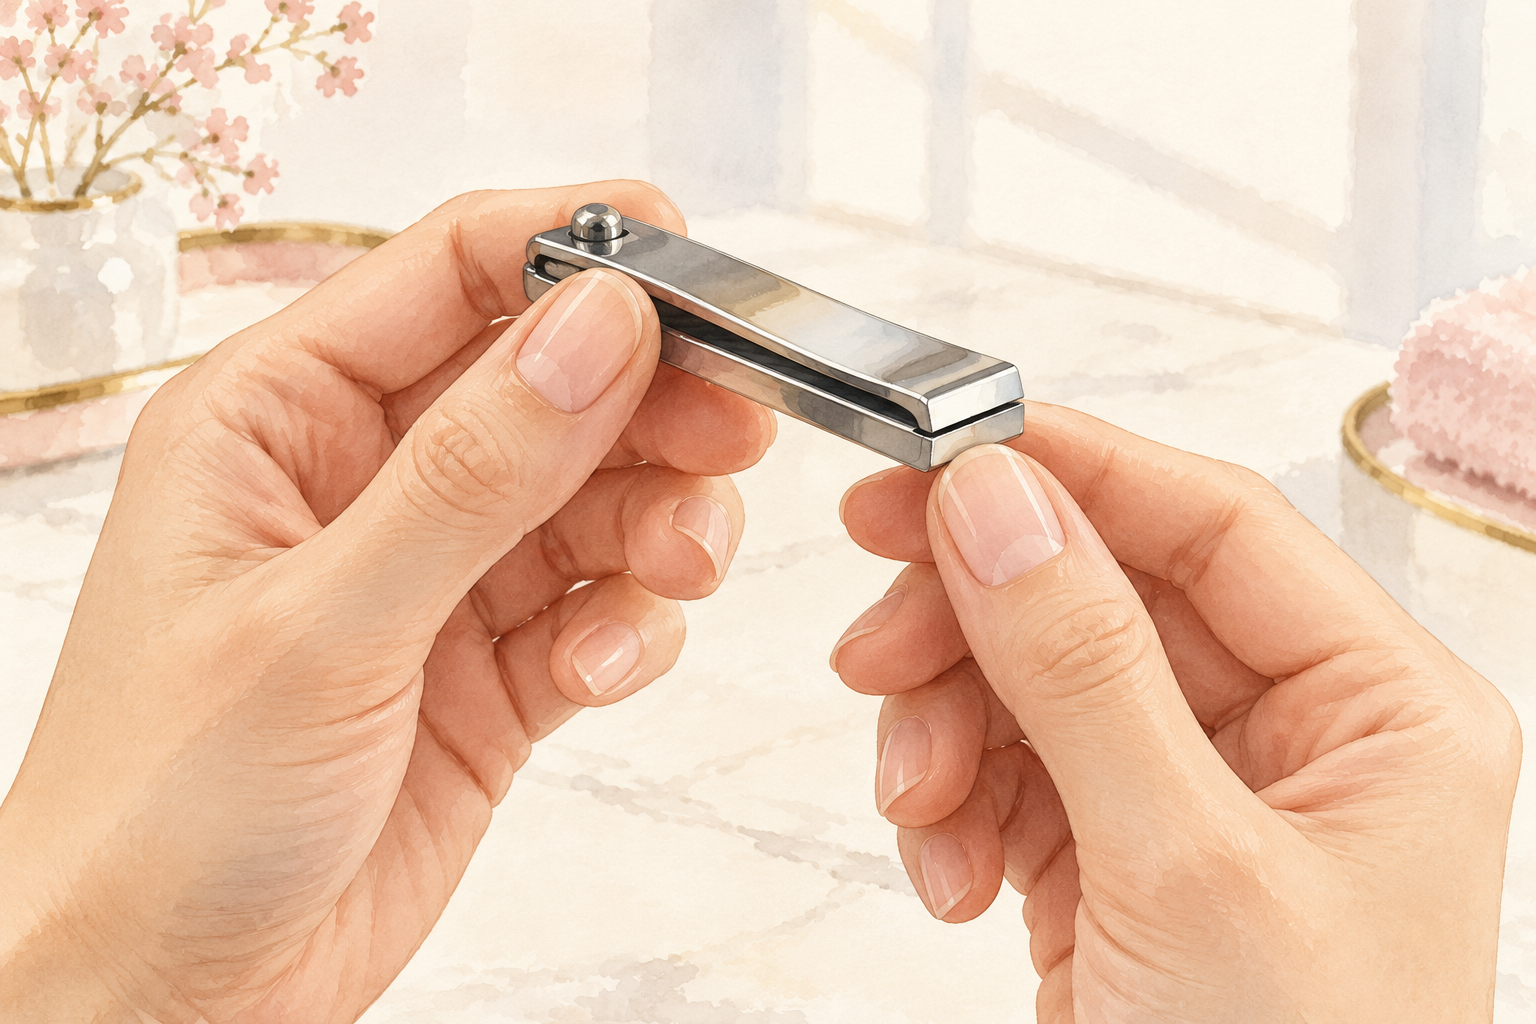
Hold the clippers closed up to the light and check that the two blades meet along the whole edge with no gap. A straight edge cuts a clean line you can round with a file. Curved clippers are for toenails and tend to pinch fingertips. Squeeze them on a scrap of paper first, and if they chew it, they will chew your nail too. Cut in small bites, and keep the clippers for nails only. Tuck them into the pouch with the blades closed. Replace them the moment the cut feels crushed instead of clean.
5. Choose a fine glass file over a coarse emery board
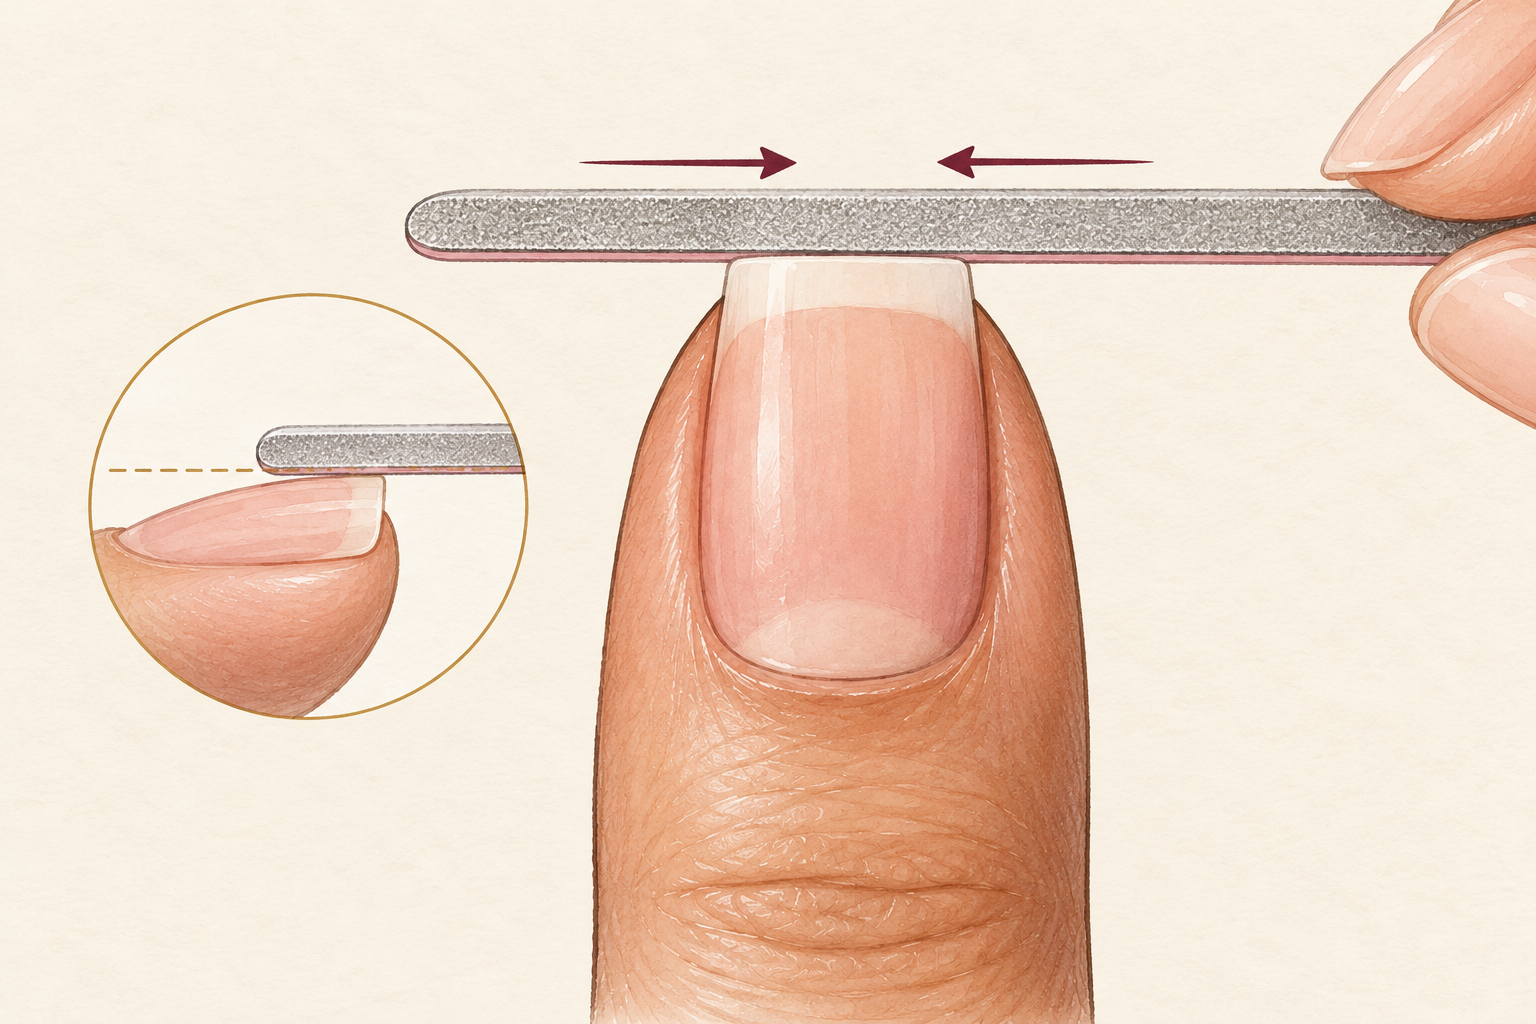
File from the side toward the middle in one direction, lifting off between strokes. A fine glass file leaves a smooth edge that is less likely to fray into splits. Emery boards shred as you use them, and each stroke tears the nail edge a little. A glass file also washes clean with soap and warm water. If it chips or loses its grip, replace it. Run a fingertip along the edge after you file, and if it snags, give it one more light pass. Two or three gentle passes per side are plenty, and a loud scraping sound means you are pressing too hard.
6. Make oil and cream the daily half of your kit
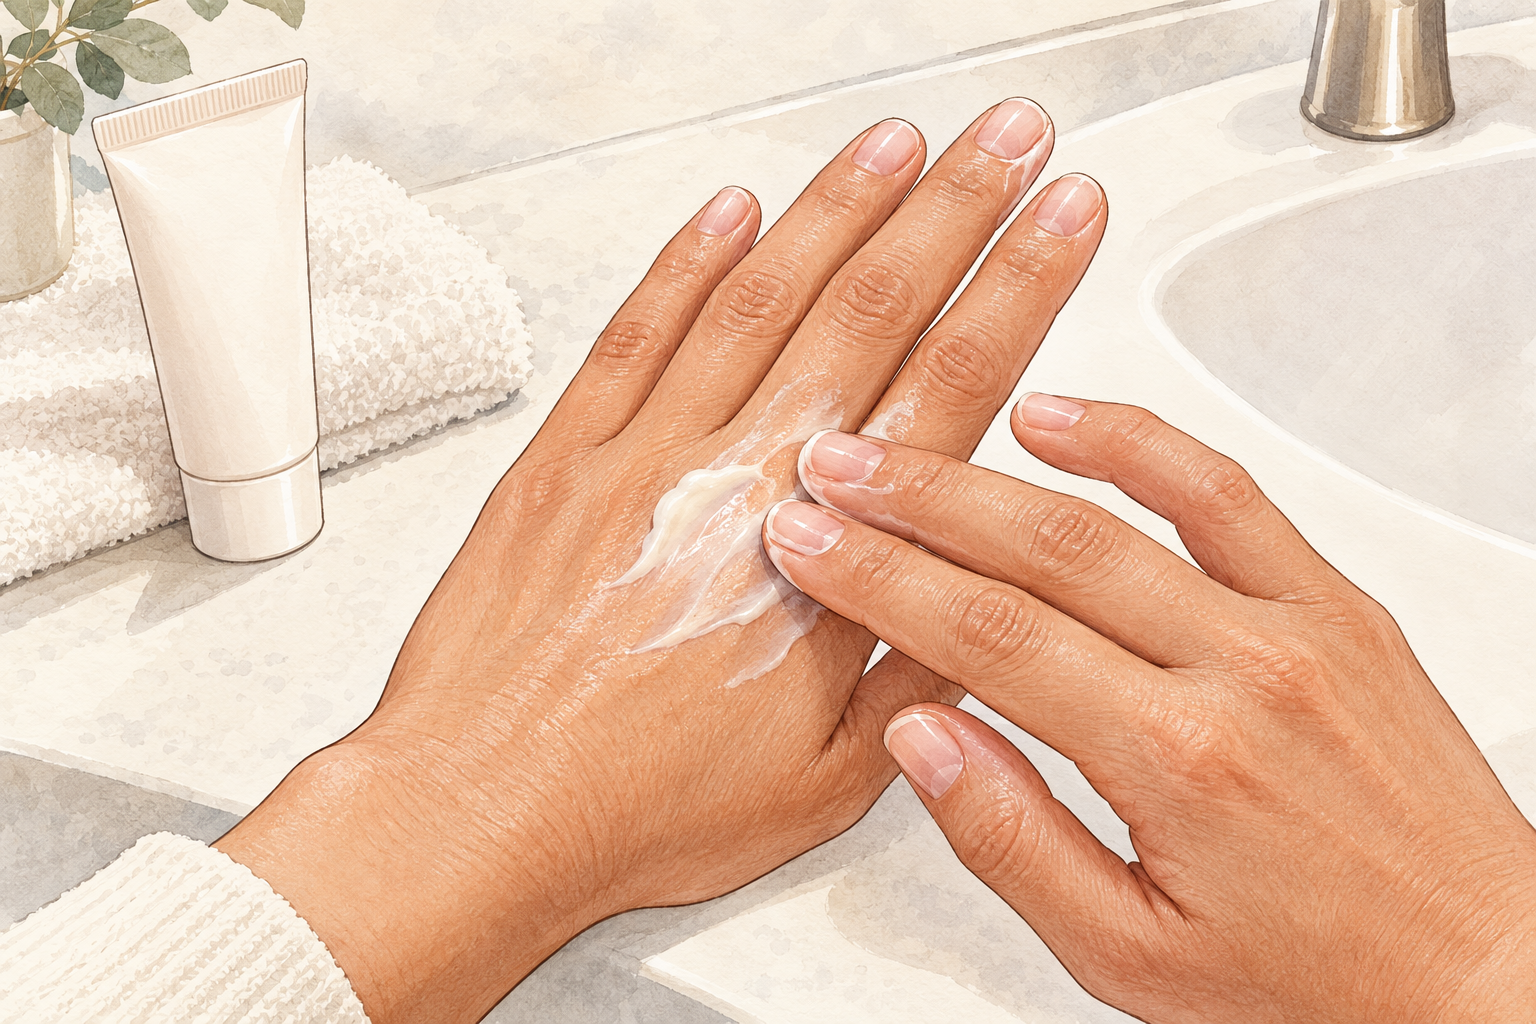
Tools get used weekly, but oil and cream get used daily, so they matter more. Put hand cream on after washing, then press a drop of cuticle oil over it to seal it in. Oil does not add water, it slows the escape. Jojoba or a plain olive oil from the kitchen both work. If a scented one makes your skin sting, switch to something plain. Keep one tube at the sink and one by the bed, so you never have an excuse to skip. A little dab around the cuticles helps where the skin dries out first.
7. Use one wooden stick for cuticles
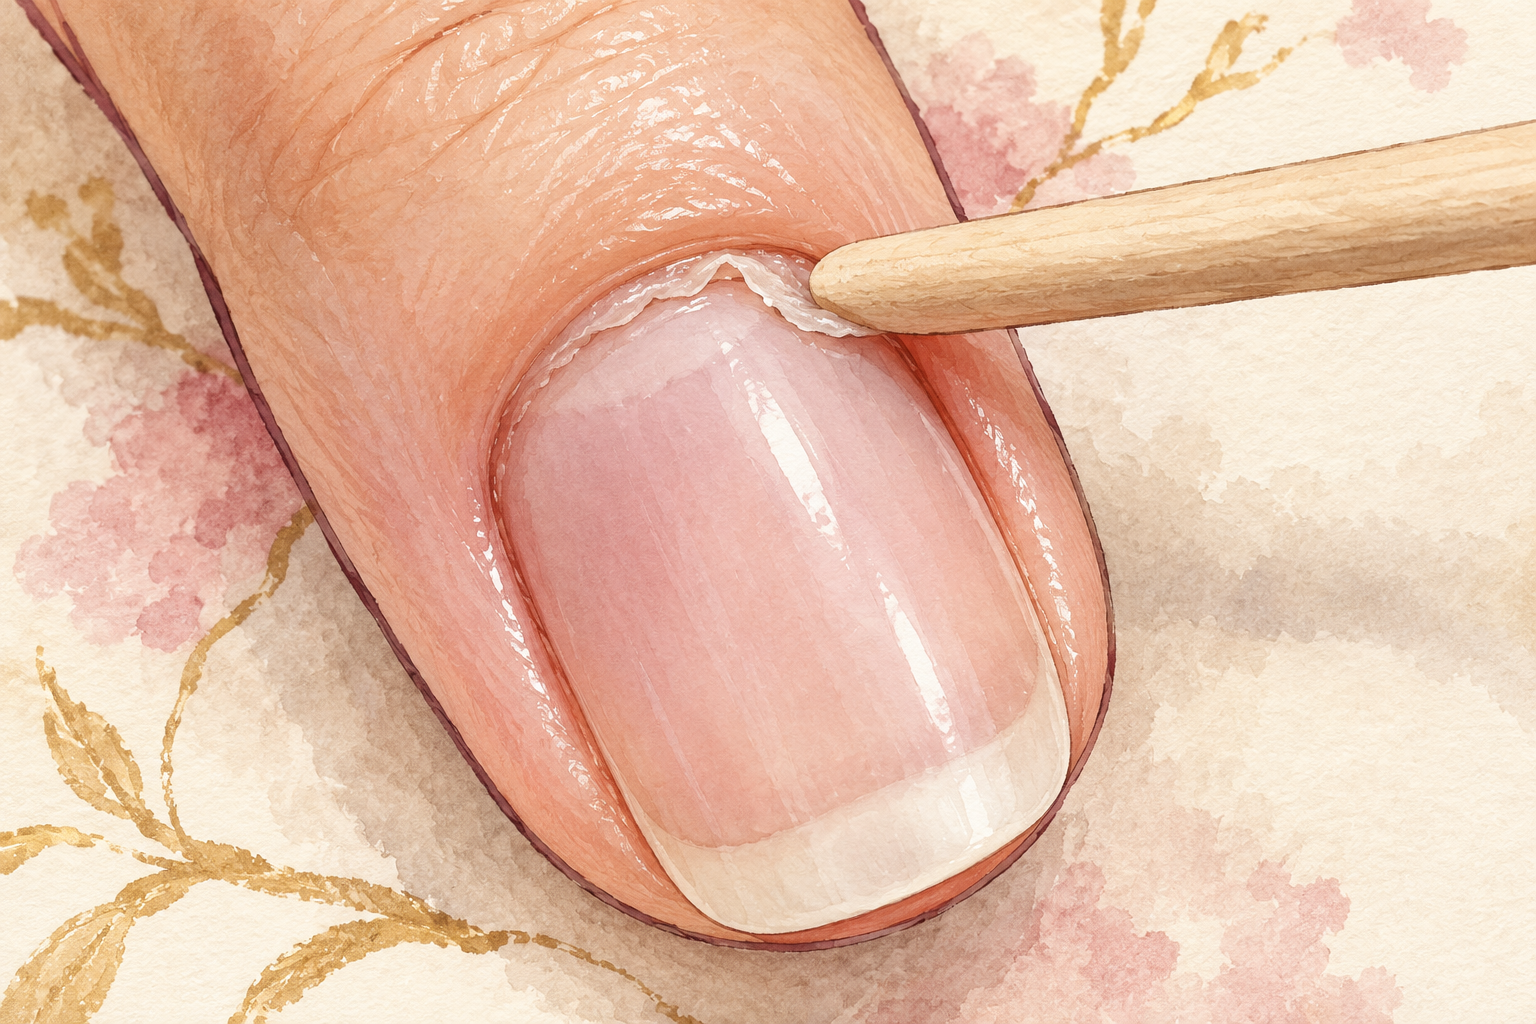
Ease the cuticle back gently after a shower, when the skin is soft, and nothing more. Never cut or shove it, because that little seal keeps the nail healthy. If the skin is dry and lifting, soften it with oil first. Wooden sticks are kind to skin, and you can toss one when it frays. Match your use to your needs, so if your cuticles already look calm, you can use the stick once a week. Snip only a hangnail that has already come loose. Wash the stick after each use so it never carries old polish back to the skin.
8. Skip the metal nippers and the cuticle knife
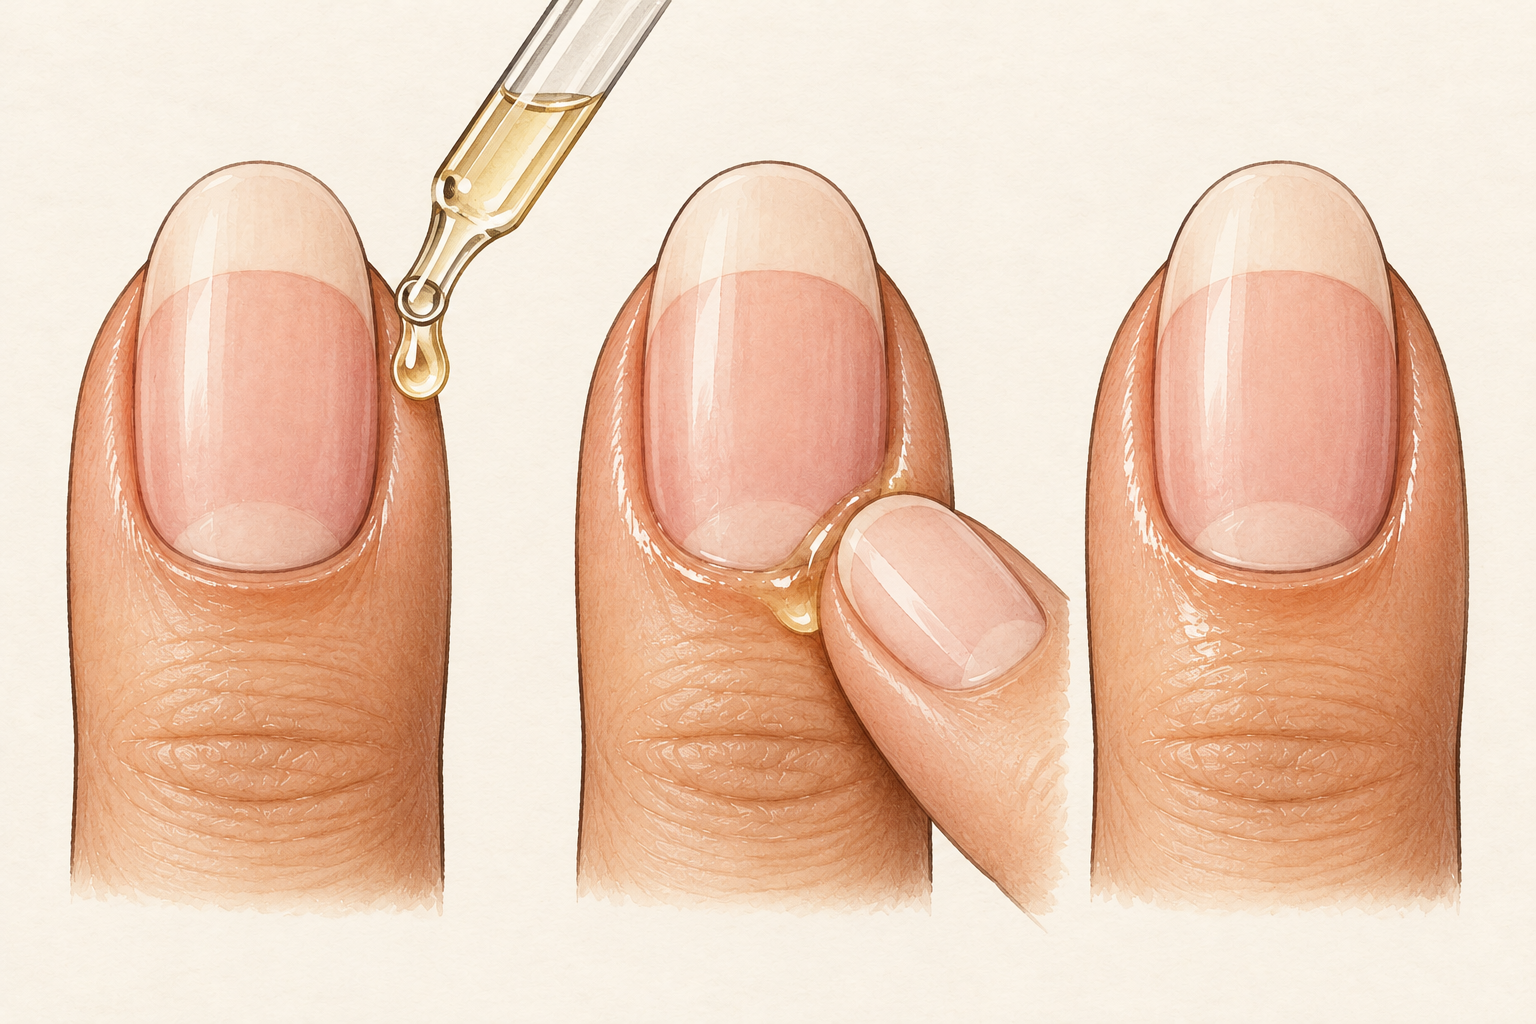
Cutting a cuticle opens up the seal at the base of your nail, and the skin often grows back rough and sore. A pointed cuticle knife is even harsher. If the skin looks untidy, soften it with oil and wait a day. Nippers are the first thing I would pull out of any set. If you really need a tool for a hangnail, keep one small pair clean and use it for the loose bit only. Hands that look tidy come from soft skin, not from sharp tools. Give it two weeks of oil and you will see for yourself.
9. Skip the coarse buffer block and the metal files
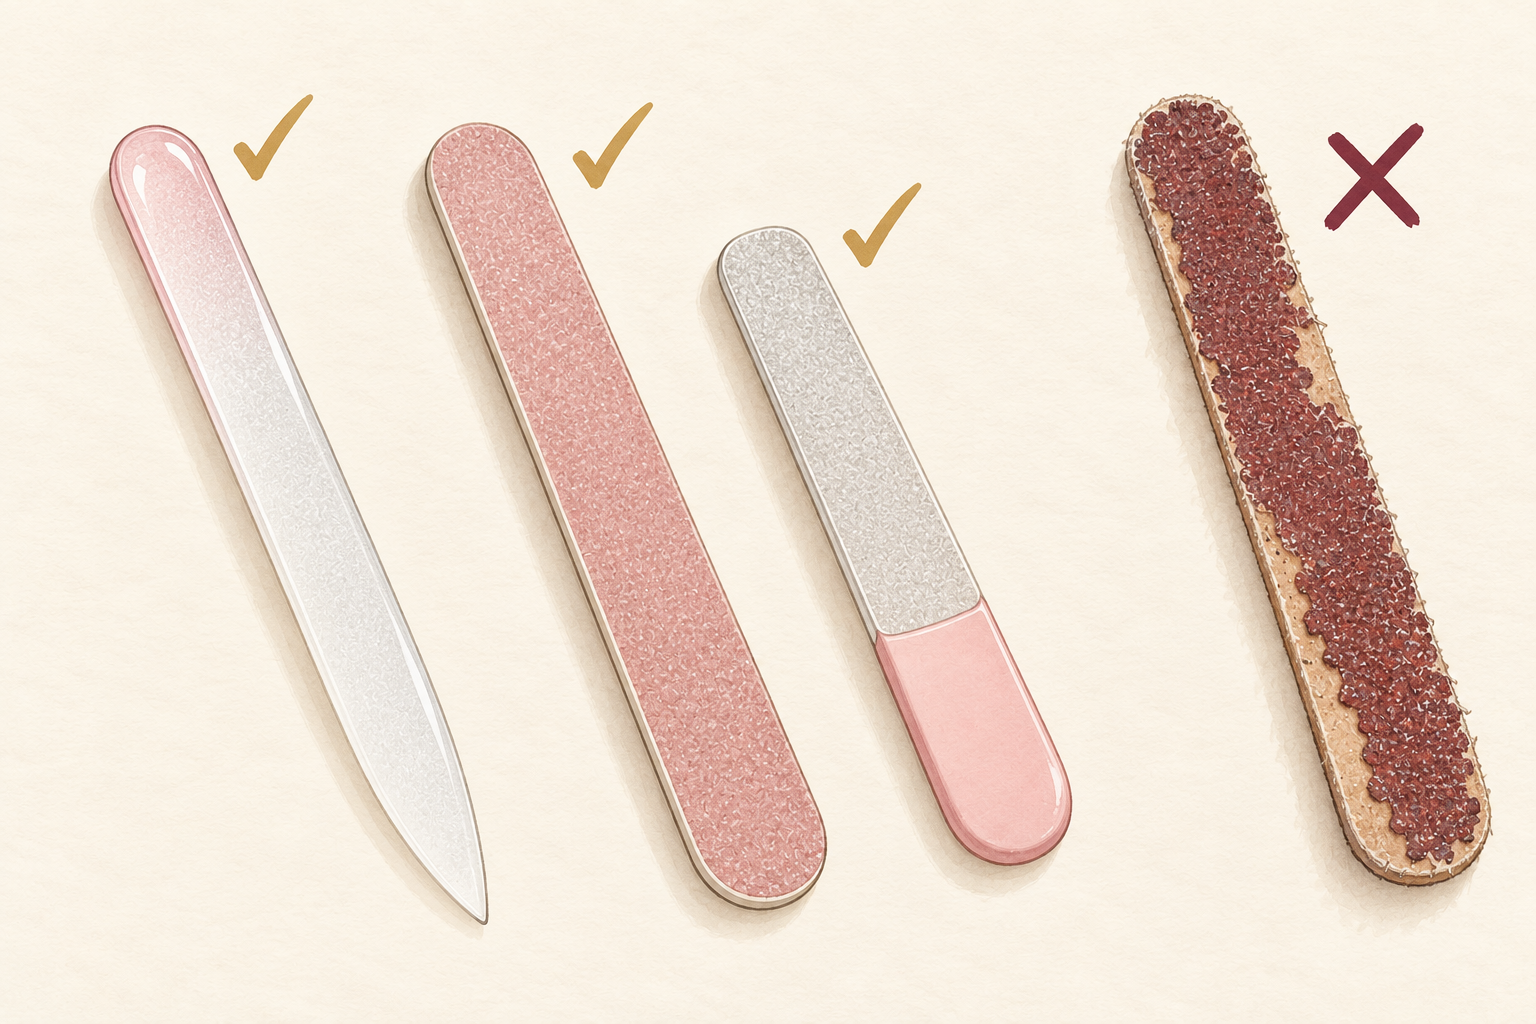
The four sided buffer block in most sets has rough sides that thin the nail plate if you scrub the top of the nail. If you want a little shine, use only the smoothest side, once, with light strokes. A metal file is harsh and tears the edge, so skip it too. The same goes for any tool with a sharp point. Thin, ridged nails need less filing, not more. If a piece in the set looks like it belongs in a workshop, it probably does. Smooth, short and plain is always the safer shape for natural nails.
10. Test every piece in a ready made set
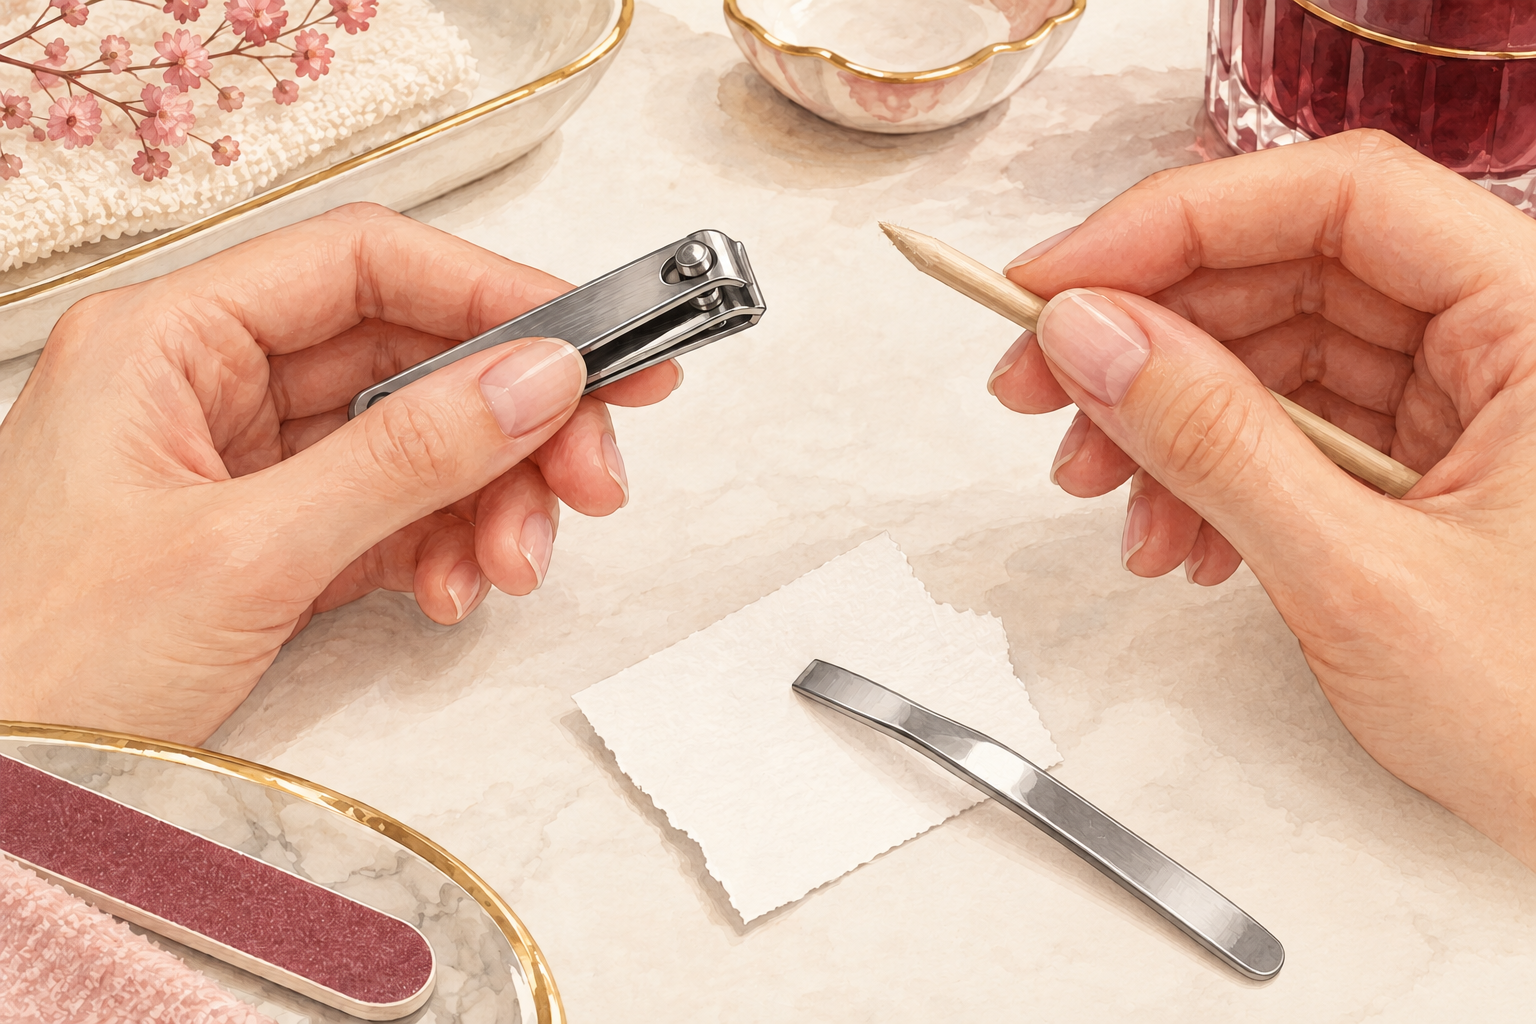
Run a fingertip along each metal edge and look for rough spots or flecks of rust. A burr on a clipper snags nail layers, and rust is a reason to bin the tool. Check that the joints are tight, because a wobbly clipper cuts unevenly. Wooden sticks should be free of splinters, and you can sand a rough tip smooth. Throw away anything that fails, even if it is the pretty one. A gift set is not an obligation, and the bin is a fair place for a bad clipper. Give the rest a wipe before they go in your pouch. Quality varies across ready made sets, so before you buy, read up on manicure tools.
11. Wash and dry your tools after each use
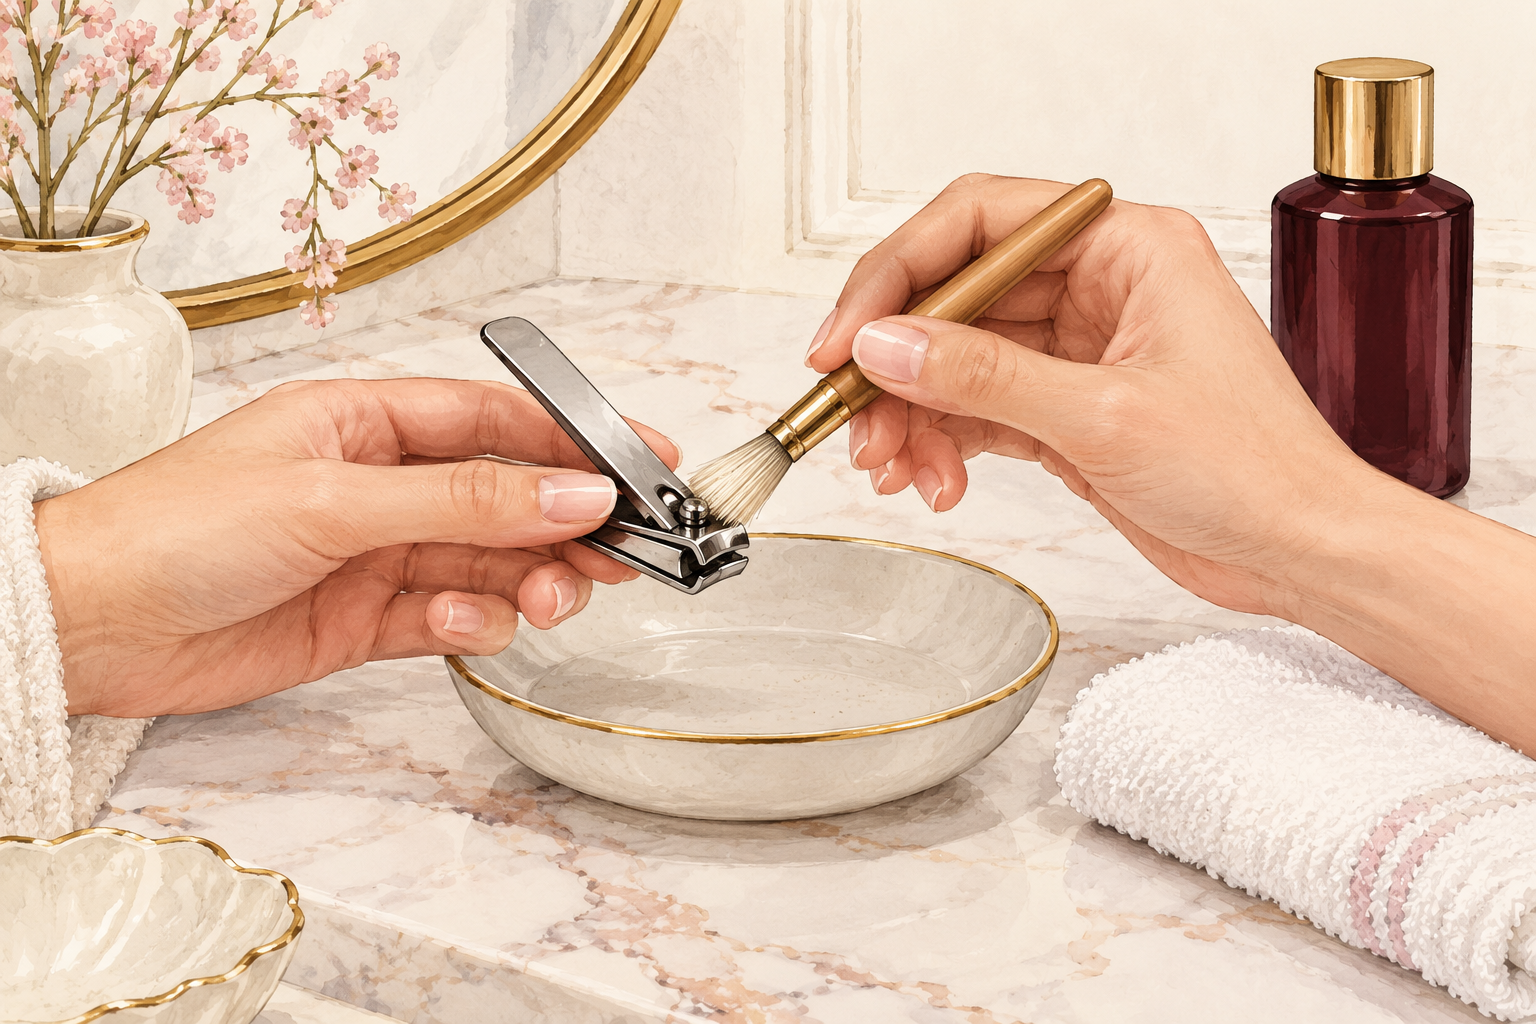
Scrub the clippers and stick with soap and warm water, wipe them with rubbing alcohol and dry them fully. A damp tool stored in a closed pouch grows germs and rusts. If you share your kit with anyone, clean the tools between each person, not after the whole round. Keep the pouch out of a steamy bathroom. A dry drawer beats a pretty case. Replace worn pieces once a year, or sooner if they dull. Write the date on the bottom of the pouch with a marker, so you remember when you last refreshed it. Scrub the file as well, because oil and skin cells build up in the grit.
12. Look for changes at week one, four and eight
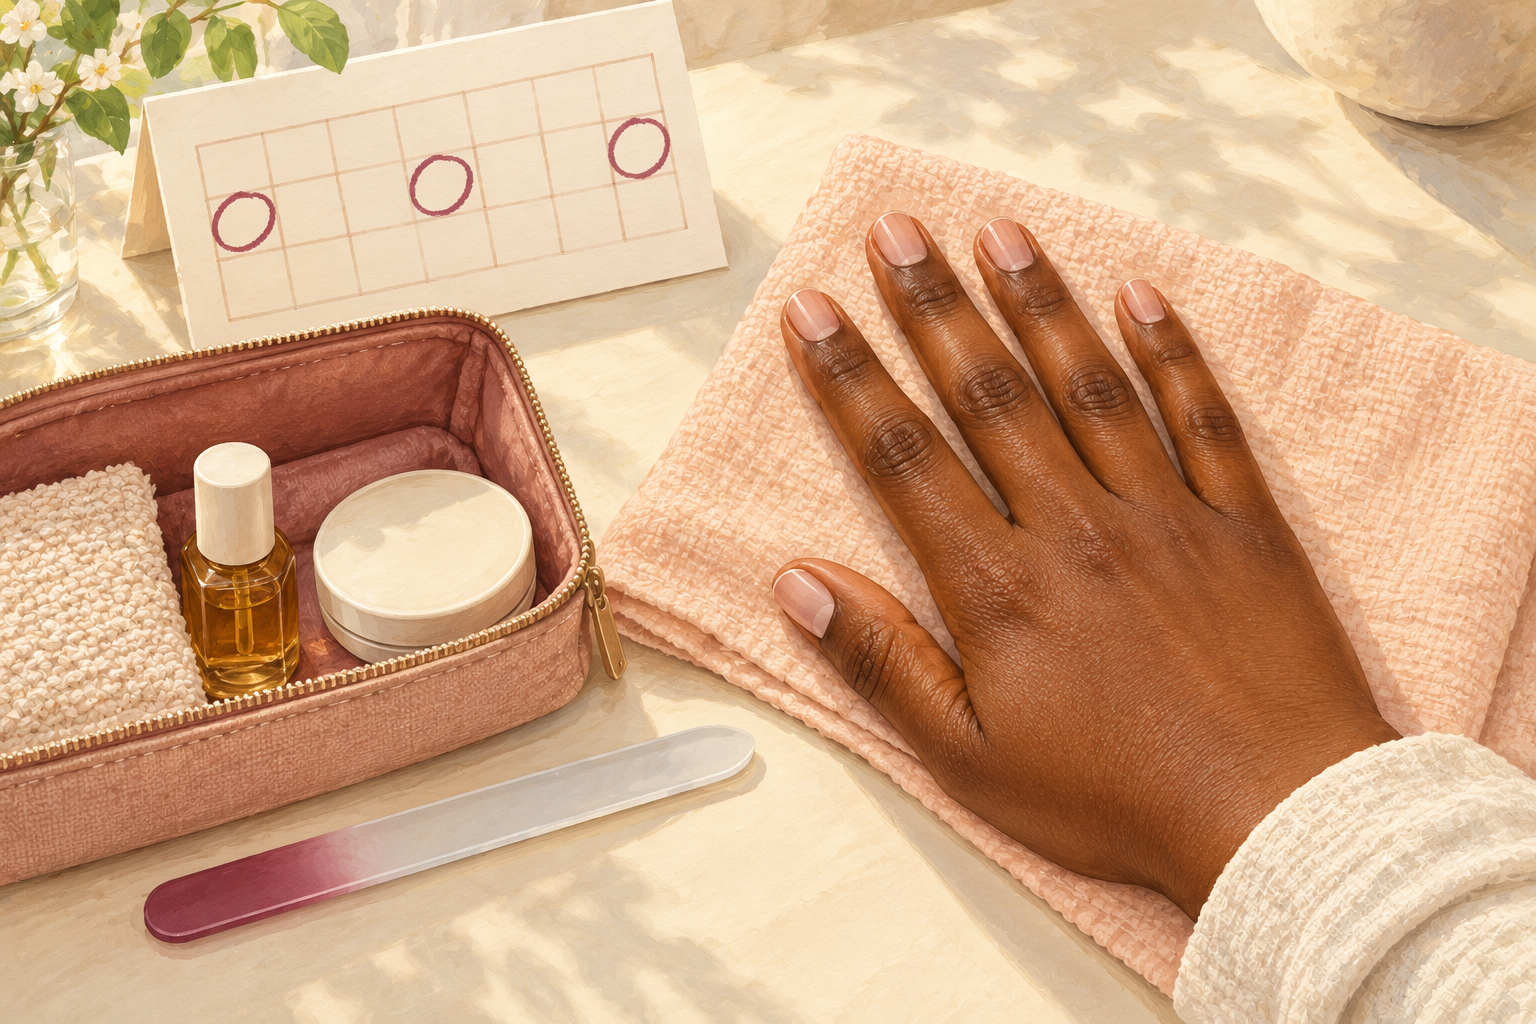
At week one, your edges should feel smoother and you should snag less. By week four, your cuticles should look calmer if you used the cream and oil daily. By week eight, you should see fewer splits at the tip and a routine that takes about ten minutes. If your nails are still catching, check your file first, because a worn one causes more trouble than you would think. Note any redness around the nail and stop whichever tool touched it. Your kit is finished when taking something out would make a job harder.
Complete the Routine: Using Your Nail Care Kit This Week
Tonight, clear the drawer, keep the five core pieces and wash them. Fewer tools are easier to stick with, and that matters more than how many you own. When the kit feels right, the guides below can help you with the next step.