You open a new gel nail kit and find a tiny lamp, four little bottles and nothing to take the set off again. By day three the color lifts at the edges and you wonder what you missed. These 12 checks cover the lamp, the base coat, the cure times and the removal supplies, so start at number one before you buy.
1. Match the box against a short list
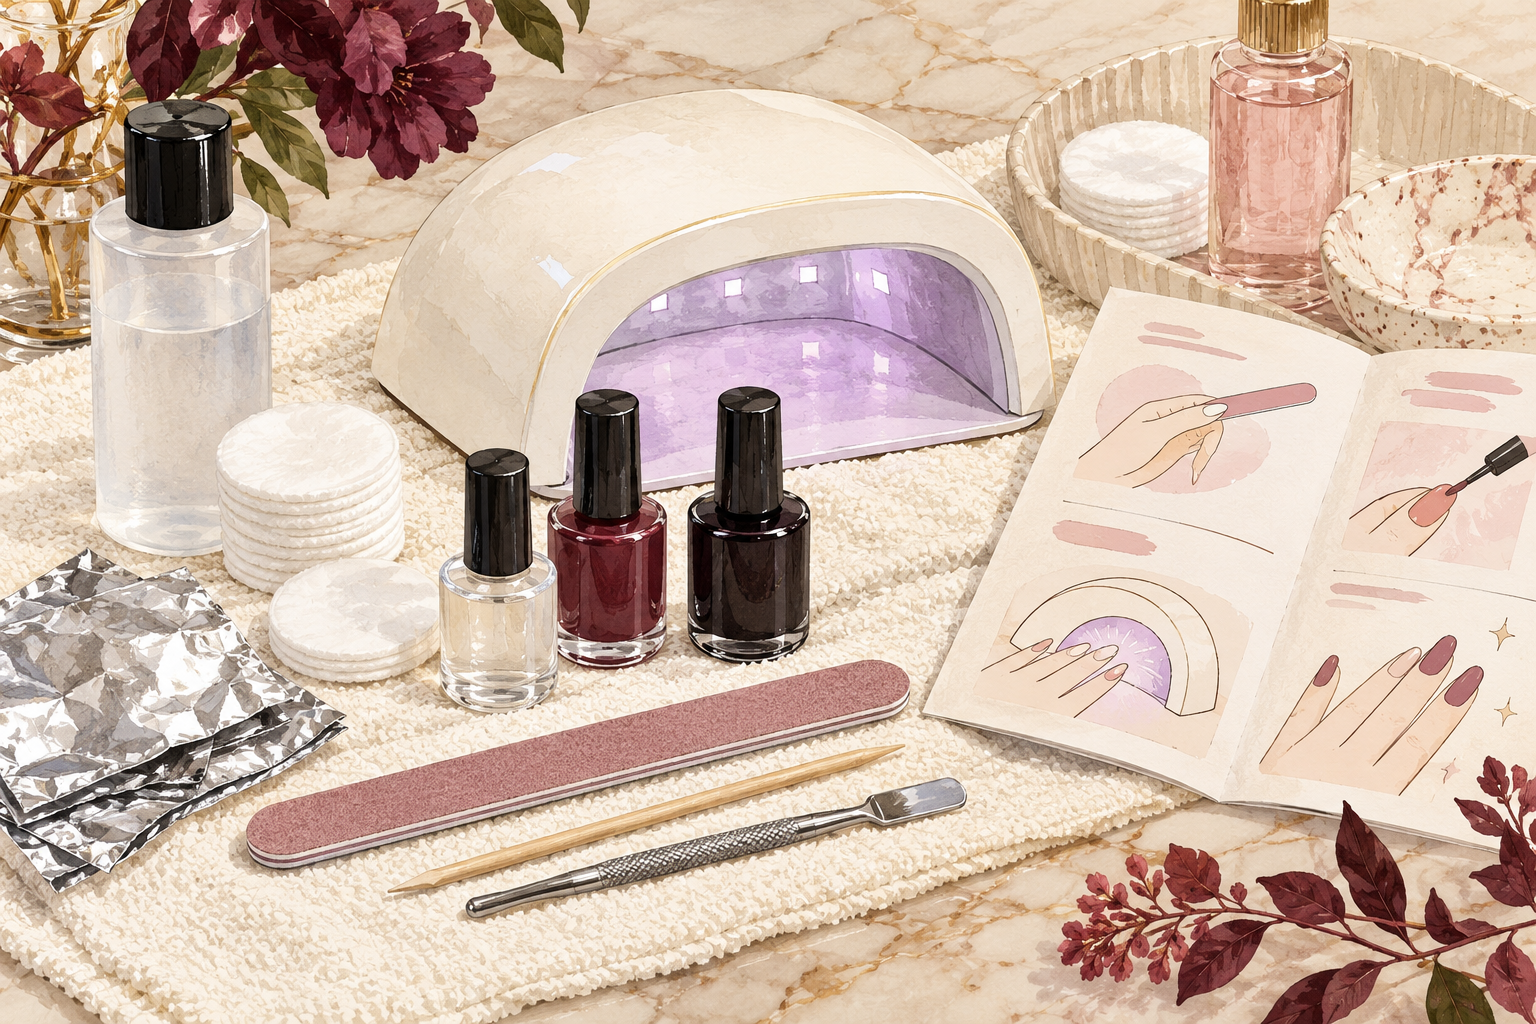
A kit that gives you a full set needs a lamp, a base coat, color gel, a top coat, a cleanser, a file and some way to take it off. Count the pieces before you open a single bottle. Keep the leaflet and the box until the set is done, because cure times and removal steps are often printed inside the flap. If two items on the list are missing, put the kit back or write down what you will need to add. A gel nail kit with no leaflet at all is a gamble. Lay everything out on a towel at home and tick it off one by one.
2. Choose gel polish or soft gel tips
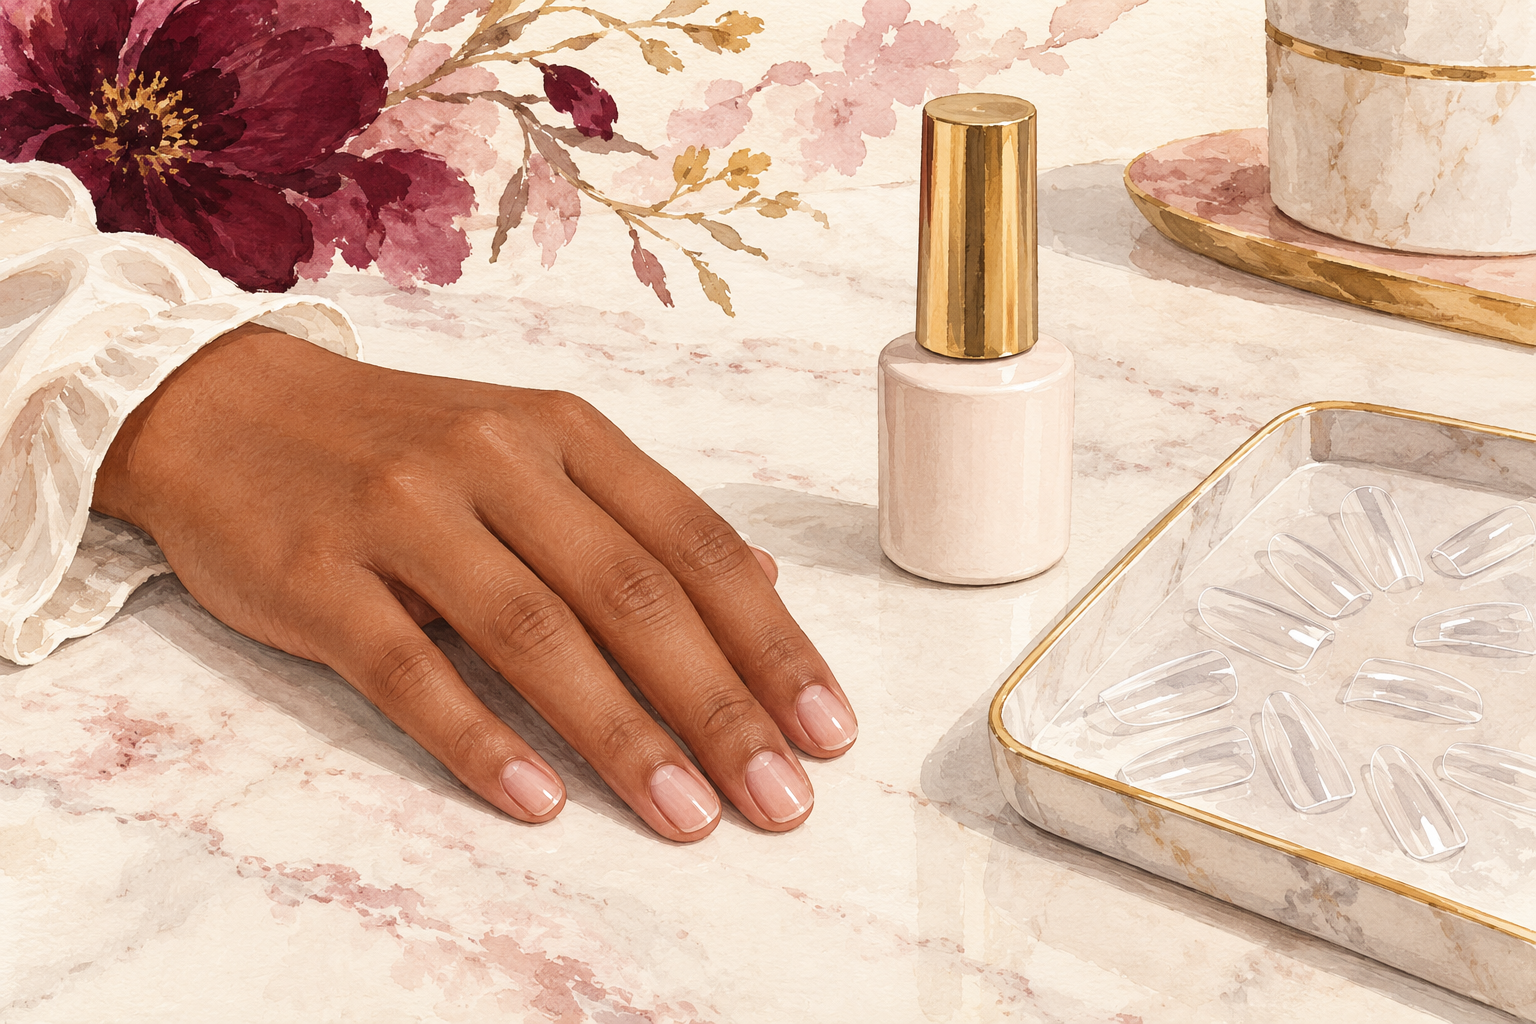
Pick gel polish for your first set, because it goes straight onto your own nail. Soft gel tips are pre shaped extensions that stick on and cure, and they need sizing. Check that the tip sizes cover your widest nail and your narrowest one, usually the thumb and the little finger. Tips are lovely for length, but they take a steadier hand and more practice with the gel near your skin. Start with polish, learn the rhythm of thin layers and curing, and move to tips later when you are not rushing. If you bite your nails or have very short ones, tips can also hide the problem while your own nails grow.
3. Check the lamp wattage
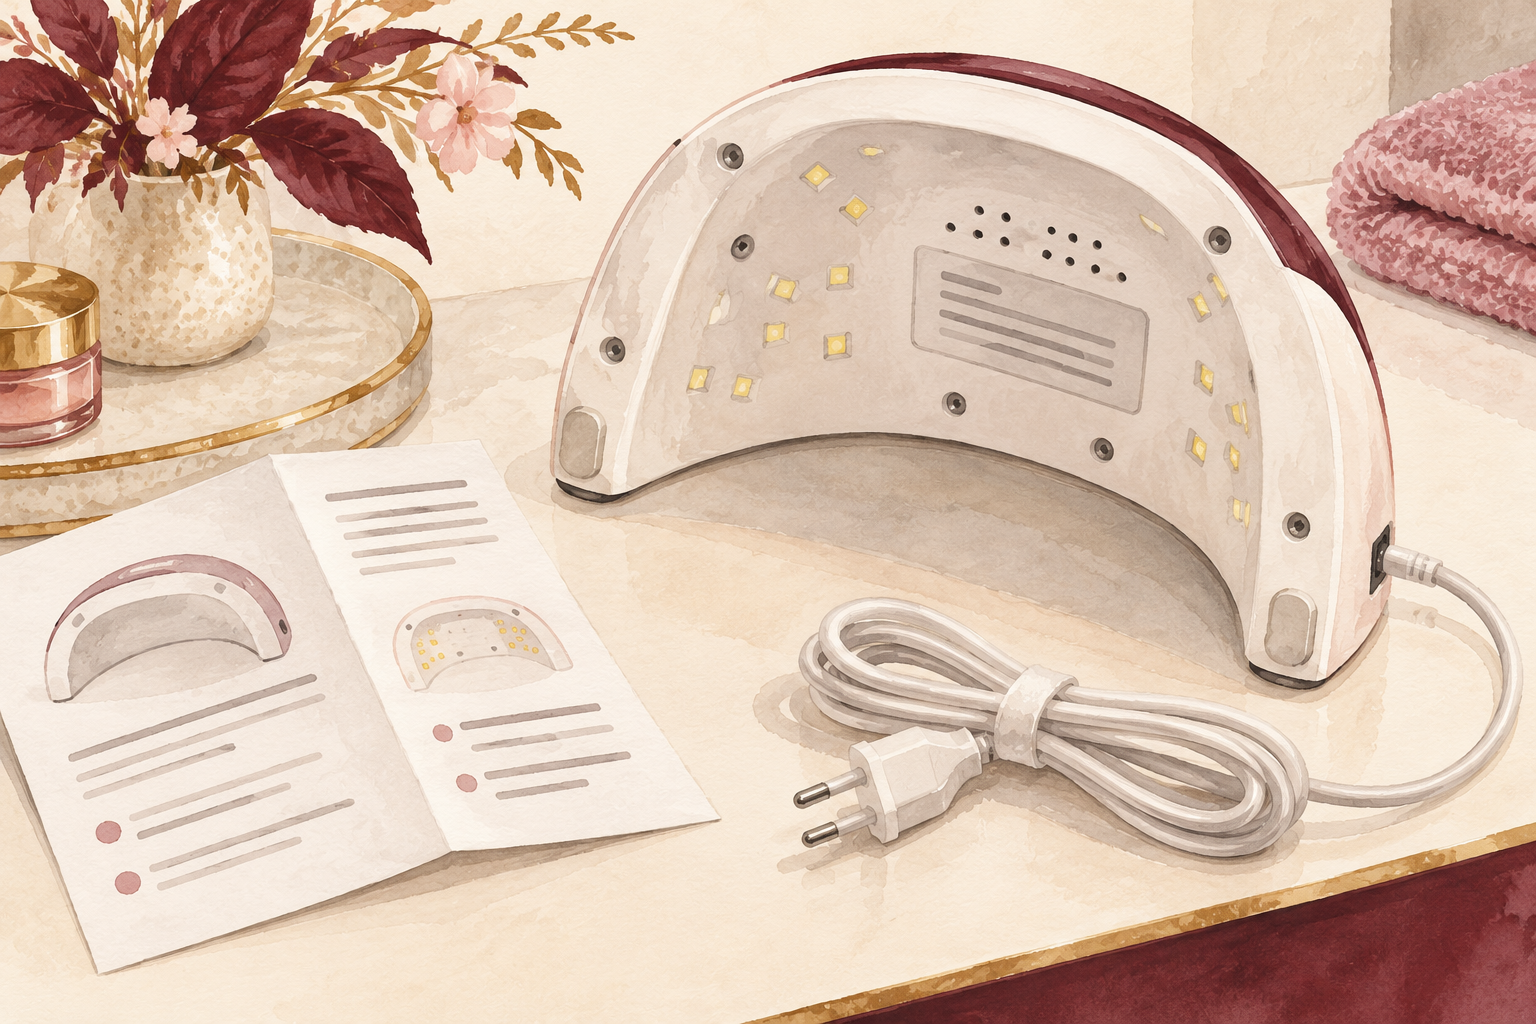
Look for a lamp that lists its wattage on the box, and treat a missing number as a warning. Very small, low wattage lamps cure slowly and unevenly, so the gel stays soft in the middle and lifts within days. A mid range lamp, around thirty-six watts or more, is a steadier choice for a beginner. Check that the light type suits the gel inside your kit, because LED gel and UV gel are not always interchangeable. If you cannot find that line on the leaflet, ask the seller before you buy. Higher wattage cures faster, so the same layer sets in less time under a strong lamp.
4. Make sure all ten nails fit
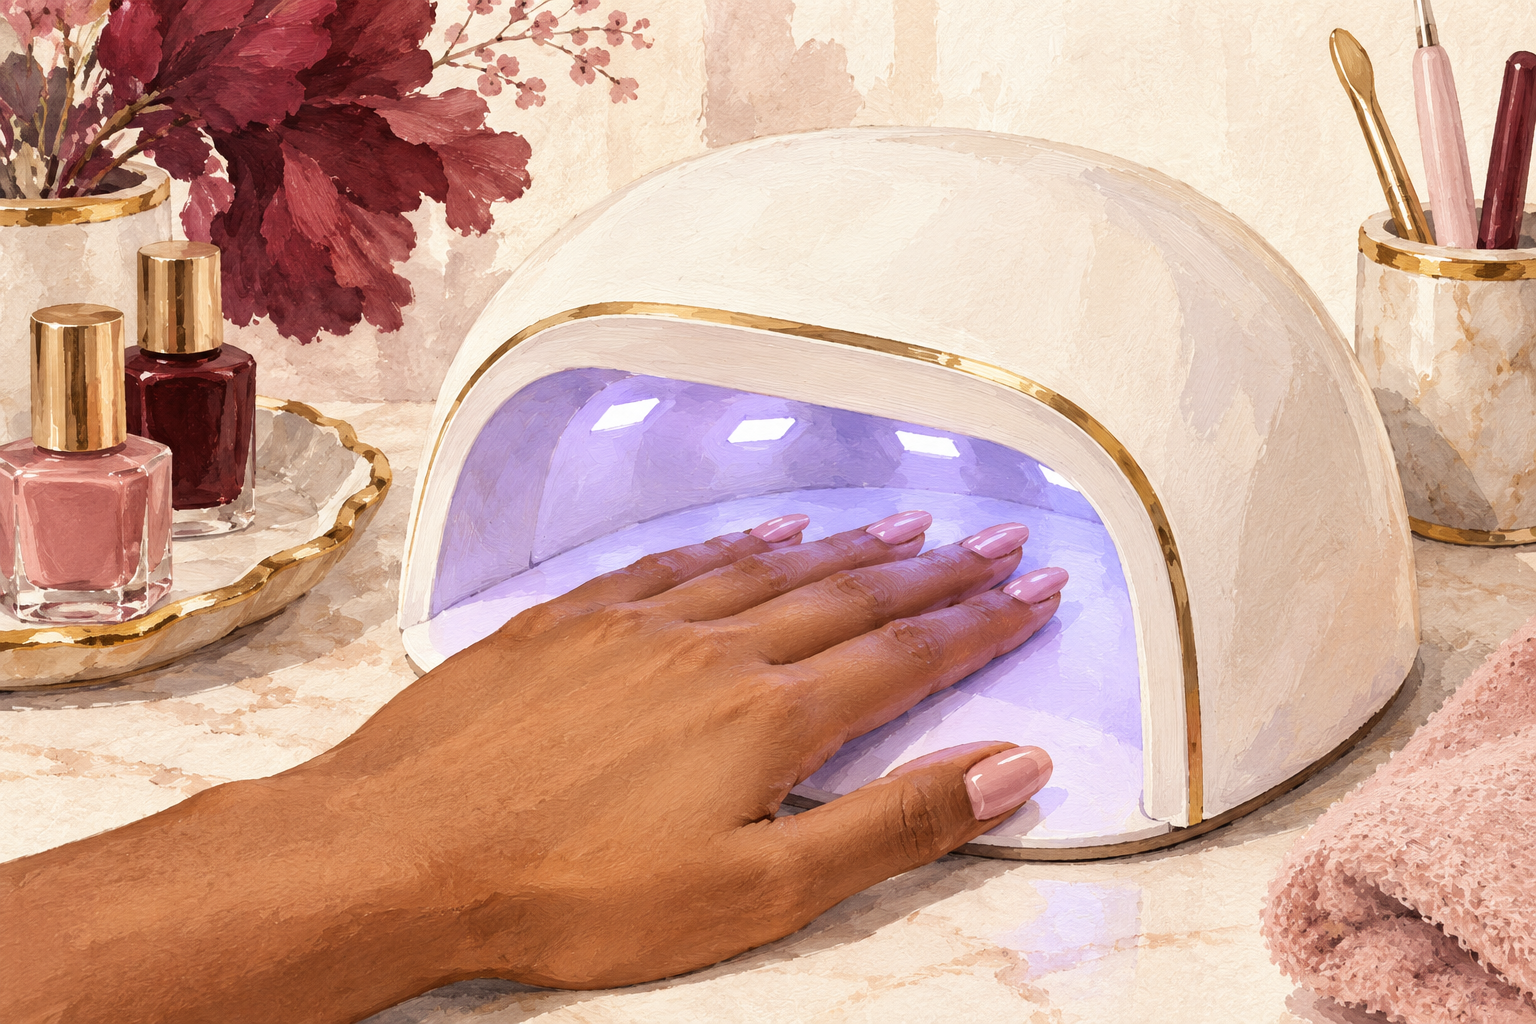
Slide your whole hand in and check that your thumb sits flat without touching the lamp walls. A lamp that is too narrow forces you to cure the thumbs on their own, and they often end up less hard than the rest. Check that the light beads cover the corners of each nail too, since corners are where lifting starts. A preset timer of thirty and sixty seconds saves you from counting under your breath. Wipe gel drips off the inside between sets, because dust and drips make the light dull. Test the fit in the shop or read the size in the listing before it lands at your door.
5. Find the cure time for every layer
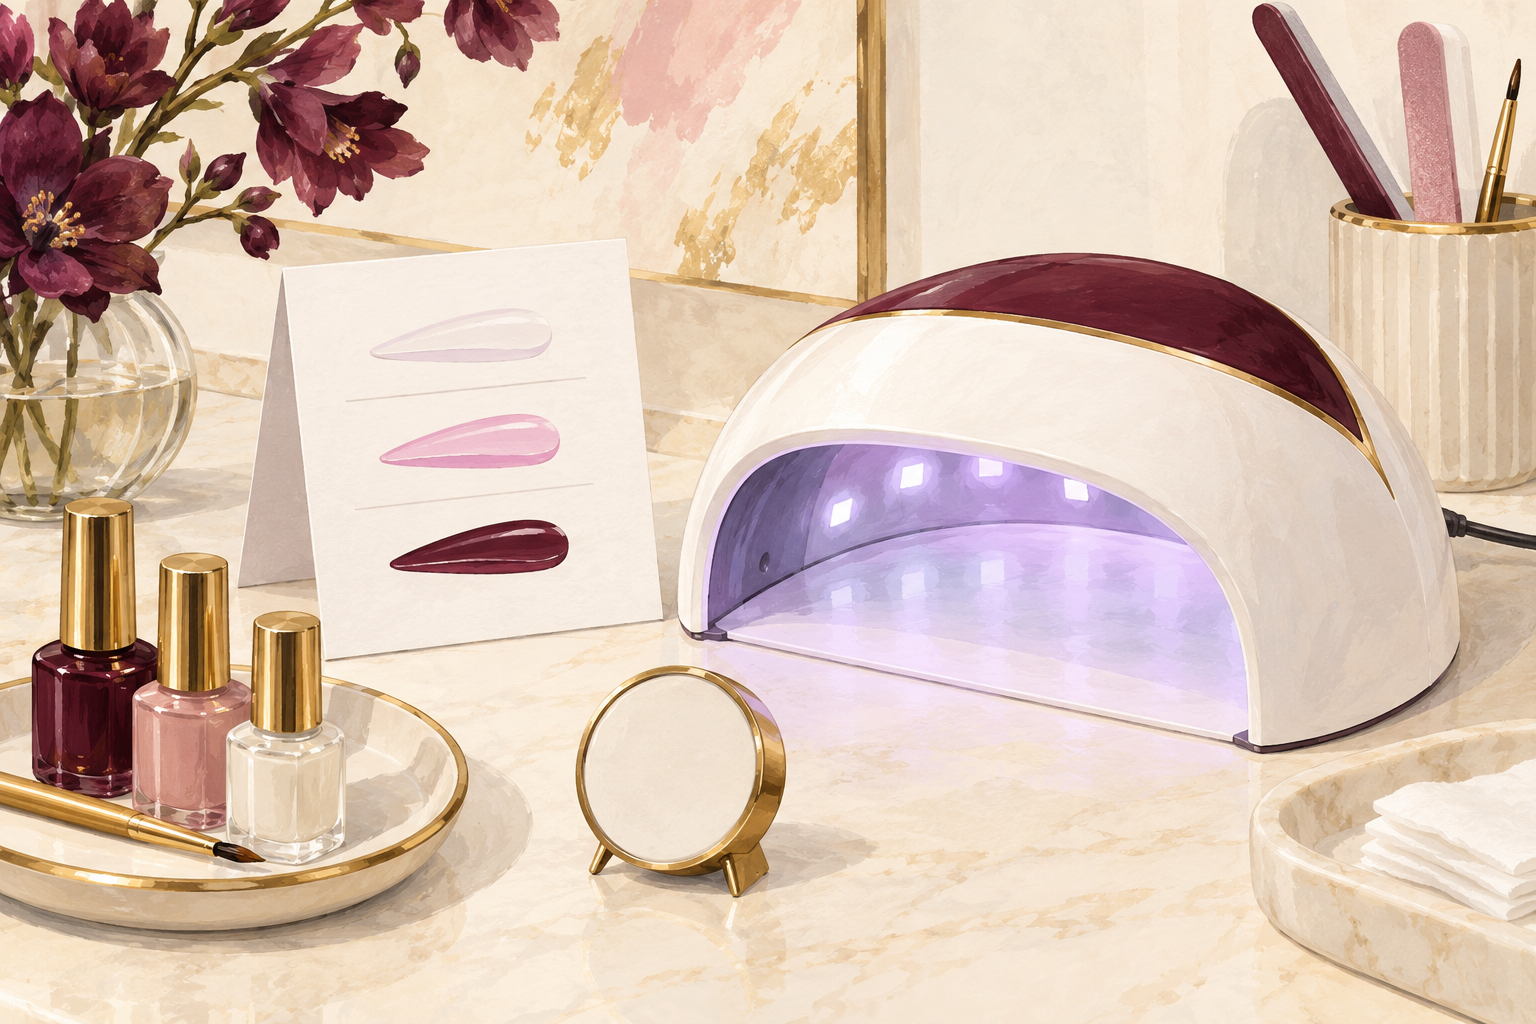
Follow the cure time printed for each layer, usually thirty to sixty seconds for the base and color. Two thin coats cure all the way through, while one thick coat stays wet in the middle and lifts later. Never stretch the time to make a thick coat dry, because extra light will not fix too much gel. Write each time on a sticky note and put it on the lamp. If the leaflet lists no times at all, that is one more reason to leave this gel nail kit on the shelf. A kitchen timer works well because the beep tells you when to pull your hand out.
6. Make sure there is a base coat that fits the gel
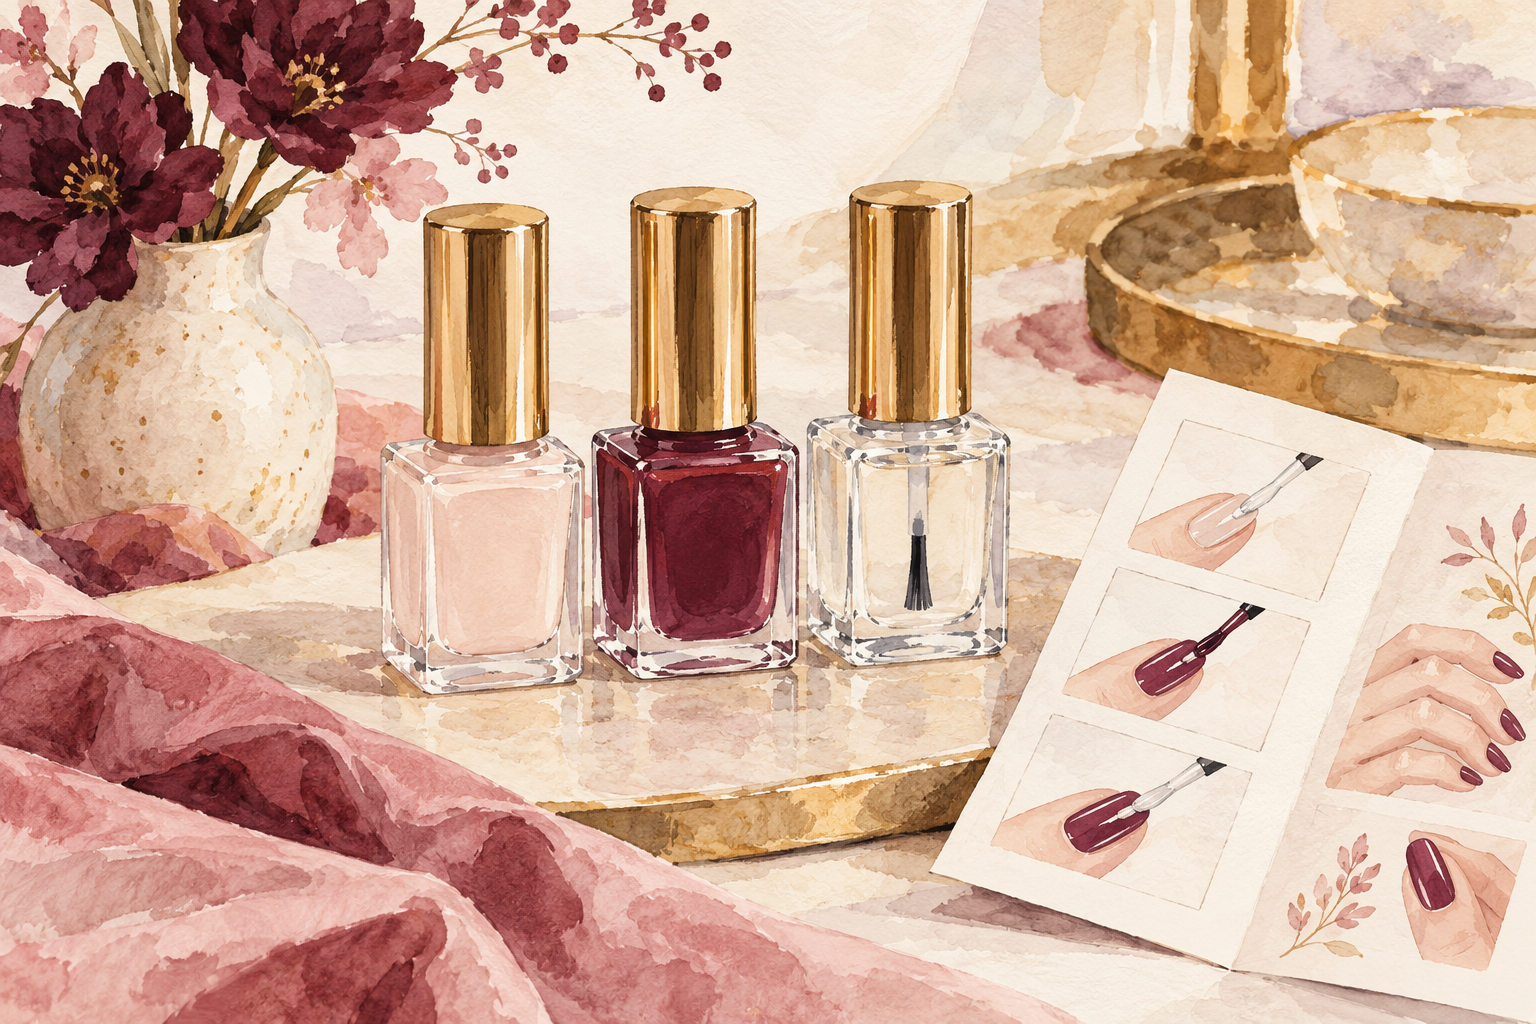
A real kit has a base coat made to work with its color, so check that it is in the box. Without it, gel lifts at the edges inside a week. Mixing a base from one maker and a color from another is a common reason for peeling, so keep your set together. Some base coats stay slightly tacky after curing, and that is on purpose, because the next layer grips it. The label will say whether to wipe it. Your top coat should be in the box too, so the shine and the seal come as a pair. Shake each bottle gently before use so the color mixes evenly, and wipe the neck before closing.
7. Pick gel that soaks off
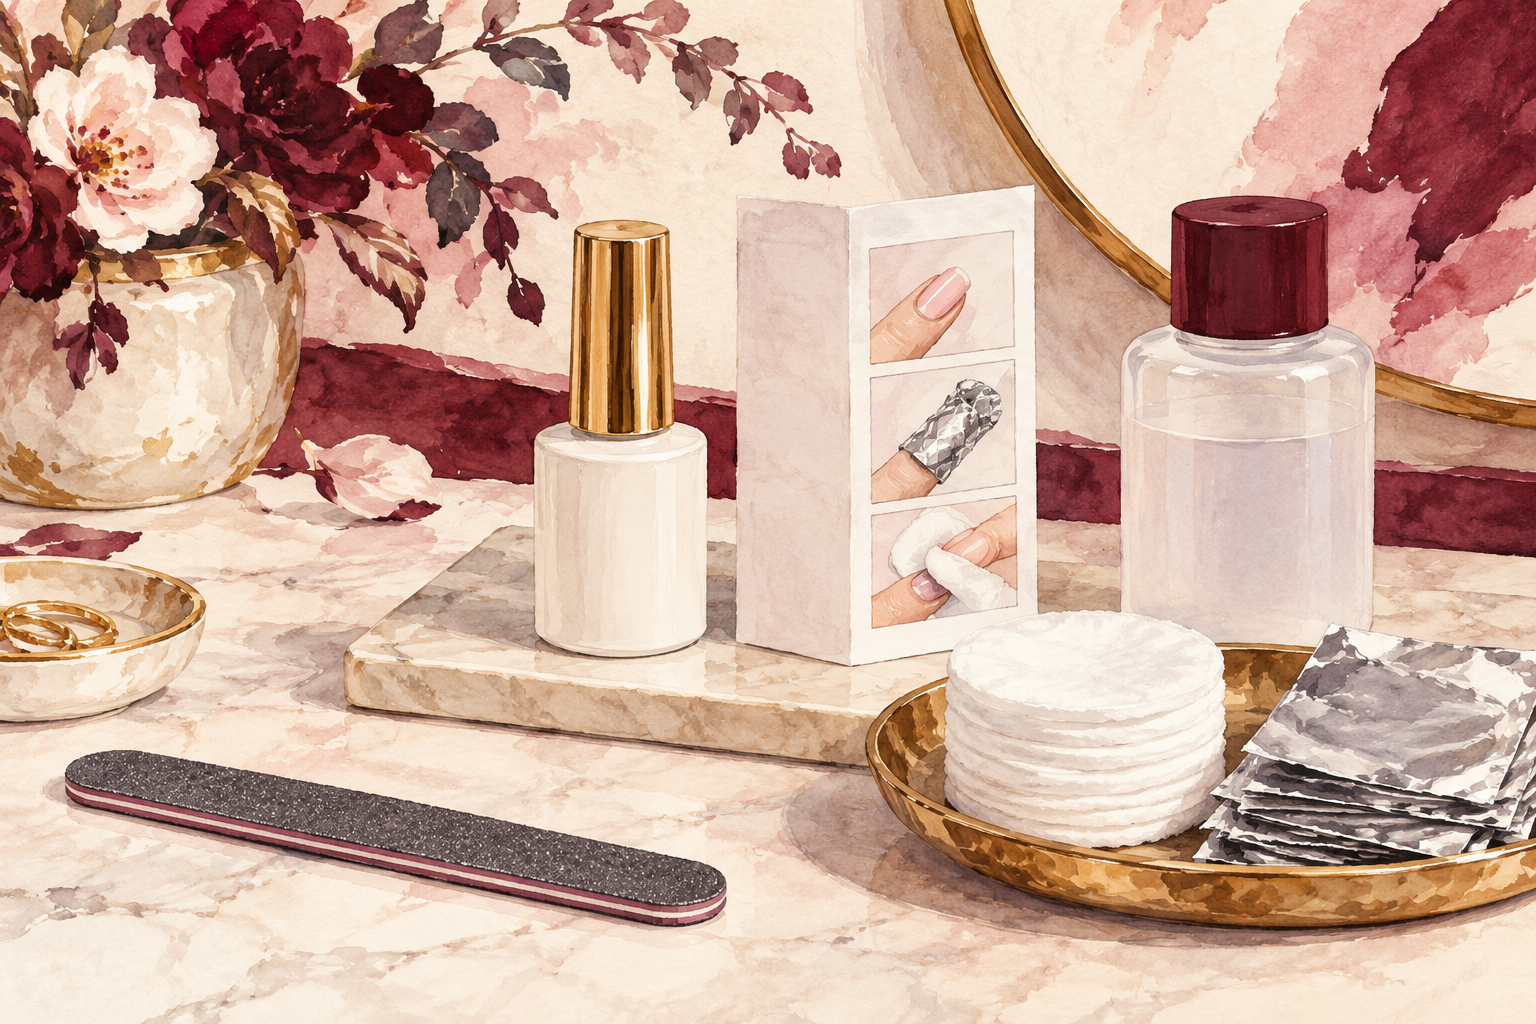
Choose gel that says soak off, and skip any kit that tells you to file the color away. Filing takes a layer of your own nail with it, and thin nails cannot spare that. Soak off gel melts away with acetone and a little patience. Also check the bottles for gel that has separated or gone thick like honey, because it will not cure evenly. If nobody can tell you how the set comes off, leave it. Pick a remover that suits the label on your gel, so the soak works the first time.
8. Pack the removal supplies first
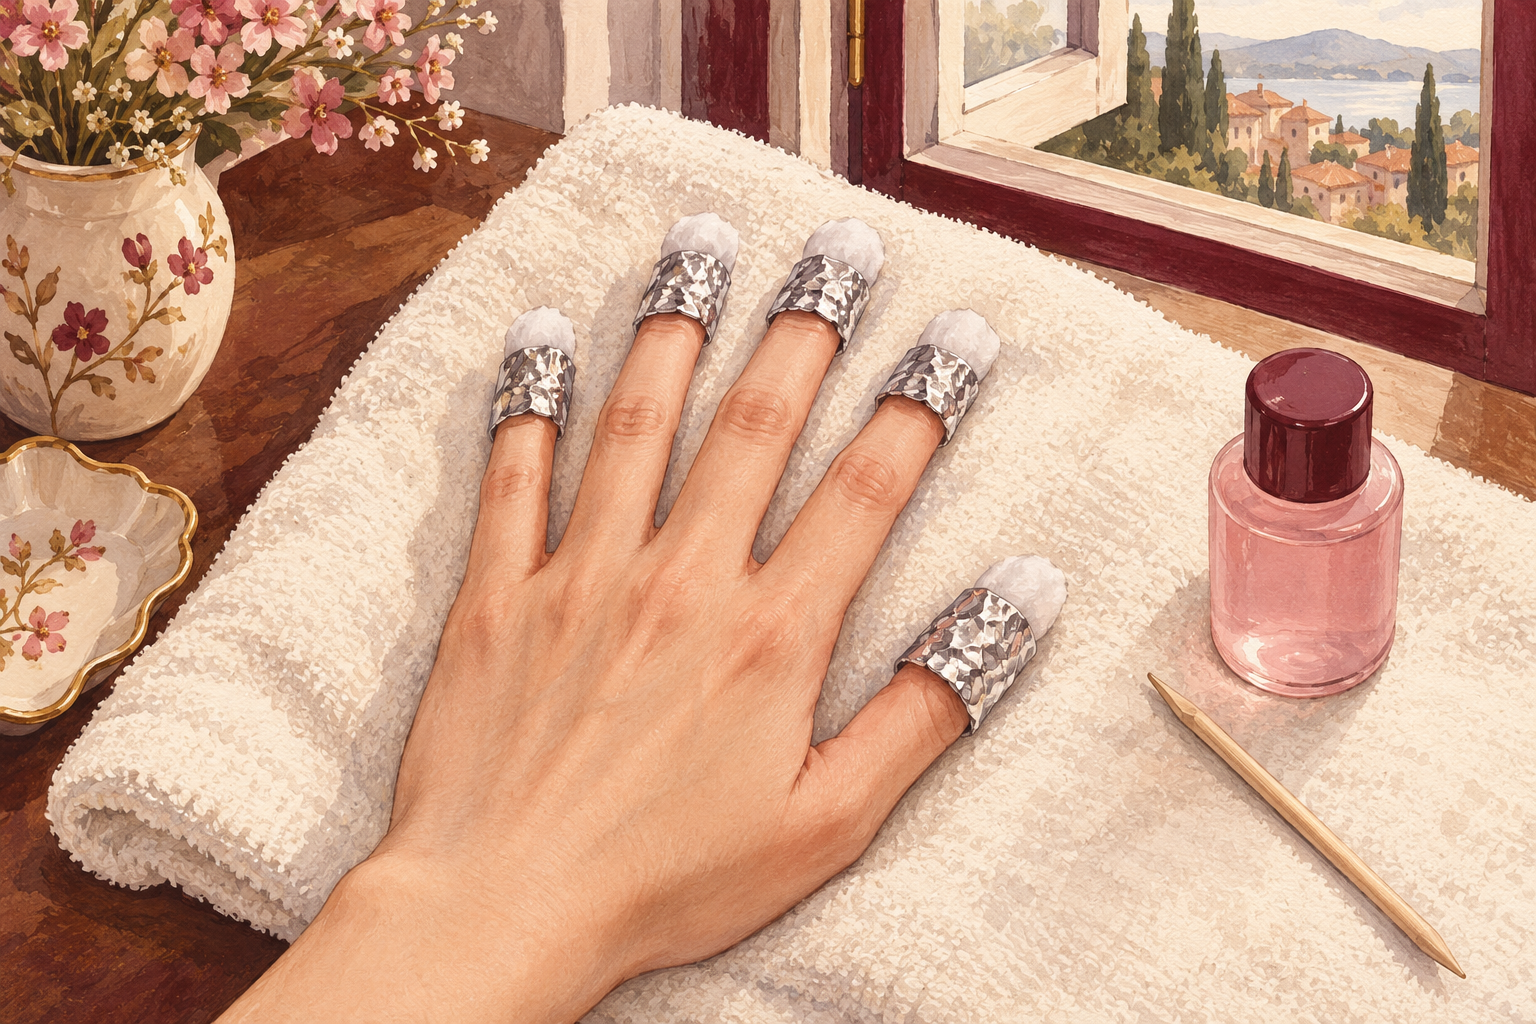
Gather acetone, cotton pads, foil squares and a gentle wooden stick before you paint a single nail. Soak a pad, press it on the nail, wrap it in foil and wait about fifteen minutes. The gel turns crinkled and soft, and the stick nudges it off without force. If it still resists, wrap again for five more minutes instead of scraping. Open a window, because acetone fumes are strong. Never peel a lifting edge, since peeling pulls a layer of nail away with it. Keep these supplies in the box so the set never outlives your patience.
9. Add the prep tools the kit leaves out
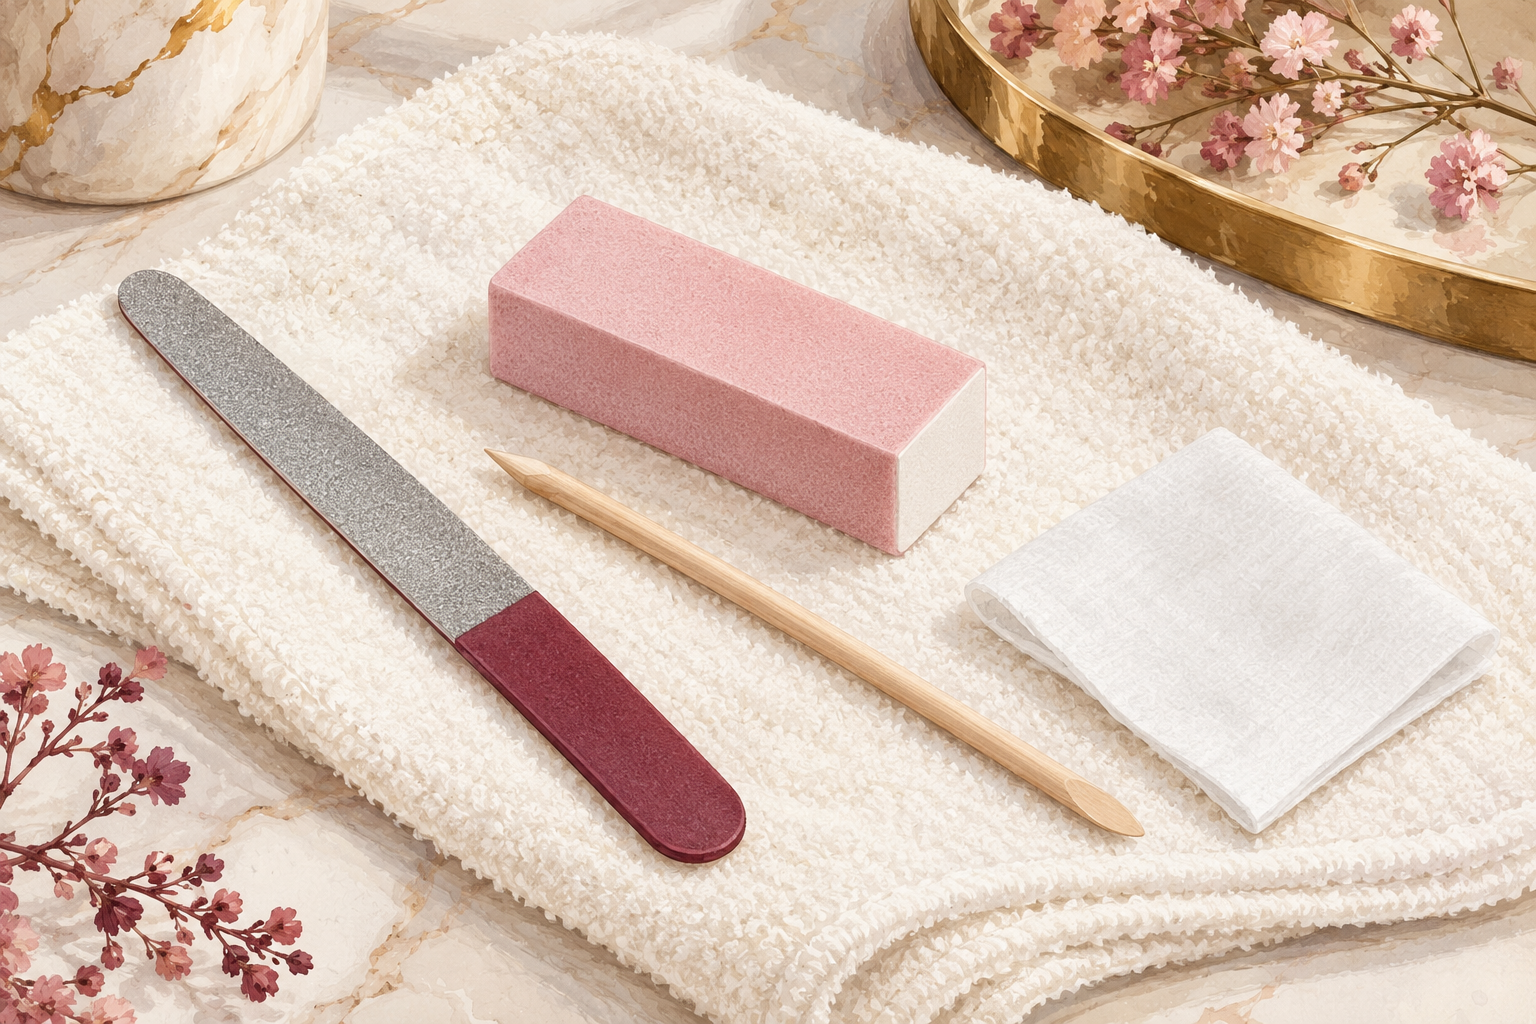
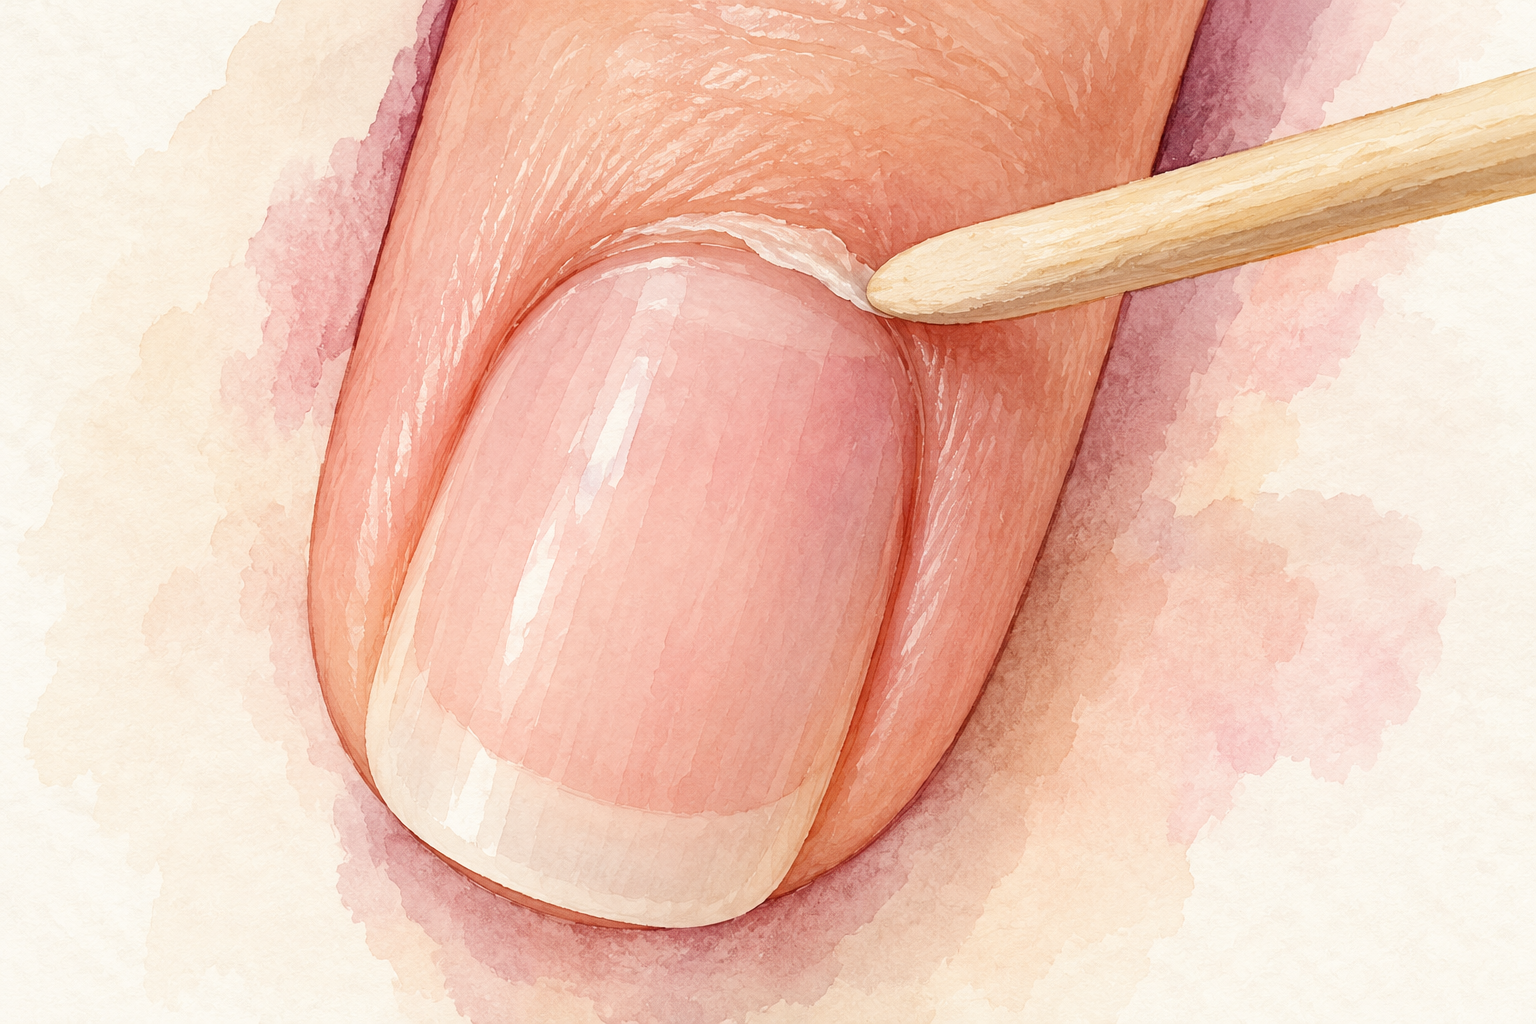
Plan on a fine file, a soft buffer, a cuticle pusher and a lint free cleanser wipe. Gel only grips a nail that is clean, dry and lightly roughened, so skip none of these. Buff gently until the shine is gone and no more, about ten seconds per nail. Push the cuticle back before you start, then wipe each nail so no oil is left. Anything greasy on the nail stops gel from holding. Skip the big all in one manicure sets, because most of the tools in them stay in the drawer. Keep a clean lint free wipe in your pouch to remove the sticky layer after curing. Build the pouch slowly, one item at a time, with nail care tools as the reference.
10. Avoid the mistakes that waste the kit
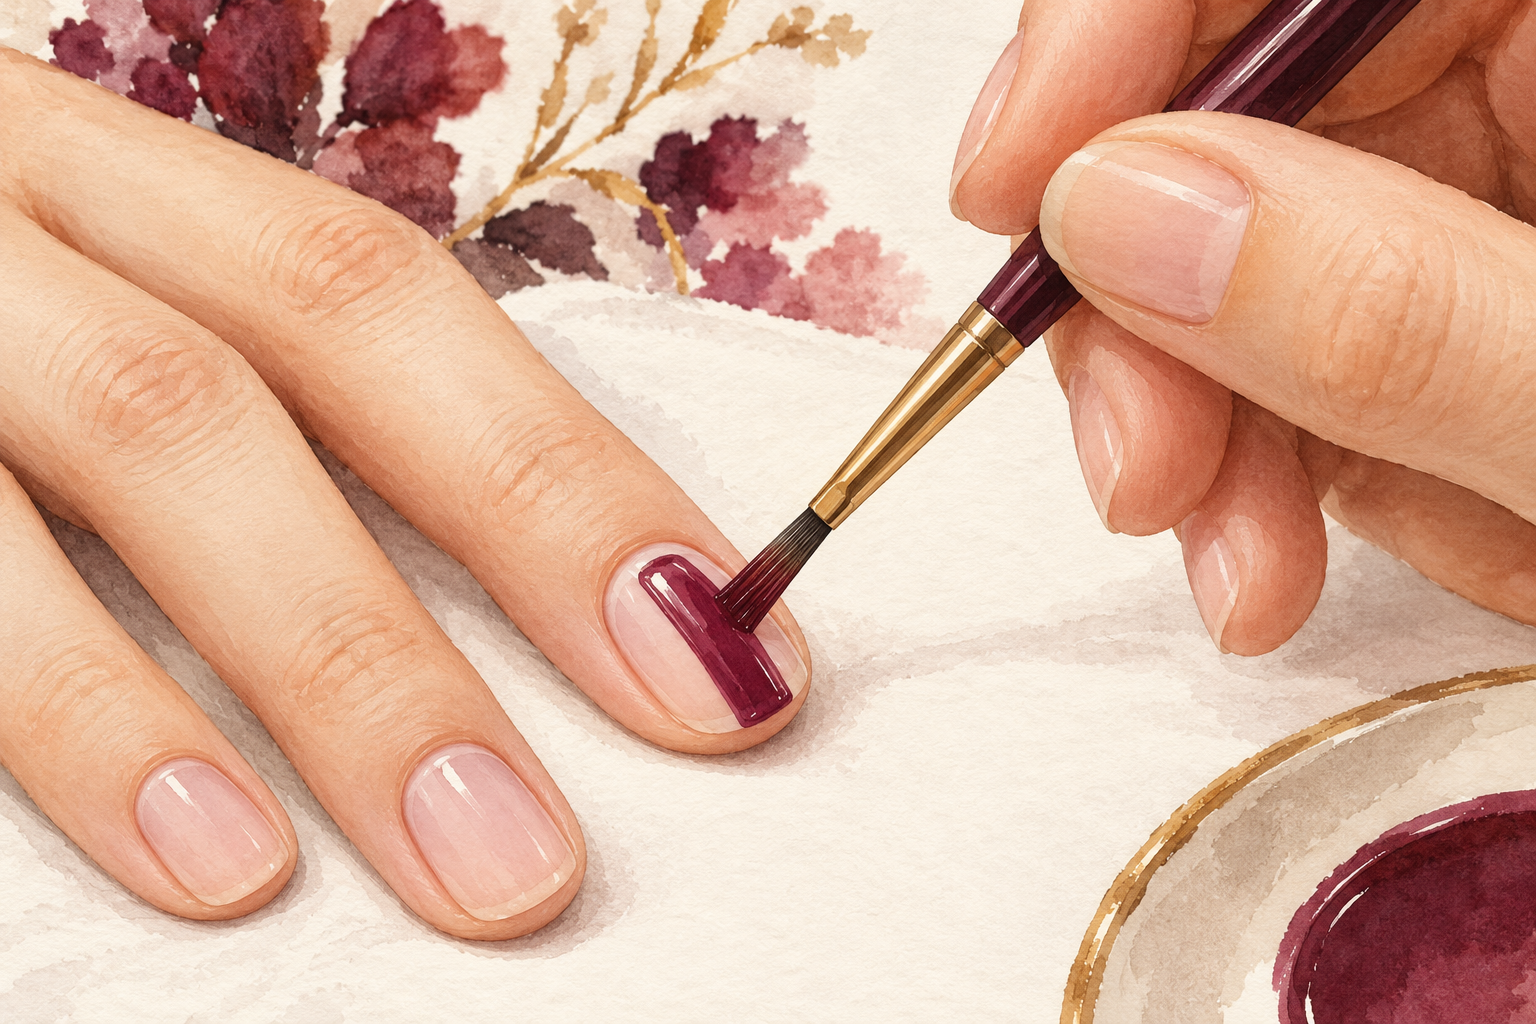
Paint two thin layers instead of one thick one, and leave a hairline gap at the skin. Gel that touches the skin and gets cured becomes a ridge that catches on everything and lifts. Wipe any stray gel off with a small brush before the light goes on. Do one hand at a time so nothing runs while you work on the other. Cap the free edge with the brush, which seals the tip. Most wasted kits are really wasted bottles of thick, flooded gel, so slow down. Thin layers look flat at first, but they cure fully and last longer. Thin layers only hold on clean nails, which makes how to prep nails a sensible read before the next set.
11. Know what a good set looks like
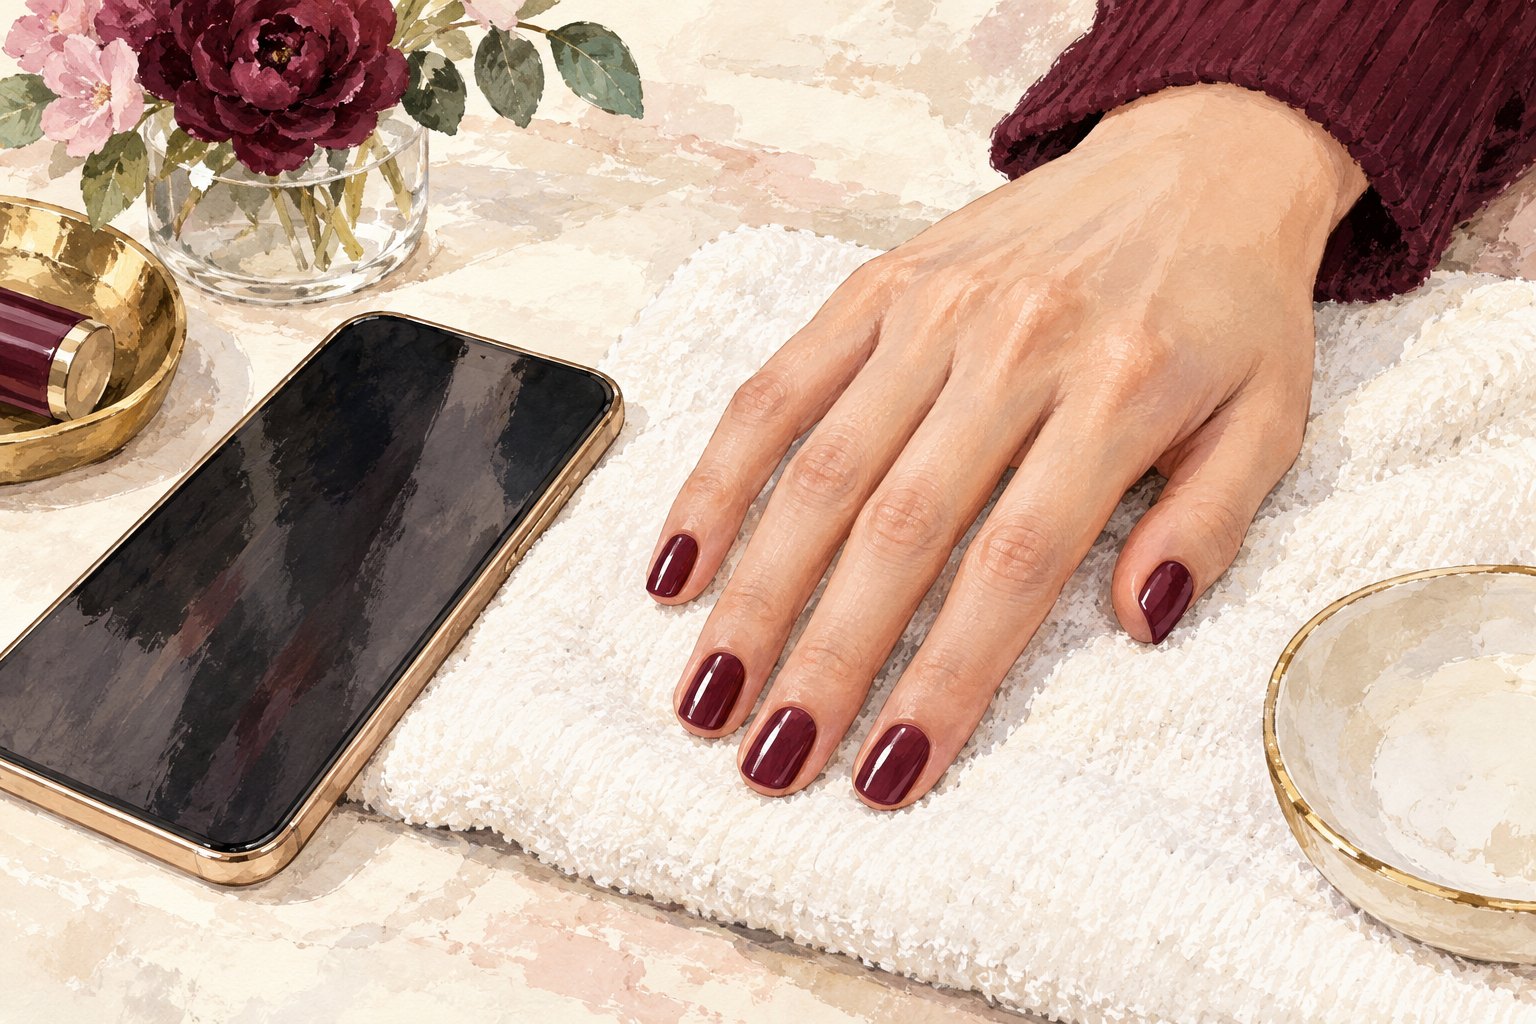
A good first set looks smooth and glossy, feels hard when you tap it, and lasts about two weeks without lifting. If the color peels off in a sheet after a few days, suspect the prep or the cure before you blame the gel. If the surface stays sticky after the light, the lamp may be too weak or the layer too thick. Take a photo the day you finish so you can see how the edges look at day seven. Write down what you changed, so the second set improves on the first. Press a fingertip on the tip of each nail, and if it feels soft, cure it again for a few seconds.
12. Know when to skip gel
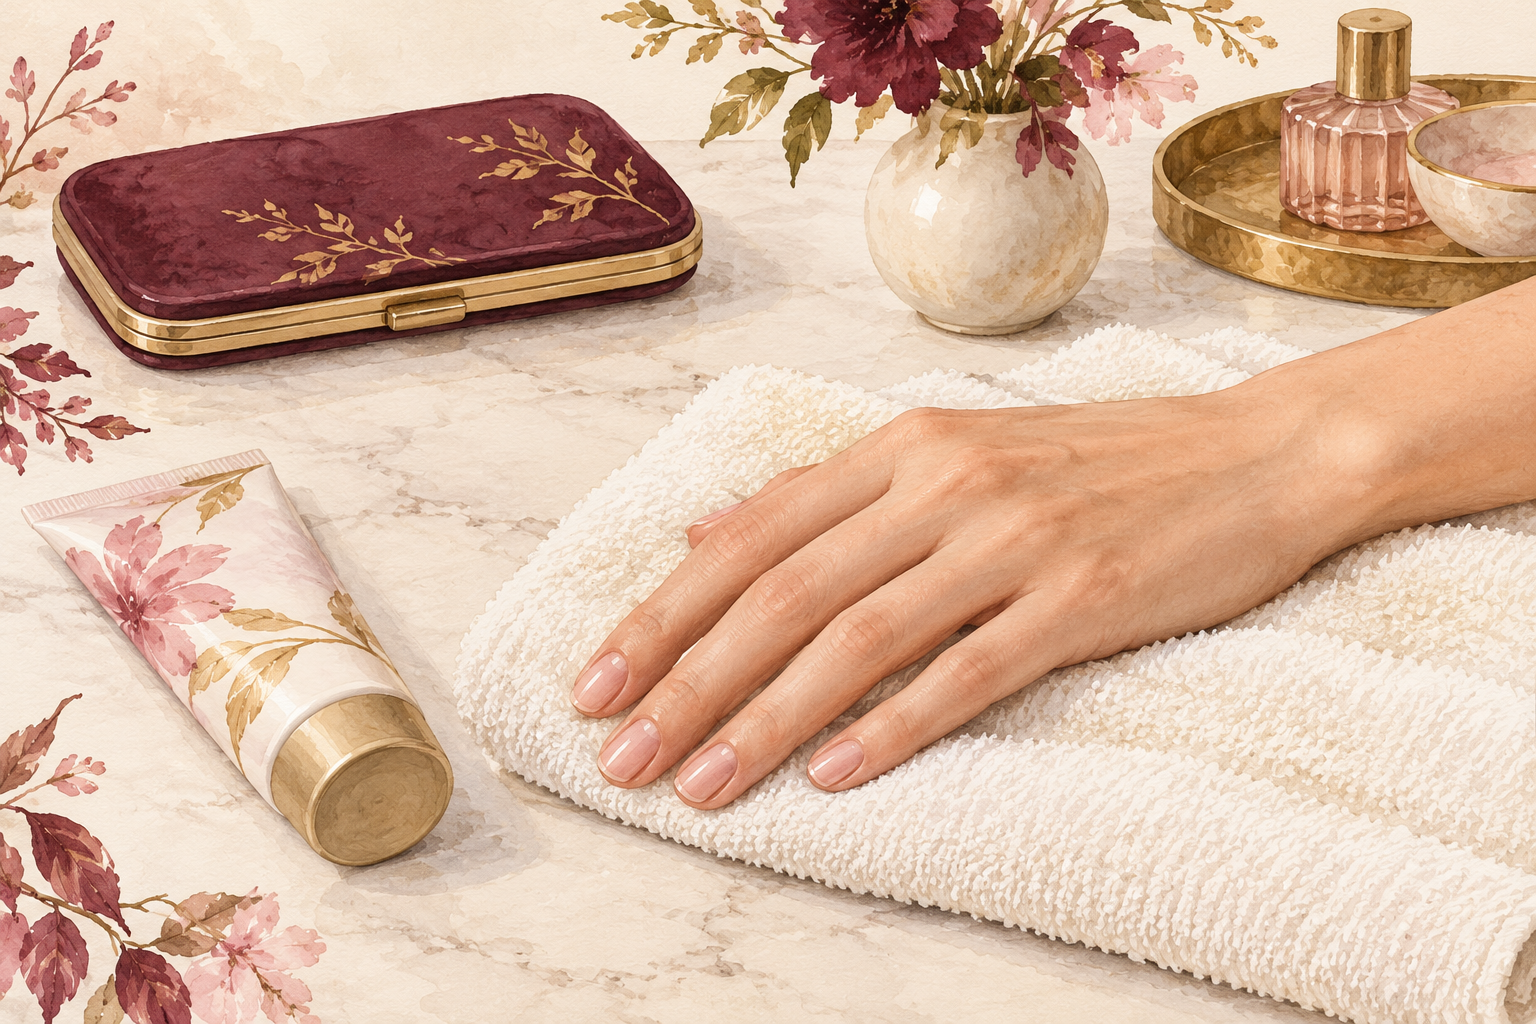
Skip gel while your nails are peeling, bending or sore, and rest them for a week or two between sets. Gel is strong, but taking it off dries the nail, so it works best as an occasional treat. Use that rest week for cuticle oil every evening and a thin layer of hand cream after washing. If you wear gel all year, nails get thin without you noticing. A gel nail kit that stays in the cupboard for a few weeks is not wasted. It is doing what a kit should. Go back only when your nails feel flexible and smooth again.
Complete the Routine: Use Your Gel Nail Kit Well
Tonight, write down the lamp wattage, the cure times and the removal supplies, and add whatever is missing. Gel rewards a slow, careful first set, so keep going down the list and choose one more guide below for this week.