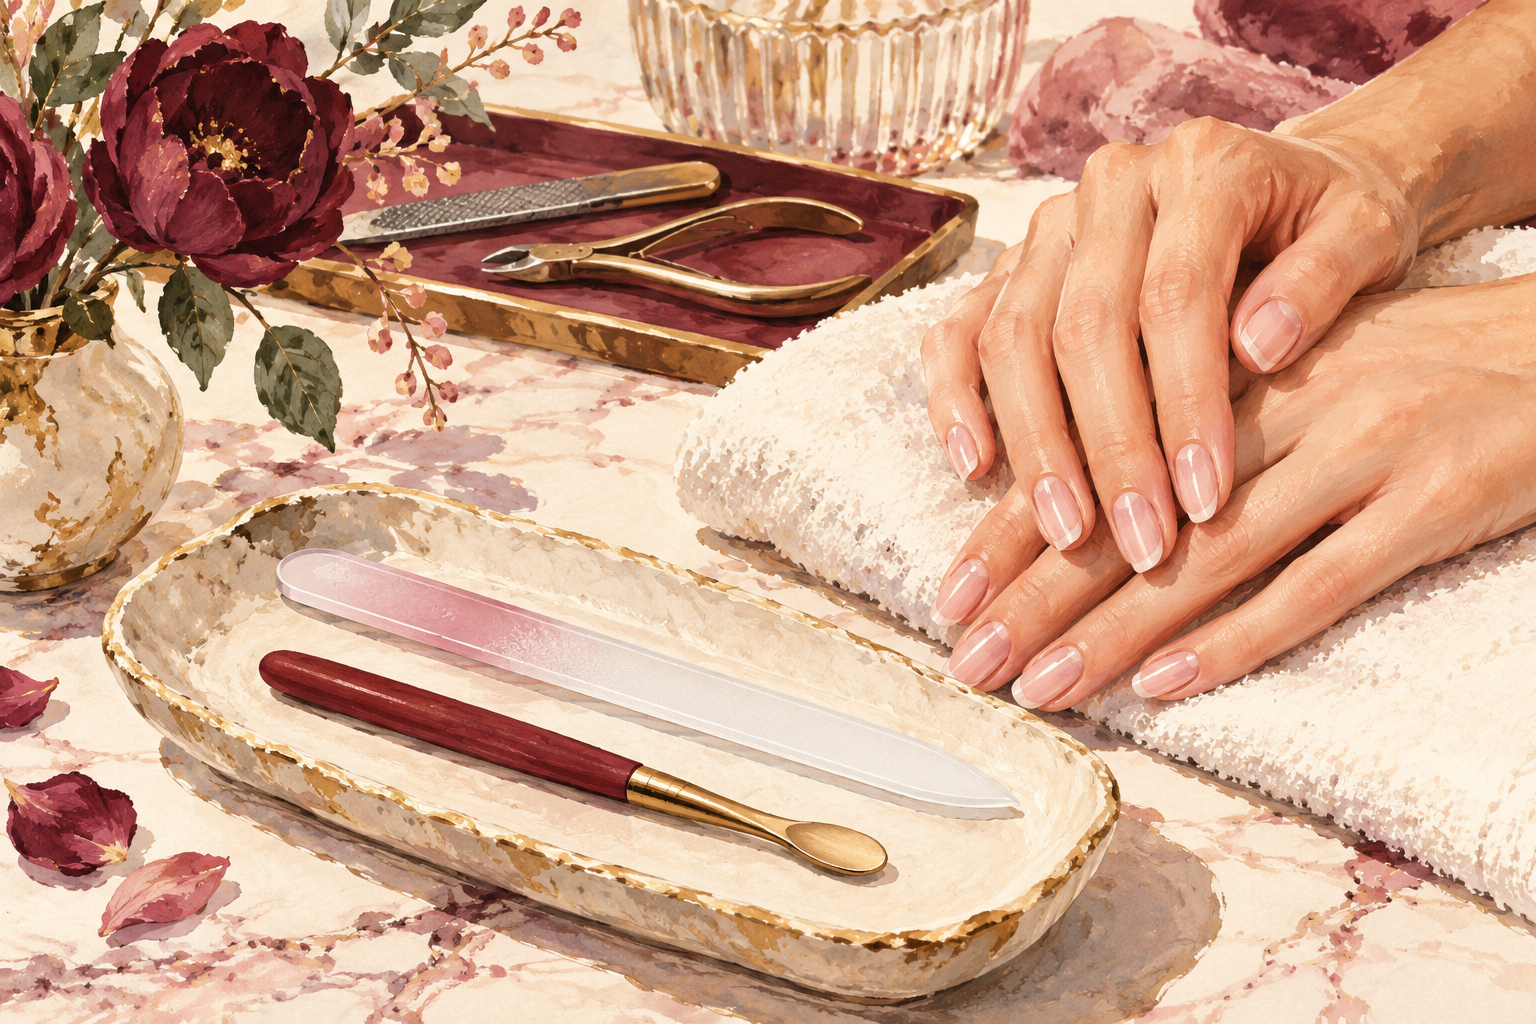
You open a drawer full of little metal and plastic things, and half of them you have never used. The manicure tools that make a manicure last are fewer than you would think, and a few popular gadgets cause more trouble than they save. Here are 12 that earn their place, plus what to skip, so start at number one tonight.
1. Start with five and add one at a time
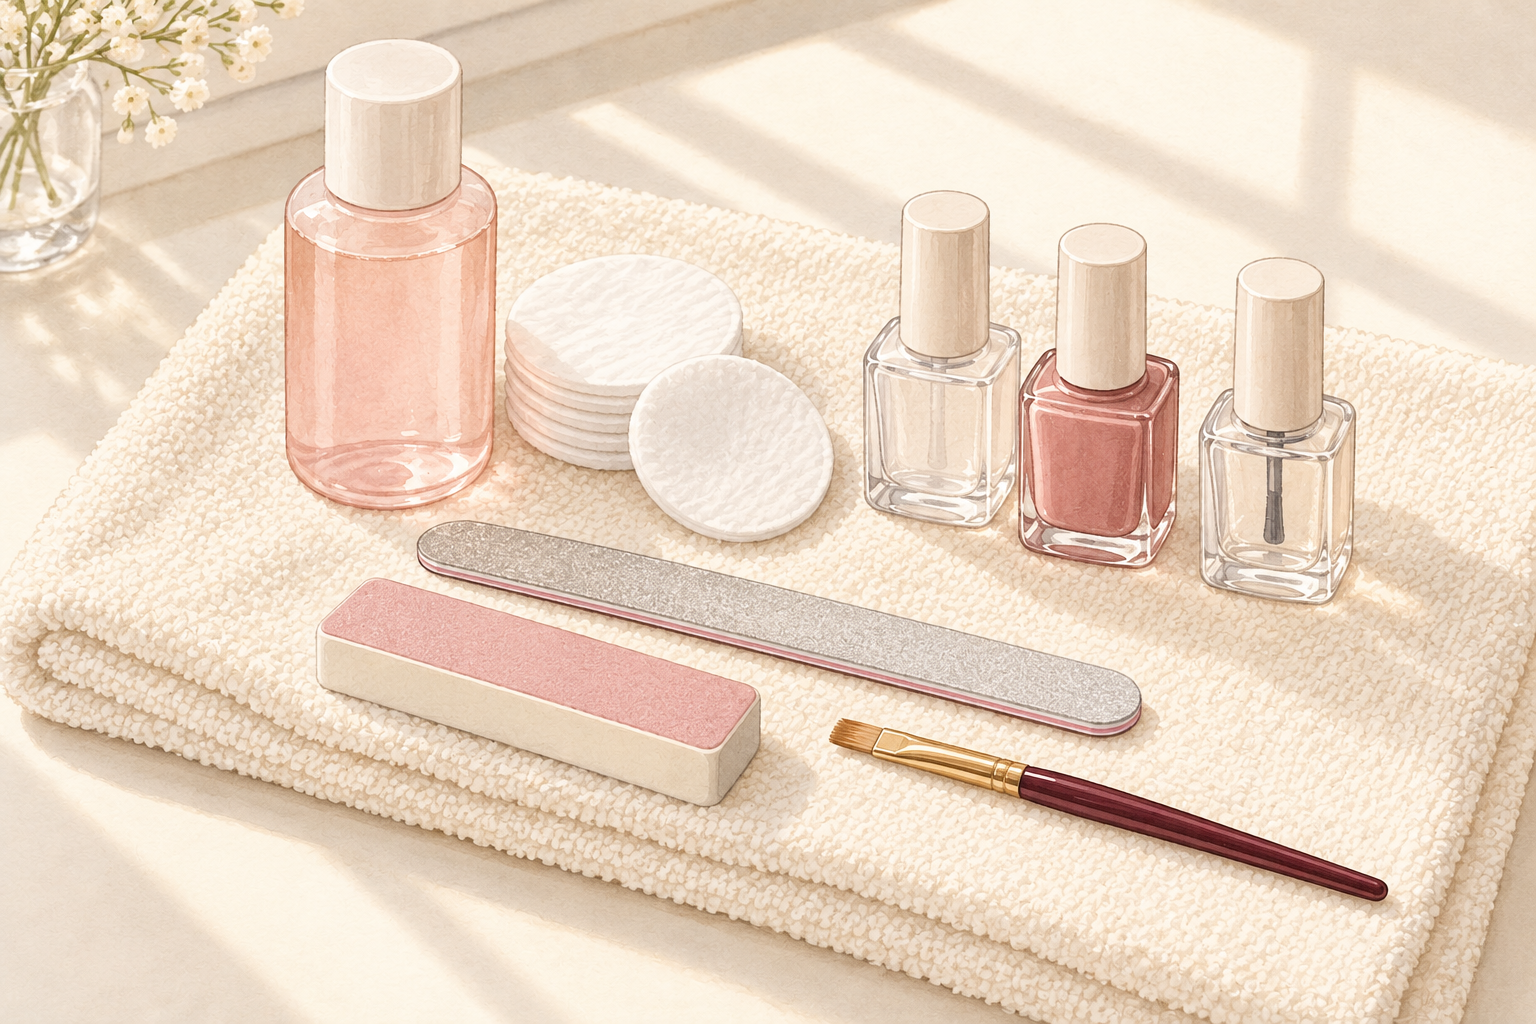
Begin with clippers, a fine file, a cuticle stick, remover pads and a small bottle of cuticle oil. That handful covers trimming, shaping, tidying and keeping the skin soft. Add a new tool only when a real problem shows up that nothing in the drawer solves, such as polish creeping onto your skin. A tool you use every week beats a long list you admire. Keep everything in one pouch where you can see it, and check it once a month. A zip bag by the sofa works just as well as a fancy case. If you cannot name what a tool is for, it does not belong. Starting small makes sense; if you want a ready list, look at nail care kit first.
2. Choose sharp clippers that close cleanly
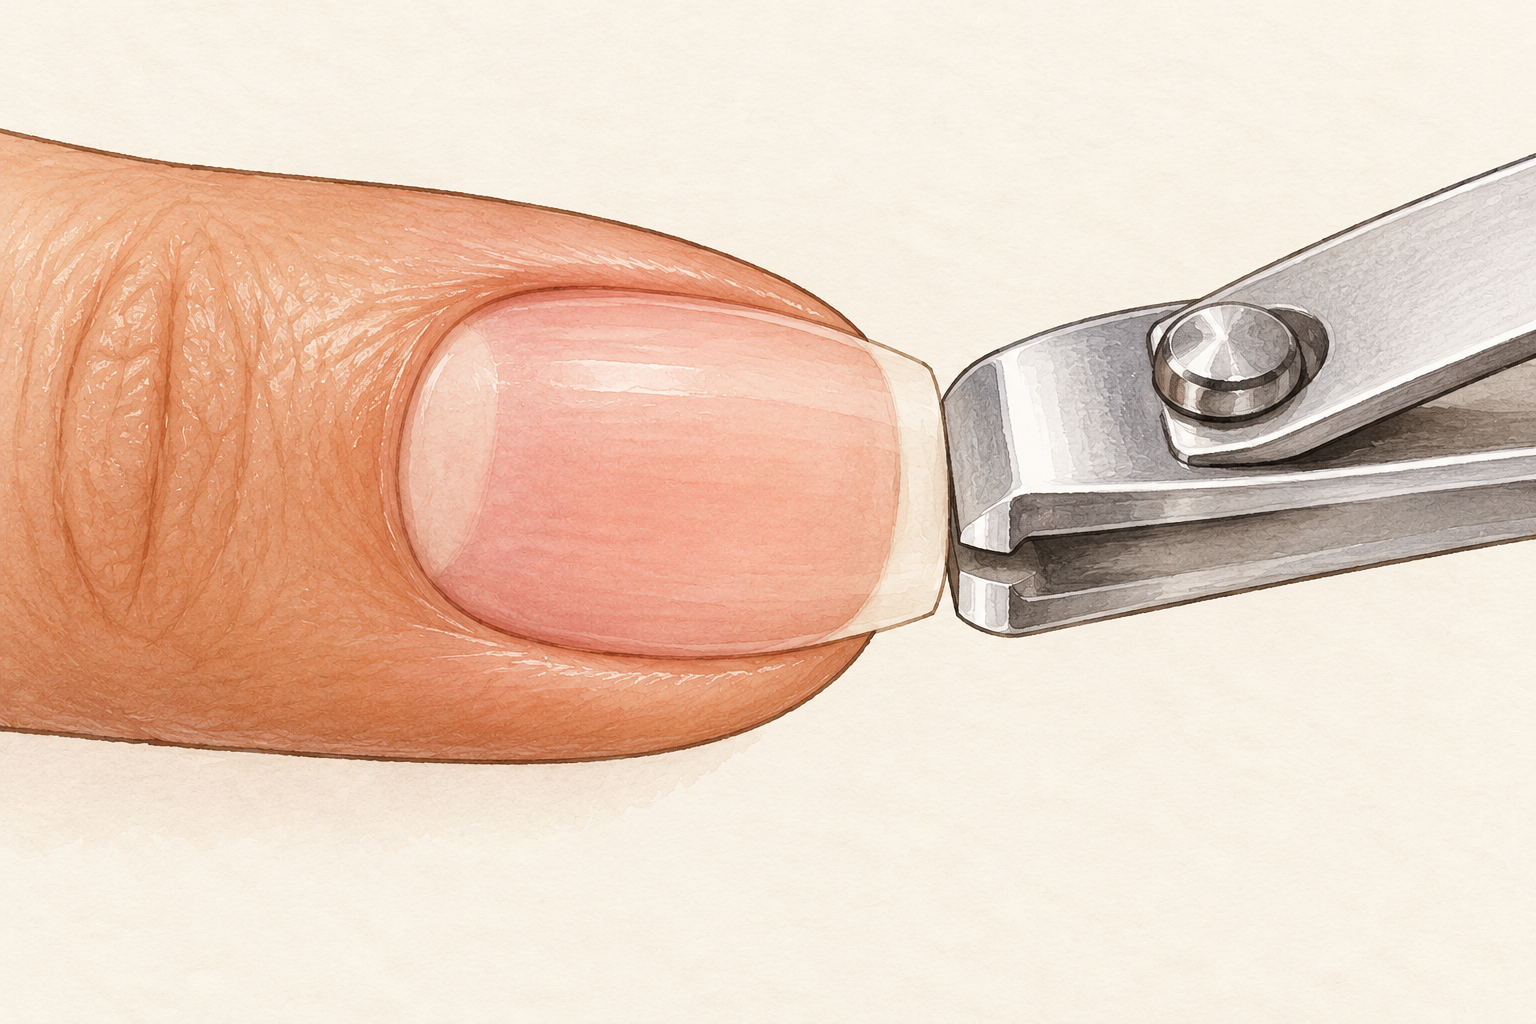
Hold the clippers closed up to the light and check that the blades meet along the whole edge with no gap. A sharp edge gives a clean cut, while a blunt one crushes the nail and leaves a ragged edge that snags. Cut almost straight across in small bites instead of one big snip, then file the edge. If the clippers squeeze the nail before they cut, replace them. Squeeze them on a scrap of paper first, because clippers that chew paper will chew your nail too. Keep them for fingernails only, since toenails are thicker and need a separate, stronger pair.
3. Pick a fine file, glass or paper
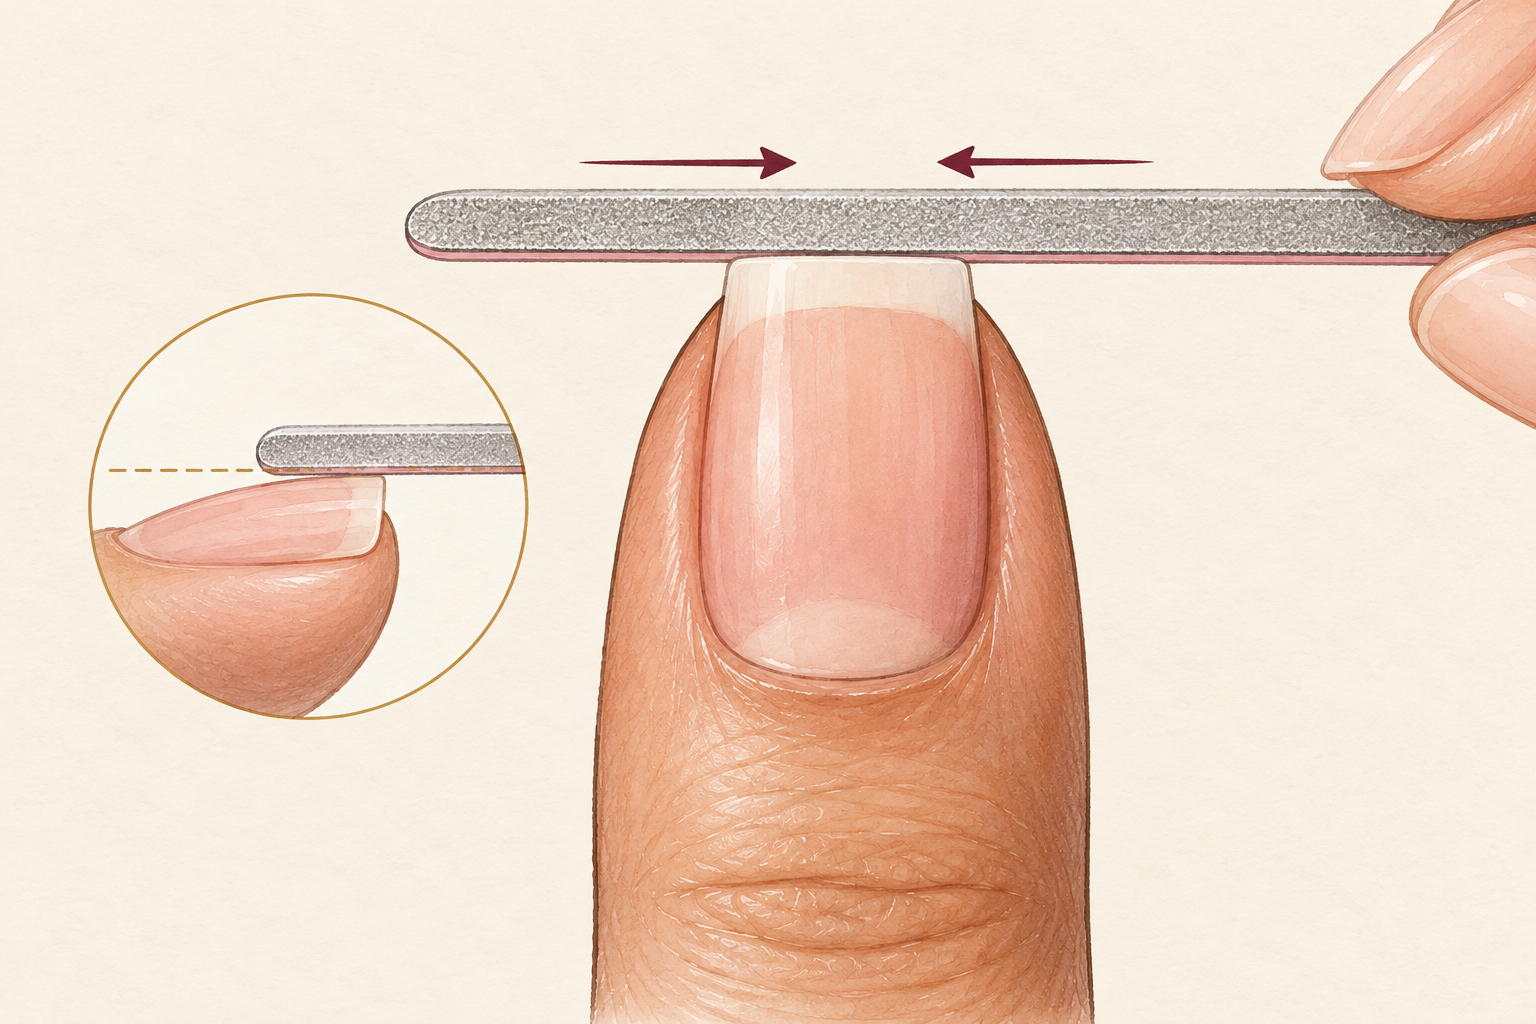
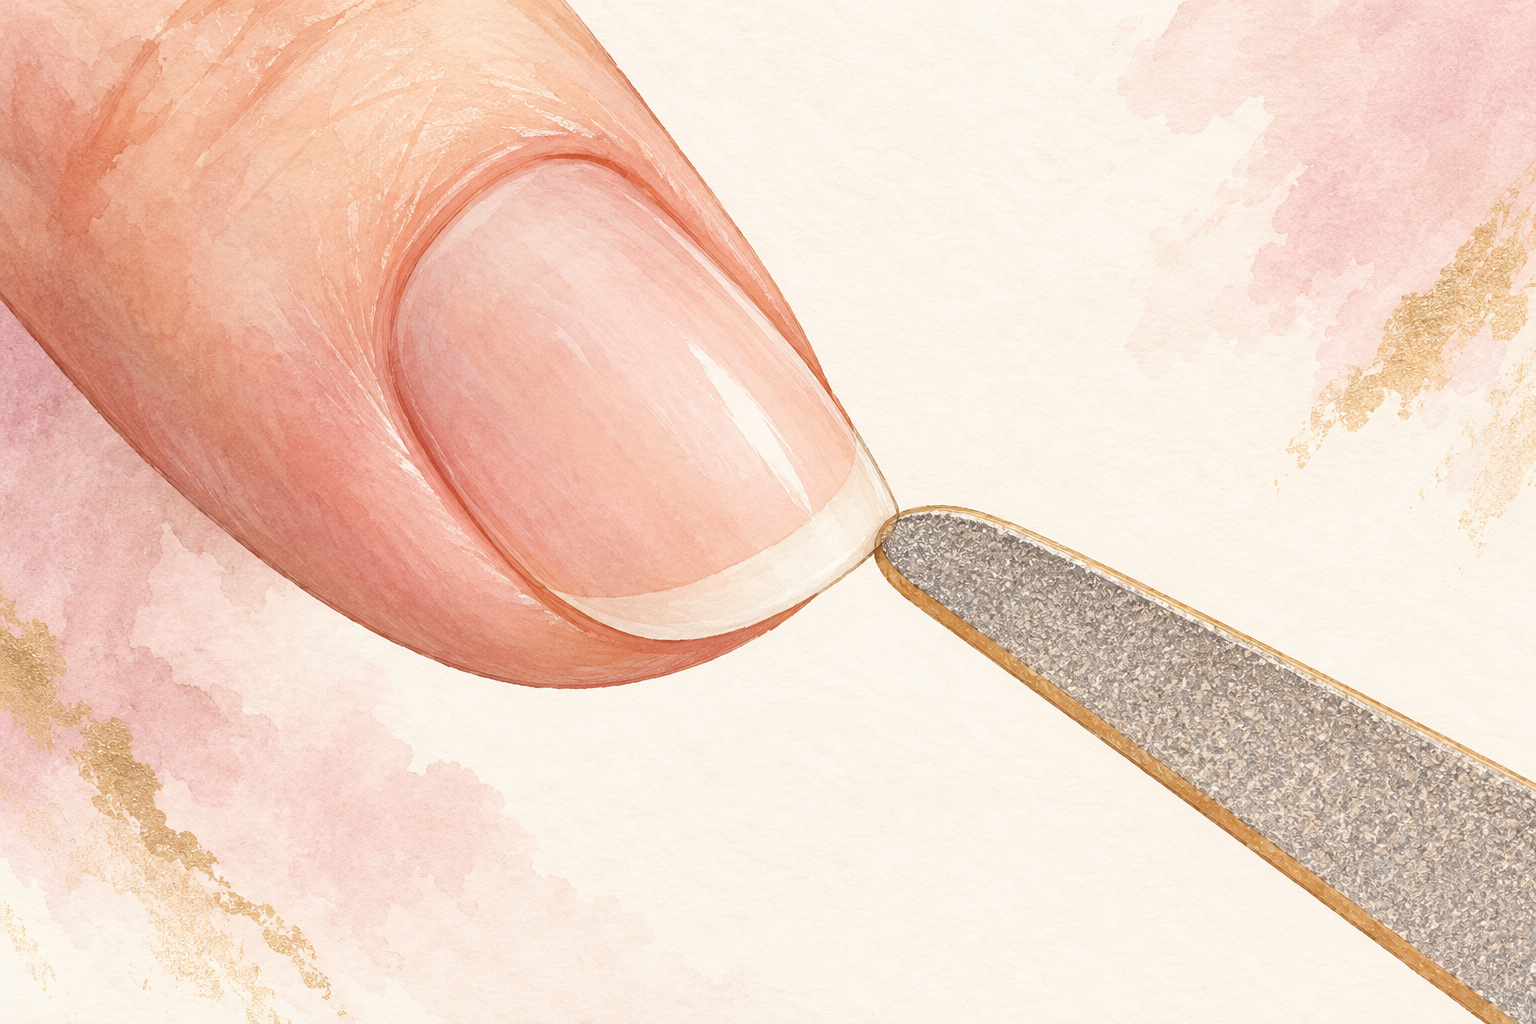
Use a fine file that feels smooth, not scratchy, and stroke from the side toward the middle in one direction. Sawing back and forth tears the layers and weakens the edge. Glass files rinse clean and last a long time, and paper boards are easy to swap when they go soft. Run a fingertip over the edge afterwards, and if it catches, file once more. Keep a spare in your bag for sudden snags, because a small snag left alone turns into a tear by the weekend. Filing all ten nails to the same shape each week turns the shape into a habit.
4. Add a wooden or rubber cuticle stick
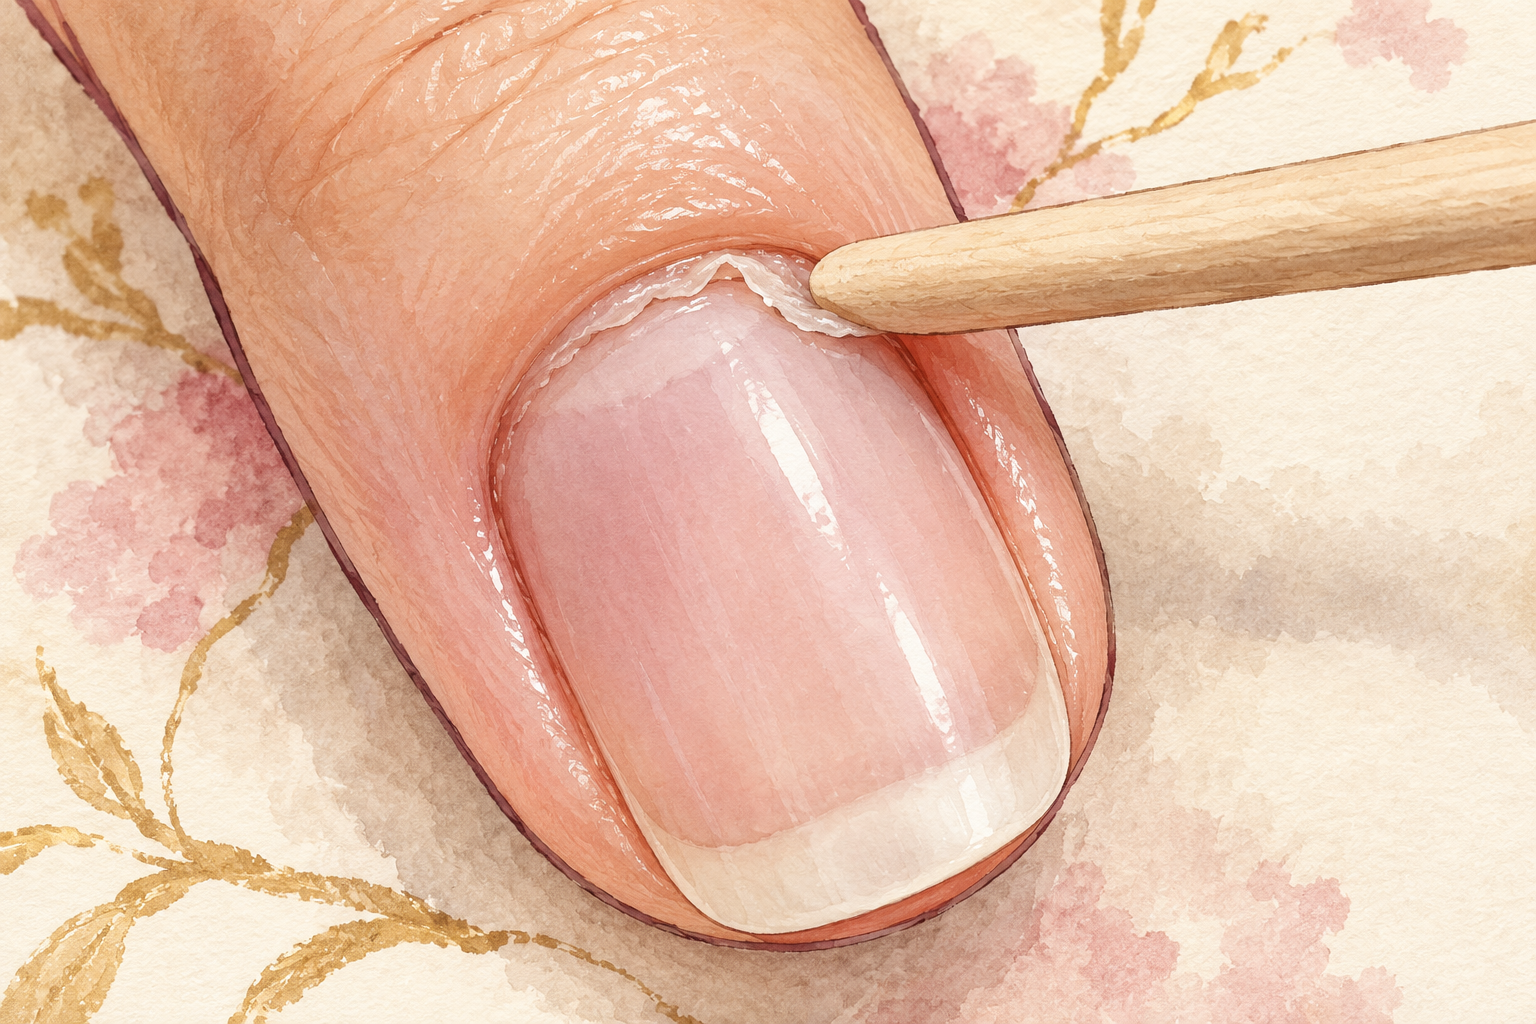
Ease the cuticle back gently after a shower, when the skin is soft, and use the other end to lift stray polish. Never cut the cuticle, because it seals the nail and protects it. Wooden sticks wear out and can simply be thrown away. A rubber tip lasts longer and wipes clean. Use light pressure, and stop if the skin tugs. Do not push on dry cuticles, since dry skin tears easily. A drop of oil first makes this step far kinder. Wipe the stick clean after each hand so you do not carry leftover polish onto the next nail.
5. Match your remover to your nails
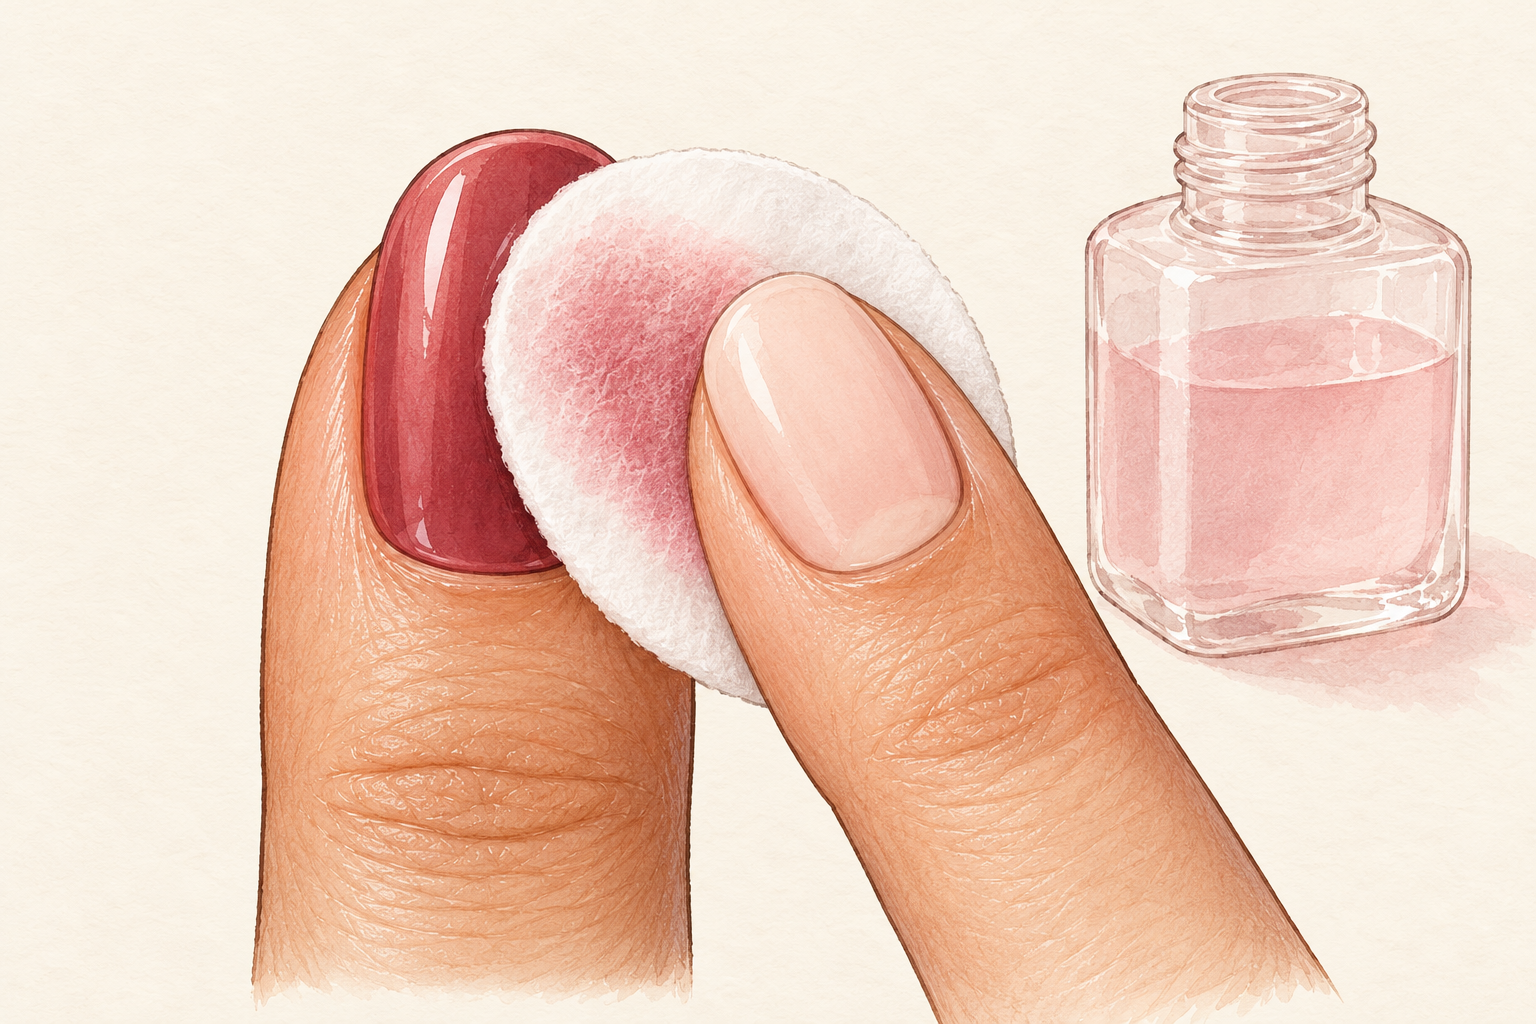
Pair lint free pads with a gentle remover, and choose one without acetone if your nails are dry. Cotton balls leave tiny fibers stuck in wet polish, but lint free pads do not. They also wipe the oil off the nail before your base coat goes on. Press the soaked pad on the nail for ten seconds, then wipe once. Keep the bottle capped so it does not evaporate. Remover dries the skin, so smooth cream over your hands afterwards. This is the one tool to use sparingly. Open a window while you work, because remover fumes build up quickly in a small bathroom.
6. Use a soft buffer gently and rarely
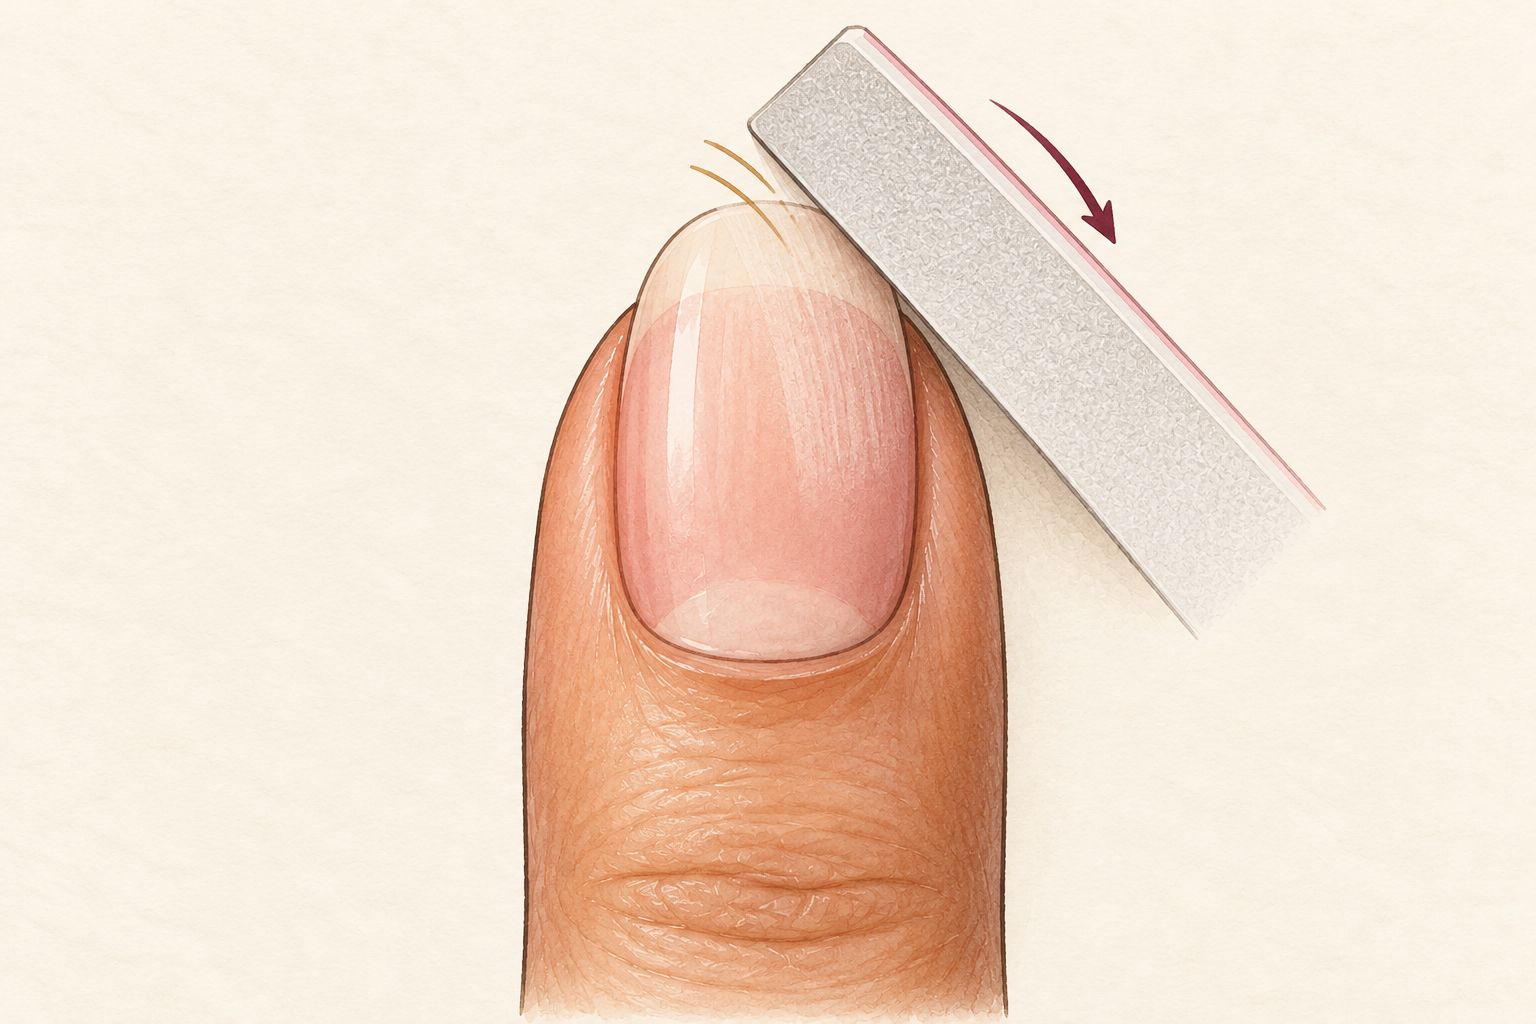
Take a few light passes with a fine buffer before polish so the base coat has something to grip. Heavy buffing thins the nail and makes it bend, so never use it as a weekly habit. If the nail feels warm or flexible, you have buffed too much. Wipe off the dust afterwards, because dust trapped under base coat is a hidden reason polish lifts. Skip the buffer completely if your nails are already thin or peeling. A smooth, shiny nail with nothing done to it is a perfectly good start. Most people buff far too often, and a thin, bendy nail is the usual result. If you want a smooth base without buffing too hard, check how to prep nails before you start.
7. Keep a small angled cleanup brush
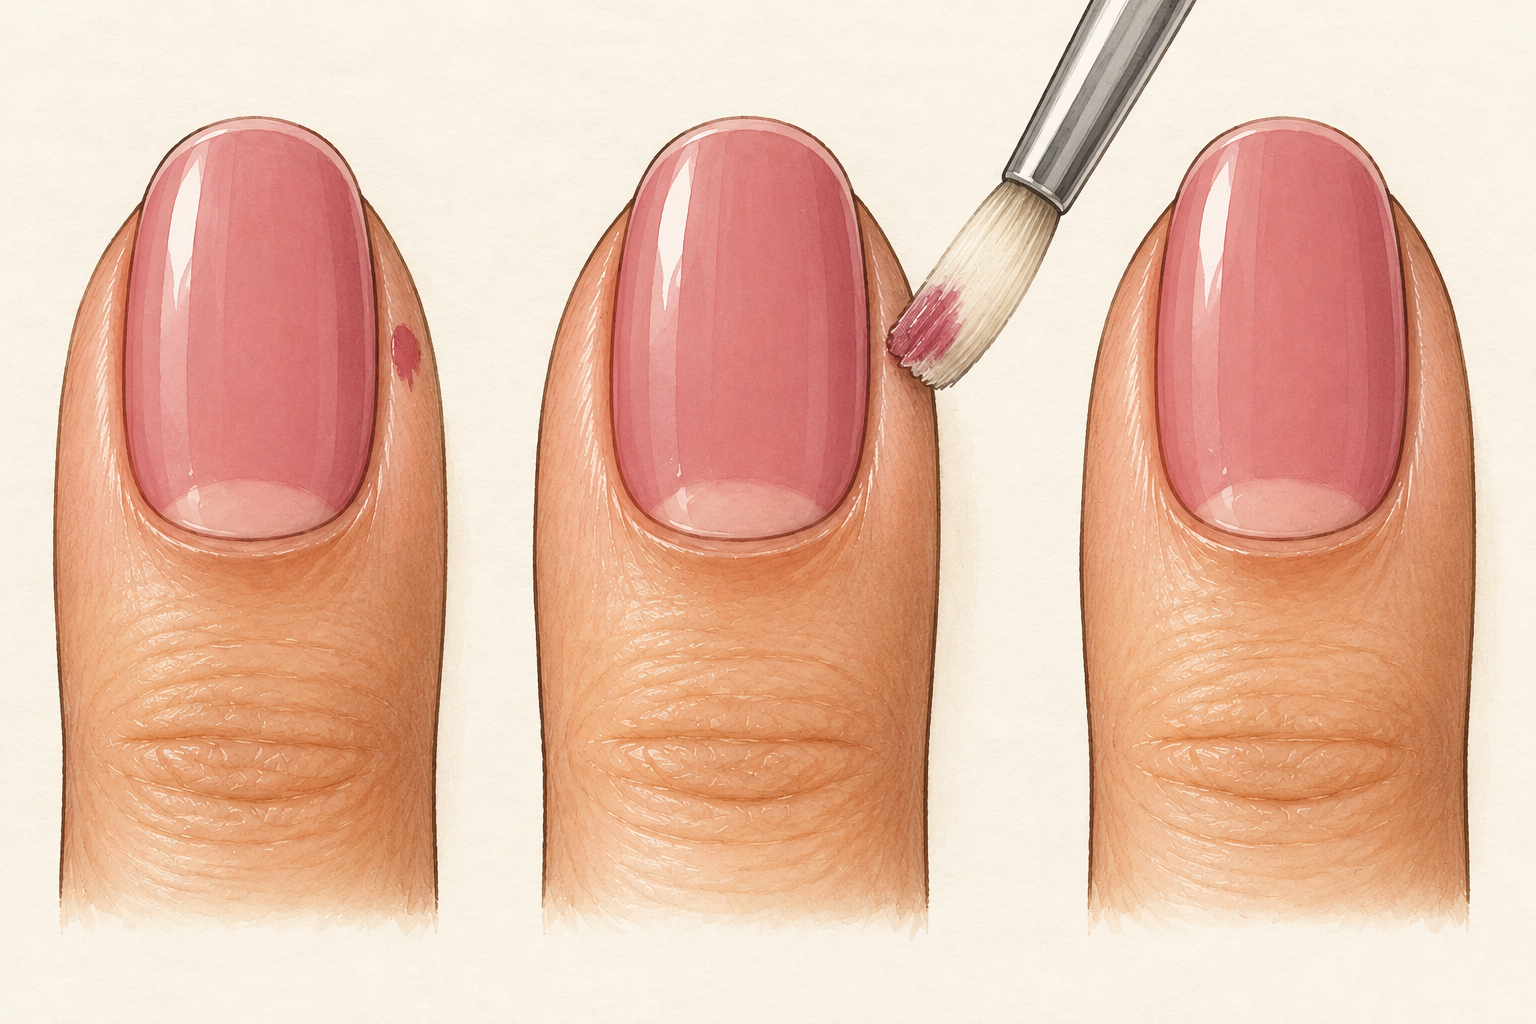
Dip the brush in a little remover, wipe off the extra on a pad and trace along the skin to tidy the polish line. Do it before the top coat, not after, so the shine stays intact. This one brush does more for how a manicure looks than a fancier polish ever will. If you do not have one, a thin cotton bud handles small slips, though it leaves fibers behind. Rinse the brush in remover right after use so the bristles do not stiffen. It lasts for months, and a single brush replaces the endless cotton buds that leave strings behind.
8. Try a dotting tool and one thin brush for nail art
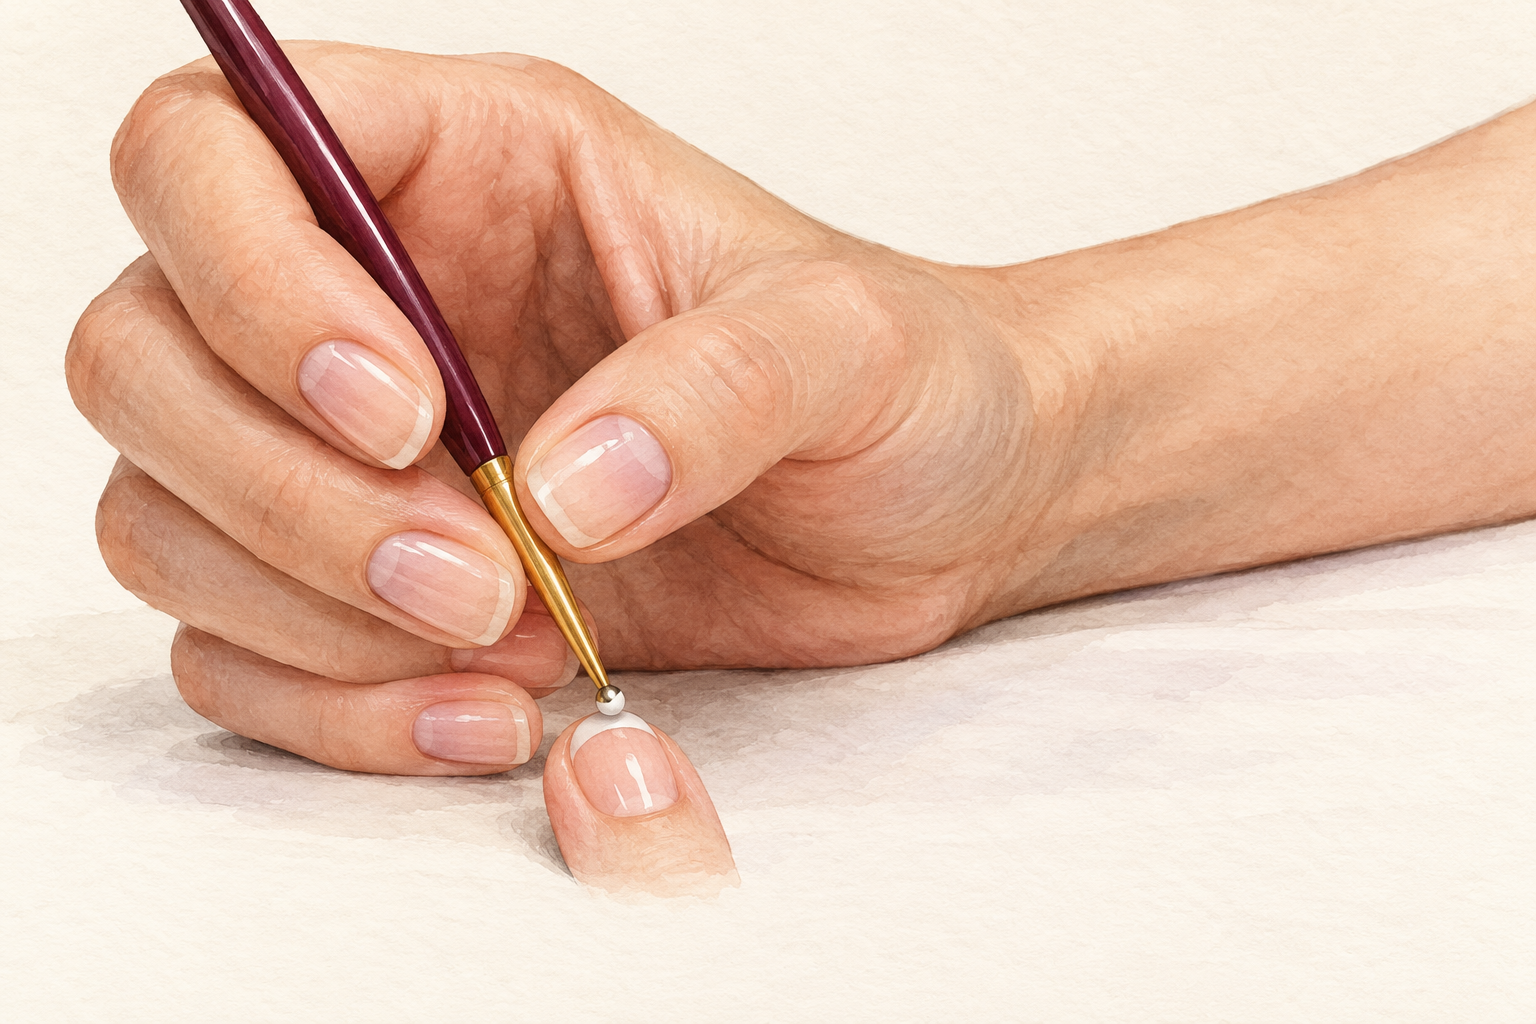
A dotting tool makes dots, tiny flowers and the ends of lines, and one thin brush draws straight stripes. A toothpick or the blunt end of a hairpin does the same job if you do not own one. Put a bead of polish on foil as your palette and wipe the tip between colors. Rest your hand on the table and pull the brush in one smooth stroke. Two small nail art tools are plenty, since big brush sets tend to sit unused. Try your lines on a scrap of card first, because a steady stroke takes a few practice rounds.
9. Skip cuticle nippers and metal scrapers
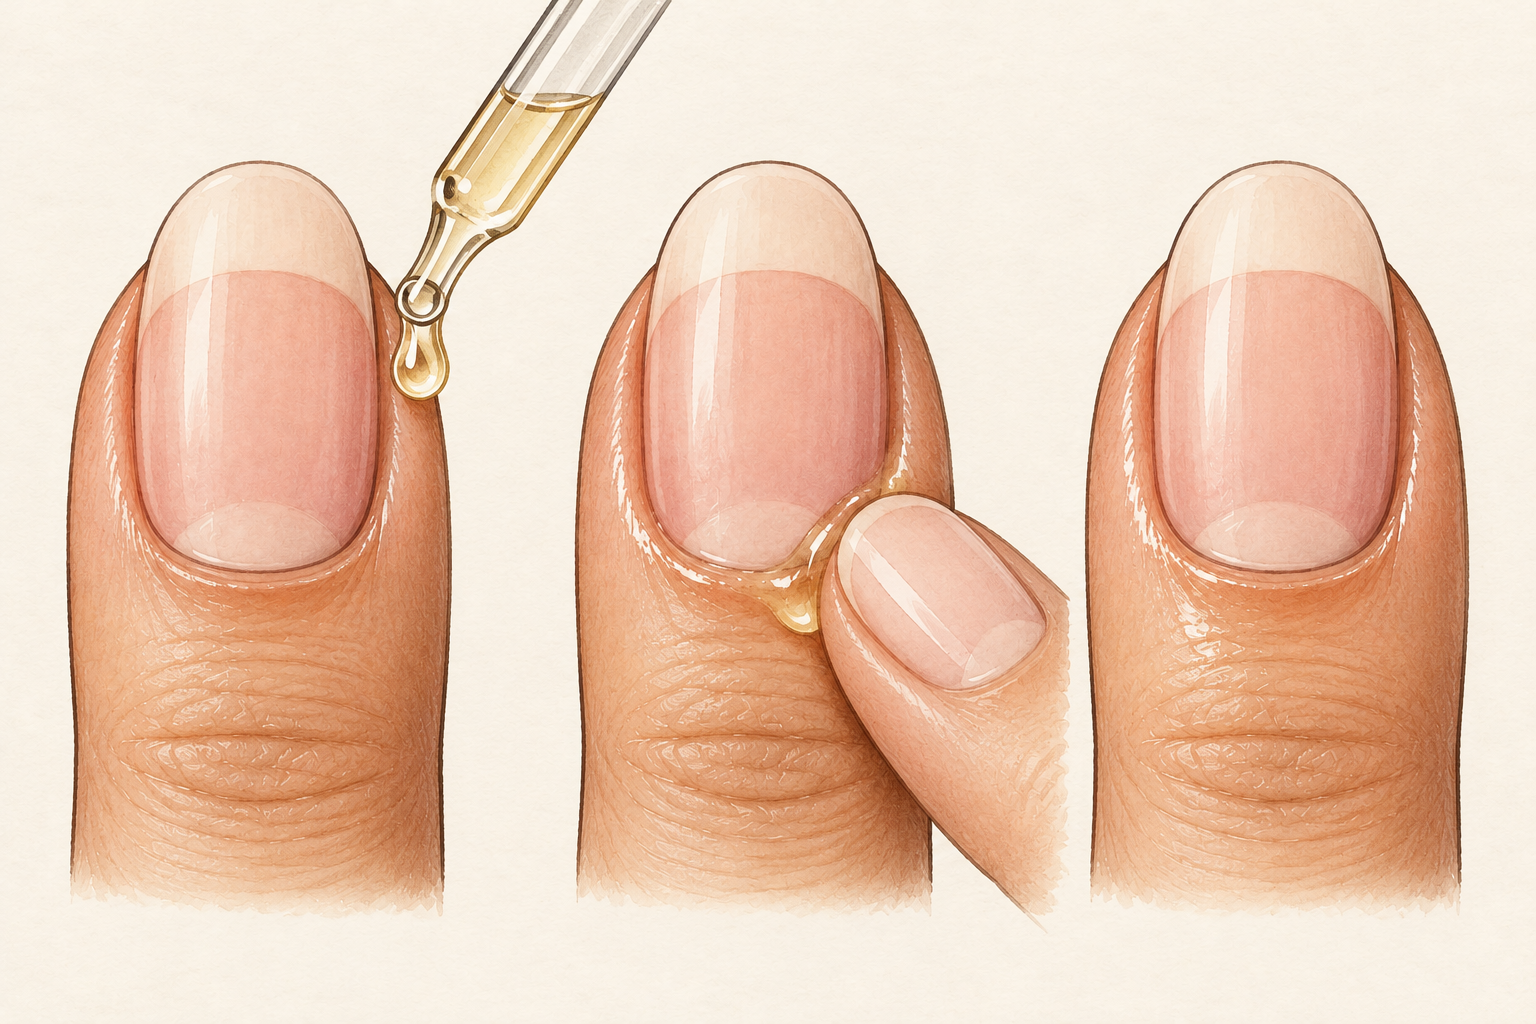
Leave cuticles alone, and soften them with oil instead of cutting them. Cutting leaves the skin raw and open, and metal scrapers can gouge the nail surface. They promise the neatest results and do the most harm, which makes them the easiest tools to cross off your list. If you have a hangnail, snip only the loose bit with clean nippers and nothing more. For everything else, use the wooden stick and a drop of oil. Your cuticles will look calmer within a couple of weeks. A thick hand cream at bedtime helps the skin settle down even faster.
10. Skip electric drills, coarse files and giant sets
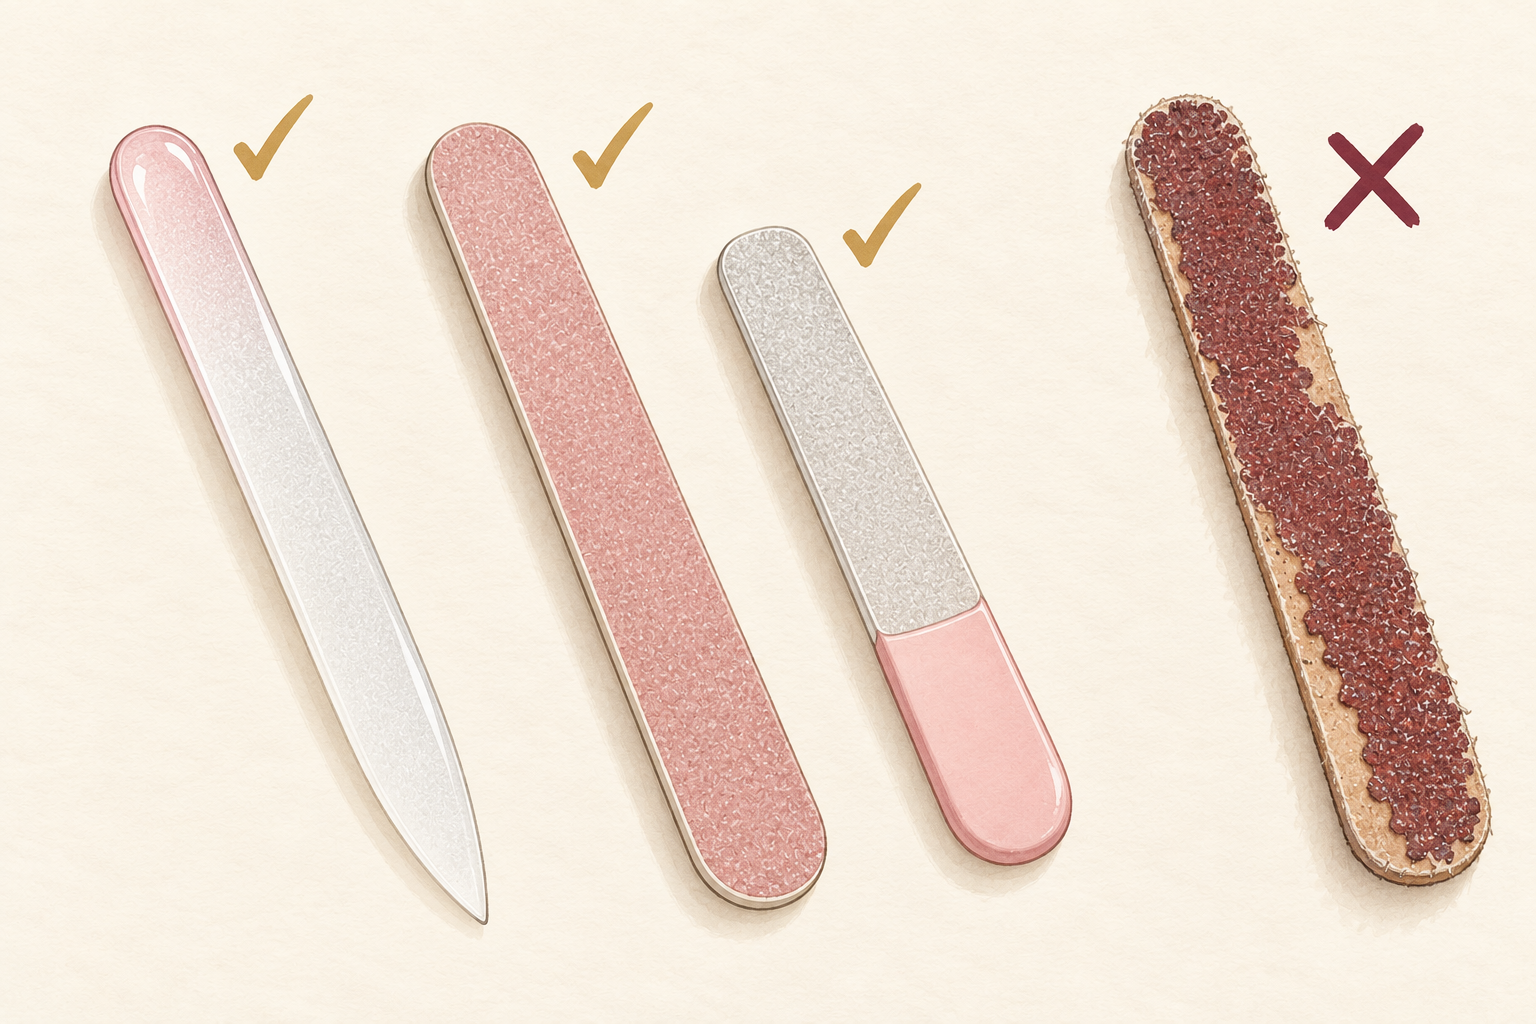
Electric drills thin the nail fast and need real skill, and coarse files and harsh buffers do the same. A giant all in one kit often comes with pieces you will never touch. If you wonder whether you need something, wait until a problem shows up that nothing in your drawer fixes. Fewer manicure tools are kinder to your nails, and a plain kit is easier to keep clean. Give away the extras instead of letting them sit and rust. A plain kit also makes packing for a trip easy.
11. Clean and replace your tools on a schedule
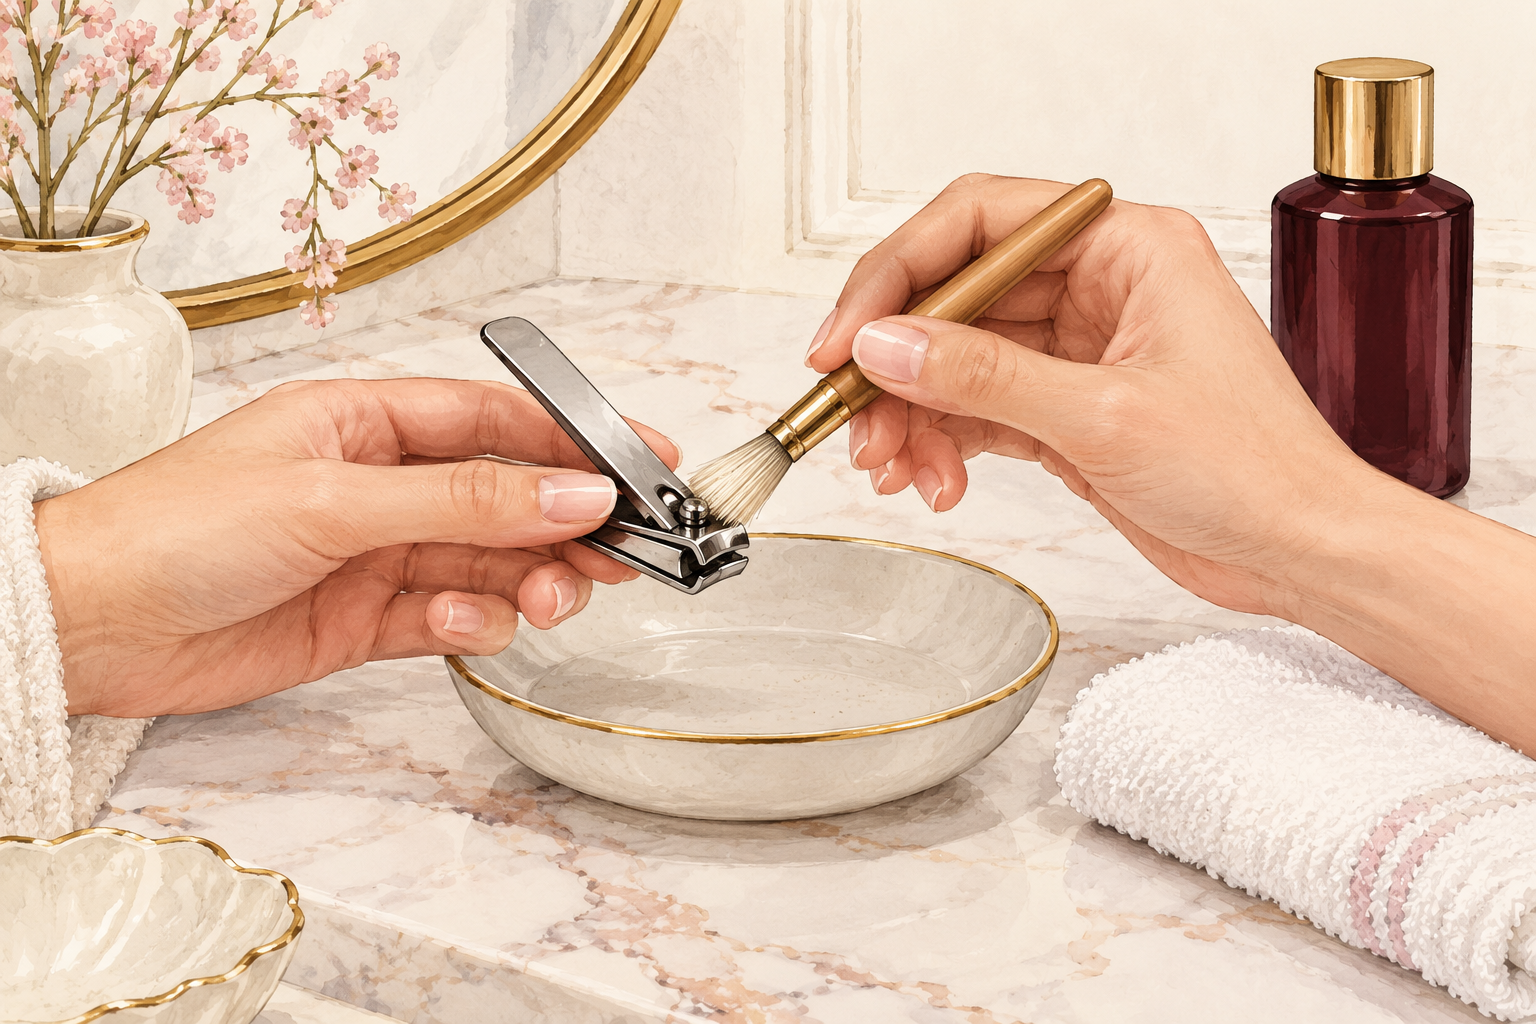
Once a month, scrub each tool with a small brush dipped in seventy to ninety percent rubbing alcohol, rinse it and dry it fully. Never share clippers, and do not use any tool on a finger with a cut or a sore hangnail. Throw away soft files, bent sticks and blunt clippers. A damp tool in a closed pouch rusts, so store the kit somewhere dry, not the steamy bathroom. If a nail looks red or feels sore after using a tool, stop for a few days. Set a reminder on your phone for the first of every month so cleaning actually happens.
12. Check that the kit is working
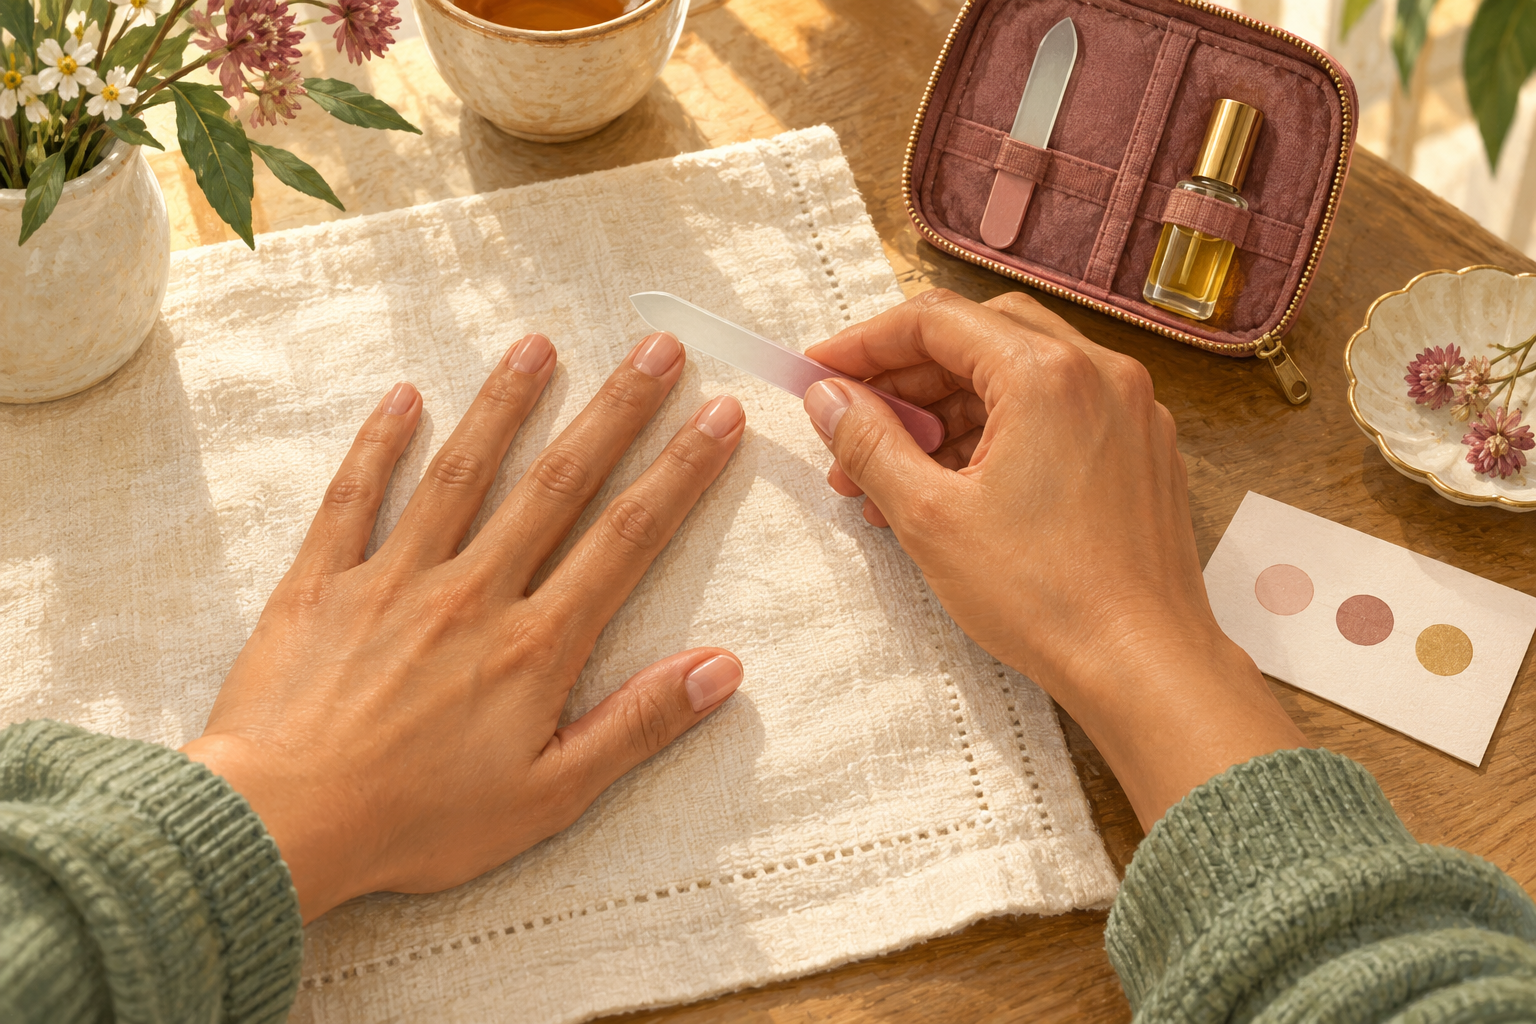
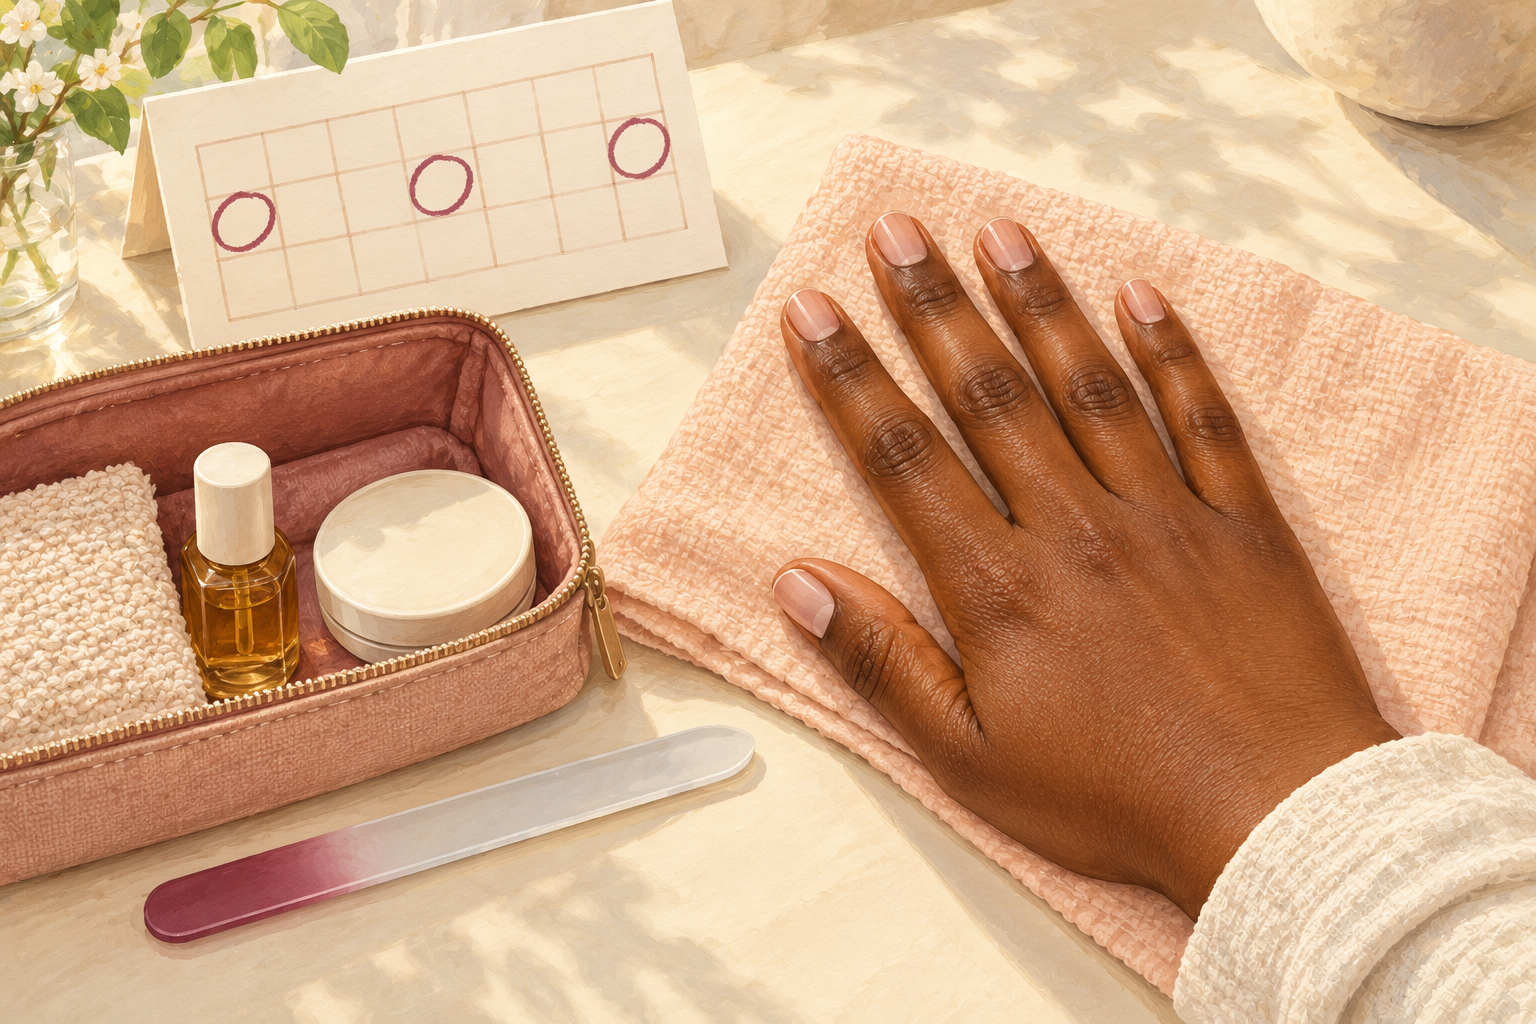
In week one you should snag less and your edges should feel smooth. By week four, your polish should sit more evenly and the skin around your nails should look calmer. By week eight, you will know which manicure tools you reach for and which have not moved from the drawer. Those can go. If your edges still catch, check the file first, because a worn one causes more trouble than you would think. Use these markers as a rough guide, and let real use decide what stays. Write the date you started on the pouch, so you remember when to review it.
Complete the Routine: Manicure Tools to Keep This Week
Tonight, clear your drawer, keep the clippers, file and stick, and wipe each with alcohol. Good tools earn their place slowly, and that is a fine thing for a small drawer. Go gently with the rest of your routine, and the guides below will show you the next step when you need it.