You have a pale base coat on, a dotting tool in your hand, and the first petal turns into a flat blob that swallows the dot beside it. Learning how to do flowers on nails is mostly about wet polish and waiting, not a steady hand. Here are 12 steps from the first petal dot to a clean top coat, so start at number one.
1. Pick a light base that makes the dots show
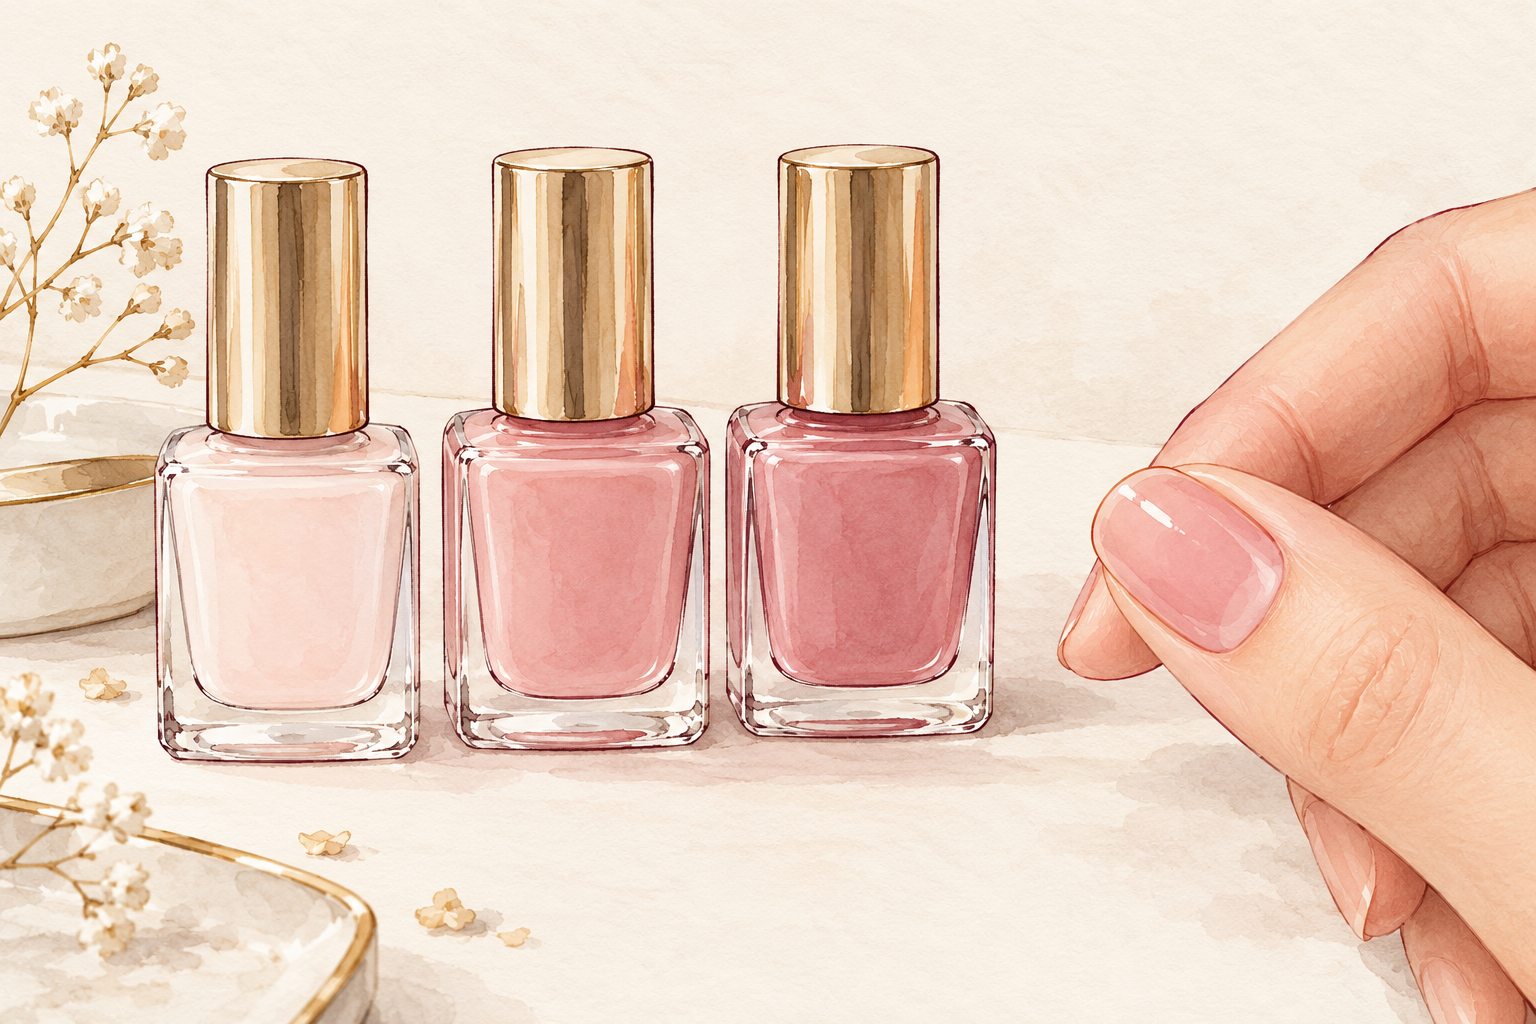
Soft pink, cream, pale blue or sheer white all work, because the petals need contrast to read as petals. Paint two thin coats of base and let it dry for at least ten minutes. A base that is only dry on top drags when the dotting tool touches it, and you get little grooves instead of round dots. If your nails are short, a pale base also makes the flowers look bigger. Test the shade next to your white polish first, since a base that is too close in color hides the petals. Wipe any oil off the nail so the dots grip.
2. Choose your tool by petal size
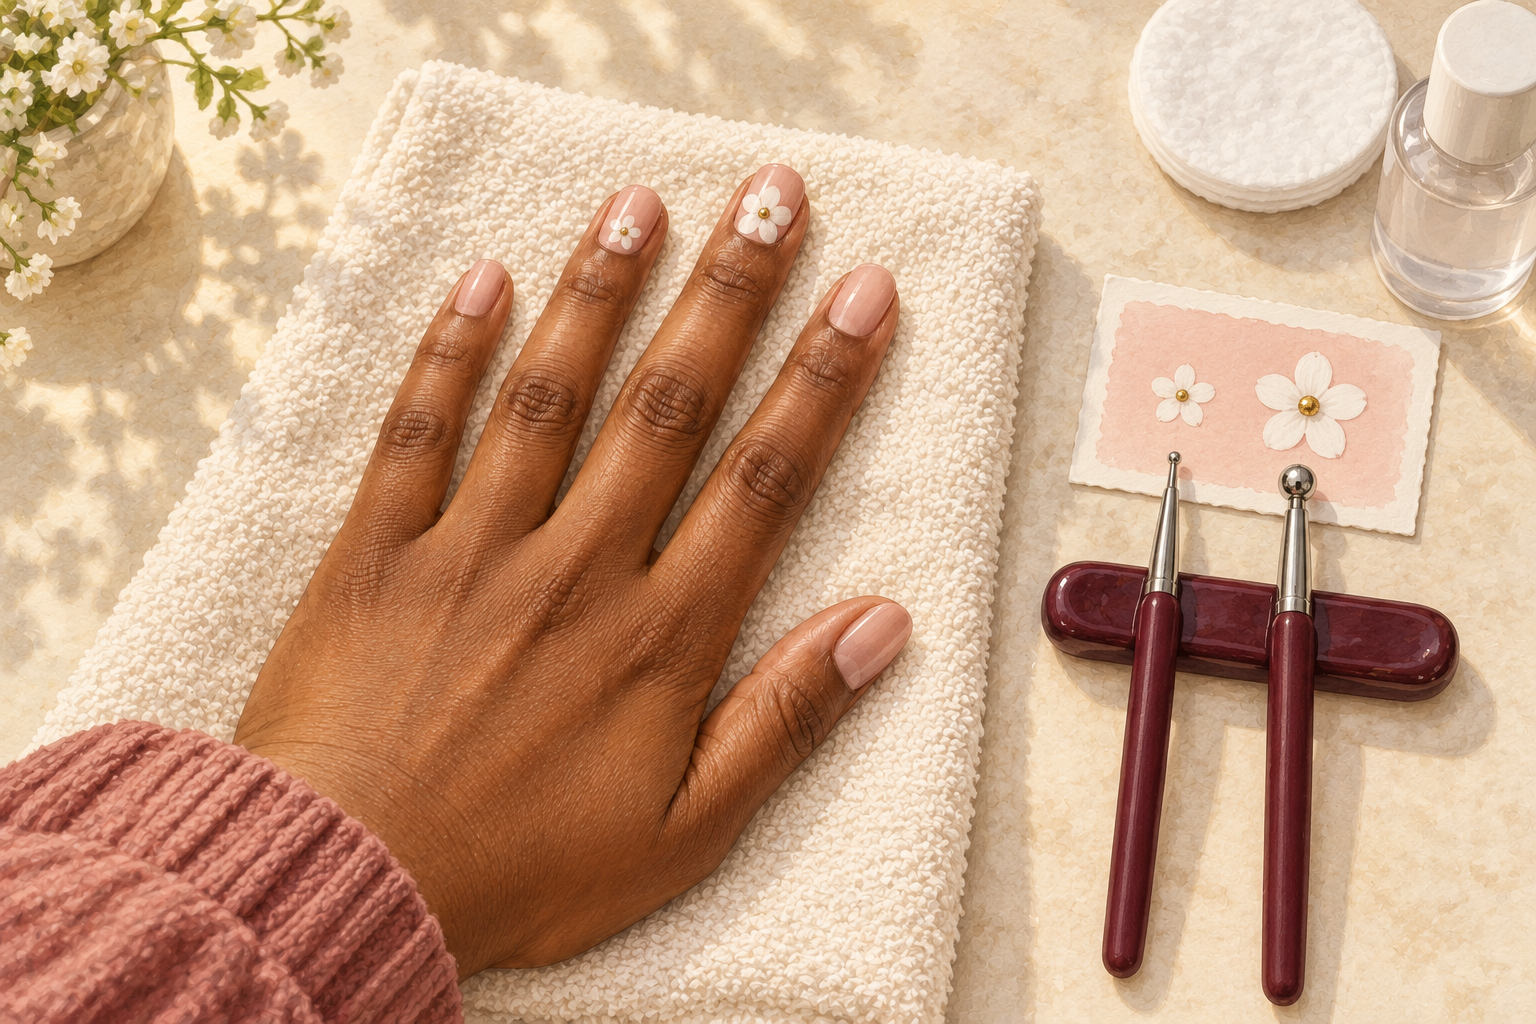
A small dotting tool makes petals about the width of a sesame seed, and a larger ball makes one bold flower. The blunt end of a hairpin or a toothpick does the same job at a smaller scale. Test the size on a scrap of paper before you touch a nail. Wipe the tip with a cotton pad and a little remover between colors, since leftover polish muddies the next dot. Two sizes are plenty for a whole set, and a bobby pin from your drawer works in a pinch. Pick one with a smooth, round tip, because a scratched ball leaves a ragged dot.
3. Put your polish on foil, not on the brush
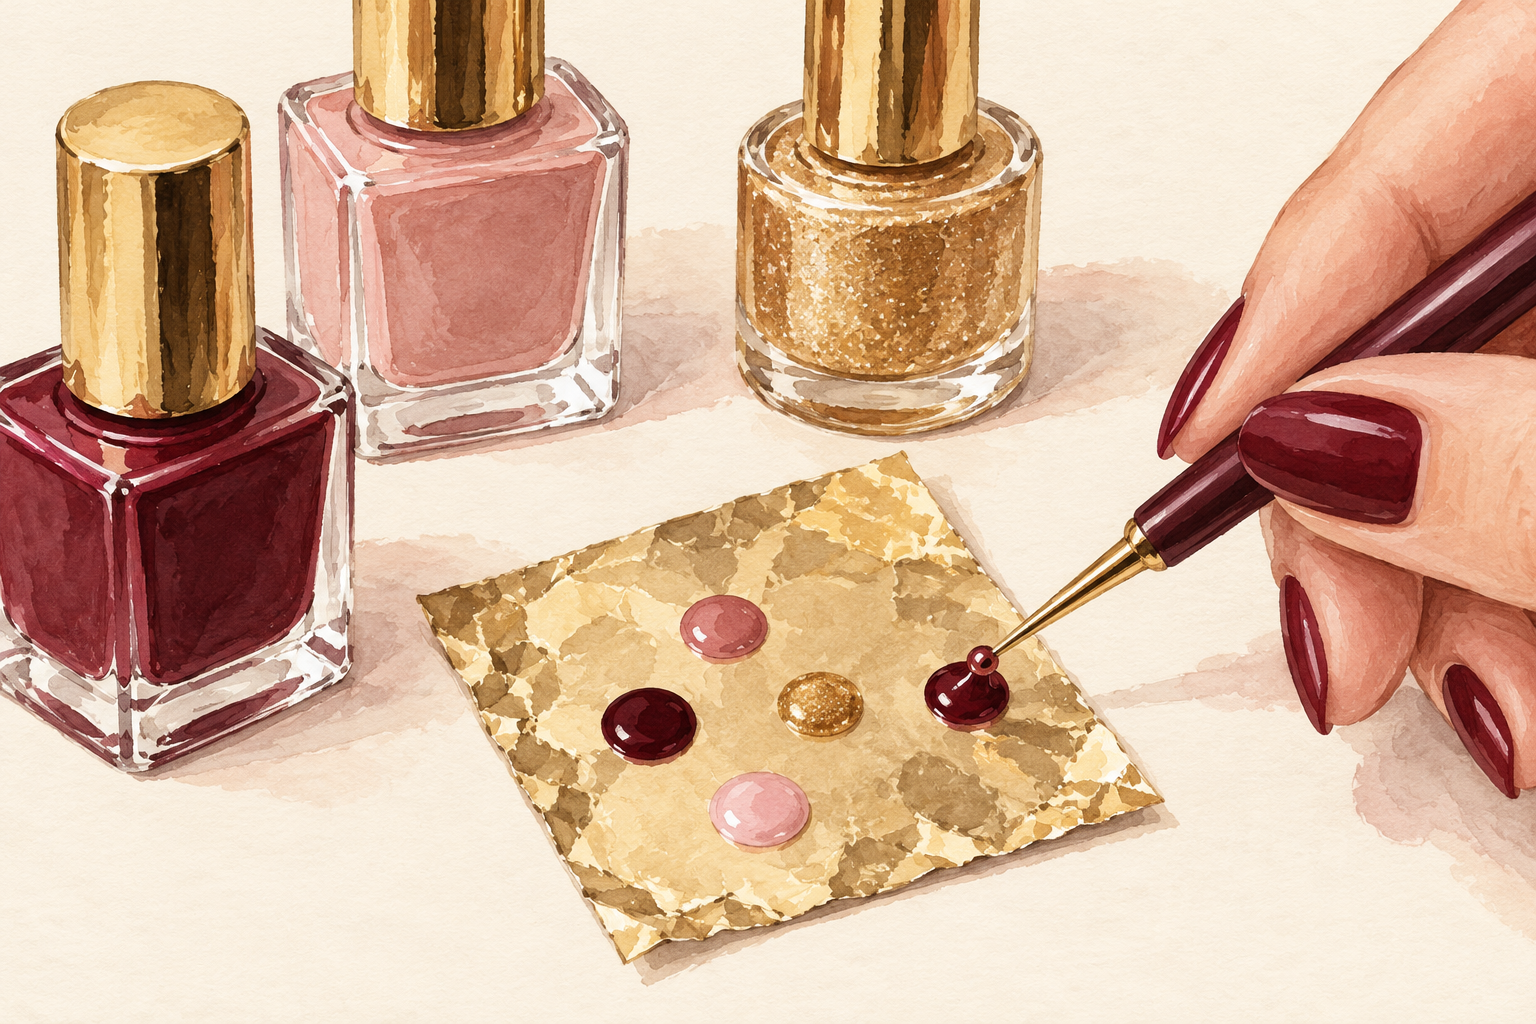
Drop a bead of each color onto a square of foil or a plastic lid, then touch only the very tip of the tool into the bead. That picks up a small drop, not a glob. Make a fresh bead every few nails, because polish thickens fast and stringy polish makes uneven dots. Keep a window open when you use remover, as the fumes collect quickly in a small room. Fix the foil to the table with a bit of tape so it does not slide while you work. Keep the bottle caps loose, and wipe the tool tip on the foil edge after each dot.
4. Place five petals in a ring without letting them touch
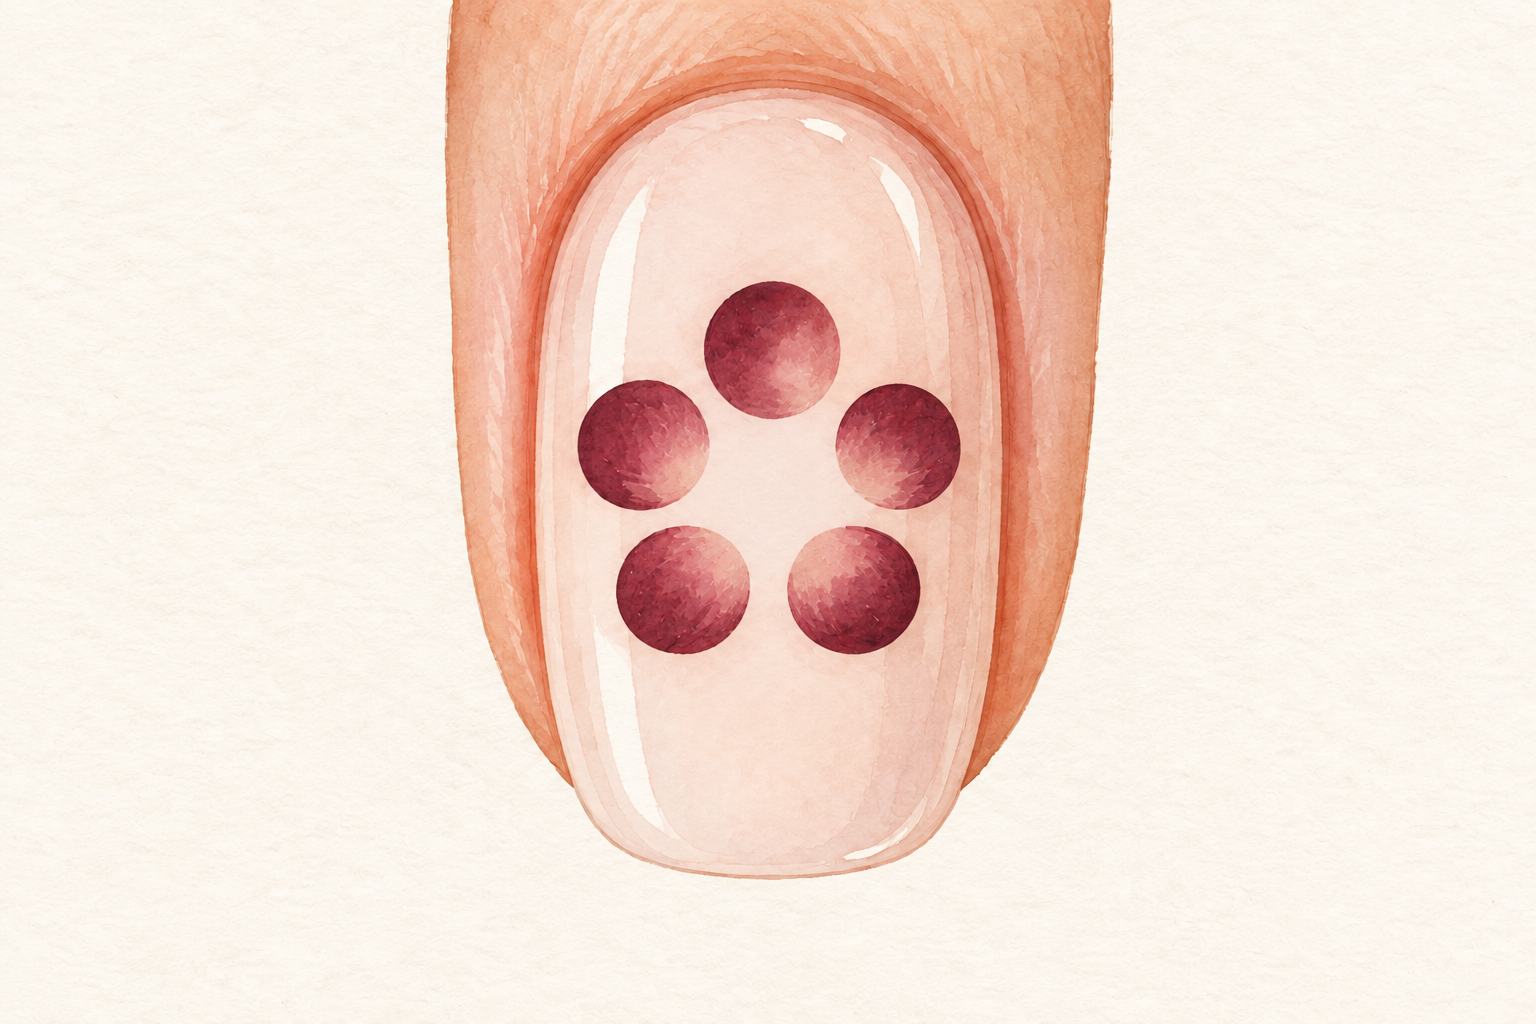
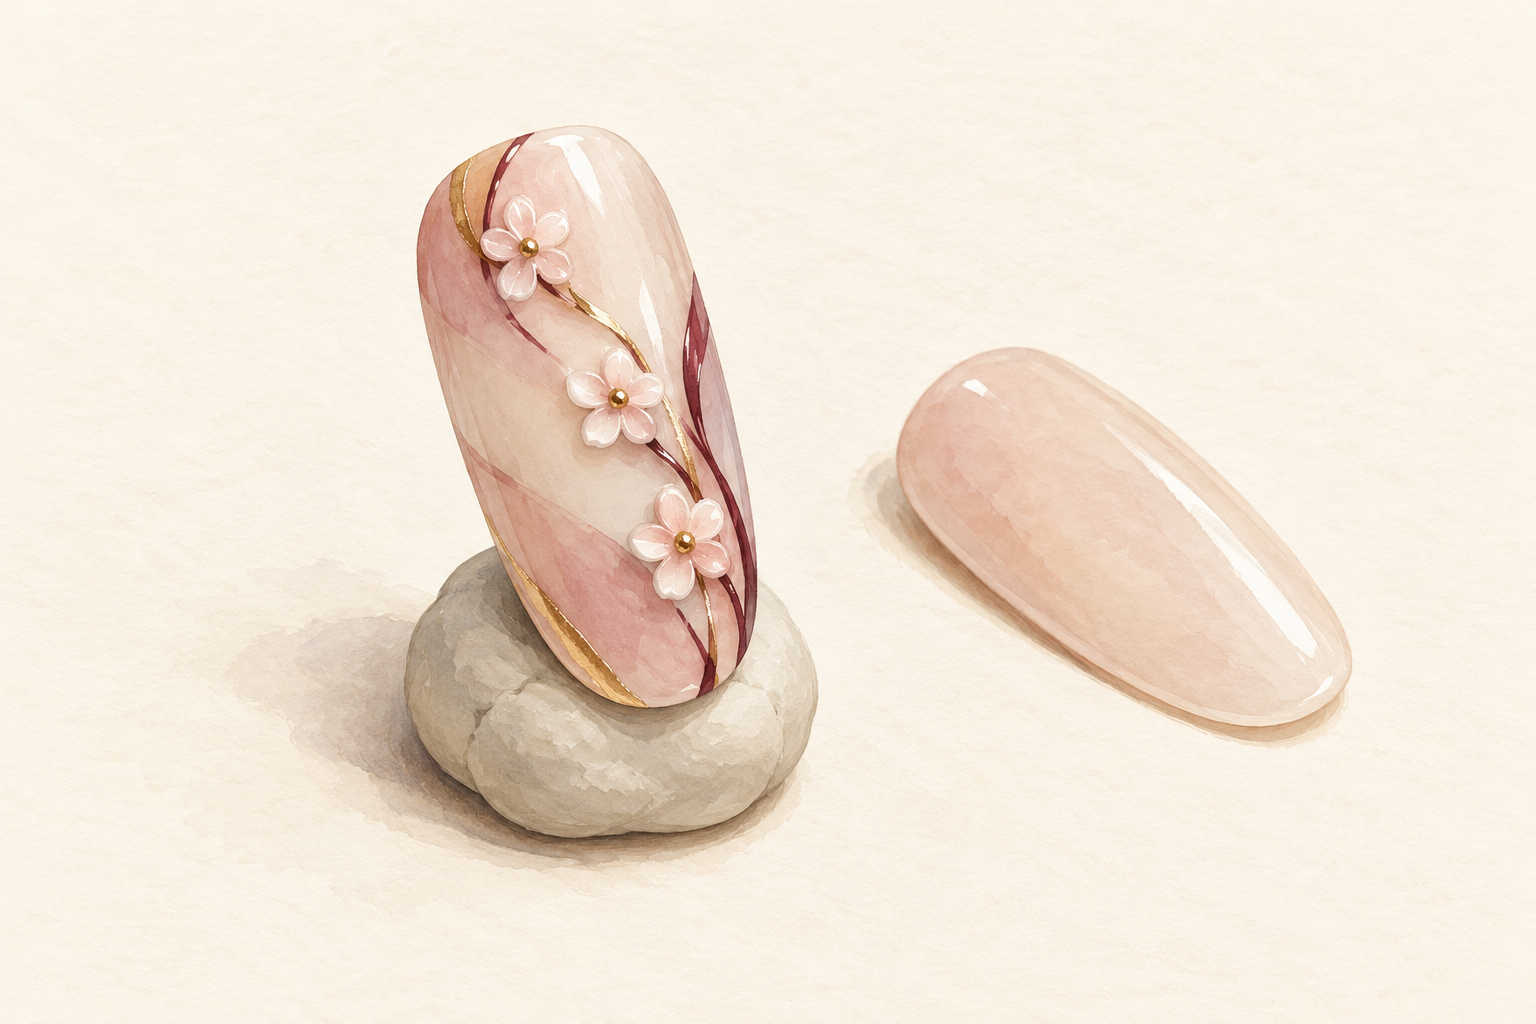
Press the loaded tool straight down, lift it straight up, and leave a gap about half a dot wide between petals. Dots that touch bleed into each other as they spread. Start with the top petal, then place the others clockwise, like the numbers on a clock. If one lands in the wrong place, wipe it off with a small brush dipped in remover instead of dragging it. This five dot ring is the heart of how to do flowers on nails, and every other flower is a variation. Take your time on the first nail, because it sets the size for the rest. Next up after a steady ring is how to do 3d flowers on nails for a fuller bloom.
5. Drop a smaller dot in the middle
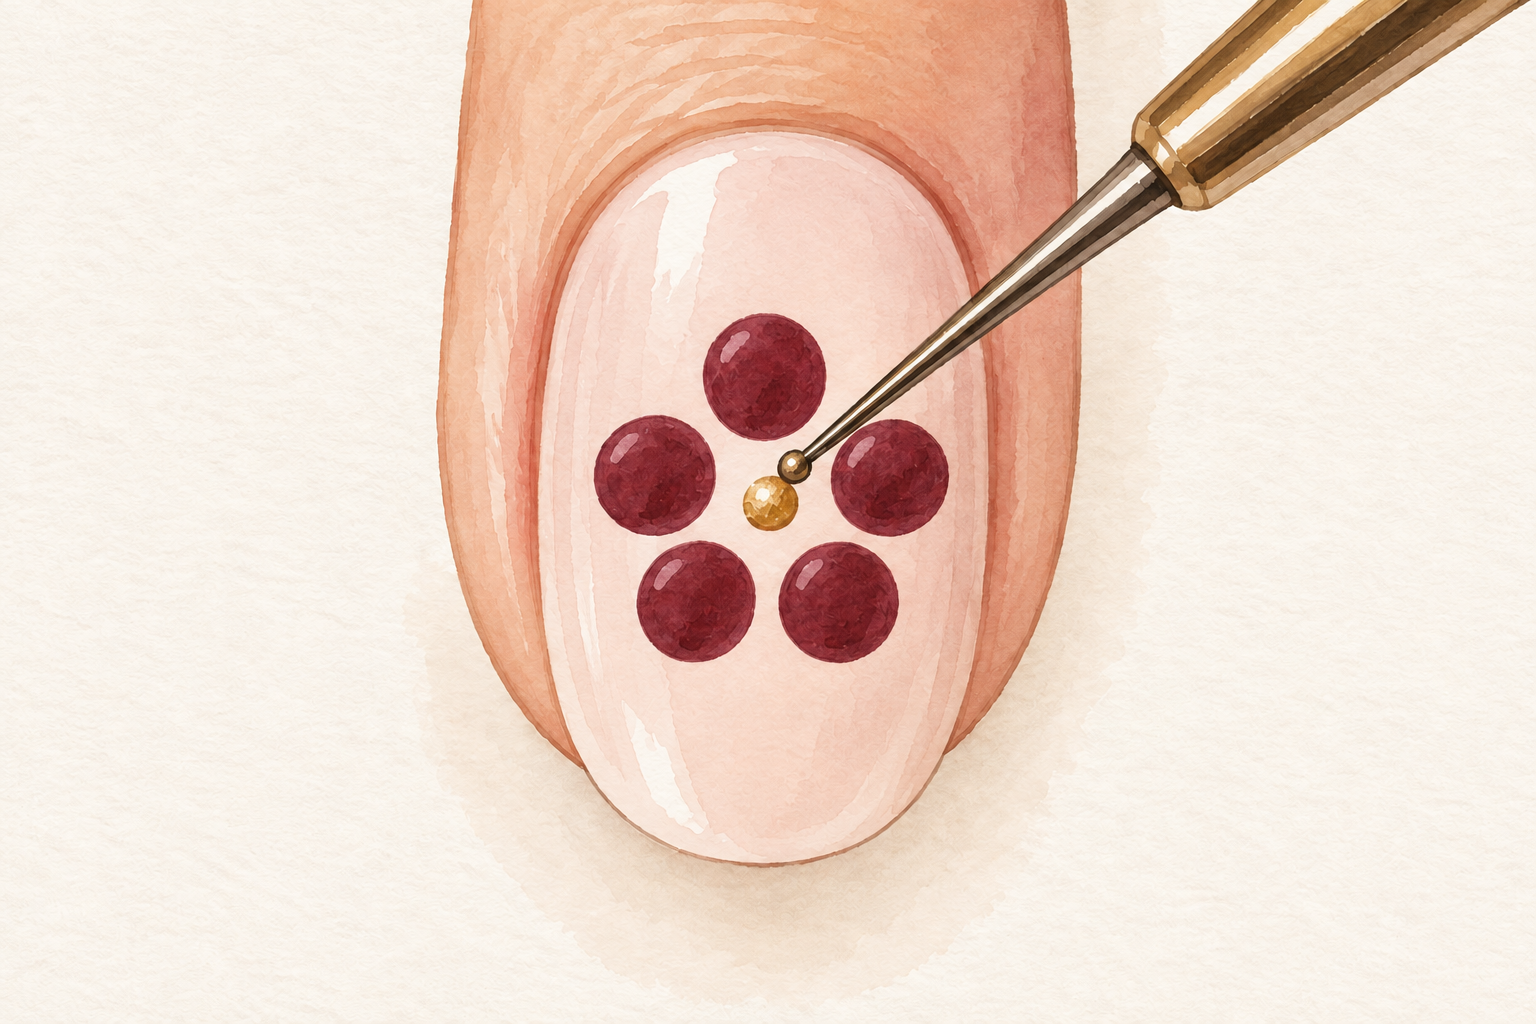
Use a smaller tool, or a nearly dry one, to put one dot in the heart of the ring in a contrasting color. Yellow works on white petals, and a deep pink works on pale pink. Wait a minute for the petals to firm up before you add the center. If you place it while the petals are still glossy, the center spreads outward and the flower turns into a smudged circle. Rest your hand on the table first, so the dot lands exactly where you aim. A tiny dot reads as a tidy center, and a big one swallows the petals.
6. Size the flower to your nail
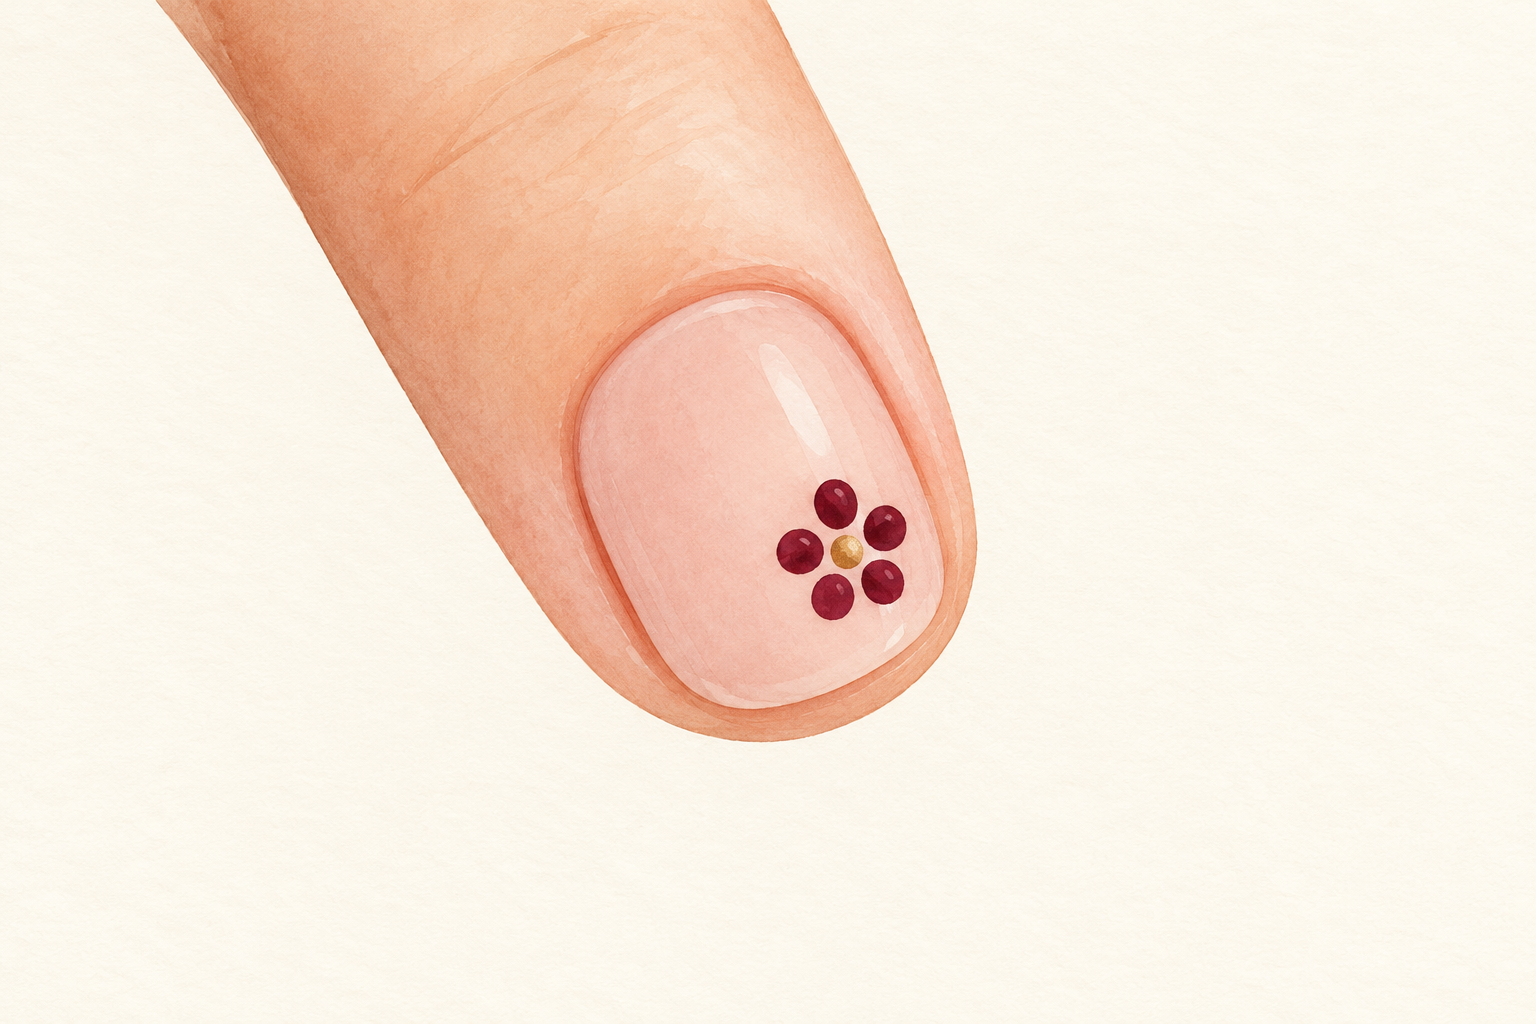
On a short nail, one flower about the size of a pea is plenty. A crowd of tiny flowers tends to look messy. Place the first flower slightly off center, toward a corner, which looks more intentional than the middle. A second, smaller flower can sit near the first as long as you give them room. Fill any gaps with single dots in the center color if the nail still looks bare. Check the shape in good light before you move on. Leave a little space around the edges, because petals that touch the skin make cleanup harder.
7. Drag each dot toward the center for daisy petals
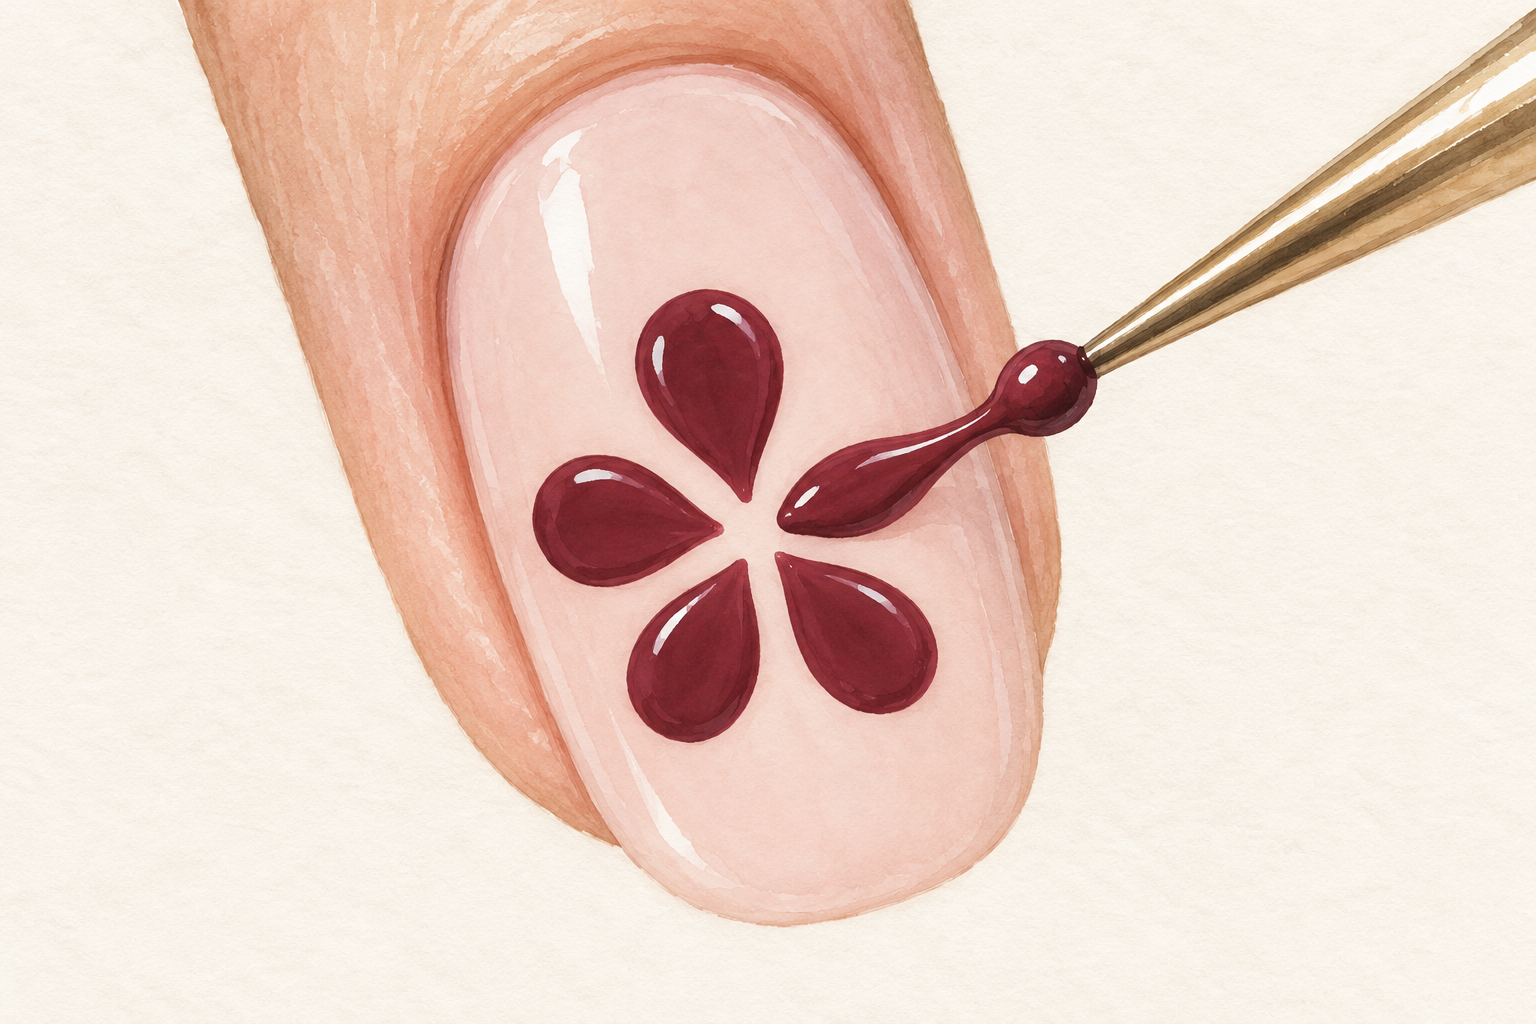
Place a dot, then drag the tool a short way toward where the center will be in one smooth move. That pulls the round dot into a teardrop, and five of them make a daisy. Work one petal at a time, because the polish has to be wet enough to move but not so wet it floods. If the tail looks thin and broken, your polish has started to thicken, so swap to a fresh bead from the foil. Finish with the center dot once all five petals have settled. Wipe the tool between petals so the white stays clean.
8. Add a stem and two leaves with a fine brush
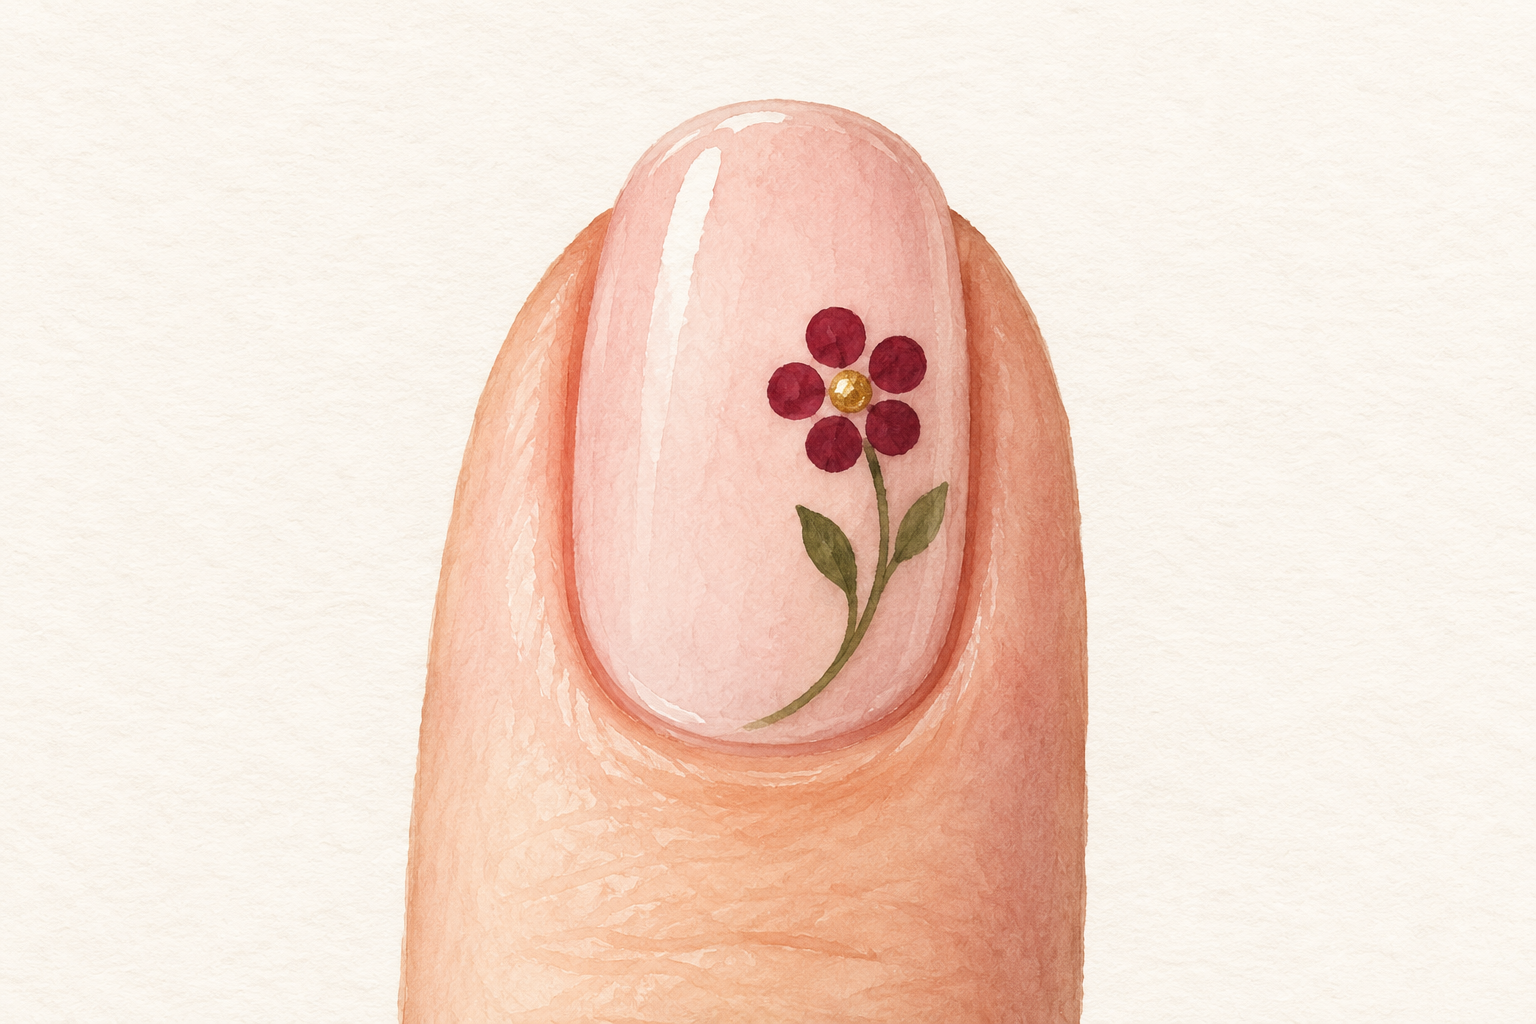
Dip a thin nail art brush in green polish and wipe most of it off on the foil. Pull one curved line from the flower toward the cuticle, then add two short leaf strokes by pressing the brush down and lifting off at an angle. Keep these tiny, because big leaves crowd the flower. If you do not own a fine brush, a row of two or three green dots reads as leaves. Let the stem dry for a minute before you touch it again.
9. Wait ten minutes before you seal anything
Set a timer, because the slowest part of how to do flowers on nails is the wait. Thick dots set far slower than a thin coat of polish, so give the whole design a full ten minutes, and more if the room is humid. Touch one petal on an unimportant nail, very lightly. If it feels tacky, wait longer. Do not use drying drops or sprays here, since they only firm up the top layer and leave the dots soft underneath. Stay off your phone while you wait, because sitting on your hands is the whole trick.
10. Float a generous top coat over the flower
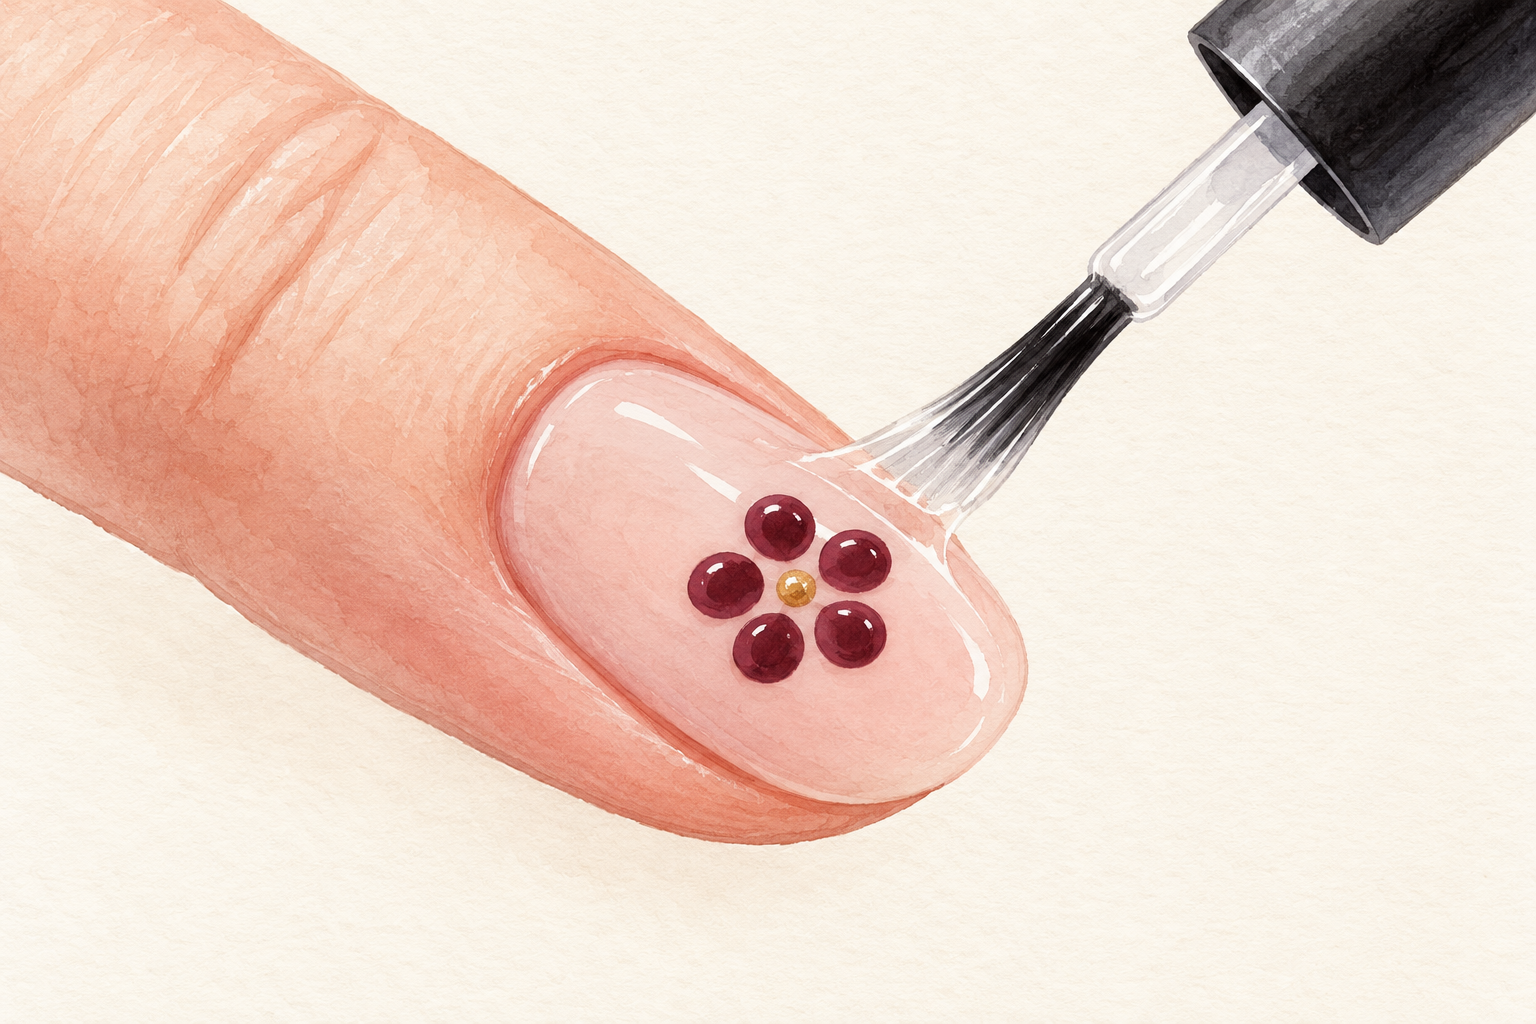
Load the brush with a big bead of top coat and let it glide over the surface, barely touching the bristles to the nail. Pressing down drags the petals into a streak. Do one stroke down the middle, then one on each side, and cap the free edge last. If a streak appears, leave it alone and let it dry, then add another floating layer later. The petals will sit slightly raised under the gloss, which is exactly the look you want. Wait twenty minutes before you touch anything, and sleep with your hands on top of the covers tonight. Give the gloss time to settle, and read how to paint nails if the base feels rushed.
11. Fix blobs and smears with one slow swap
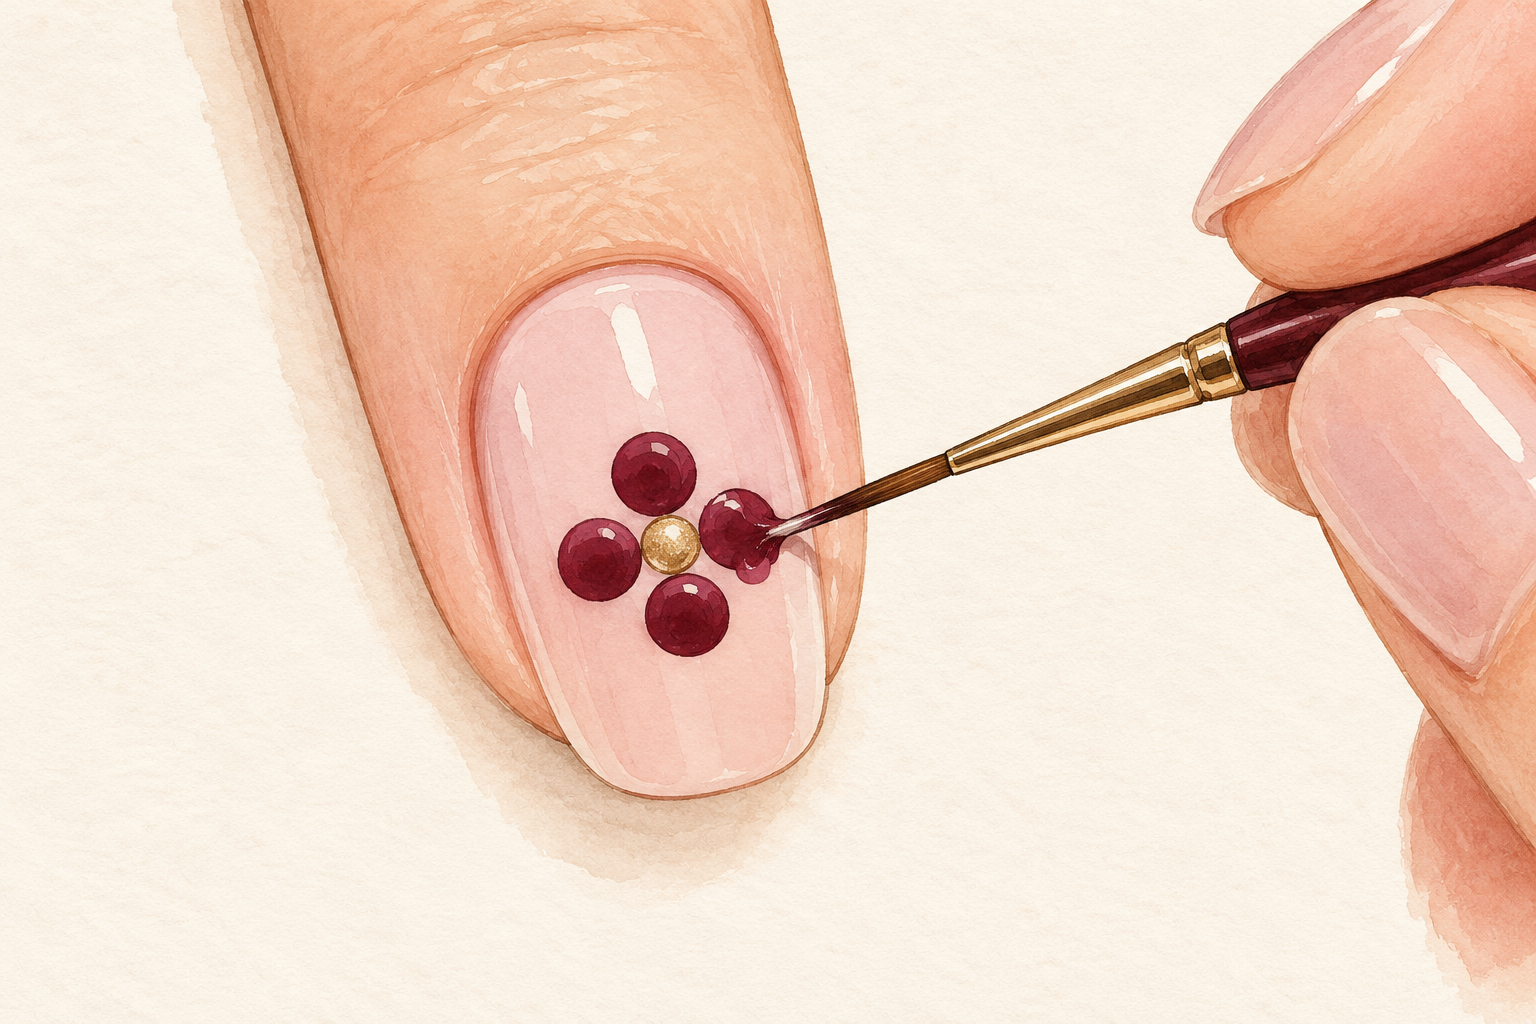
Swap a loaded tool for a barely loaded one, fast dotting for one dot at a time, and a nearly dry base for a fully dry one. Most flower mistakes are speed mistakes. A merged dot comes off with a small brush dipped in remover, then you can redo that single petal. If your dots keep spreading, your polish may simply be too runny, and a different bottle can help. Practice on a sheet of paper first, because your hand learns the pressure in about a dozen dots.
12. Make it last and try a new color story
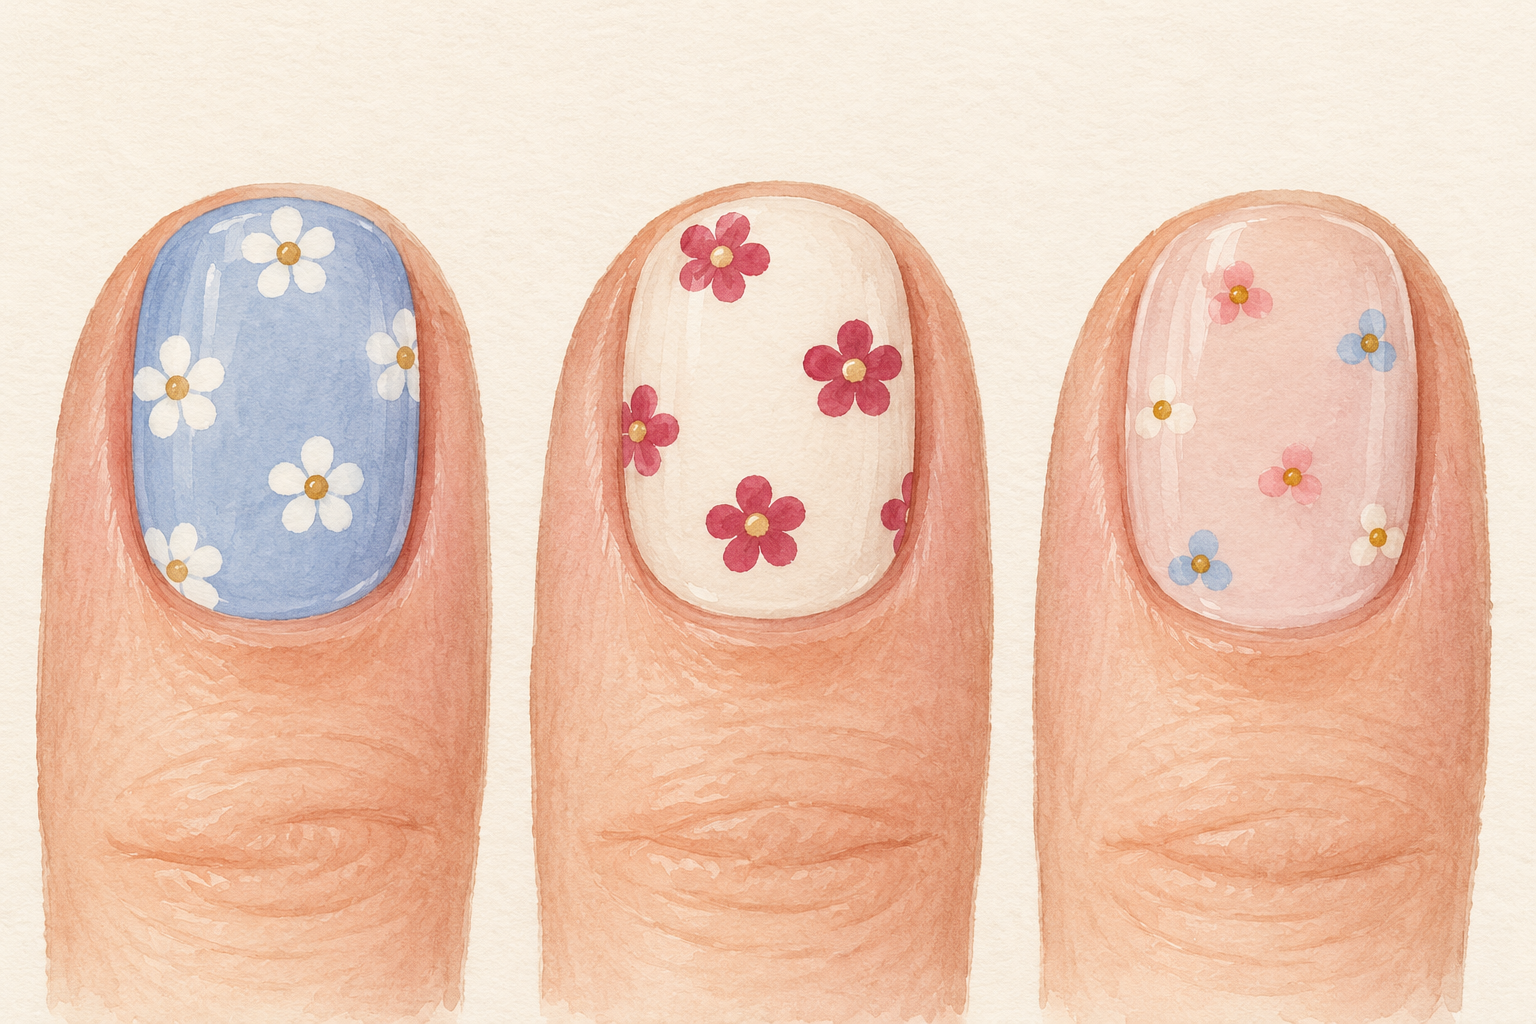
Refresh the top coat on day three and wear gloves for washing up, and your flowers can last a full week. Once you have the dot and the pause, any colors work. Try white petals on pale blue, deep pink on cream, or tiny three dot blossoms in a soft cluster. Keep an accent nail plain so the set does not look busy. A drop of cuticle oil each night keeps the skin around it soft. Your first nails may look uneven, and the third or fourth will look much better.
Complete the Look: How to Do Flowers on Nails Tonight
Put on your pale base now so it is fully dry by tomorrow, then practice five petal dots on paper while you wait. Flowers are a playful way to practice, so enjoy the small mistakes as you go. Ideas for your next set wait in the guides below.