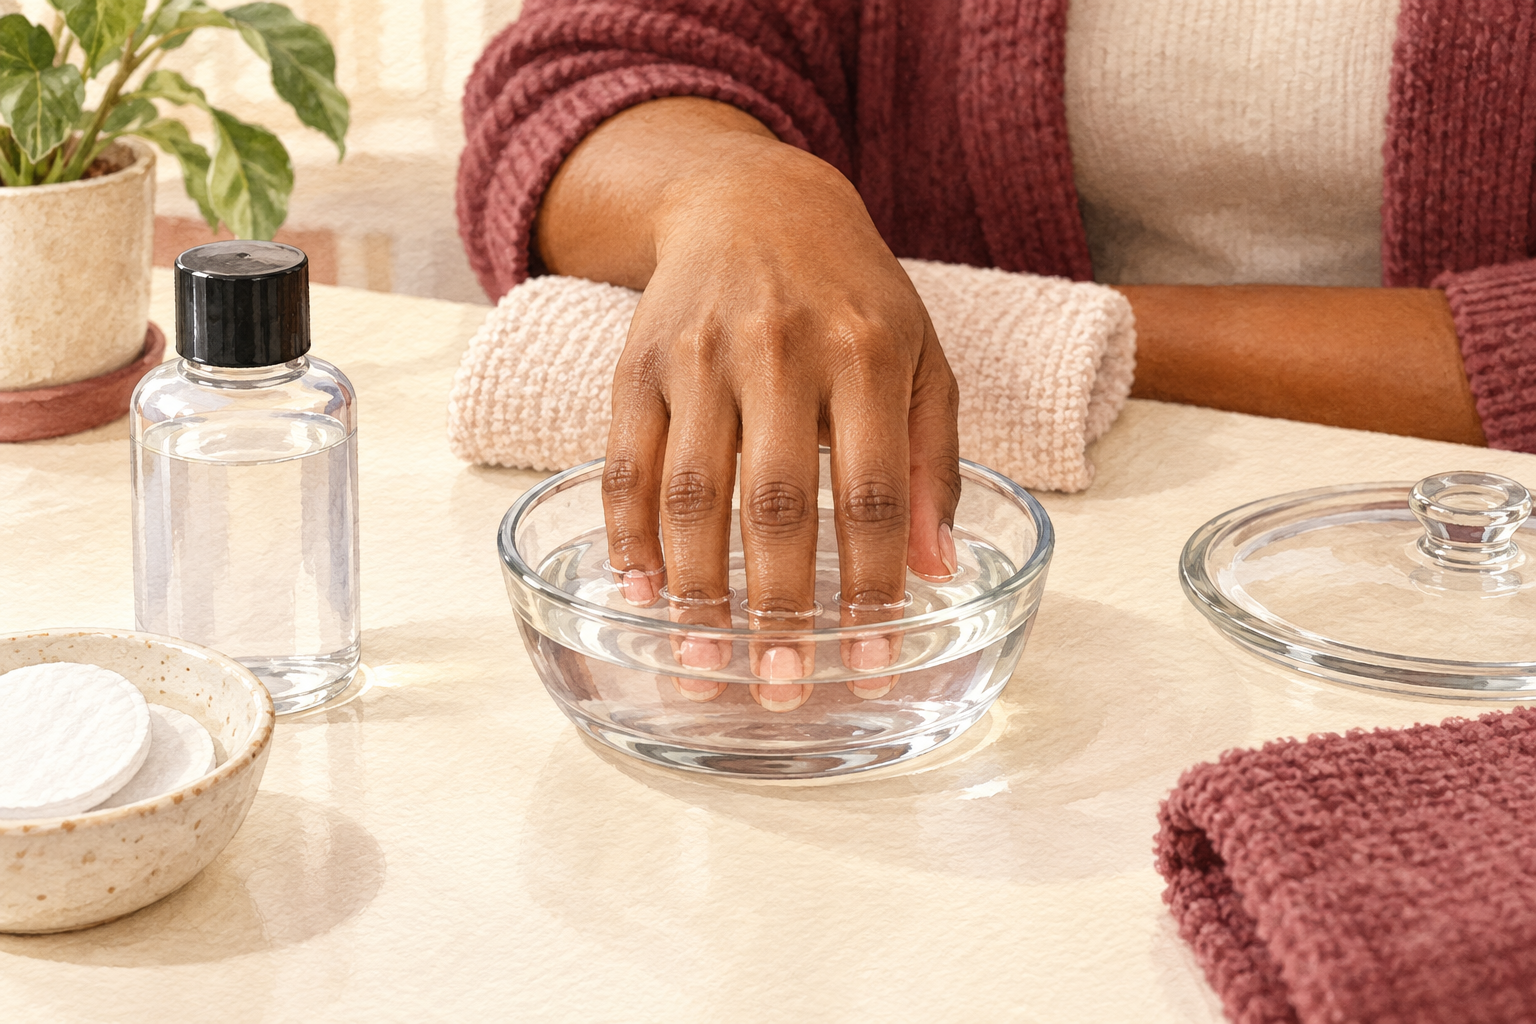
You sat down with a bowl of acetone expecting twenty minutes, and an hour later the tips are still stuck to your nails. That is normal when you learn how to remove gel x nails at home, because soft gel tips are thick and cured as one solid piece. Here are 12 steps that trim, soak and lift them without prying, so start at number one.
1. Block out a full hour
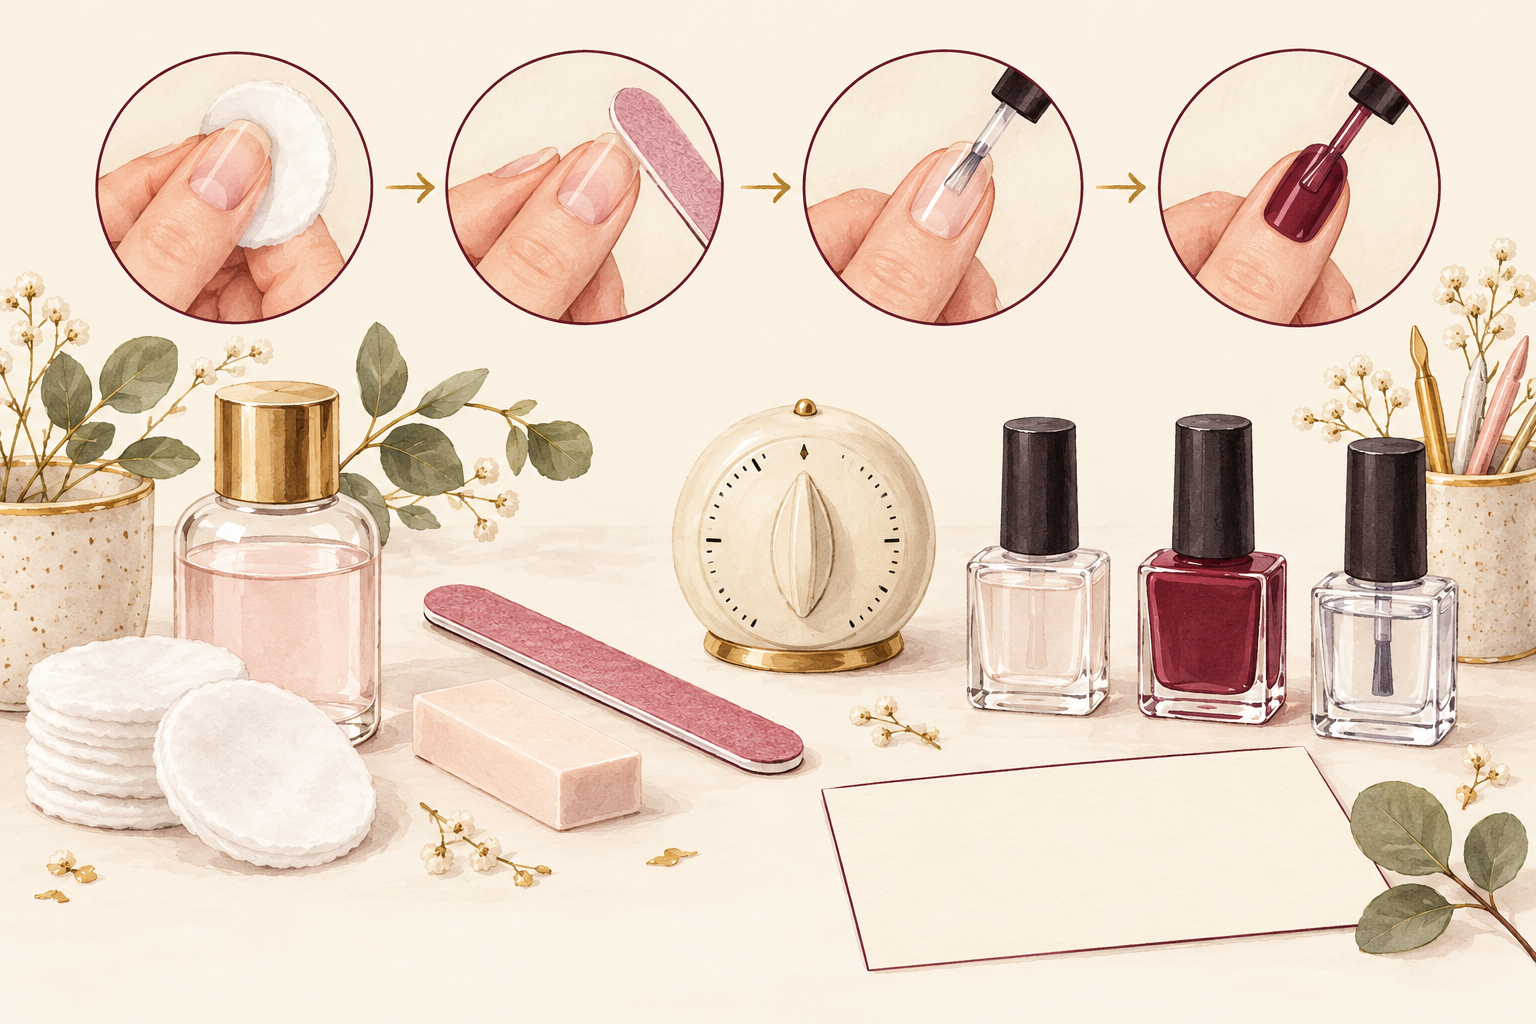
Set aside sixty minutes with a podcast or a show, because rushing is how nails get ripped. A thick tip usually needs fifteen to twenty minutes of soaking, then a check, then often a second round. Most of learning how to remove gel x nails at home is learning how long it takes. If you only have ten minutes, wait for another evening, since a half done job is harder to finish than a fresh one. Make a cup of tea first and put your phone where you can reach it without using your fingertips. Pick an evening with nowhere to be, and the whole job feels like a quiet reset. Give this an unhurried evening, and then open remove gel nails at home before you begin.
2. Set out your kit and open a window
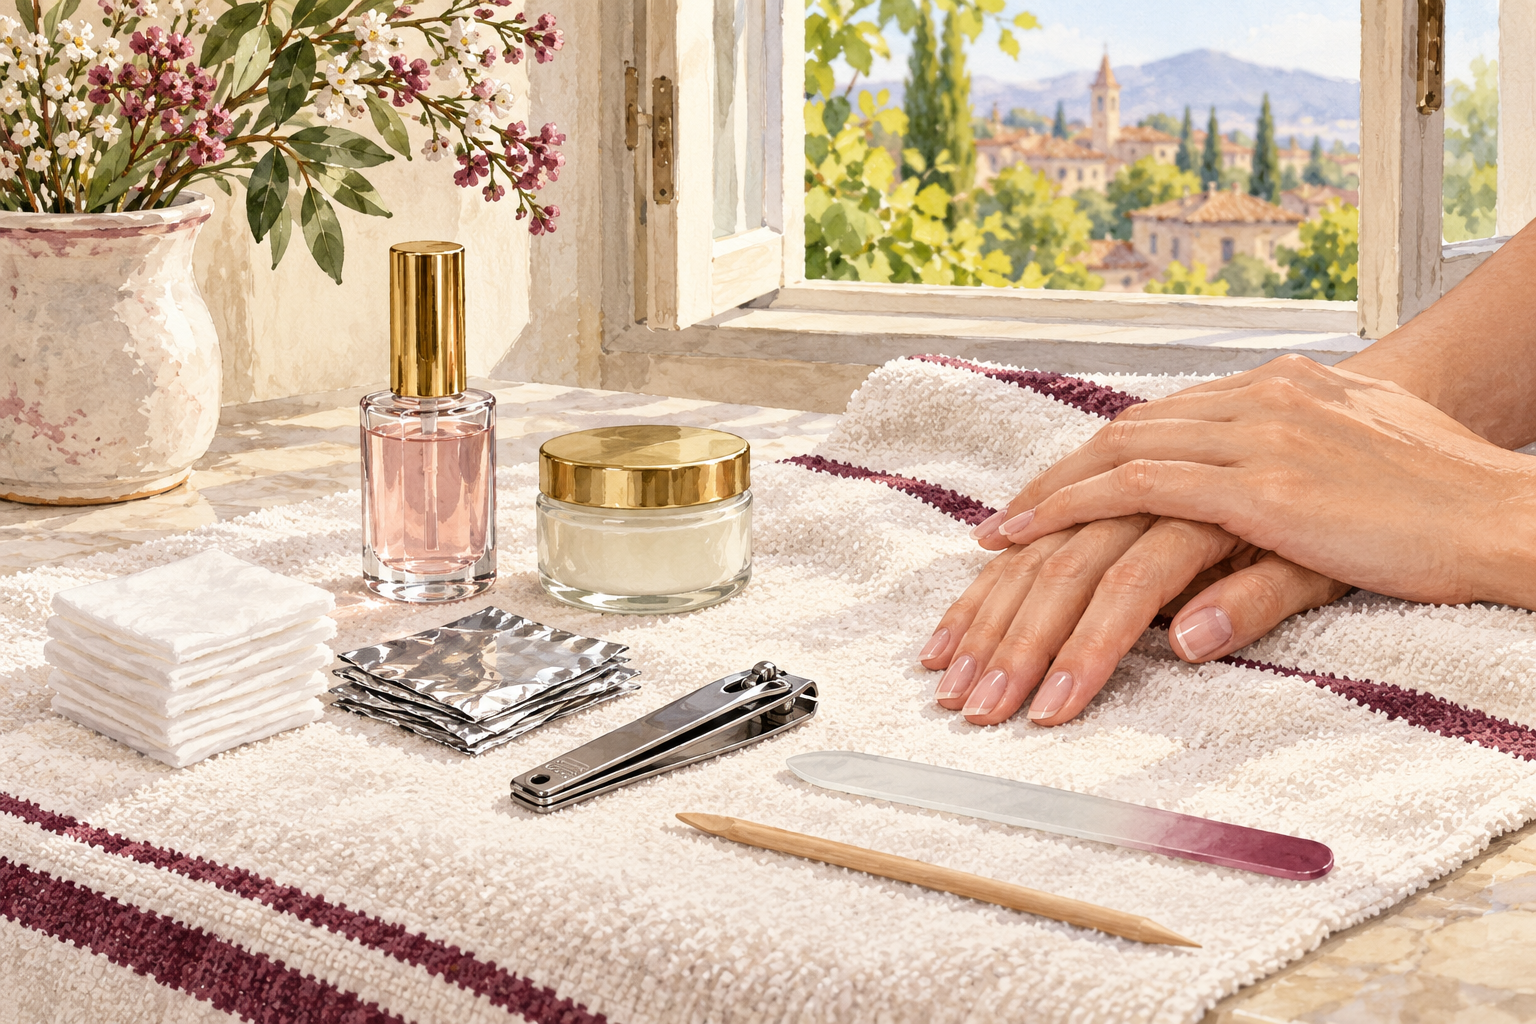
Lay everything out before your fingers are wrapped, because you cannot dig through a drawer with foil on. You need pure acetone, cotton, foil, nail clippers, a glass file, a wooden pusher, petroleum jelly and a towel. Acetone fumes build up fast in a small room, so open a window and keep it well away from candles or anything hot. It also marks plastic and varnished wood, so cover your table with a thick towel. Cut the cotton and foil into nail sized squares now, while your hands are still dry, and stack ten of each on the towel so they are ready in a row.
3. Check what you are really removing
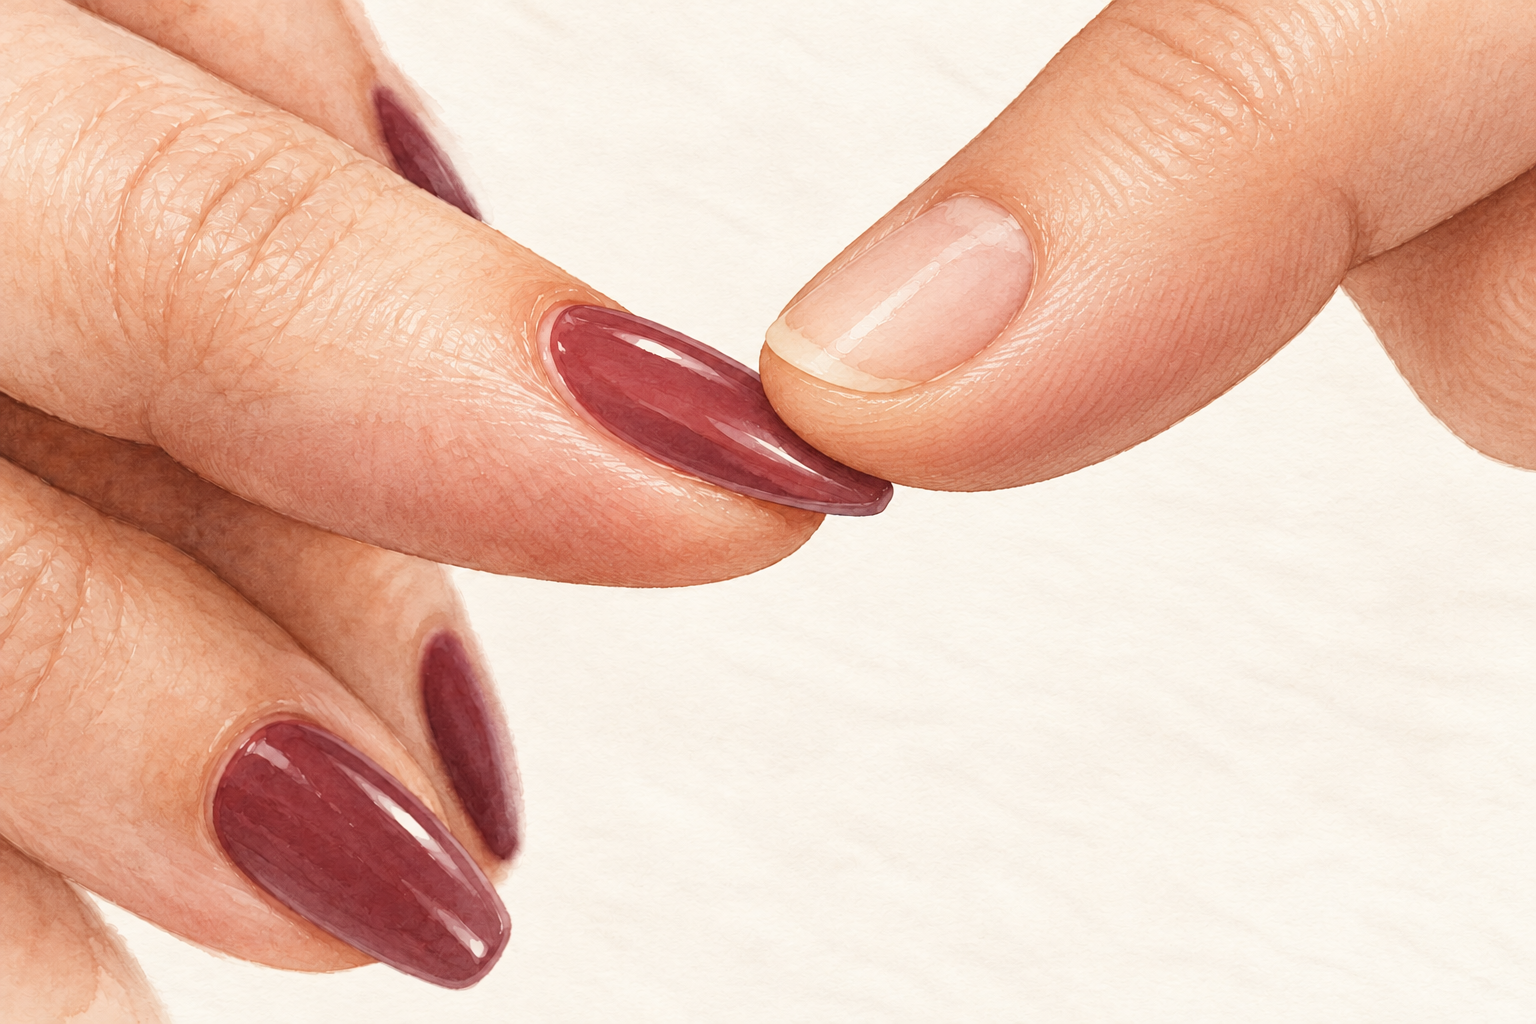
Press the free edge of one tip, and if it flexes slightly, it is the soft gel kind that acetone can dissolve. Hard gel and acrylic do not respond to a soak, so if the edge feels stiff like plastic, switch methods instead of wasting an evening. If you are unsure which you have, check the pack the tips came in or ask whoever applied them. Look at the edges, too, and check for any lifting. A lifted corner often lets acetone creep in, which can shorten the soak a little. Do not pick at it, just note which nails are loose and start with those.
4. Clip the free edge down short
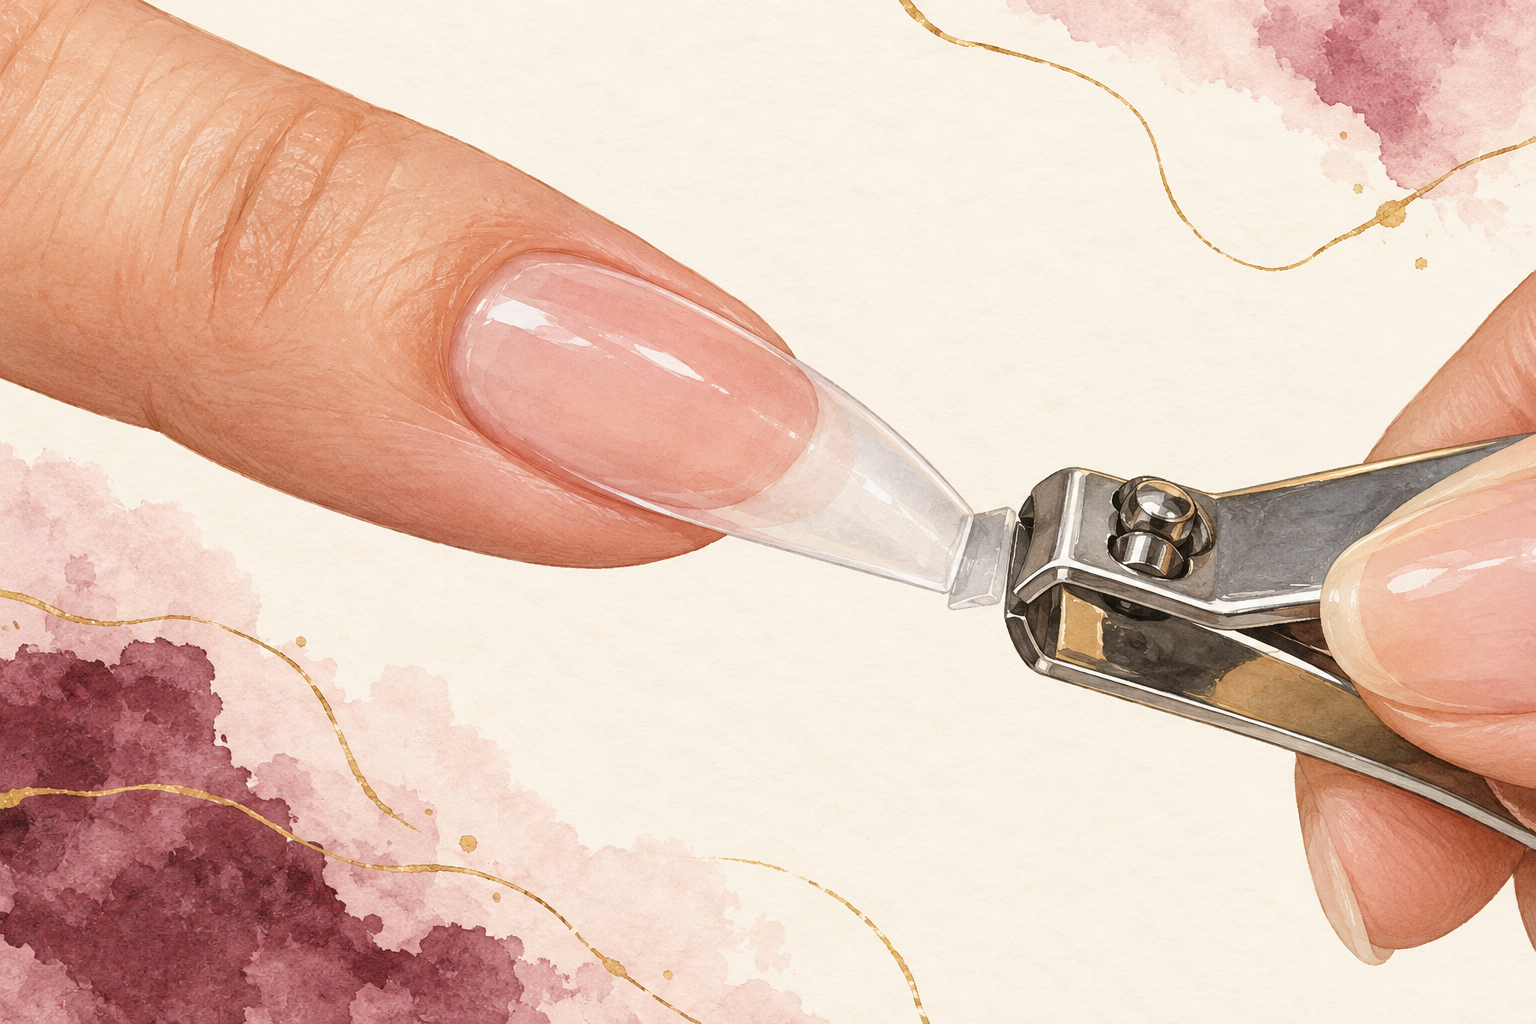
Trim the overhang with clippers, a little at a time, until the tip sits just past your fingertip. Less gel means less to dissolve, and a shorter nail gives you less leverage to snag and bend the real nail underneath. Cut in small nips instead of one hard squeeze, because a sudden snap can crack the layer below. Do all ten before you move on. Keep a couple of clippings in a dish, since you can drop them in acetone later to see how quickly your gel softens. If a clipping stays hard after twenty minutes, plan for a longer soak.
5. Break the shine, then stop
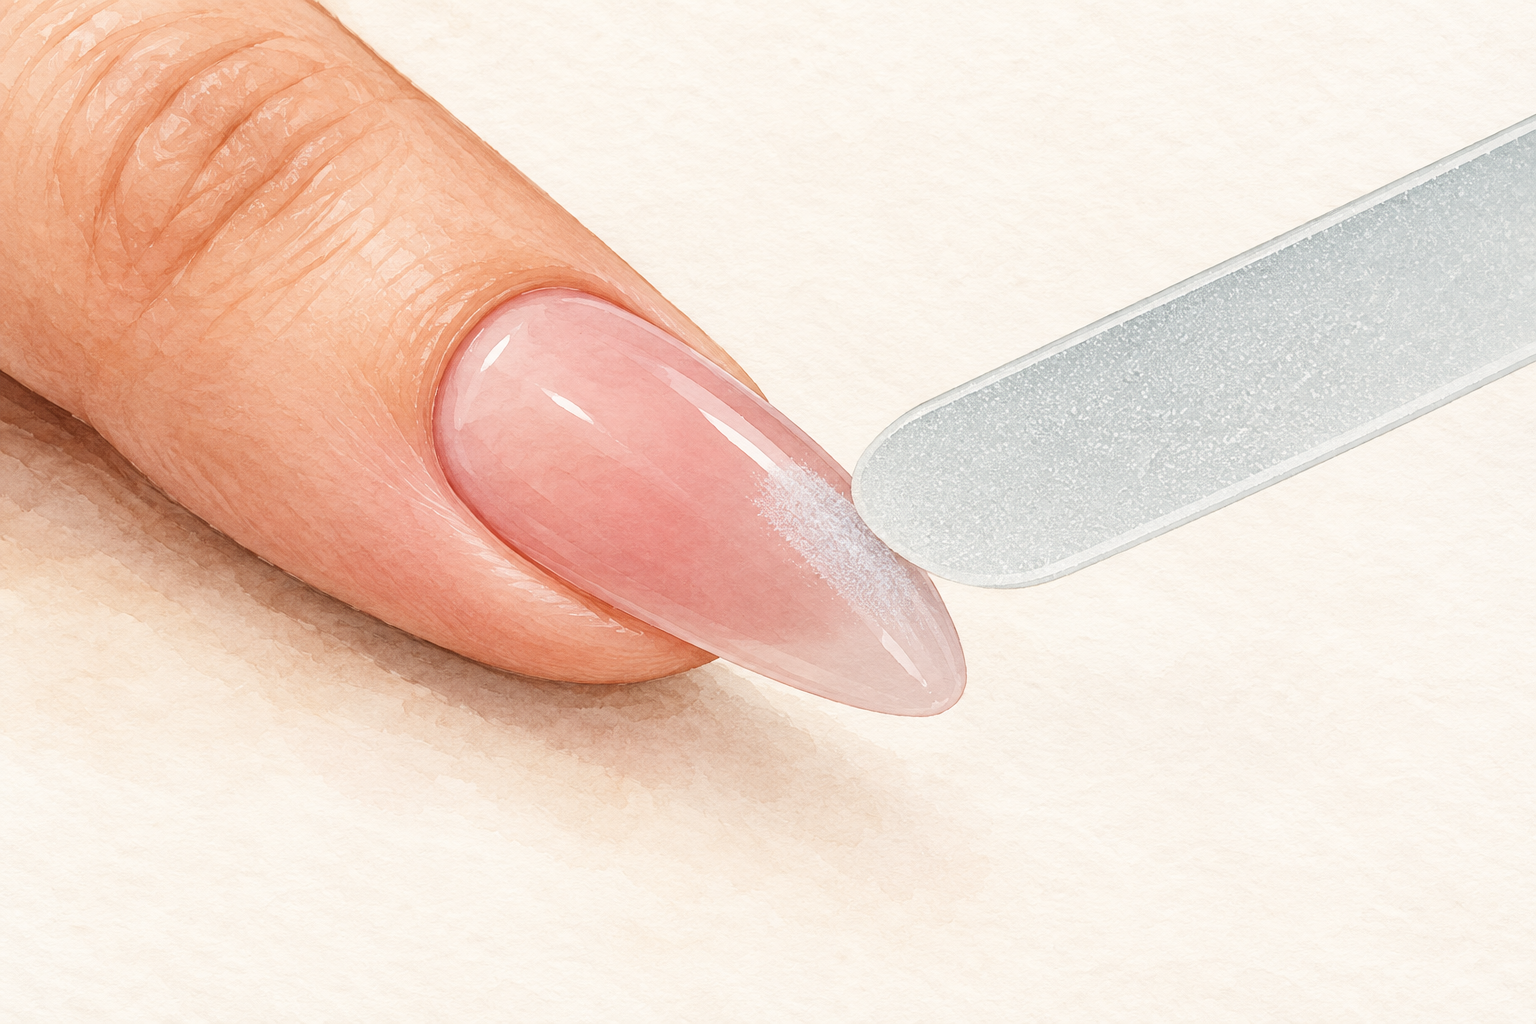
Run a glass file lightly across each tip until the glossy surface turns dull and chalky. That glossy seal is what keeps acetone out, so scuffing it is the biggest time saver in the whole job. Stop the moment the shine is gone, and never file toward the natural nail, because thinning it from the top is how people end up with bendy, sore nails for weeks. You are scuffing, not sanding. Ten seconds per nail is plenty, and a soft brush clears the dust before you wrap. Dust left on the tip soaks up acetone and slows the whole job down.
6. Protect your skin before it meets acetone
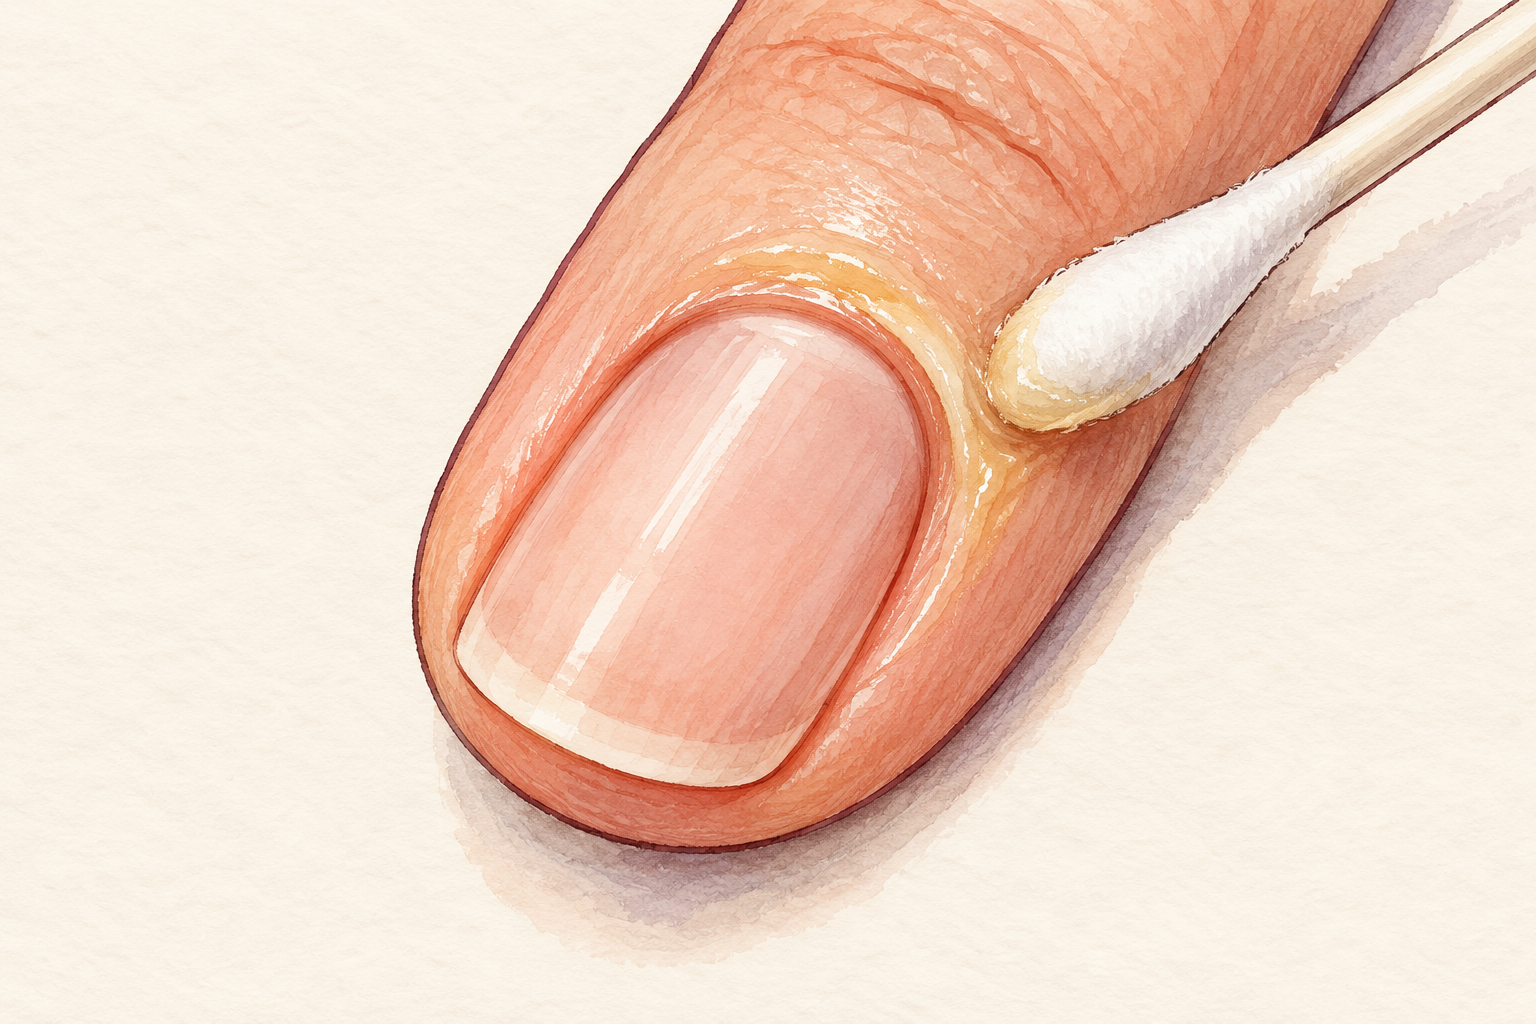
Smear petroleum jelly around each cuticle and across the skin of the fingertip, keeping it off the nail itself. Acetone dries and irritates skin, and a soak this long shows it quickly. Jelly on the nail would block the acetone, so use a cotton bud for neat edges. A thin coat is plenty. If your skin stings or turns red at any point, take the wrap off, wash with mild soap and finish another day. Dry skin around the nail before you started will feel the soak the most, so add a second dab to the thumbs and index fingers, which take the longest.
7. Wrap each nail with soaked cotton and foil
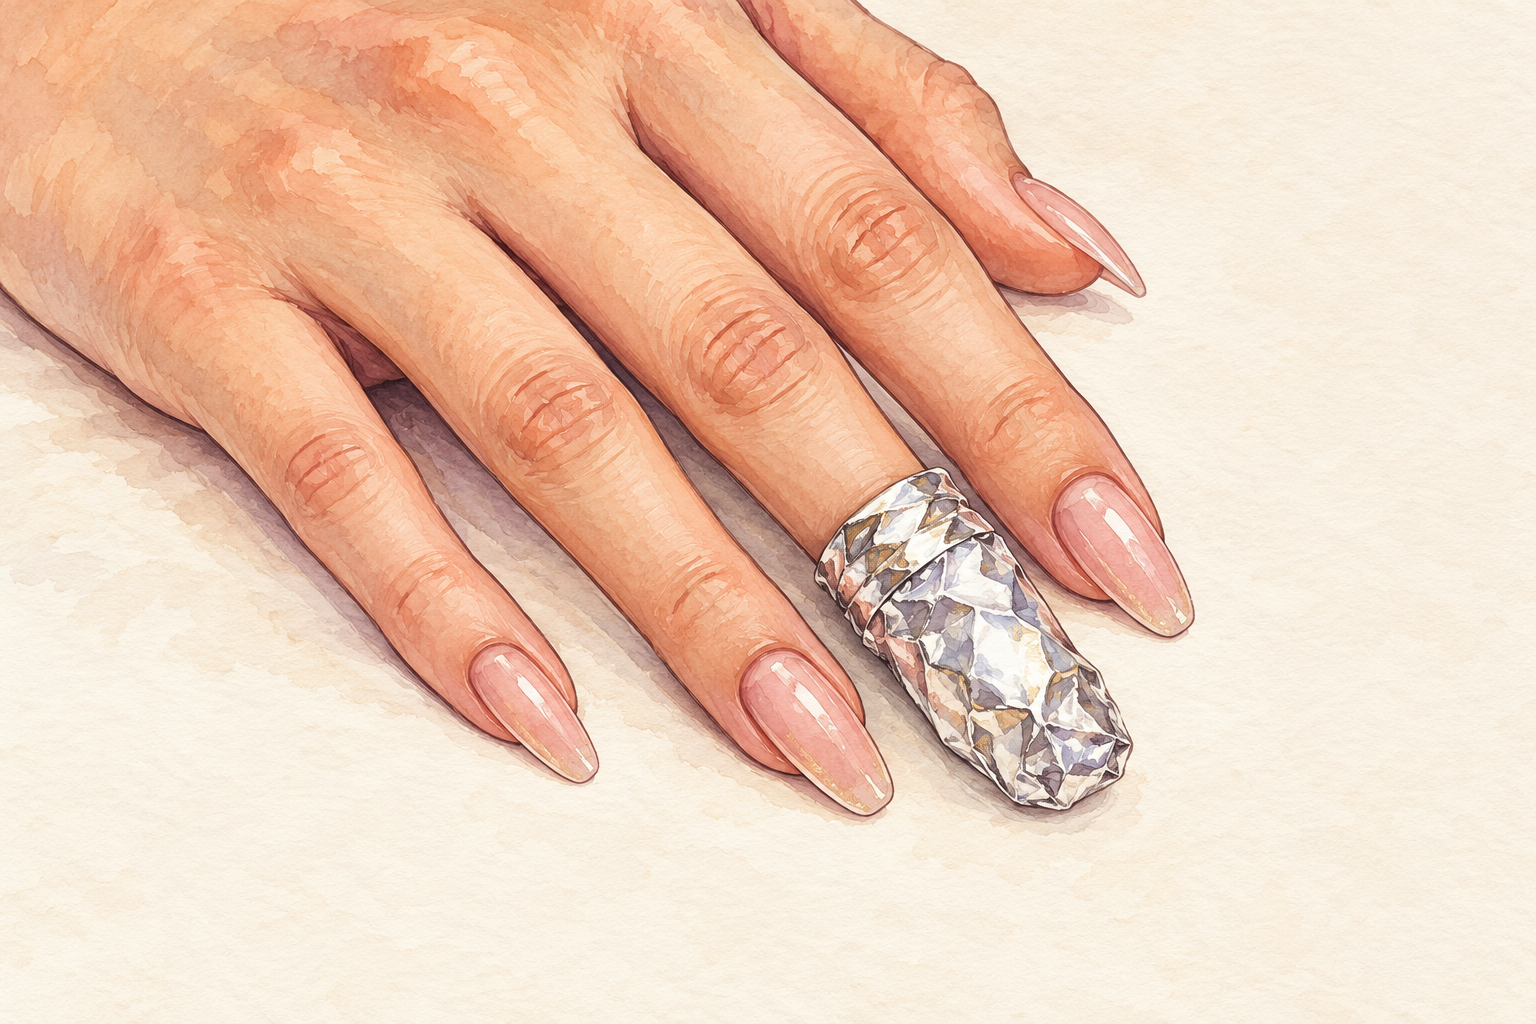
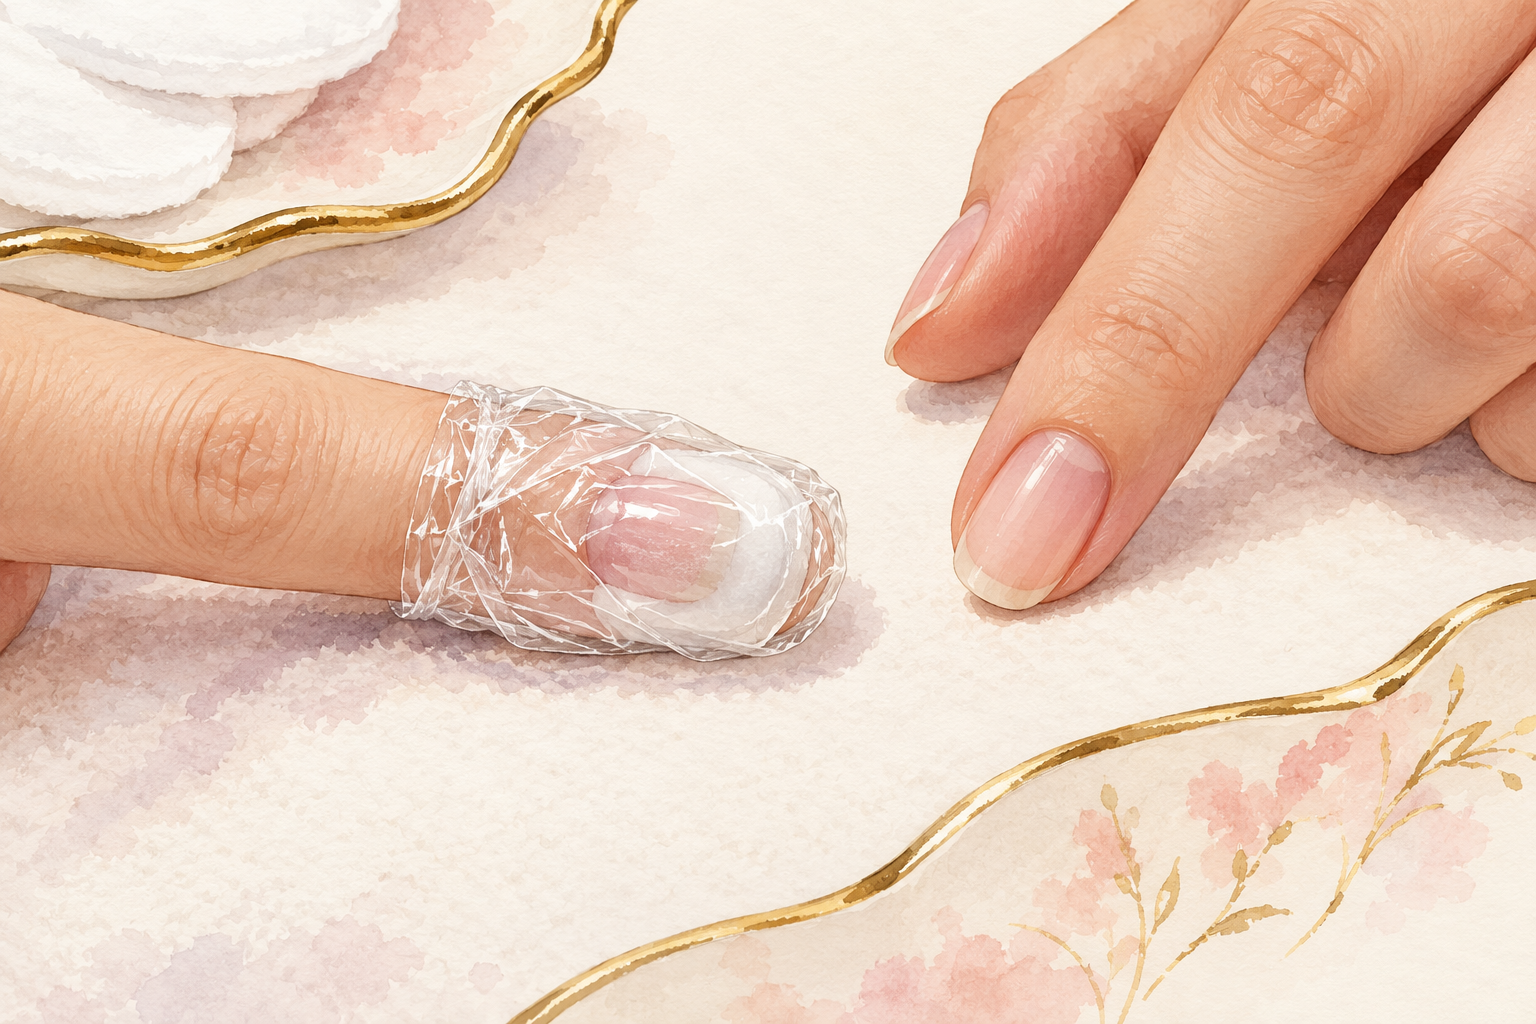
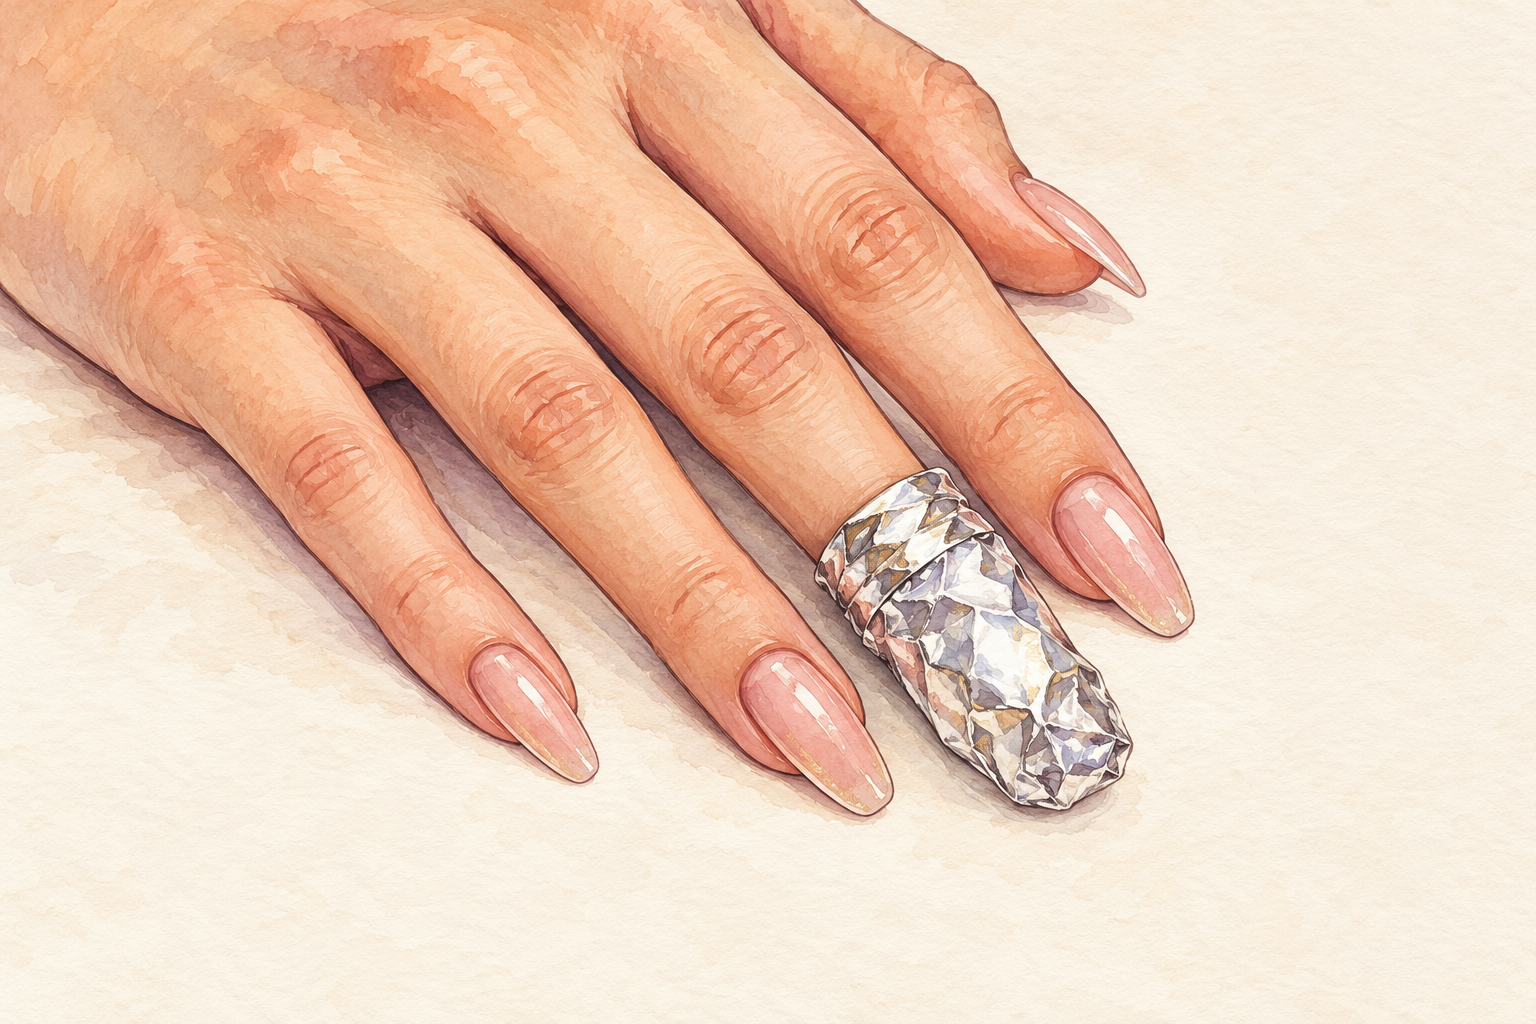
Soak a cotton square in acetone, press it on the dulled tip and fold foil snugly around the fingertip. A wrap uses far less acetone than a bowl and keeps the rest of your skin dry. Do one hand at a time so the other stays free. Snug is right, and throbbing means too tight. Rest your hands flat on the towel and keep the timer running, because the gel needs fifteen minutes before you peek. Fresh cotton matters, since old cotton dries out and stops working. If the foil slips, press it back on with the pad of your other thumb.
8. Check at fifteen minutes and wrap again if needed
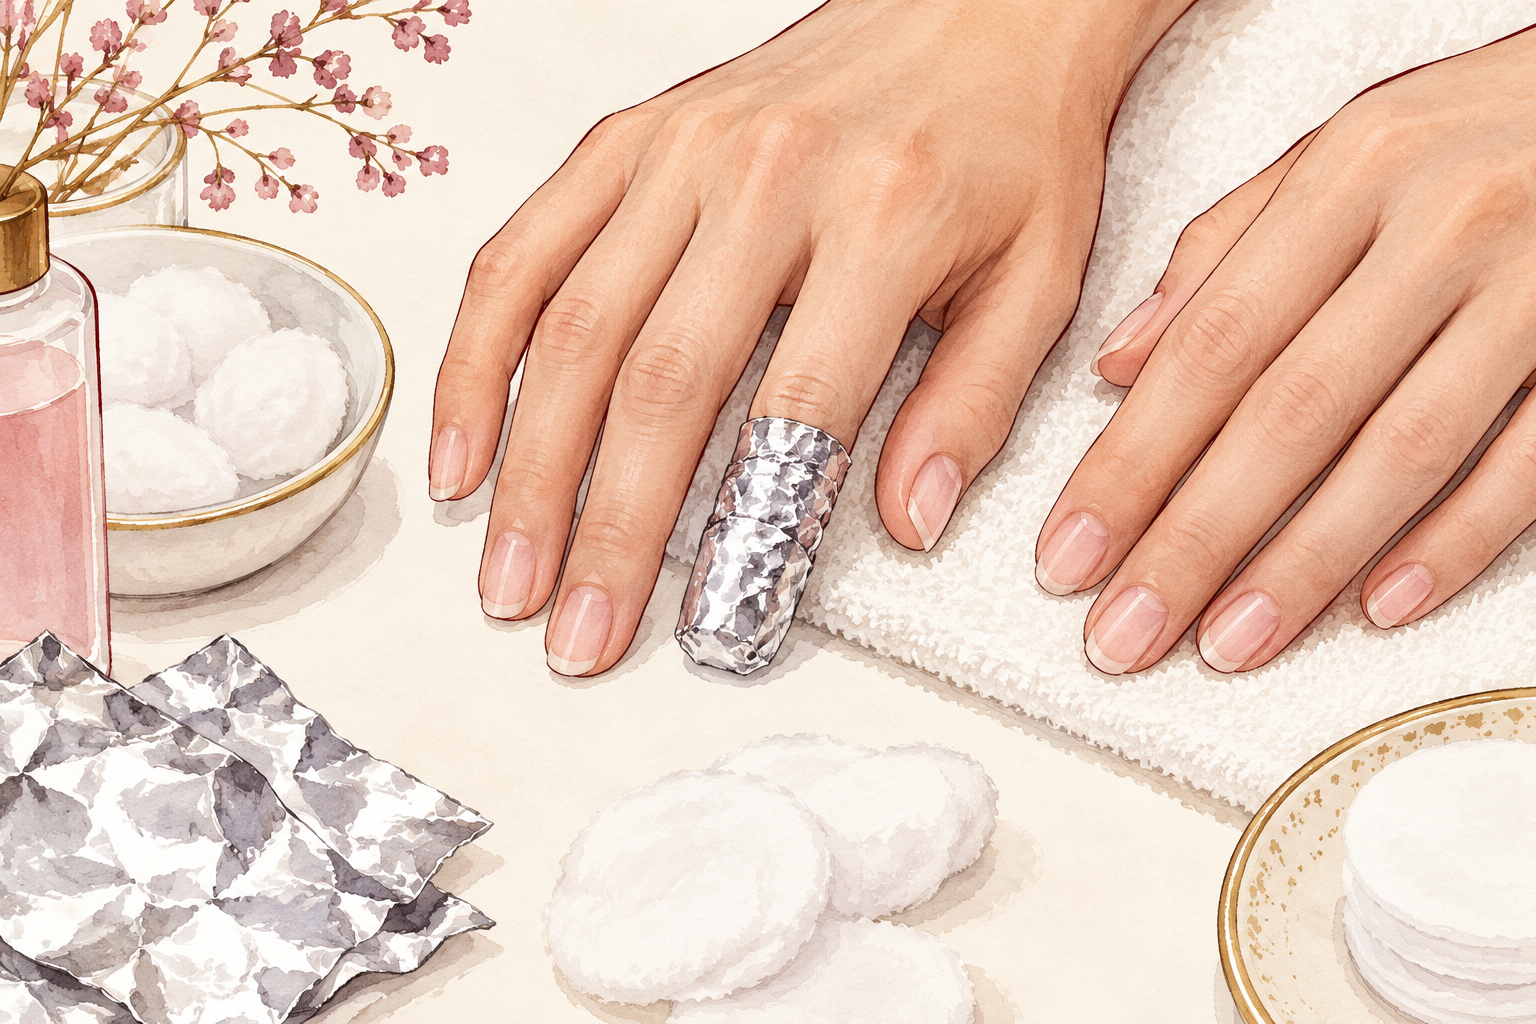
Unwrap one nail and press the edge with the pusher, and if the gel crinkles and flakes, it is ready. If it still feels hard, wrap it again with fresh acetone for ten more minutes. Some stubborn nails need three rounds, which is simply how thick gel behaves, so do not decide your method has failed. Slow and repeated is still how to remove gel x nails at home safely. Rewrap only the stubborn fingers and leave the finished ones bare, so they do not sit in acetone longer than they must. Dry hands are happier hands, and your skin will thank you tomorrow.
9. Ease the softened gel off with a wooden pusher
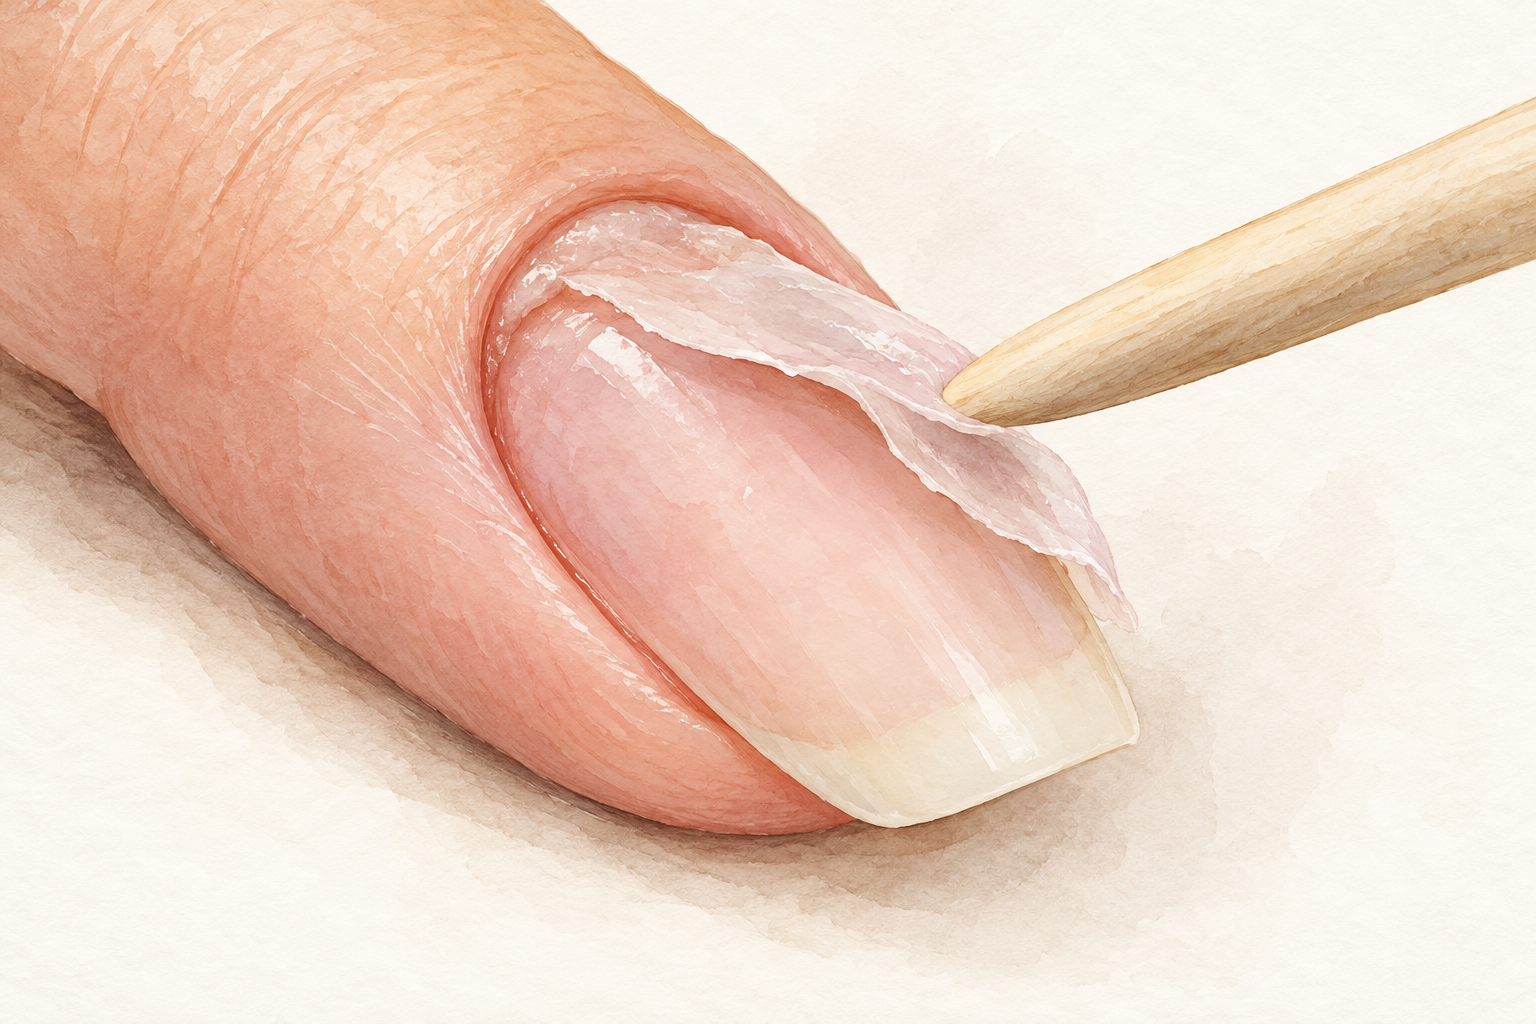
Slide the pusher along the edge with almost no pressure, working from the cuticle toward the tip. Softened gel should move in soft sheets, one nail at a time. A full hand can take ten minutes, so take your time. If you meet resistance, that patch needs more soak, so wrap it again instead of pushing harder. Forcing it strips a layer of your own nail away with the gel, and that layer takes weeks to grow back. Wipe each nail with a clean cotton square as you go, so the lifted gel does not stick back onto the clean part.
10. Skip the shortcuts that tear nails
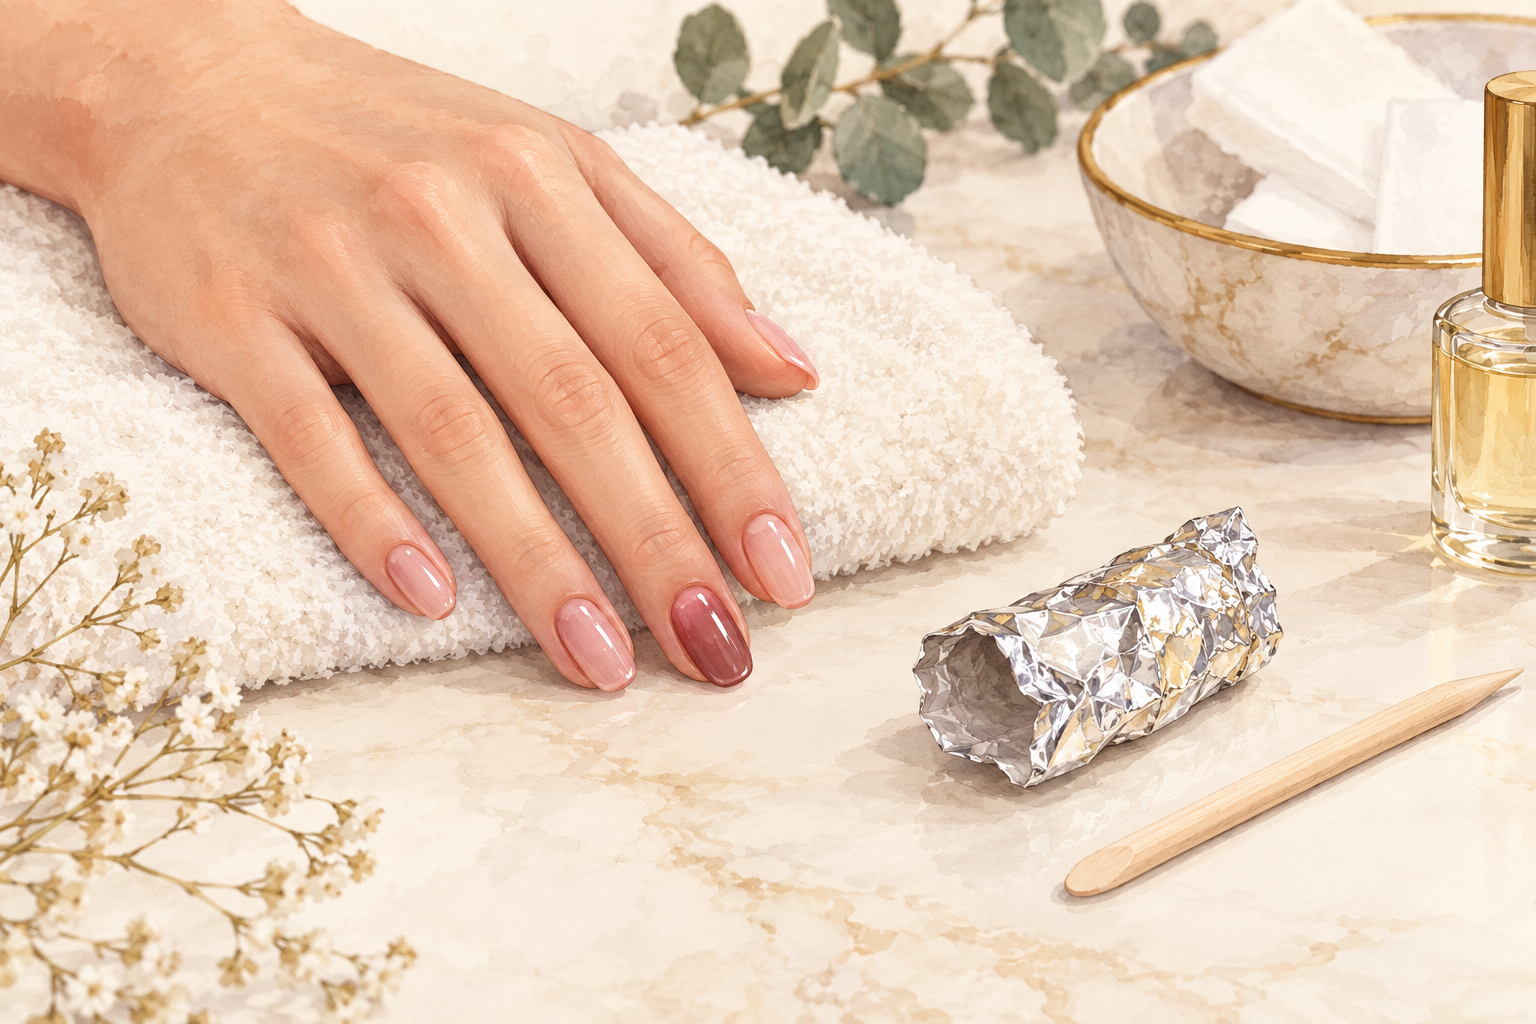
Never bite the tips, twist them, slide a knife underneath or pull at a lifting corner. A white, sore or flaking patch after removal means a layer of nail came away with the gel. That is the reason to be patient with the acetone rather than impatient with your fingers. Pause if a nail feels hot or sore. If only one nail refuses to budge, give it another wrap and leave the rest of your hand alone. A stubborn nail is not a failure, it just has more gel on it. Keep your hands relaxed, and let the acetone do the heavy lifting. Stubborn nails call for patience, so keep how to remove fake nails open for another round.
11. Rub jelly into your nails every day for a week
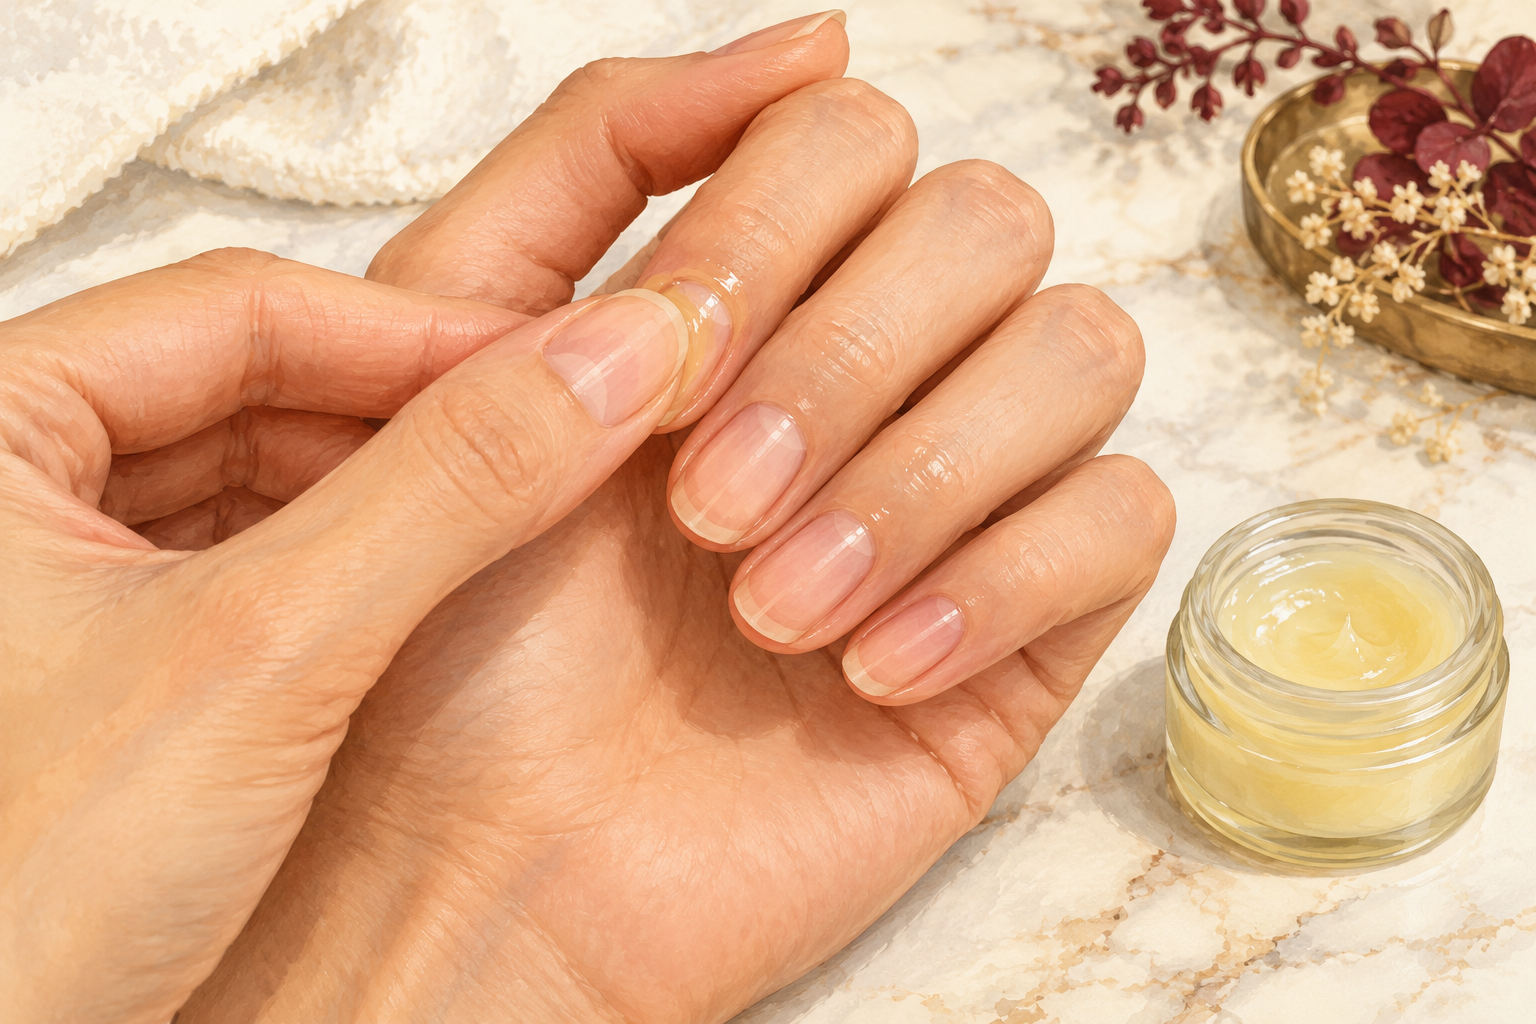
Wash off the acetone residue with mild soap, then rub petroleum jelly into the cuticles and nails every day for seven days. Acetone strips oil from skin and nail alike, and the jelly puts a barrier back. It will not repair damage, but it stops the nail drying out further while it recovers. Do it right before bed, and add a little more in the morning if your hands feel tight. Wear gloves for washing up this week, because water on freshly bare nails stings. Skip hot baths and long swims until the sore feeling has gone.
12. Give your nails a rest and know what to expect
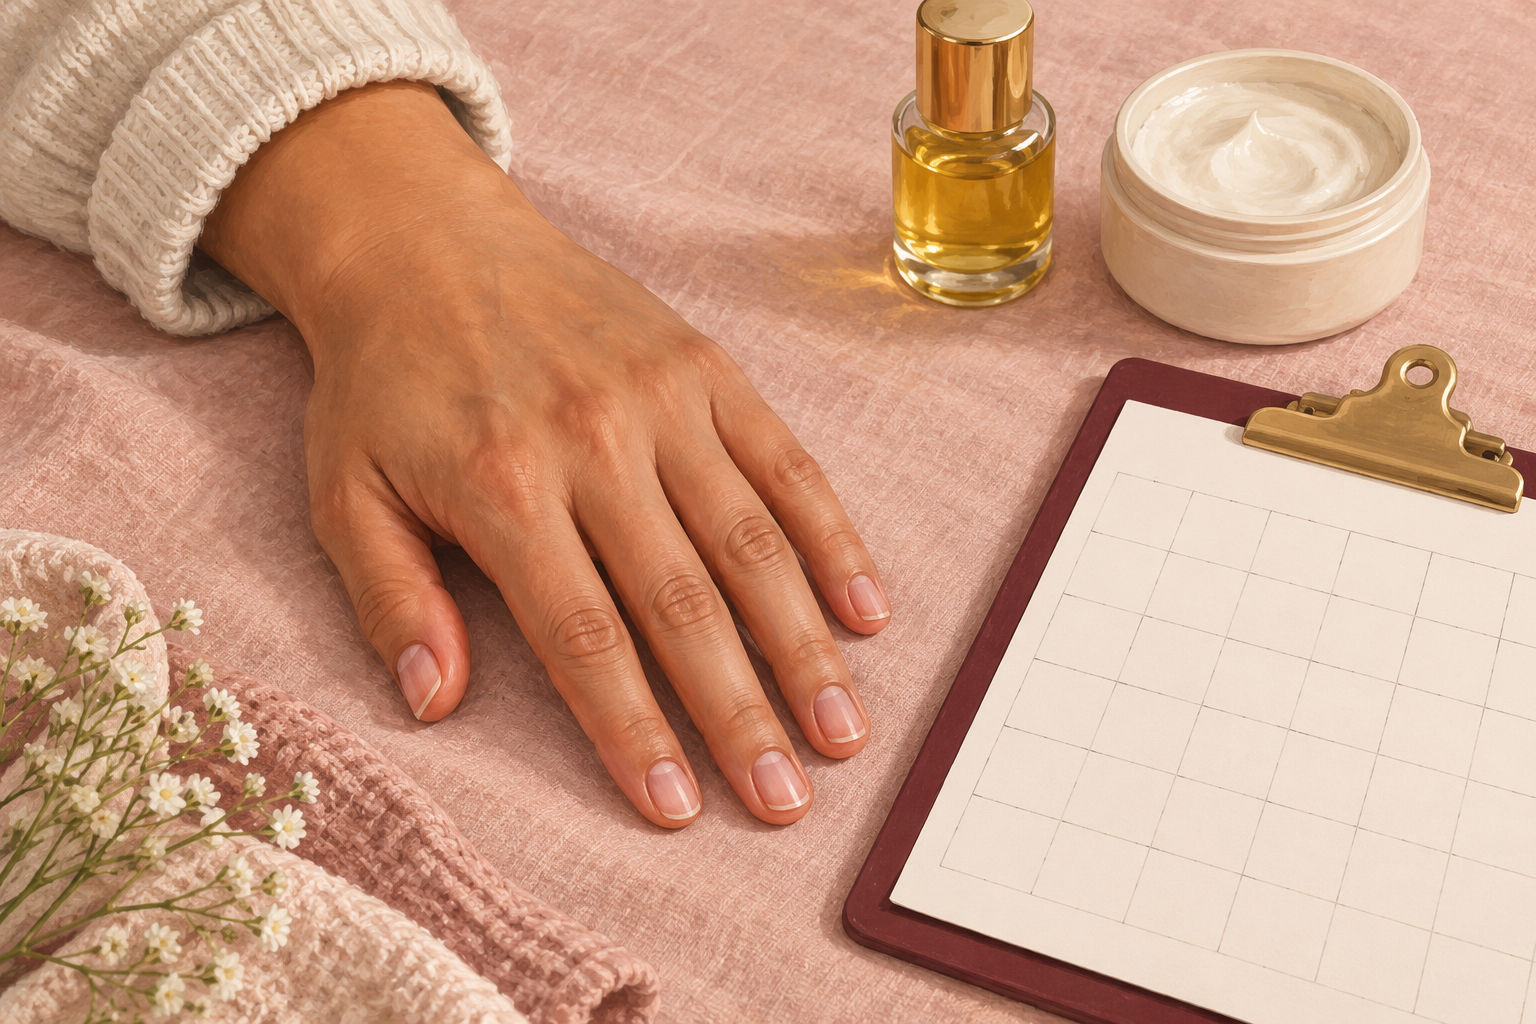
Leave your nails bare for at least two weeks before you put another set on. In week one they feel soft and bendy, which is expected after a long soak. Around week four the surface usually feels smoother, though the thin patches are still growing out. By week eight you can see fresh growth, but a fingernail takes about six months to replace fully. If a nail is still sore or lifting after four weeks, stop experimenting and give it plain oil and bare days. Take a photo today so you can compare the two.
Complete the Routine: How to Remove Gel X Nails at Home and Rebuild
Tonight, press a little petroleum jelly into each cuticle and keep your nails bare until the weekend. Rough removals heal quietly, so patience is kind to them. The guides below can help you think about the next set when you are ready.