You painted all ten nails and sat very still, and now one hand is streaky, the other has a bubble the size of a pinhead and a thick rim of polish sits along the cuticle. Learning how to paint nails perfectly is mostly learning what caused each flaw, because each one has its own small fix. Here are 12 steps in the order you do them, so start at number one.
1. Clean the nail so polish can grip
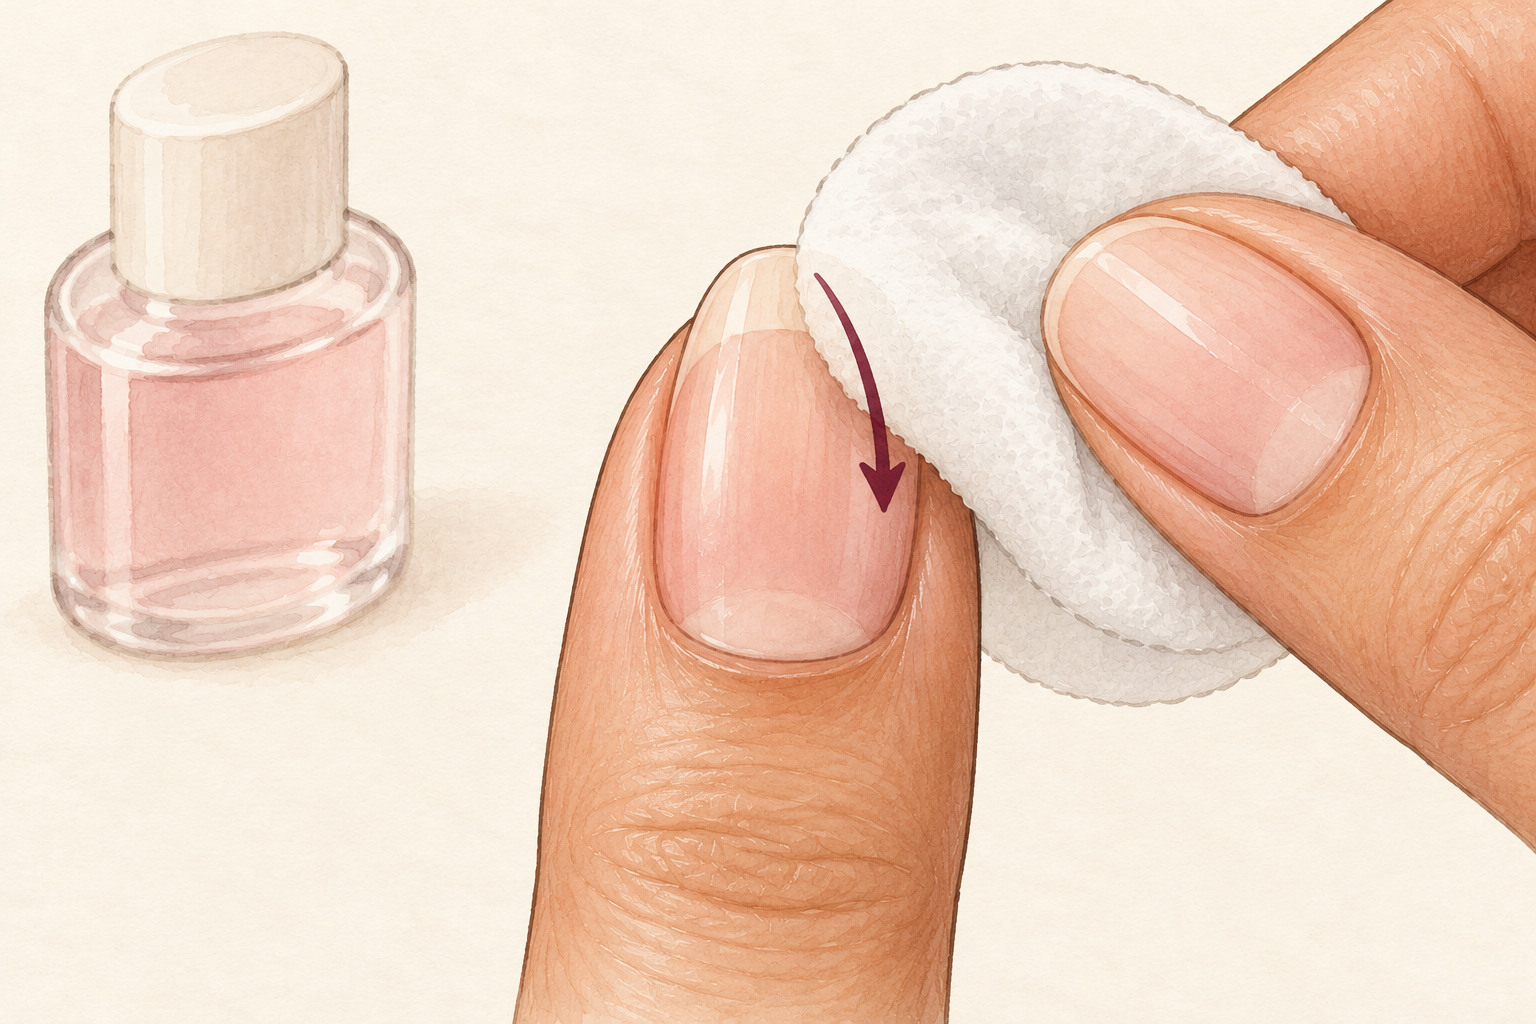
Wipe each nail with a cotton pad and a little remover, even when it is bare. Oil from your skin and hand cream leaves a film you cannot see, and polish slides and peels over it. Push the cuticles back gently after a warm wash, then dry your hands completely. File the tips in one direction so no rough edge catches the brush. Do this before the bottle comes out, because a damp or oily nail is the quiet reason many manicures chip by day two. It takes three minutes and makes every step after it easier. Wash your hands again and dry them well before you start painting. Wash and dry first, then try manicure at home when you want the whole routine in one sitting.
2. Roll the bottle, never shake it
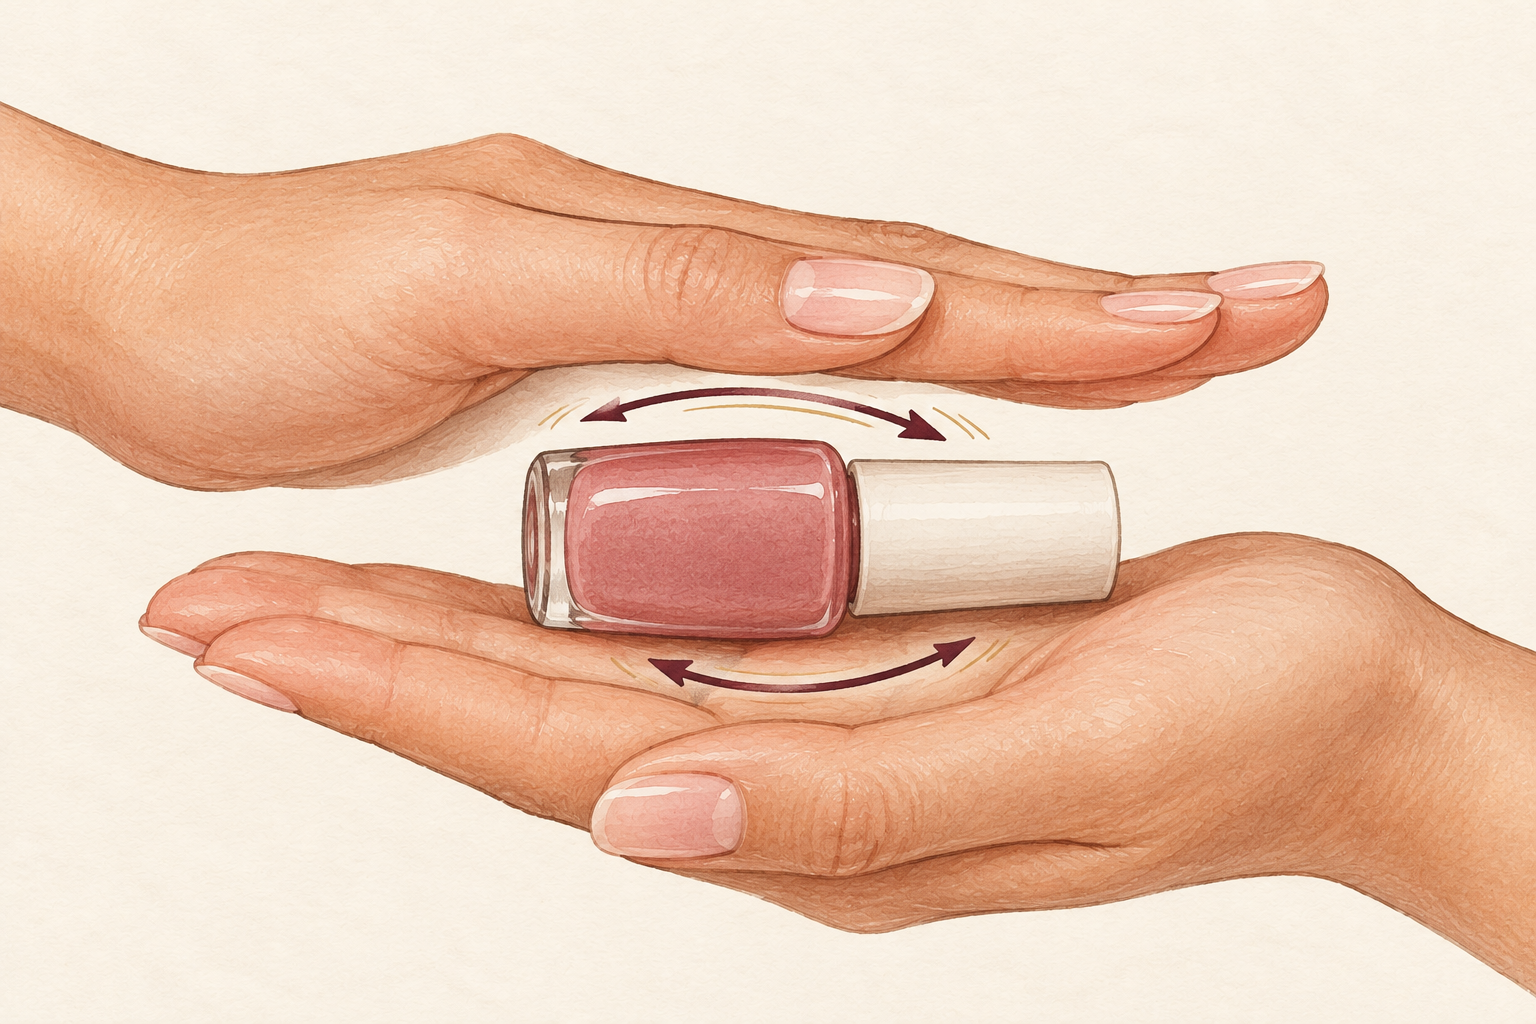
Roll the bottle slowly between your palms for about a minute so the color mixes. Shaking pushes air into the polish, and that air ends up on your nails as bubbles. Let the bottle stand upright for a minute afterwards so any small bubbles rise out. The warmth from your hands also helps it flow more smoothly, and a rolled bottle goes on far more evenly than a shaken one. Do this while your base coat is drying, so it takes no extra time. If the polish is clumpy or stringy after rolling, it is probably old and will streak whatever you try.
3. Start with one thin base coat
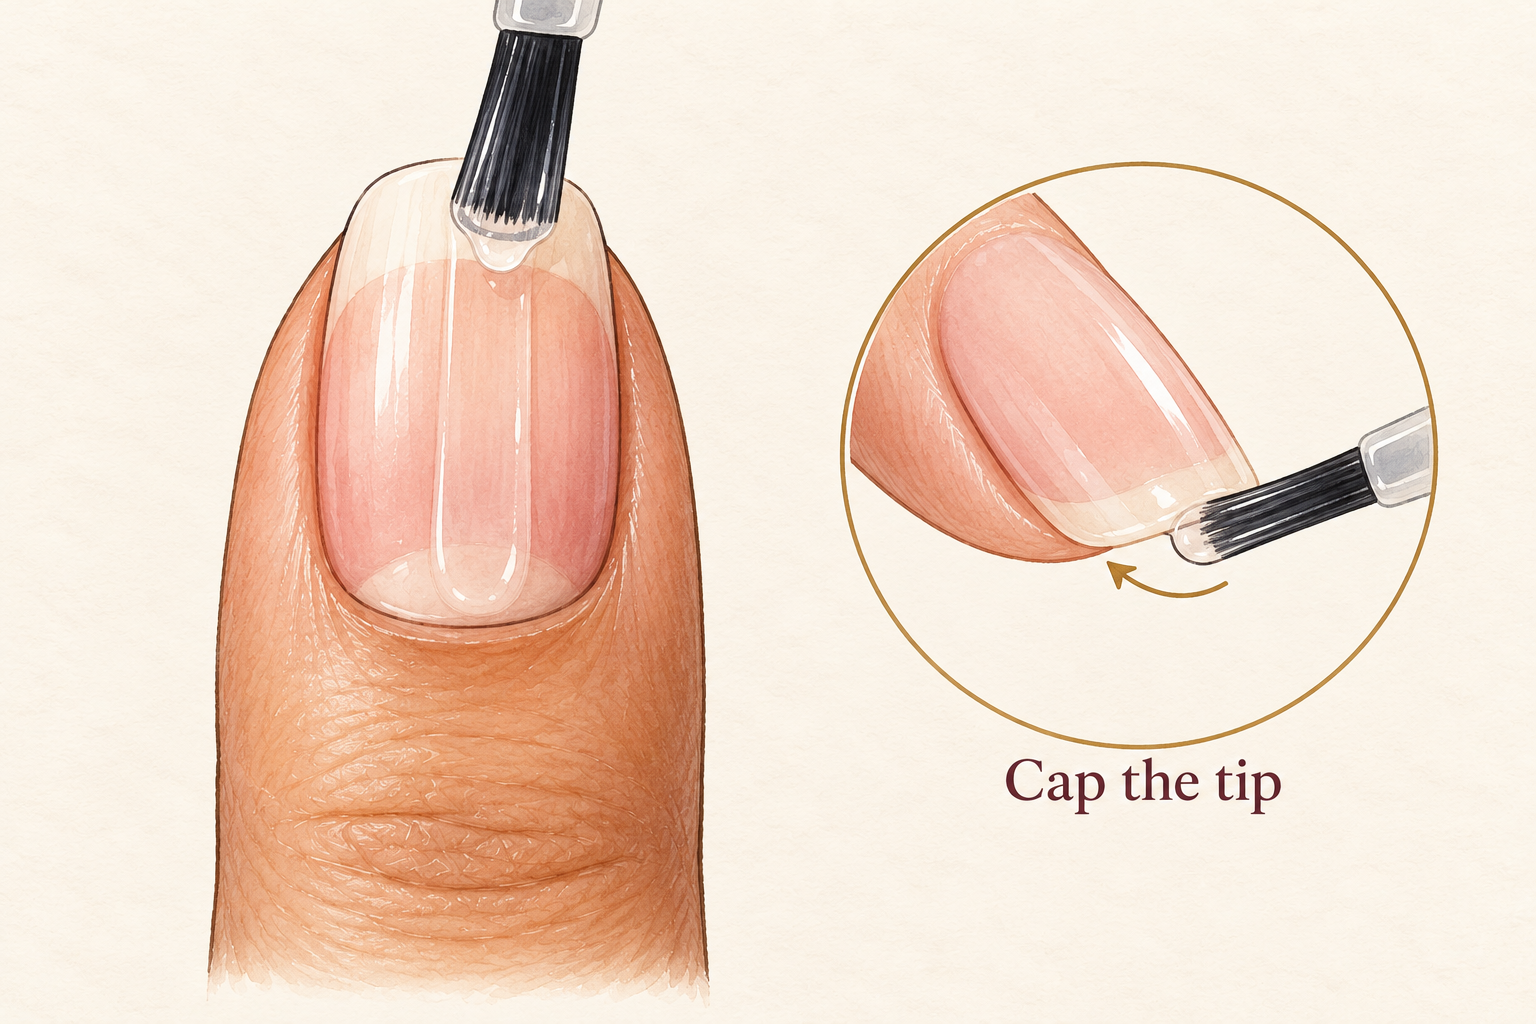
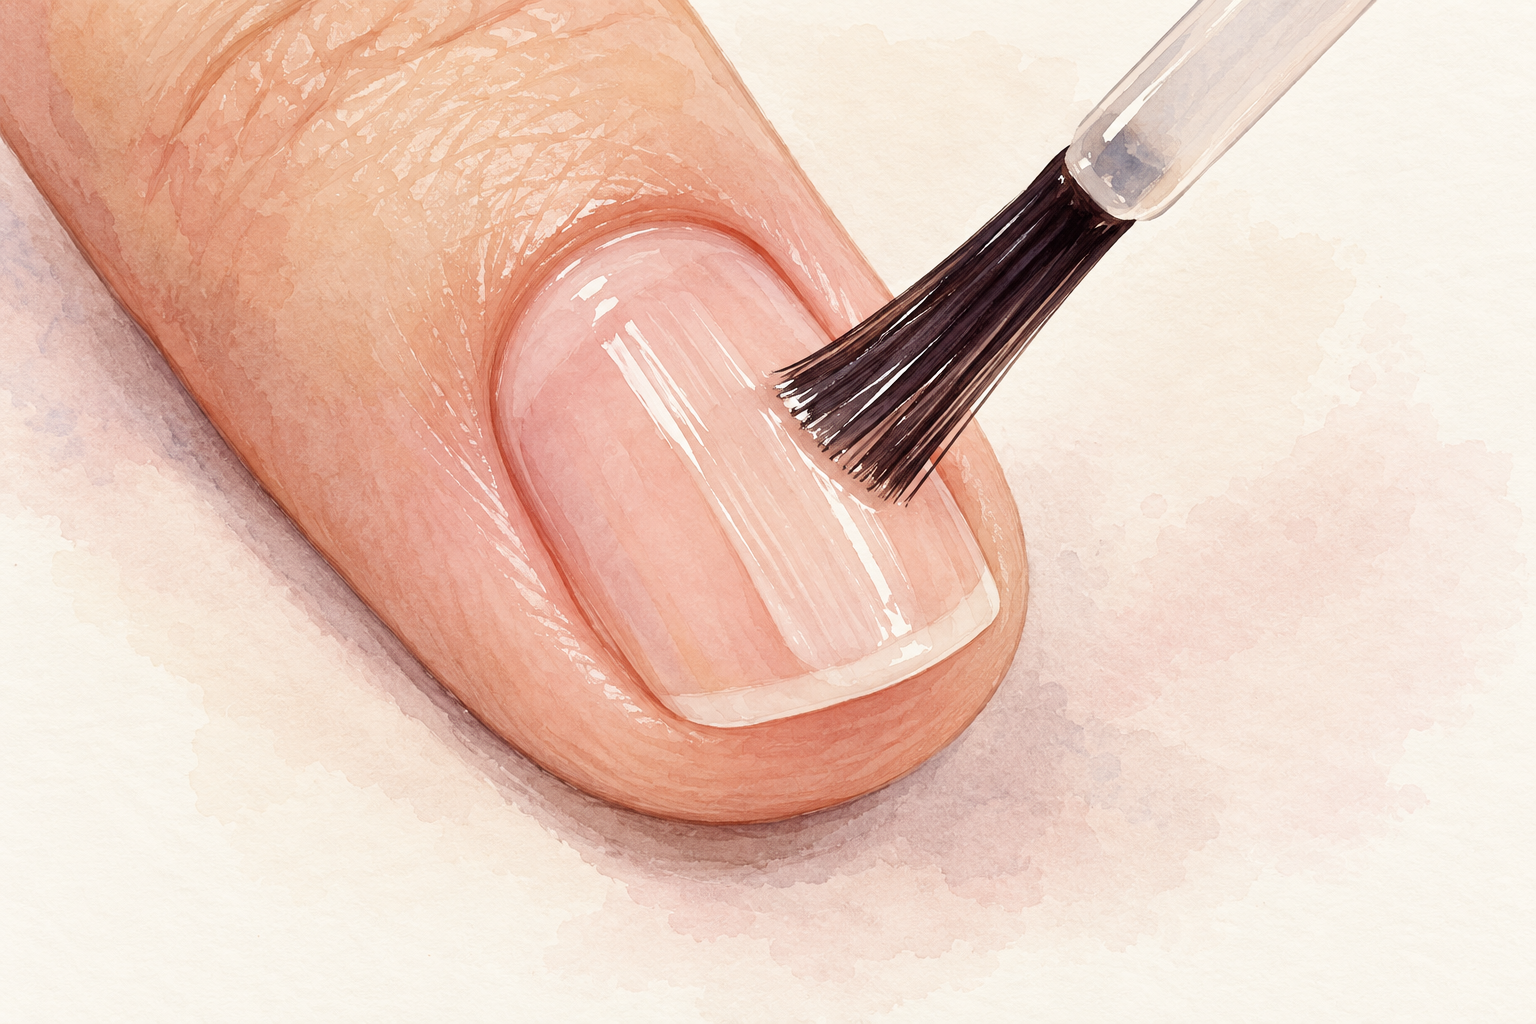
Brush a single thin layer of clear base over each nail, and wait two minutes. The base stops dark colors from staining and gives the polish a smooth, grippy surface. Thin matters here, because a thick base stays soft underneath and drags the color around later. Cap the free edge with one light swipe along the tip. If the base looks patchy, leave it, since the color coat will cover it. Keep the brush from touching the skin, so you do not have extra cleaning up to do at the end. A tidy base means a tidy finish.
4. Wipe the brush so you carry a small bead
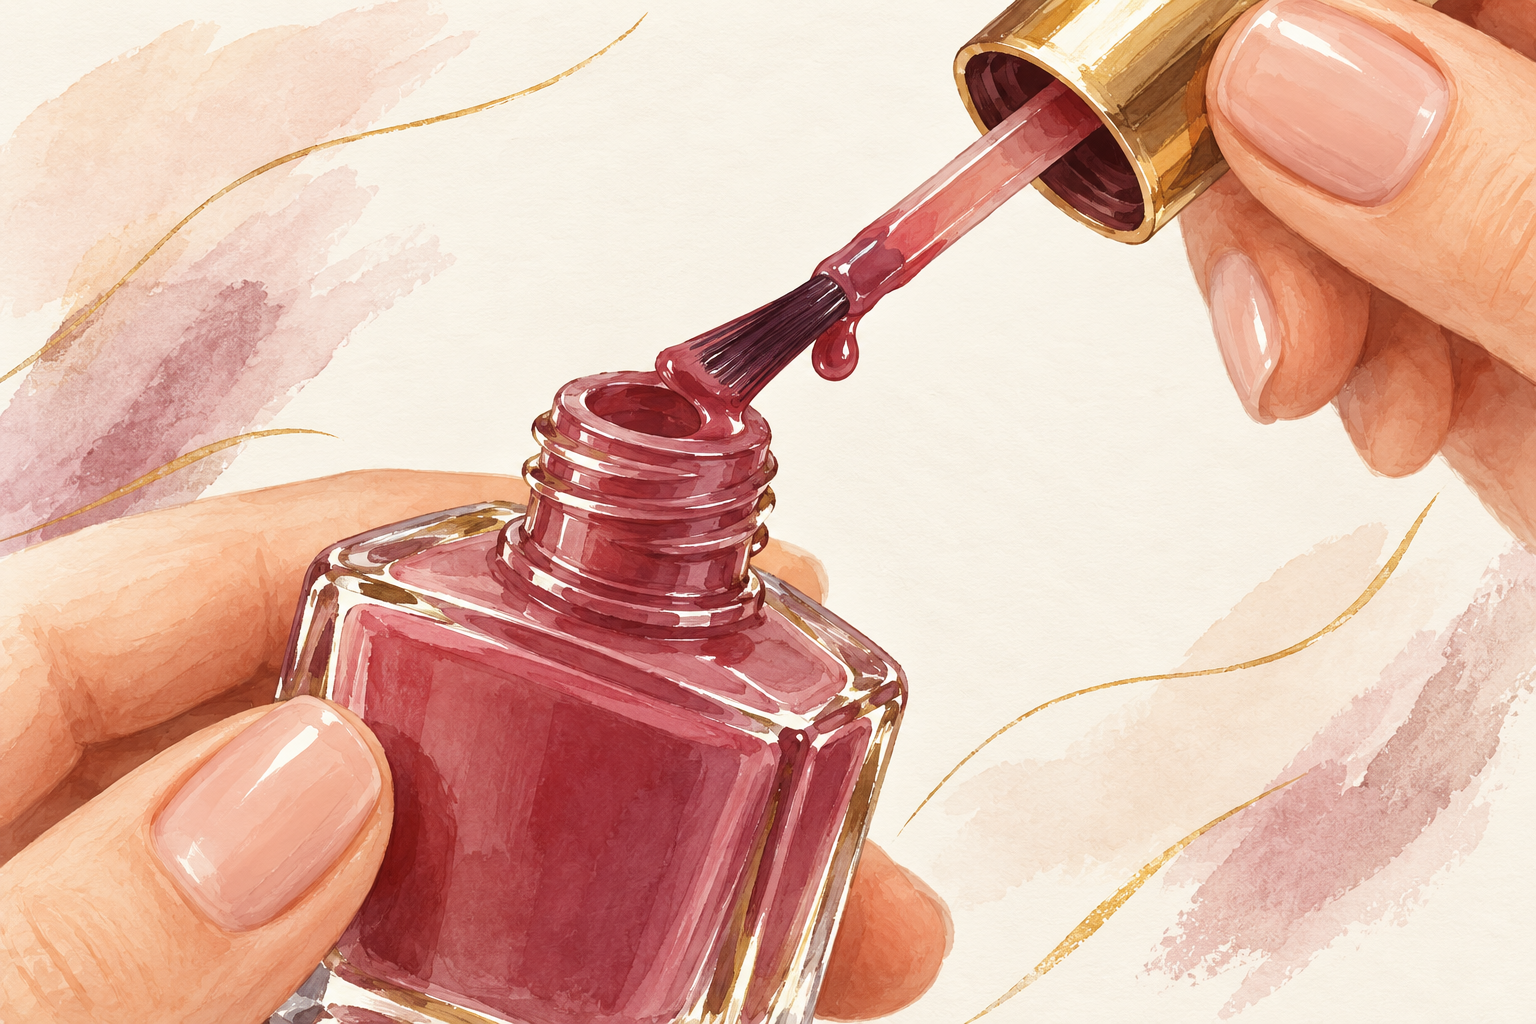
Dip the brush, then wipe one side against the neck of the bottle so a small bead stays on the other side. Too little leaves bare patches and too much floods the cuticle. A good bead covers about half a nail in one stroke. Check the bottle neck for dried polish, because a crusty rim sheds lumps that ruin your coat. Wipe it clean with a tissue and a drop of remover, so the cap closes properly and the bottle lasts longer. Start with a fresh bottle for the nails that matter most, even if the old shade is your favorite.
5. Start a hair away from the cuticle
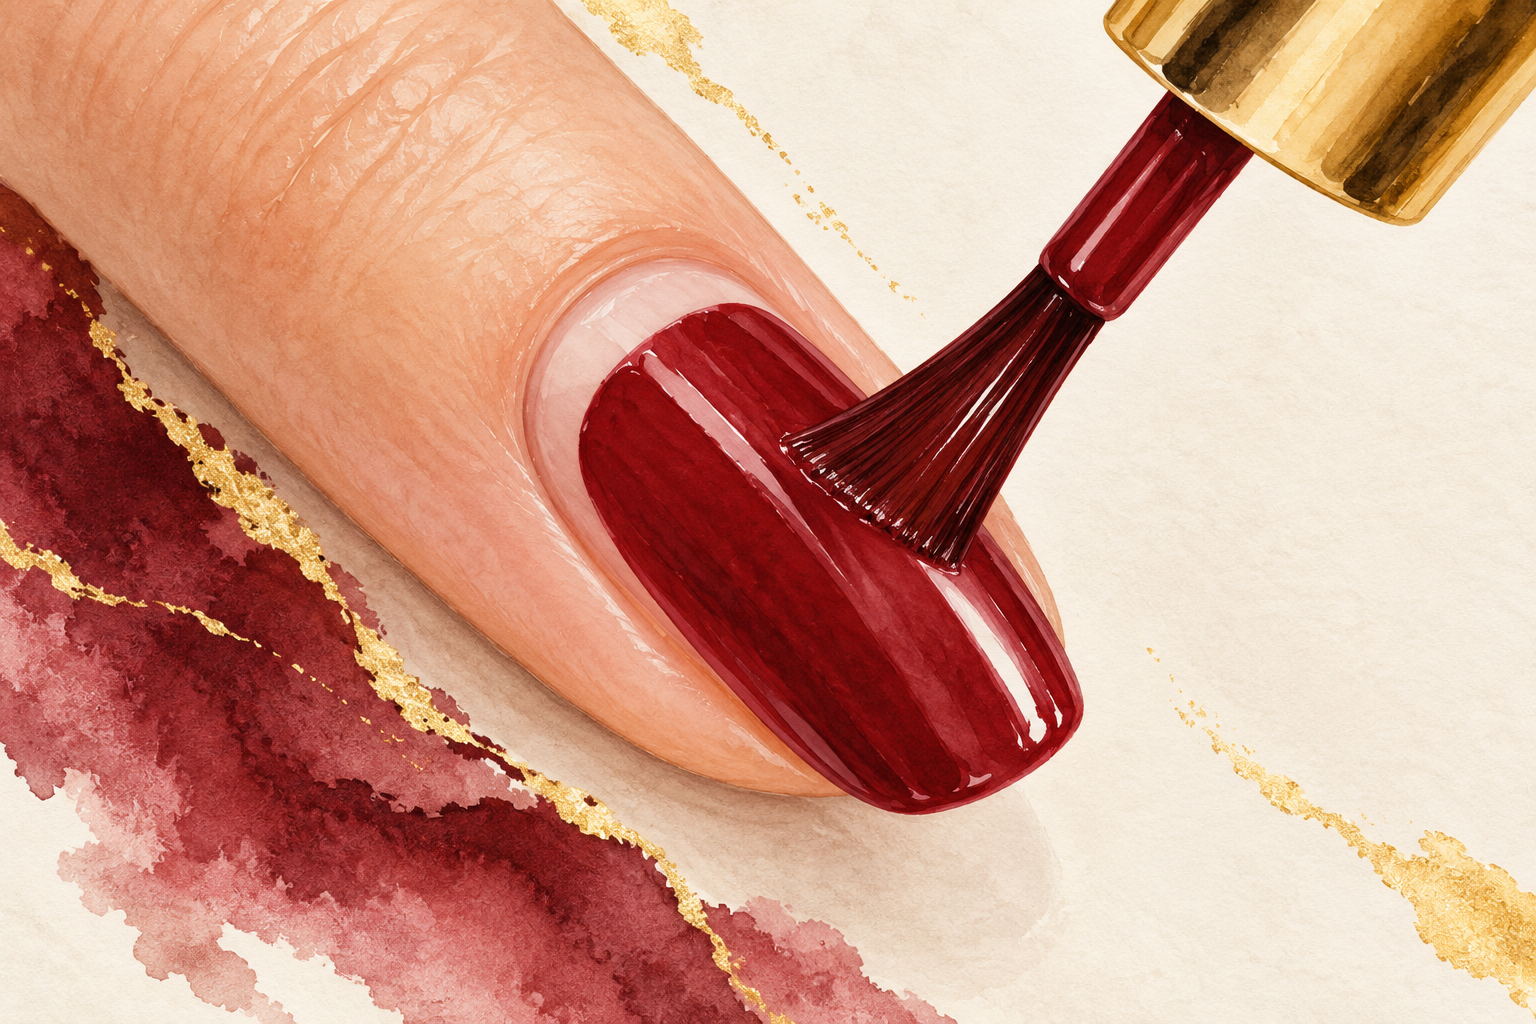
Place the brush a couple of millimeters from the skin, press until the bristles fan out, and pull toward the tip. The polish spreads back toward the cuticle by itself, so the gap closes without touching the skin. Painting right into the cuticle is how it floods, and the gap is the part most people skip. Try it on your non dominant hand first, because it takes a few sessions to feel natural. If you do end up with a rim, leave it alone and clean it up once the coat has set. Wiping it wet only drags color across the nail.
6. Use three strokes and do not go back
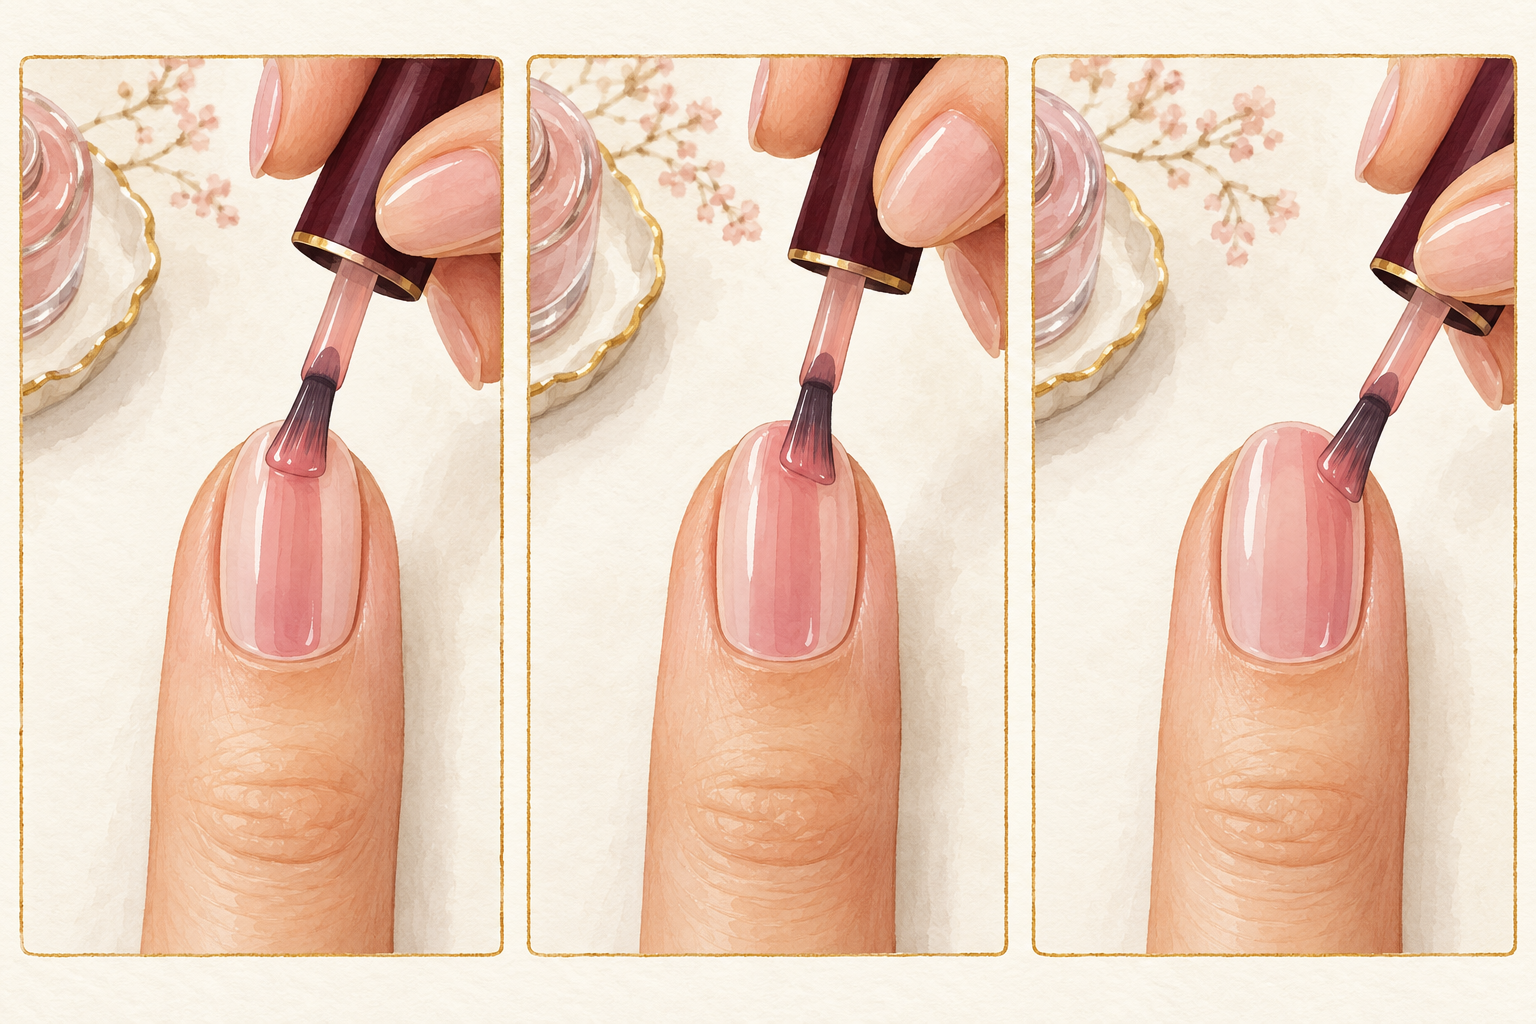
Make one stroke down the middle, then one down each side, and lift the brush. Going back over a spot after a few seconds drags half dry polish and leaves a streak. If you miss a spot, leave it and fill it with the next coat. Finish by running the brush lightly along the tip to cap the free edge. Three clean strokes are less work than fixing one smeared one, and they are the whole method of how to paint nails perfectly with a normal brush. Steady your painting hand by resting the side of it on the table, and keep your elbow tucked in close to your body. A steady hand is built over time, so keep how to paint nails open while you practice.
7. Build color in thin coats and wait between them
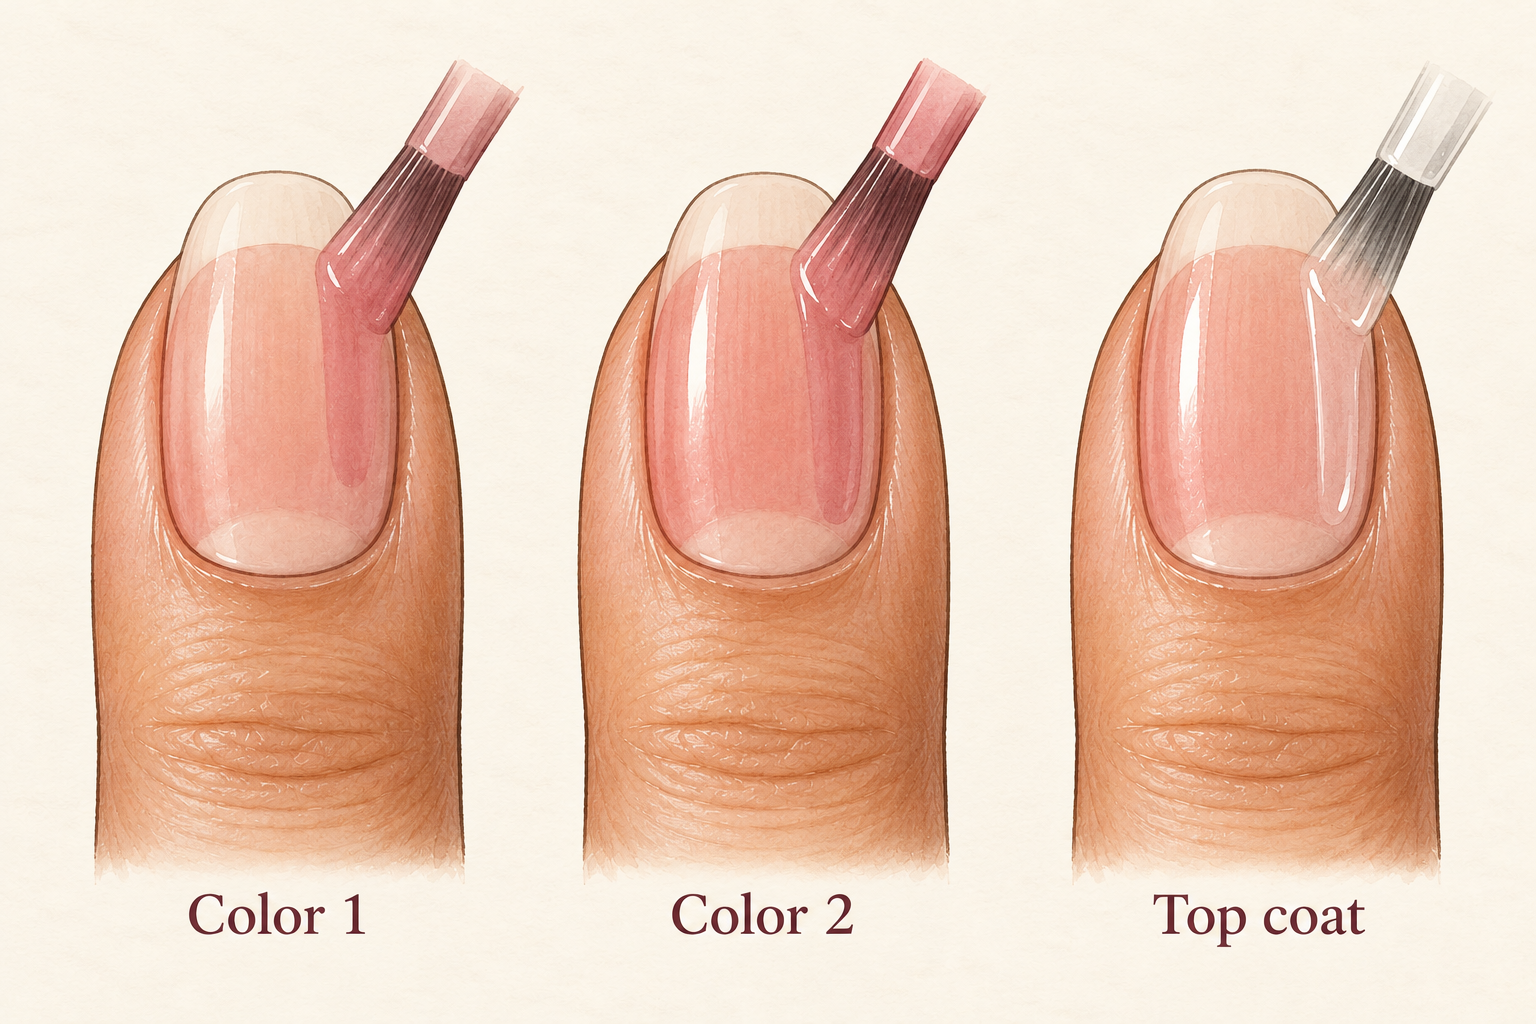
Apply two or three thin coats, and wait about two minutes between each so the last is tacky but not wet. A thick coat takes ages to set and pulls into ridges, while thin coats dry faster and look smoother. If the brush drags, wait a little longer. Streaks usually come from polish that is too thin or dragged over polish that has started to dry. Patience fixes both. Work from the little finger to the thumb on each hand so you never lean on a wet nail, and paint your thumb last since it is the hardest to angle.
8. Fix bubbles by thinning the coat
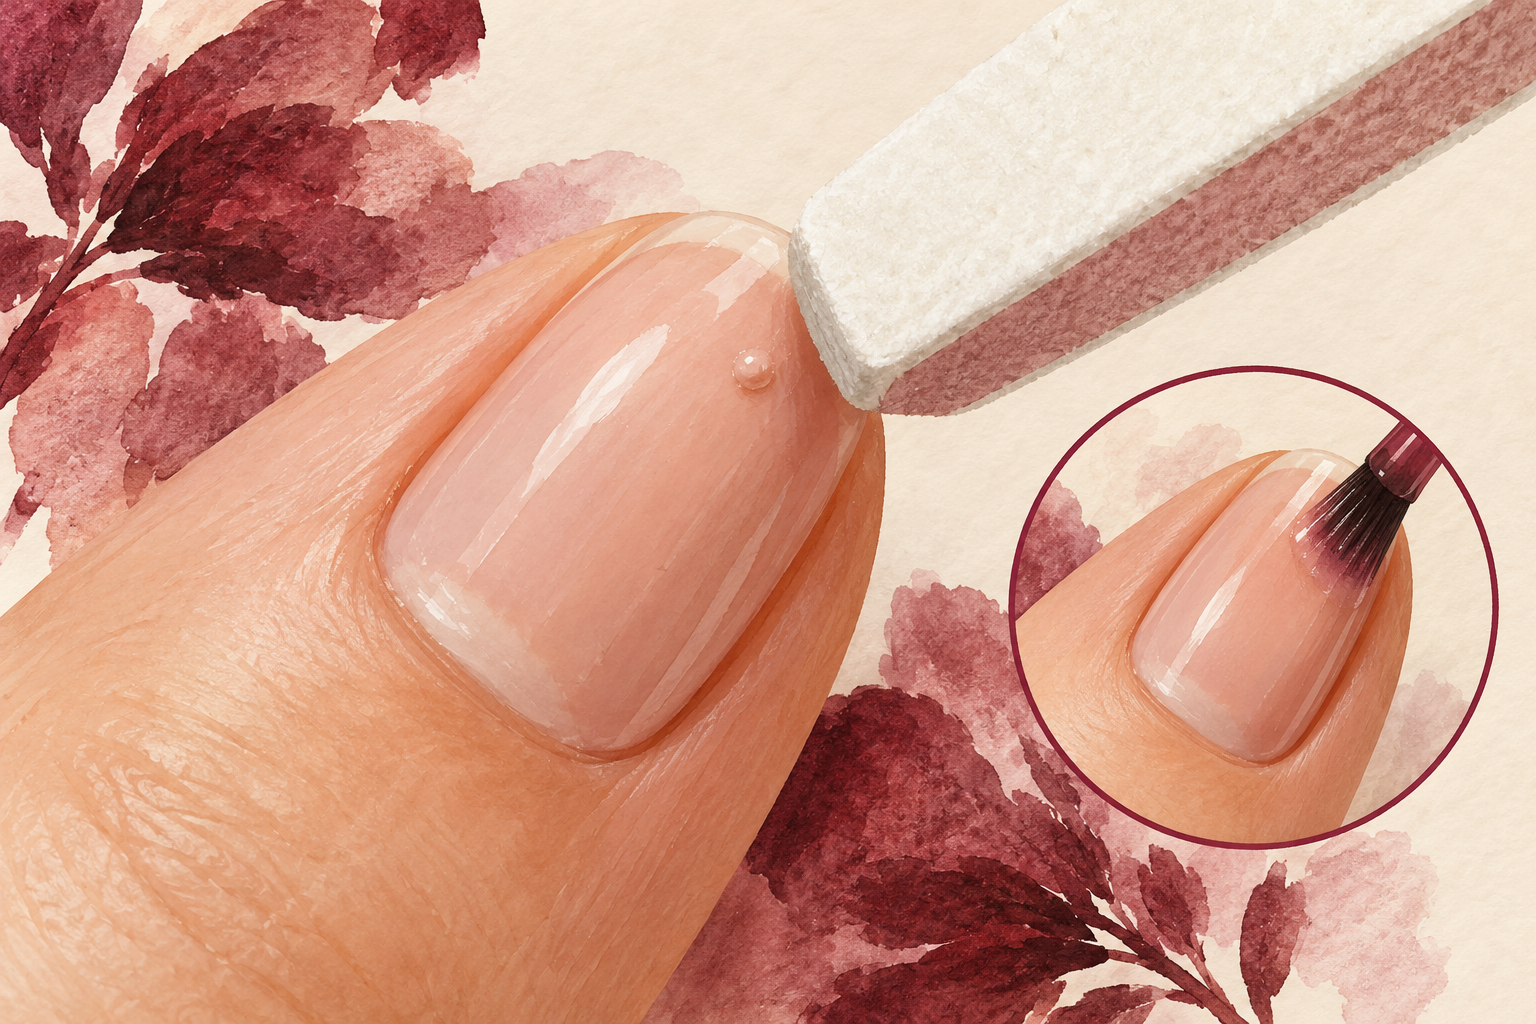
Keep each coat so thin you can nearly see the nail through it. A thick coat dries on top first and traps air underneath, and the air pushes up as a bubble. If you see one forming, do not poke it. Let the coat dry, buff the bump flat with a soft buffer, then add the next coat over it. Bubbles can also come from shaken bottles or polish that has thickened, so check those first. It is slower for one nail, but you only do it once, and the finish is much smoother. Thin coats also help the polish last for days longer.
9. Clean the edges with a small brush
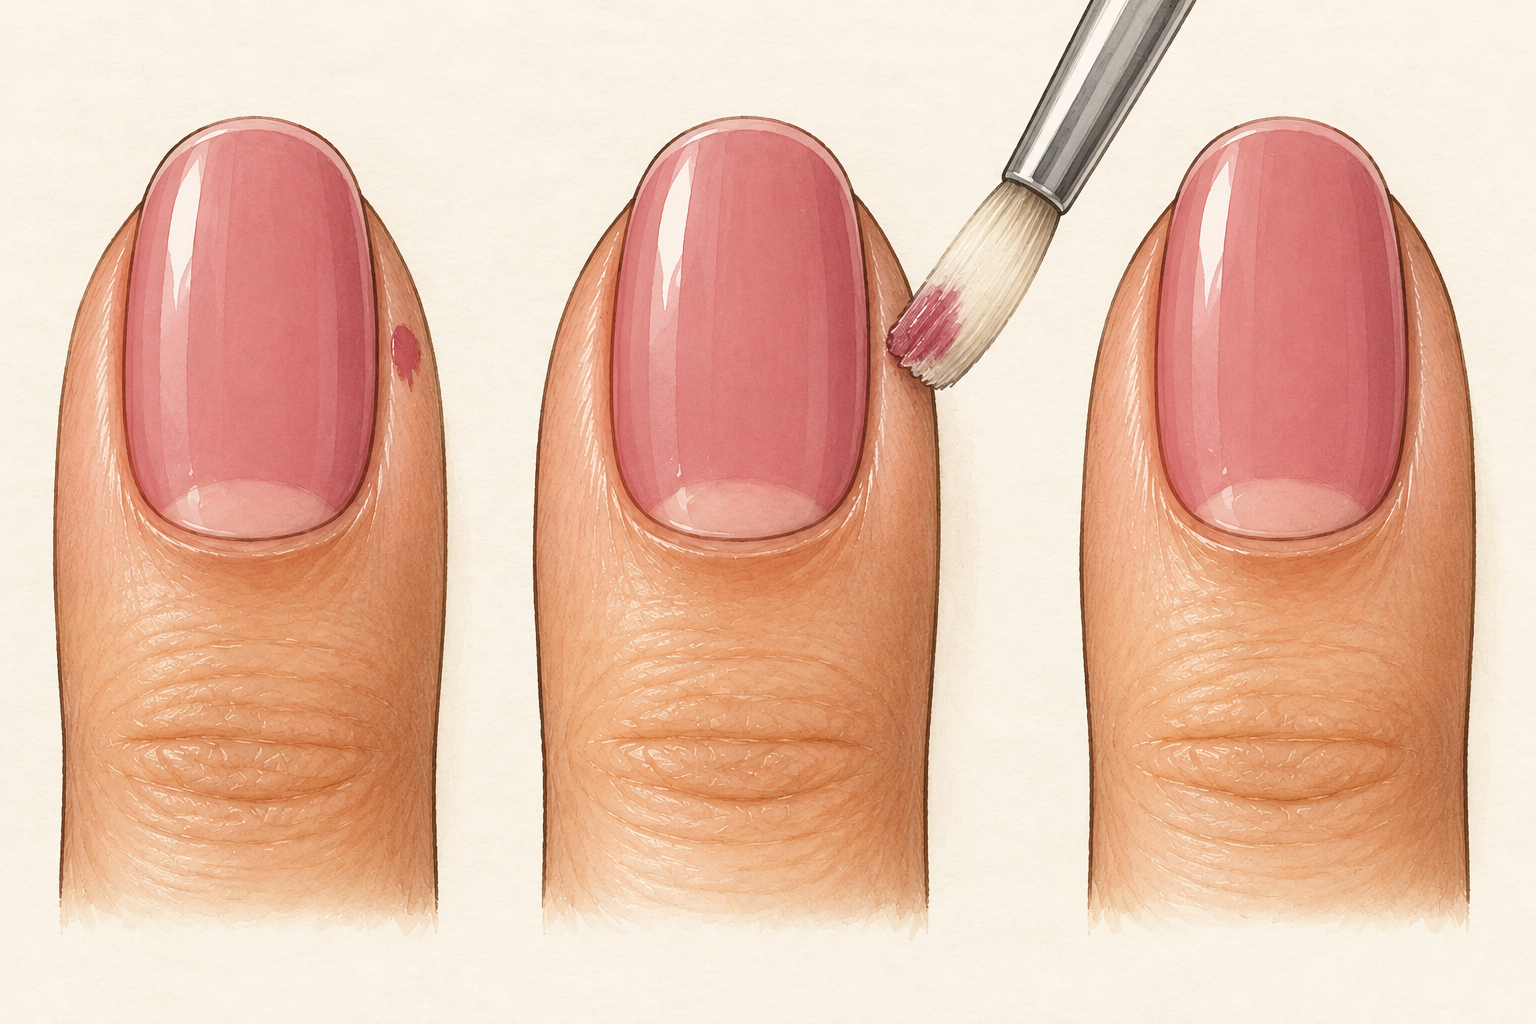
Dip a thin flat brush in a little remover, wipe it on a tissue so it is damp and not dripping, and trace along the cuticle line and sides. Wait until the polish has set for a few minutes, or you will smear it. Press lightly and wipe in one pass. Remover has strong fumes, so use it by an open window. This tidy step is what makes a home manicure look as if it were done on purpose, and it takes less than a minute a hand. Do it after each coat if flooding is your biggest problem.
10. Seal the tip with a thin top coat
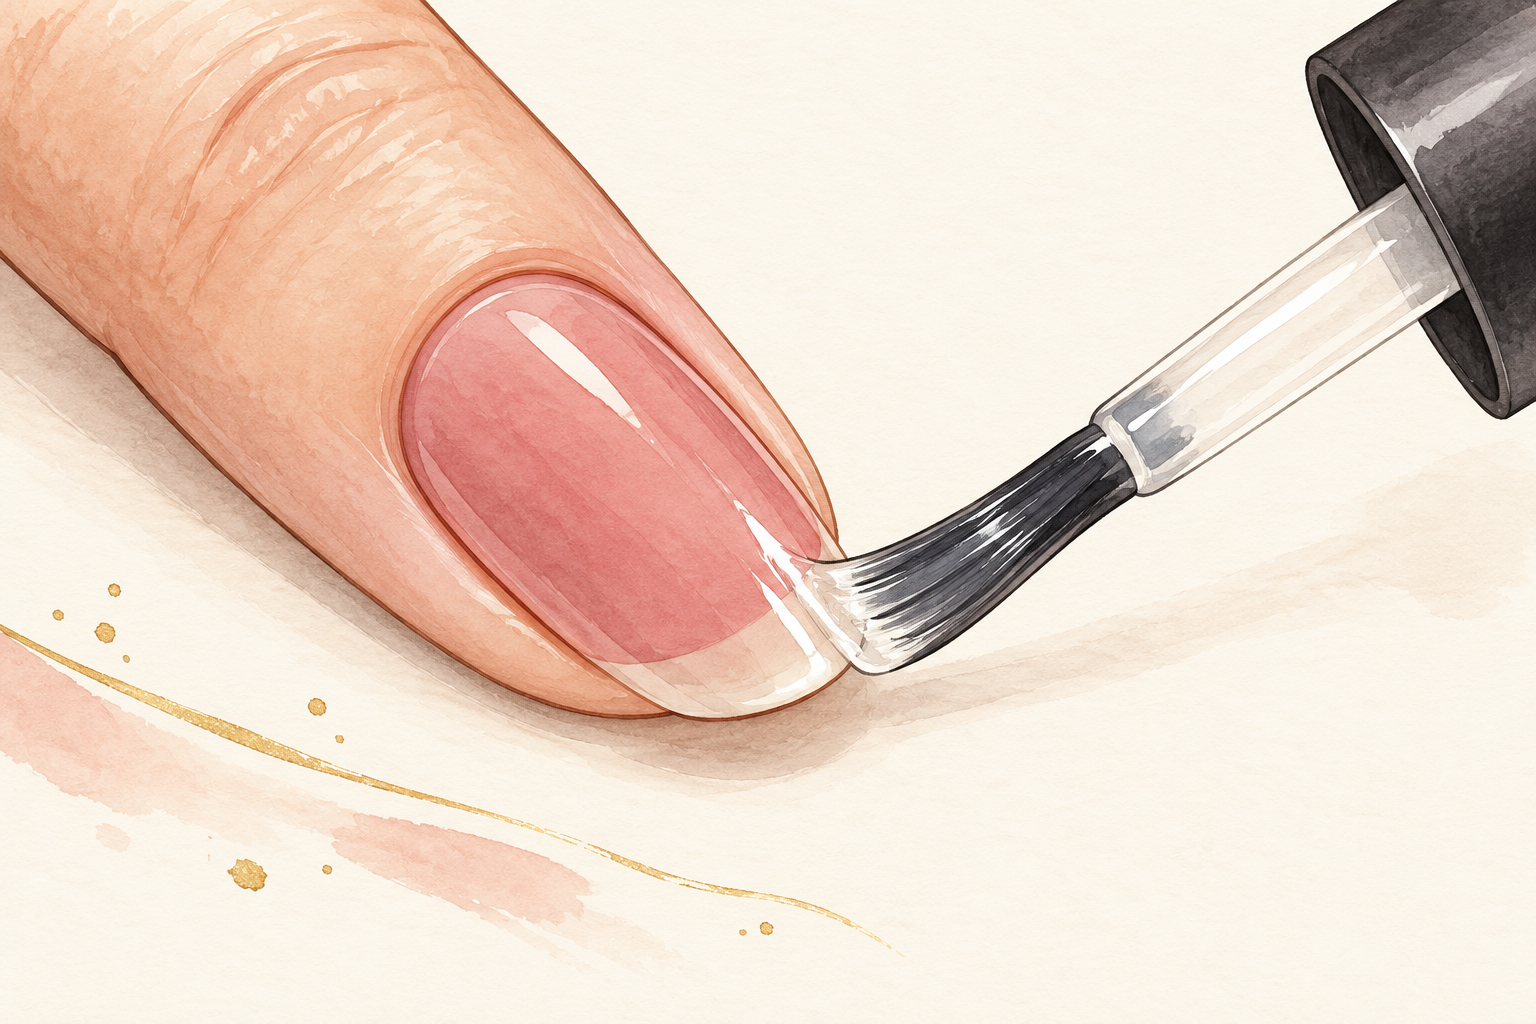
Sweep the top coat across the nail, then run the brush along the free edge to cap it. Capping the tip stops chips that start at the end. Wait until the last color coat has set for a few minutes before you seal. Use a thin layer and keep it off the skin, because a thick top coat stays soft for longer and gets dented by anything you touch. Float the brush without pressing, and let the polish level itself. A good top coat makes the shine look deep and wet, and it hides the tiny ridges a brush leaves behind. Reapply a thin layer on day three.
11. Give it twelve minutes before you touch anything
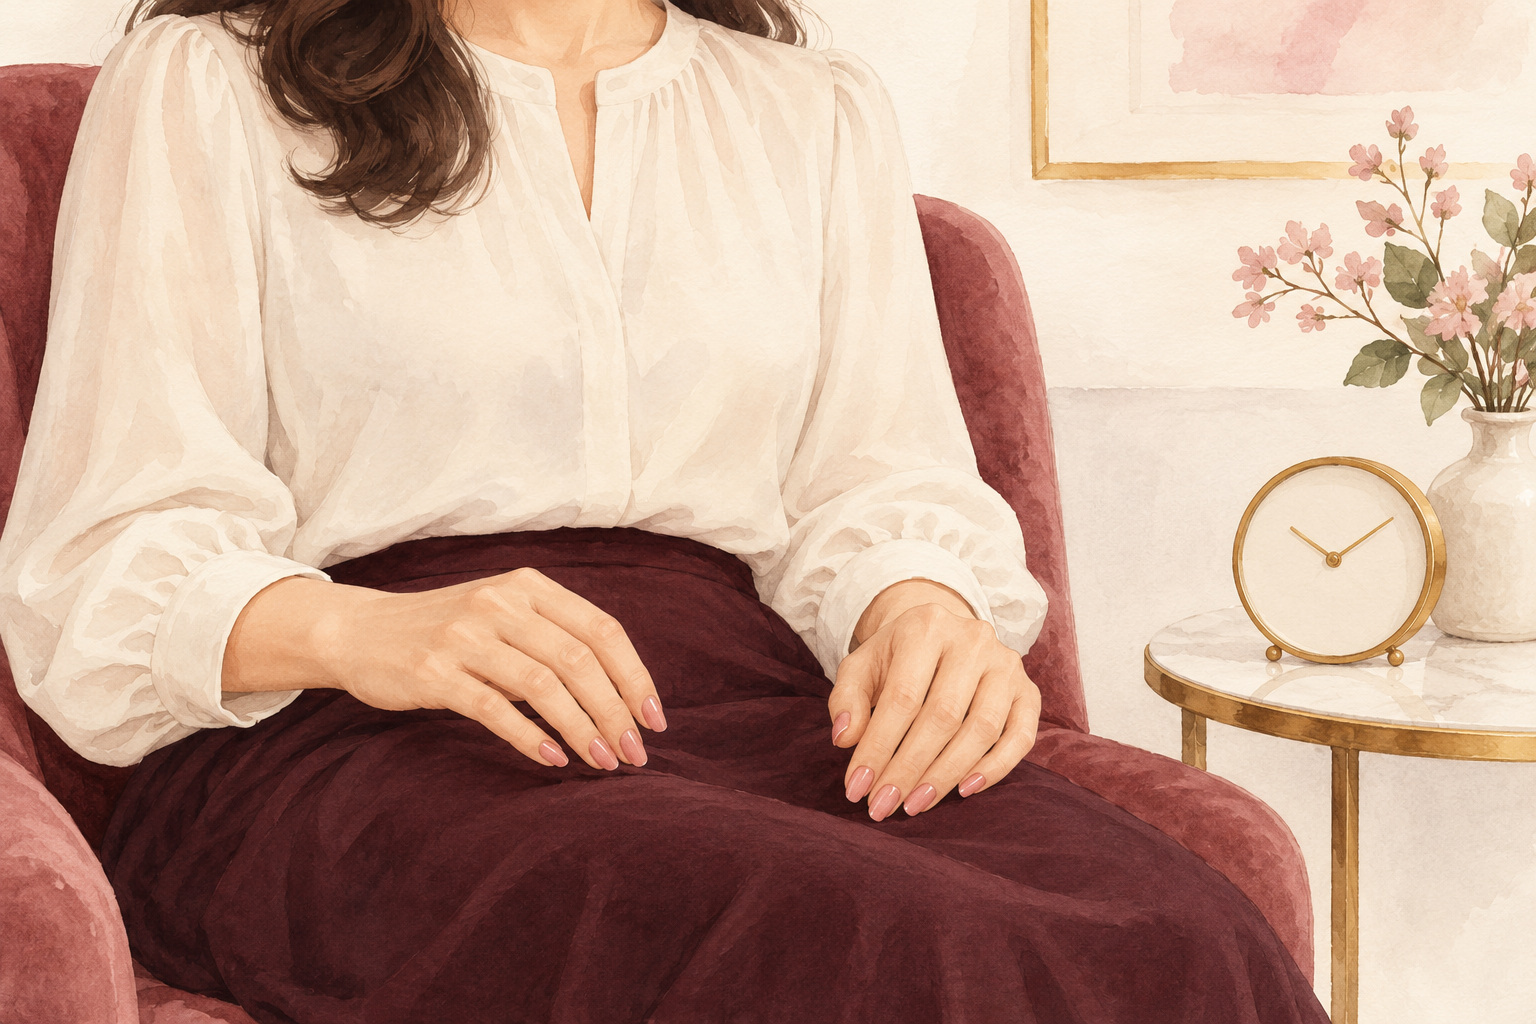
Keep your hands still for ten to twelve minutes, because polish can feel dry long before it is set. Waving your hands around smudges the surface. Cold water helps a little after the first two minutes, and beads on the nail are a sign it is dry. Phone, keys and door handles can wait. Put the kettle on before you start, so there is something to do afterwards that needs no fingers. If you do smudge, add a drop of top coat to a clean fingertip and smooth the dent while it is fresh, then leave it to set without poking.
12. Rescue thick polish and track your progress
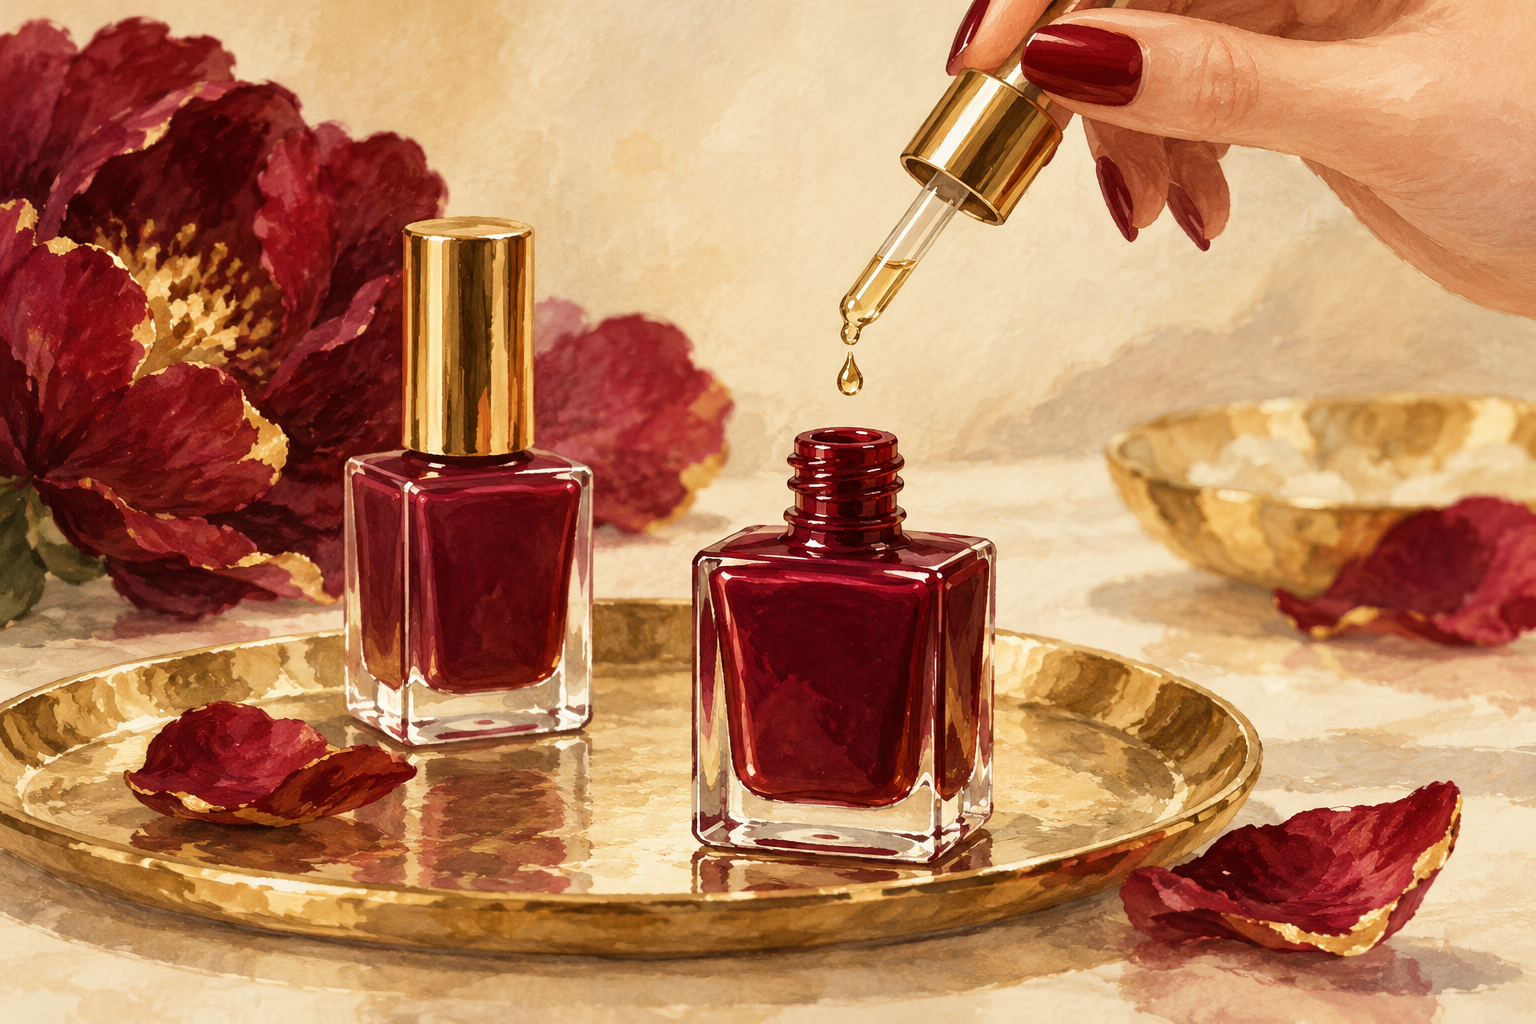
Add one or two drops of polish thinner, not remover, to a gooey bottle, and roll it to mix. Remover breaks the formula down and makes things worse. If the polish still pulls into strings, replace it. Keep the neck wiped clean and store the bottle upright, away from the window. By your fourth session the three strokes feel automatic, and flooding stops. Take a photo each week to see progress, because perfect is a practice thing and your hands improve faster than you expect.
Complete the Routine: How to Paint Nails Perfectly Every Week
Tonight, roll your polish bottle for a minute, wipe the brush to a small bead and paint one hand with three thin strokes. Each stroke you practice makes the next one steadier, so there is no need to rush. The guides below will keep you company when you are ready for the next idea.