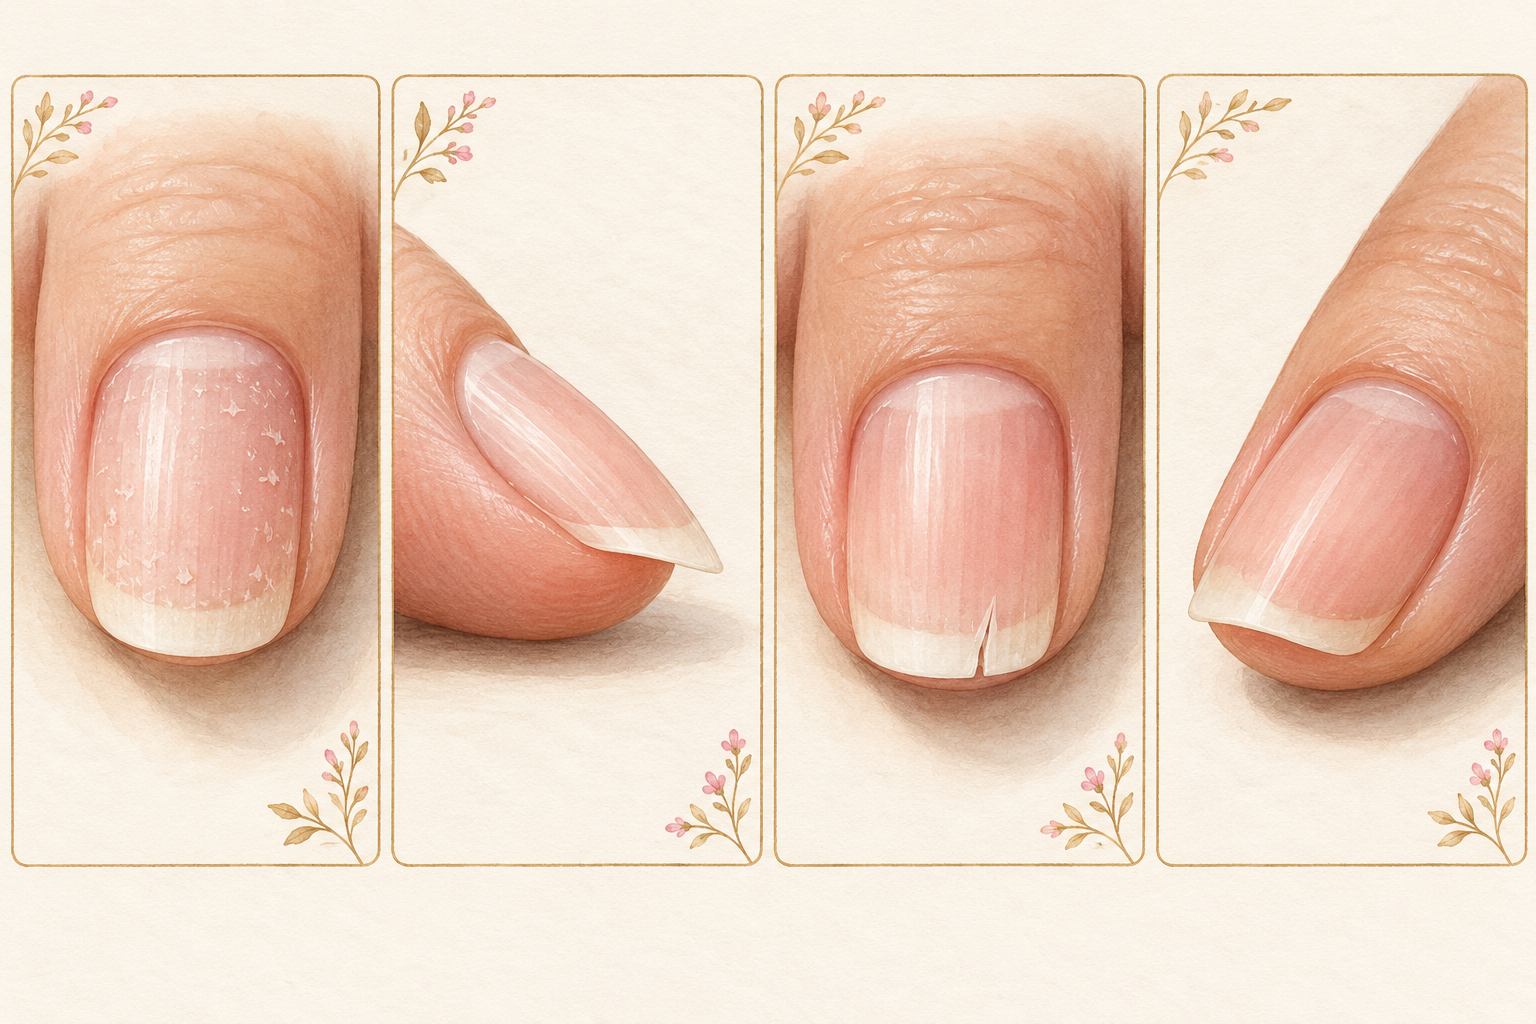
You catch your nails in the light and they look wrong, soft enough to bend, ridged like corduroy or lifting at the tip with a pale gap underneath. Damaged nails come in several kinds, and the sign you are looking at is usually a clue to the cause, which is worth working out before you start fixing anything. Here are 12 signs and what each means, so start at number one tonight.
1. Look at all ten nails in daylight
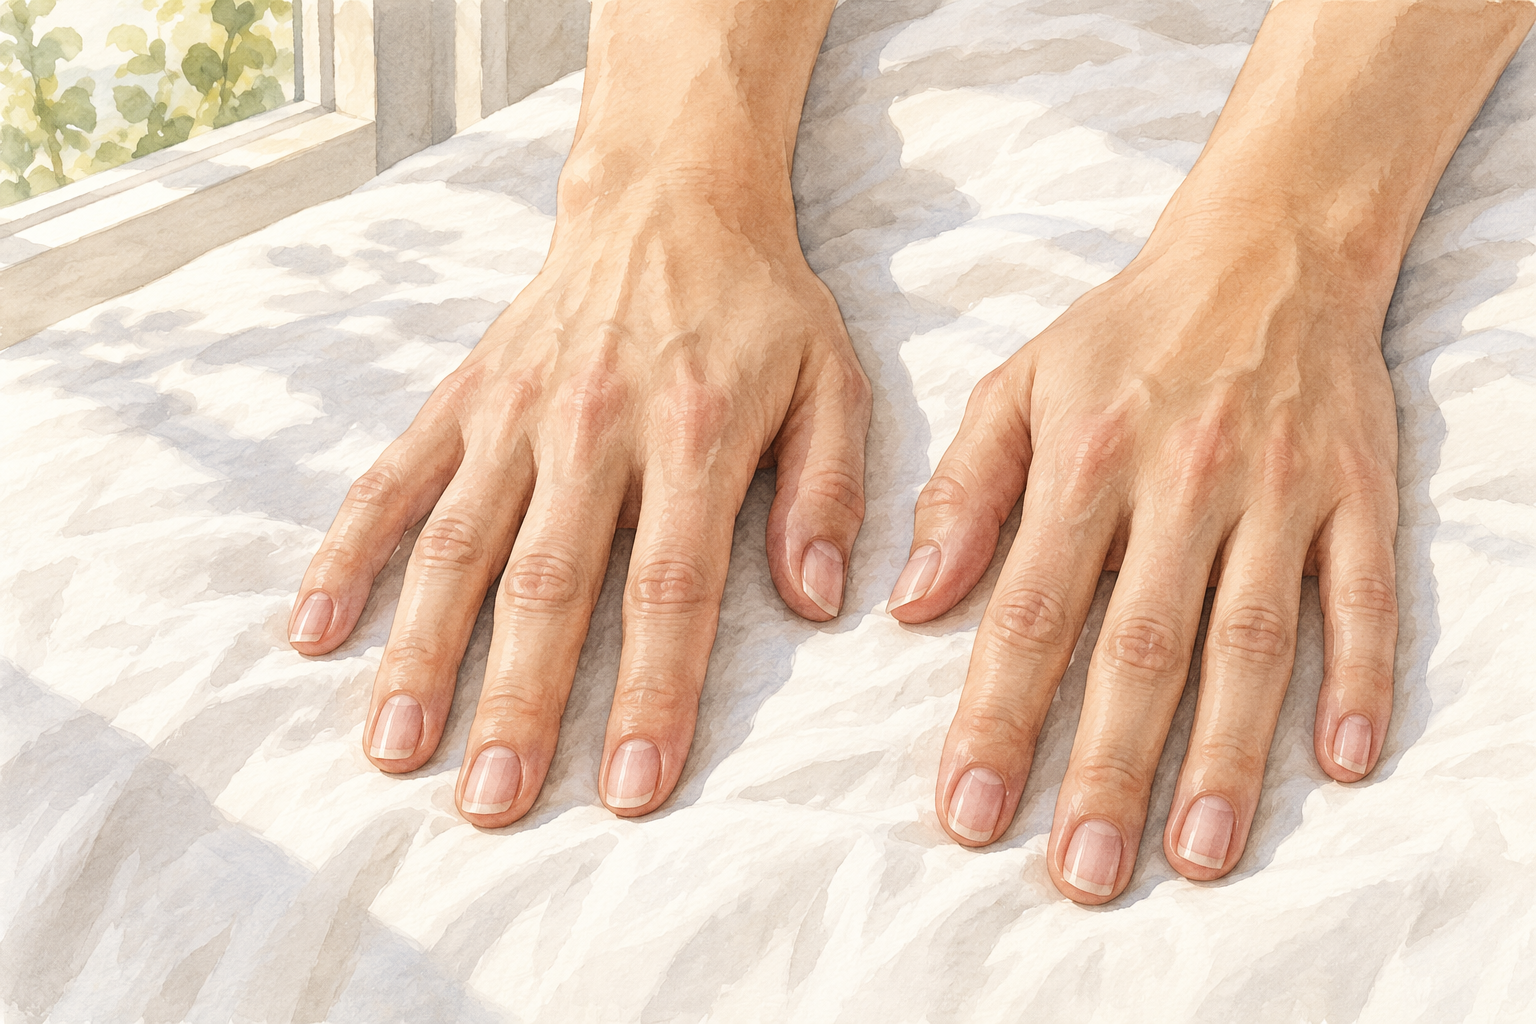
Take a photo of both hands on a white sheet, near a window, and note the pattern. One nail that looks different usually points to an injury, while all ten looking rough points to something you do every day, like water or products. Count which fingers are worst, because your dominant thumb and index finger take the most knocks. Write down what you see so you can compare in a month. Damaged nails rarely tell the whole story on one day, and a photo is kinder than memory. Use the same lamp and the same spot on the table each time, so the pictures match.
2. Read thin and bendy nails as wear
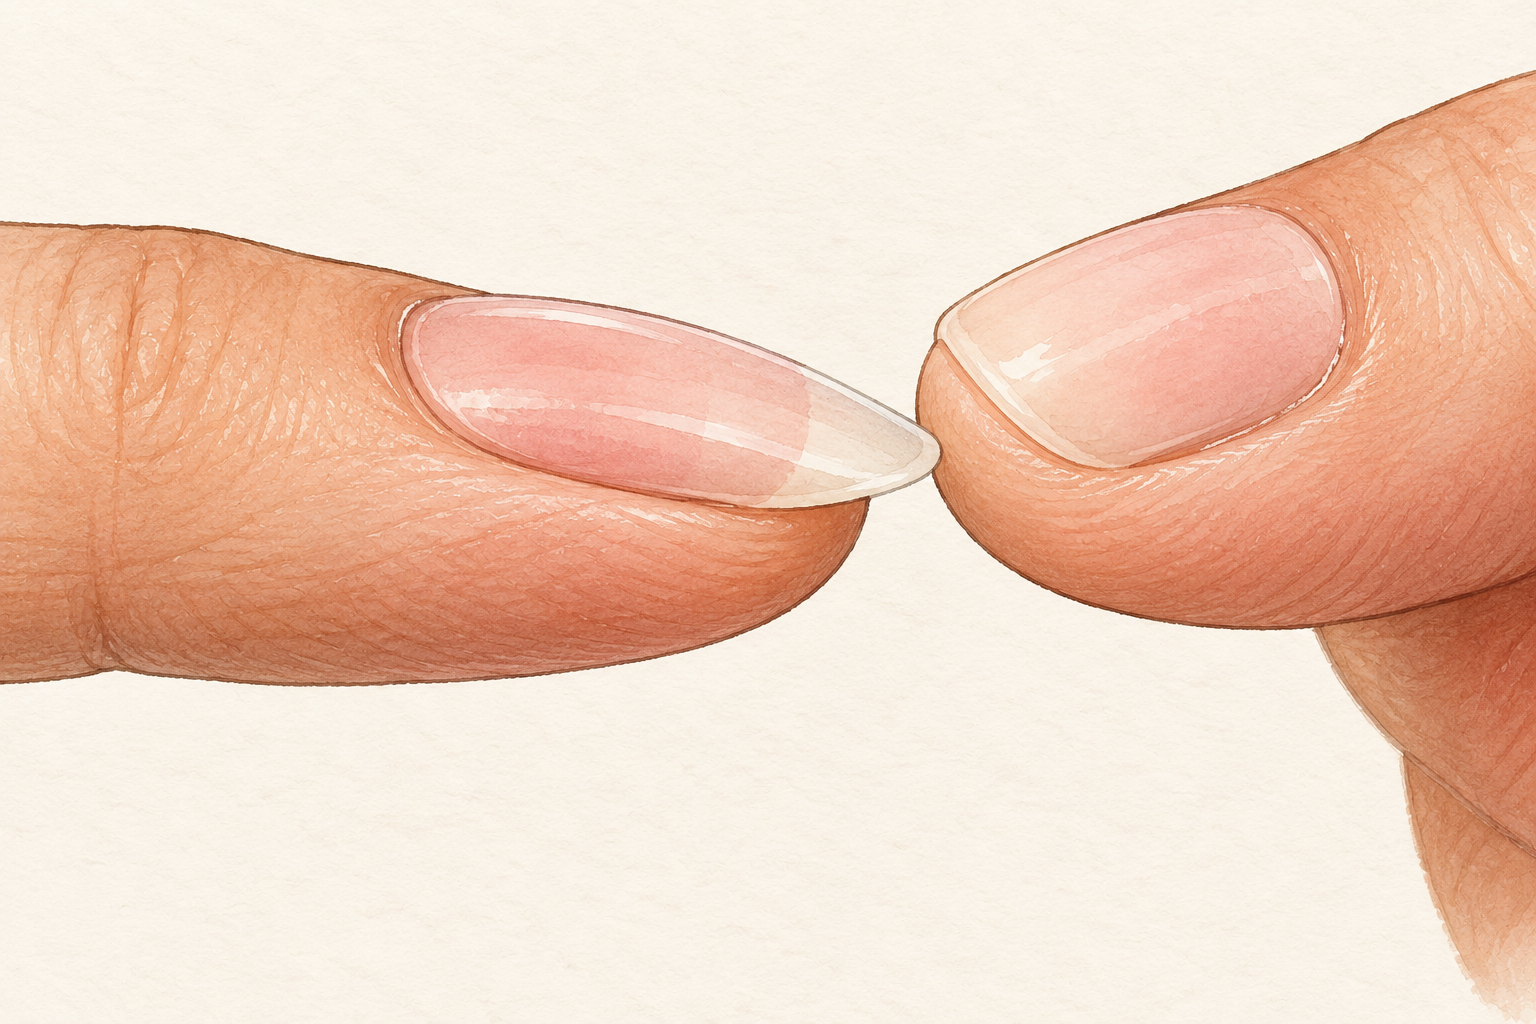
If a nail bends easily when you press it, it has probably been thinned or kept wet too often. Rough buffing before acrylic or gel files the surface thin, and long soaks, harsh scrubbing and over buffing do the same job more slowly. Skip the buffer for a month and see whether the bend eases. Keep thin nails short while they recover, because a long thin nail levers against everything it touches. Comfort often improves quickly, even though the nail itself takes months to change. Soft, bendy damaged nails also tend to catch on clothes, so a smooth edge helps right away. A smooth edge helps right away, and when you want more strength, try how to strengthen nails next.
3. Tell soft nails from brittle ones
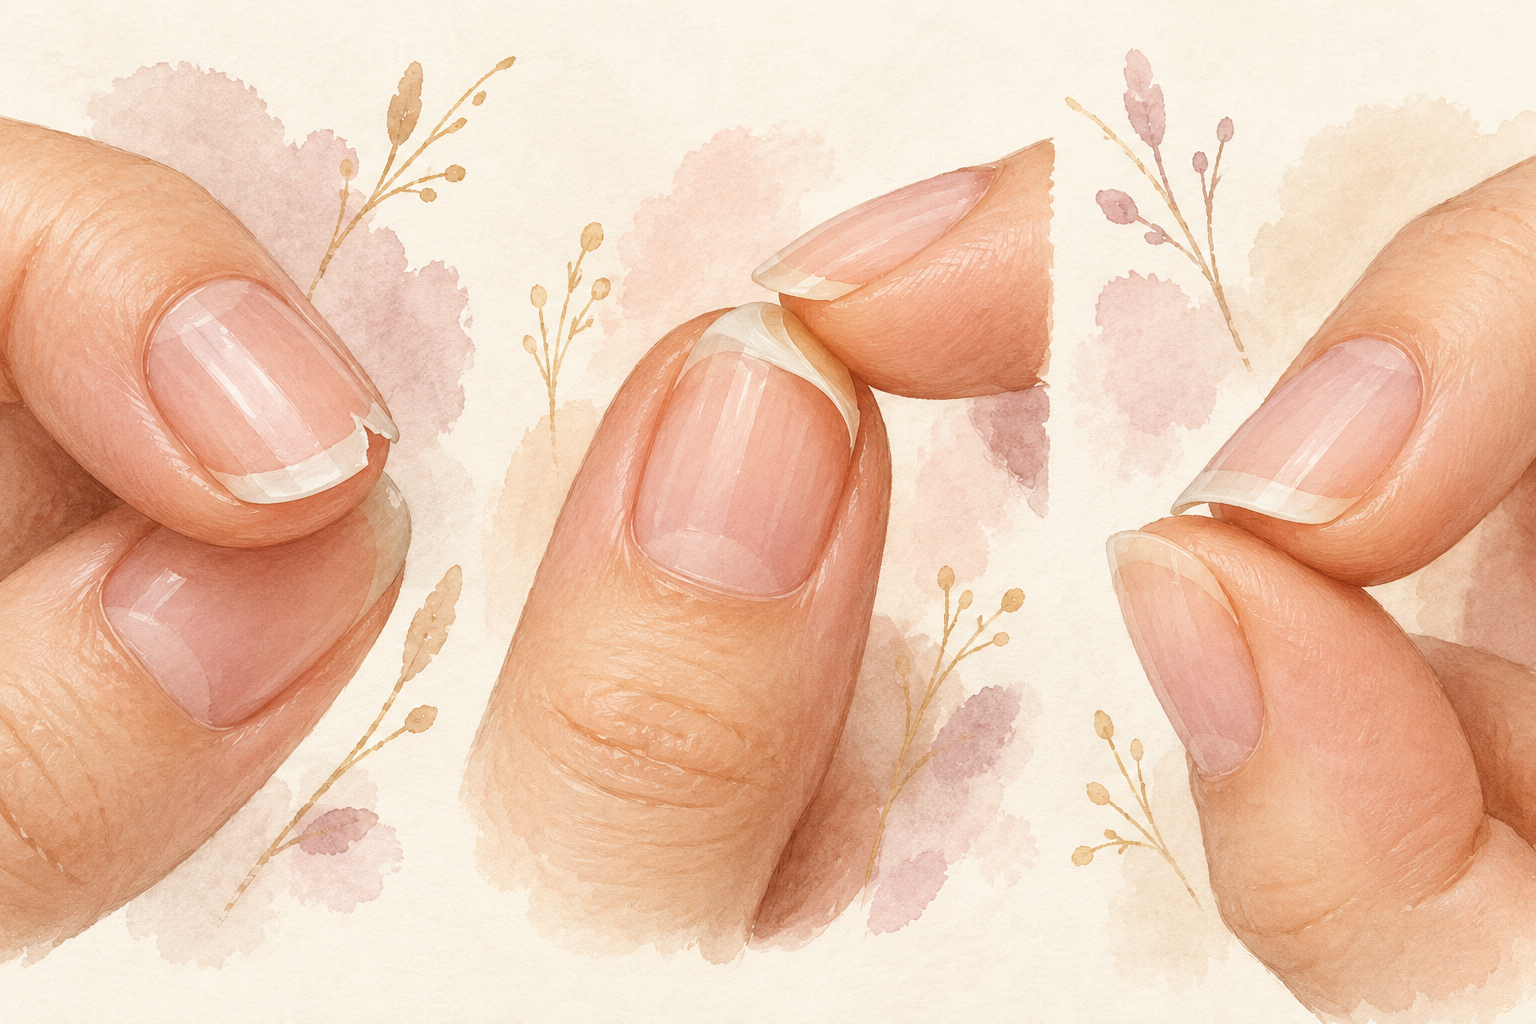
Soft nails bend, while brittle nails crack and split in layers. Both are common with frequent water exposure, and cleaning products make brittle nails worse. Rub oil into brittle nails daily and wear gloves for any wet job. Soft nails usually need protection from soaking and filing. If your nails are still brittle after a few months of steady habits, look at what you eat, because protein rich meals show up in your nails before anywhere else. Eggs, beans and fish are an easy start, and a steady week of them beats a bottle of tablets. Give it time, because new nail grows slowly from the base.
4. Leave fine vertical ridges alone
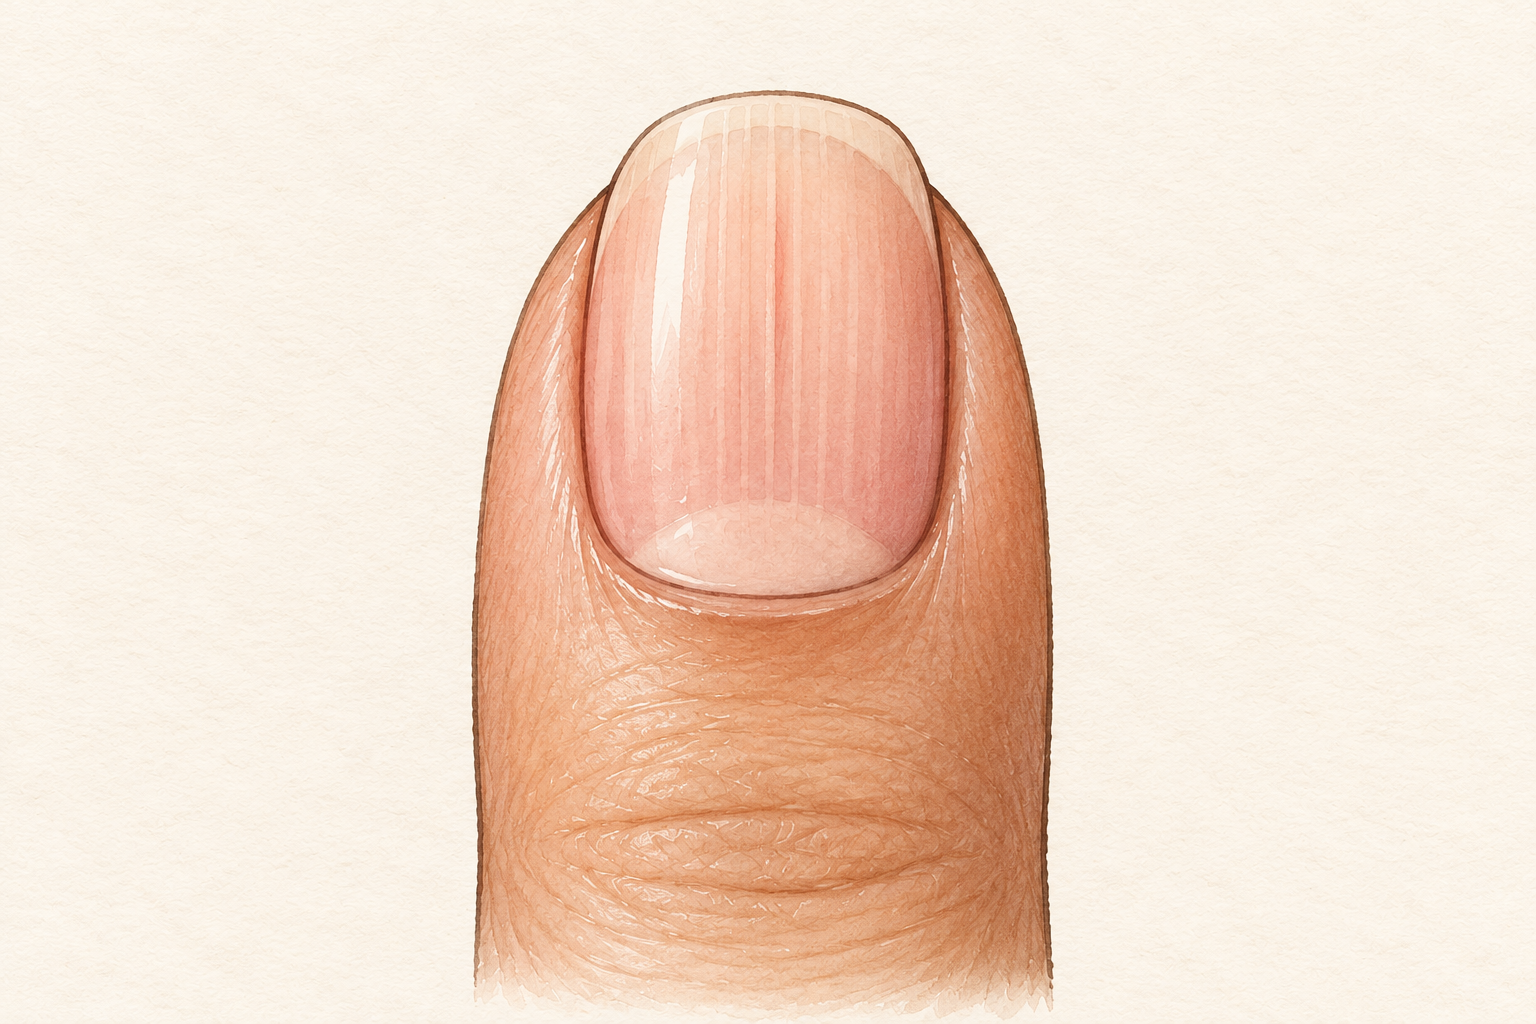
Thin lines running from the cuticle to the tip are very common and usually harmless. They tend to show more as we get older, and dish soap and sanitizer can make them look worse, so wear gloves. Buffing them flat just thins the nail more, and the lines come back. If you want a smoother look, a ridge filling base coat is gentler than sanding. Rub in a little oil at night, since moisture makes ridges look softer. Most people find they fade into the background within a few weeks. If a ridge catches polish, a thin base coat smooths it nicely.
5. Treat a line across the nail as a past event
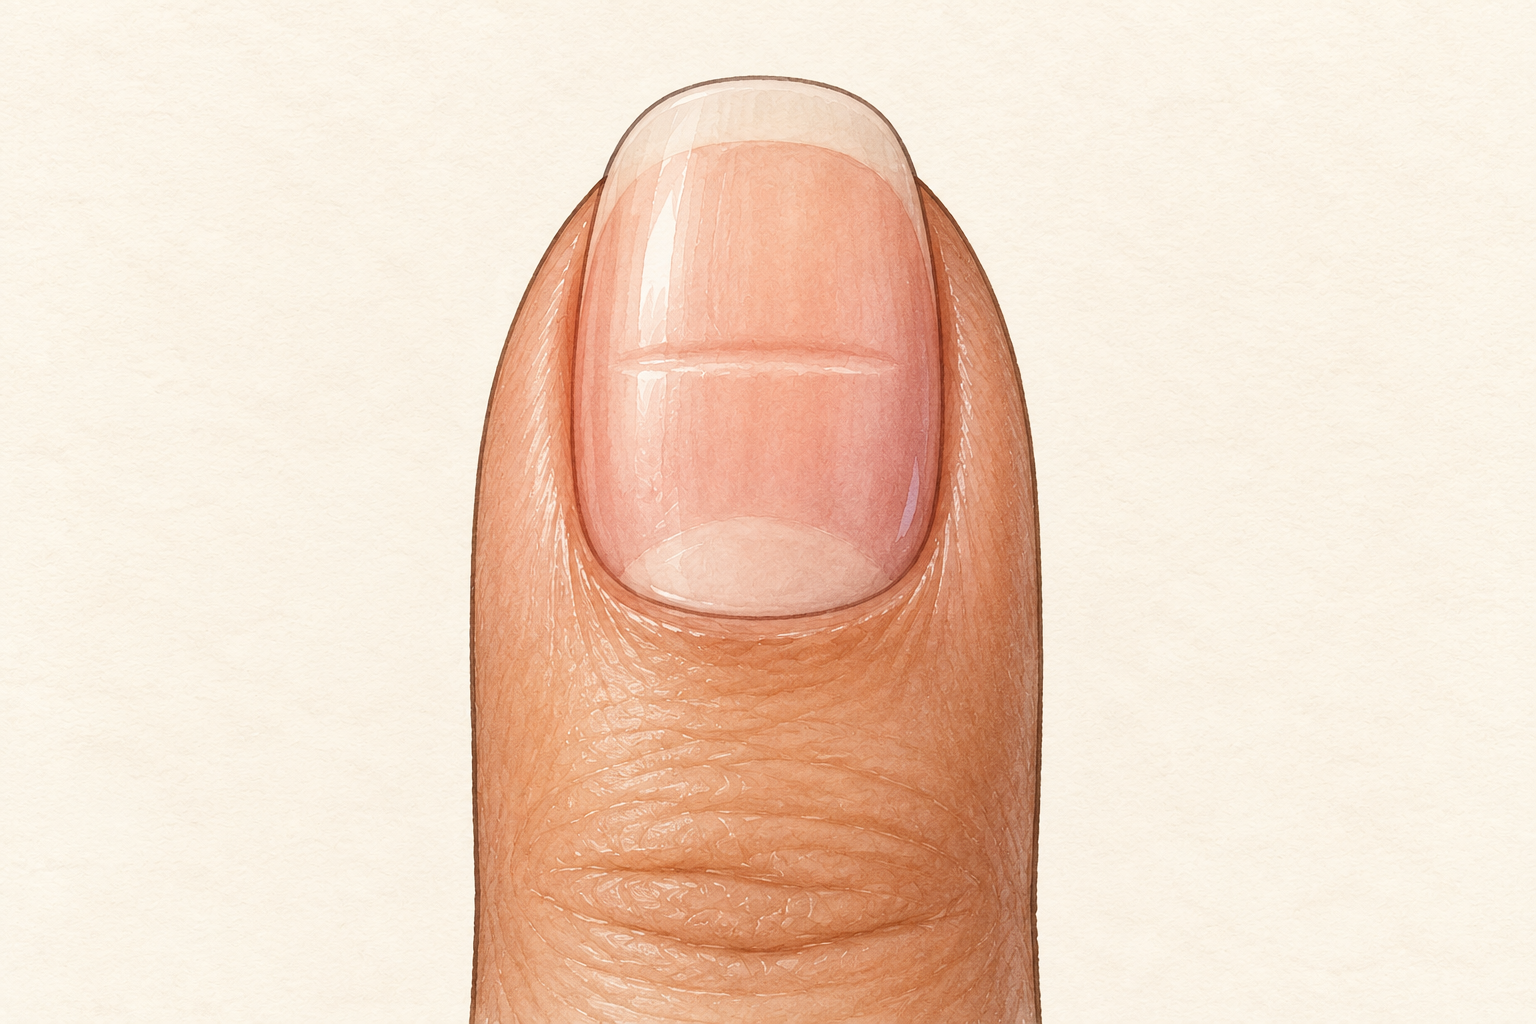
A groove running side to side across one or more nails often shows up after a rough few weeks, and it grows out with the nail. Look at where it sits and estimate when it formed, because a nail takes months to carry a line to the tip, and a line near the cuticle is recent. Think back to illness, stress, a hard diet or a new product around that time. If several nails show a line and you cannot explain it, go back over your last month and see what changed. Leave the line alone and protect the new growth. It moves a little closer to the tip each week, which is a quiet sign of progress.
6. Note small pits and dents
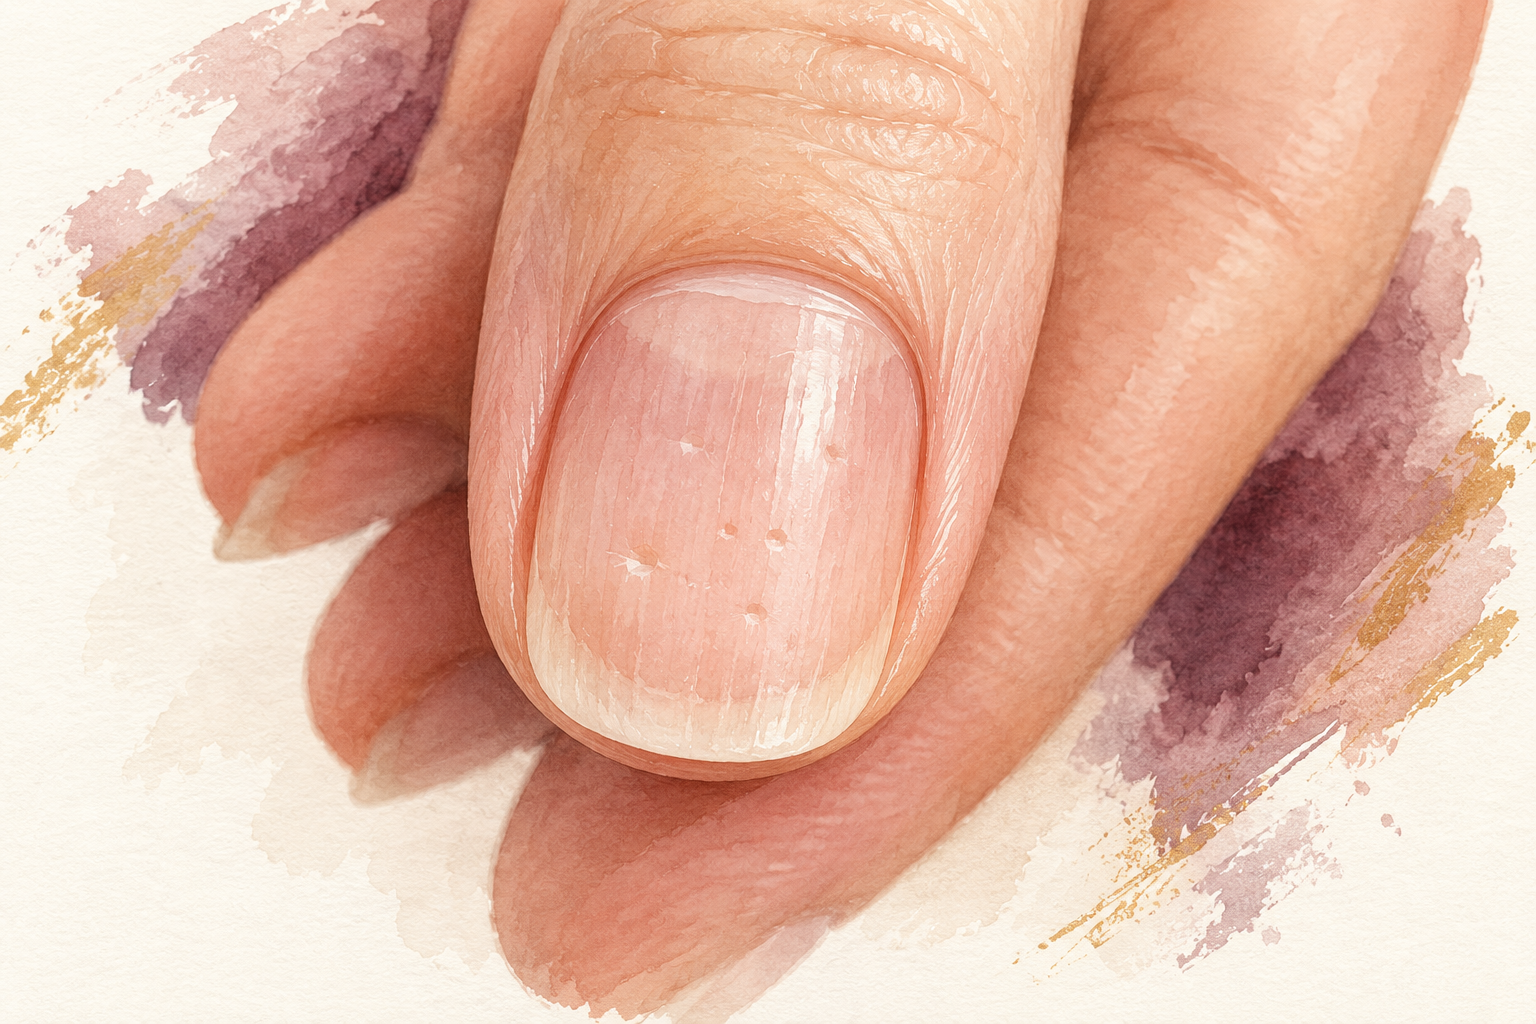
Tiny pits, like pinpricks, tend to come and go and usually grow out with the nail. No product fixes them, and polish only hides the clue. If you see pits, stop trying new products, keep the nails bare and plain and let them grow out. Write down the date you first noticed them and look again in a month. Pits on their own are not an emergency, but they are worth noting, especially if they appear on several nails at once or keep returning. Keep your nails short and your gloves close while you watch.
7. Work out why a nail is lifting
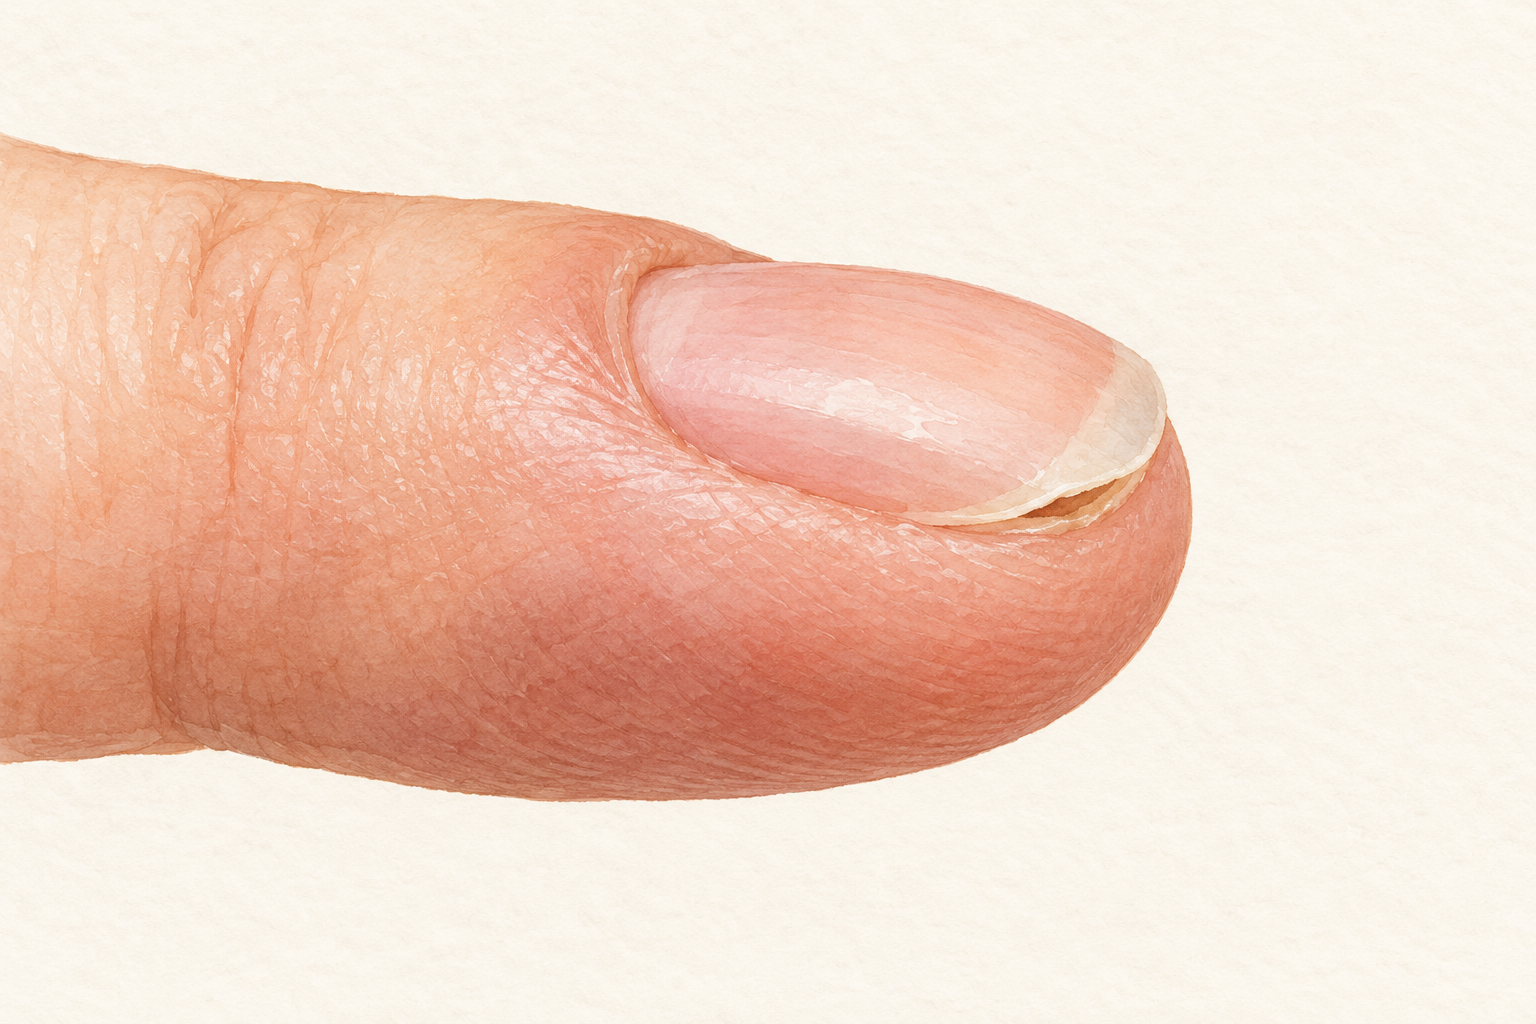
When a nail separates from its bed, a pale gap appears at the tip. Common triggers are a knock, a slammed door, pushing under the nail with a sharp tool or pulling off gel or press ons. Stop cleaning under the nail with anything pointed and keep the lifted part trimmed short so it cannot catch. Keep the gap dry, and do not glue anything over it, because trapped moisture makes things worse. The separated part does not reattach, so it grows out with the nail and the pale gap moves toward the tip. Press nothing onto it, and give it plain air and dryness.
8. Separate peeling from splitting
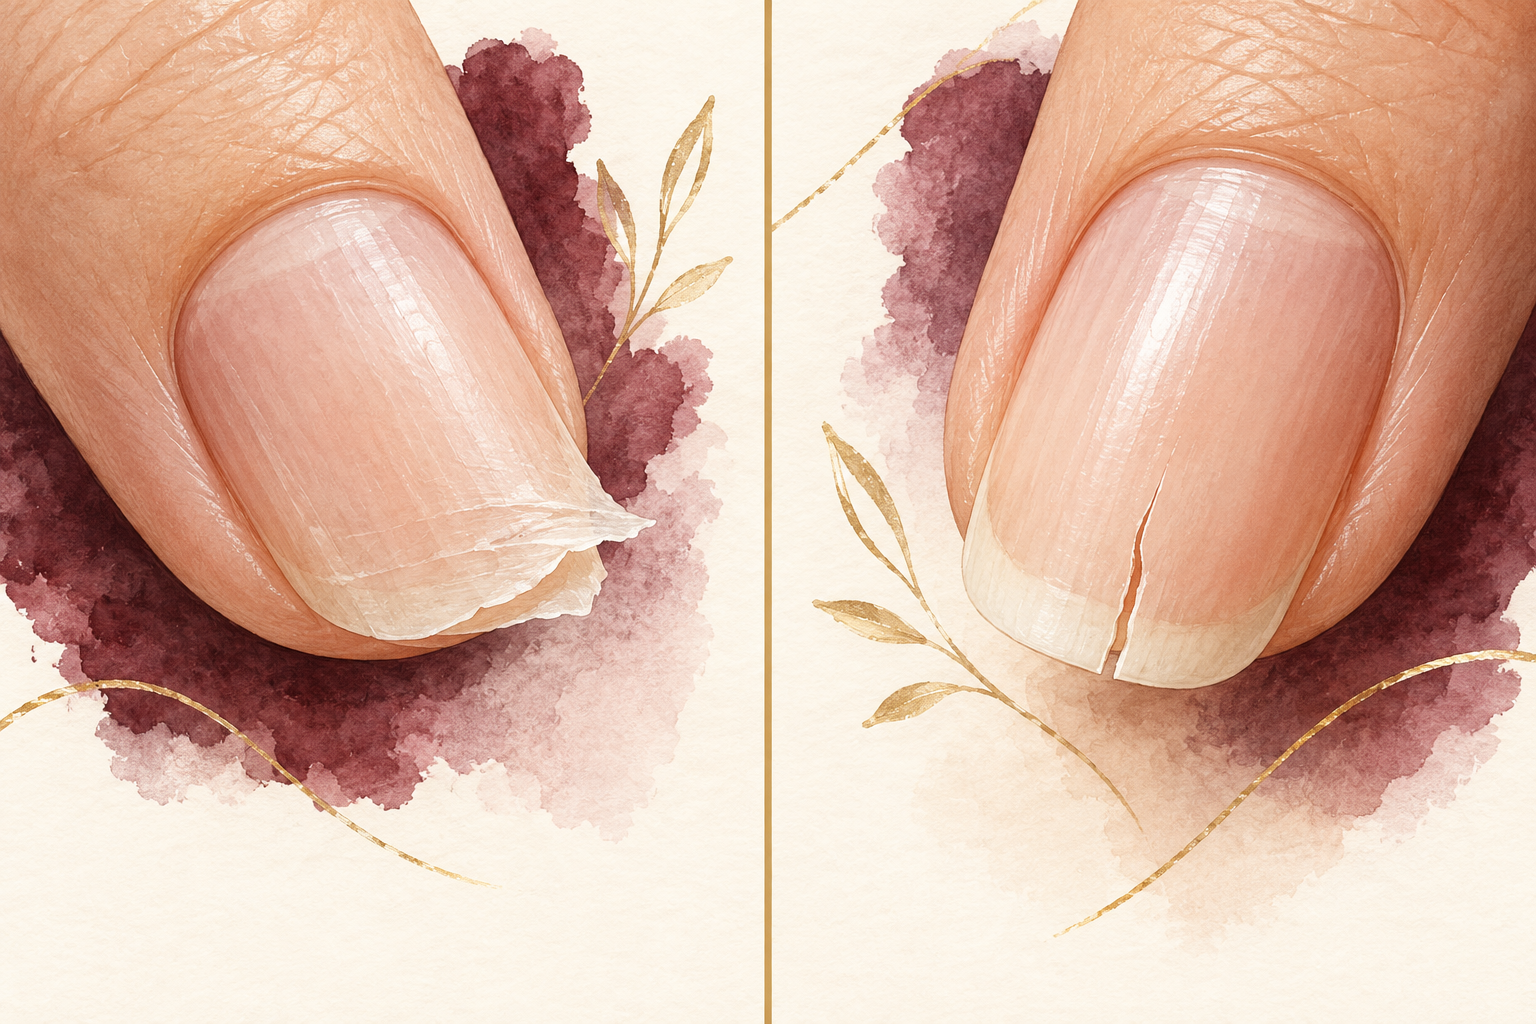
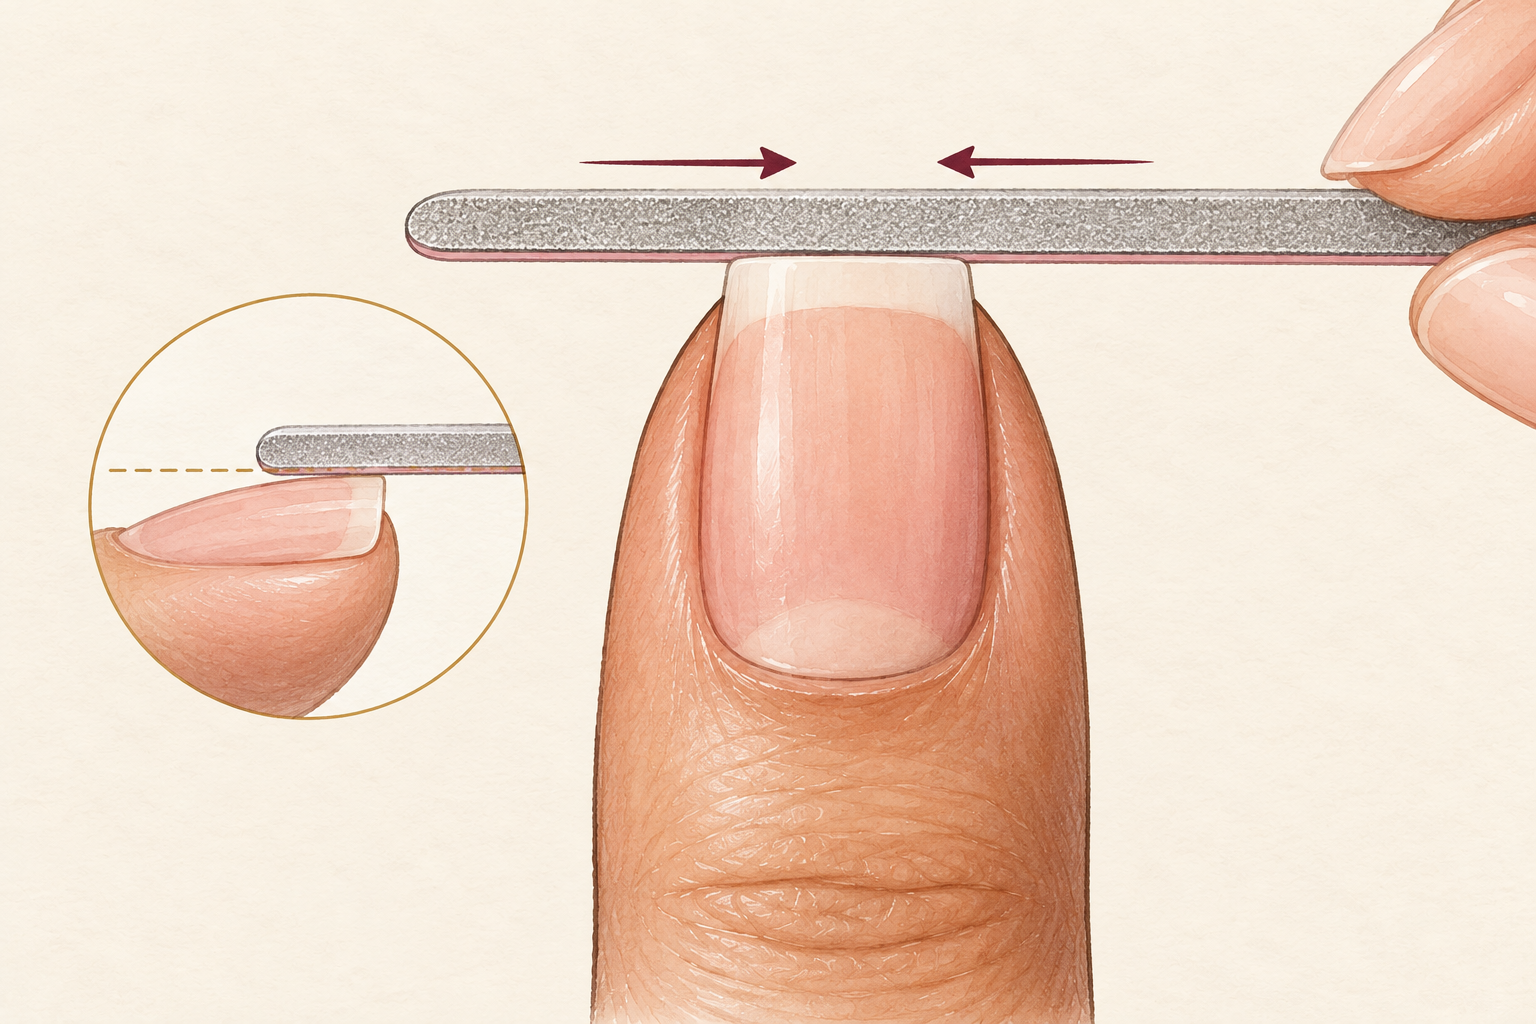
Peeling is the top layers flaking away in thin sheets, while splitting is a crack running down from the tip. Peeling usually comes from water, remover and picking, and it often follows gel removal. Both come from dryness and repeated knocks. When a layer starts to lift, file the edge flat instead of pulling it, because pulling takes more nail with it. Put oil on the area every night and keep your nails shorter until the edge looks smooth. Splits need trimming below the crack, and the new edge needs one gentle pass with the file. After that, treat both with oil so they stay soft.
9. Swap the quick fixes for slow ones
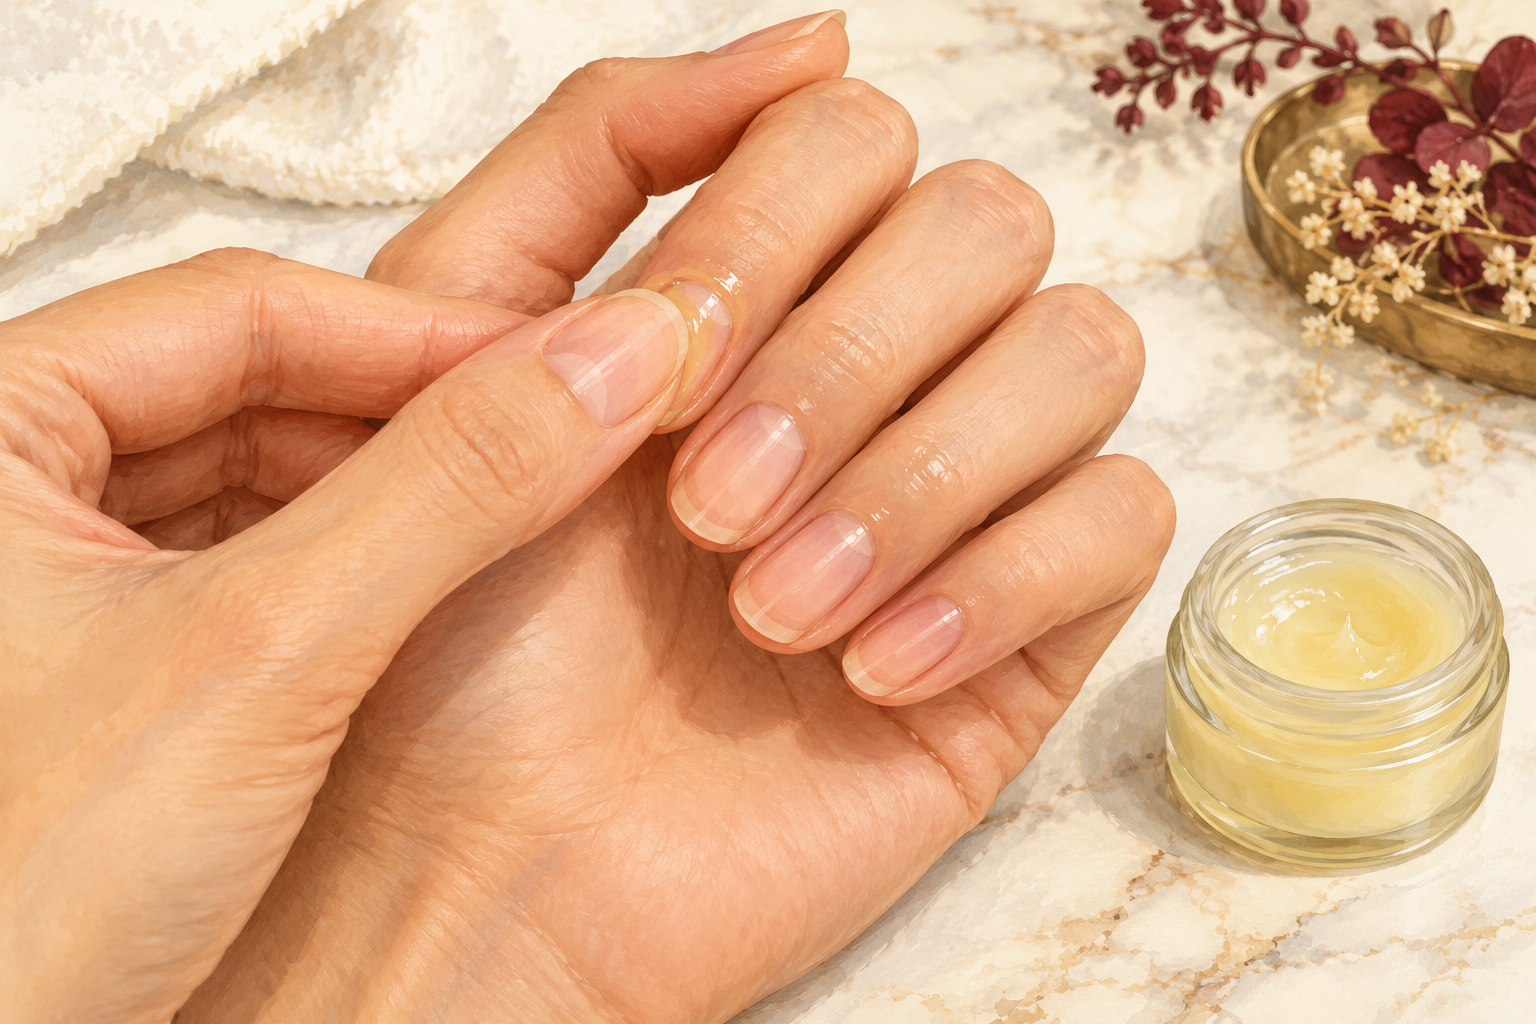
Trade the buffer for a glass file, the hardener for a plain moisturizer and the cuticle cutter for leaving the skin alone. Covering damaged nails with another layer of gel or acrylic can make existing problems worse, so leave them bare for a few weeks. A nail left alone is not neglected, it is recovering. Moisturize your hands after every wash, wear gloves for dishes and let the other habits go quiet for a while. Most damaged nails need patience more than products, and the bare month you give them often shows more than any serum. Bare weeks take patience, and you can find the repair side at nail repair.
10. Keep a simple cause log
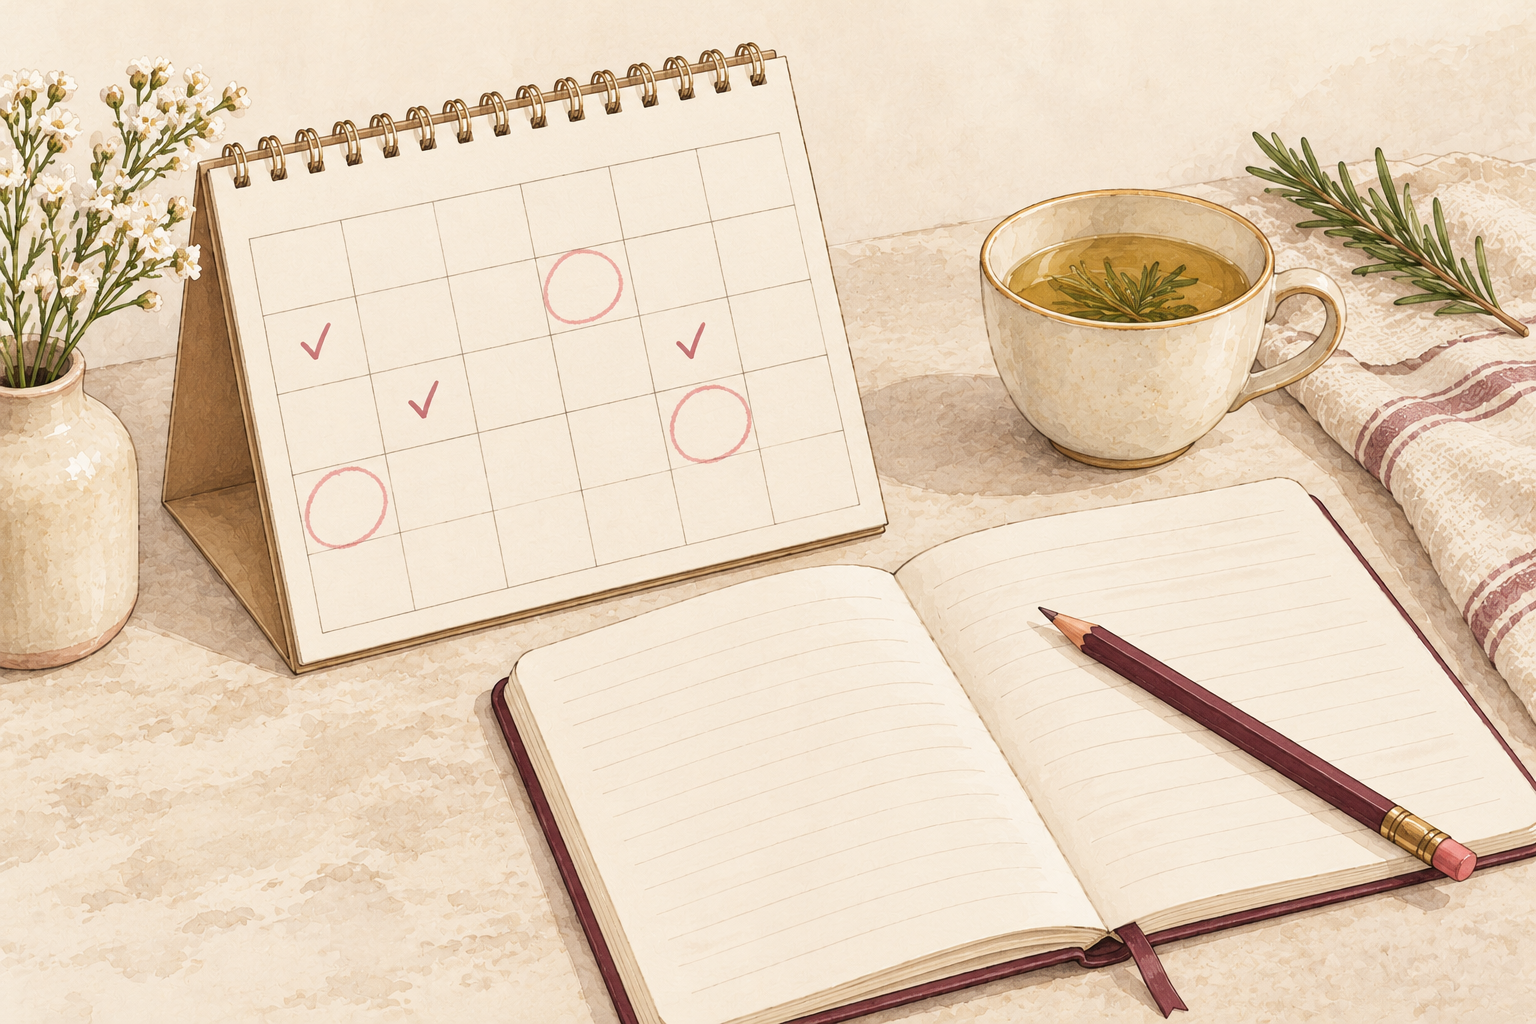
For two weeks, write down anything that touches your nails, such as remover, sanitizer, gel sessions, dishwashing and nail biting. Patterns usually appear fast. A common one is splits that follow gel removal by a few days. A log also lets you see whether a change you made lines up with an improvement. It takes a minute a day, and it turns a vague worry into something you can act on. Tick off each day you wore gloves or oiled your cuticles. After two weeks, read the page back and circle anything that repeats.
11. Know what weeks one, four and eight look like
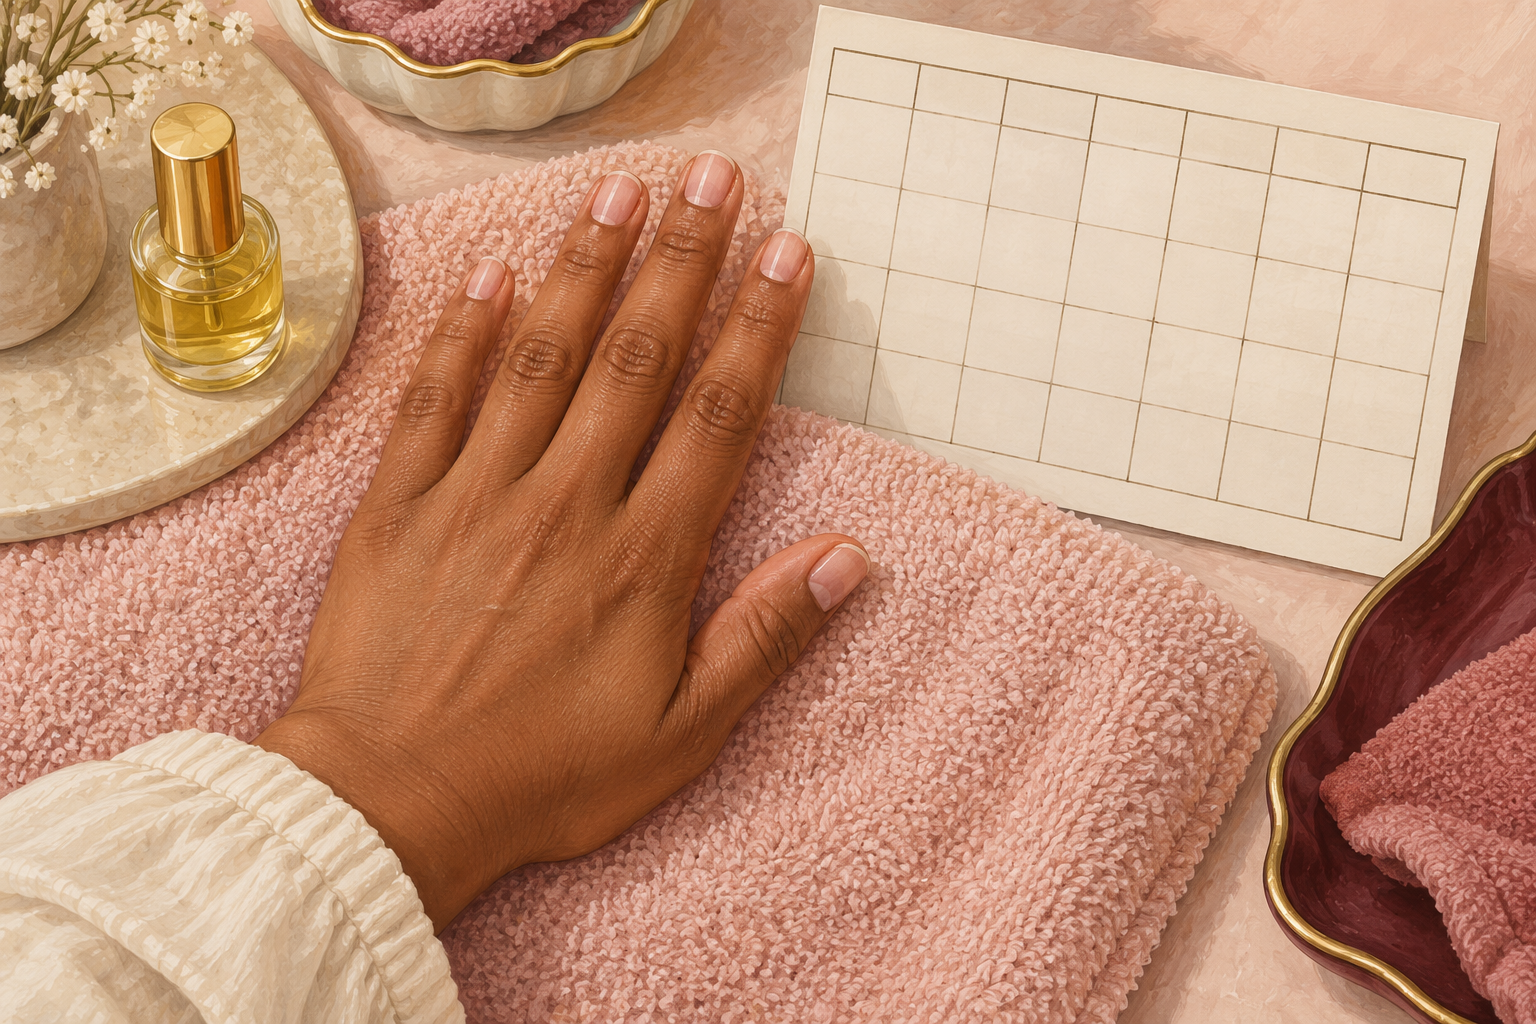
In week one, you have changed habits but the nail looks the same. By week four the new growth at the base should look smoother and stronger, with a visible line where the damage ends. By week eight about two months of healthier nail should be showing, though the tips still carry older wear. These are rough markers, since growth varies a lot between people. Photograph the same hand every week in the same light. Keep going until the damaged part has been trimmed off. Trim a little at a time, so the nail stays strong as the new part arrives.
12. Know when a nail needs more than patience
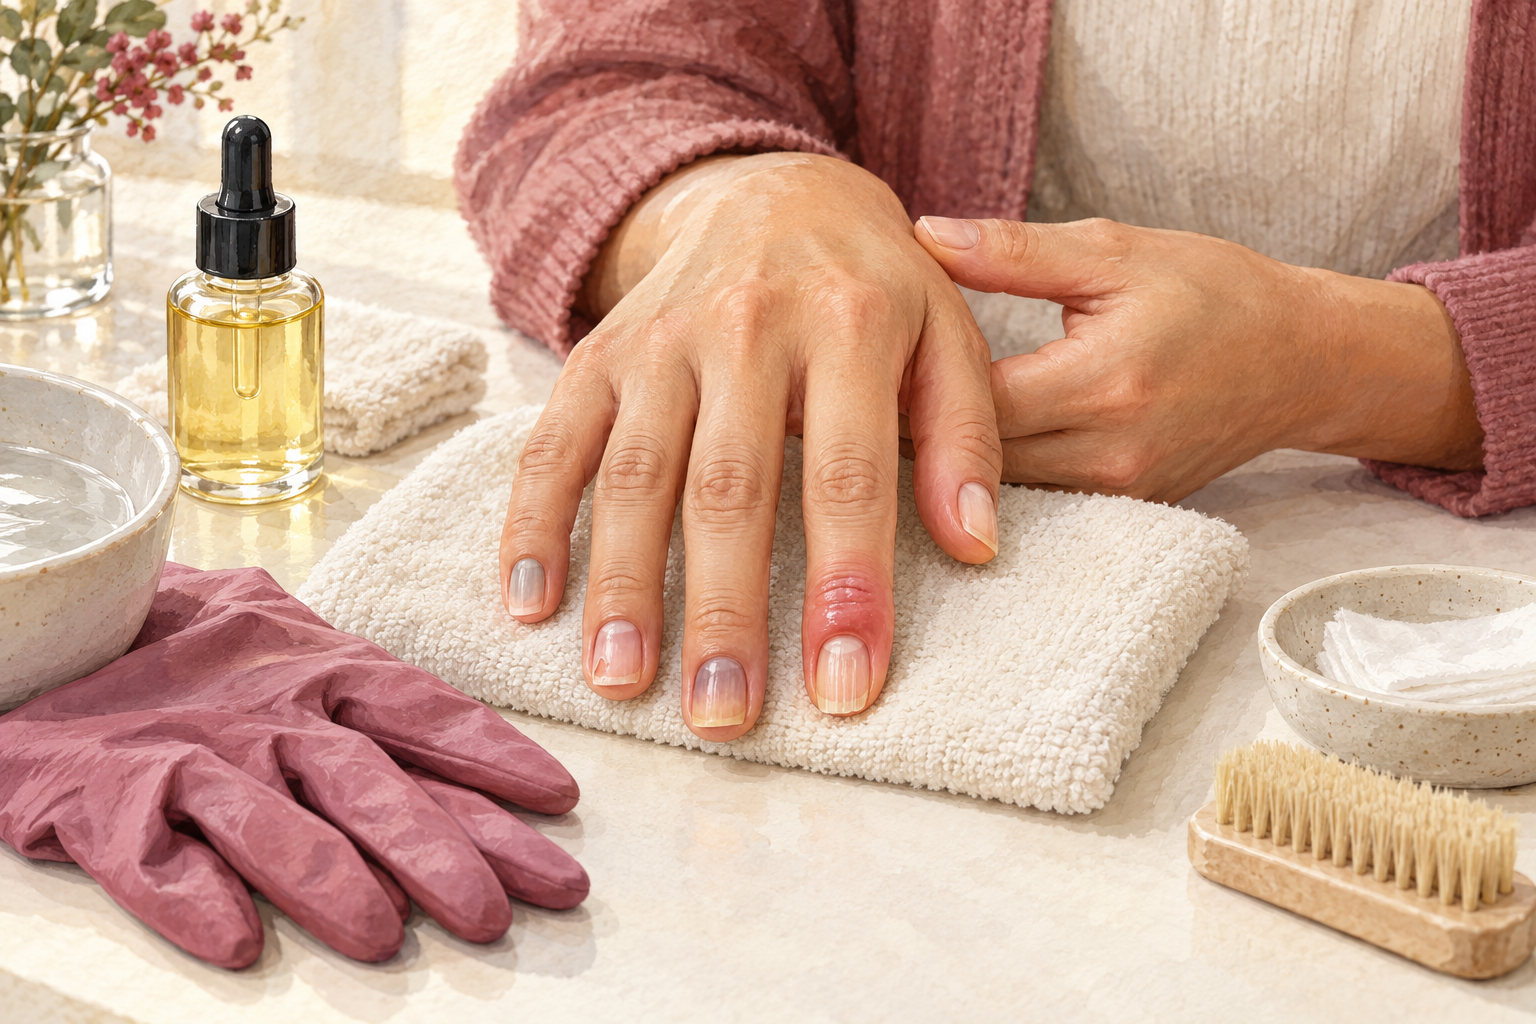
If the skin around a nail turns hot, swollen and sore, or the nail changes color or shape for no clear reason, see your doctor soon. Until then, keep the nails clean and dry and rest them from every product. A nail that falls off for no clear reason also belongs on that list. Otherwise, give a changed habit four to six weeks before you decide it has not worked. Plain oil, gloves and short nails are the kindest plan while you wait. Check the skin around each nail every few days, and look for any change in color or swelling.
Complete the Routine: Damaged Nails Tonight
Photograph your hands in daylight tonight and write one line about which sign matches yours. Damage reads differently on every nail, so you can take one sign at a time. The guides below are there for the next piece of care whenever you want it.