Your coils looked springy and defined on wash day, then you ran your fingers through them on Tuesday, and by Thursday they are fuzzy, dry and shrunken. A 4a curly hair routine works when it protects the clumps you already made, because every extra touch pulls a coil apart. These 12 steps cover moisture, definition and low handling, so start at number one.
1. Gather your wash day kit
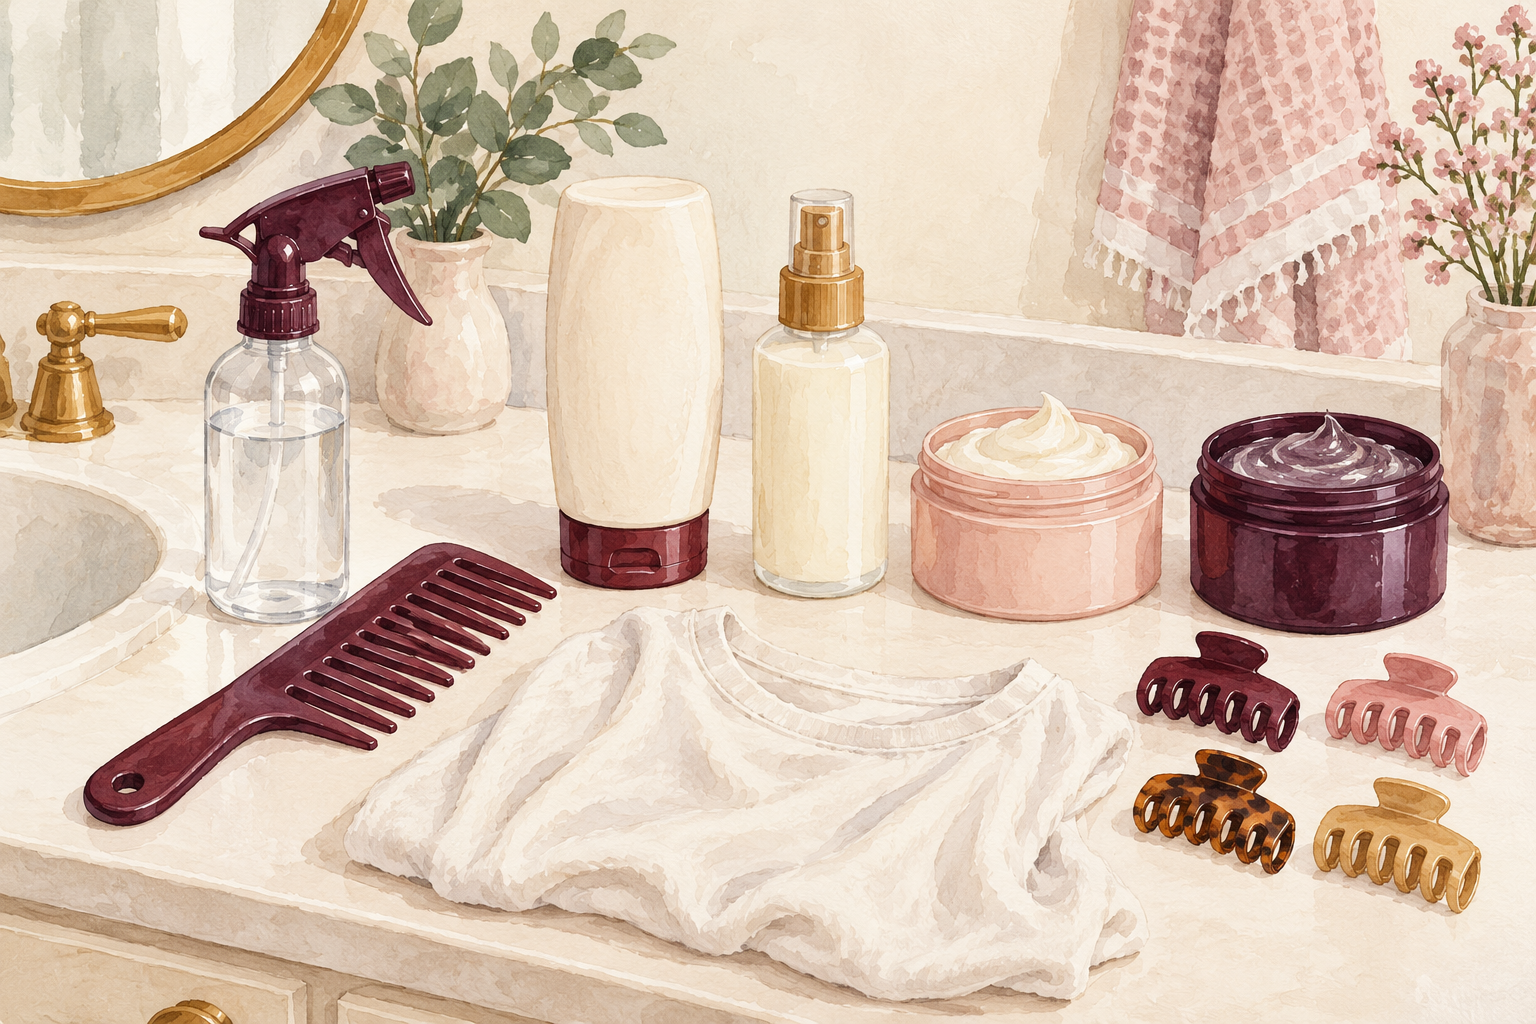
Set out a spray bottle of water, a wide tooth comb, a thick conditioner, a leave in, a curl cream, a gel and a soft towel before you wet your hair. You will be working with sections of damp hair, and coils dry out fast, so you do not want to hunt for anything mid wash. Use an old cotton t shirt in place of a rough towel. Clip four sections to the top of your head. Pour your products into small bowls if the jars are far away. Keep a clean cup of water nearby to dip your fingers into. Give yourself two or three hours, because this is a slow, gentle day.
2. Know your starting point

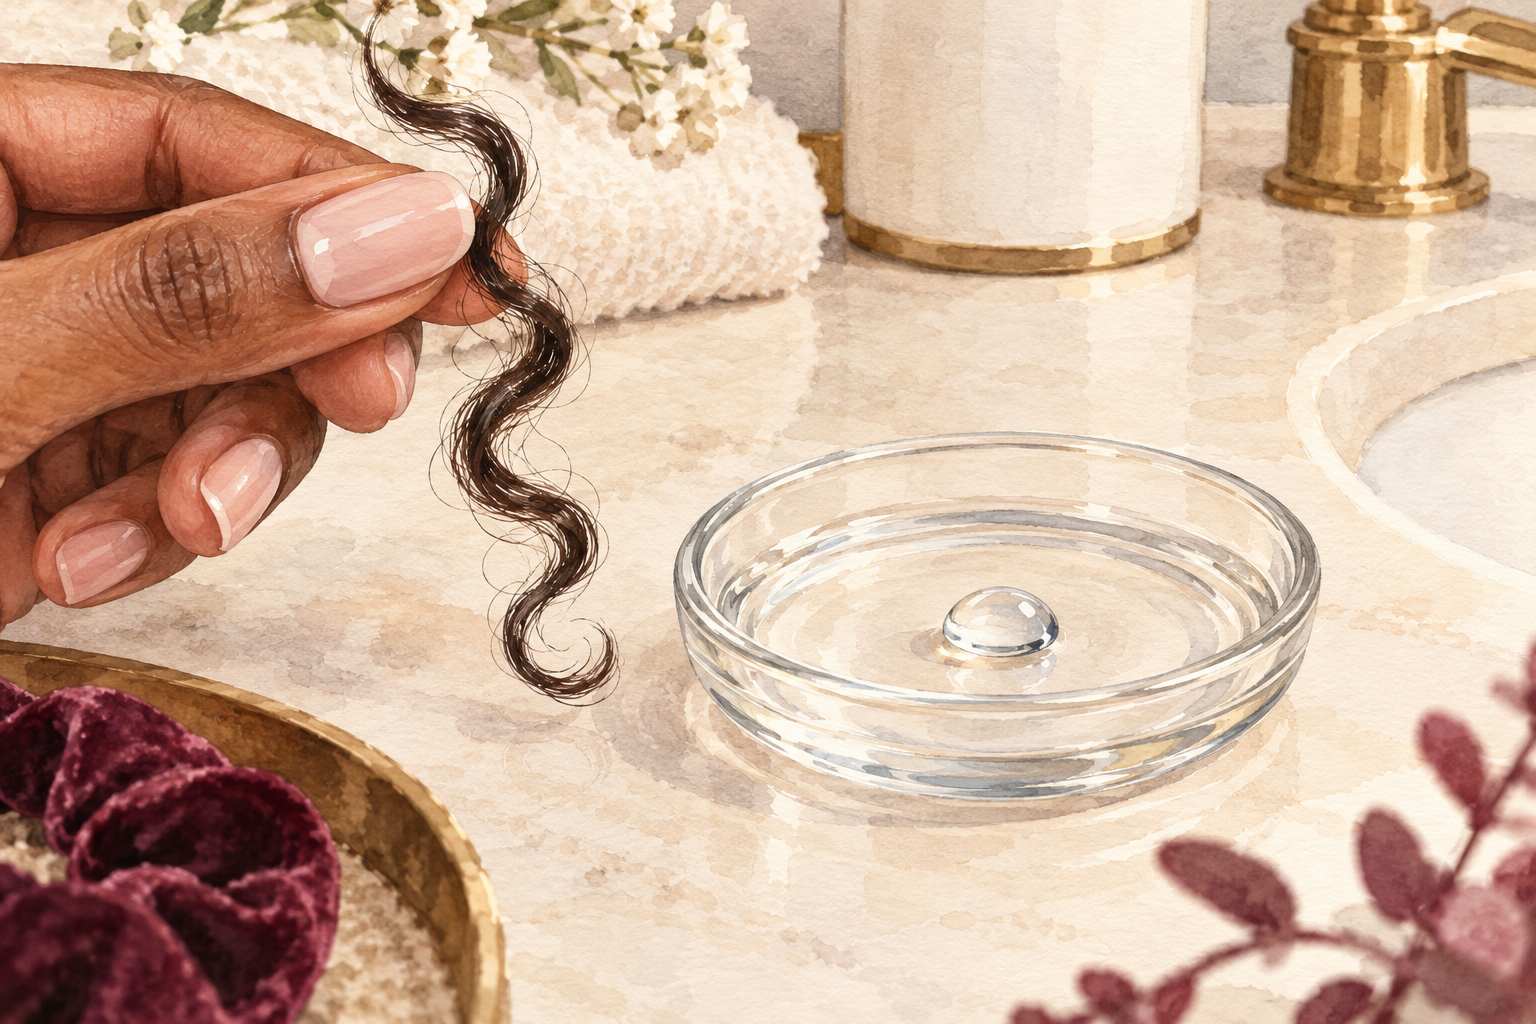
Look at a clean, damp section in good light and notice the pattern, the thickness and the dryness. Type 4a hair has tight, springy S shaped coils about the width of a crochet needle. The strands are often fine, so they dry out and break easily, and shrinkage can hide up to half your real length. That is normal, not a problem. Try to find the spots that feel driest, often the ends and the crown, and give those extra attention. The crown also soaks up the most tension when you pull on it. Take a photo of your coils today, so you can compare in a few weeks.
3. Wash gently in sections
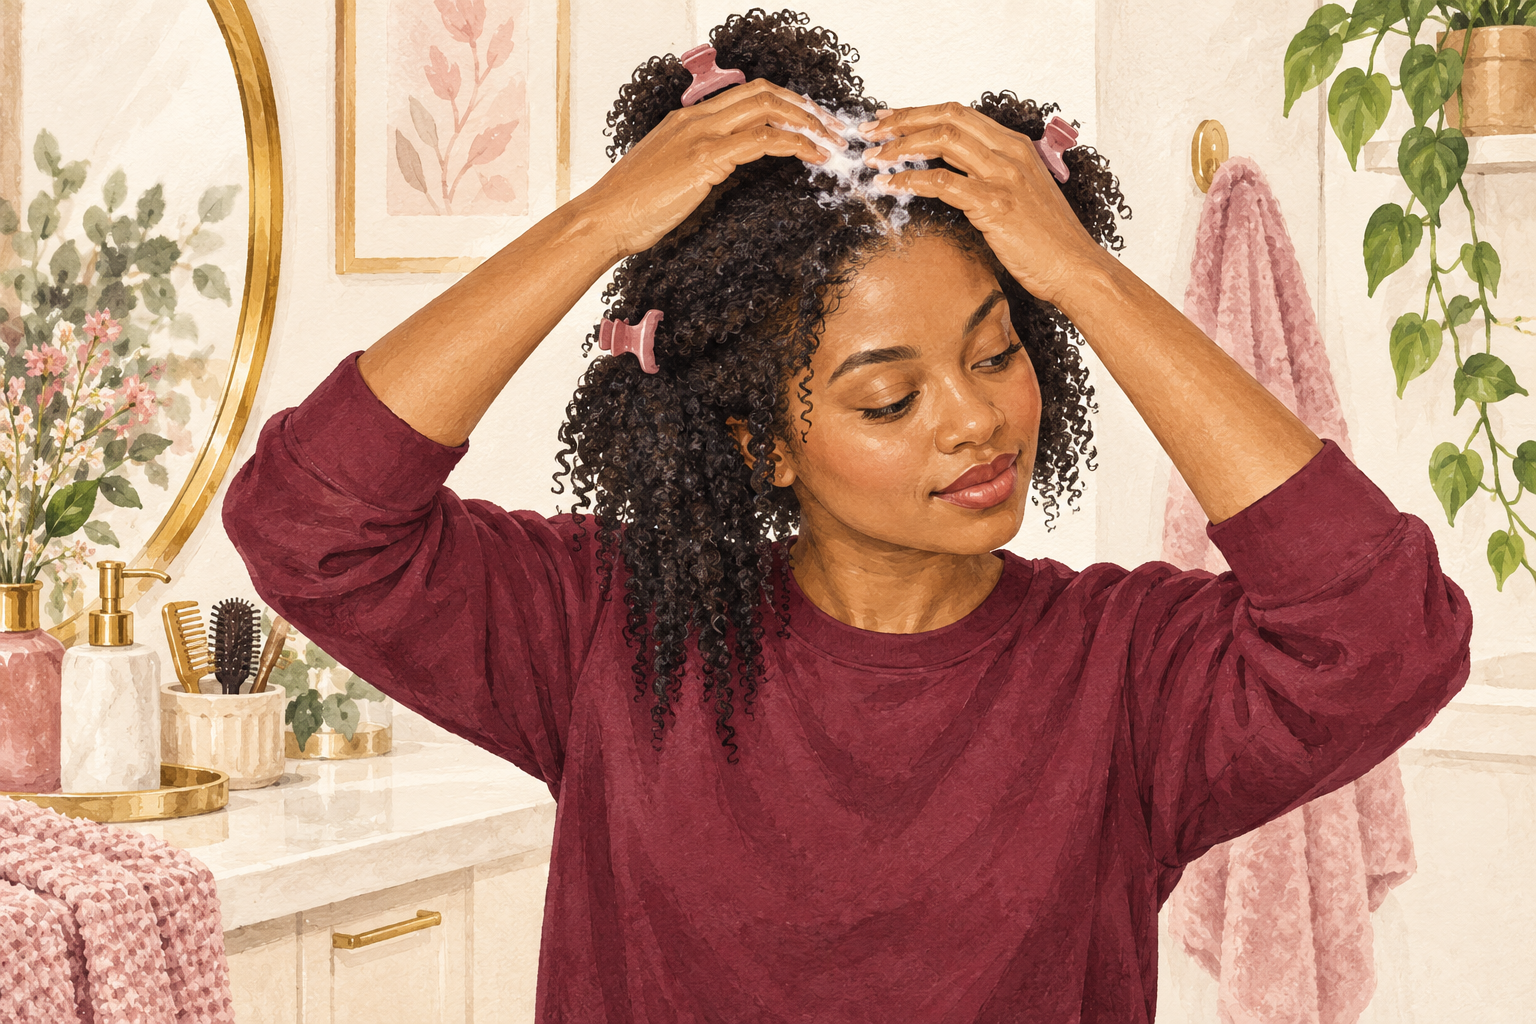
Wash your scalp with your fingertips in four sections, and let the suds run down the lengths without scrubbing them. Coils tangle easily when they are piled on your head and rubbed in circles. Go from the roots toward the ends. A gentle press with the pads of your fingers loosens oil and flakes far better than nails ever could. Wash every one to two weeks, or when your scalp feels itchy or heavy. A sulfate free shampoo is kind to dry hair. Rinse with warm water until the suds are gone, then stay in the shower while you work in the conditioner, so your hair stays wet.
4. Coat every strand in a thick conditioner
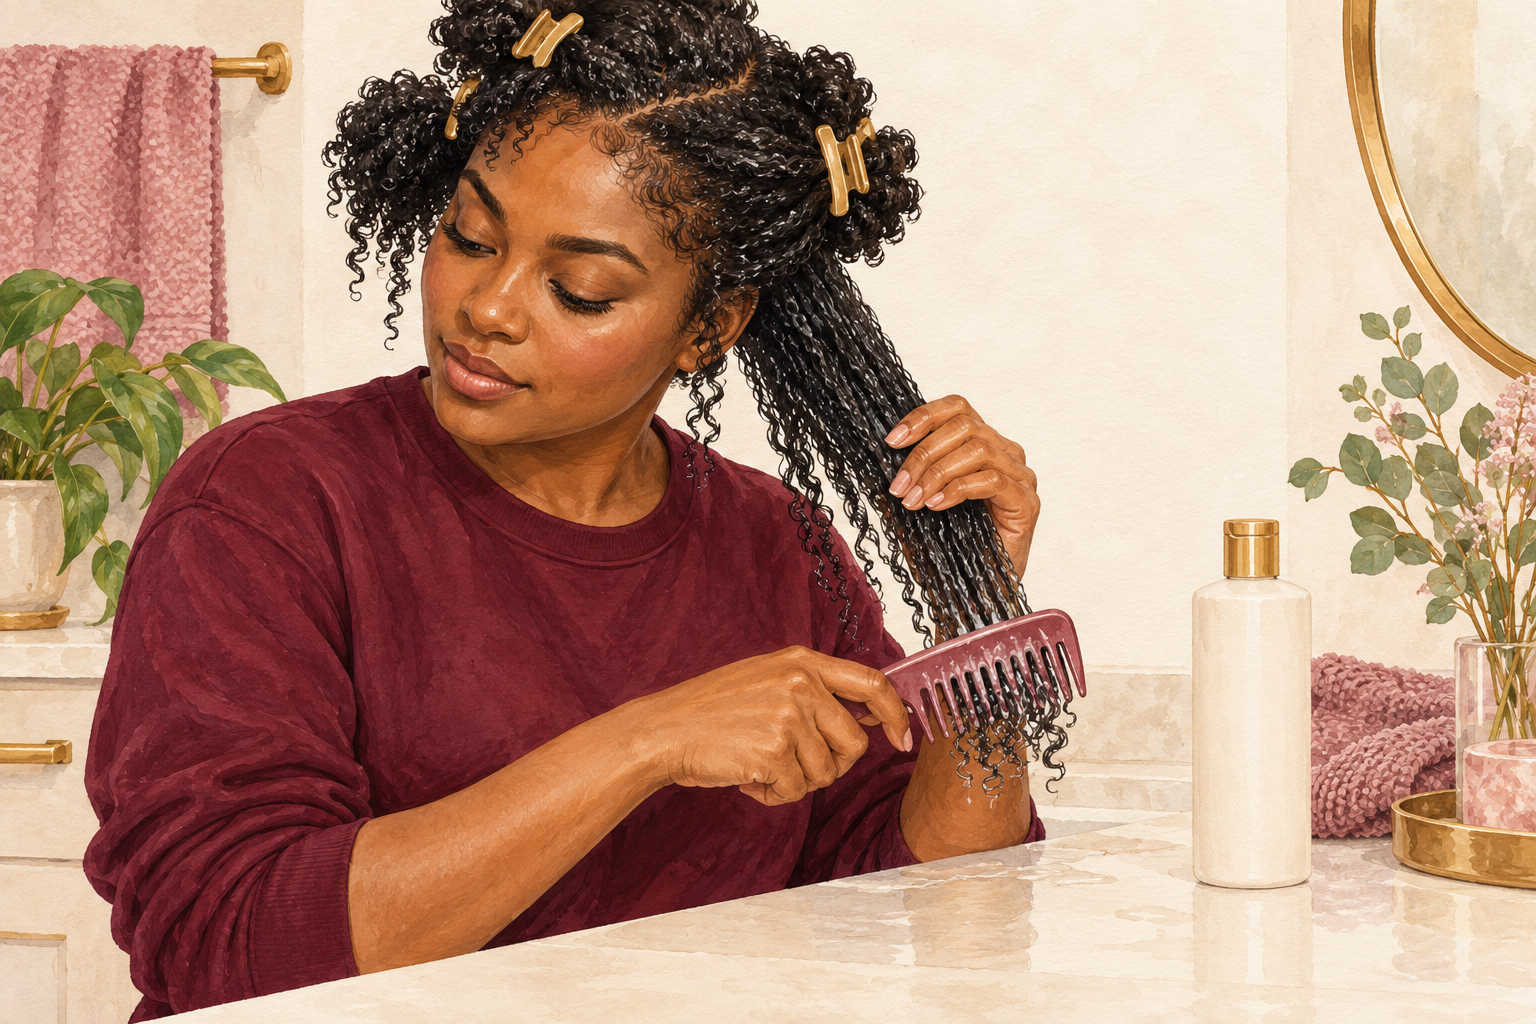
Smooth a generous amount of conditioner over each section while the hair is wet, and detangle gently from the ends up. Wet coils are more stretchy and forgiving, so this is the best time to remove shed hairs. Use your fingers first, then a wide tooth comb. Hold the section firmly above the knot, so the pull never reaches your scalp. Expect to see shed hair in the comb. Rinse most of the conditioner out, and leave a little on the ends if your hair is dry. Add a small extra dollop to the ends that snag first, usually the back.
5. Deep condition with a cap and a little warmth

Once a week, cover your hair in a rich deep conditioner, put on a plastic cap and sit for twenty to thirty minutes. A warm towel or a hooded dryer on low heat helps the moisture sink in. This is the step that makes coils feel soft and bouncy instead of crunchy. Rinse with cool water, which helps the outer layer lie flat. If you pass on a deep treatment one week, your coils will tell you by day four. Read a book or watch a show while you wait. Do not rinse in hot water, as that undoes the softness you just built.
6. Layer water, leave in and oil
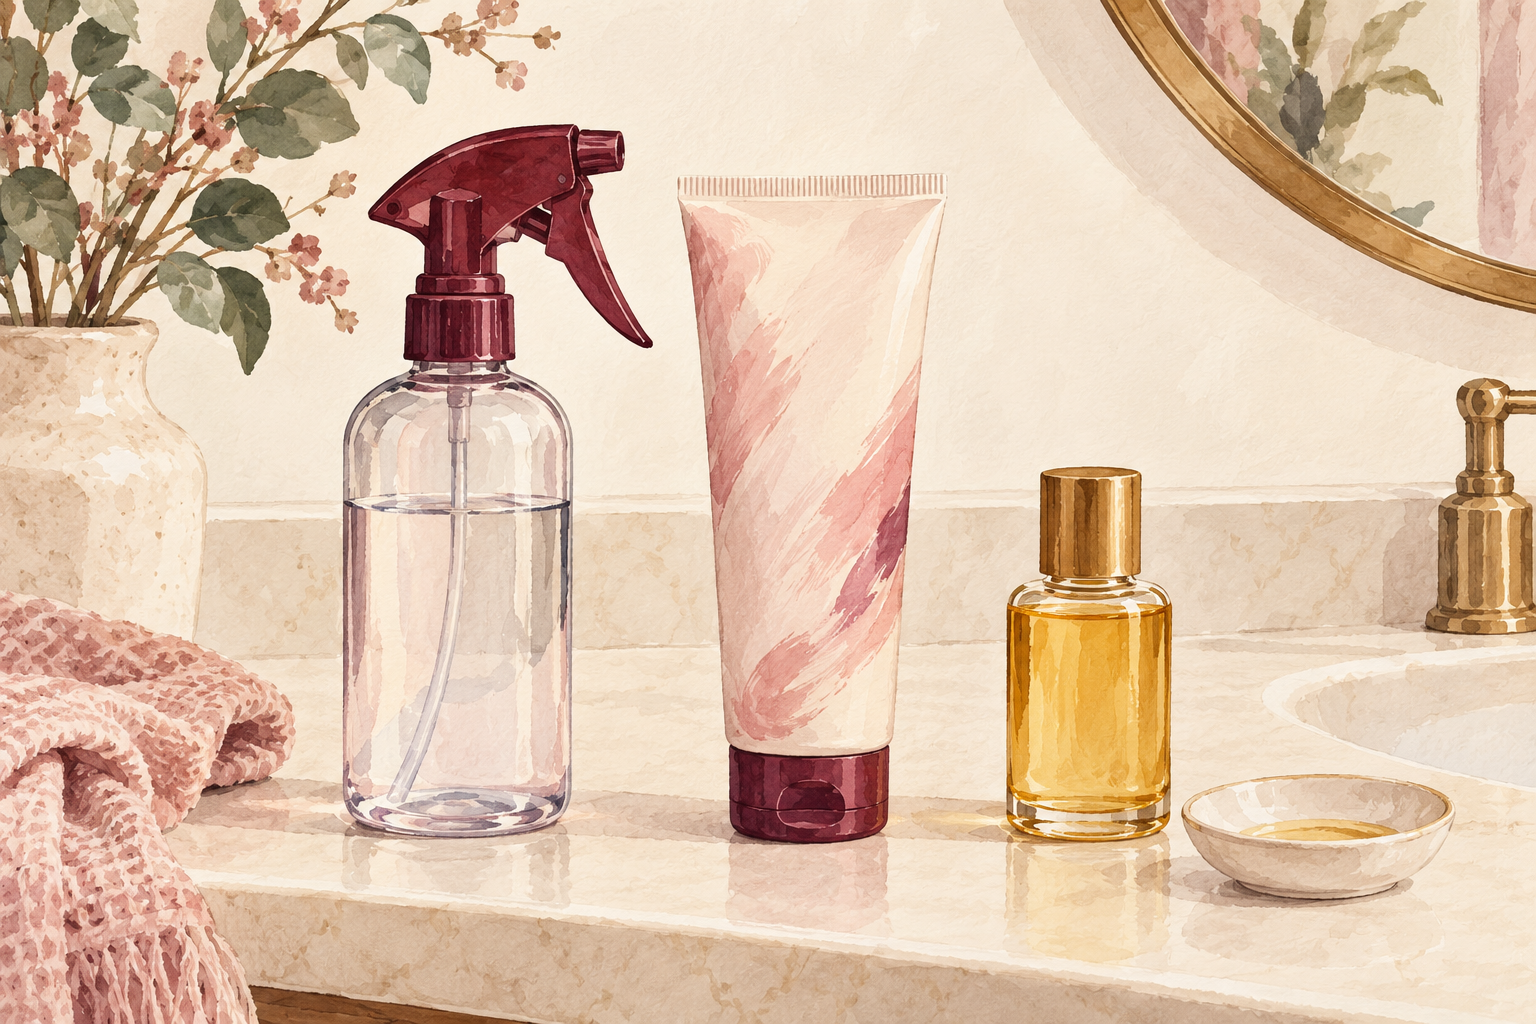
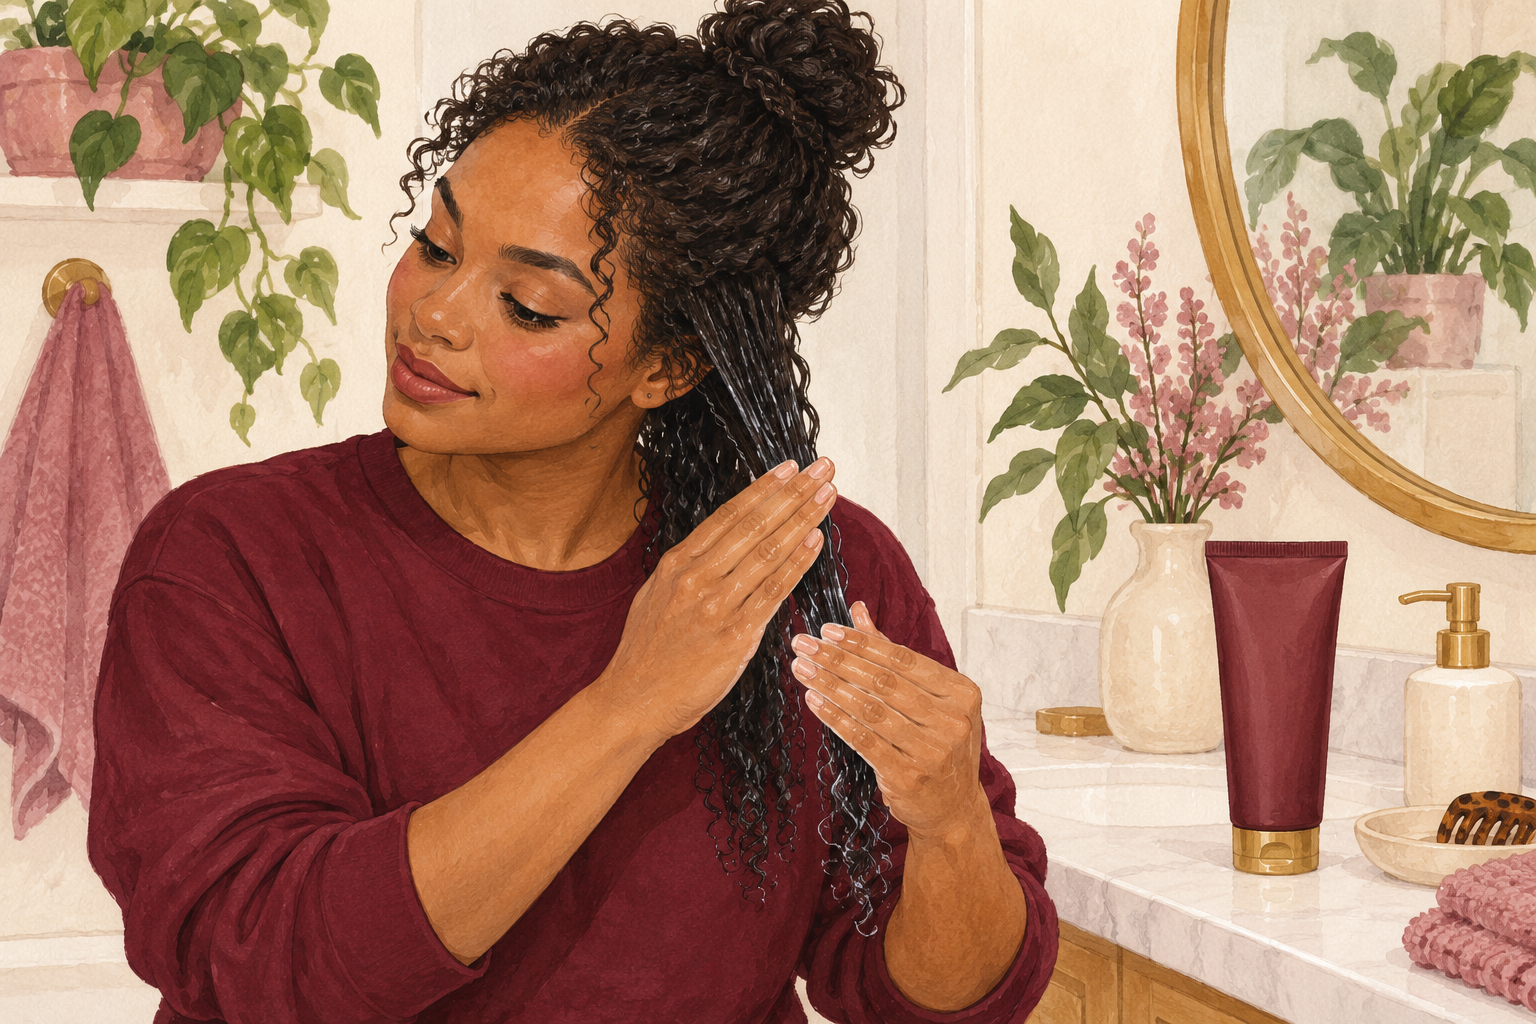
While your hair is still dripping wet, add water, then a leave in, then a few drops of oil to seal. The order matters, because water is the moisture and the others hold it in. Use about a palm full of leave in for each section, and warm it between your hands. Fingers, not a brush, should smooth it through. Press the product in with flat palms, the way you would smooth dough. Add oil last and only a little, as too much weighs coils down. Your 4a curly hair routine depends on this step, since dry coils will never clump no matter how you style them.
7. Shingle or finger coil in small sections

Take a section about the width of two fingers and smooth gel or custard down it, then slide your finger down to encourage the coil. Shingling means gliding product over the section from root to tip, so the curls clump. Finger coiling means twisting one strand around your finger and sliding it off. Work with small pieces and keep them wet. Smaller sections give sharper definition, though they take longer. Let go of perfect, because coils at the back never look as neat as the ones at the front. Do the front last if you tire, since that is the part everyone sees.
8. Use enough water and a smooth layer of styler
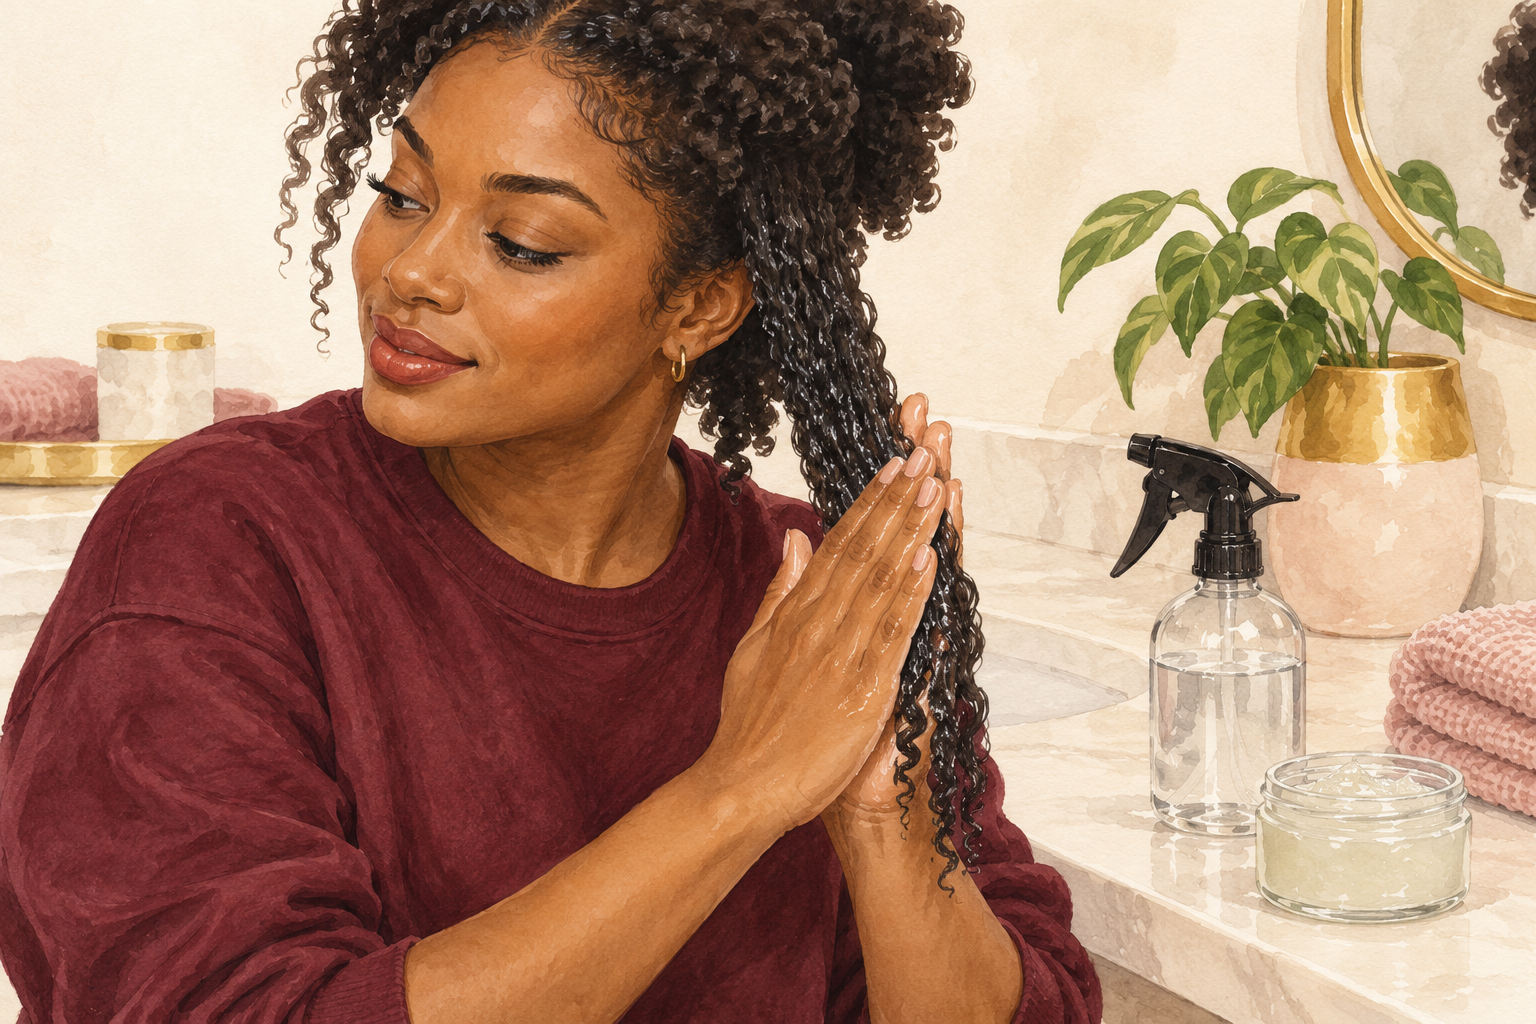
Add water to every section before the gel, and use more than you think you need. Coils that are not wet enough will frizz as the gel dries, because the product grabs onto dry strands. Rake the gel through with your palms, press it flat, and look for a glossy, wet finish. If a section looks dull, add another spritz and a little more gel. A thin, even layer holds better than a thick, lumpy one. Keep your hands wet, and you will lose less to frizz. If you run out of steam, a half done head is better than a rushed one.
9. Let it dry untouched, then loosen the cast
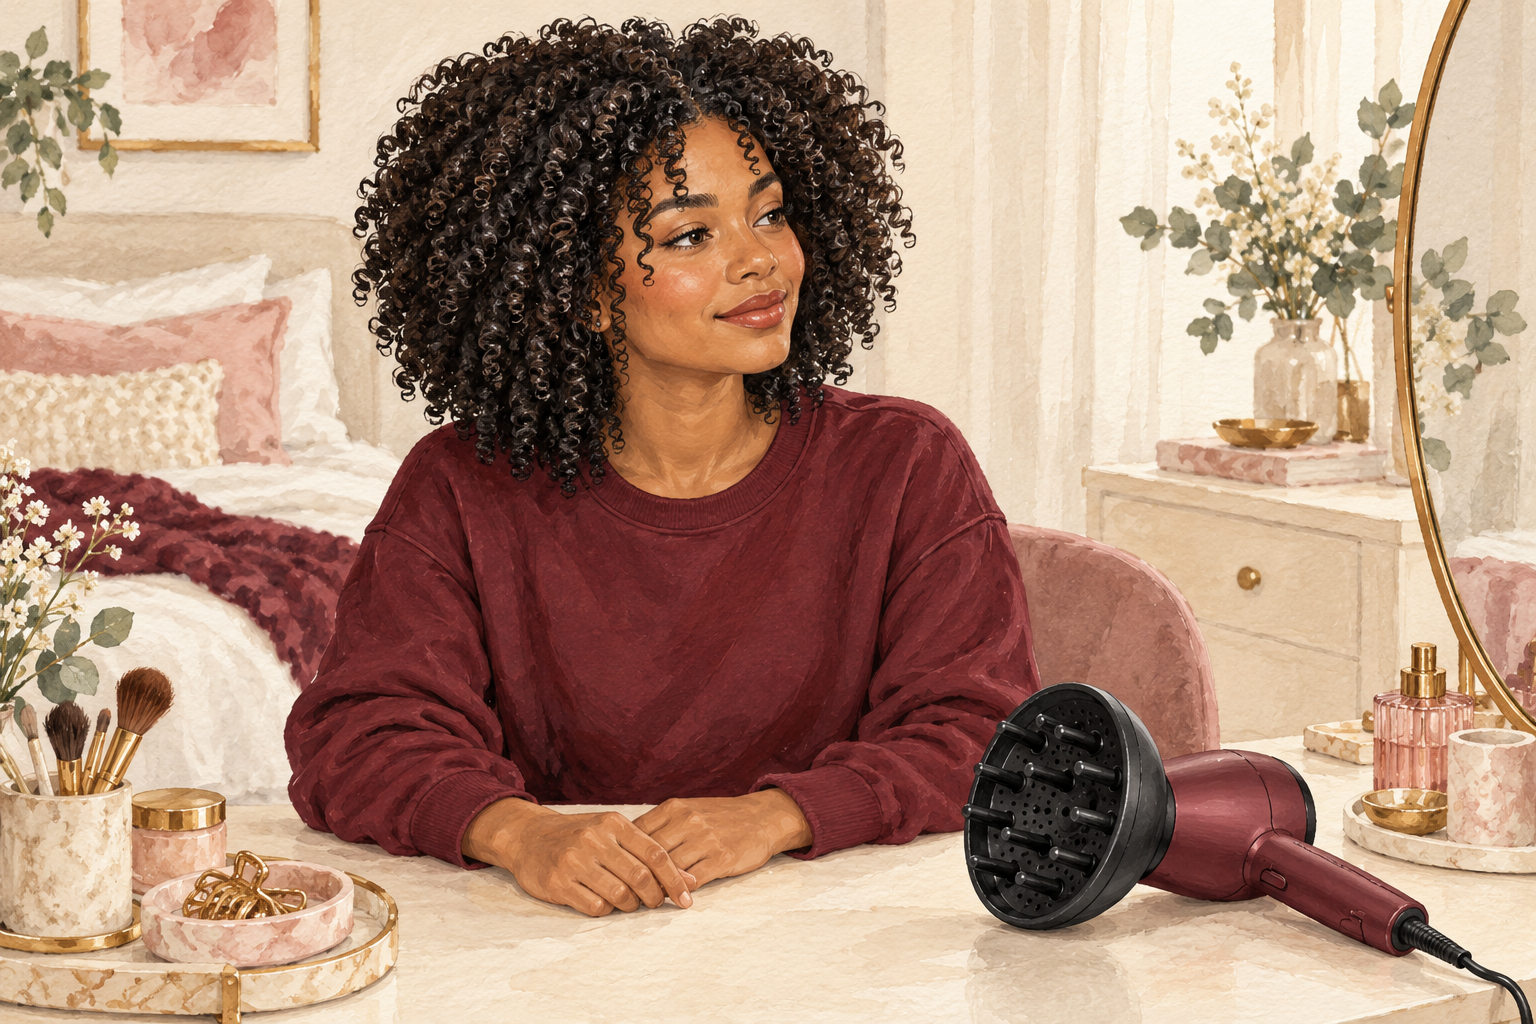
Leave your hair alone until it is completely dry, which can take several hours or overnight. Touching damp coils breaks up the clumps and brings the frizz back. Sit under a hooded dryer or use a diffuser on low if you cannot wait. When the gel feels hard like a shell, rub a drop of oil between your hands and gently press upward to loosen it. Never rake through. You will see soft, springy coils appear as the cast falls away. Fluff the roots only at the end, with your fingertips, if you want more volume.
10. Wear a low tension style for a week or two

Try loose twists, a puff or two flat braids once a week, then give your hair a rest from them. These styles protect your ends and keep your hands out of your hair. Keep them loose at the roots, so your edges are never pulled. Detangle only once a week, wet and in sections, because every comb through dry coils costs you length. Low handling is the quiet secret of 4a hair growing long, and it saves time too. A puff held with a soft scrunchie takes two minutes and hides tired days nicely.
11. Mist, seal and sleep on satin

Between washes, mist dry spots with water, smooth on a tiny bit of cream and oil, and tie your hair up in satin. Cotton steals moisture while you sleep, and it roughens the coil. A bonnet or silk pillowcase fixes that. Refresh only the dry sections, not the entire head, or you will pile up product. Swap cotton towels for a t shirt, and tight bands for soft scrunchies. Skip the alcohol heavy gels that leave coils crunchy and brittle. A light spritz at night and a clean bonnet each week keep Monday’s hair looking like Sunday’s.
12. Expect slow, steady change

Look for softer coils in week one, less tangling by week four, and clear length retention by week twelve. Shrinkage never goes away entirely, and that is fine, since it shows your hair is healthy and springy. Take your photo in the same light on the same wash day each month. A single wash tells you very little, so give the routine a full month before you change anything. Keep your steps simple, and your coils will thank you. Write the dates of your wash days on a calendar so you can see how your hair responds.
Complete the Routine: 4A Curly Hair Routine This Wash Day
Start with deep conditioning and the wet layering, then add the rest as they feel easy. For more coil care, read about 4b curly hair routine and curly hair routine products.