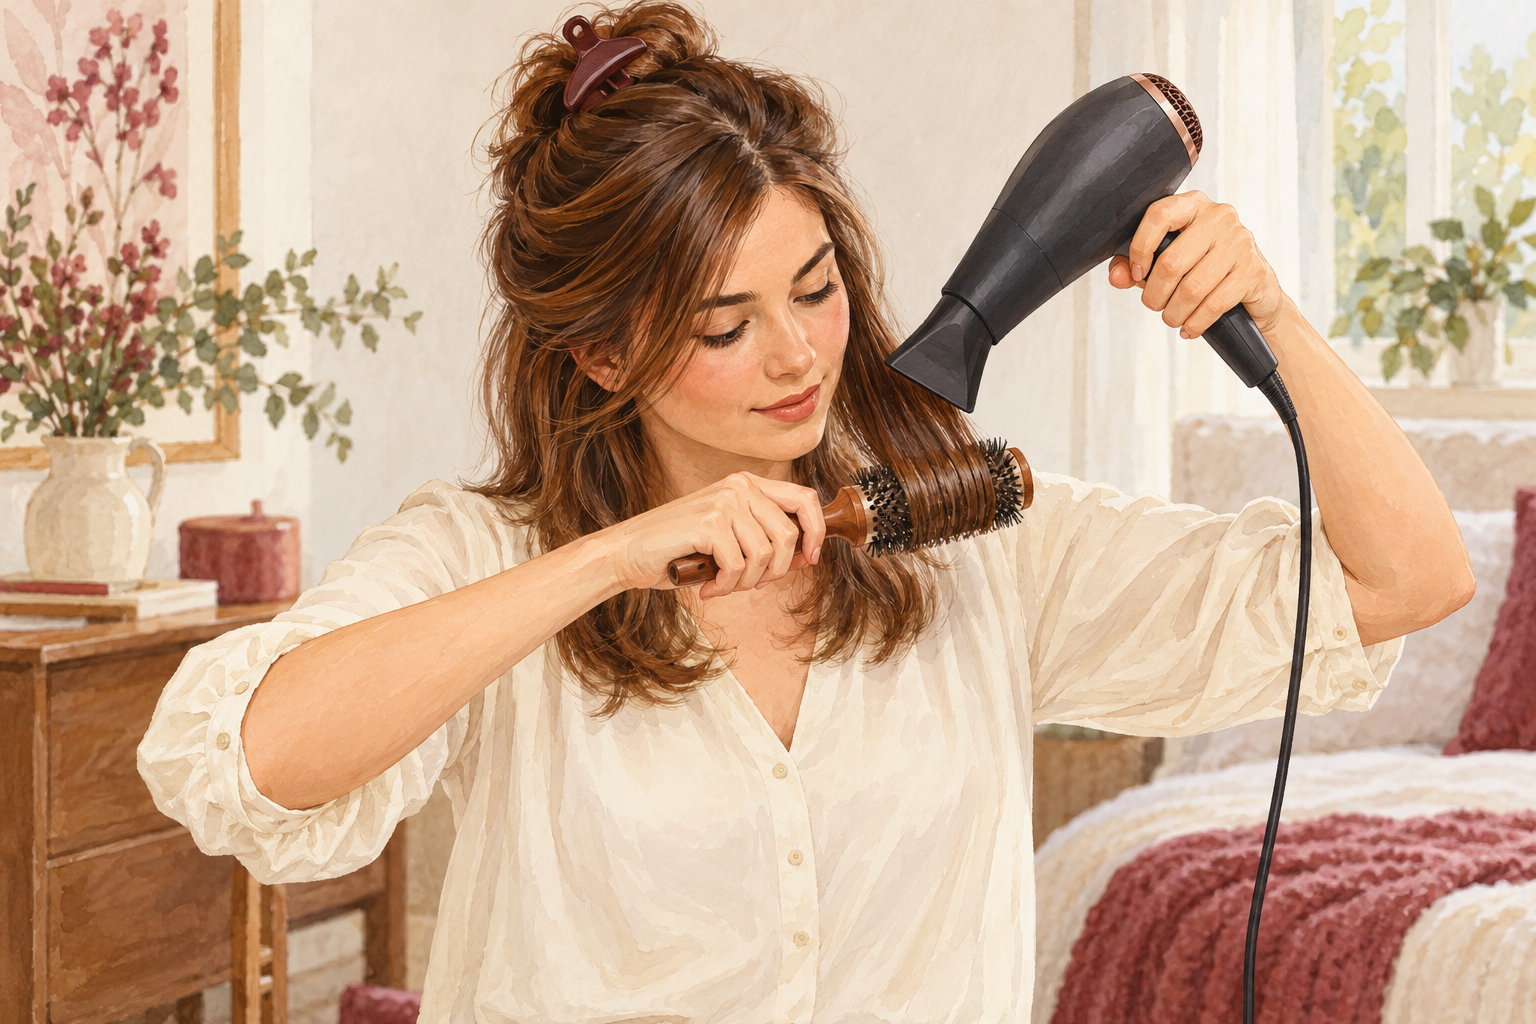
You wanted a smooth, bouncy blowout, but the brush got stuck halfway down, your arm ached, and the ends came out frizzy. A round brush feels clumsy until you learn the rhythm. This guide shows how to blow dry hair with round brush in 12 calm steps, from prep to the final cool blast, so start at number one tonight.
1. Match the barrel size to your hair length
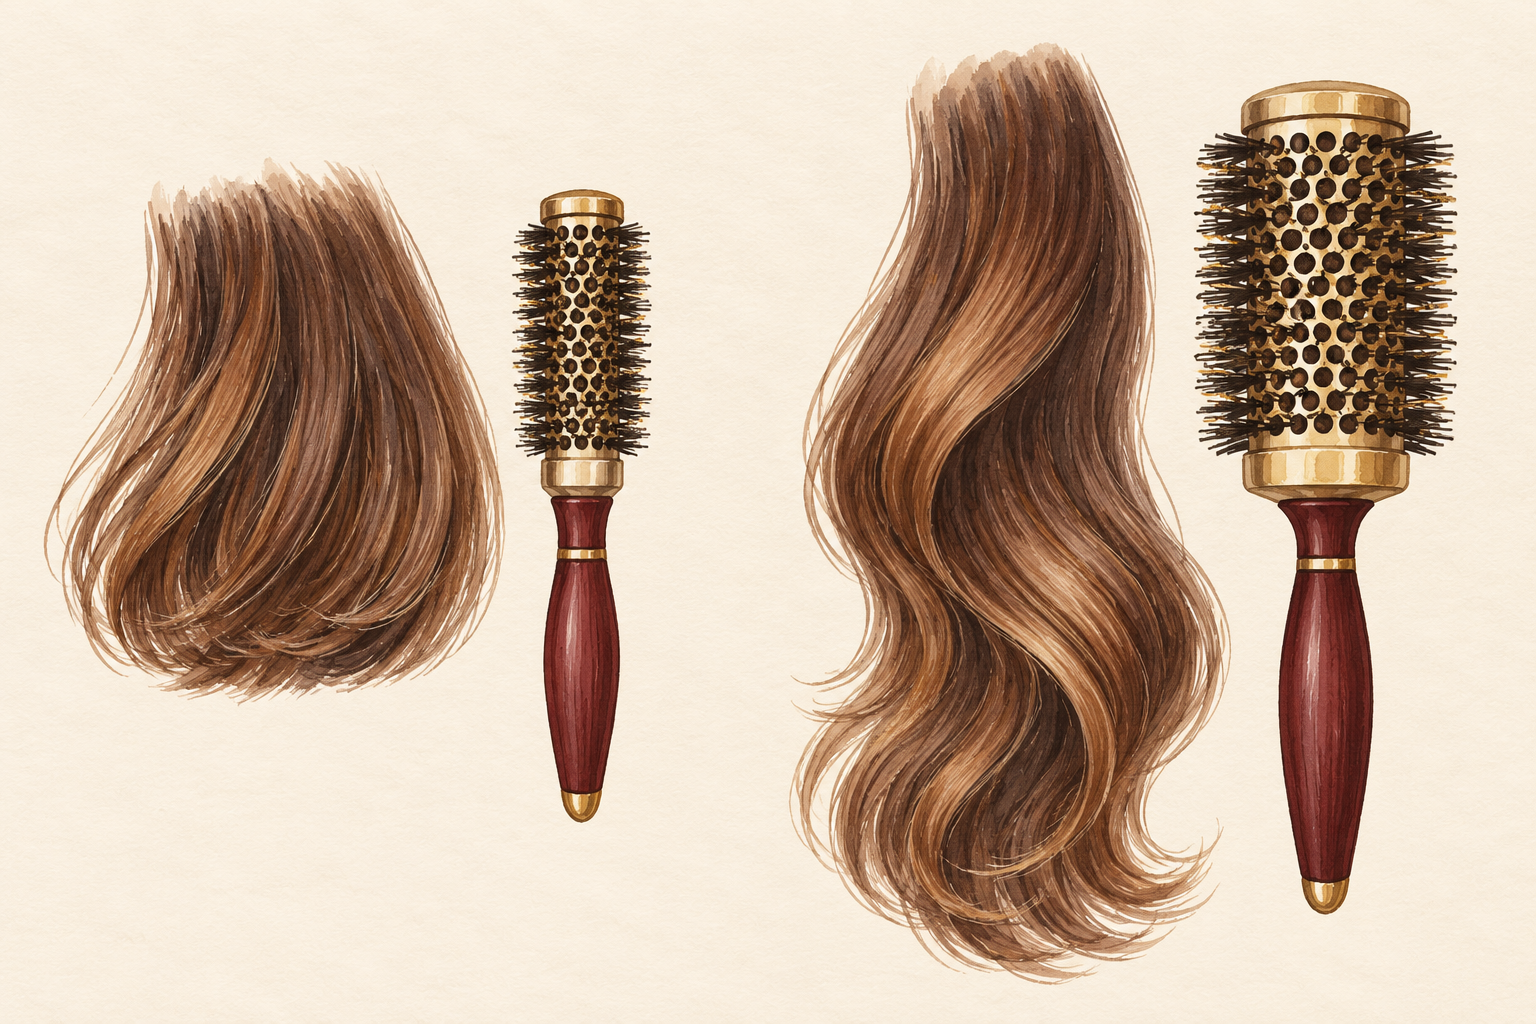
Choose a barrel about as wide as the curl you want, and go smaller for short hair and larger for long. A thin barrel makes tight bends and works for chin length cuts. A wide one, around two inches, smooths long layers and adds soft movement. Pick a brush with natural or mixed bristles if you can, as they grip without snagging. Metal barrels heat up quickly and hold the shape, while ceramic ones stay gentler on fine hair. If you only buy one, choose a medium barrel. Hold the brush in the shop, because it should feel light enough to turn in your wrist without effort.
2. Towel dry and let the hair air dry until it is damp
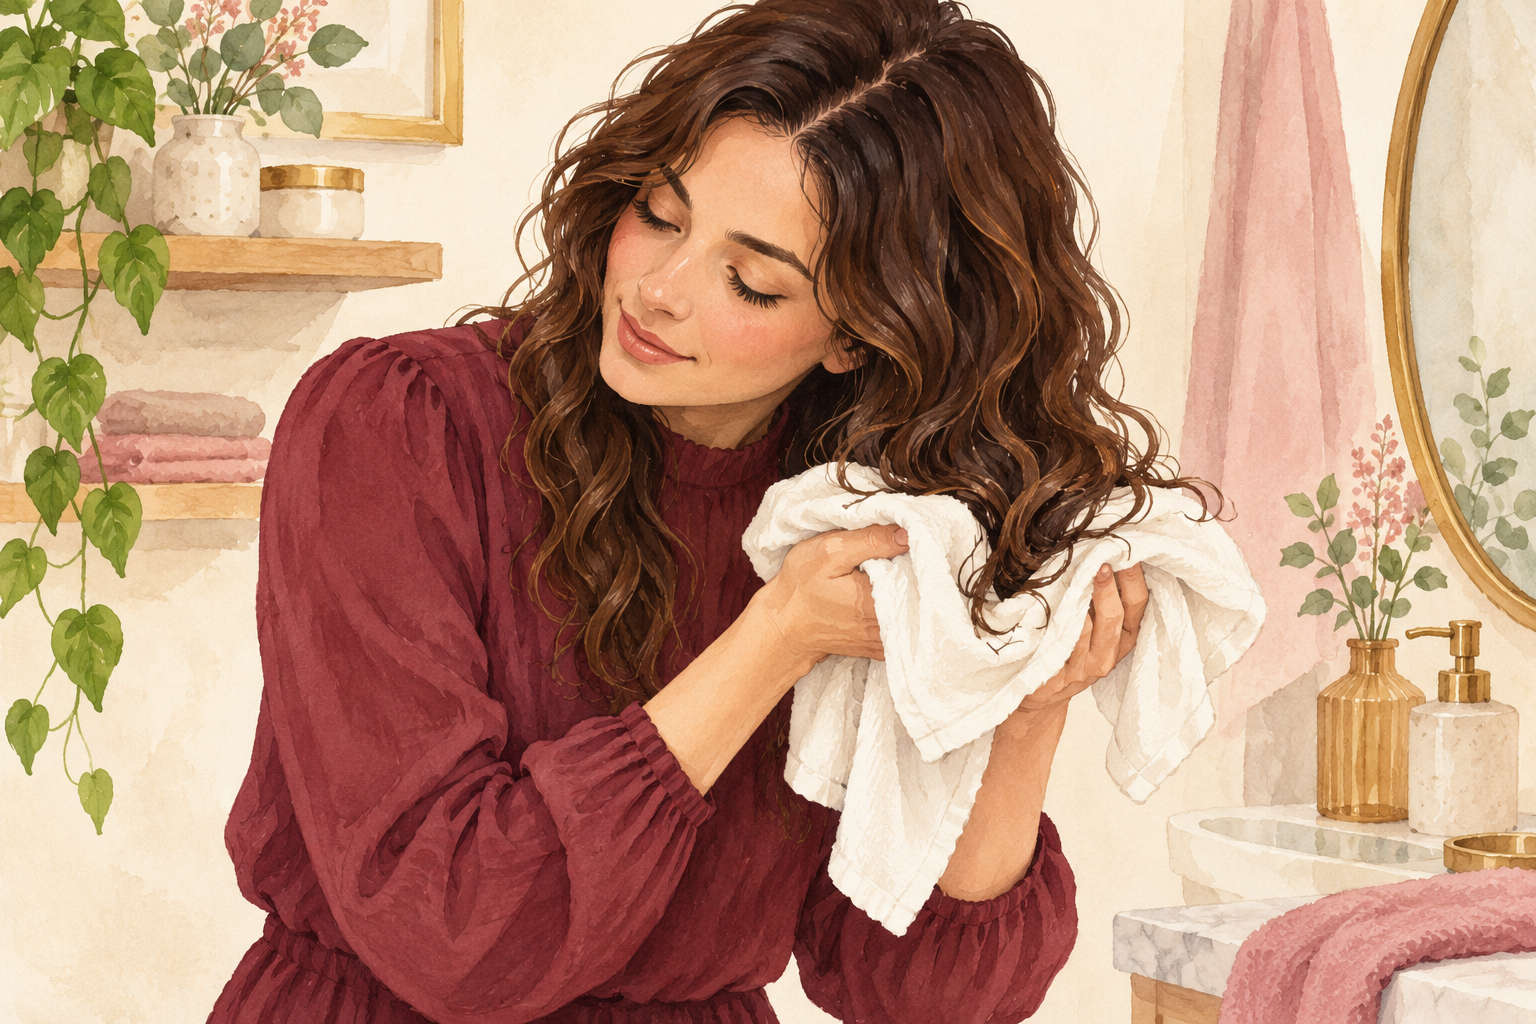
Squeeze the water out with a soft towel, spray on a heat protectant, then wait until your hair is about eighty percent dry. A round brush works best on hair that feels cool and slightly damp, not dripping. Wet hair stretches and snaps under heat, and it takes forever to dry. Smooth the spray through with a wide tooth comb from the ends upward. Skip this and you risk dry, straw like ends. Give it twenty minutes of air time while you do something else. This early step is the heart of how to blow dry hair with round brush without roasting your ends, so do not hurry it.
3. Rough dry with your fingers first
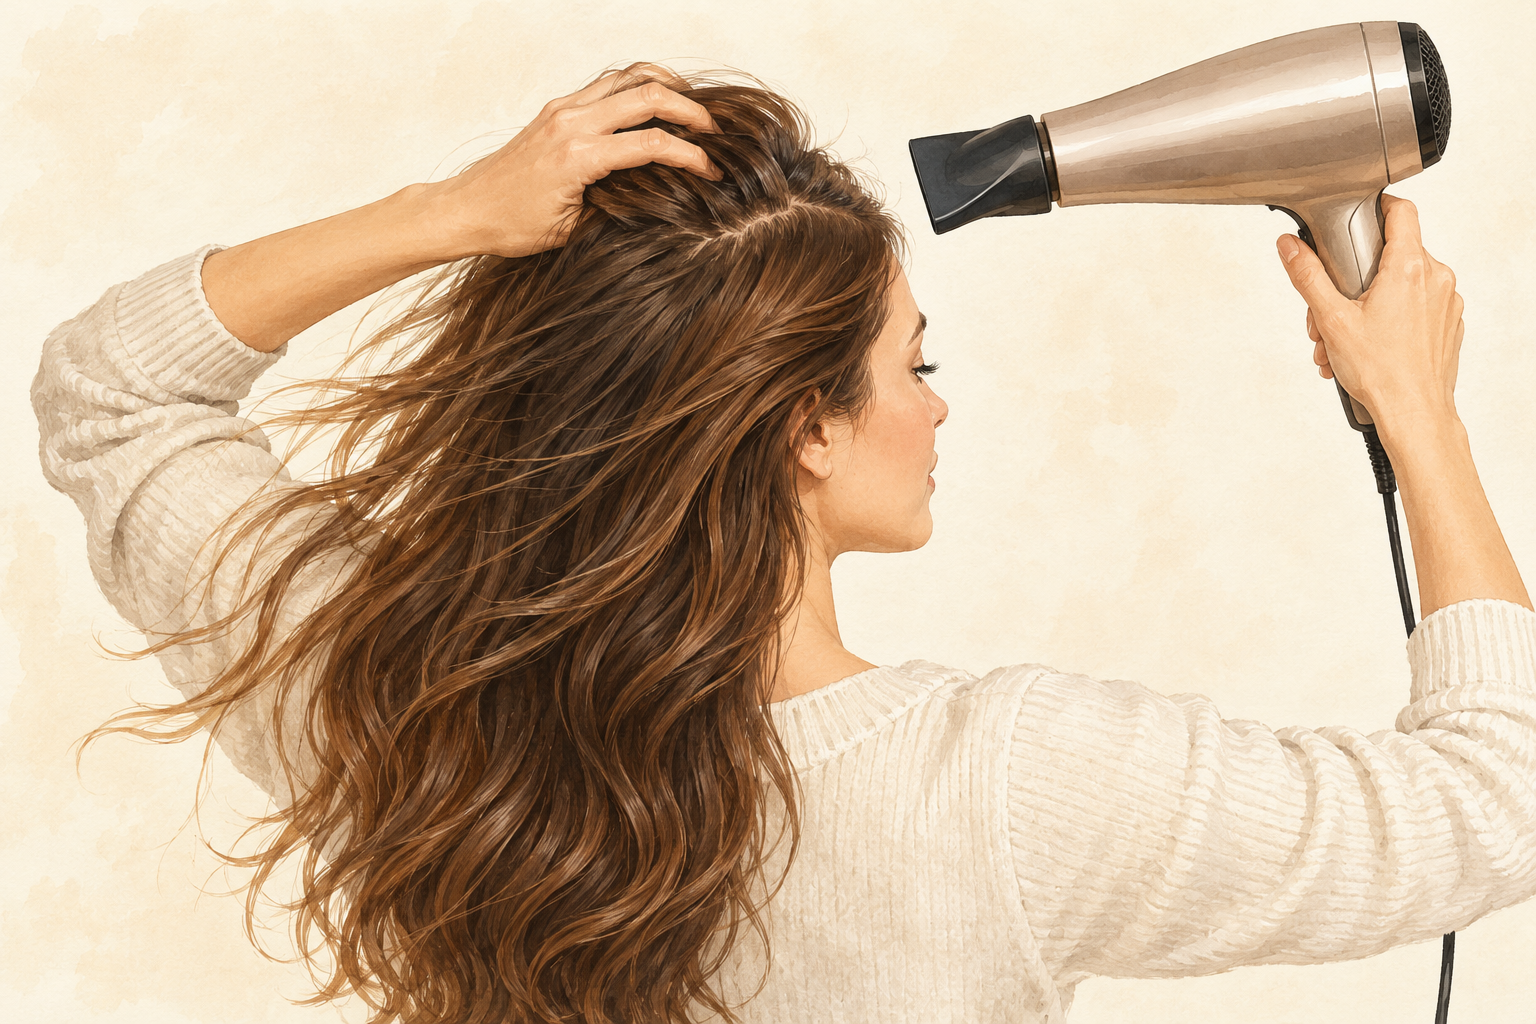
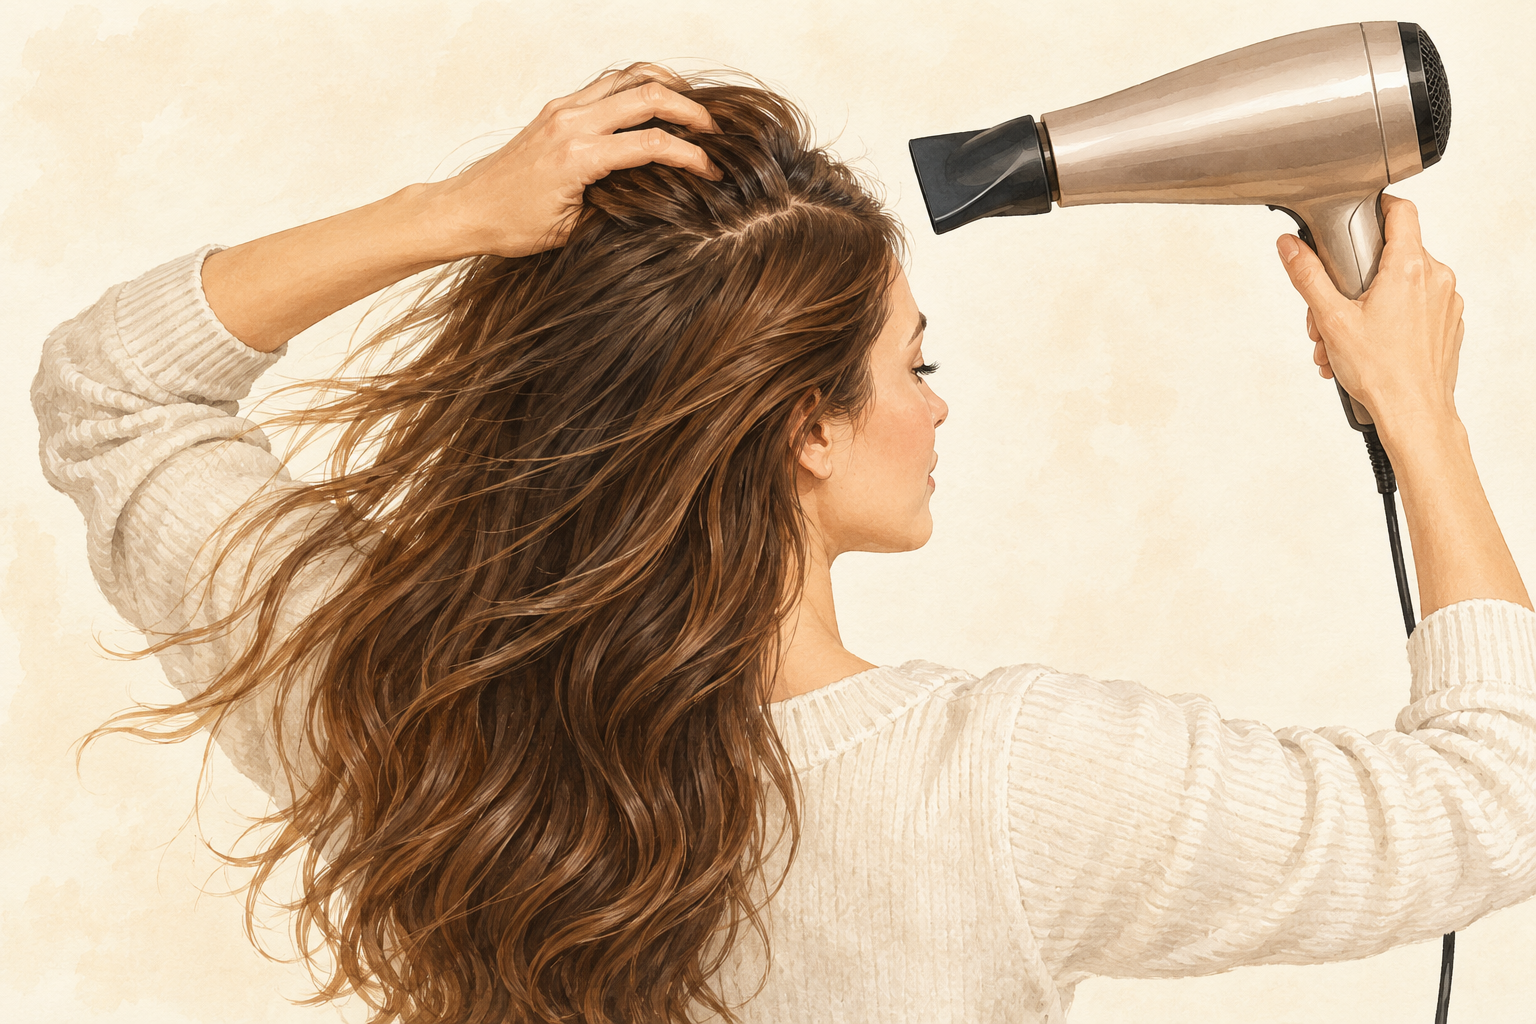
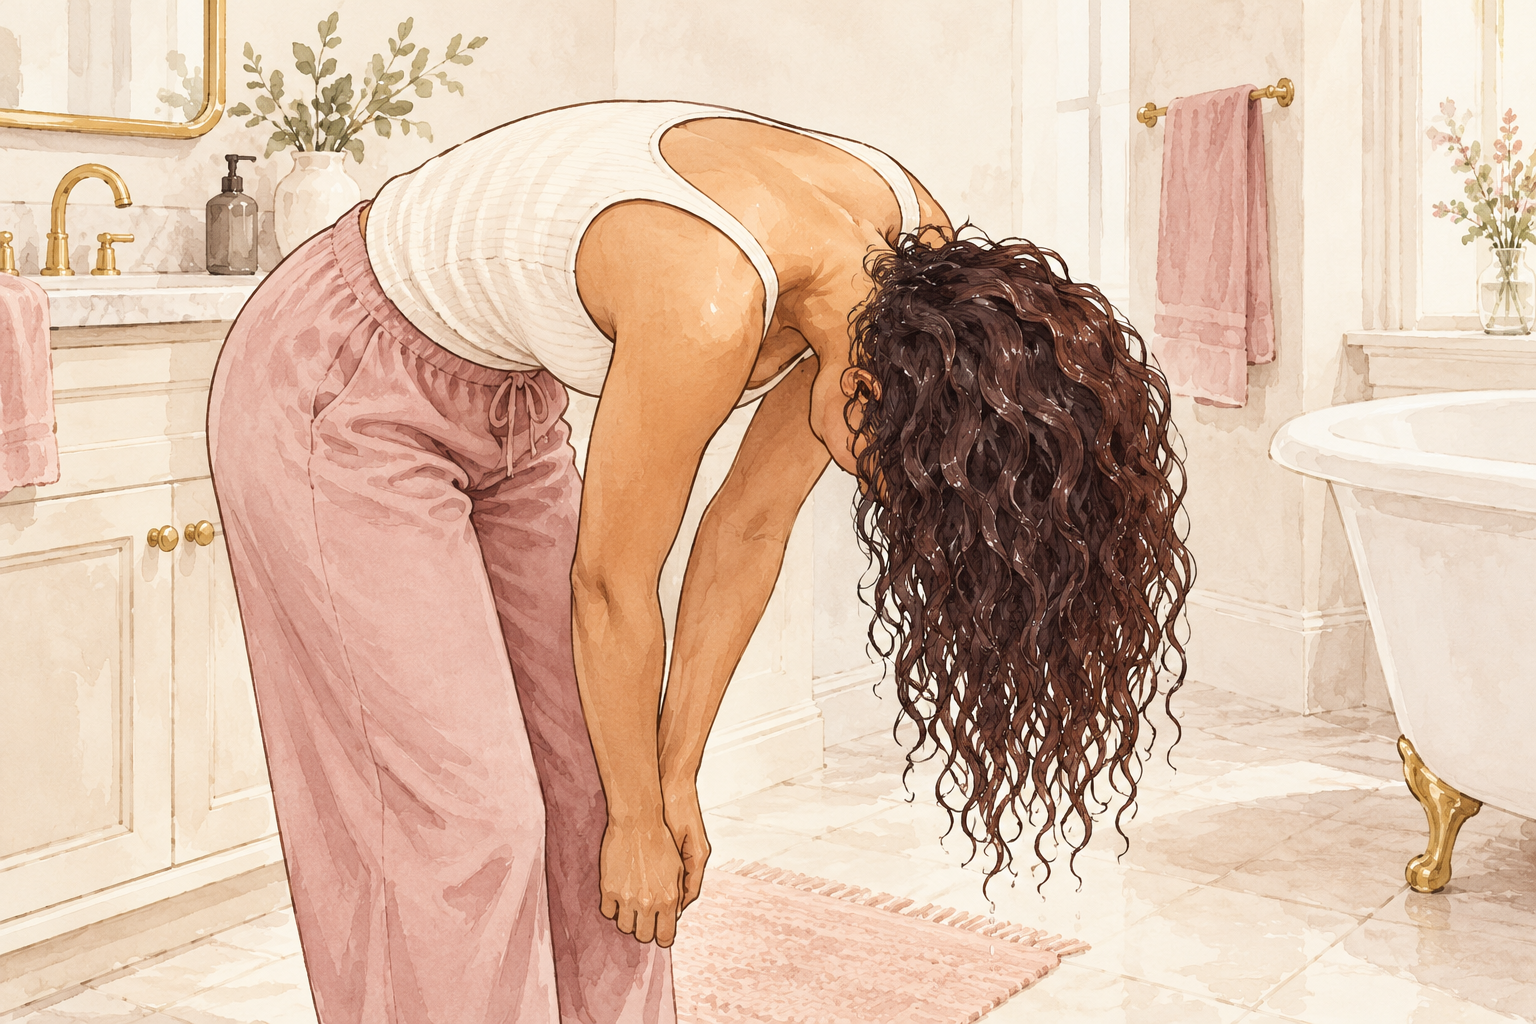
Blow dry your hair with your fingers on a medium heat setting until it is almost dry, but still a touch cool and damp. Lift the roots as you go, so the base has volume. Flip your head over for thirty seconds if you want more lift. This saves your arm, because the round brush then does the shaping, not the drying. It also cuts the time the heat touches each strand. When the hair feels about ninety percent dry, stop and move on to sectioning. Run the back of your hand over your head, and if you find a cool damp patch, go over it once more.
4. Take sections no wider than the brush
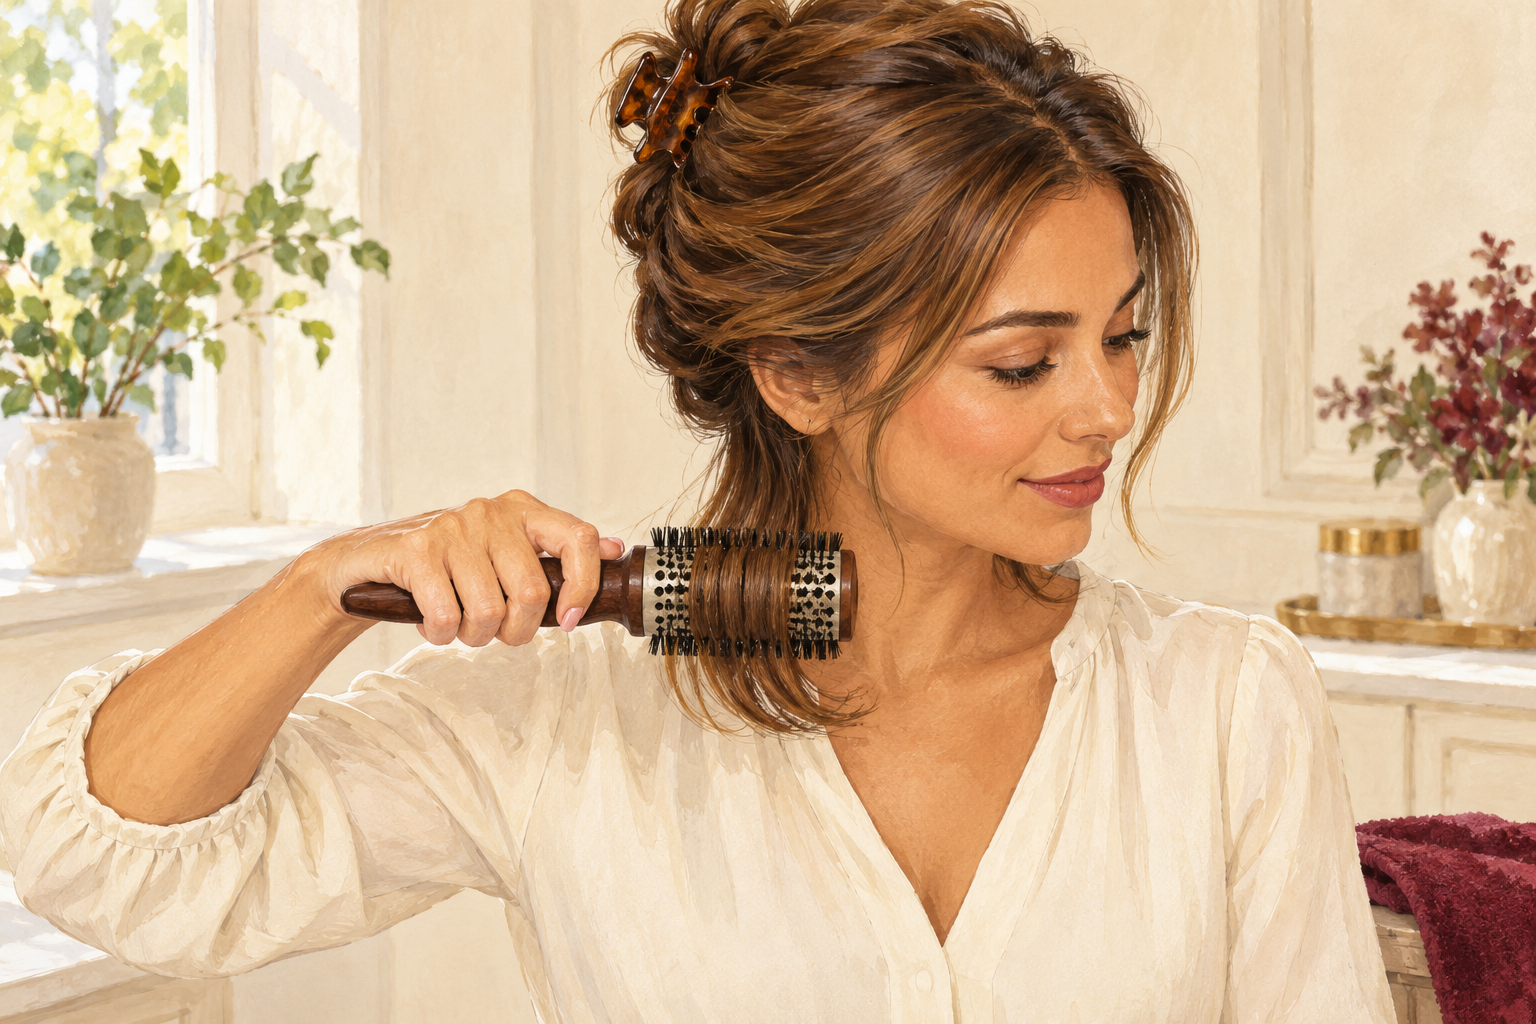
Clip up the top layers and start at the nape with a section about as wide as your brush. Too much hair on the barrel makes the brush tangle and the heat uneven. Work from the bottom to the top, so the clipped hair stays out of the way. Thin sections look neater and dry faster, so do not rush this step. If a section feels thick, split it in two. Keep the comb nearby to tidy any stray strands before each pass. Your hair will tell you the section is right when it wraps once around the brush without crowding.
5. Roll from the roots and follow the brush with the dryer
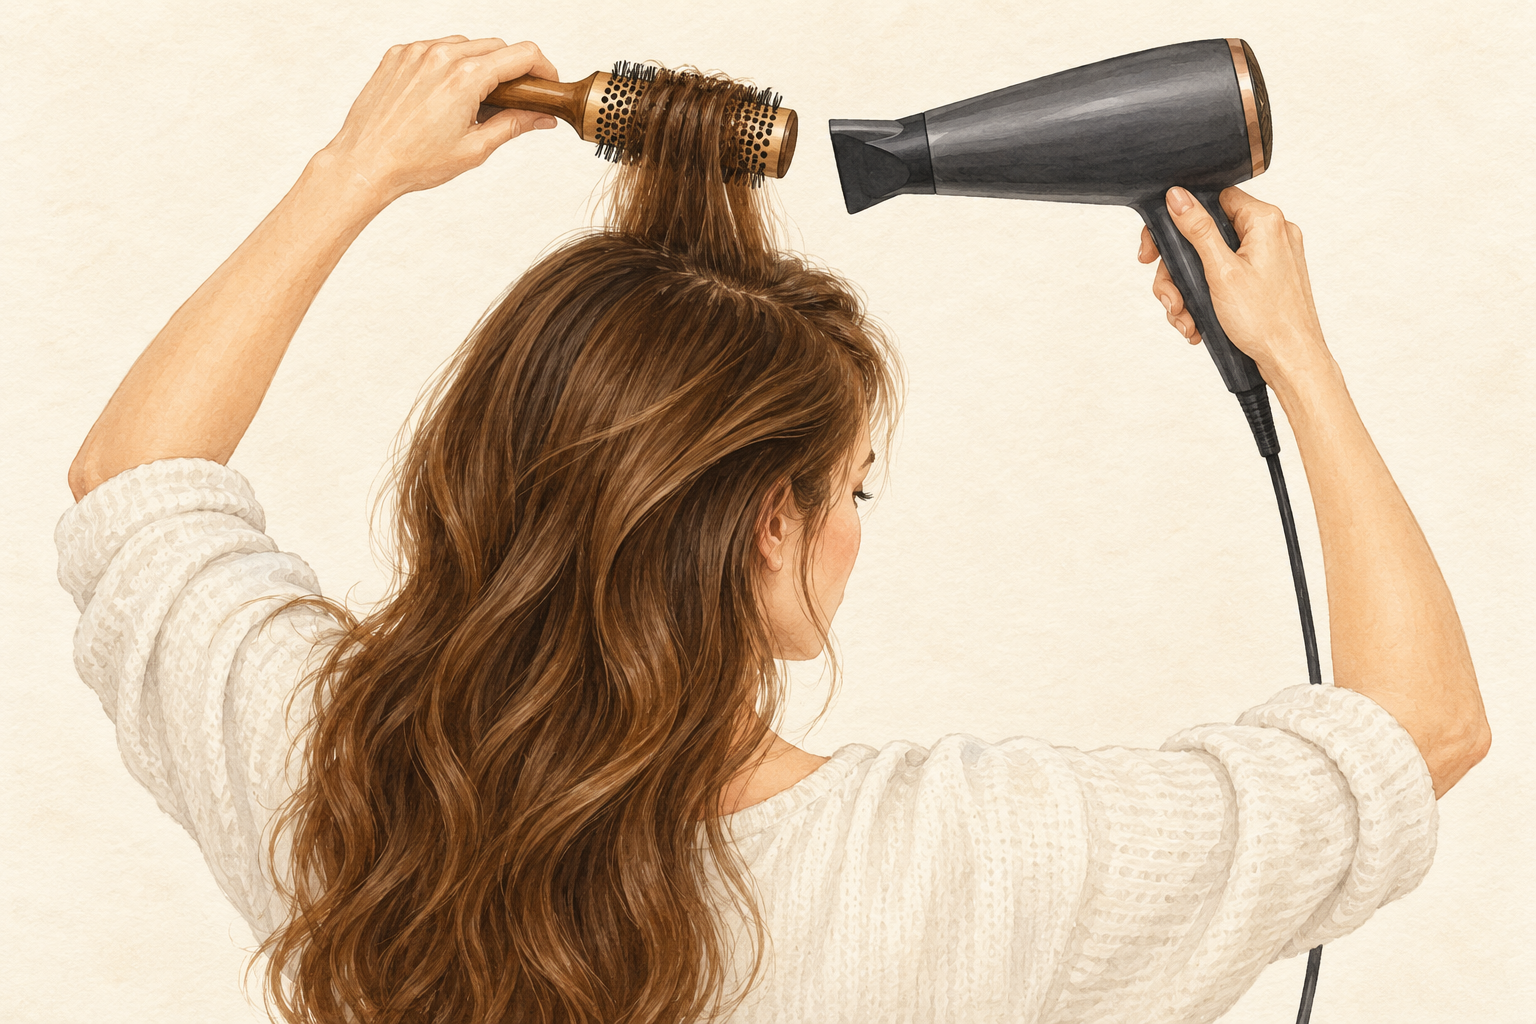
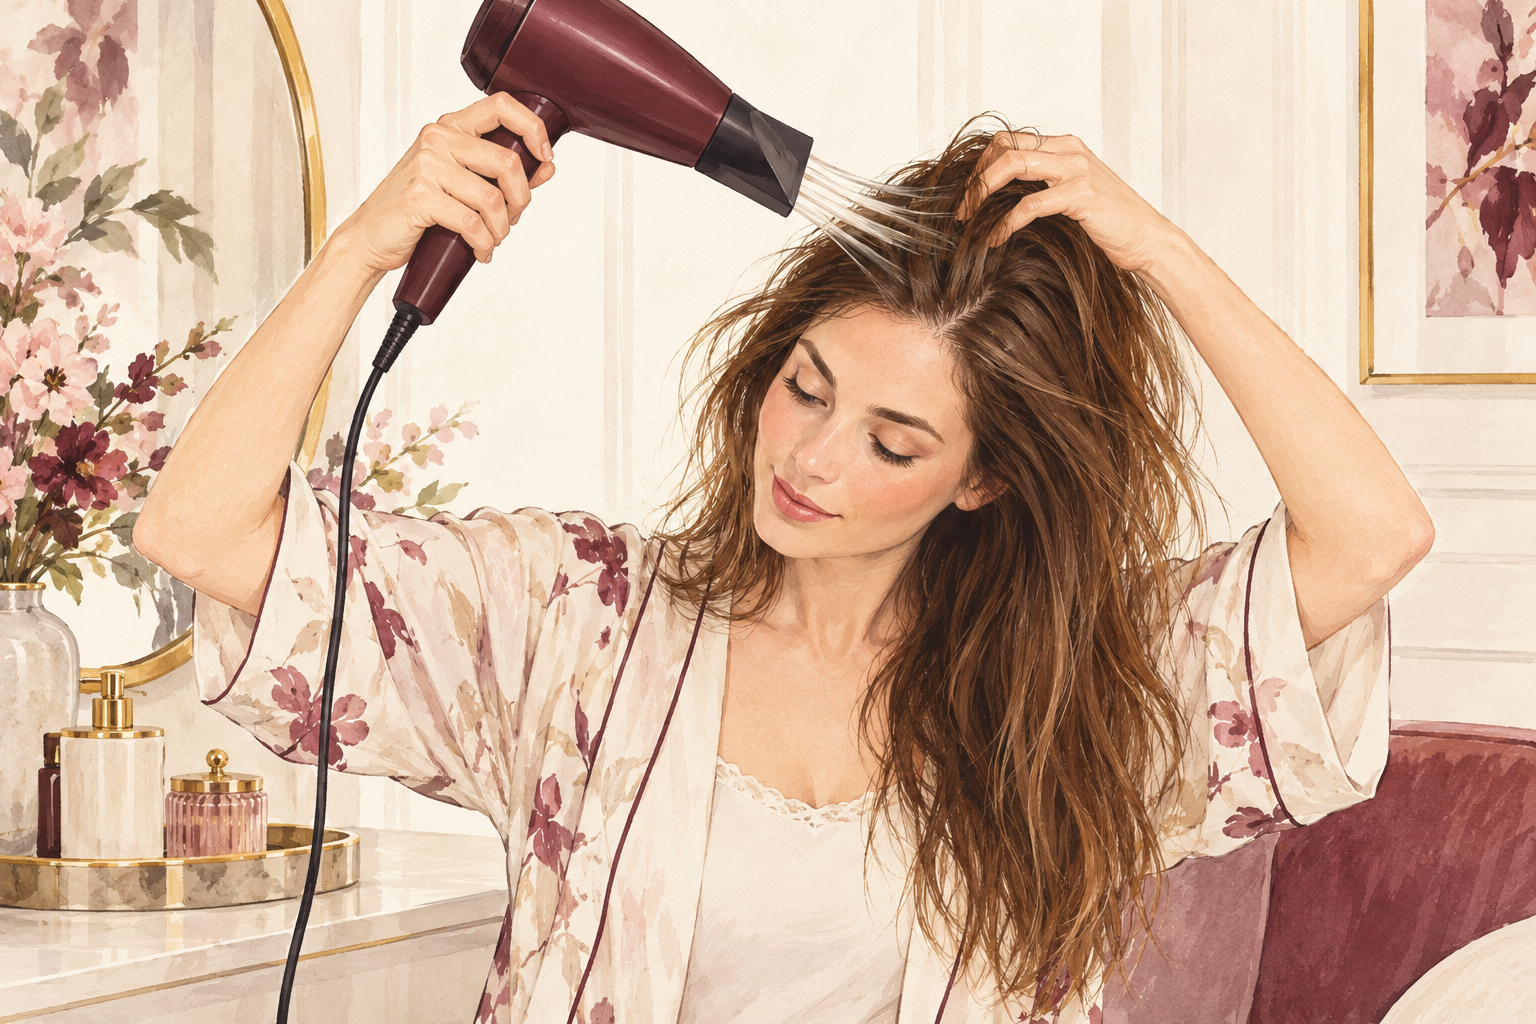
Place the brush under the section at the roots, roll it down slowly, and let the dryer follow just behind it. Point the nozzle down the length of the hair, from the roots to the ends, so the cuticle lies smooth. Keep the dryer a few inches away and keep it moving. Roll the brush with your wrist, not your whole arm. A slow, steady pass leaves the hair glossy. If the hair looks puffy, you went too fast, so go again. Count to five for each pass down the length, and your pace will settle without thinking.
6. Unwind the brush instead of pulling it out
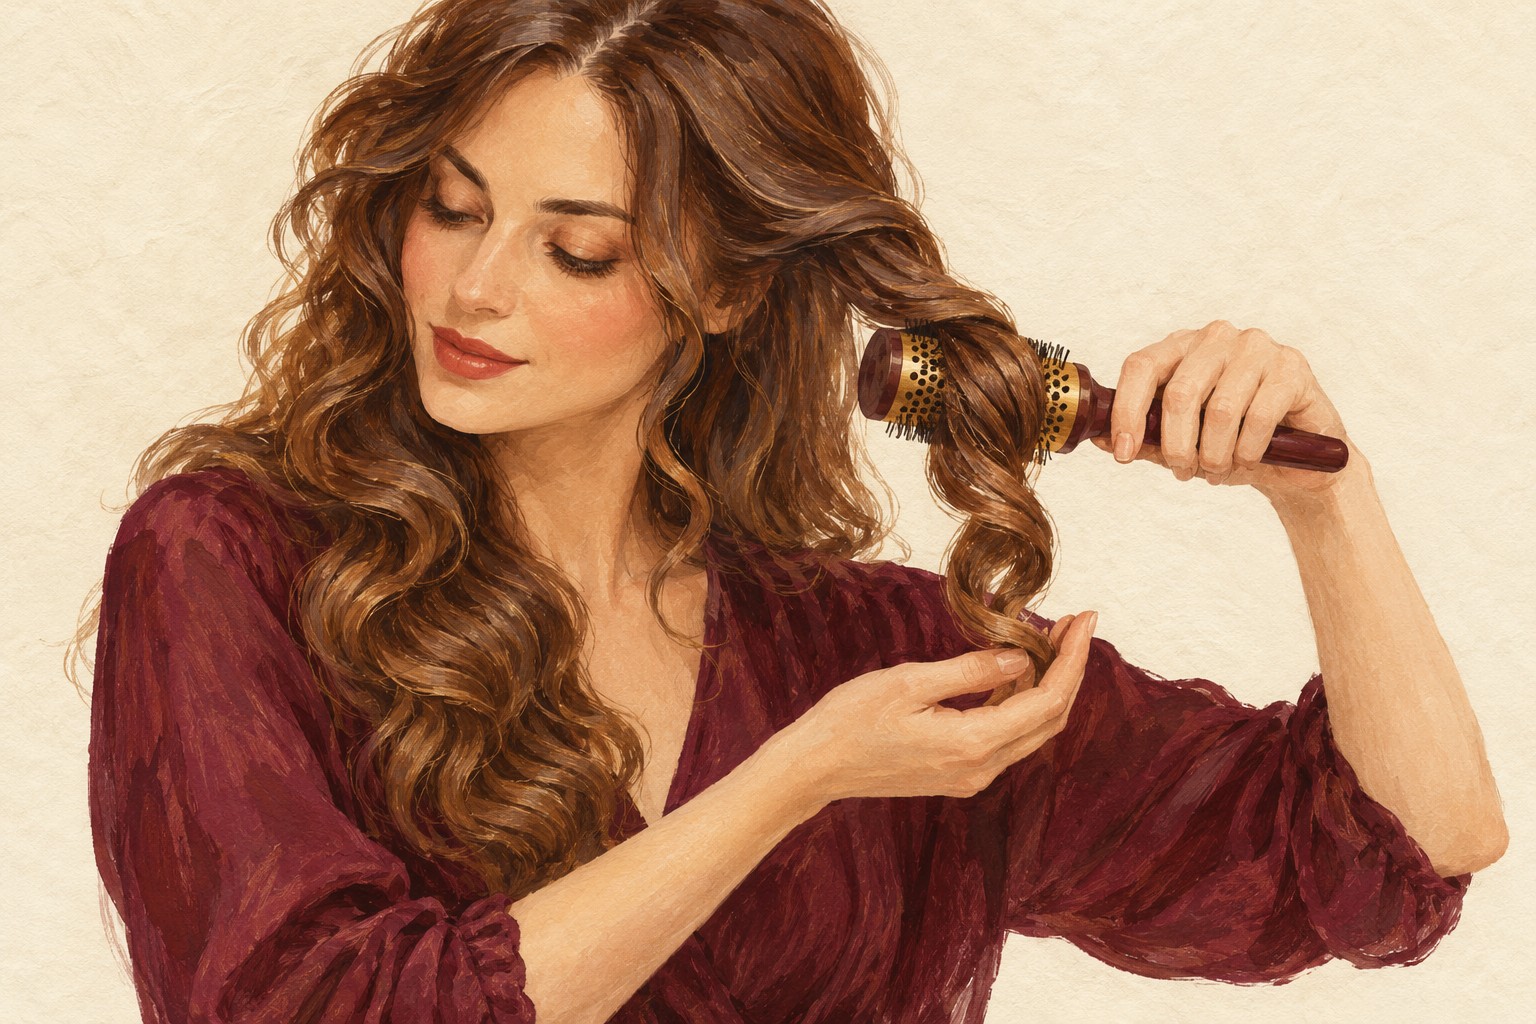
When you reach the ends, spin the brush backward to release the hair, rather than tugging it free. Pulling tangles the ends and snaps hair at the brush. If the brush stays stuck, stop and unwind slowly with your other hand, wriggling gently. Then tilt your wrist in the opposite direction. A slightly stuck brush is a sign the section was too big. Next time, take less hair. A loose, relaxed grip also helps, since a white knuckled hand twists the brush. If hair does tangle, cover the knot with a drop of leave in and tease it free with your fingers before you try again.
7. Roll the ends under or out, then hold
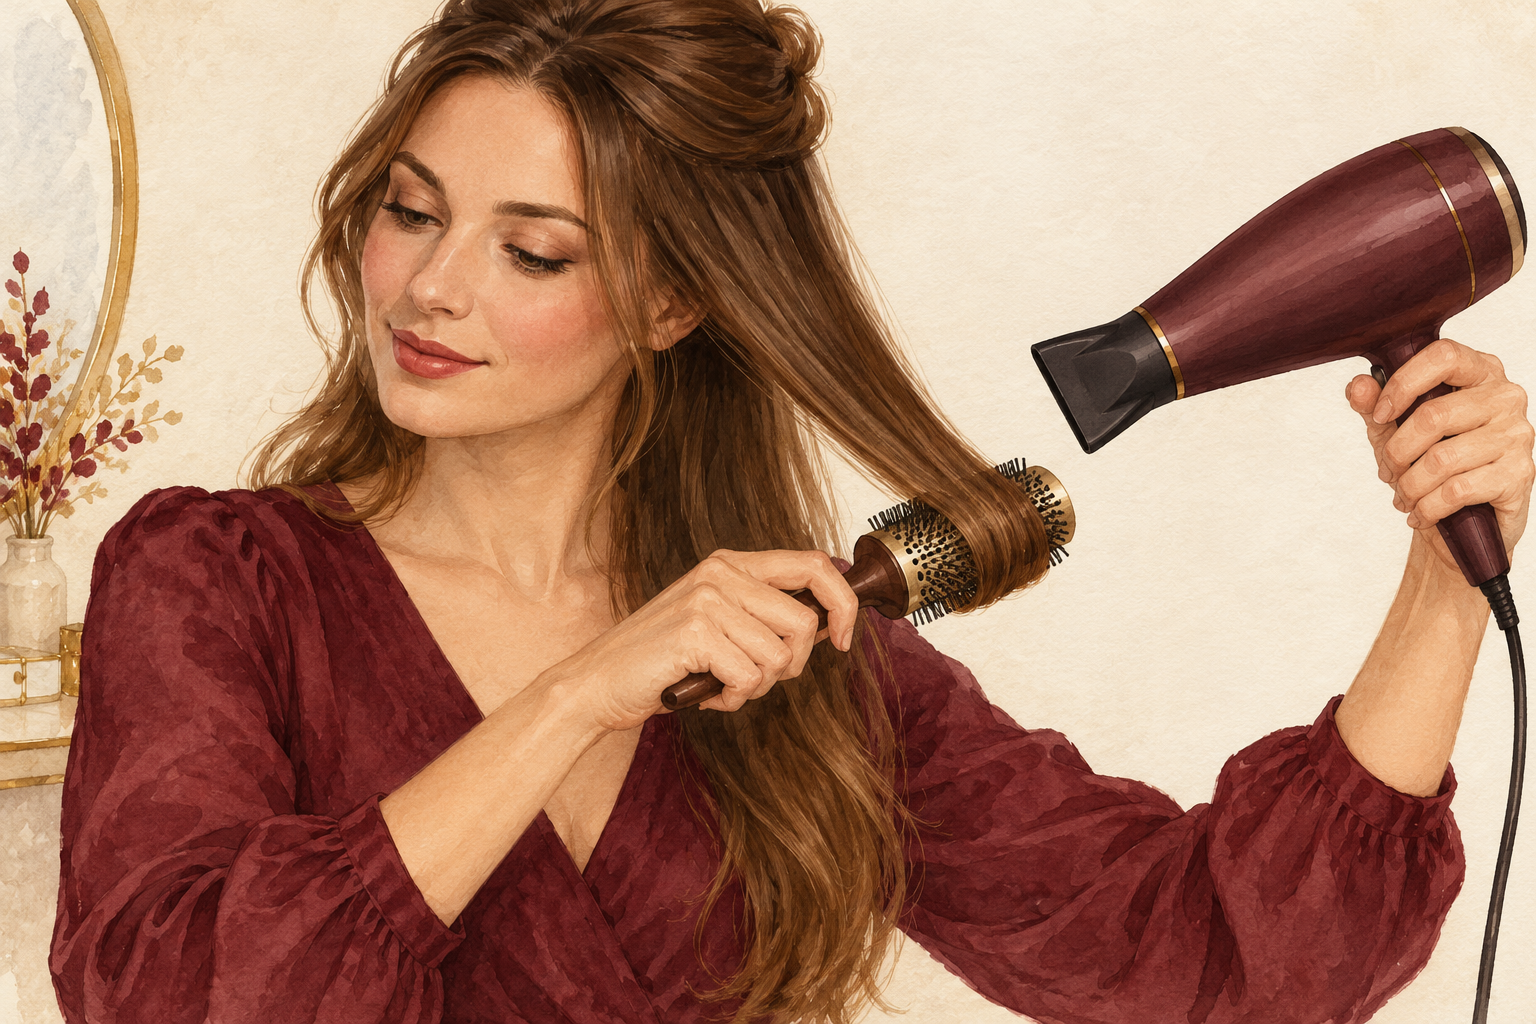
Wrap the last two inches around the brush and hold it there for five seconds, with the dryer on the ends. Roll under for a polished bob, or turn the brush outward for a flicked, retro shape. The heat sets the bend, so a quick hold makes it last. Don’t leave the dryer on one spot for long, because ends are the oldest, driest part of your hair. Add a drop of light oil on the ends afterward if they look fluffy. The shape should be a soft curve, never a hook. Check the back in a hand mirror, because ends are the part you cannot see and the part that gives the polished look.
8. Use a smaller brush for the front and face frame
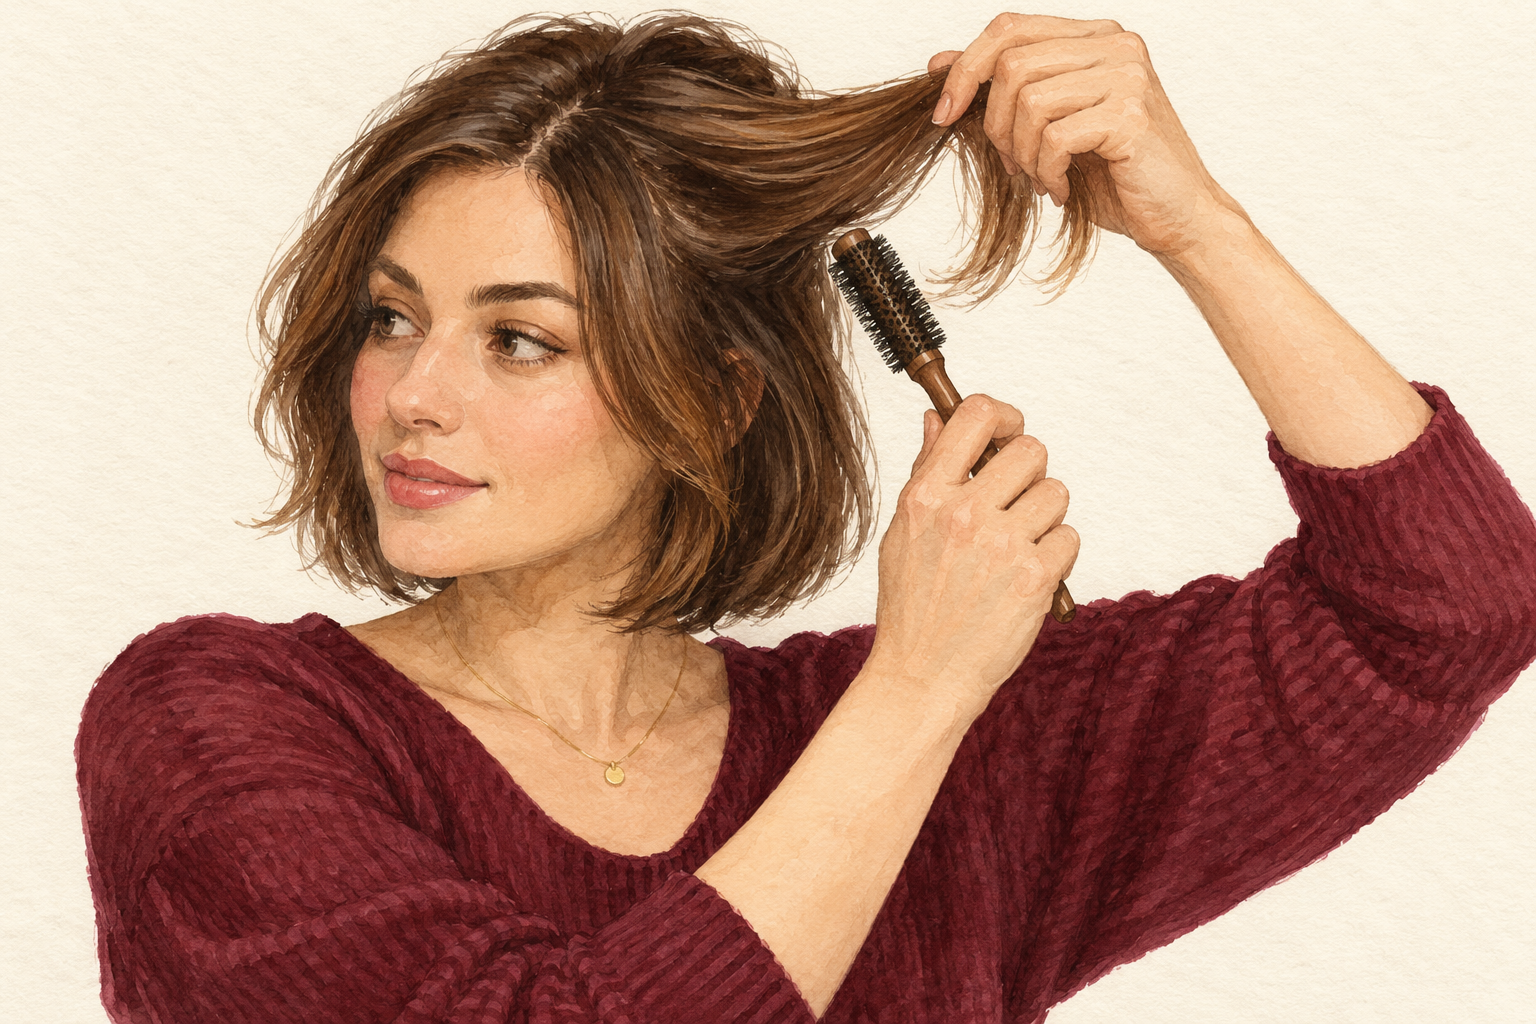
Switch to a smaller barrel for the short pieces at the front and the fringe, if you have one. A large brush overshoots short hair and makes a flick instead of a curve. Pull the front sections up and away from your face, then roll them back, so they sweep off your forehead. Dry the fringe from the roots, with the brush facing down and then to the side. Hold each front piece a little longer than the rest. These pieces frame everything, so they deserve the extra minute. Finish by brushing them lightly sideways with your fingers, so the shape looks easy and not stiff.
9. Let each roll cool before you release it
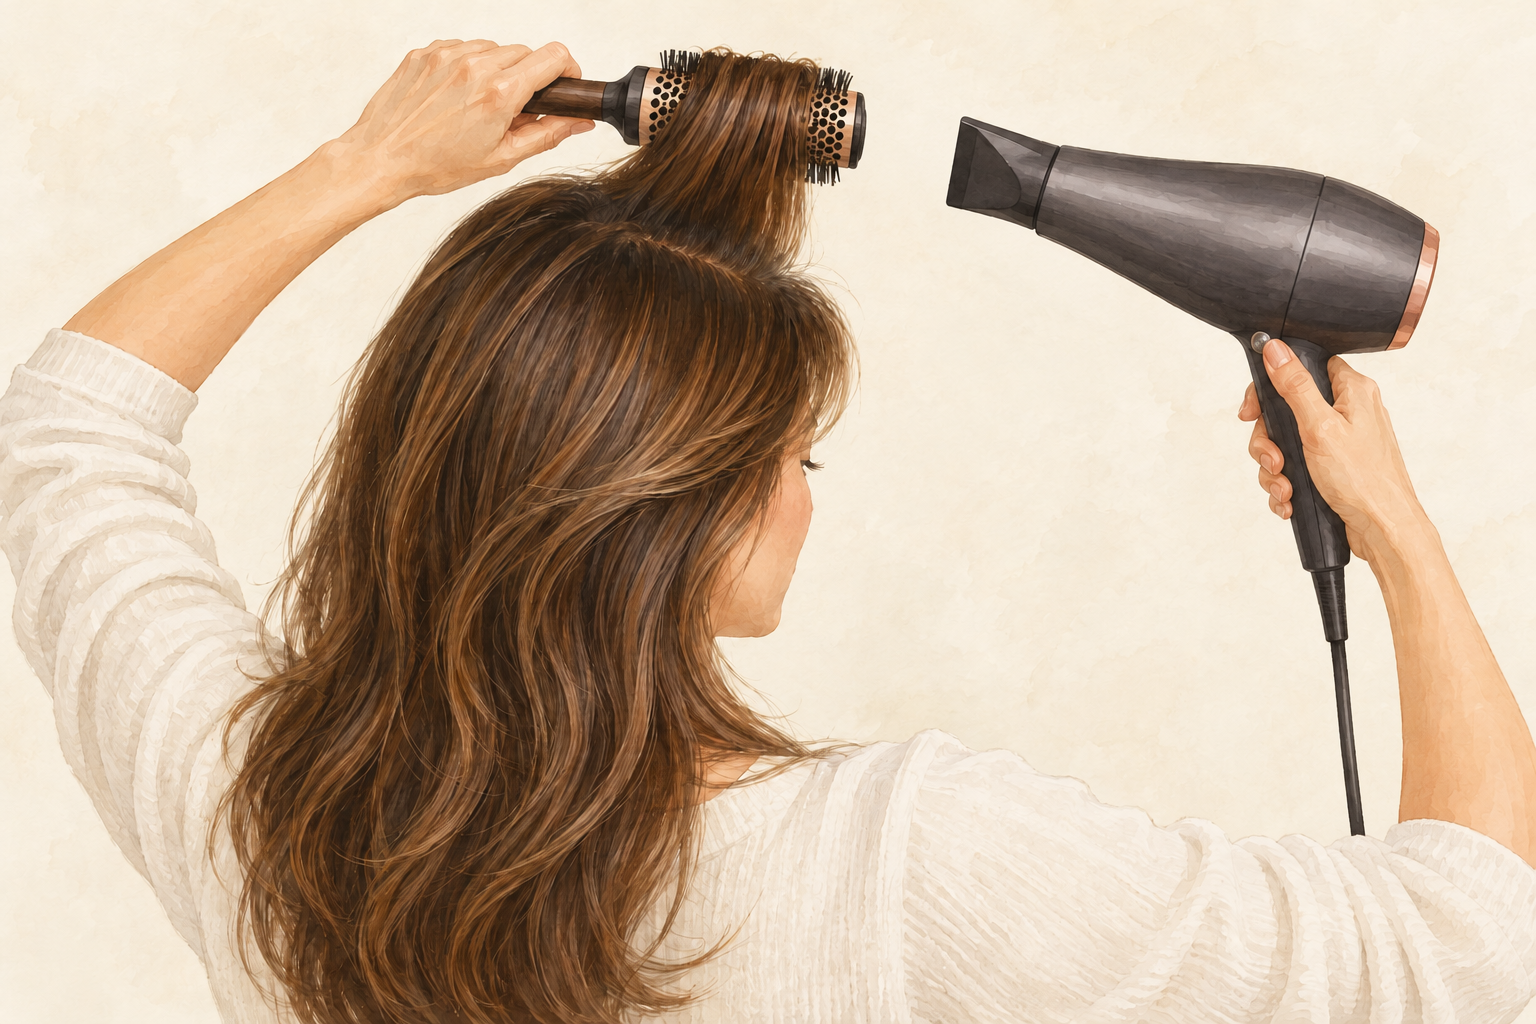
Press the cool button for five to ten seconds before you unwind each section. Hair holds the shape it has when it cools, so cooling is what turns a bend into bounce. Let the hair rest on the brush until it feels cool to the touch. Do not skip it on the sections near your face, because they fall flat first. If you have no cool button, switch the heat down for the last seconds. The whole head will feel smoother and look shinier. Wait a few minutes after the last section, then flip your head and shake the roots with your fingertips for a natural finish.
10. Expect the first three tries to be slow
Give yourself forty minutes for the first go, and thirty by the third. Your arm will tire, your sections will wobble, and some ends will flick the wrong way. This is how everyone learns. Practice on a weekend, with a mirror at the back, until the sections feel natural. By your third blow dry, your wrist will remember the rolling motion, and the ends will start to behave. You will notice smoother ends and a little more bounce at the roots each time. Switch on a favorite playlist, since a relaxed shoulder gives a steadier hand than a tense one.
11. Swap big sections, high heat and dry brushing
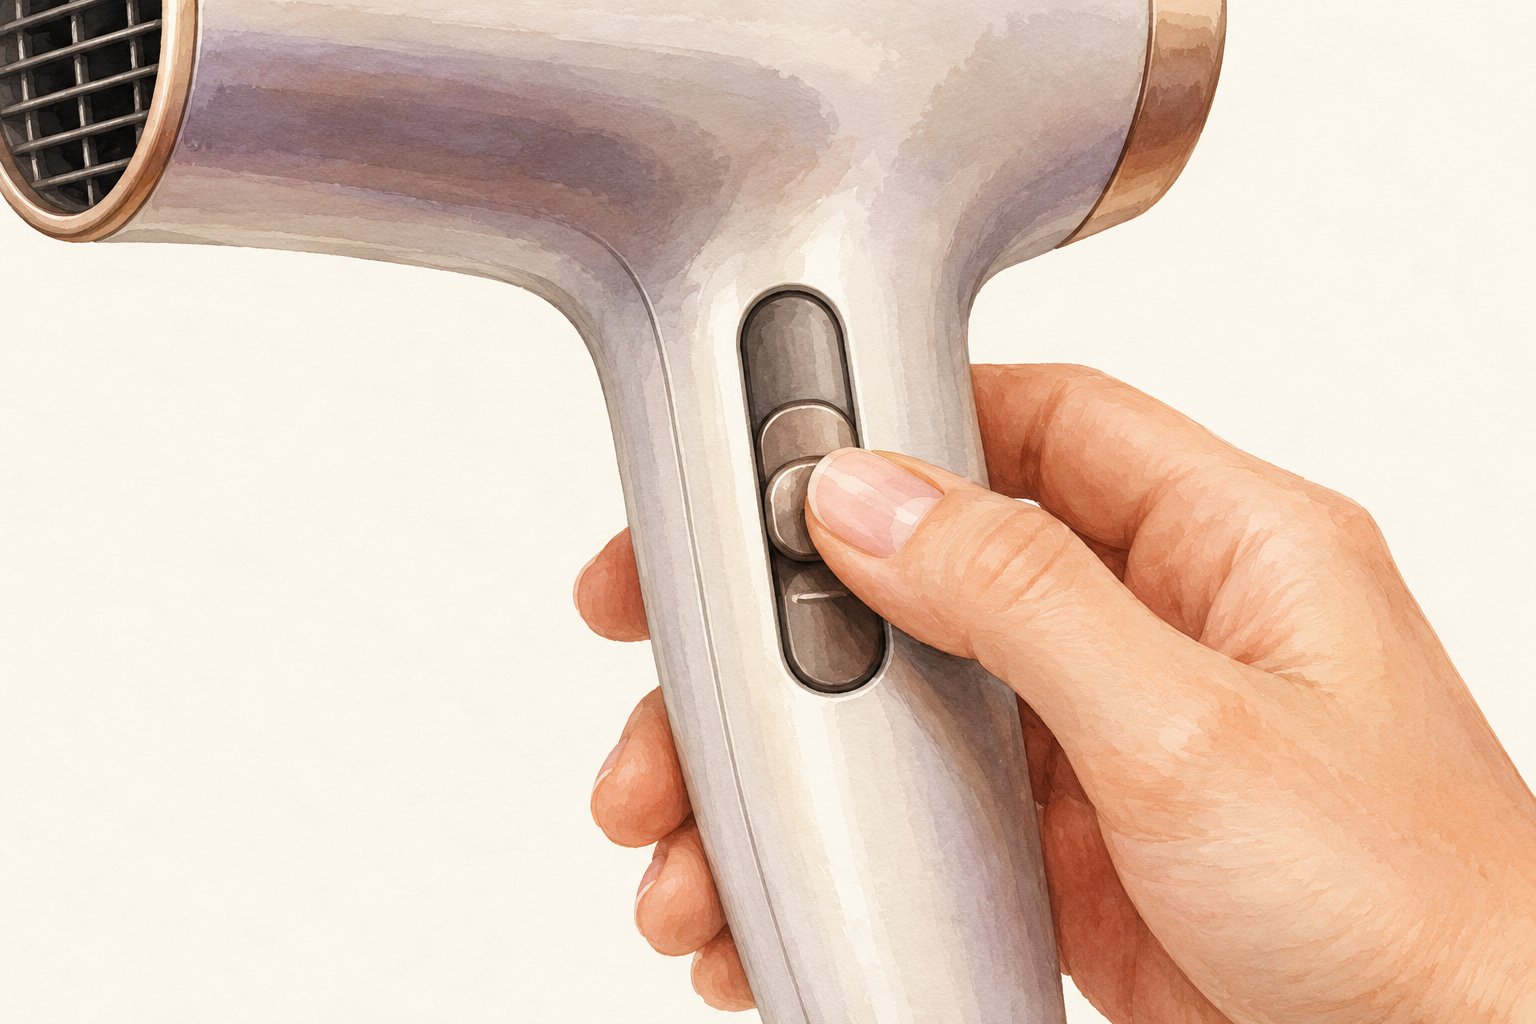
Replace the habits that frizz your hair: swap big sections for small ones, high heat for medium, and dry brushing for the cool blast. Blasting on high is the quickest way to scorch the ends. Medium heat with patience gives a smoother result. Never brush bone dry hair with a round brush, as the bristles drag and snap strands. Clean the brush when it fills with hair, because a clogged brush tangles. A little control is what makes a blowout last. Lift the dryer away from your scalp too, since a hot nozzle pressed close feels harsh and burns the roots before you notice.
12. Take a break when the ends start to show damage
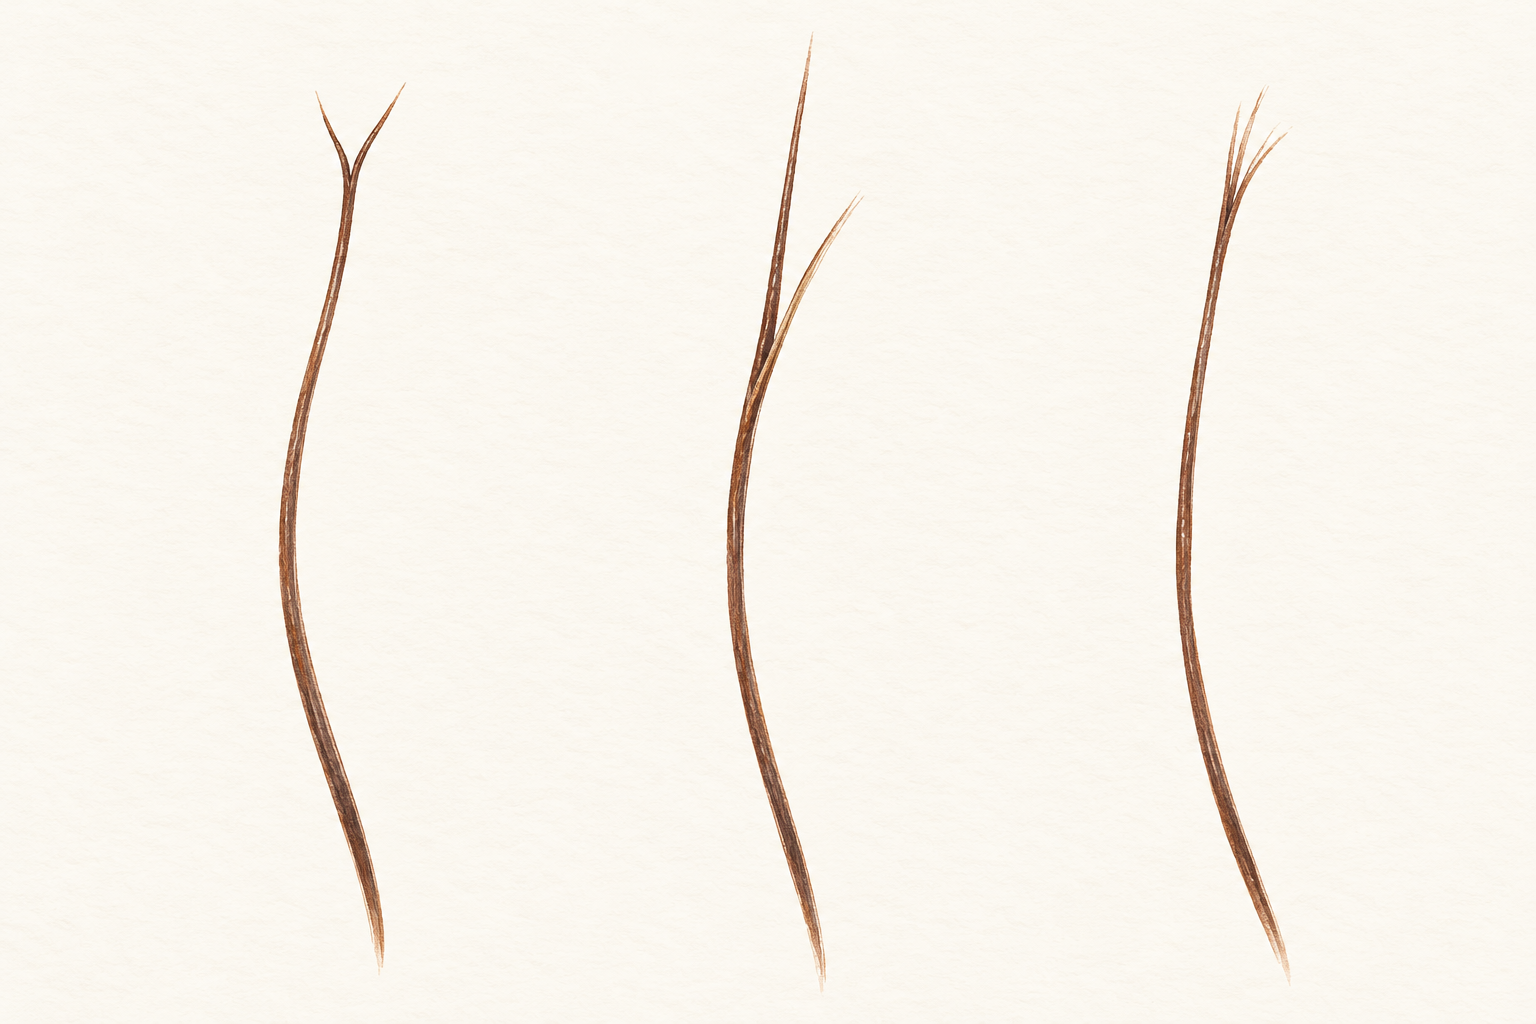
Skip the blow dryer for a week if you see white dots, splits or a rough, straw feel at the ends. Air dry, use a leave in on the ends, and trim a small amount when you can. Heat is a friend only in small doses, so use it two or three times a week at most. Wrap your hair in a silk scarf at night so the blowout lasts. You will notice the ends feel softer again within a couple of weeks. Then bring the round brush back on a lower heat and see how your hair responds.
Complete the Routine: How to Blow Dry Hair With Round Brush This Weekend
Pick a day with no plans, start with small sections, and practice steps 4 to 6 until they feel easy. To go further, read about how to blow dry hair for volume and blow dry hair.