You wash your hair, style it, and by day two it is dry, shrunken and tangled again. The fix is order, not more product. A 4c curly hair routine starts with moisture, then gentle detangling, then a style that holds. Here are 12 steps in the right order, so start at number one on your next wash day.
1. Gather your kit

You need a gentle shampoo, a rich conditioner, a leave in cream, a light oil, a gel, a wide tooth comb, a spray bottle and a satin bonnet. Put them in one basket by the shower so wash day never starts with a search. Add four or more big clips and an old T shirt for drying. You do not need a dozen products, because 4c hair does best with a few it knows well. Fill the spray bottle with plain water and a spoon of leave in. Keep the basket where you can reach it with wet hands, so nothing gets skipped for convenience.
2. Start by learning how your hair behaves

Know that 4c hair is made of tight coils that shrink a lot when wet and dry out fast. The natural oil from your scalp has a long, twisty road to travel, so the ends are usually the driest part. That is why moisture comes first in this routine and everything else follows. Take a photo of your hair before you start, and note how long it takes to dry. Write down where it feels driest, since that is the spot to treat first. If your hair feels like straw at the ends but fine at the roots, you have the classic 4c pattern. Treat the ends as the priority.
3. Cleanse the scalp gently
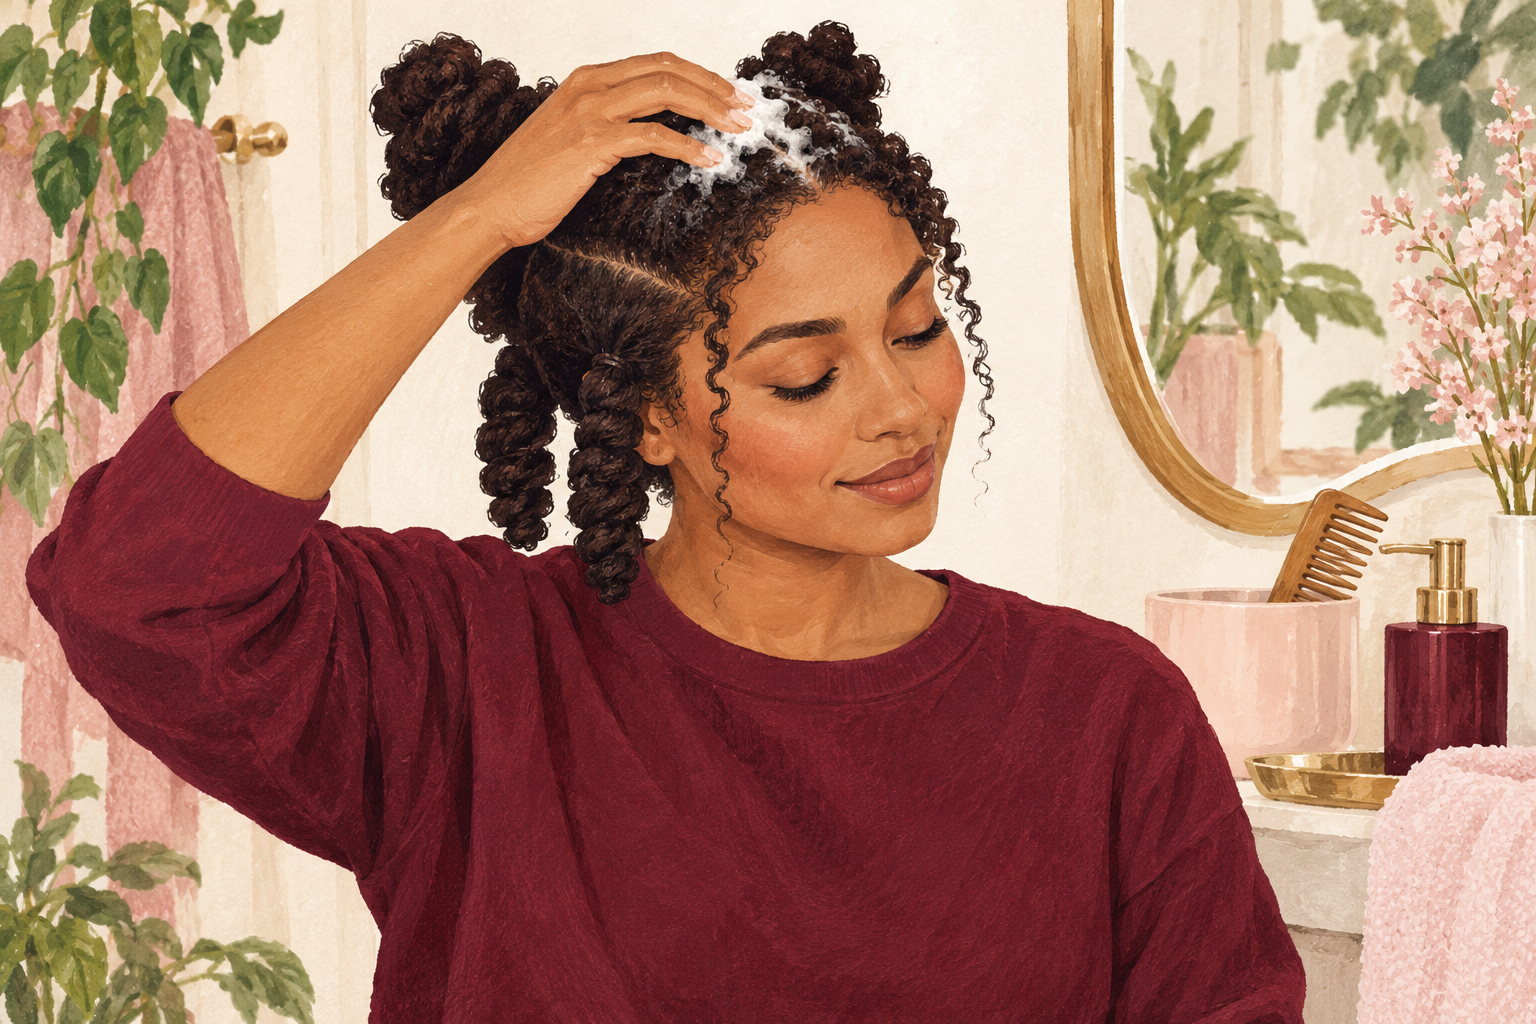
Wash once a week or every two weeks with a mild shampoo, working only on your scalp with your fingertips. Let the suds rinse down over the lengths, and do not scrub the hair itself. Section the hair in four and wash one part at a time so it does not tangle. Rinse with lukewarm water, never hot. If your scalp gets itchy before wash day, rinse it with water in between. Your hair should feel clean but not squeaky, since squeaky means stripped. A pre poo, which is a little oil on dry hair for twenty minutes before you wash, softens the whole session.
4. Detangle with conditioner on
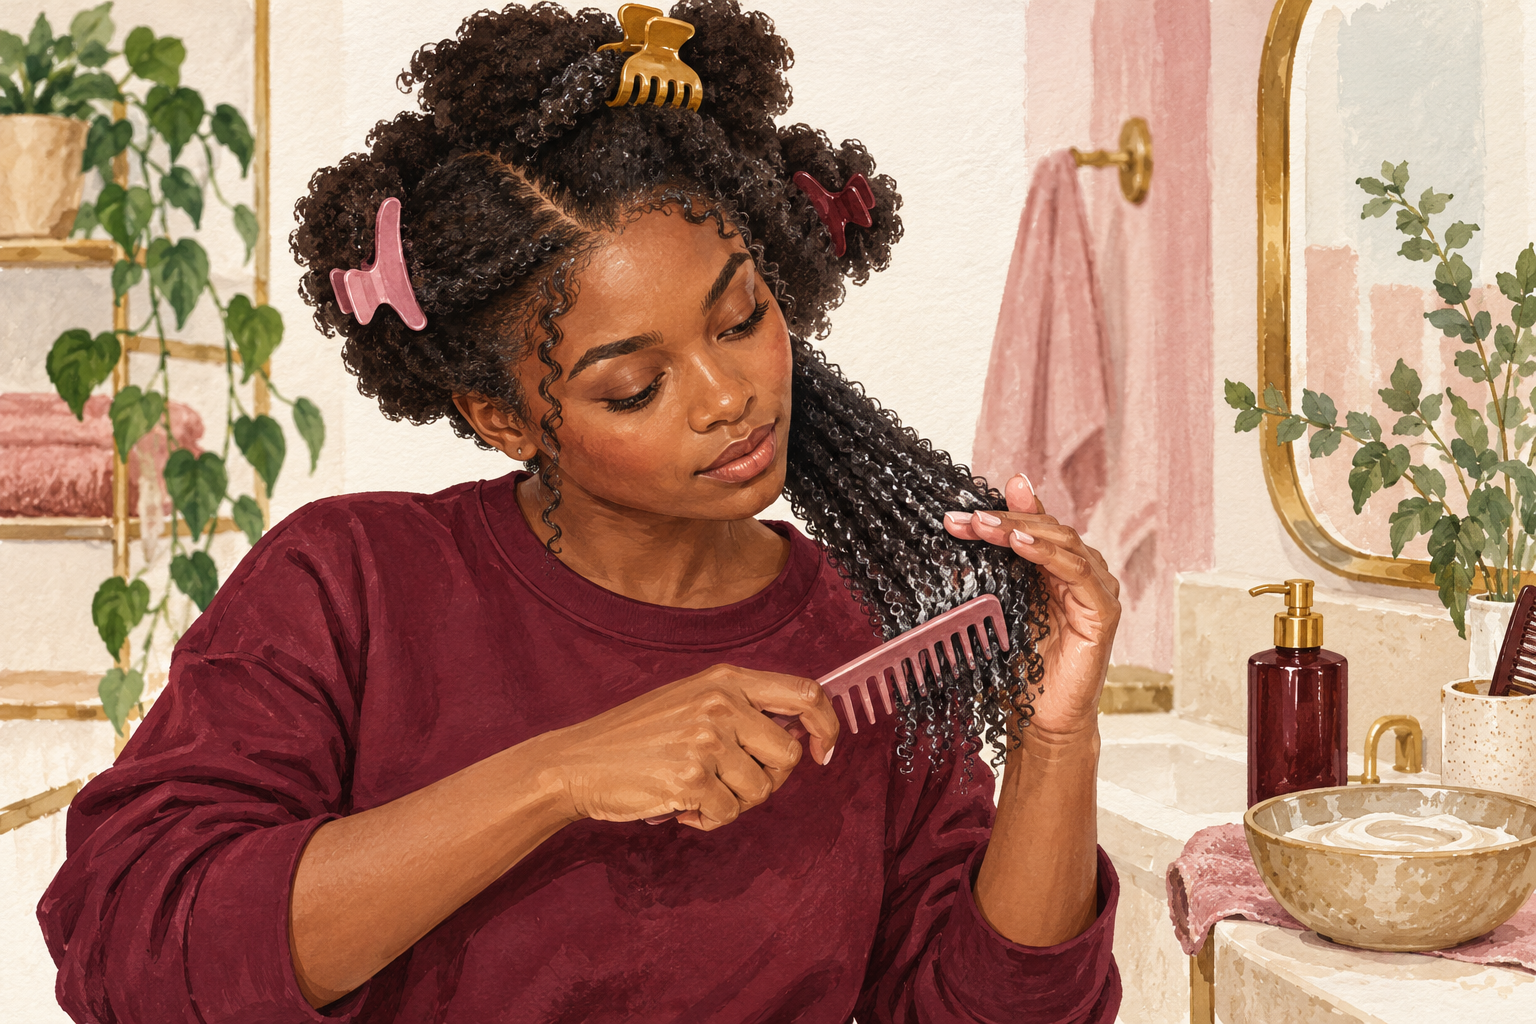
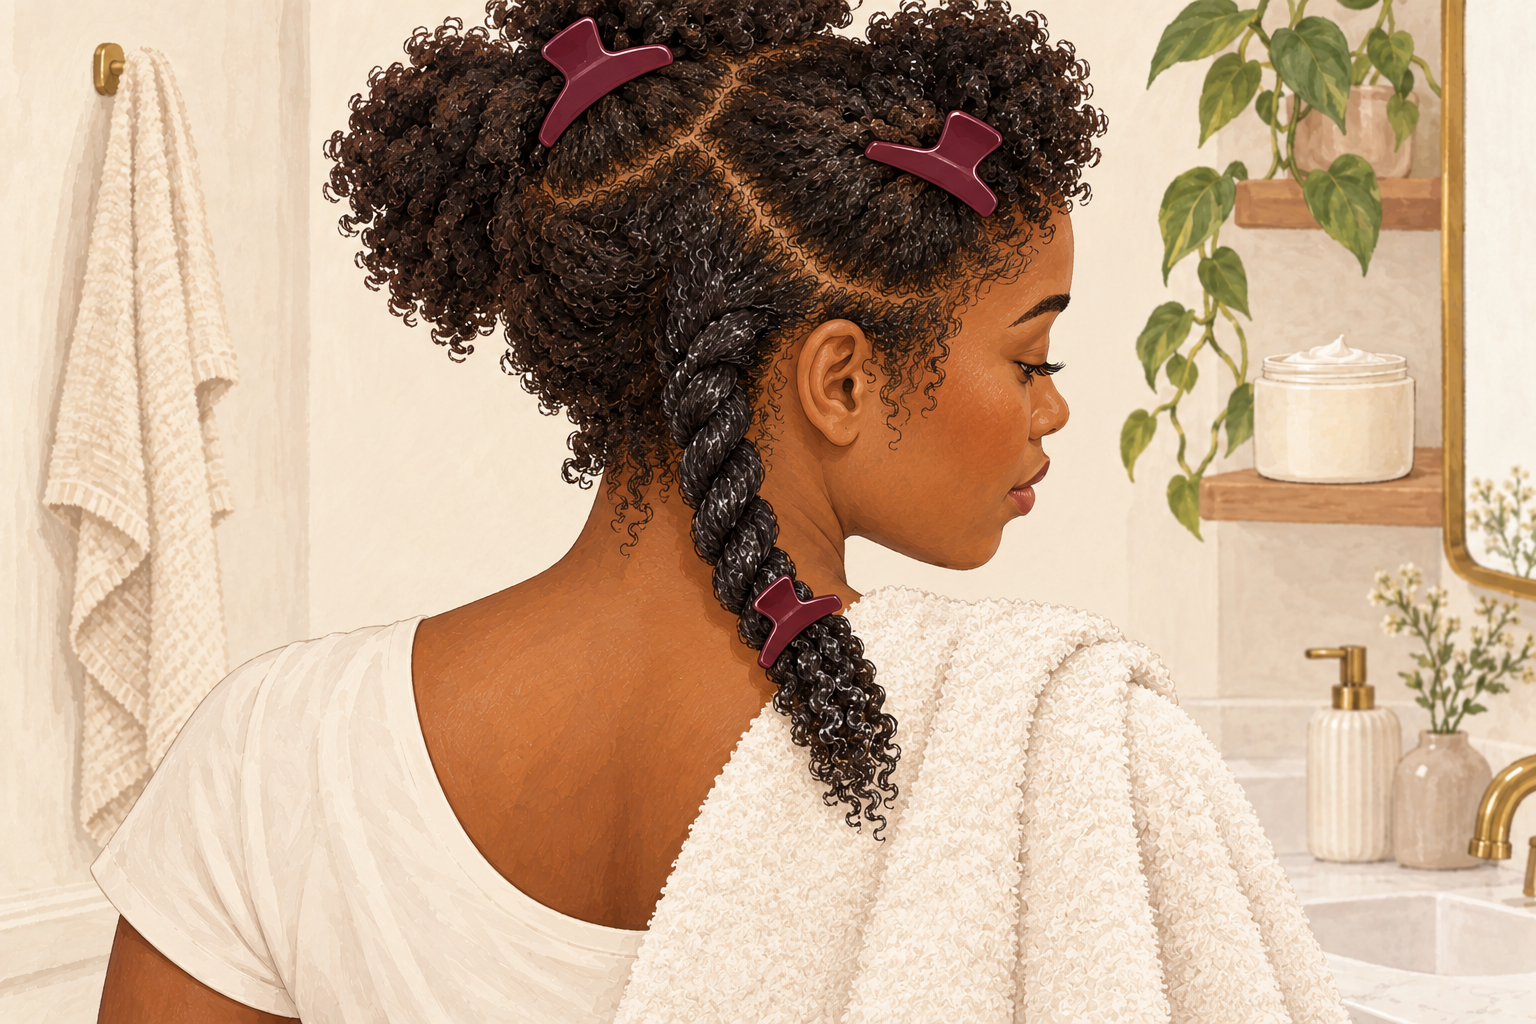
Coat each section in conditioner until it feels slippery, then finger detangle from the ends up before you use the comb. Use the wide tooth comb in short, soft strokes and stop whenever it catches. Hair is weakest when it is dry or soaking wet, so work while it is damp and slick. Twist each finished section loosely and clip it away. Expect it to take twenty to thirty minutes. Go slow, since patience here saves your length. Detangle in the shower or at the sink, where water is nearby to add slip. Shed hair in your comb is normal on wash day.
5. Deep condition for moisture

Smooth a rich deep conditioner through sections and cover with a shower cap for twenty to thirty minutes, with a warm towel on top. Gentle warmth helps the conditioner slip in. Do this every wash day, and it is the most important step on the list. Rinse with cool water to seal. Once a month, swap it for a protein mask if your hair feels limp and stretchy. If it feels stiff or brittle afterwards, go back to the moisture mask for a few washes. Sit with a podcast while it works, because twenty minutes passes quickly. Do not skip this step even when you are tired.
6. Apply leave in on soaking wet hair
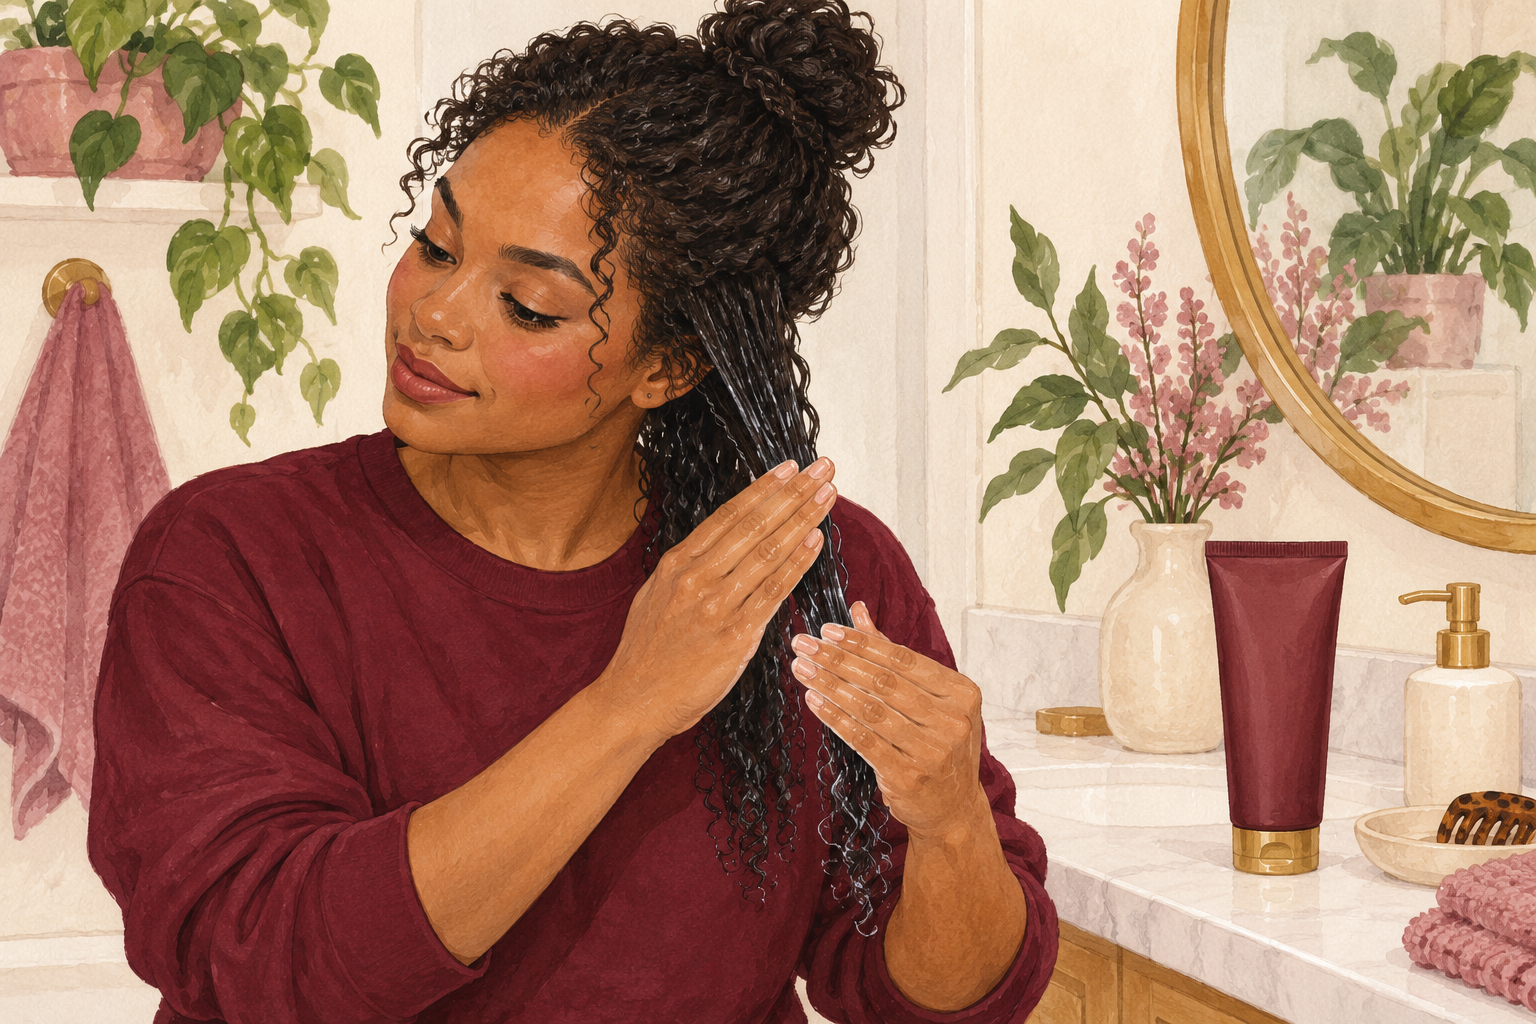
Rinse, then smooth a leave in cream through each section while the hair is still dripping. Water is the real moisturizer, and the cream holds it in. Use about a golf ball sized scoop for the whole head, working in four sections. Smooth it from root to end with your palms and then rake it in with your fingers. Do not towel dry first. If your hair soaks it up at once, add a little more. Look for creamy leave ins with water listed first on the label. Thin lotions evaporate fast on tight coils.
7. Seal the moisture in

Press a few drops of a light oil or a small dab of butter over the leave in cream, then do not touch your hair. The cream is the moisture and the oil is the lid, so apply them in that order. Focus on the ends and the dry spots you noted earlier. Keep it thin, because too much makes hair heavy and greasy. Warm the oil in your palms first so it spreads evenly. This quick layering is the secret behind hair that stays soft for days. On very dry days, double the layer on the ends only. Never put butter on the scalp when your hair is flaky.
8. Set a twist out

Part your hair into medium sections and twist each one down its length while it is damp and coated in gel. Smaller twists give a defined, full result, and bigger ones give a looser, fluffier look. Smooth along each section so it is neat from root to tip, and finish the ends around your finger so they do not unravel. Work with hair that is still damp, since dry hair will not set. Take your time, because neat twists are what make a neat twist out. Use a pea sized amount of gel per section, since too much leaves white flakes.
9. Swap in braids or knots when you want a change

Try a braid out, bantu knots or a simple wash and go when you do not feel like twisting. Braids give a softer, wavy stretch, and bantu knots give tight curls once undone. A wash and go is the fastest option and needs plenty of gel. Whatever you choose, work on damp hair and keep each section the same size. Swap styles every few weeks to rest the roots and to see which one holds your moisture best. Keep notes on how long each style lasts. Pick the style that suits your week, such as a braid out when you have time and a wash and go when you are rushed.
10. Dry fully, then take down gently
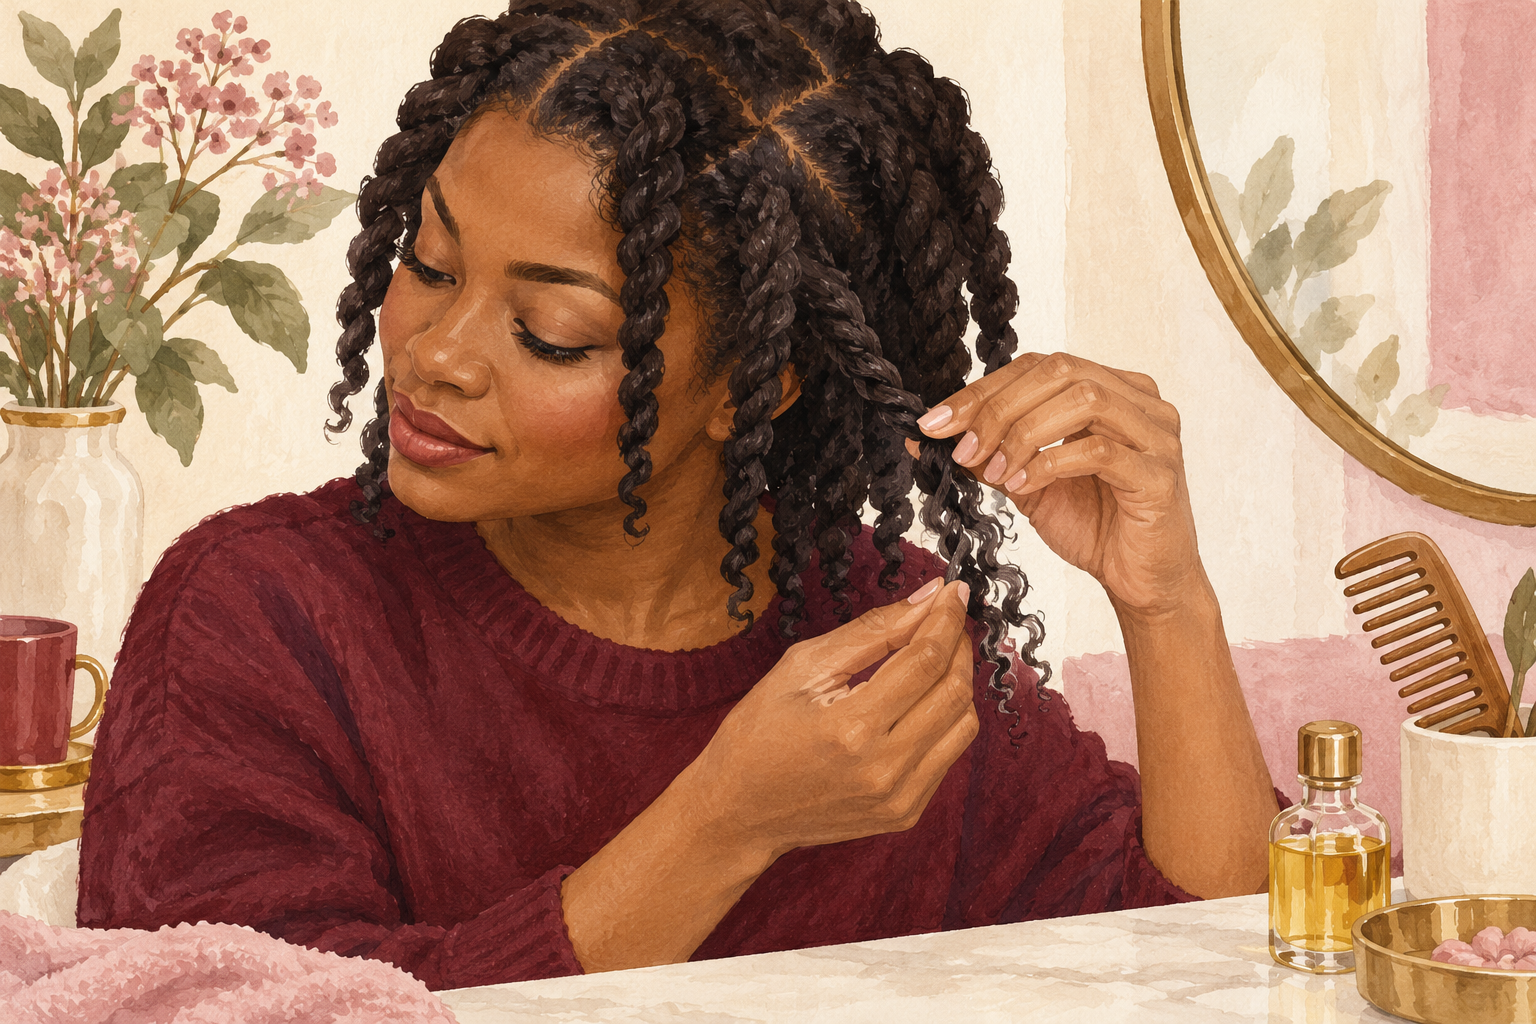
Let your twists air dry completely, which can take six to eight hours, and do not touch them until they are dry. Take them down only when they feel dry all the way to the ends, or the style will frizz. Put a little oil on your fingers first, then unravel each twist from the bottom up. Separate gently with your fingertips and leave the comb in the basket. Fluff only a little. Hands off is the secret to a twist out that lasts. Sit near a fan or a sunny window to speed it up. Never rush this step with heat, since heat dries coils and spoils the pattern.
11. Protect it every night

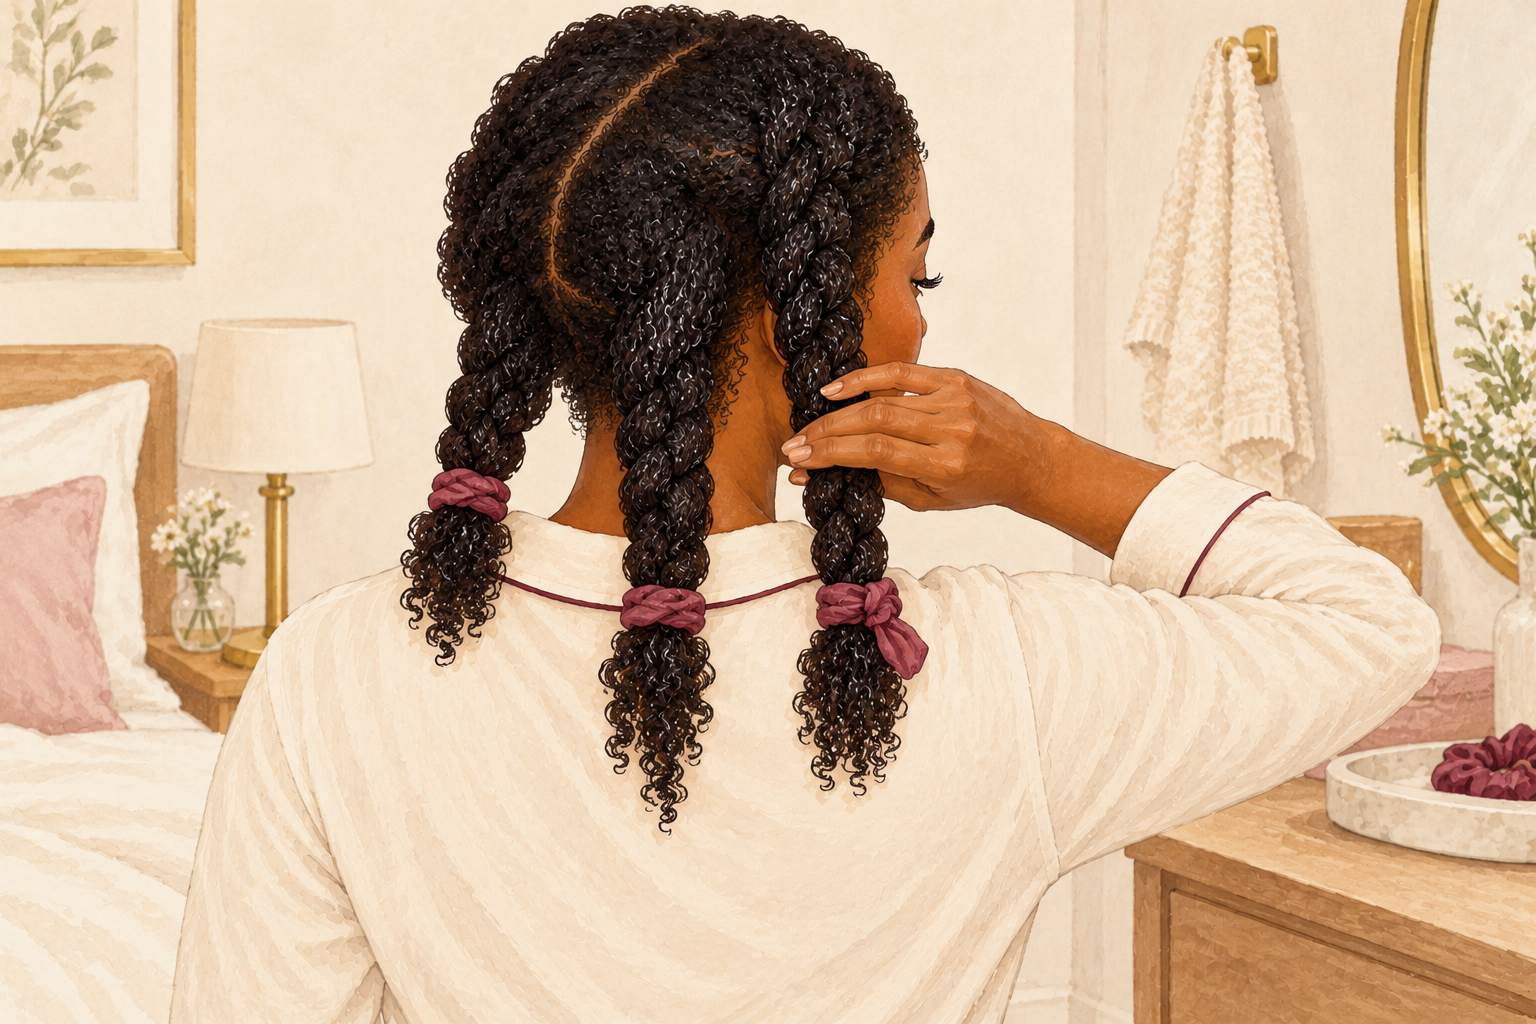
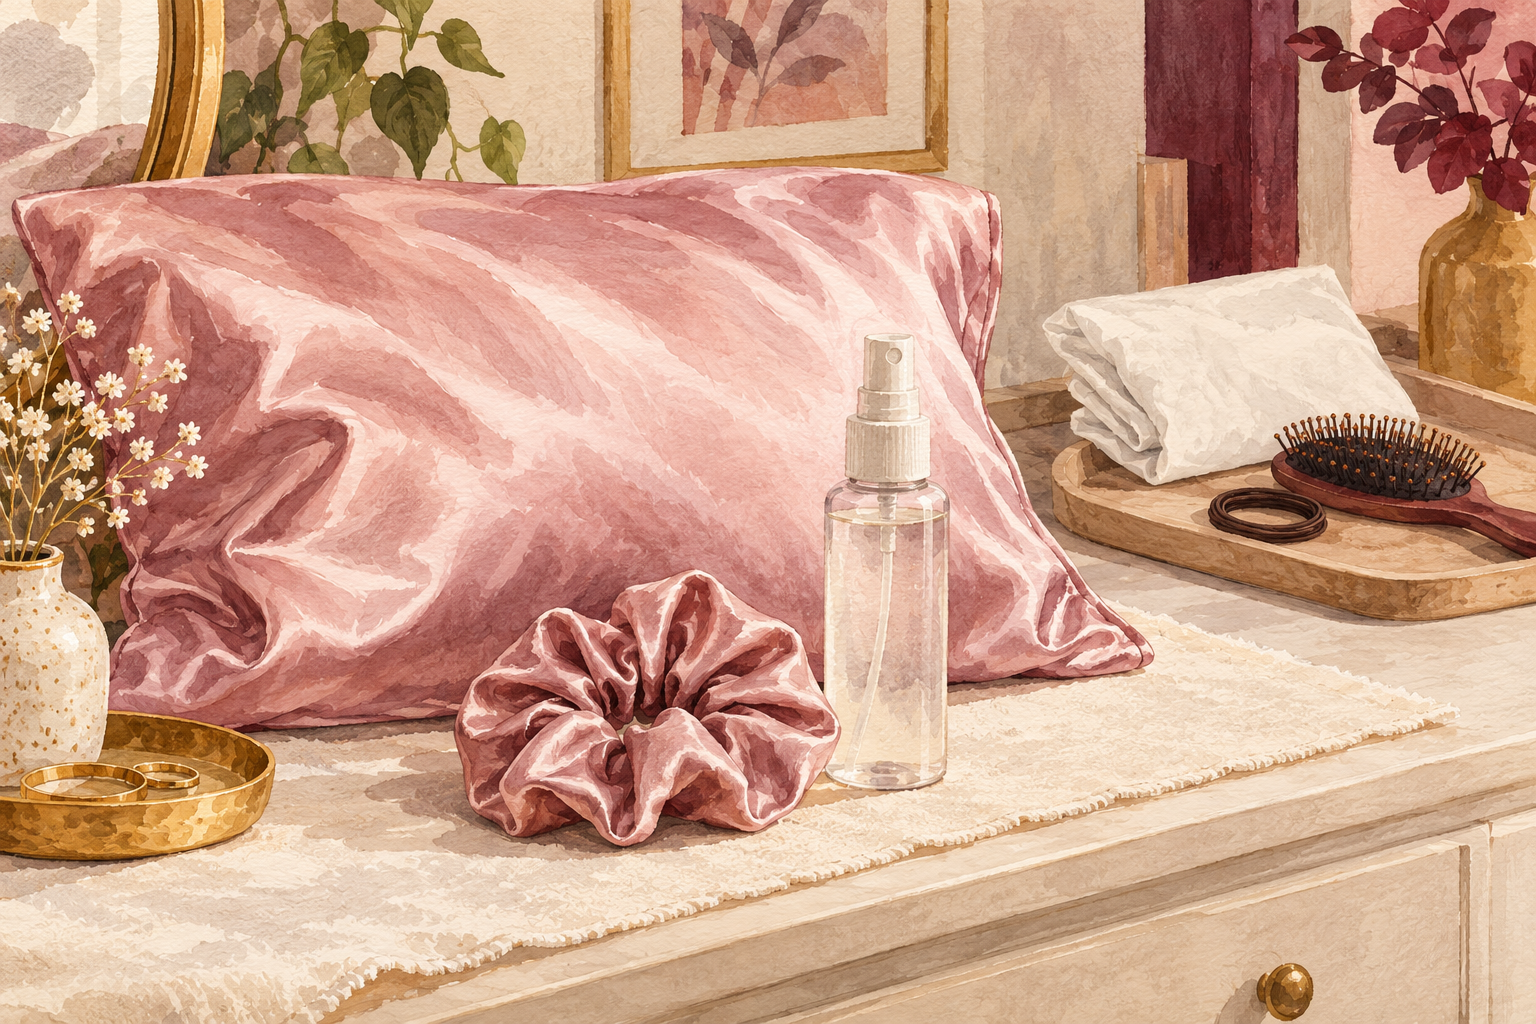
Tie your hair loosely on top of your head, pineapple style, and sleep in a satin bonnet or on a satin pillowcase. Cotton soaks the moisture out of coils and snags them. In the morning, mist the dry parts lightly with water and a touch of leave in, then seal with oil. Re twist only the sections that look frizzy. A style can last five to seven days with this care. Skip heavy refresh sprays, since they leave your hair stiff. Check the bonnet is not too tight at the edges, because tight bands can pull on delicate hairs. A loose satin scarf works as well.
12. Expect gradual change

Look for softer hair, less tangling and a style that lasts longer after three to four weeks. In the first two washes, you mainly notice that detangling is easier. Shrinkage will always be there, and it is a sign of healthy coils, not a problem. Keep a photo log each month, so you can see growth you cannot feel. If a step feels like too much, drop it and keep the moisture steps, since they do the most. A steady 4c curly hair routine beats a perfect one you quit. Be kind to your hair in the early weeks, since it is learning a new pattern of moisture. Small steady changes add up.
Complete the Routine: Your 4C Curly Hair Routine Each Week
On your next wash day, follow numbers 3 to 7, then pick one style from number 8 or 9. For more routines, read about 4b curly hair routine and curly hair night routine.