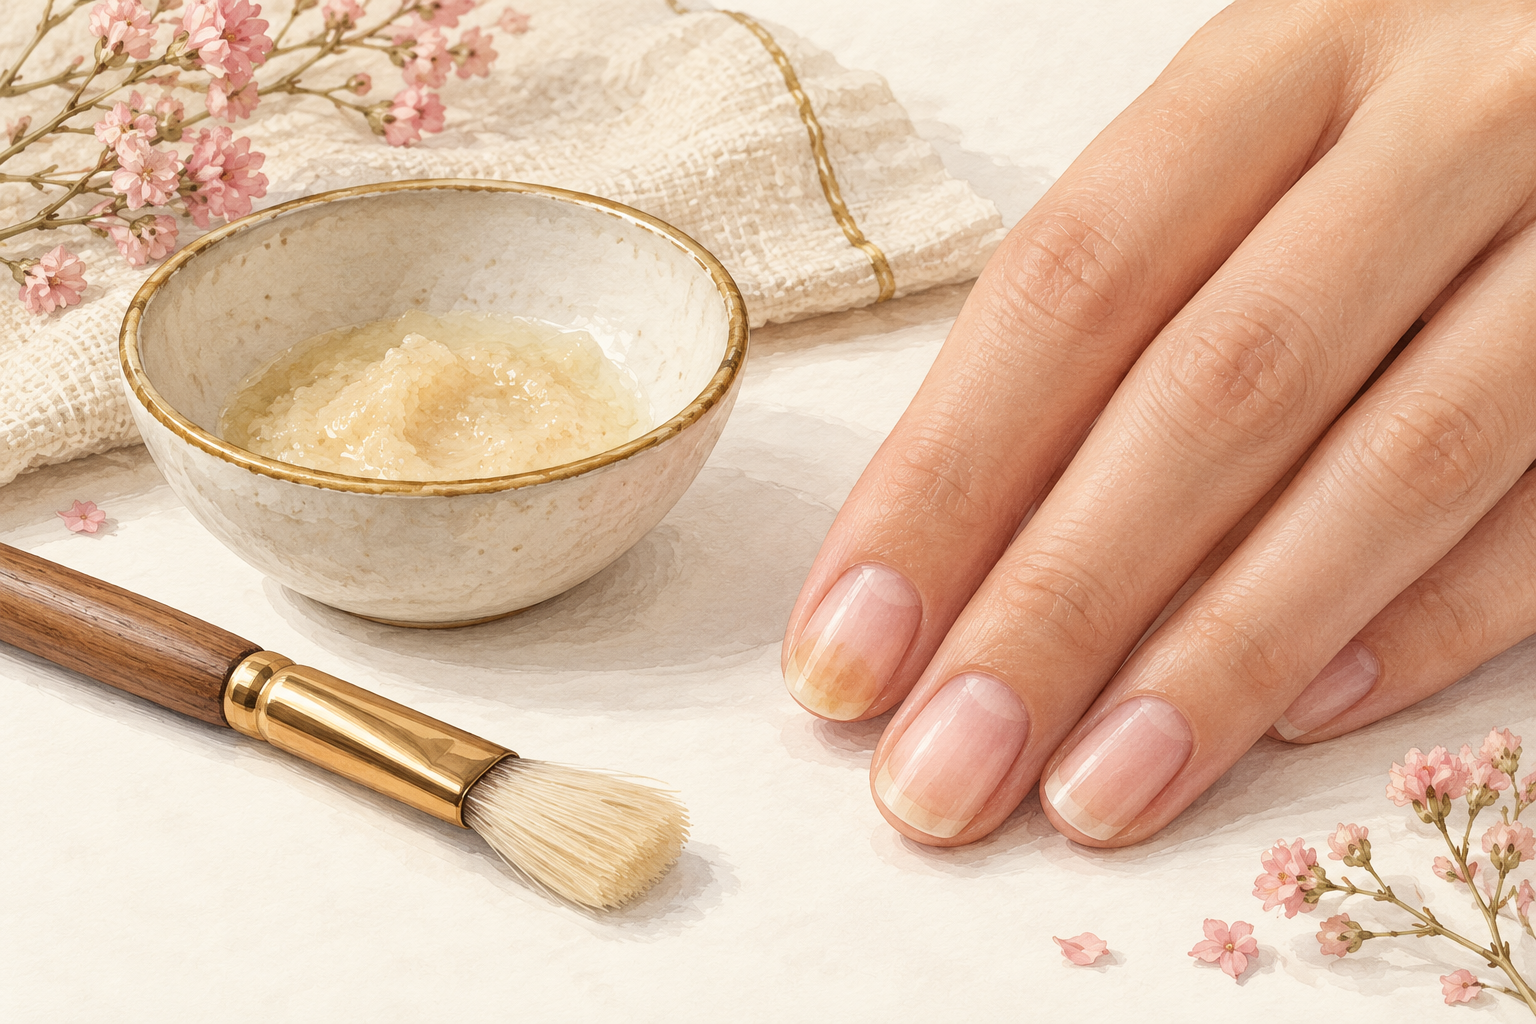
You file your nails smooth, and by Thursday the tips are lifting in thin white layers that catch on every sleeve. Peeling nails almost always have a reason you can find, and it is usually something you do every day. These 12 fixes match each cause, so start at number one tonight.
1. Trim the peeled layer smooth
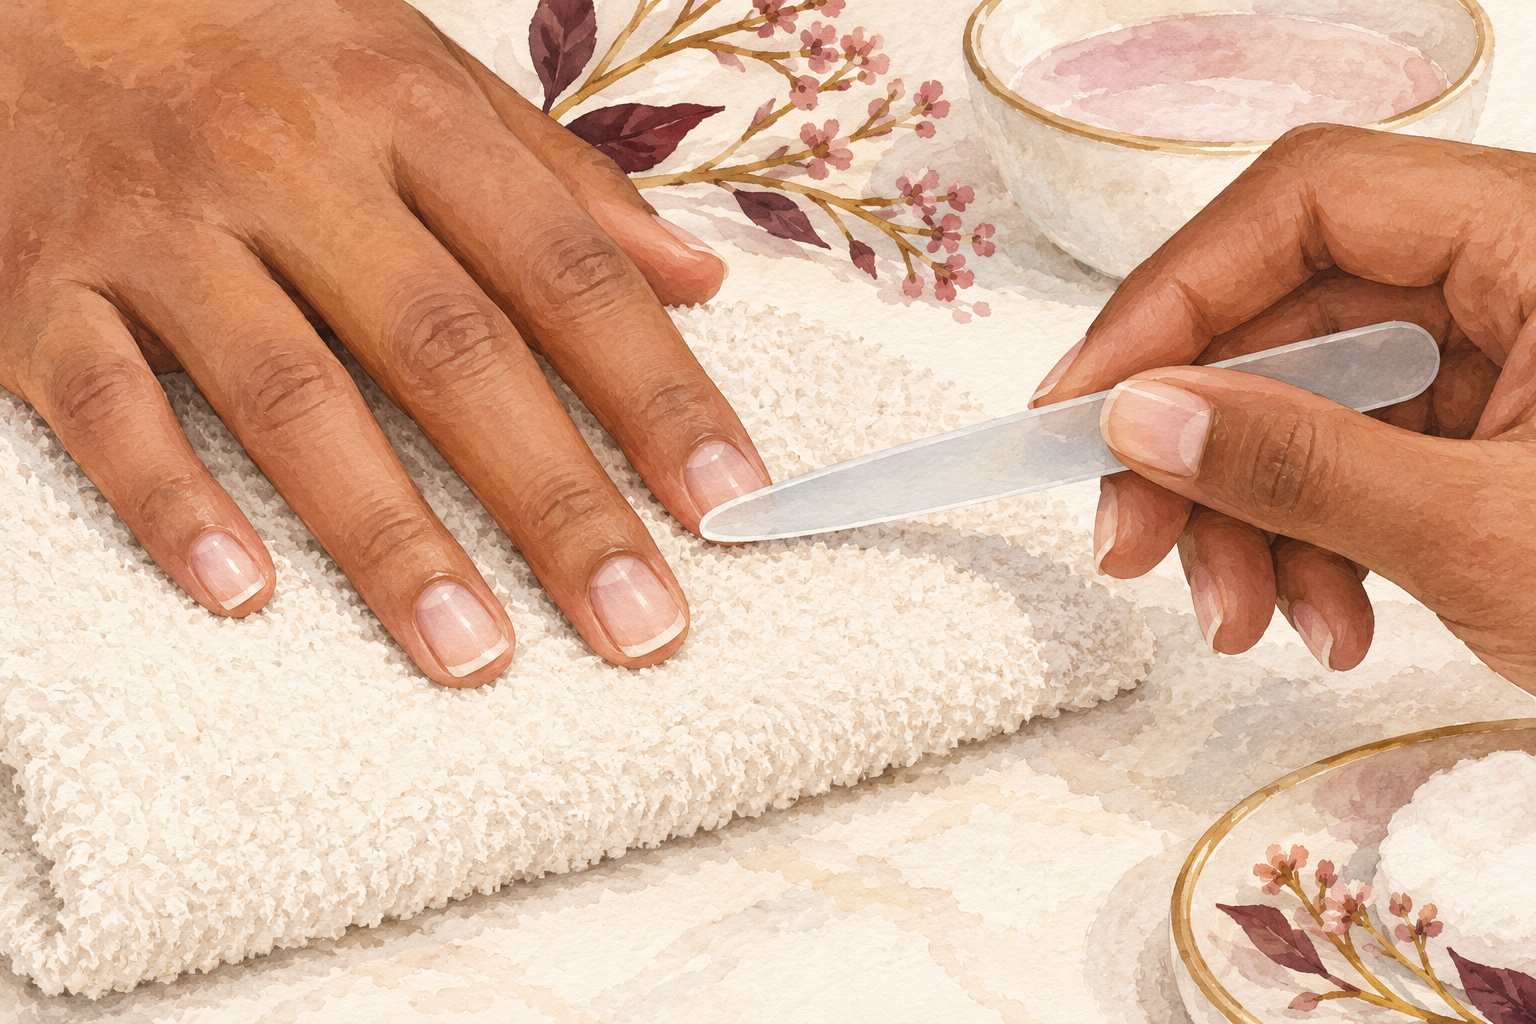
Snip or file away the lifting layer so nothing is left to catch. A peeled layer cannot be glued back, and leaving it makes it catch and tear further down the nail. Use clippers for the loose flap, then file the edge in one direction with a fine file. Stop where the nail feels smooth under your fingertip. Do not pull it off with your fingers, which tears a strip off the healthy layers beneath. Short nails are easier to protect while the fixes below work, so be happy to lose a little length for now. Most of the time it grows back stronger, because the new nail comes in from the base without the old damage.
2. Tell peeling from splitting
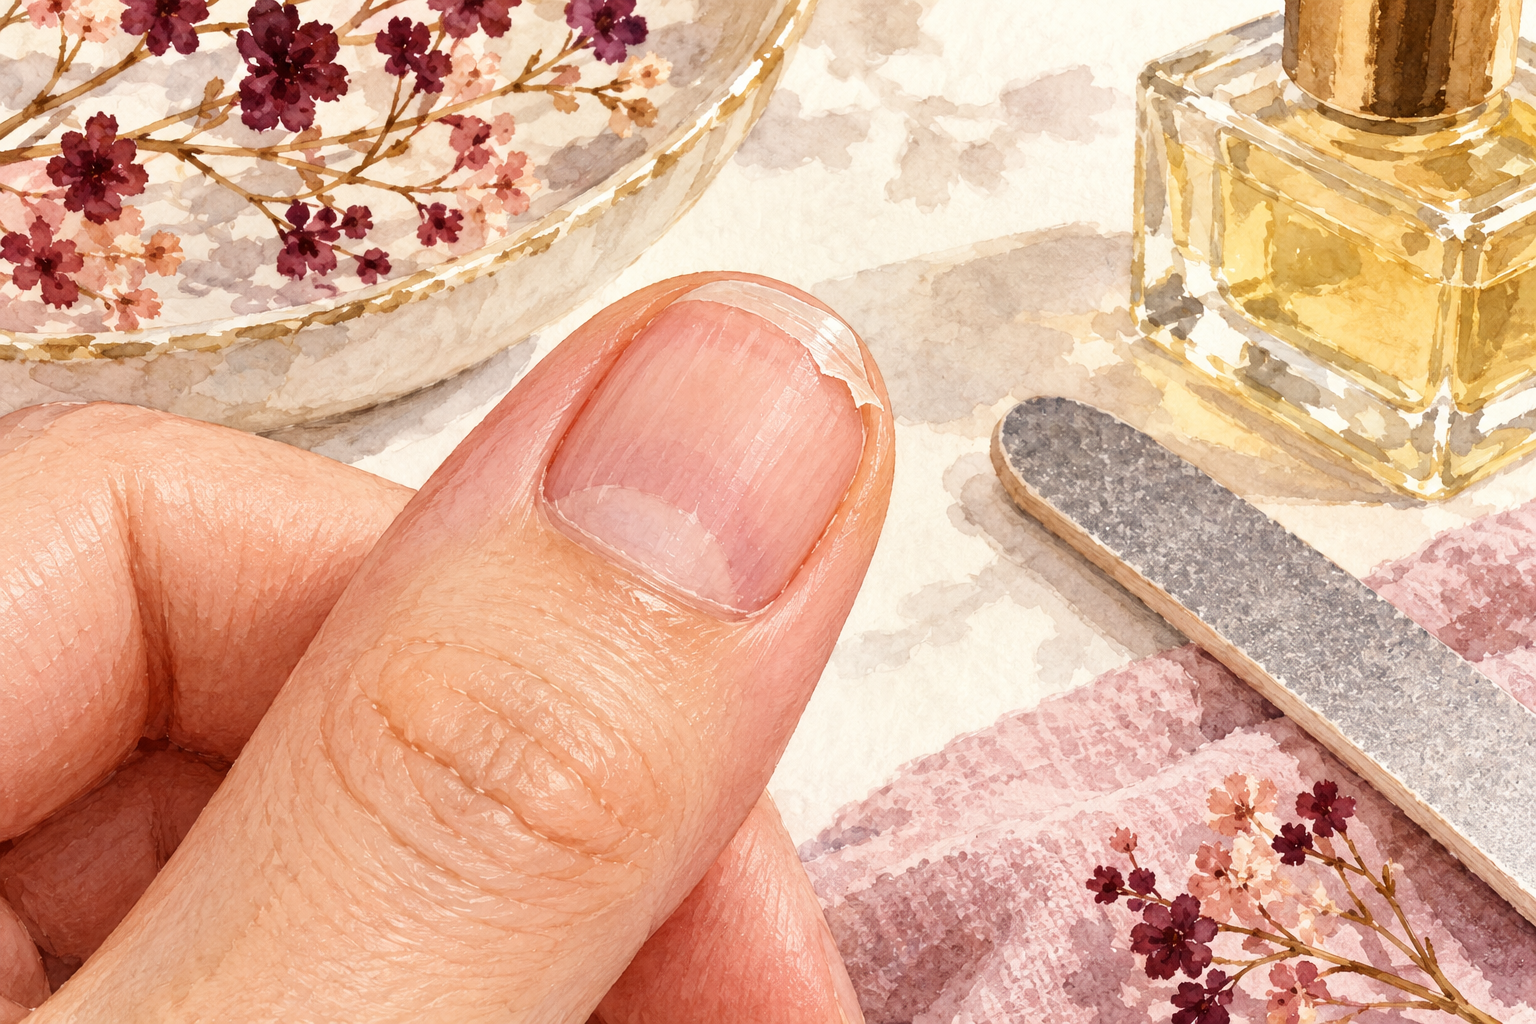
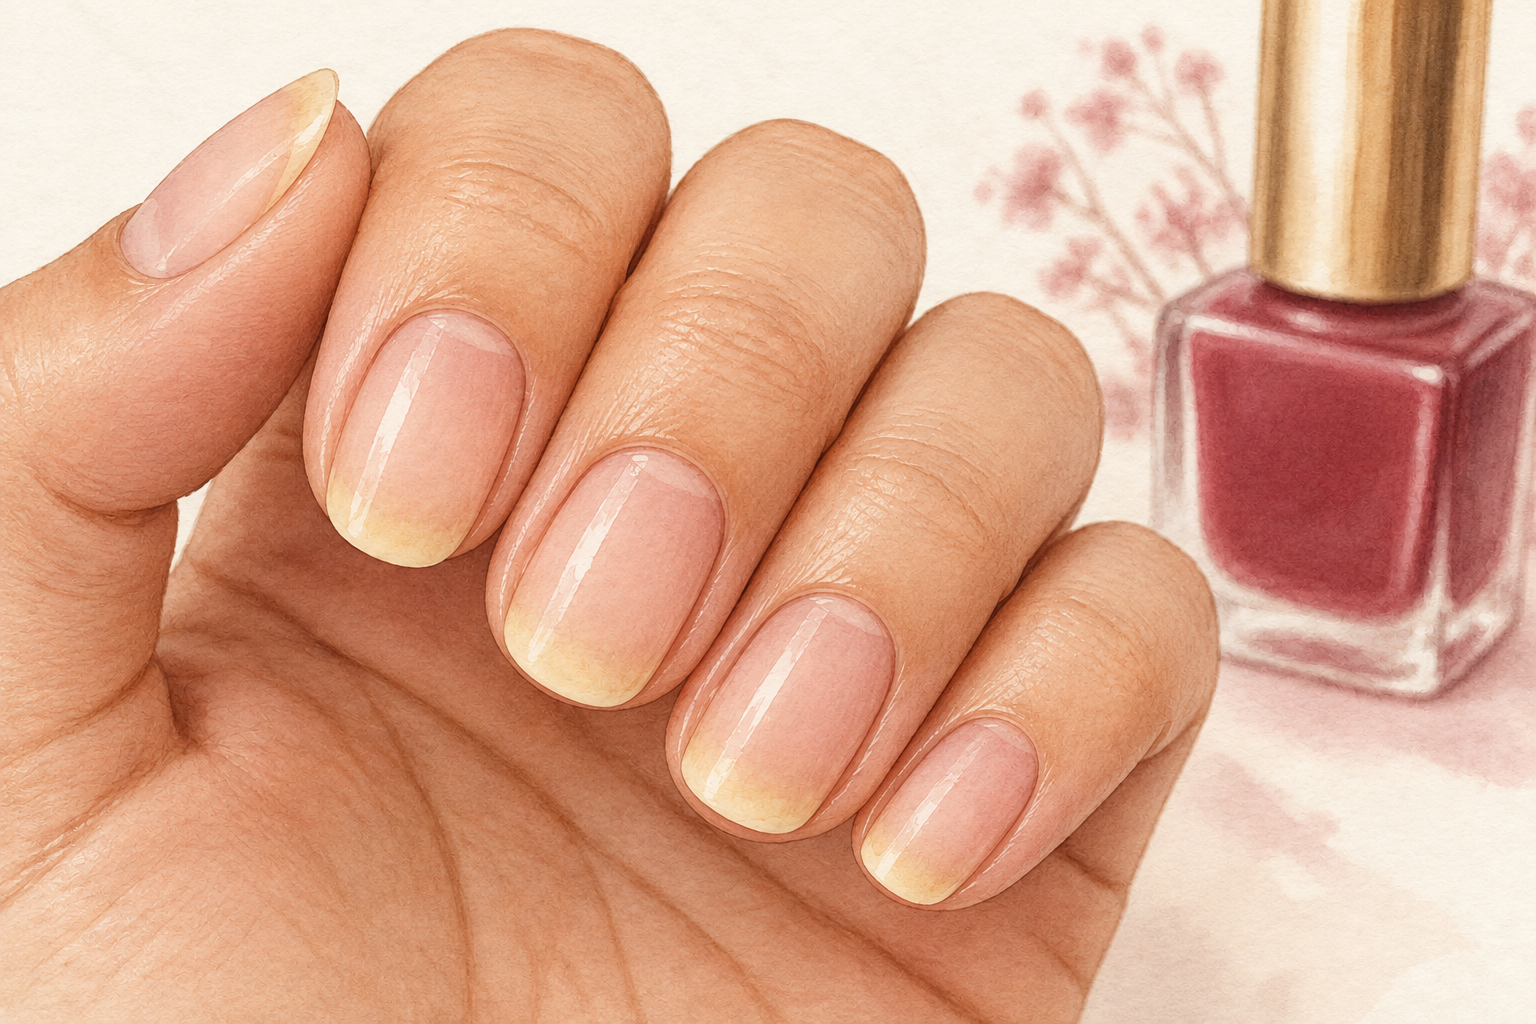
Look at the direction of the damage to see which one you have. Peeling lifts in thin layers, like pages coming away from a book, and runs across the nail. Splitting is a crack that runs down the nail from the tip. They have overlapping causes, but peeling is mostly about moisture, water and polish. Splitting is more about knocks and tools. Knowing the difference stops you using the wrong fix. If your nails do both, start with the water and moisture steps below, since dry nails are fragile in every direction. Fix the moisture first and the cracks often settle on their own.
3. Notice which nails are peeling
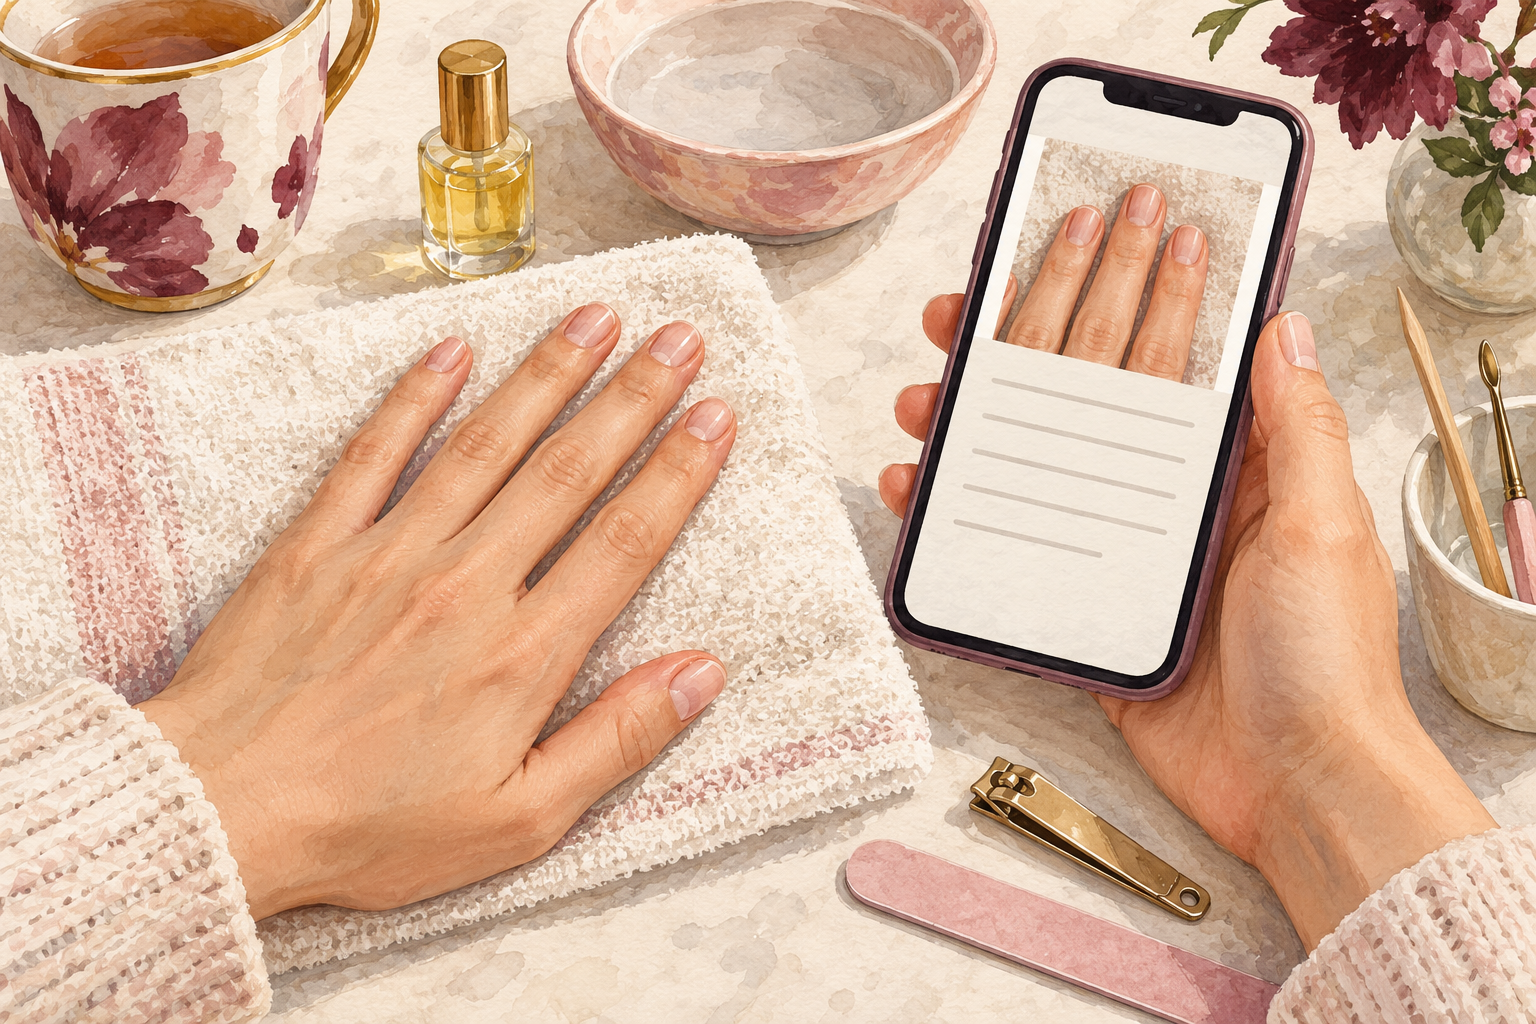
Check all ten nails and write down which ones peel the most. If it is only your thumb and first two fingers, you are probably using them as tools, to open cans, scrape labels or pick at things. If all ten peel evenly, the usual suspects are water, soap, remover and polish. If just one nail peels, it may have been knocked, so be patient. Spend a minute on this, because it shows you where to start. Write a one line note on your phone, and check it again in four weeks. A pattern shows up faster than you expect.
4. Wear gloves for dishes and cleaning
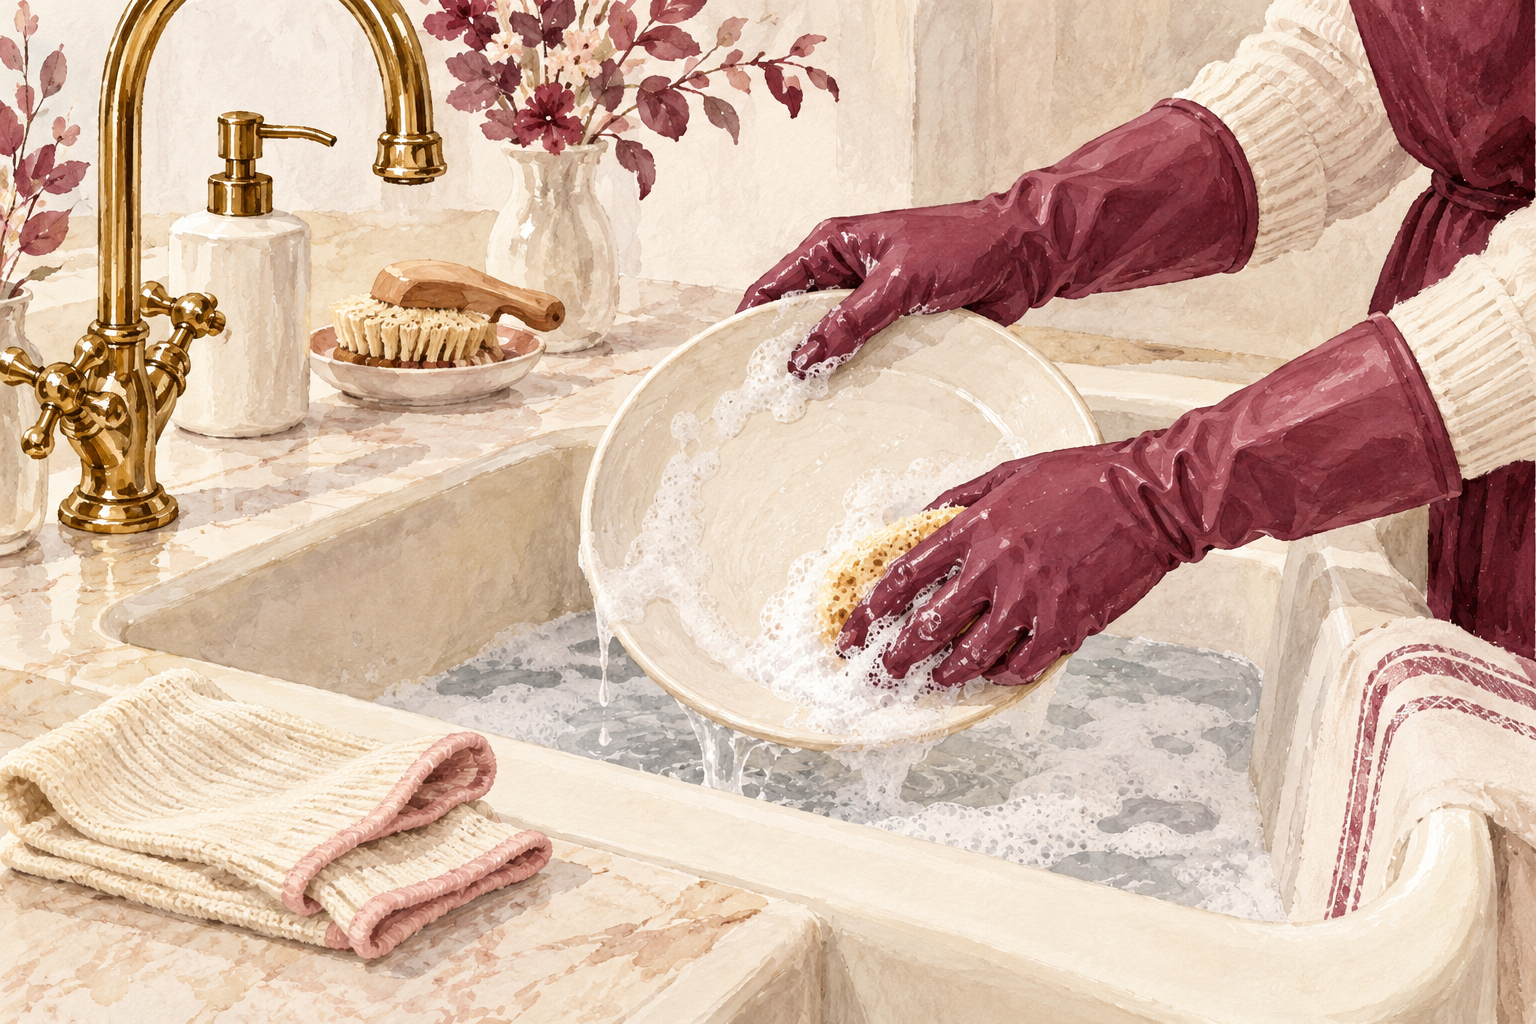
Put on rubber gloves, with a cotton liner if you can, for dishes, cleaning and anything soapy. Water swells the nail and soap strips its oils, and then the nail shrinks back as it dries, over and over, until the layers separate. Gloves stop that cycle. Hang a pair on the tap so they are the first thing you reach for. Dry your hands before putting them on, because wet hands sweat inside the glove. This one change helps more nails than any product. It feels fussy for a week and normal by the third. Wash the gloves inside out now and then, so they stay fresh.
5. Moisturize your nail edges after every wash
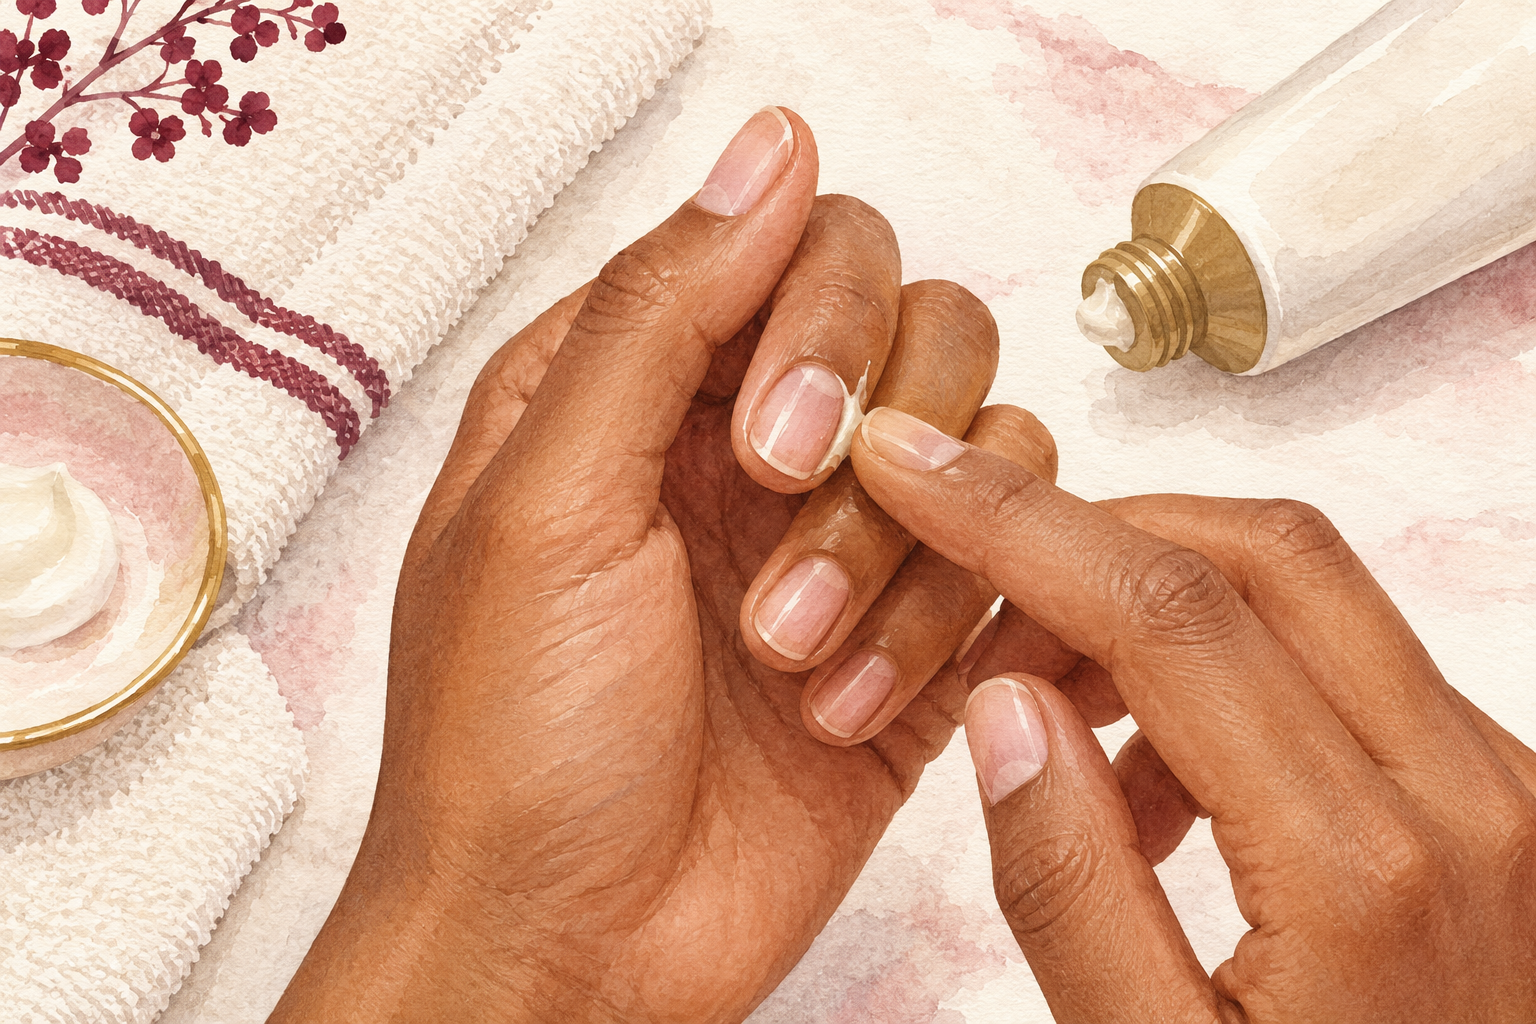
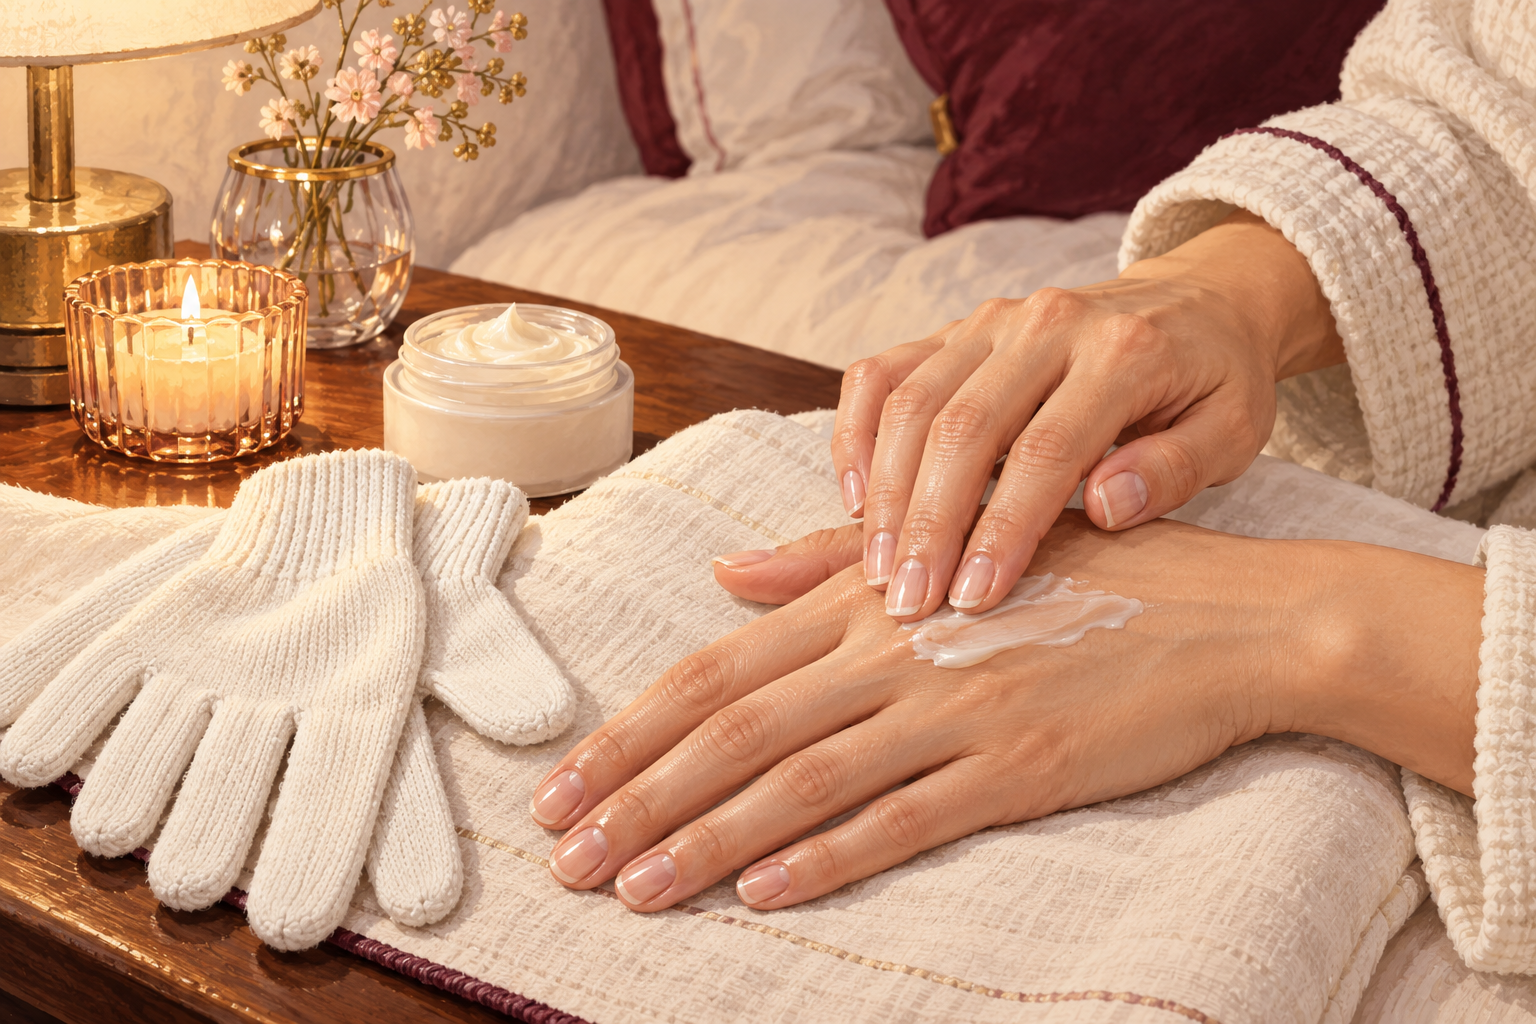
Rub a pea of rich hand cream into each nail edge and cuticle every time you dry your hands. Cream seals moisture in before it escapes. Add a drop of cuticle oil at night, and press it into the tip as well as the base. Keep a tube at every sink, in your bag and by your bed. The edges and tips are where the layers separate, so give them extra attention. Choose a cream you enjoy using, because the best one is the one you use. Skip perfume heavy ones that sting dry skin. A rich cream at bedtime, with cotton gloves, gives the nails a long, quiet soak of moisture. Cream at every sink is a simple habit that suits healthy nails well.
6. Dry your hands fully and skip long soaks
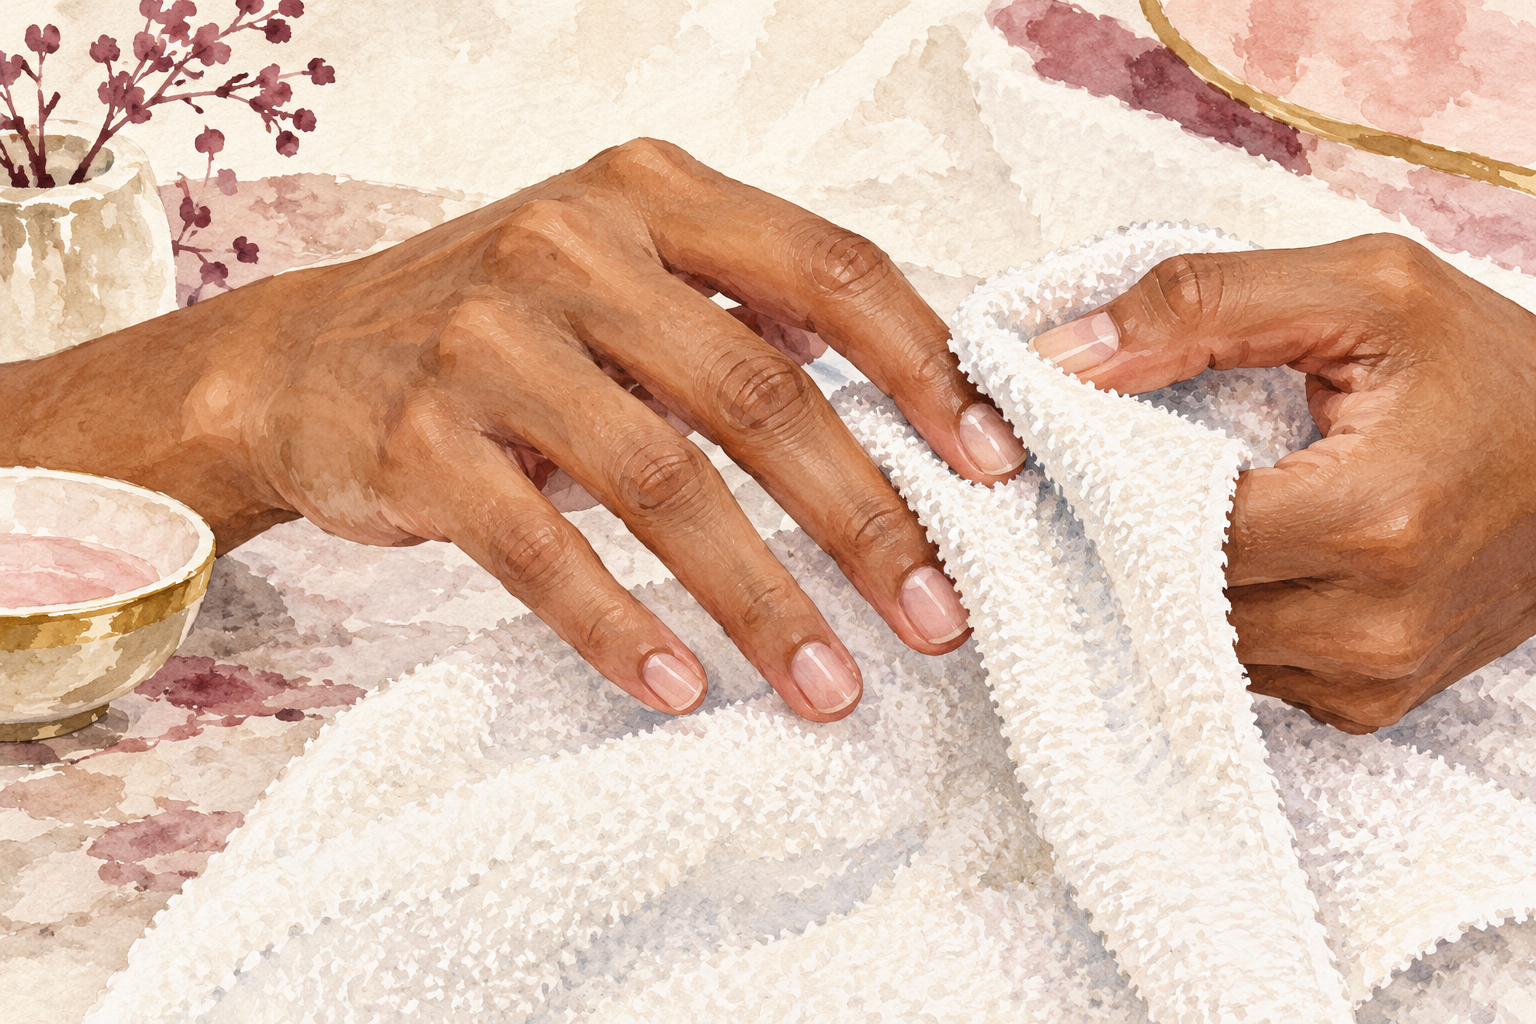
Pat your hands dry after every wash, including between the fingers and under the nail tips. Damp nails stay soft and swollen, and soft nails peel. Keep long baths, hot tubs and swimming to short bursts, and rinse your hands after chlorine. Nail soaks of more than ten minutes are too long. Warm water is fine, hot water is not, since it strips oil. Wash only when you need to, and use a mild, moisturizing soap. If your hands feel tight after washing, that is your sign the water or the soap is too harsh. Try washing with cooler water for a week and see if your nails feel less dry.
7. Take polish off gently and never peel it
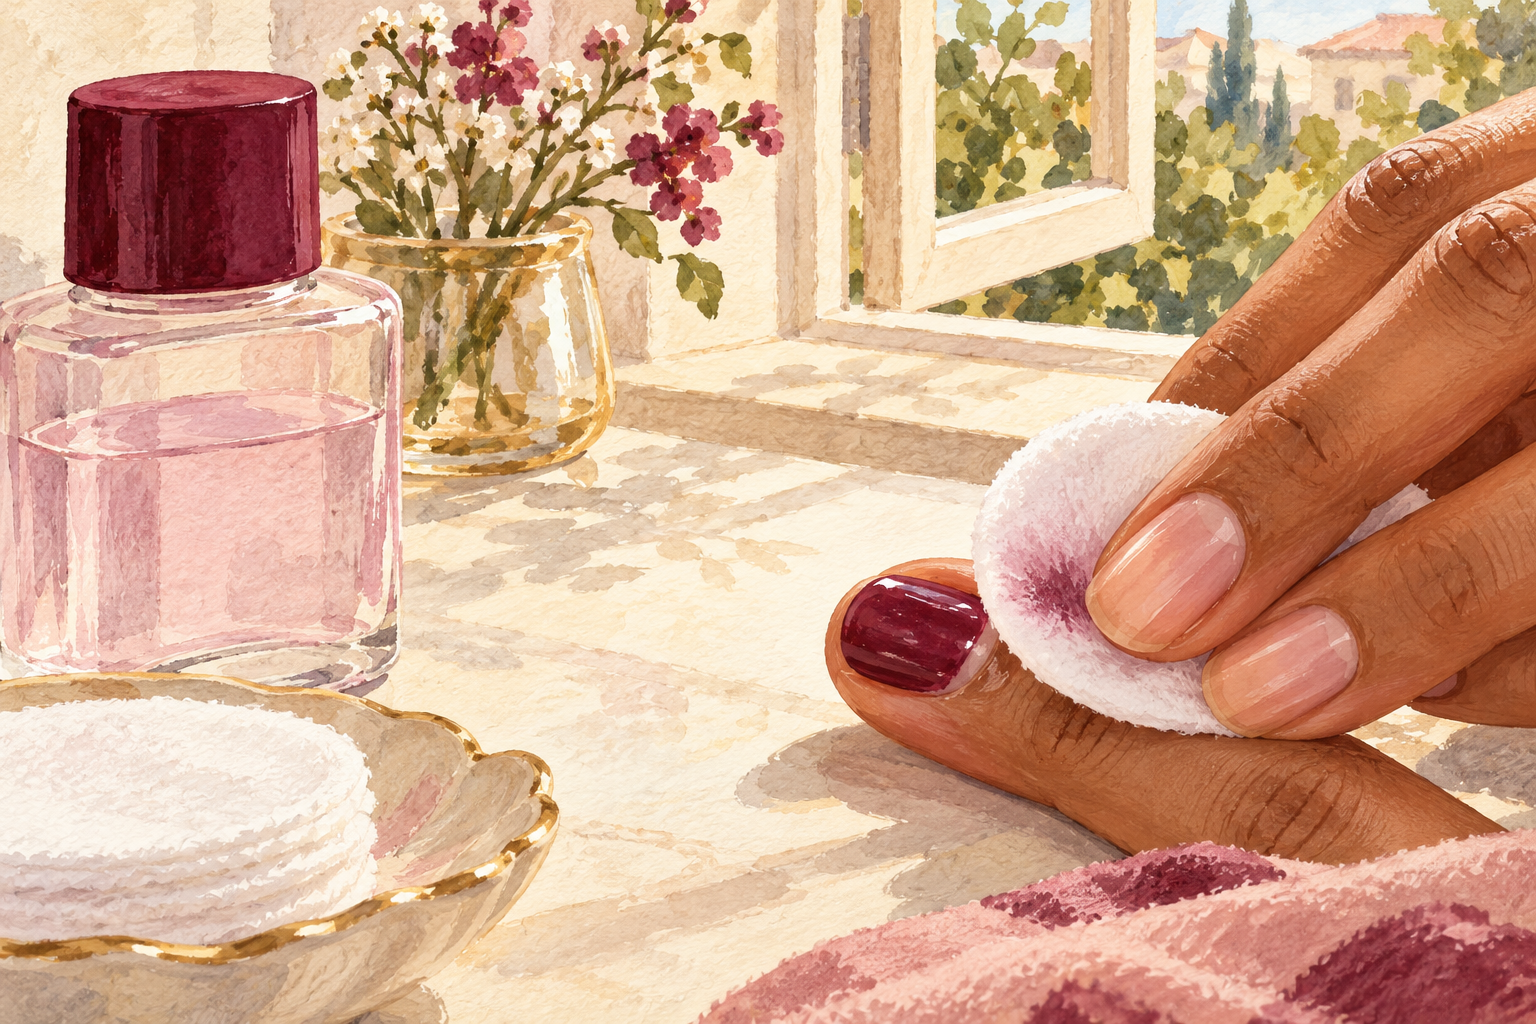
Press a remover soaked pad on each nail for ten seconds and wipe once, without scraping. Picking at old polish pulls a thin layer of the nail off with it, and that is the quickest way to make peeling nails worse. Choose a remover without acetone, which is kinder, and use it as little as you can. Wash your hands afterwards, since remover leaves them dry and papery. If the polish refuses to budge, wrap the nail in soaked cotton and foil for a minute. Always add oil afterwards to put back what the remover took away. Choose a color you can wear for two weeks, so you remove polish less often.
8. Take breaks from gel and acrylics
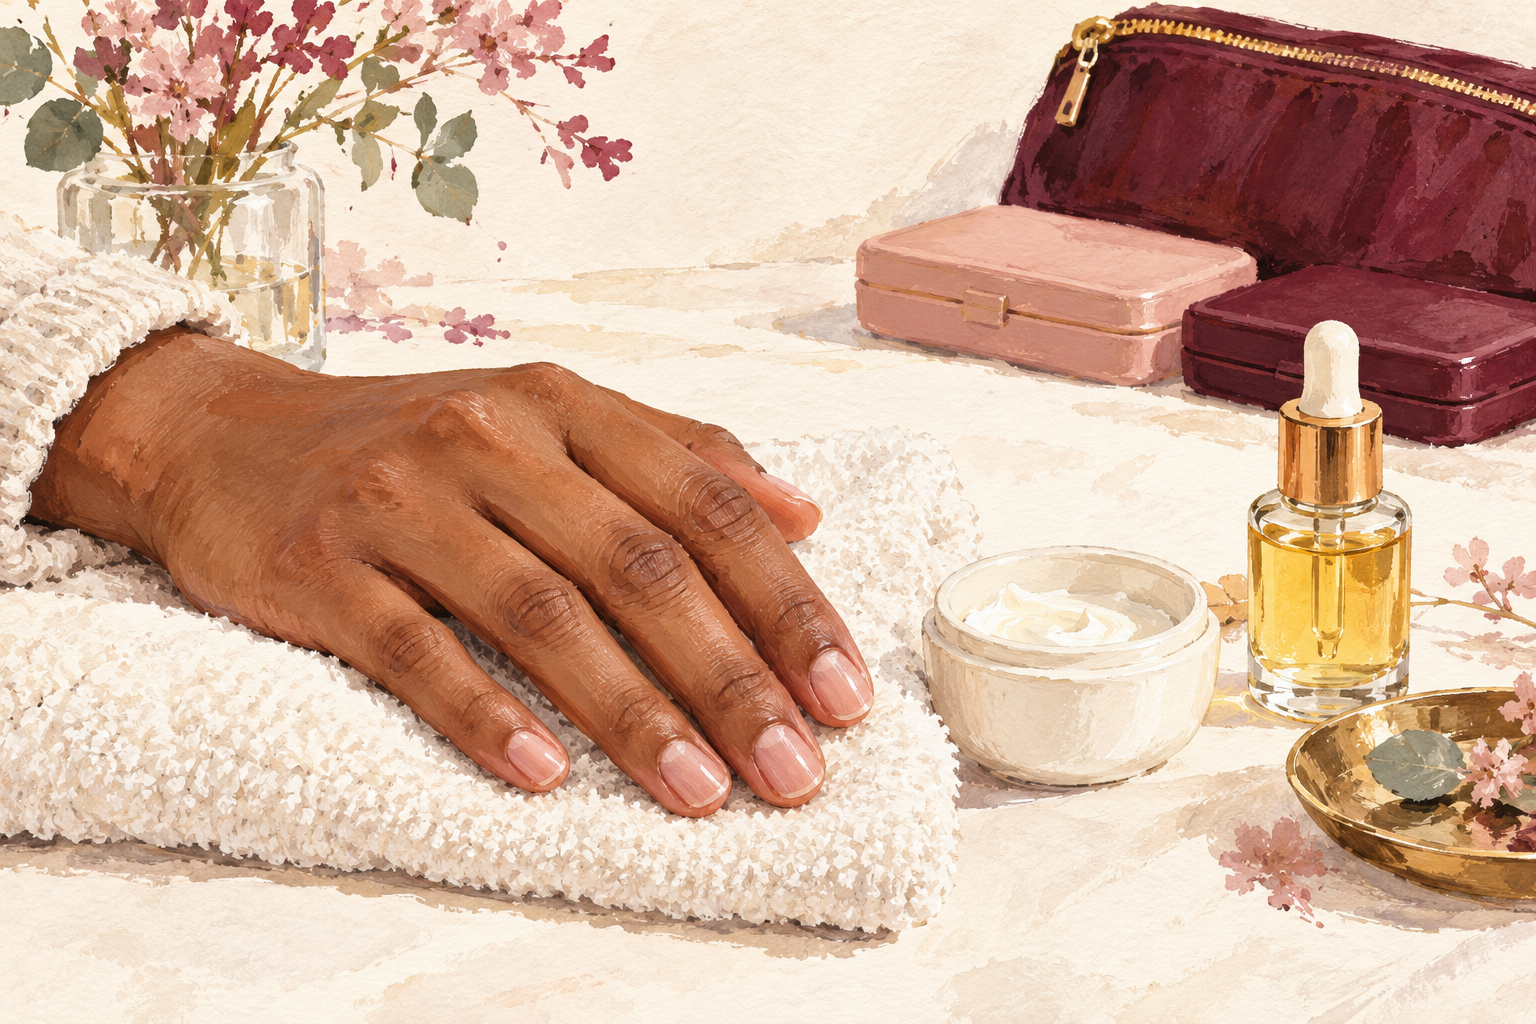
Leave your nails bare for two to four weeks between sets of gel or acrylics. The prep and the removal both thin the top layers, and those thin layers peel. Never pry a set off, because that takes layers with it. Soak it off gently or have it removed properly. During a break, keep nails short, oiled and creamed. A clear strengthening coat is a gentle middle ground if bare nails feel too plain. Plan a break before the next set so your nails get time to grow out a fresh, thick layer. While you wait, use the days to oil and file.
9. File in one direction and buff softly
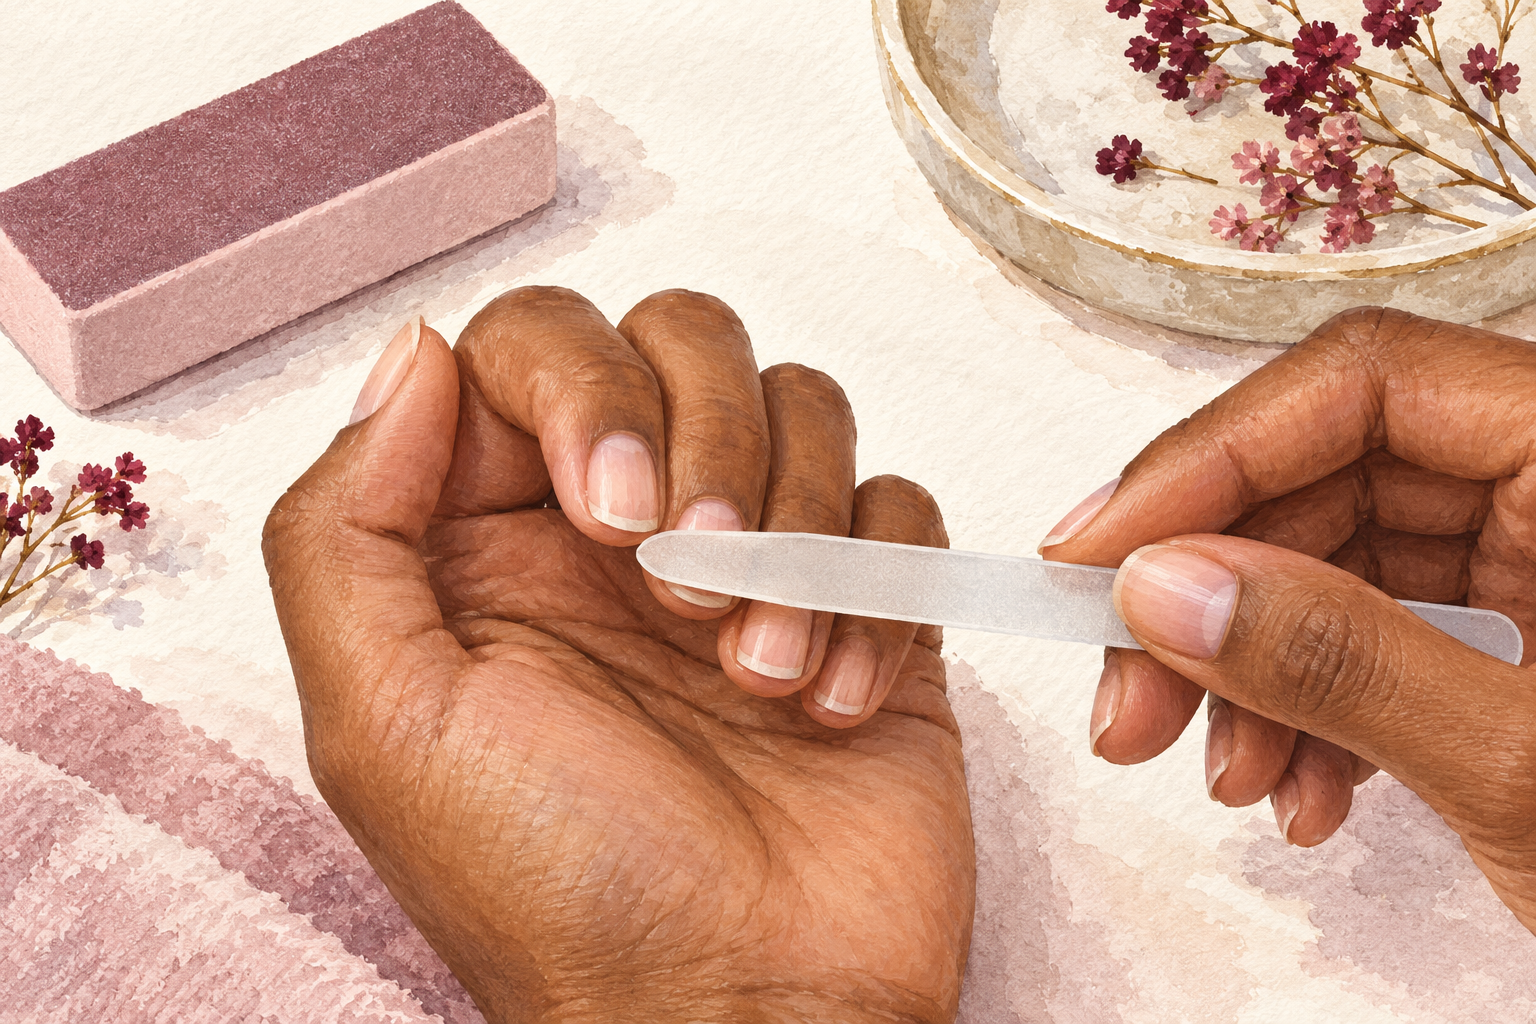
Glide a fine file from the outside edge toward the middle, never sawing back and forth. Sawing tears the layers apart and leaves a rough edge, and the next peel starts there. Hold the file nearly flat against the tip. Skip hard buffing blocks, which wear down the top of the nail and thin it. If you must buff, do it once a month with a very soft block and a light touch. A glass file is gentle and easy to rinse. Run a fingertip over the edge after filing, and if it catches, smooth it once more. Keep one file at home and one in your bag, so you never reach for your teeth.
10. Stop using your nails as tools
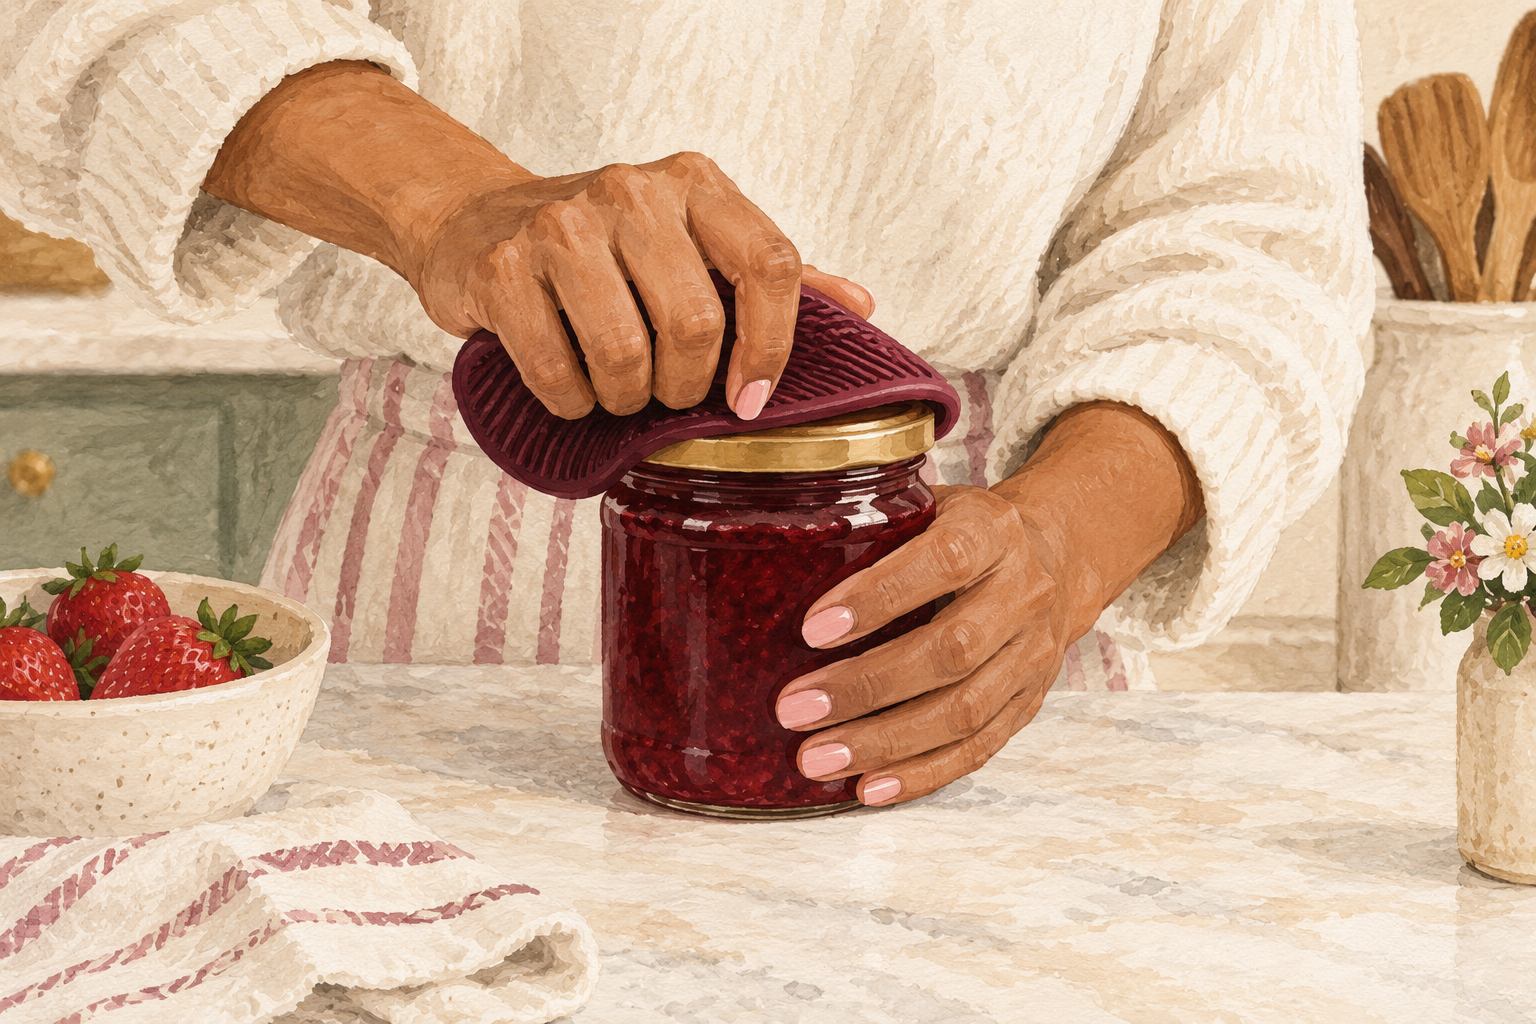
Reach for a spoon edge, a key or a fingertip pad instead of your nail for anything that needs prying. Tape, can tabs, stickers, labels and phone screens all wear on the tips. Nails flex a little, and sharp pushing makes the layers separate. Keep a small tool in your bag, like a key or a coin, for these jobs. It feels silly for a few days, then it becomes automatic. Short nails get used as tools less often, which is another reason to keep them short while they heal. If a task needs a pry, ask someone else or use a proper tool.
11. Feed your nails from the plate
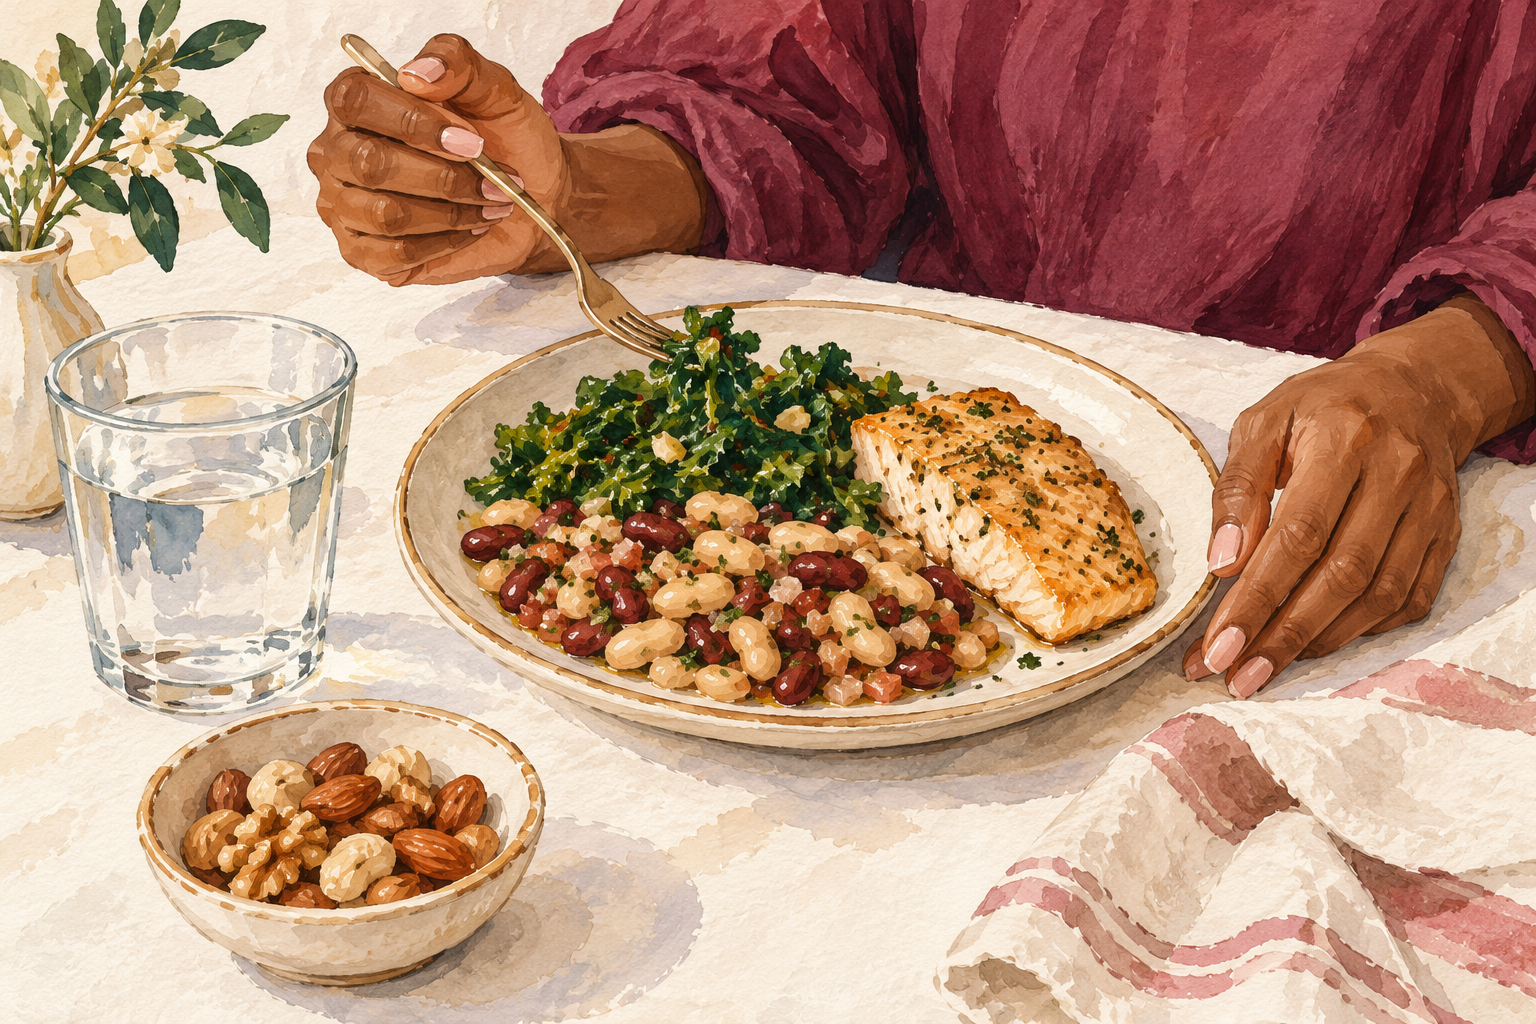
Eat protein at most meals, like eggs, beans, fish or chicken, and drink water through the day. Nails are made of protein, and they grow from the base, so what you eat now shows up in a few months. Add leafy greens and nuts when you can. You do not need to buy anything special. Fussy eating, crash diets and skipped meals can leave nails thin and flaky. Think of it as a slow support for the other fixes, not a replacement for them. Eat well and your nails will often grow thicker over time. A handful of nuts as a snack is an easy place to start. Nourishment is one side of the story, with how to strengthen nails as the other side.
12. Know what to expect and when to worry
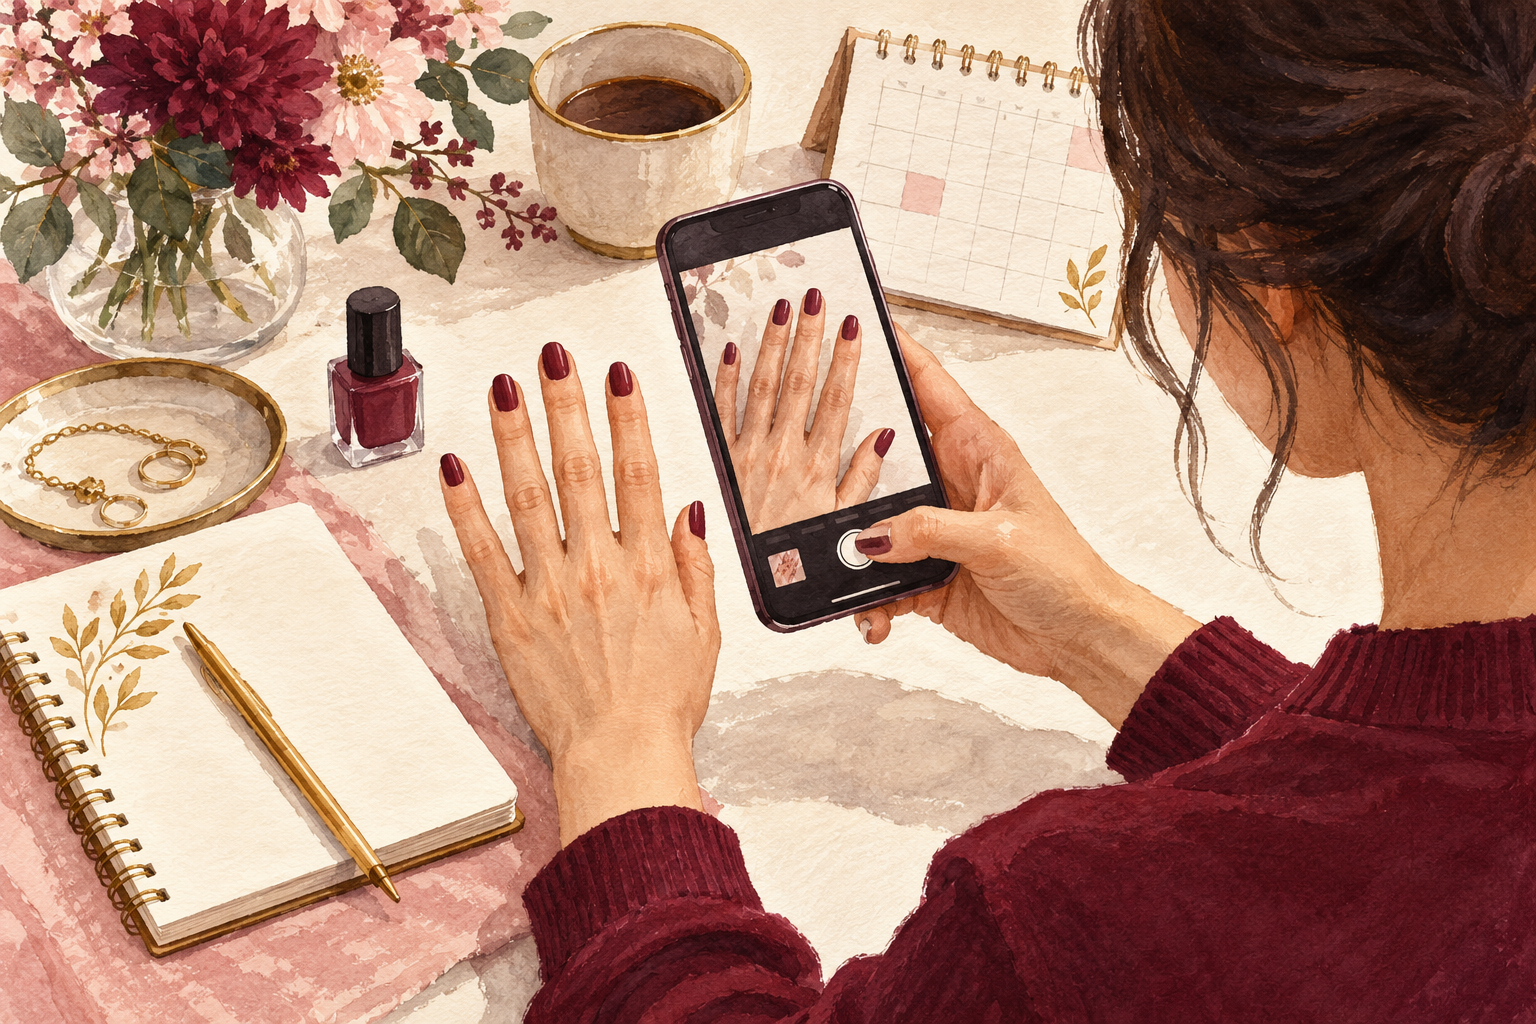
Look for softer edges in two weeks, fewer new peels by week four and a smoother, stronger nail by week eight. The layers that already peeled will not heal, but new growth comes in thicker. A nail takes about four to six months to grow out fully. Take a photo in the same light every two weeks. If your nails turn a new color, thicken or start to hurt, it is time to see your doctor. Otherwise, stay steady. Peeling nails improve slowly, and the routine you build now is the one that keeps them strong.
Complete the Routine: Peeling Nails Care You Can Keep Up
Tonight, trim the lifting edge and rub cream into every nail. Peeling eases as new nail grows out, so stay consistent and add one more guide below to your week.