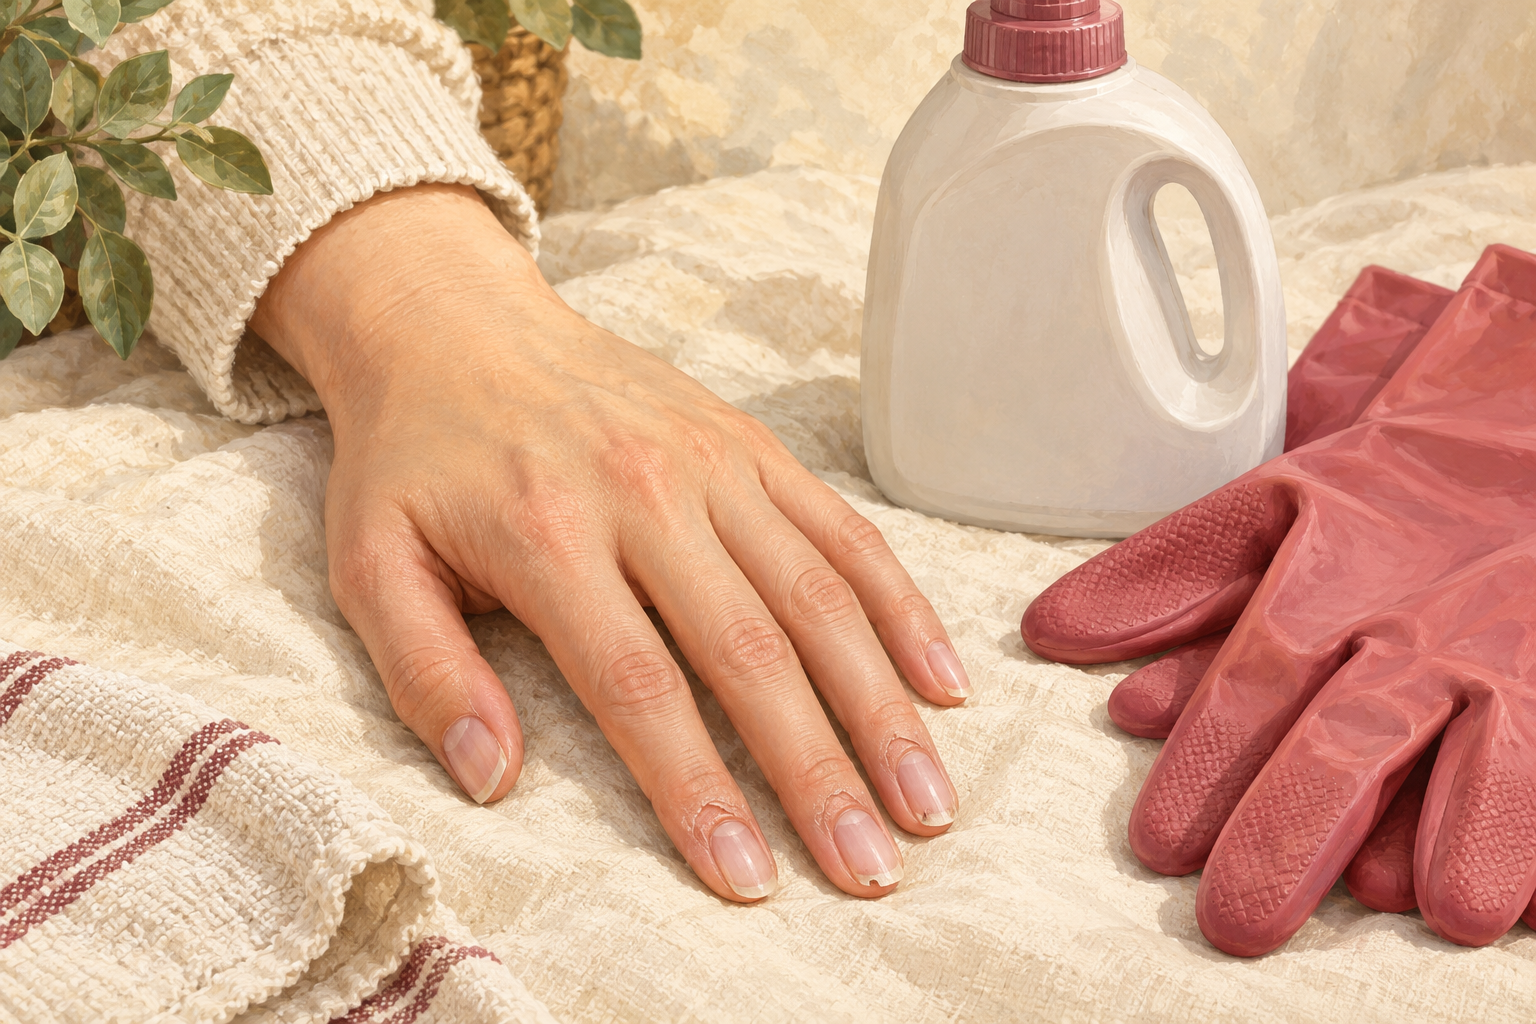
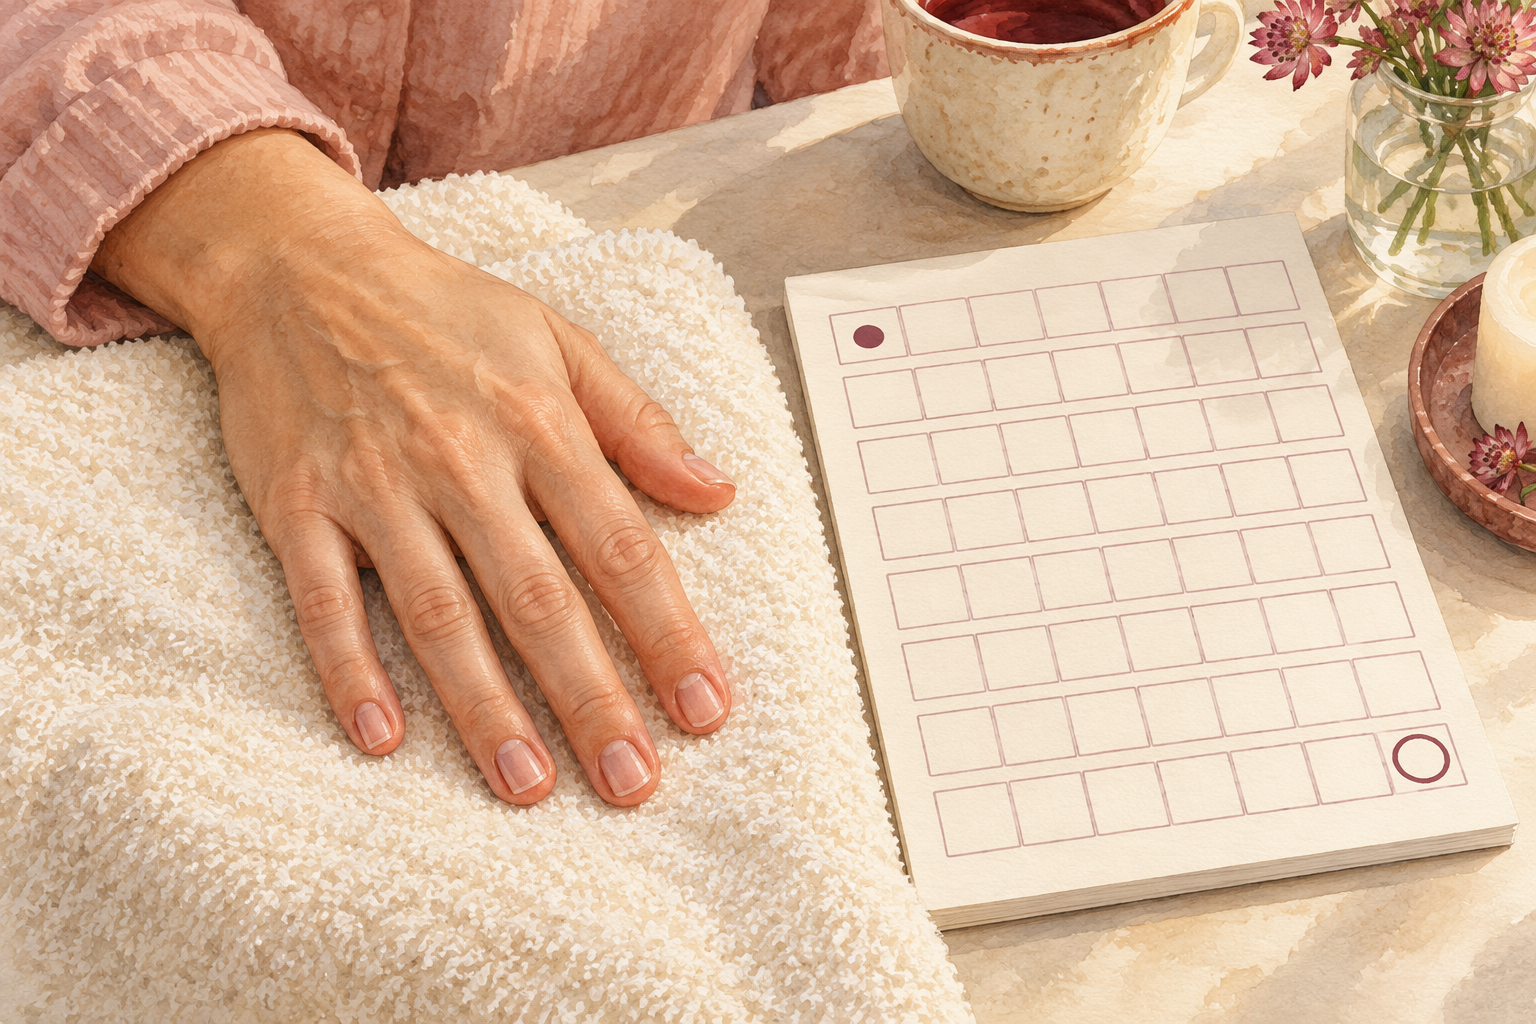
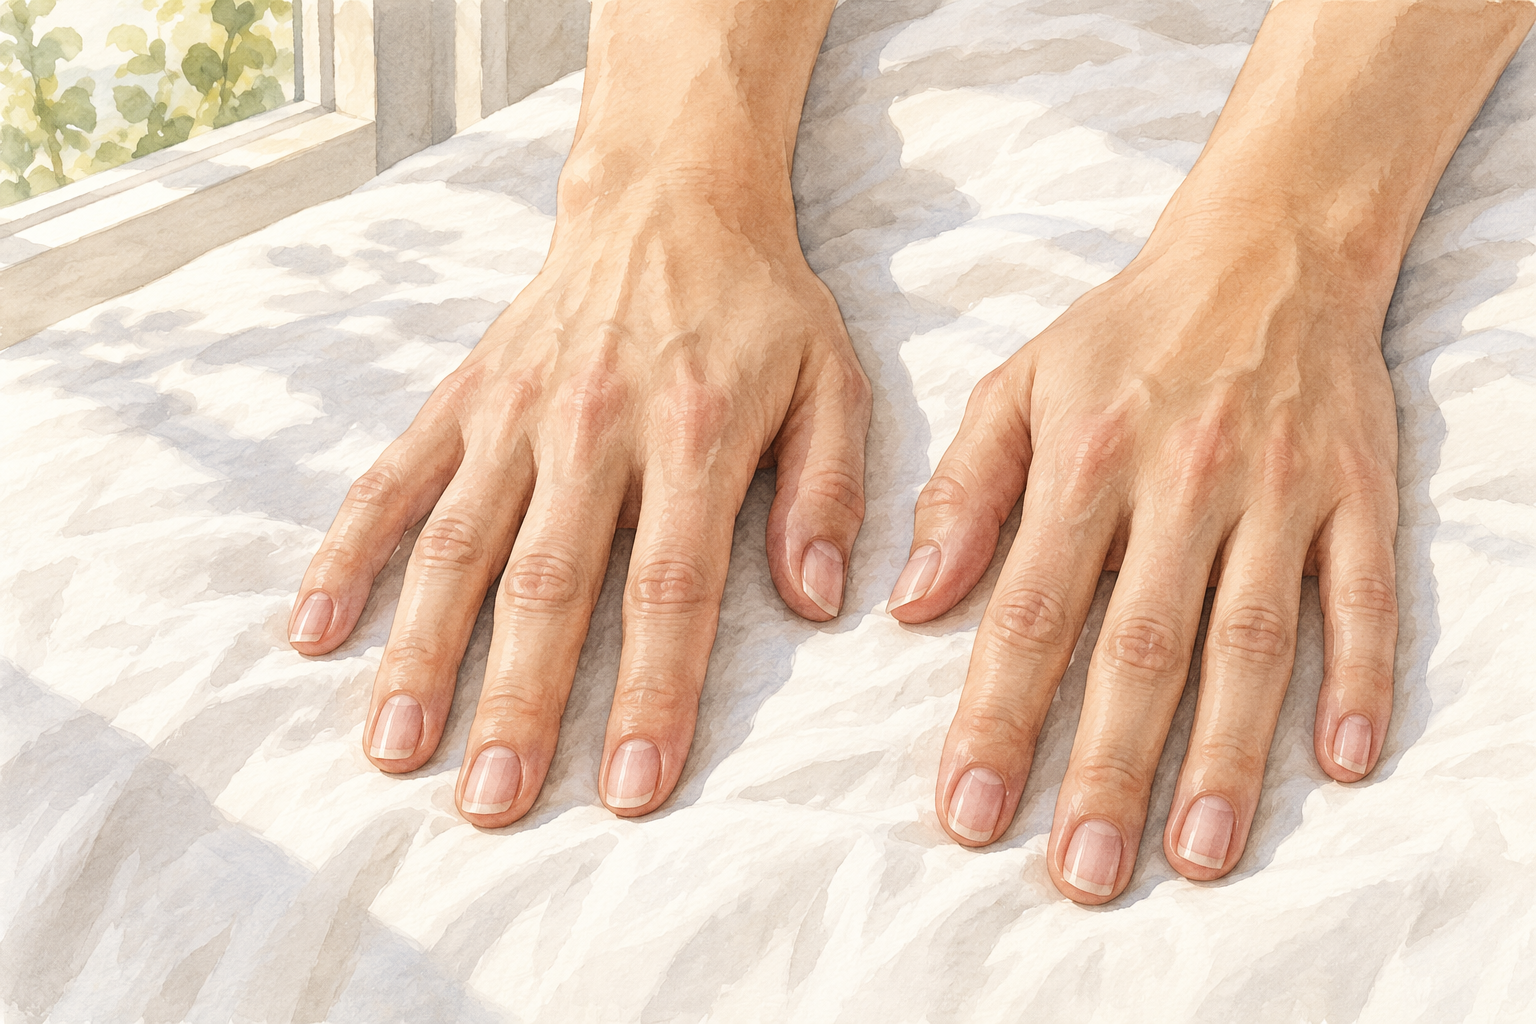
You took the acrylics off and found thin, bendy nails that sting under hot water. Damaged nails after acrylics are very common, and they do grow back with a little patience. These 12 steps follow your recovery week by week, so start at number one tonight.
1. See what the damage looks like
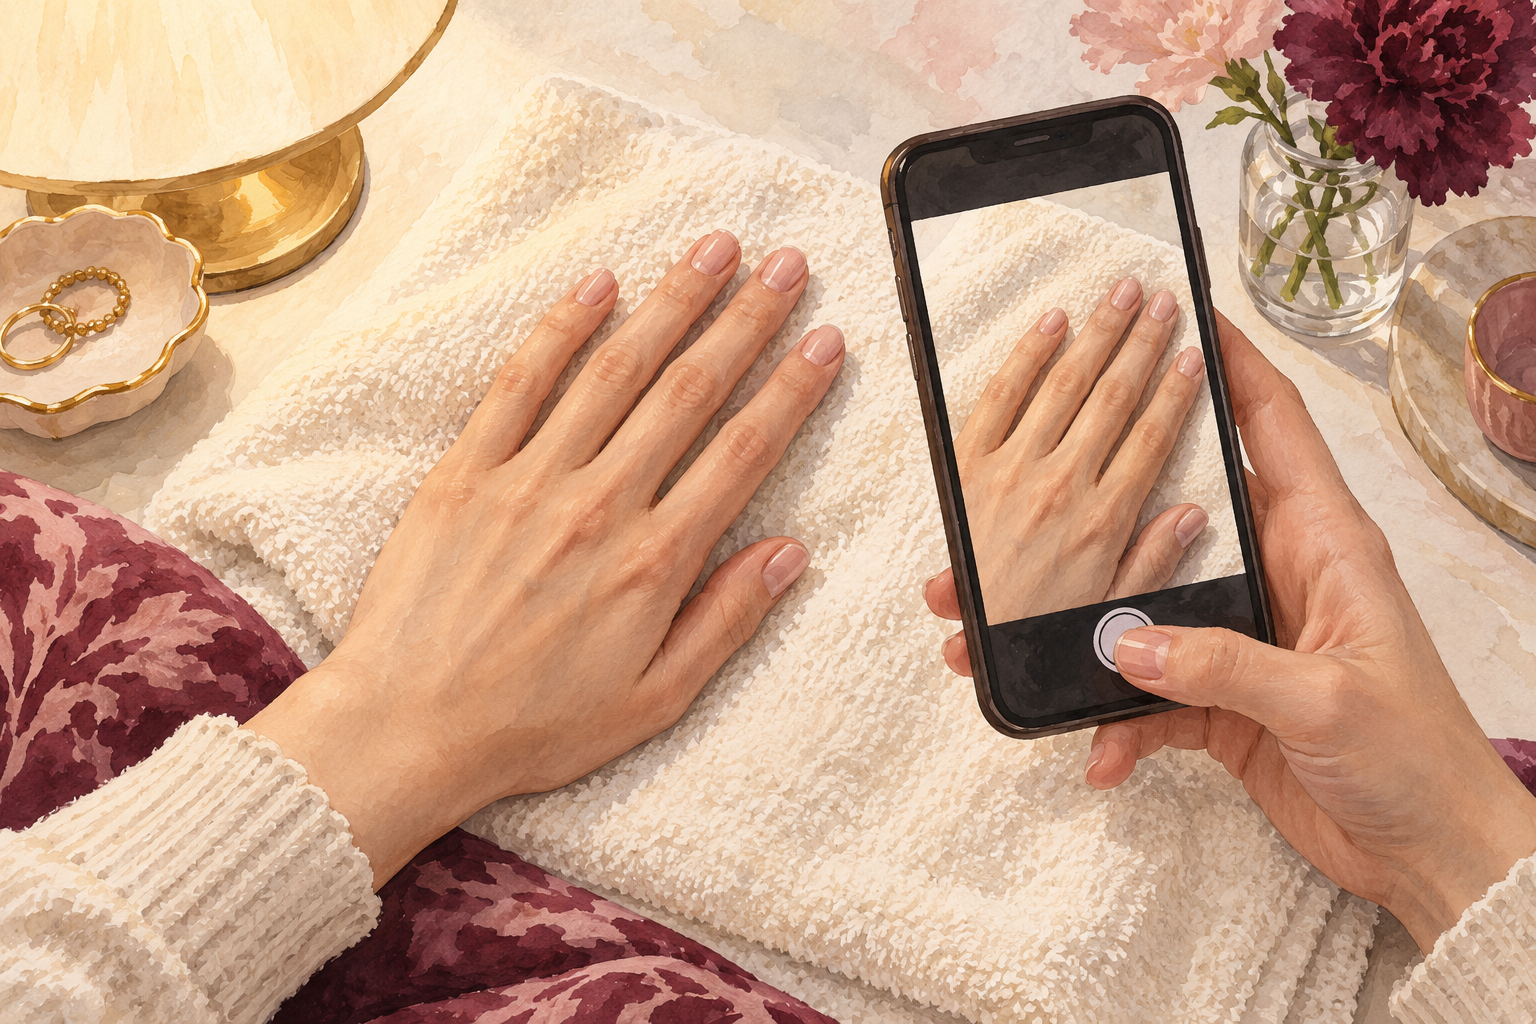
Hold your bare nails under a bright lamp and check them one by one. Thin, bendy nails that flex when you press them are the most common sign. You may also see white patches, a rough or bumpy surface, ridges across the nail or tender skin under the tips. Press the nail tip against a fingertip, and if it bends easily or feels sore, it is thin. Take a photo of each hand now. This is your day one picture, and in eight weeks it will show you more than a mirror ever can. Add a note of anything that hurts, so you can watch it settle.
2. Know why acrylics leave nails thin
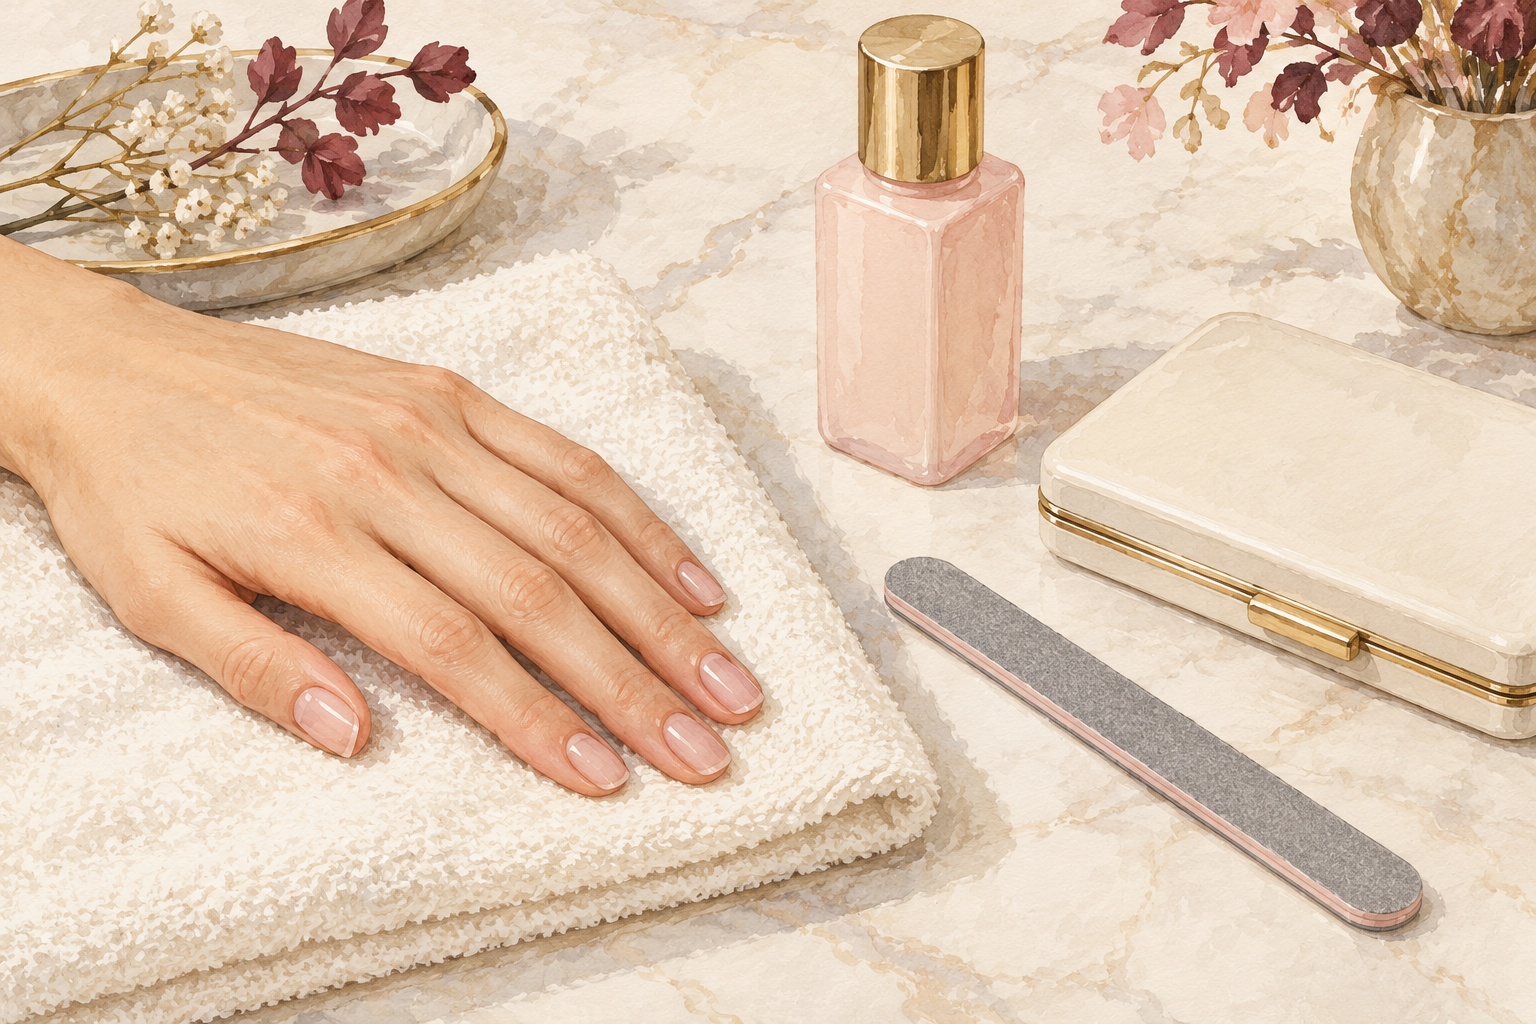
Understand that the damage usually comes from the prep and the removal, not just the acrylic itself. To make the set stick, the shiny top of the nail is filed rough. Over weeks, the tips get thinner, and prying or peeling a set off takes layers with it. Glue and acetone dry the nail out as well. None of this is permanent, but it explains why the nails feel so fragile. Once you know the cause, you will be careful with the same steps next time. New nail is growing underneath, and it is the healthy part. Each week it pushes the thin, worn part a little closer to the tip, where you can trim it away.
3. Finish removal without scraping
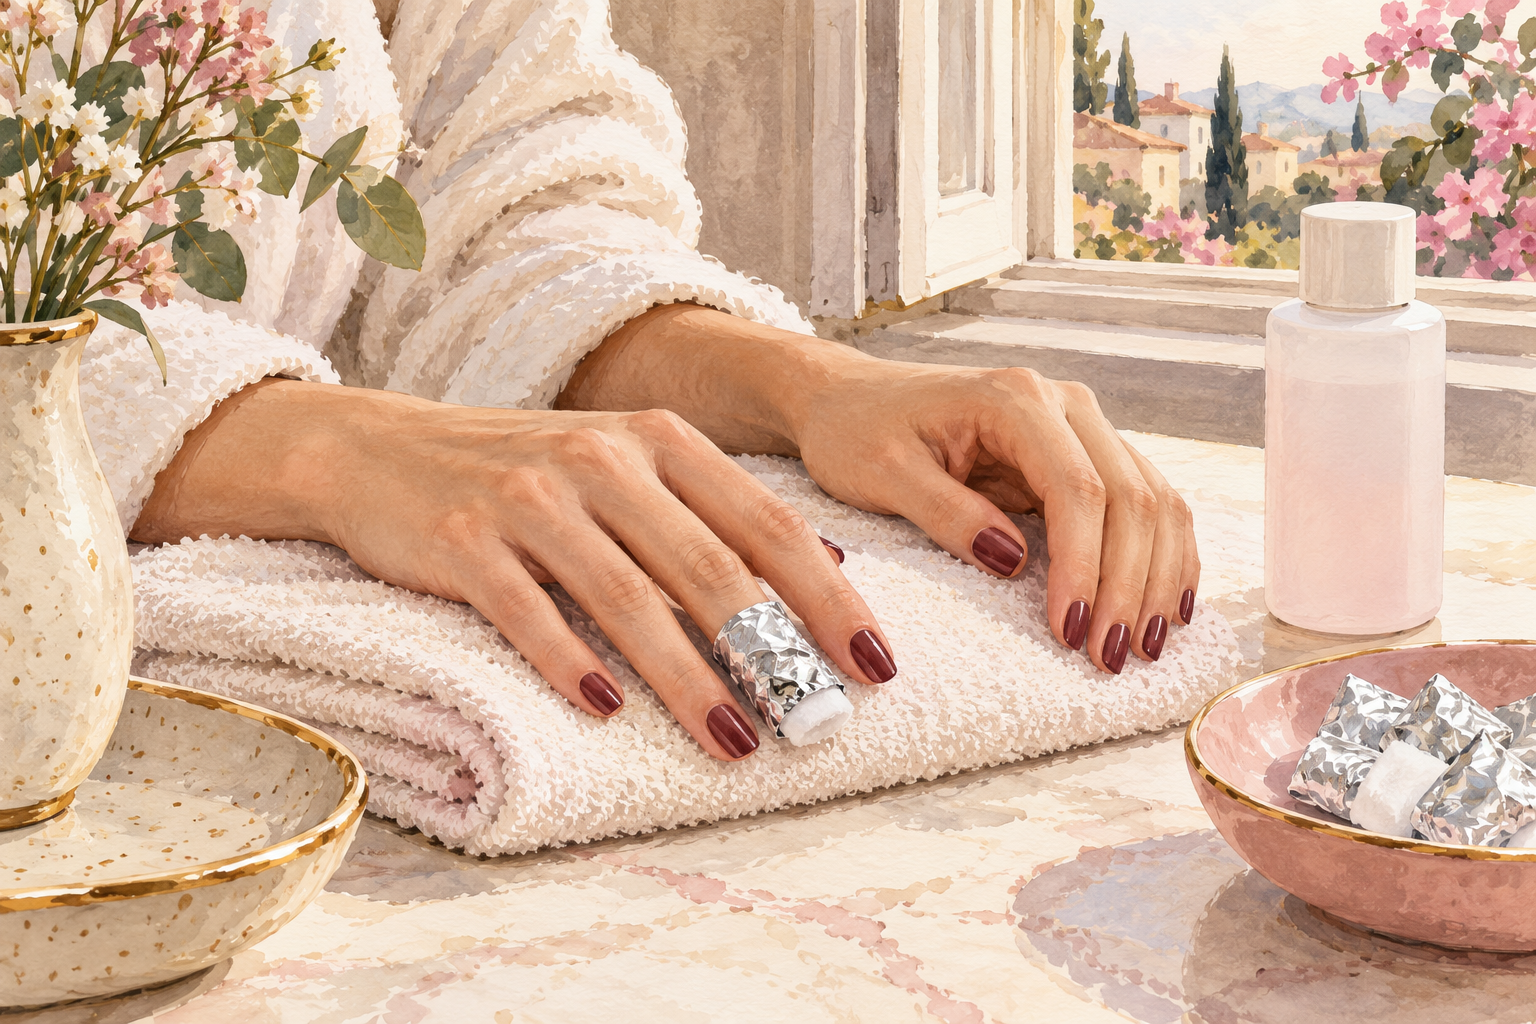
Soak any leftover bits in a remover wrap for fifteen to twenty minutes, then slide it off with a soft stick. Wrap each nail in soaked cotton and foil, wait, and let the product soften. If a patch sticks, do another round instead of scraping. Prying and picking rip layers off the thin nail underneath. Stop if it stings. Wash your hands afterwards, and rub in oil and cream straight away, because the remover leaves everything dry. Keep the wraps snug but not tight, and never soak longer than the time given, as the skin turns sore. Take your time with this step, as it decides how much healthy nail you keep.
4. Week 1: keep nails short and bare
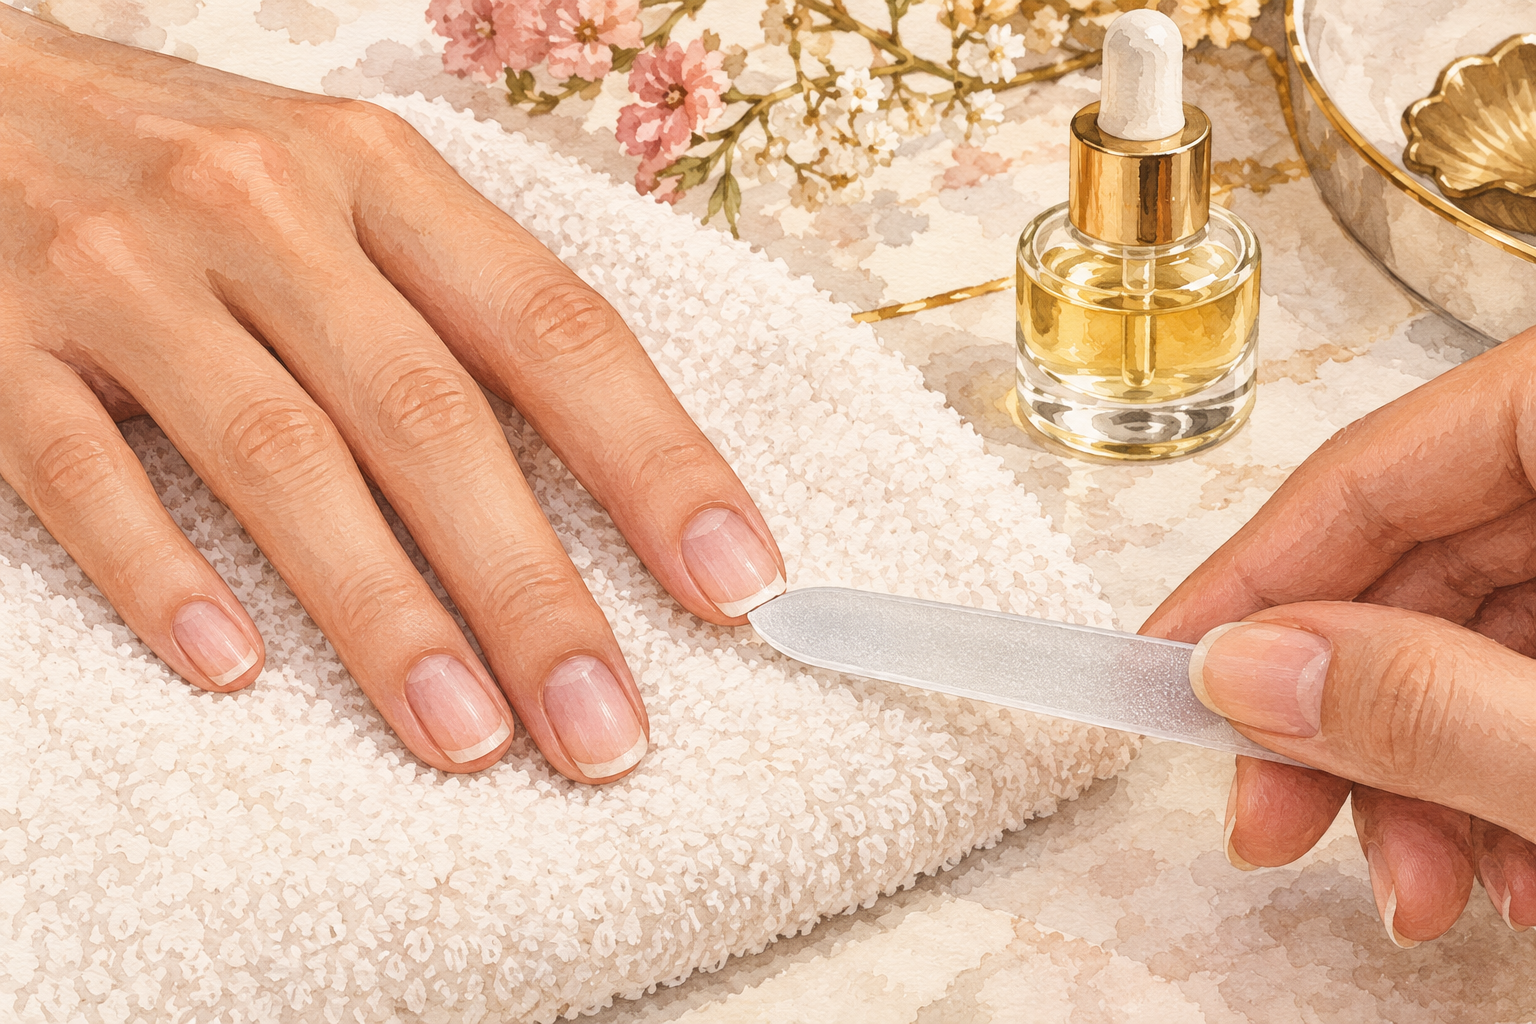
Clip your nails short and leave them unpainted for the first week. Thin nails snag and bend easily, and a short nail has less leverage to break. Round the corners slightly with a fine file, going in one direction. Avoid polish for now, because the remover needed to take it off is one more drying step. Keep a bottle of oil by your bed. Do not worry about how they look, because most people never notice. This week is about calm. The less you do to your nails, the faster they settle. If a nail is still sore, press a cool, damp cloth on the tip for a minute.
5. Week 2: add oil and hand cream every day
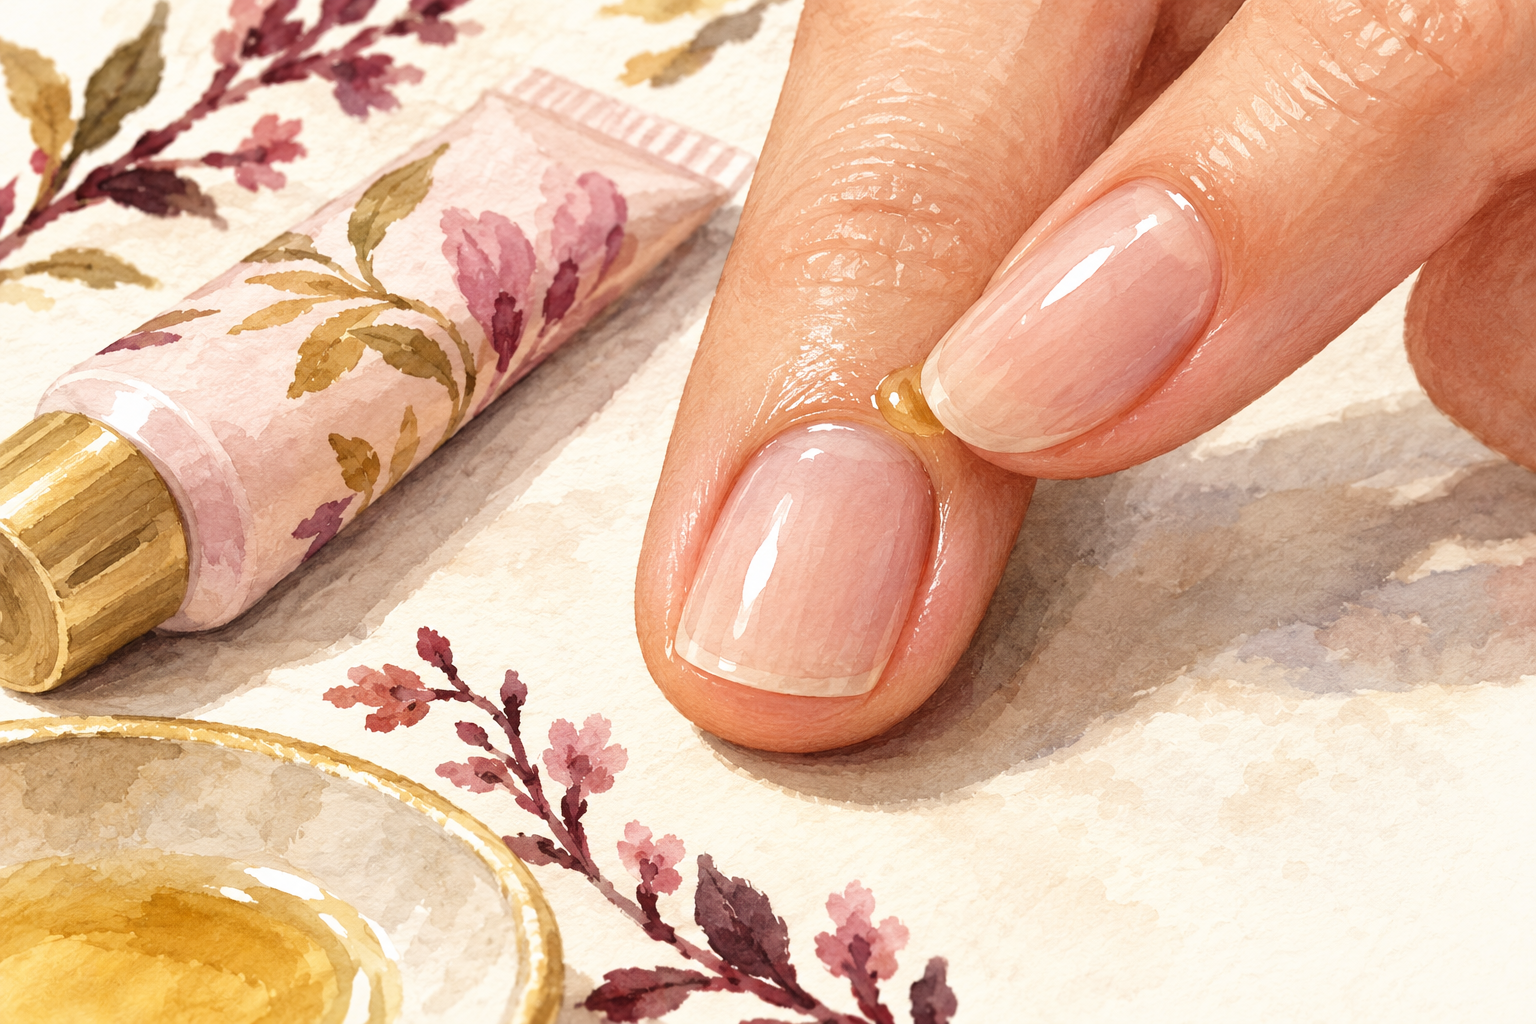
Press a drop of cuticle oil into each nail base twice a day, and use hand cream after every wash. Rub for ten seconds, into the nail as well as the skin. Oil keeps the nail flexible, so it bends without snapping, and the cream seals in the moisture. Keep both where you will see them, on the desk, by the sink and in your bag. Warm olive oil works if you have no cuticle oil. By the end of the week your nails should feel a little less sore and the skin around them softer. Do it even on busy days, because it adds up. It takes under a minute each time.
6. Weeks 3 and 4: shape gently and add a clear coat
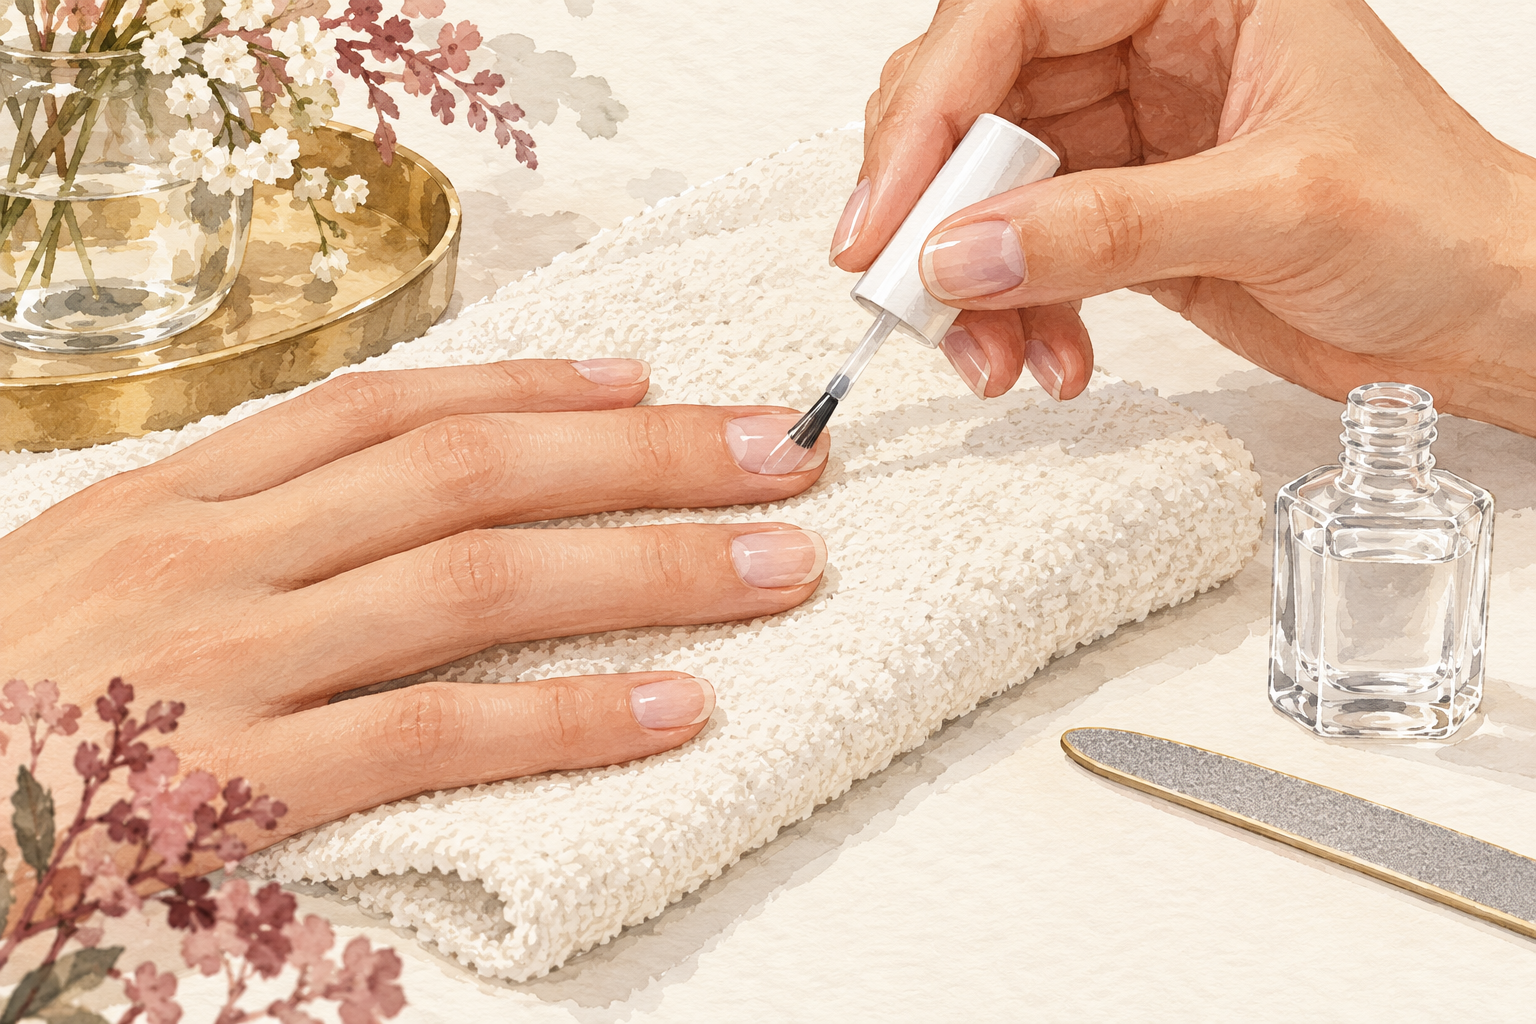
Smooth the tips with a fine glass file and brush one thin coat of clear polish over the nail. The clear coat acts like a splint and protects the surface from knocks. Keep the shape short and soft, with a square or squoval edge, which holds up best on weak nails. Redo the clear coat every three days, and remove it with a gentle remover. Skip color for now. If it feels like too much, take it back to oil and cream for another week. Your nails will tell you when they are ready for more, and a nail that stays firm for a full week is ready for the next step.
7. Wear gloves for wet and dirty jobs
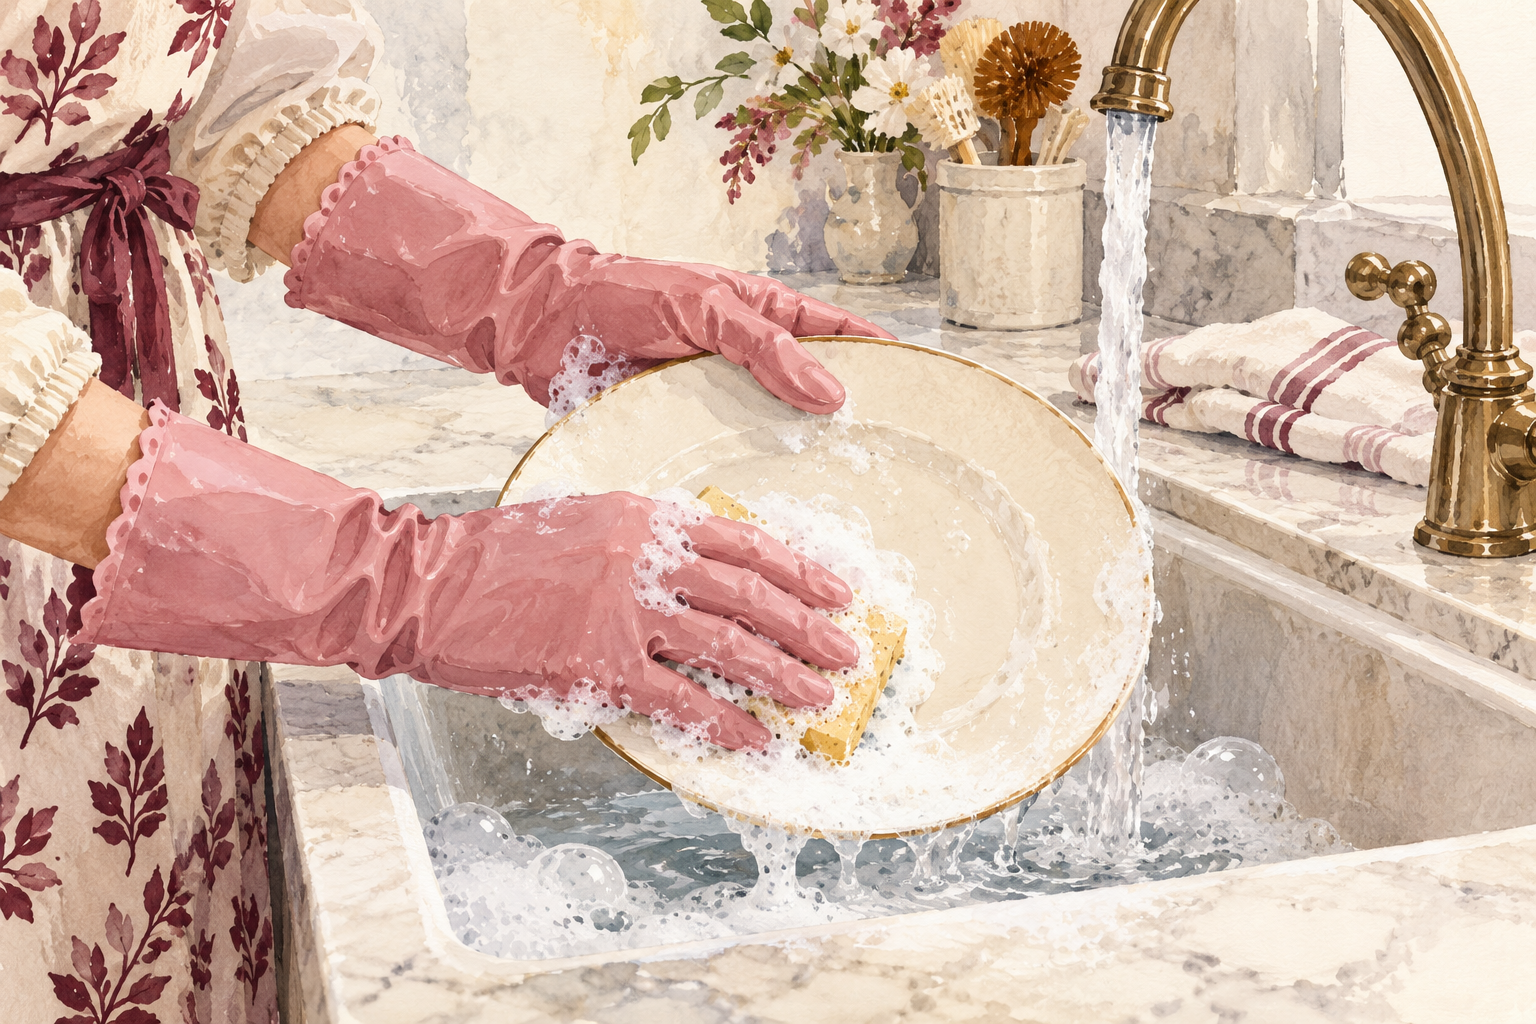
Put on rubber gloves for dishes, cleaning, gardening and washing hair. Thin nails soak up water and chemicals fast, and then they swell and peel. Keep the gloves hanging by the sink so you never skip them. Dry your hands first so they do not sweat inside. It feels fussy for a few days, and by week three you will not think about it. Hot water also dries nails, so use warm water for washing up. Gloves are the simplest repair you can make for damaged nails after acrylics, and they work every single day. Put a spare pair in the car or your bag for jobs that catch you out.
8. Use your fingertips, not your nails
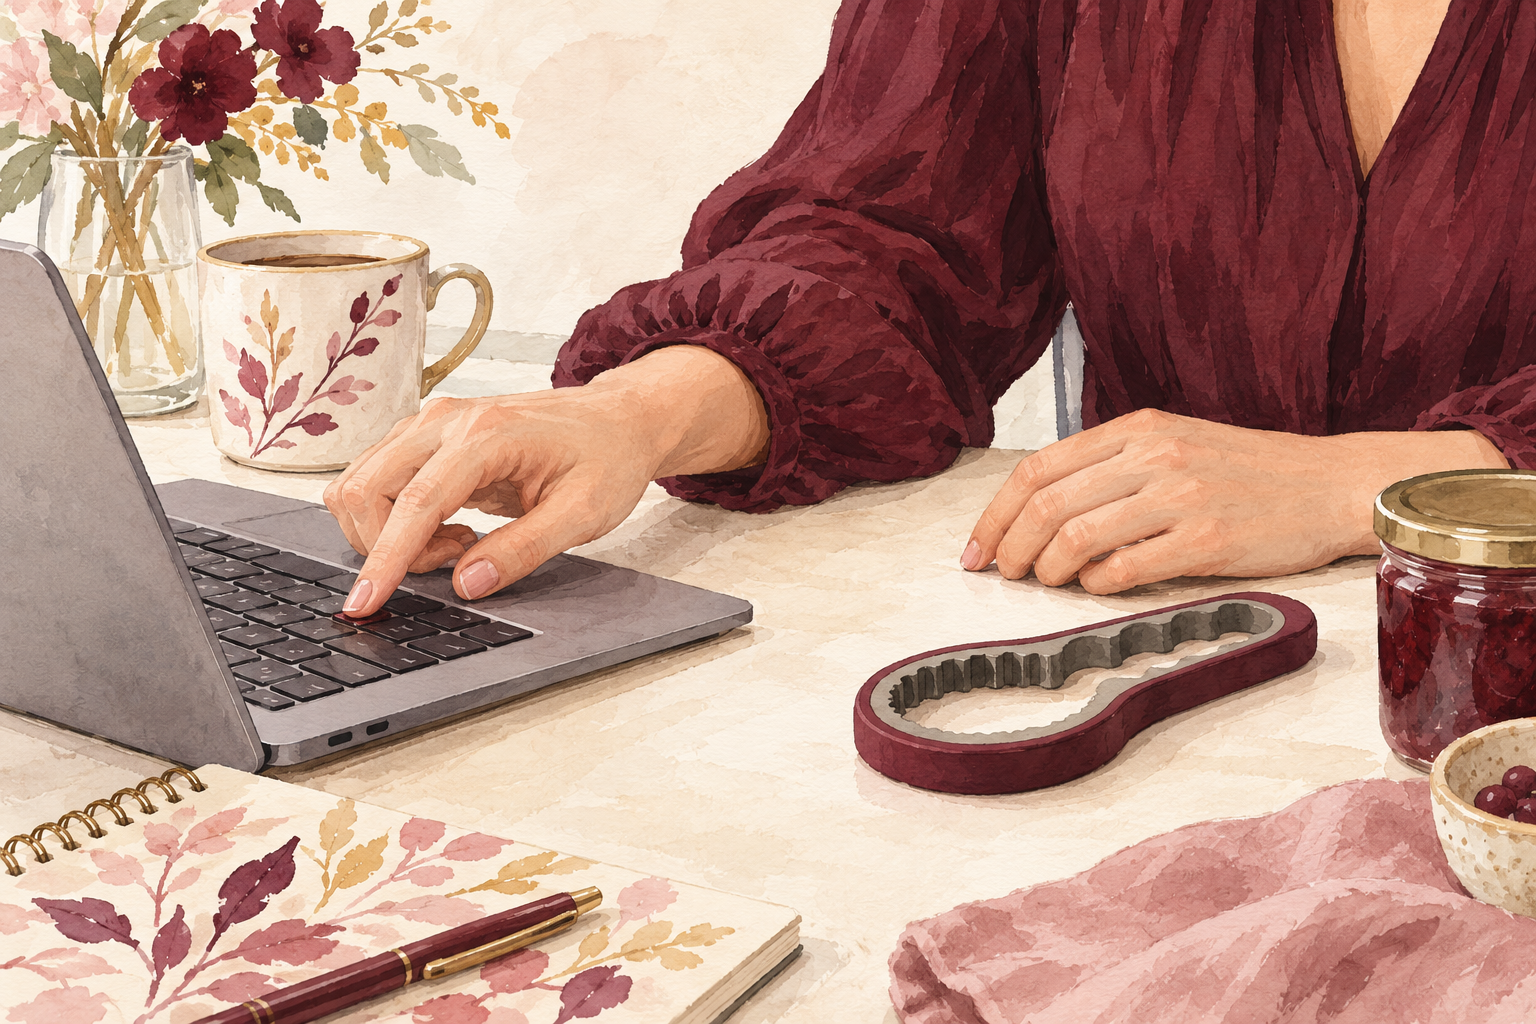
Open tabs, peel labels and press buttons with the pad of your finger or a tool. Nails are not screwdrivers, and weak nails bend and tear at the tip. Use the edge of a spoon for lids and a key for stickers. Type with your finger pads rather than the nail tips. It feels odd at first, but within a week it is automatic. Short nails help here too, since they hit things less. Watch for the moments you reach with a nail out of habit, and swap them one at a time. Every swap spares the tip from one more small knock.
9. Skip the buffer and heavy hardeners
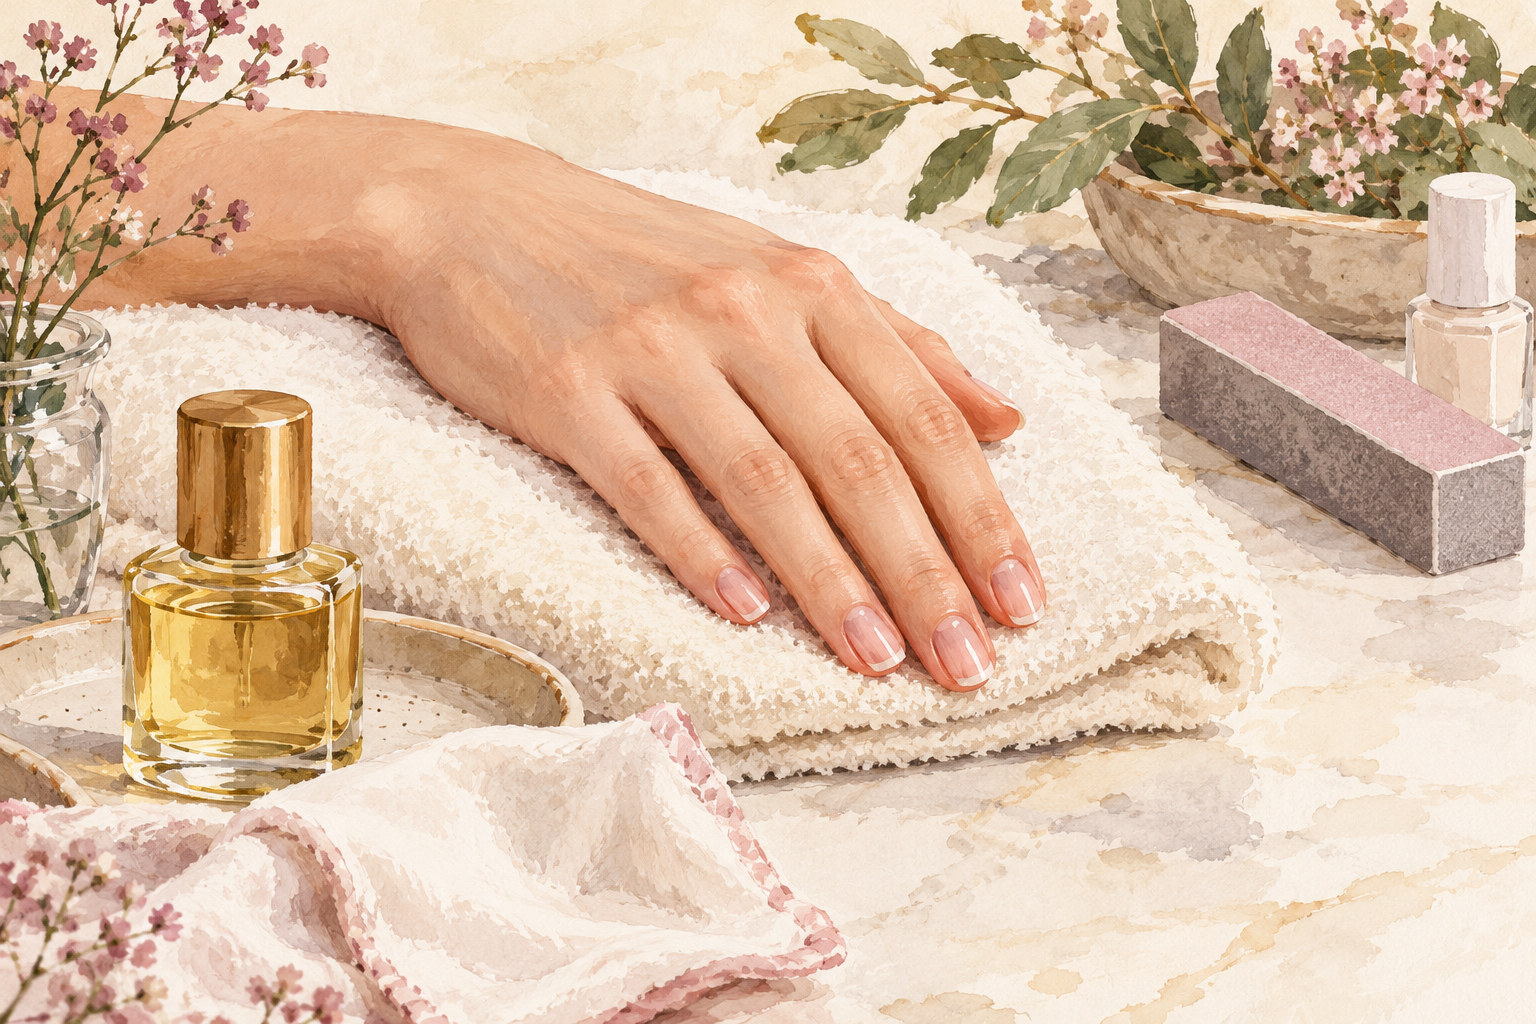
Leave out the buffing block and thick hardener for now. Buffing wears the surface down further, and your nails have little left to give. Hardeners make a thin nail stiff, and a stiff, thin nail snaps rather than bends. Gentle oils and a clear coat are all they need. If you want shine, rub a tiny dab of oil over the nail with a soft cloth, which polishes without wearing the surface. Wait until week eight before you think about a hardener, and use it for only two weeks at a time. Plain care is boring, and it works. When plain care is working for you, how to strengthen nails is a good one to open.
10. Resist covering them up right away
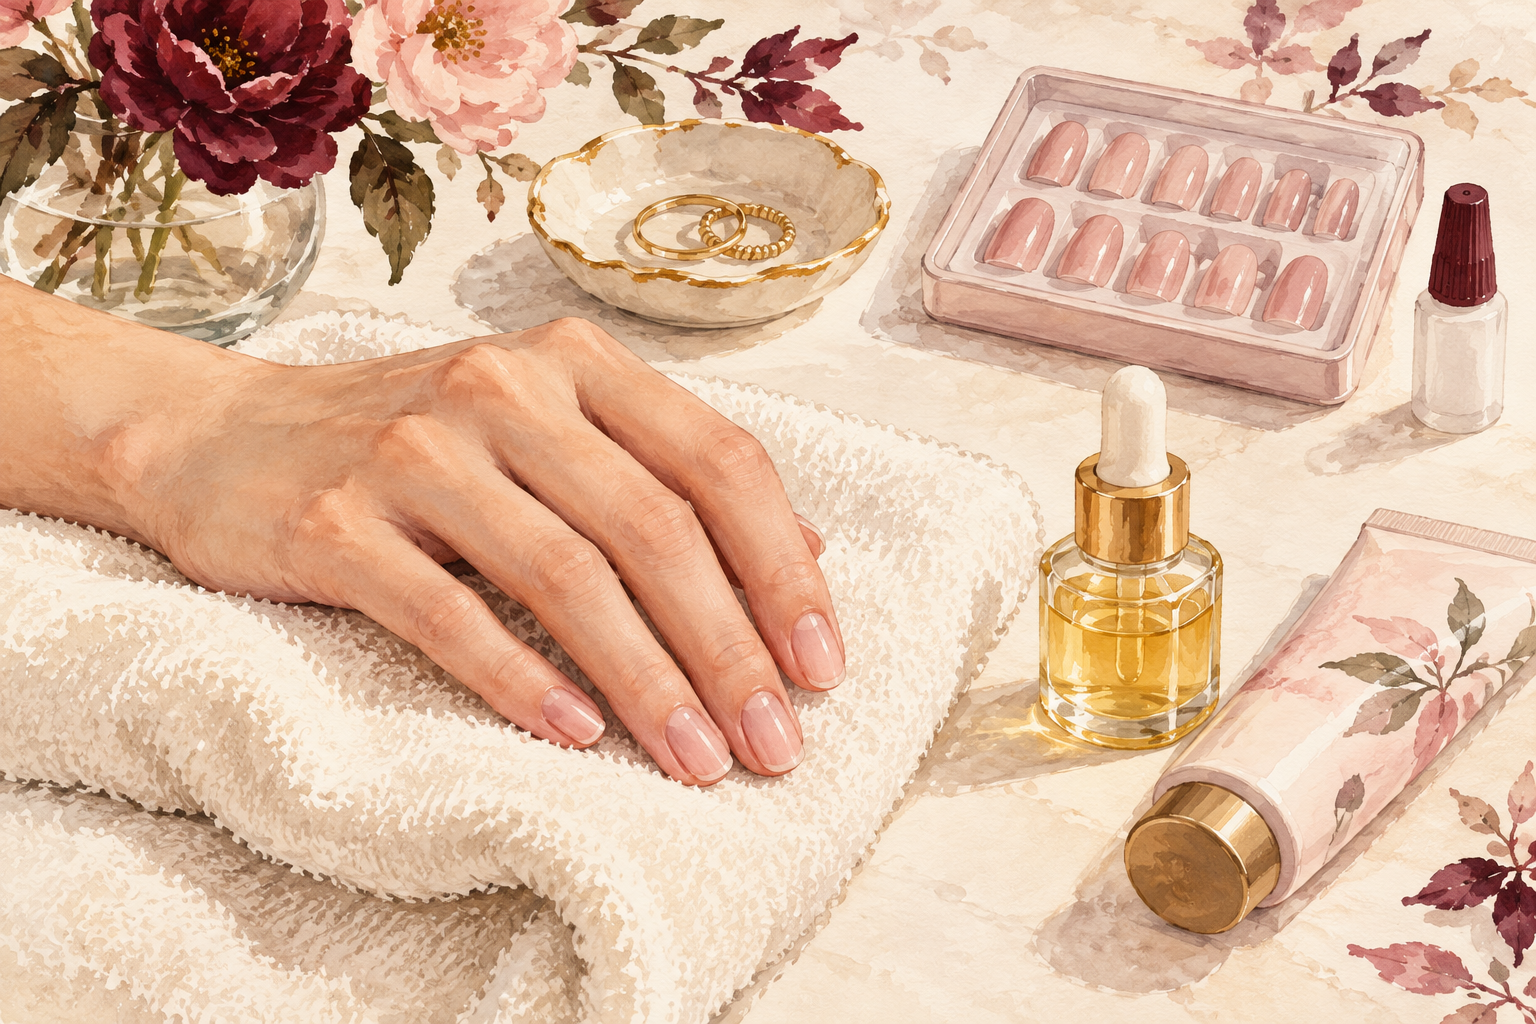
Wait before you put on a new set, even press ons or gel. Anything that glues to the nail needs prep, and removal brings more thinning. It is tempting to hide the damage, but it only delays recovery. If you must cover them for an event, wear a sheer nude polish for one evening and take it off gently the next day. Press ons and glue can wait. Think of the next four weeks as a rest for your nails. They will repay you in strength.
11. Know what weeks 1, 4 and 8 look like
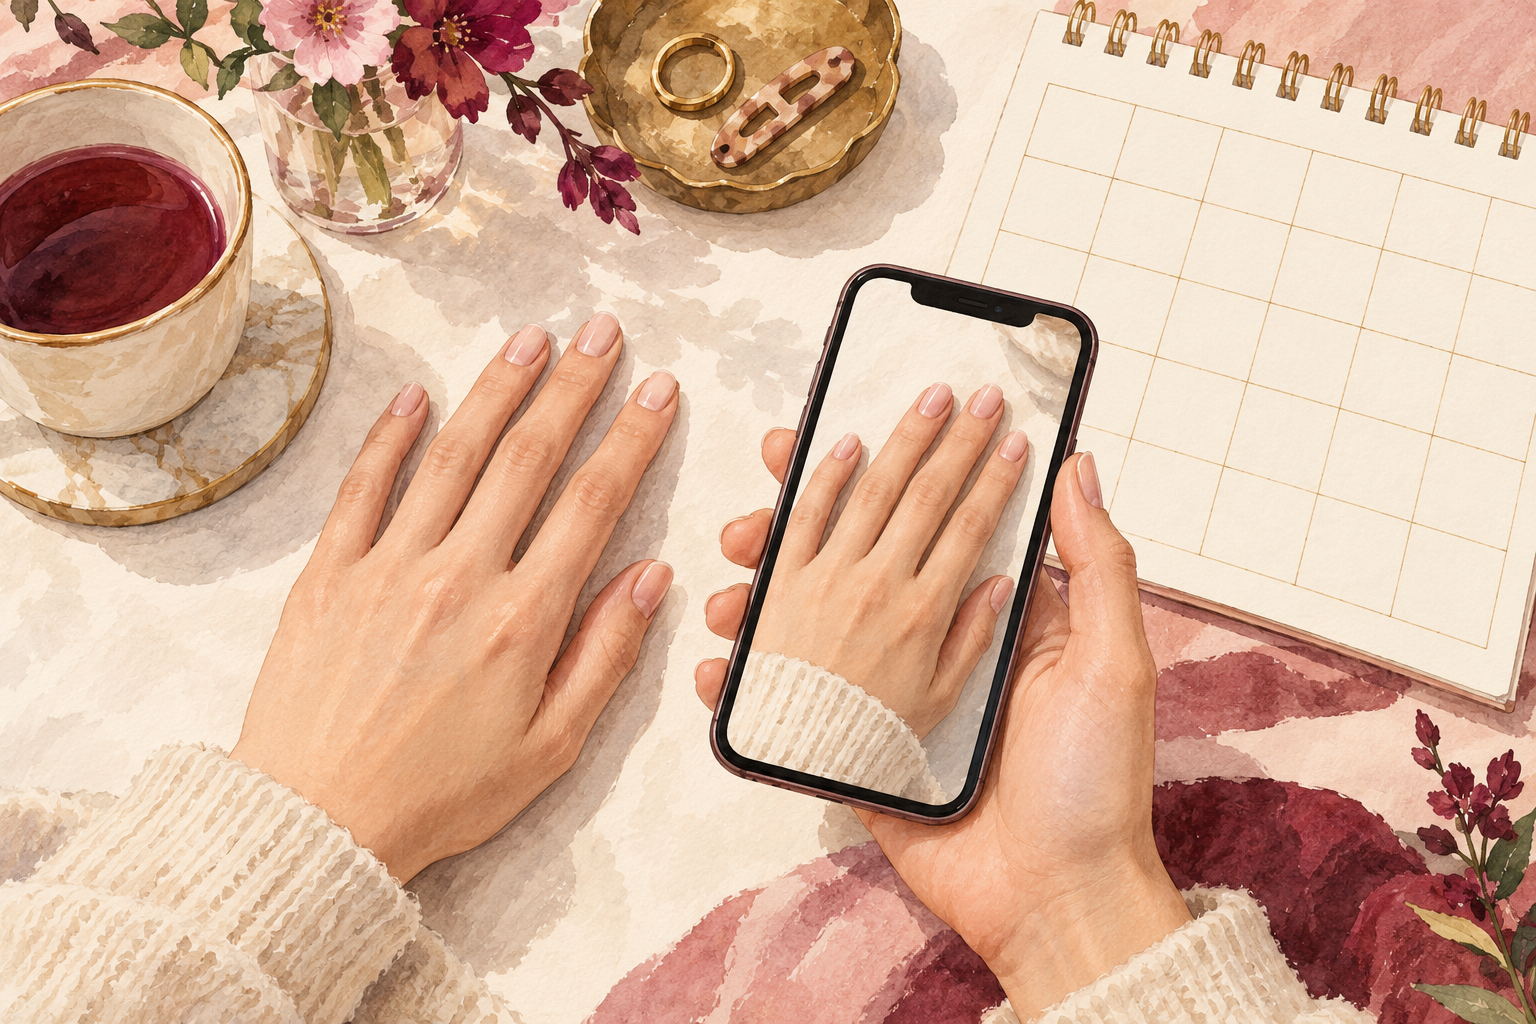
Expect calmer, less sore nails at week one, a firmer feel by week four and a clear, thicker new growth by week eight. A fingernail takes about four to six months to grow out completely, so the thin part will move toward the tip slowly. Take a photo each week in the same light. If a nail hurts, looks red around the edges or starts to ooze, see your doctor. Otherwise, keep the routine steady. Every millimeter of new nail at the base is stronger than the part it replaces, and you can see it as a clear band near the cuticle.
12. Decide when to wear another set
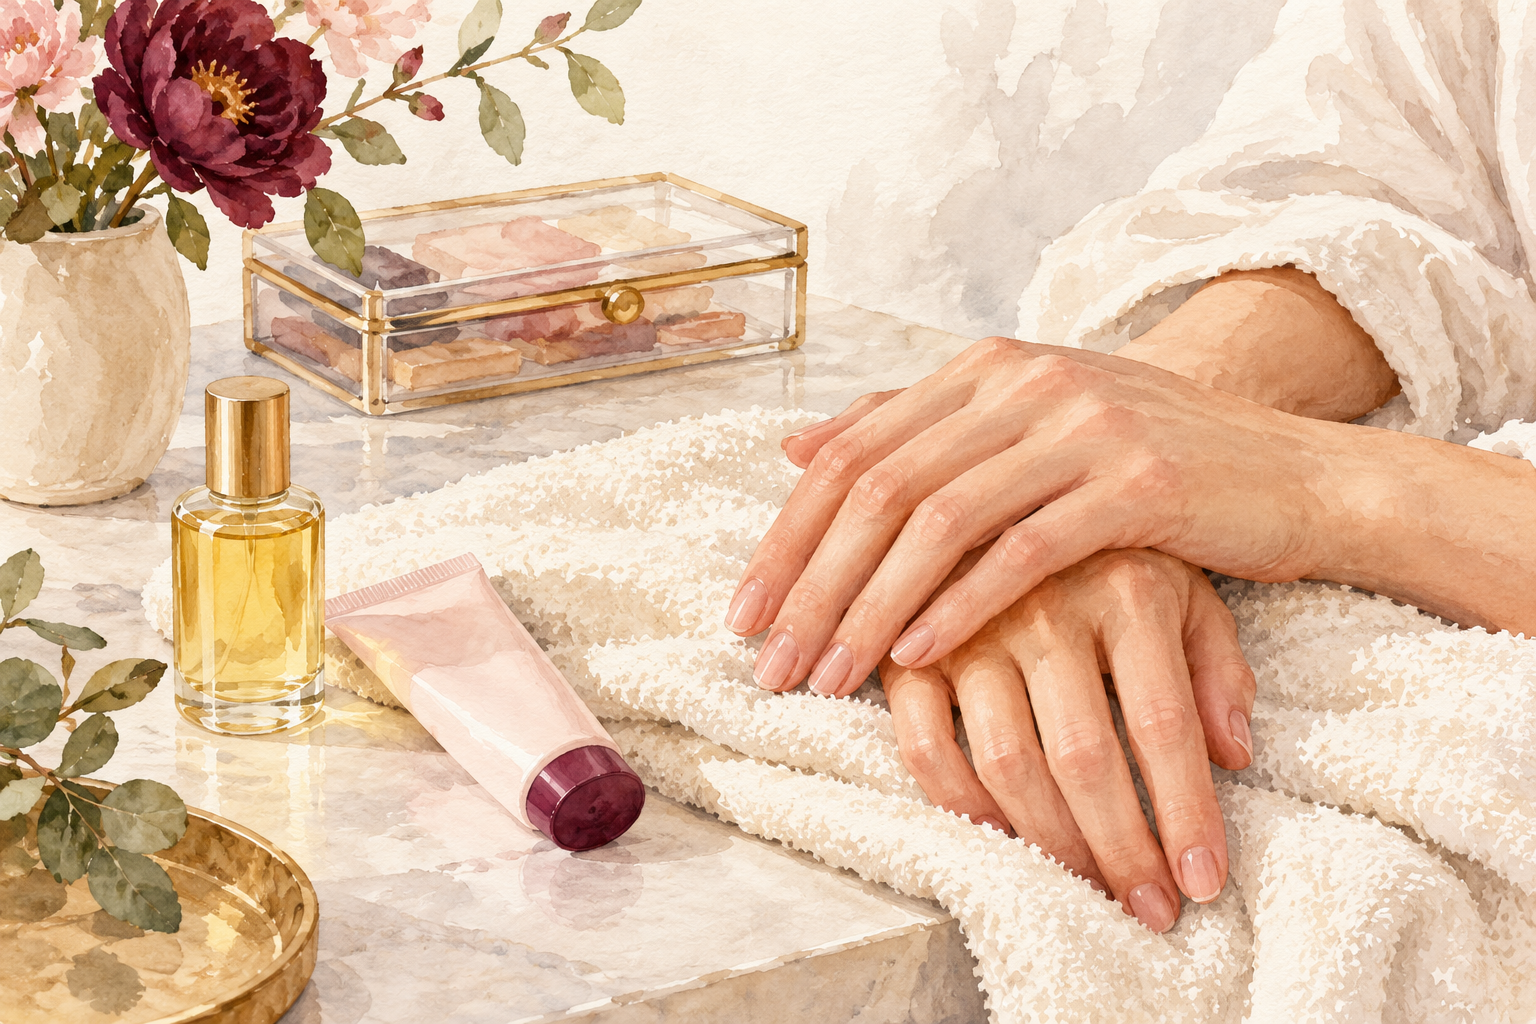
Wait at least eight weeks, and ideally until the thin part has grown out past the tip, before another full set. Then give your nails a longer rest between sets than before, at least two weeks bare for every set. Choose a lighter product, keep the nails short and always soak the set off gently, never prying it. Keep your oil and gloves routine going while you wear them. If you notice thinning again, take a break straight away. Healthy nails make the best base for any set, and you now know how to rebuild them. A longer rest before the next set is the kind move, with nail repair as the page for recovery.
Complete the Routine: Recover From Damaged Nails After Acrylics
Tonight, clip your nails short and rub oil into each base. Damaged nails heal in stages, so pick one guide below to read this week and enjoy each small gain.