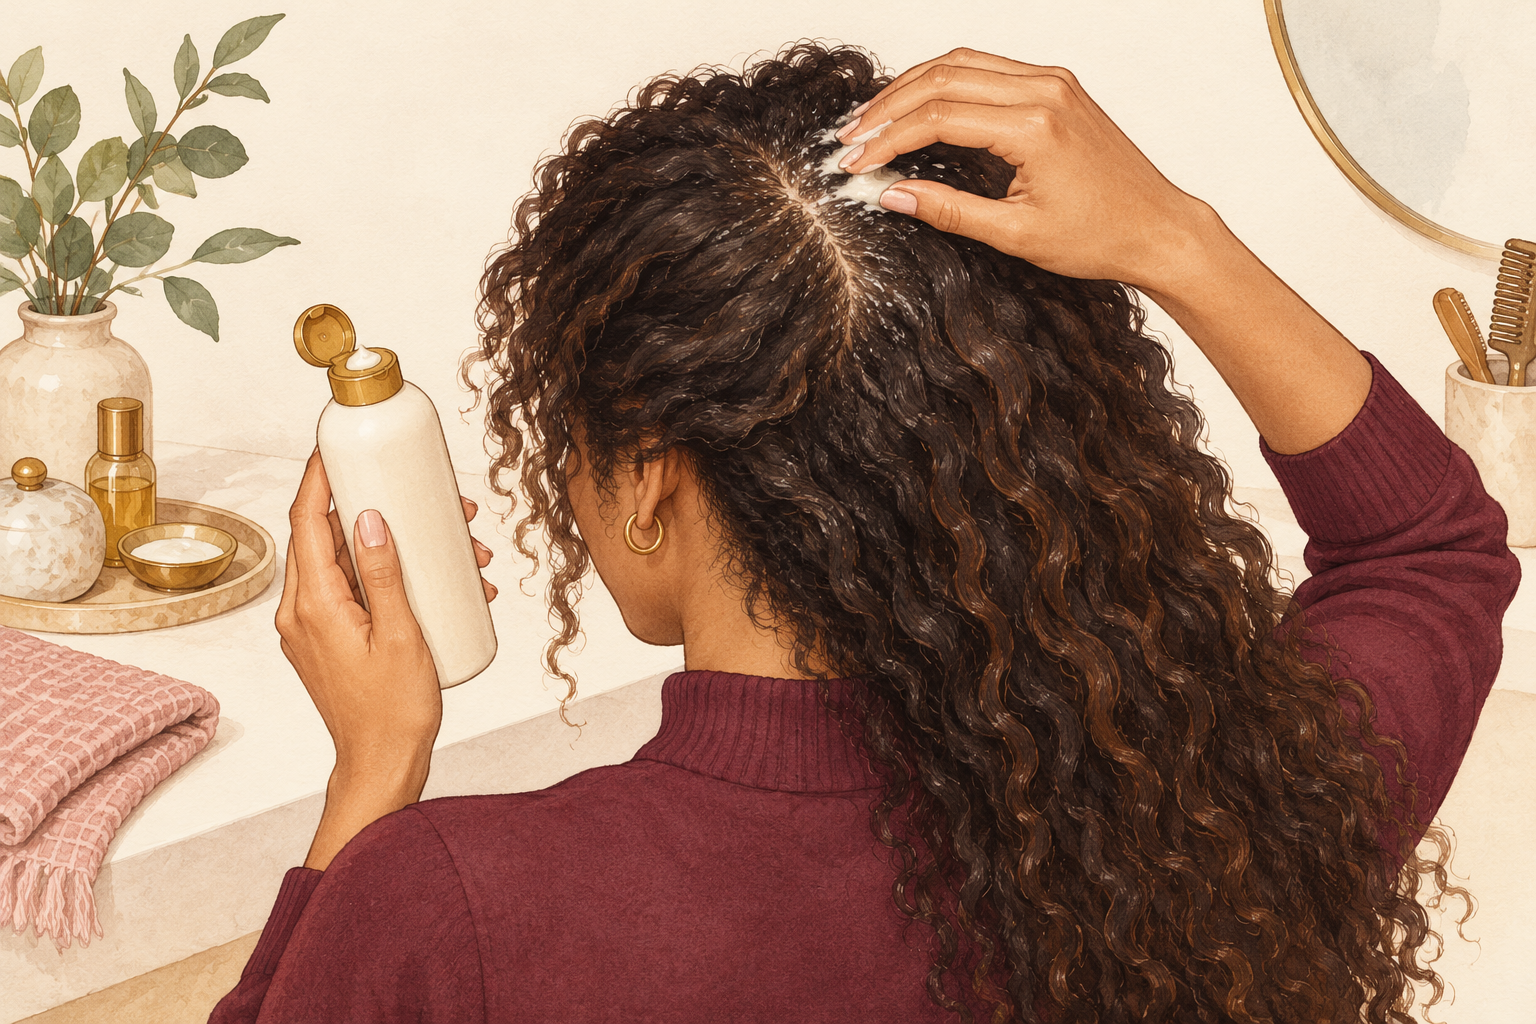
You slathered castor oil on your head, it turned into thick, tacky glue, and washing it out took three shampoos and half your patience. Castor oil for hair growth is a good old fashioned remedy, but it needs a smart method to stay clean and comfortable. These 12 tips make it easy, so start at number one tonight.
1. Choose between black and clear castor oil
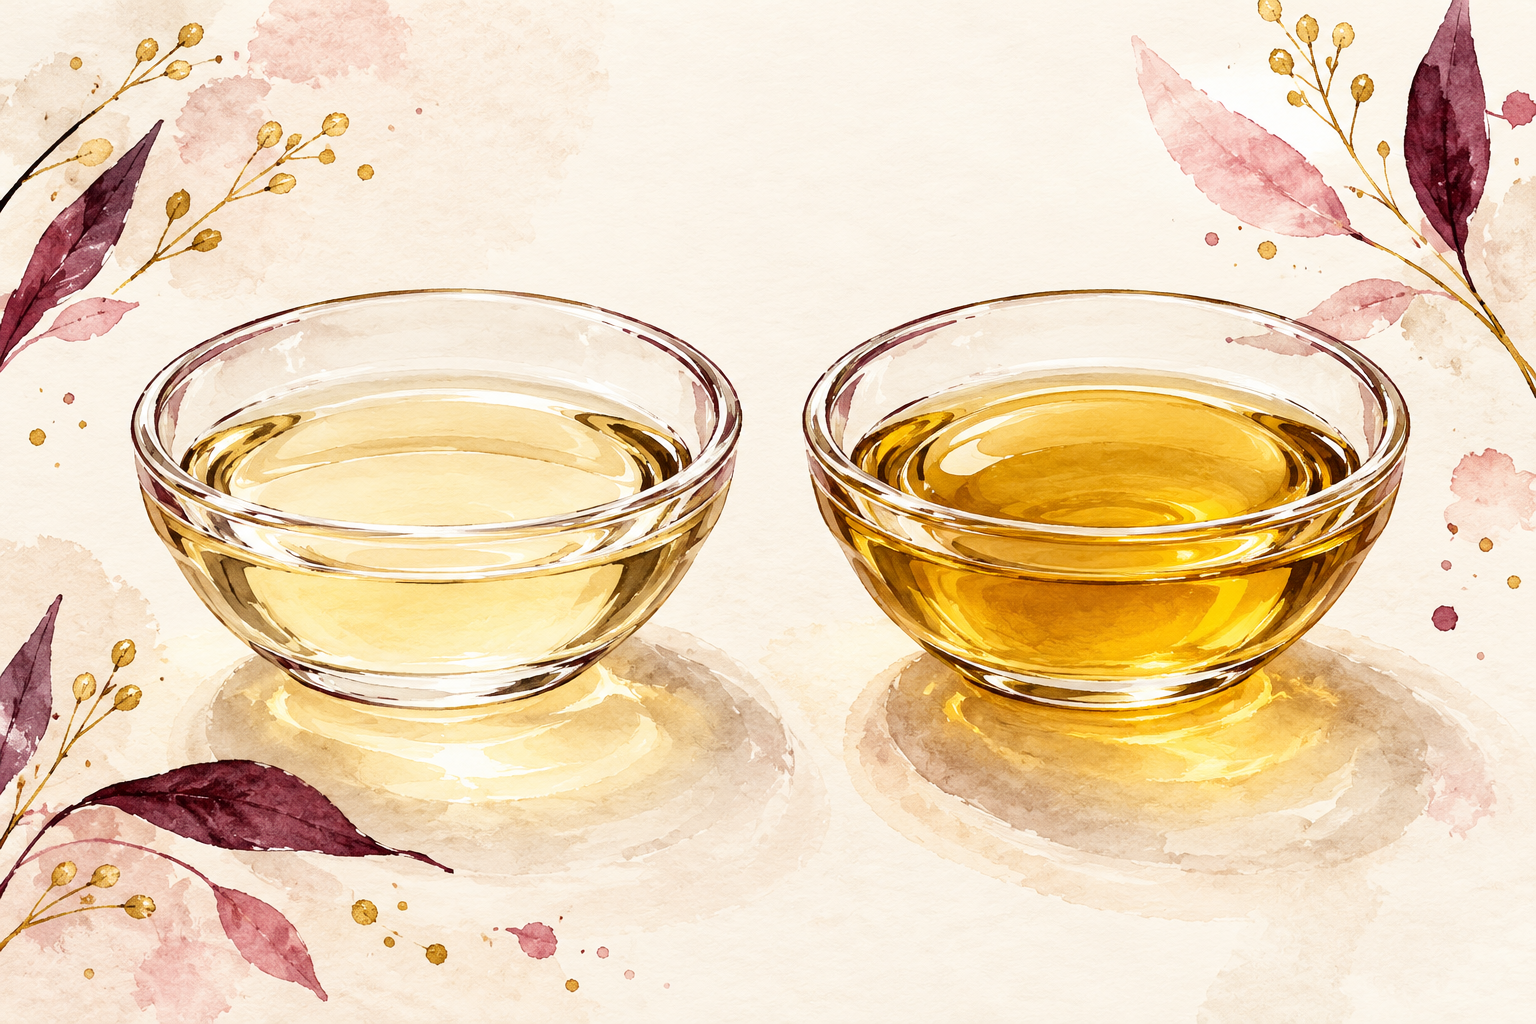
Pick clear castor oil if your scalp is sensitive or your hair is fine, and black castor oil if you like a richer feel. Black castor oil is made from roasted beans, so it smells smoky and feels even thicker. Clear castor oil is lighter in color and a touch easier to spread. Both come from the same plant, so neither is a miracle. Choose the one you will actually enjoy using, since a bottle that feels too heavy ends up forgotten in a cupboard. If you cannot decide, buy the smaller bottle of clear oil first and see how your hair reacts.
2. Read the label for one ingredient
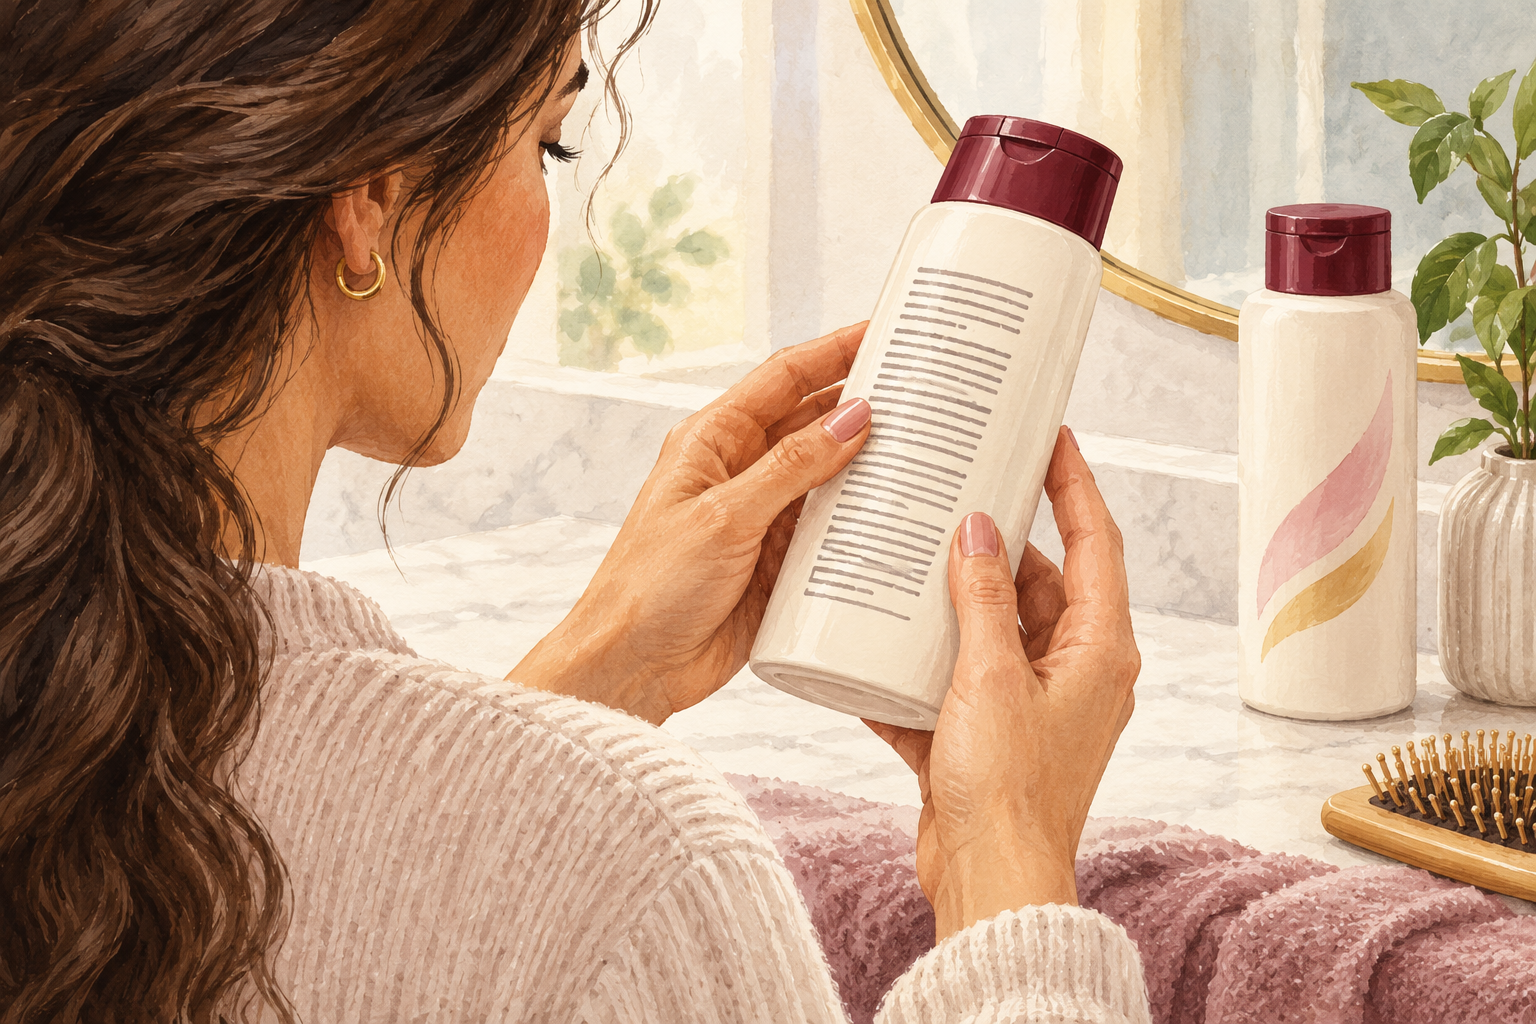
Turn the bottle over and look for a short list that says castor oil, or the Latin name Ricinus communis, and not much else. Added fragrance, mineral oil or fillers make the oil easier to bulk out and harder on your scalp. Cold pressed is a good sign because the beans were not overheated. A very runny bottle may be cut with other oils. Real castor oil is slow and syrupy, like honey on a cool day, and it clings to the spoon when you tip it. Keep the cap tight and the bottle in a cool, dark cupboard so it stays fresh.
3. Do a patch test and check who it suits

Dab a little oil behind your ear and wait a full day before it goes near your scalp. Itching, redness or tiny bumps mean it is not for you. Castor oil loves thick, dry or coily hair that drinks up heavy oil. Fine or very oily hair can feel weighed down, so use even less and keep it to the roots. If you have a seed allergy, skip it. A clear patch after a day means you can begin on wash day, when you have time to rinse it all out. Never test on the same day you plan a big outing.
4. Mix it with a lighter oil
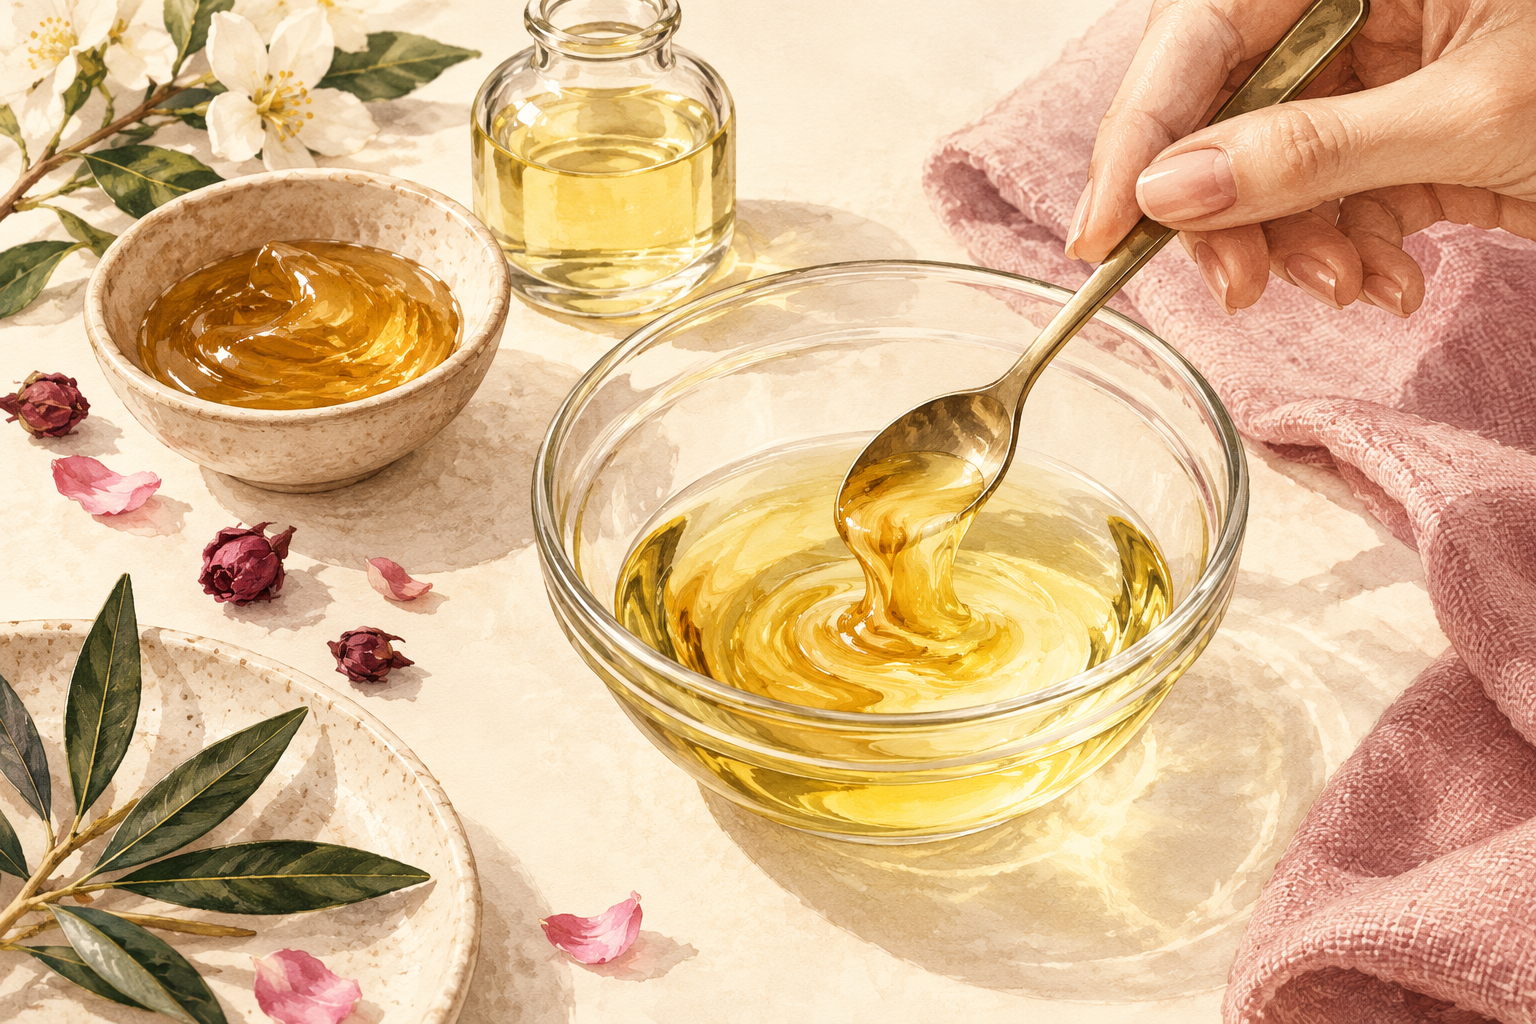
Stir one tablespoon of castor oil into two tablespoons of a lighter oil, such as jojoba, olive or sweet almond. Straight castor oil is so thick that it tangles your hair and lingers on your scalp. A thinner mix spreads easily, rinses cleaner and still gives you the benefit. Mix a small batch in a clean bowl and use it that day. Once you get used to it, you can slowly move toward a stronger ratio, like one part castor to one part carrier. Never go straight to thick, as your hair will punish you. Shake the bottle each time, because the oils separate while they sit.
5. Warm the bottle before you pour
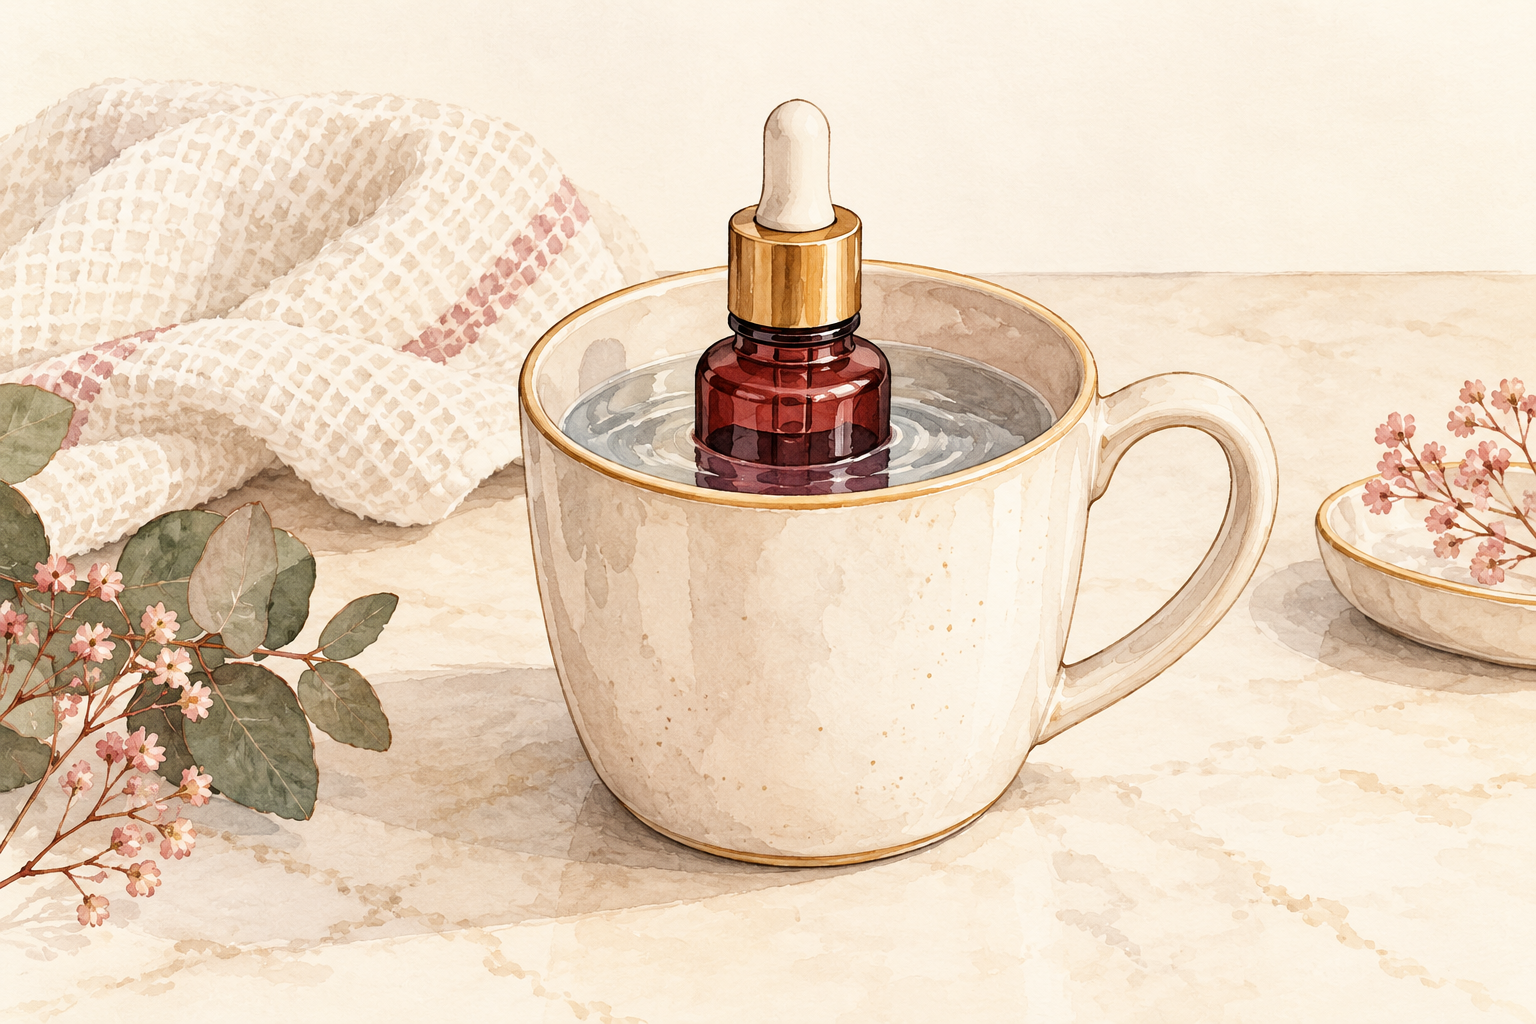
Stand the closed bottle in a mug of hot tap water for three minutes. The warmth loosens the oil so it pours smoothly instead of coming out in slow, stubborn blobs. Warm oil also spreads more evenly across your parts and feels soothing on the scalp. Test a drop on your wrist first, because it should feel pleasantly warm and never hot. Do not microwave the bottle, since hot spots can burn your skin. Dry the outside of the bottle before you pick it up, or it will slip out of your hand. Warm oil stays runny for a few minutes, so work quickly once it is out.
6. Use an applicator bottle
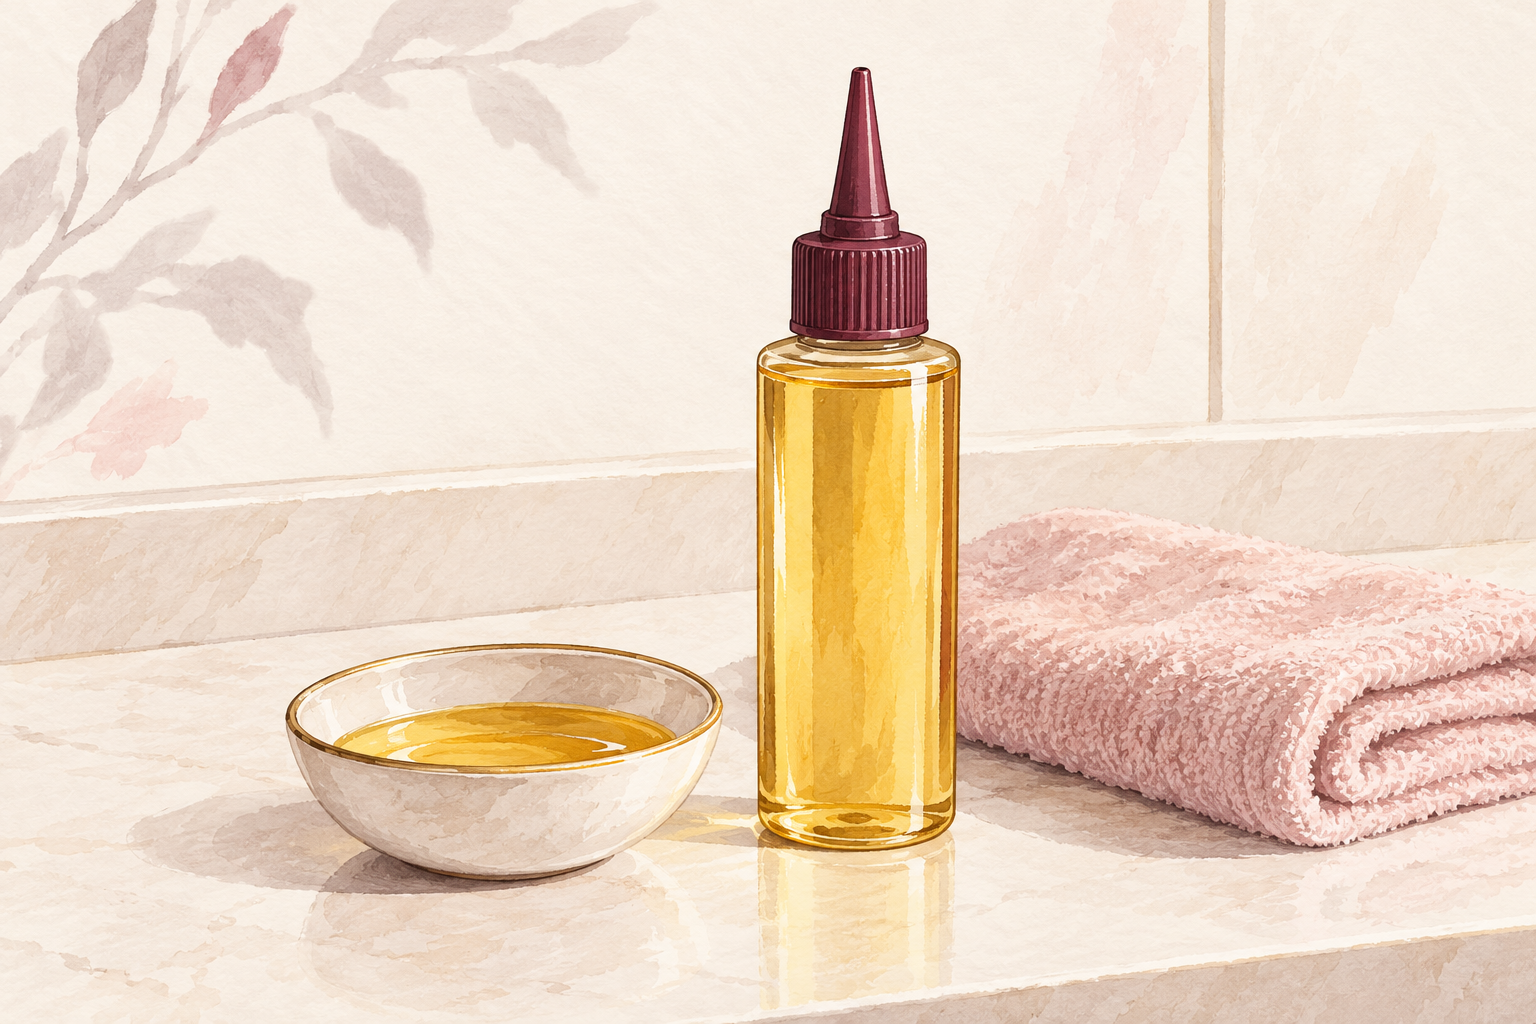
Pour your oil mix into a small bottle with a narrow tip and squeeze it along your parts. This puts the oil on the skin where you want it and stops it flooding your hair. A bottle also means less on your hands and less on your bathroom floor. If you only have a jar, use a cotton ball or the end of a clean brush. Fill the bottle halfway so it is easy to squeeze, and wipe the tip clean after each use so it does not clog. Mess is the main reason people quit, and this tip fixes it. Stand on an old towel while you work, in case a drip escapes.
7. Part, dab, then massage gently
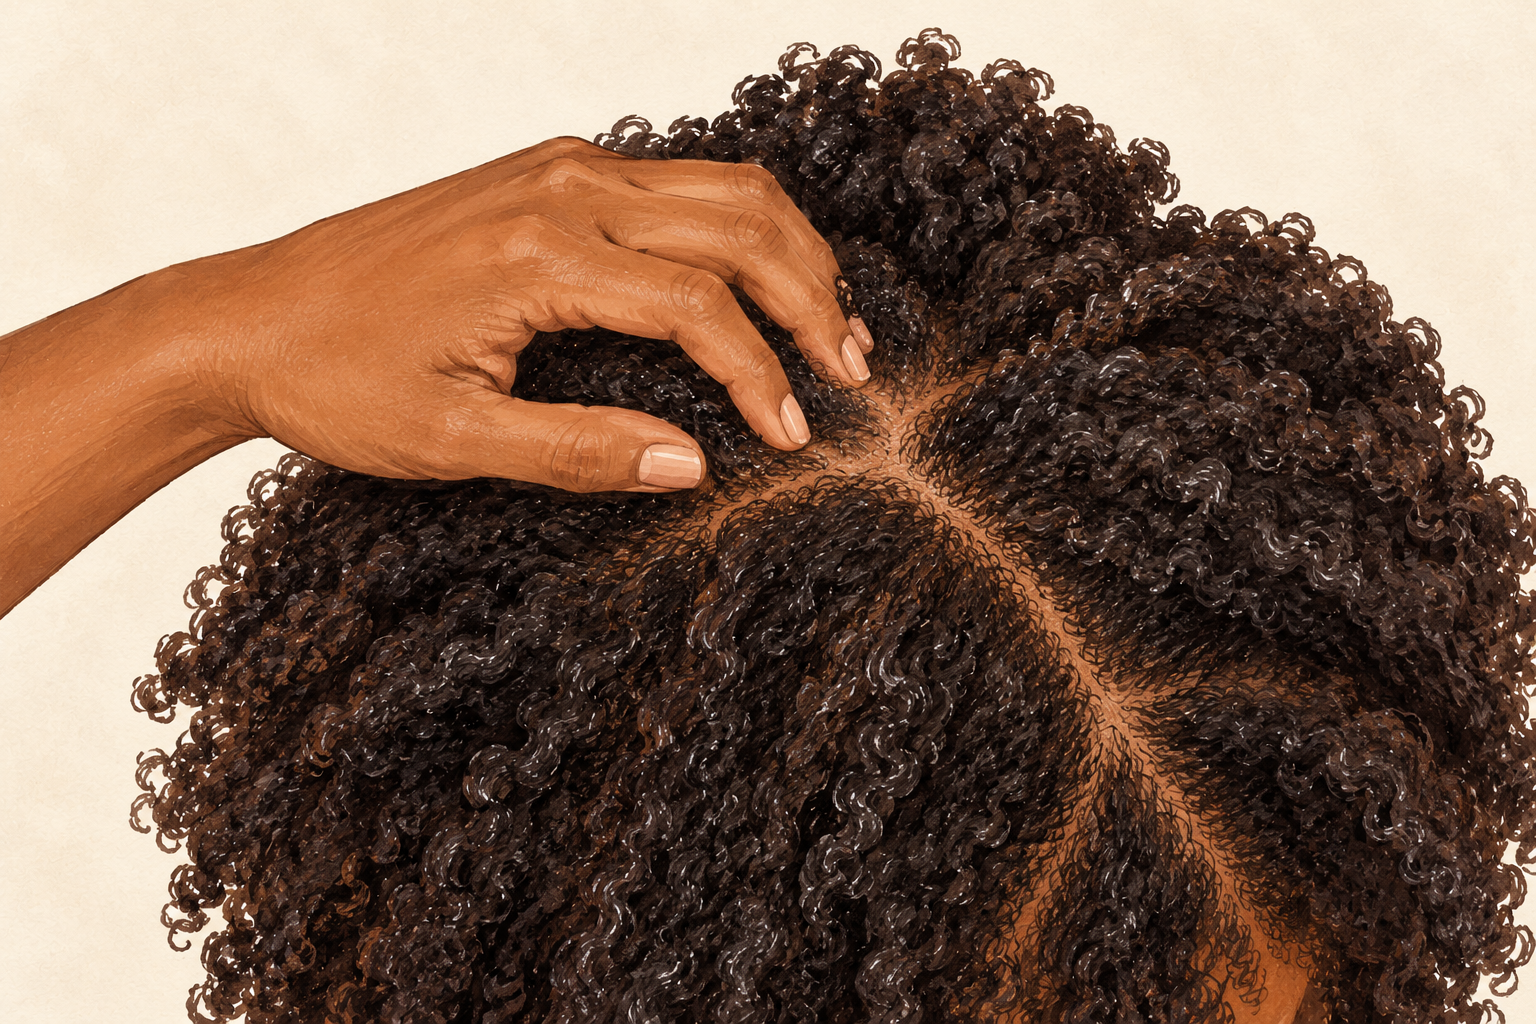
Make a part, dab a line of oil along it, then repeat in rows about an inch apart. Rub the scalp with your fingertips in slow circles for about three minutes. Use light pressure, because rubbing too hard stirs up the skin and makes the oil go on too thick. Keep the oil mostly off your lengths, but you can smooth the leftovers over your ends. A thin film is plenty, since castor oil spreads further than it looks. Your scalp should feel warm and soft, never greasy to the touch. If your fingers come away dripping, blot the part with a tissue.
8. Never put it on tangled curls
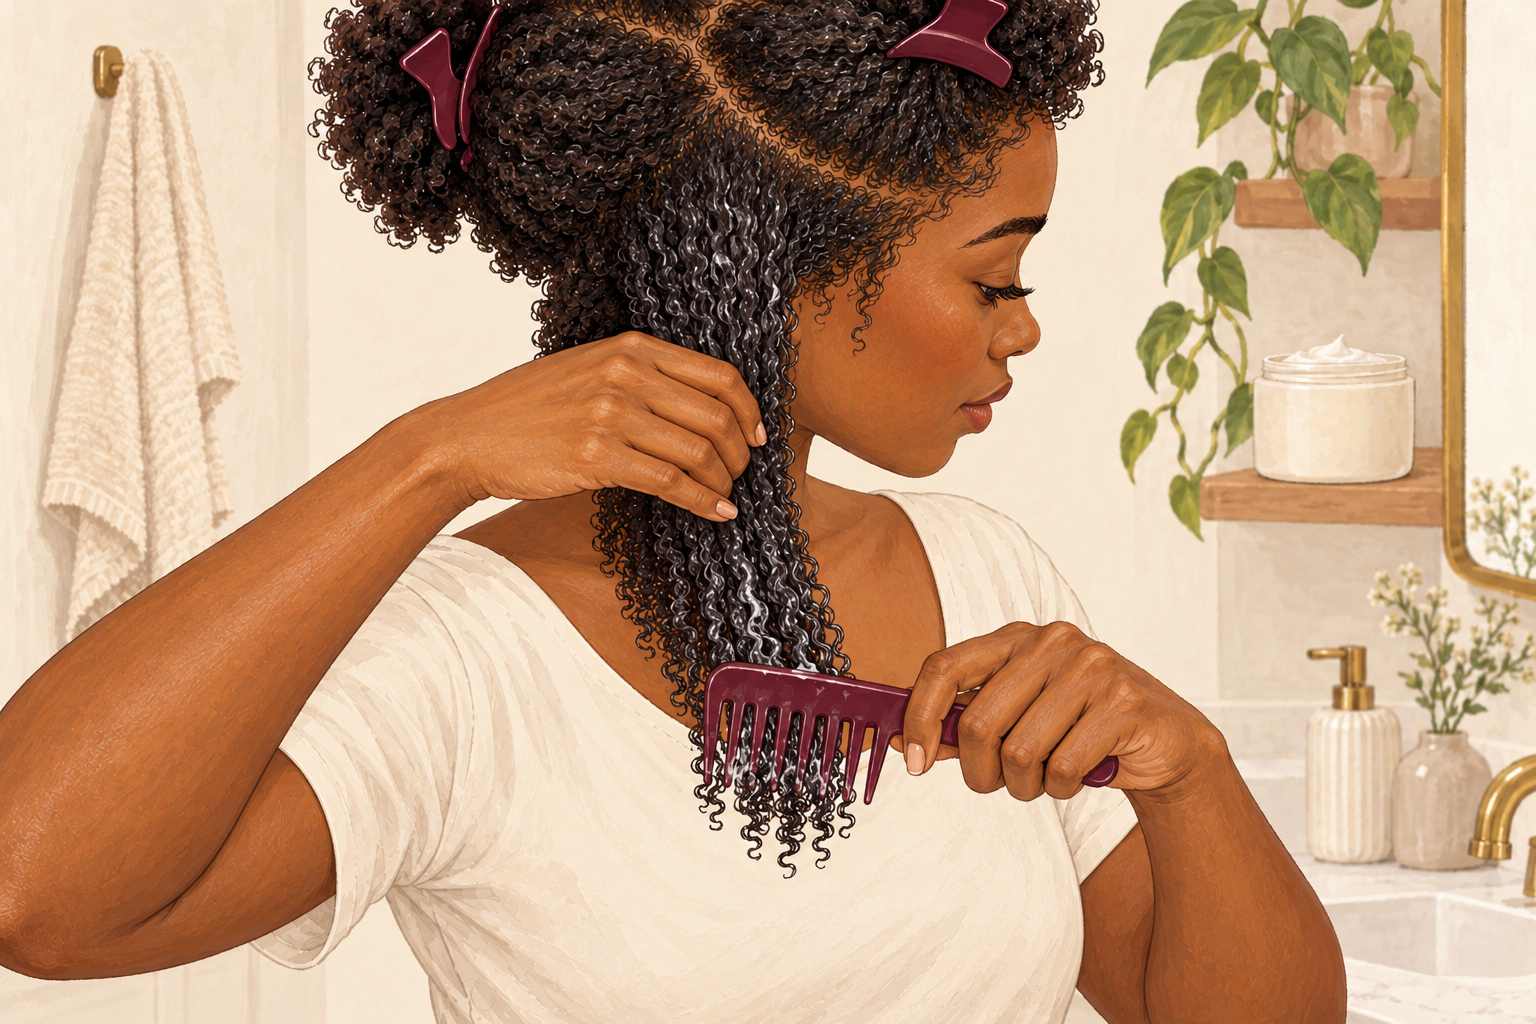
Detangle your hair completely before the oil goes anywhere near it. Castor oil is sticky, and once it meets a knot, that knot becomes a lock you cannot comb out without pulling. Work through your hair in sections with a wide tooth comb, from the ends up, while it is damp and loose. Then clip the sections apart and begin the oil on the scalp only. If you wear braids or twists, work between them. A smooth start means a gentle finish, and no hair left in the sink. Spend ten minutes on this step even if it feels slow.
9. Leave it on for one to two hours
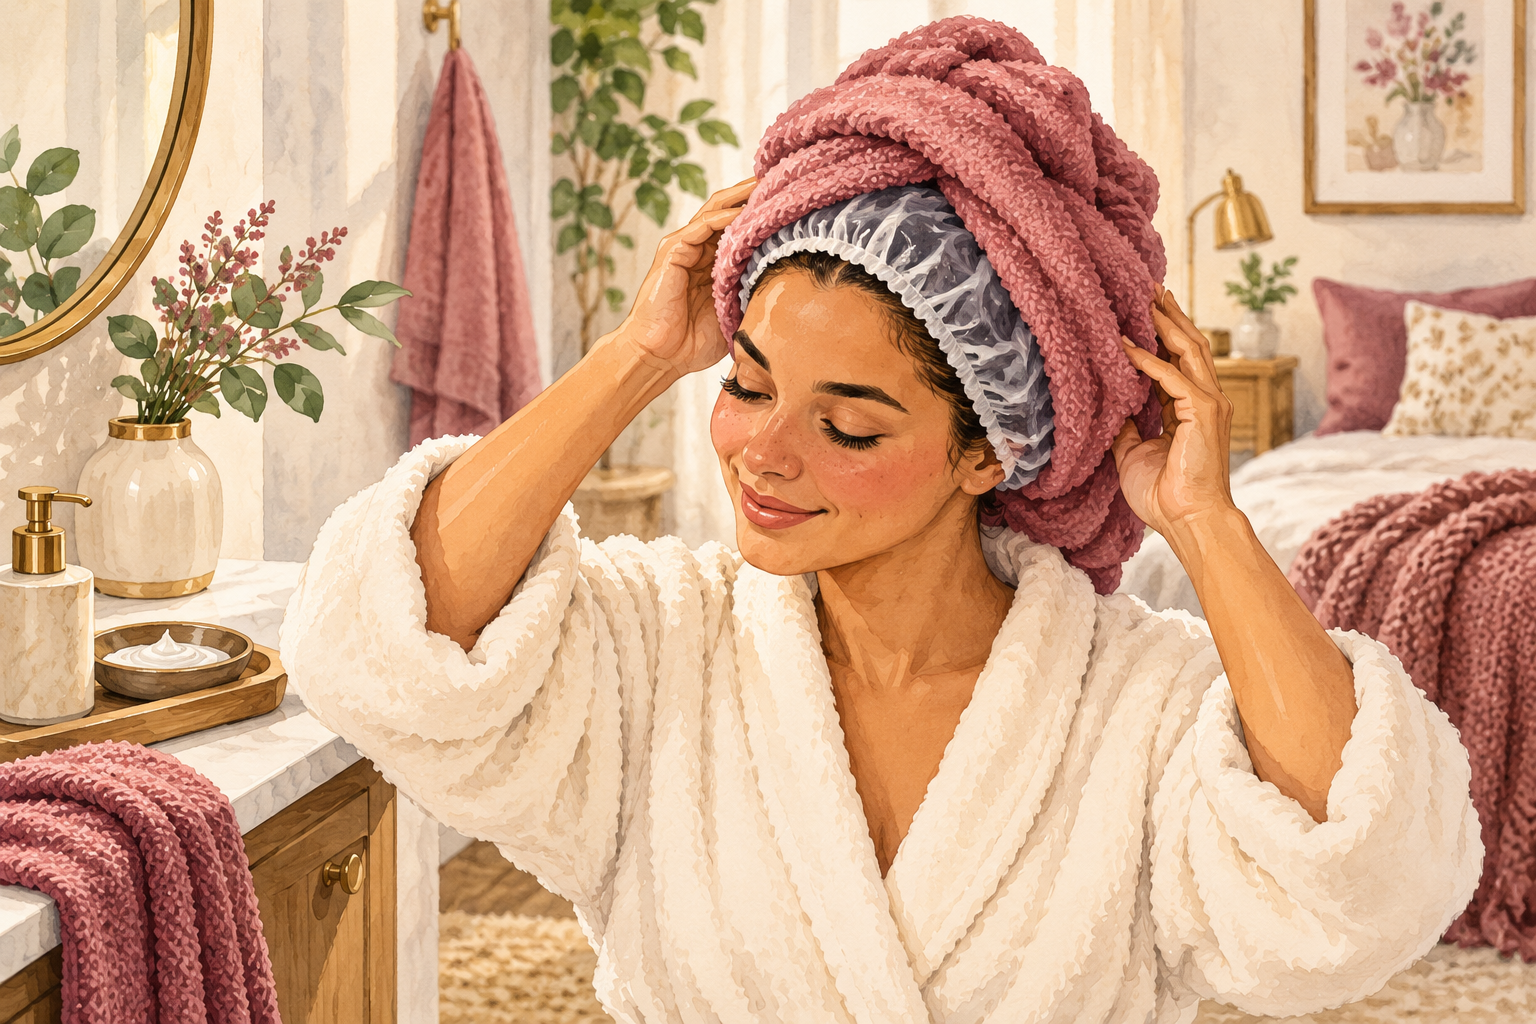
Cover your hair with a shower cap and wait an hour or two before washing. The first time, aim for thirty minutes to see how your scalp feels. Longer is not better, and it only makes the wash harder. Never sleep in a heavy mix on your first try, because it clogs your skin and soaks your pillow. Set a timer on your phone. Pop on a scarf over the cap for warmth, and read, tidy up or watch something while you wait. Check your pillow and collar to make sure nothing drips.
10. Shampoo twice at the roots
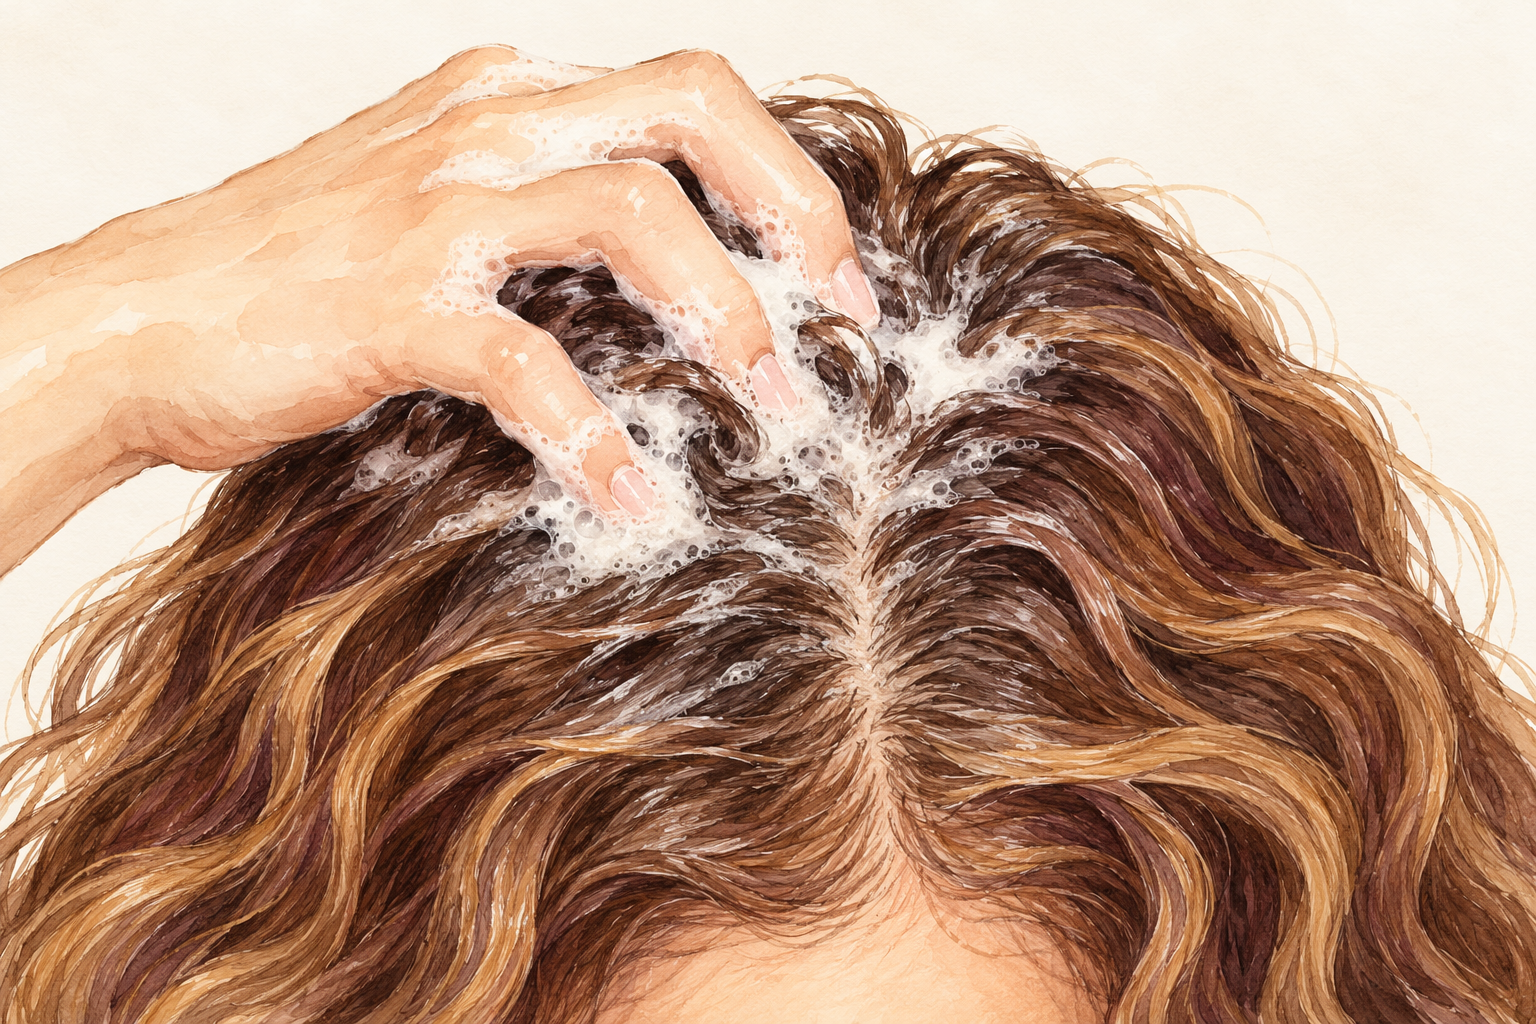
Apply shampoo to dry hair first, and lather before you add water. Oil and water do not mix, so the shampoo needs to meet the oil directly. Massage the roots for a minute, rinse, and shampoo a second time. Run your fingers through the lengths to feel for any slickness, and rinse until your hair squeaks a bit. Finish with a light conditioner on the ends only. Leftover oil leads to flakes and clogged skin, so a thorough wash is part of the treatment. Do not rush it just because the oil part is over.
11. Use it once a week for twelve weeks

Choose one wash day a week and keep to it for three months. More often than that and you invite buildup, spots and a heavy scalp. Hair grows slowly, so a short burst of effort shows nothing, and a steady routine shows a lot. Put it in your diary beside your wash day. If you miss a week, pick it up the next one without doubling up. Take a photo of your parting before you begin, so you have something real to compare, since memory plays tricks on us. Check again at week six and week twelve, in the same light.
12. Know the signs to stop
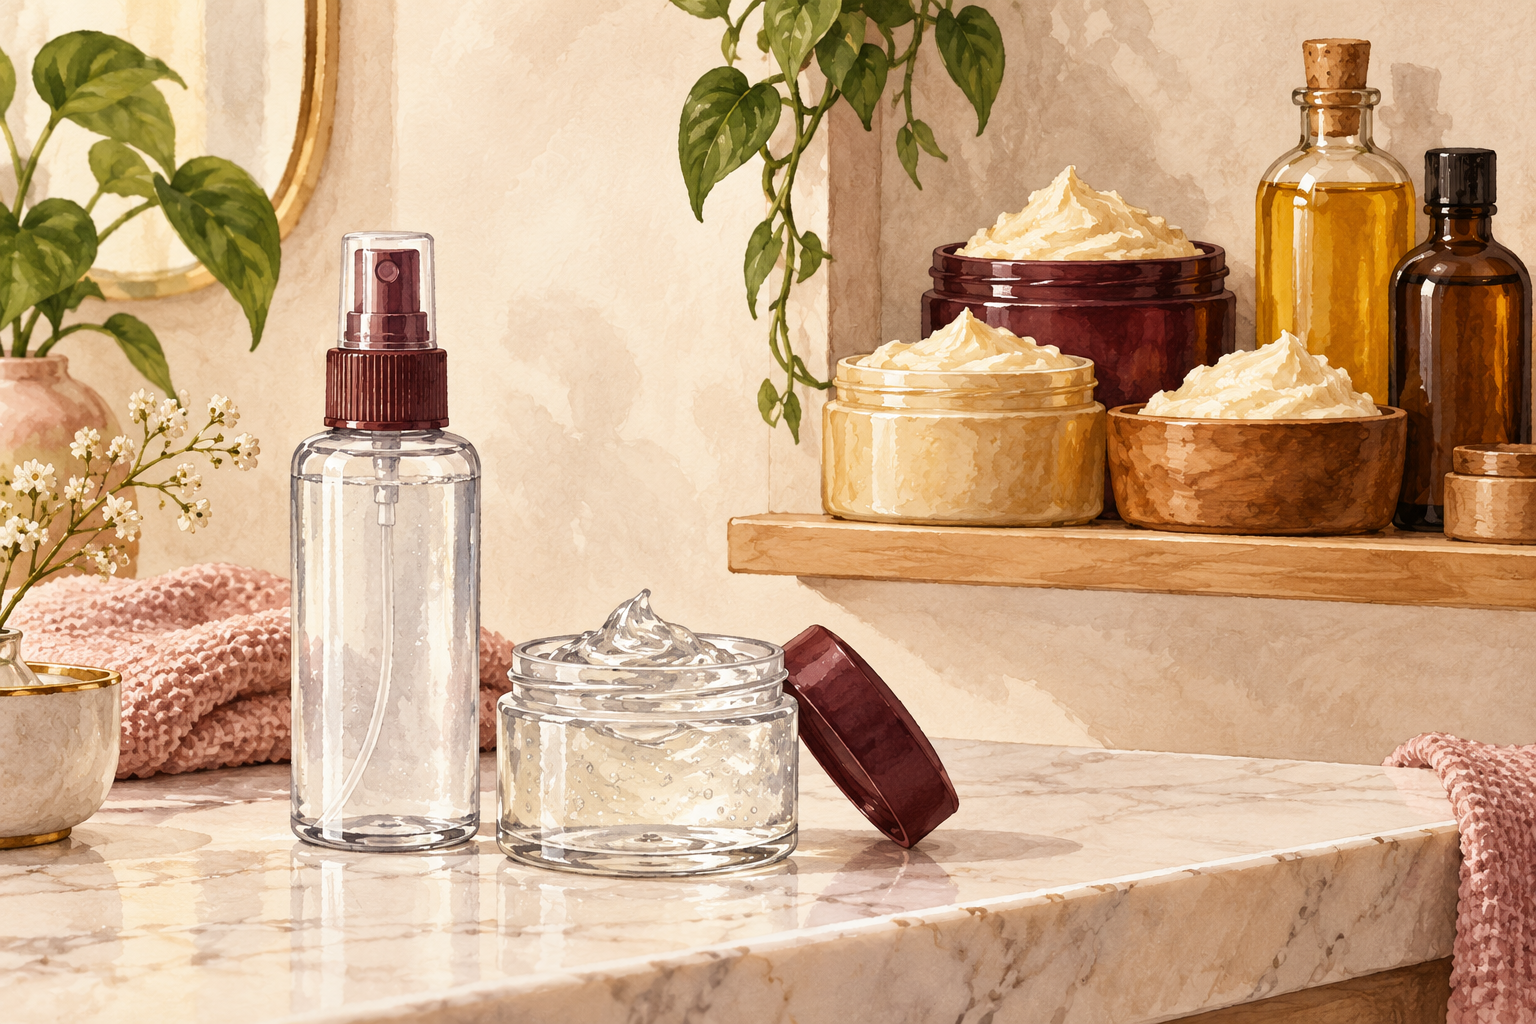
Expect softer hair and a calmer scalp, and stop if you get breakouts or a lot of itching. Pimples along the hairline, flakes or a burning feeling mean the oil is too much for you. Wash it out, rest your scalp for two weeks, then try a weaker mix or lower the frequency. After a few weeks, many girls notice less breakage and a thicker feel at the edges. Not every scalp enjoys castor oil, and that is fine. Plenty of other oils will do the job. Keep castor oil for hair growth for the girls whose scalps enjoy it.
Complete the Routine: Castor Oil for Hair Growth Without the Mess
Tonight, pick your bottle and mix a thin blend with a lighter oil. When you want more oil ideas, read about fast hair growth oil and the hair growth oil recipe.