A bottle with a bold name and a long list of promises sits in your cart, and you wonder if it will really grow your hair. Wild growth hair oil is usually a blend of carrier oils with a few plant extracts, so the label tells you more than the name does. These 12 points cover how to choose it and use it, so start at number one tonight.
1. Know that most growth oils are blends
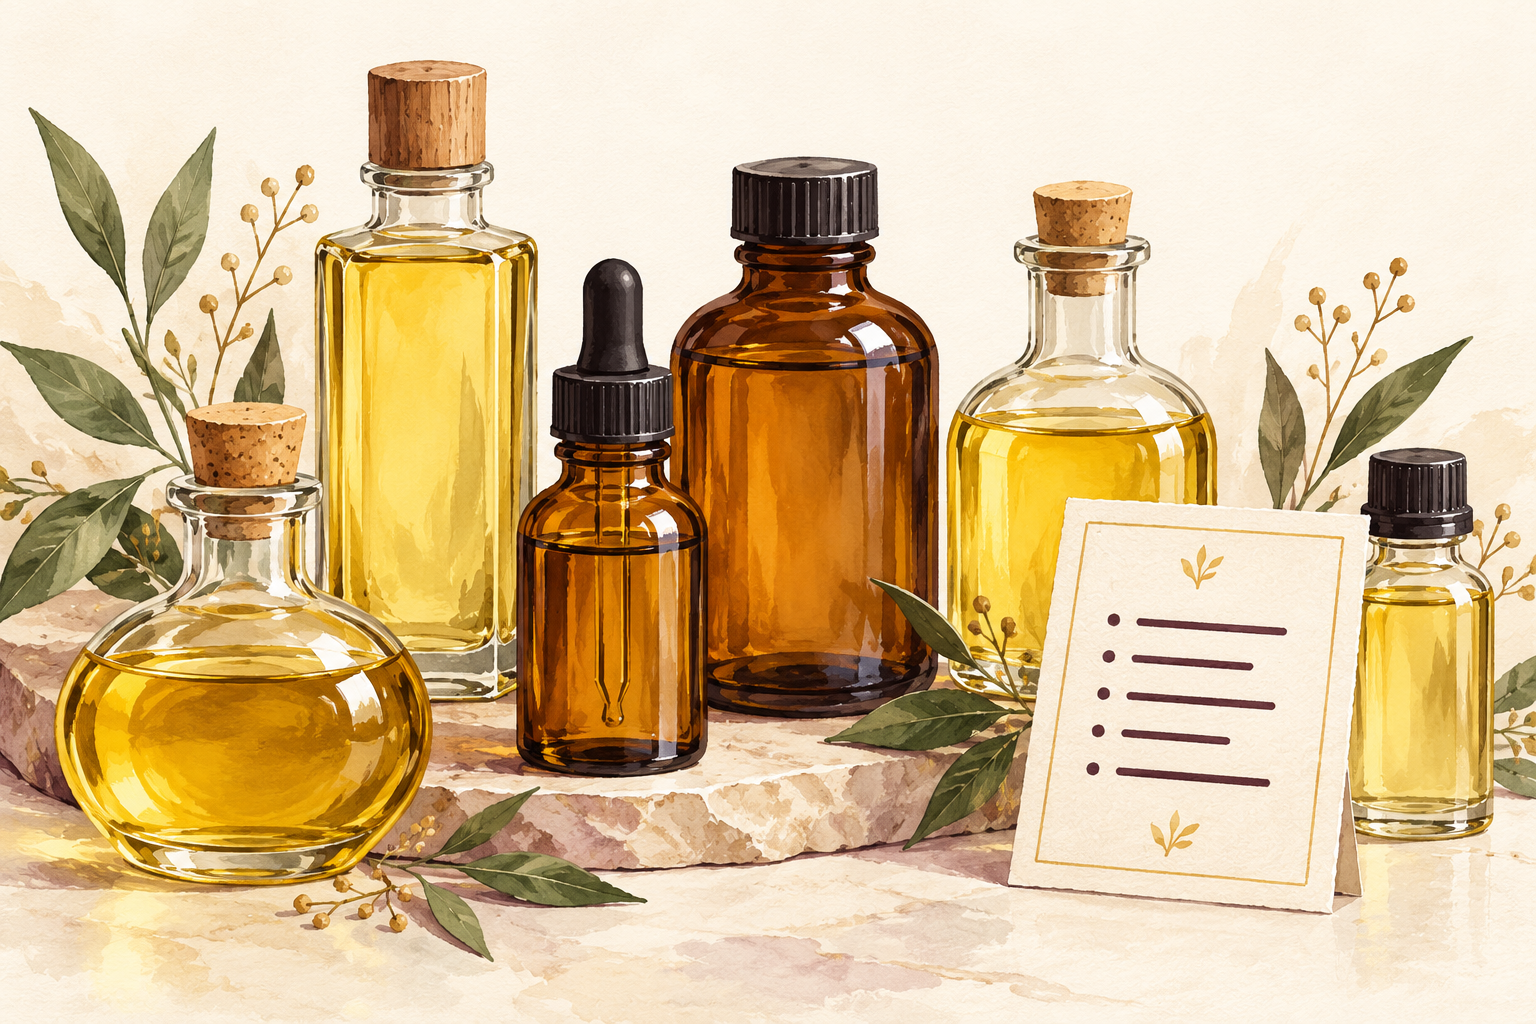
Think of a growth oil as a mix of carrier oils, like castor, coconut and jojoba, with a few herbs soaked in. There is no single magic ingredient behind the name. The oil softens your scalp and strands, so less hair snaps off, and that is why it can seem to help length. Once you understand this, you stop expecting overnight miracles. You can also see why a simple mix at home can do much the same job as a fancy bottle. Whatever name sits on the front, wild growth hair oil is only as good as the oils inside it and the way you use it.
2. Read the ingredient list, not the front label
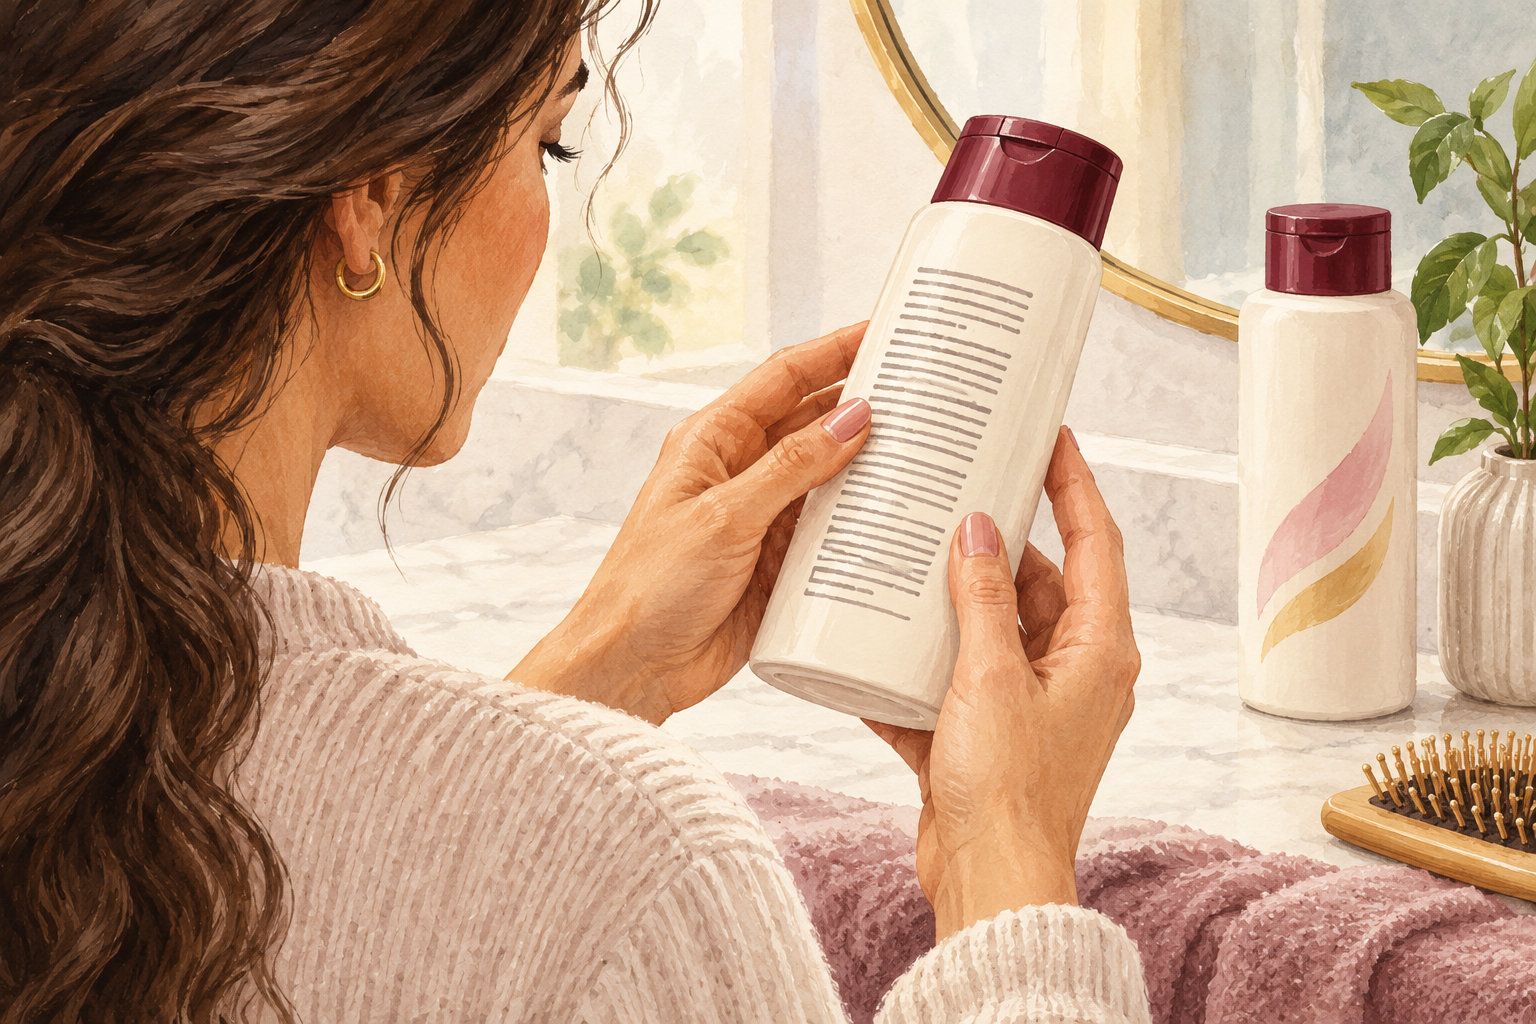
Turn the bottle around and read the ingredients from the top, because the first few make up most of the oil. If the front says natural but the list starts with mineral oil or a long chain of unfamiliar words, put it down. Look for oils you recognize, like castor, jojoba, olive or sweet almond. Short lists are easier to judge and easier to check for allergies. Also check the end of the list for strong fragrance, which is the most common thing that irritates a scalp. If a word is hard to pronounce, look it up on your phone before you buy.
3. Match the weight of the oil to your scalp
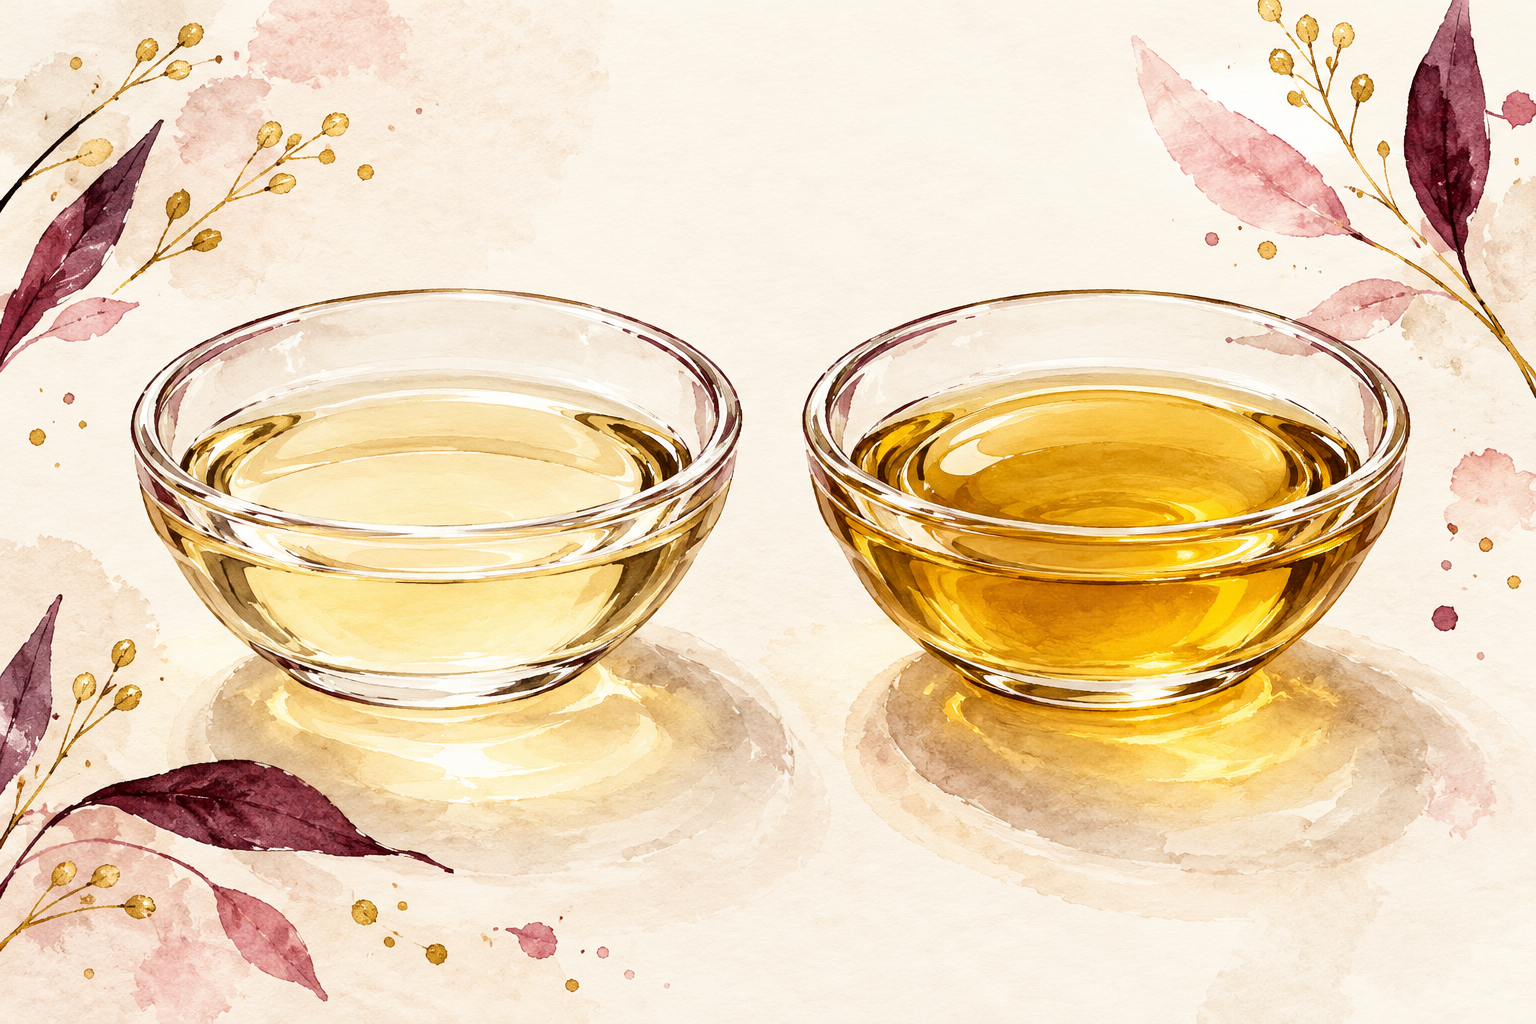
Choose a lighter blend if your scalp gets oily, and a thicker one if it runs dry and tight. Thick oils like castor feel heavy and can leave roots flat and greasy on an oily scalp. Dab a drop between your fingers. If it spreads like water, it is light, and if it clings like syrup, it is heavy. Dry, flaky scalps usually soak up heavier oils more happily. If you are not sure, start light, because you can always add more weight later.
4. Think about your hair type too

Fine, straight hair does best with a few drops on the scalp, while thick or coily hair can take more along the lengths. Fine strands get weighed down quickly, so keep the oil near the roots and avoid saturating the ends. Coarse and tightly coiled hair loses moisture faster, so it welcomes oil as a seal after water and cream. Wavy hair sits in between, so a thin layer works well. Your hair type decides how much and where, so match the amount to your strands. If your hair changes with the seasons, switch to a lighter hand in humid months.
5. Patch test and check for allergies
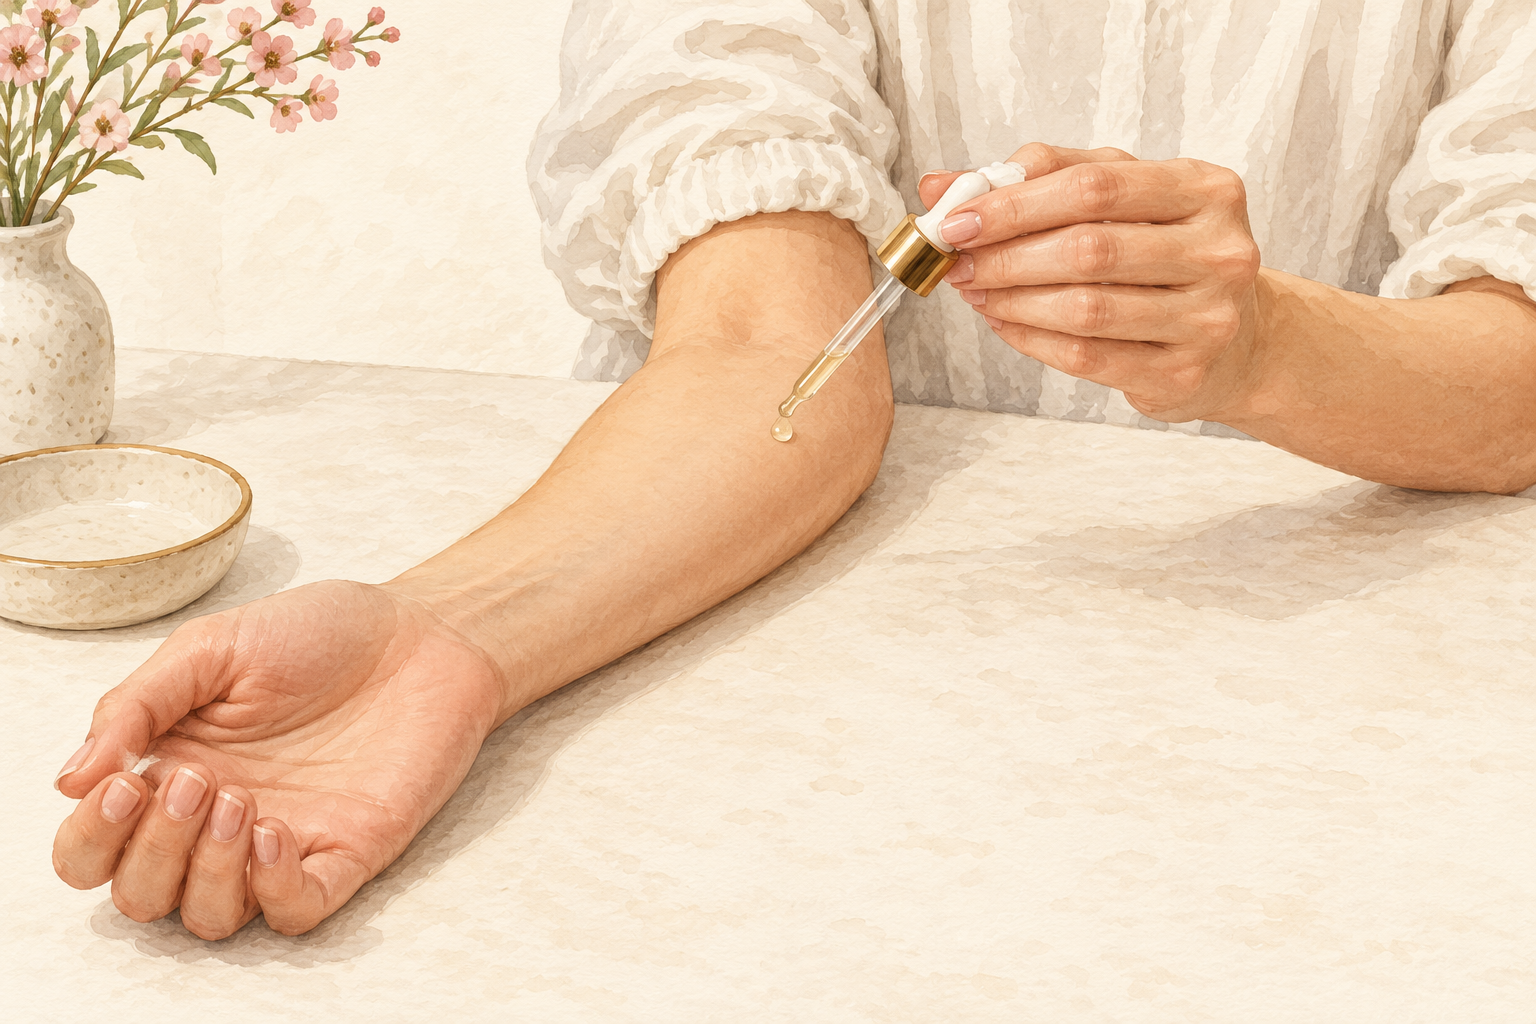
Put a drop on the inside of your elbow and leave it for a full day before it goes near your scalp. Plant extracts, especially citrus and mint, can sting or cause a rash on some skin. Check the ingredients for nuts if you have an allergy, because sweet almond and some blends are nut based. If you see redness, bumps or feel an itch, wash it off and do not use that bottle. It is a small step that spares you a lot of trouble. Repeat the test for every new bottle, even when the name is the same, because blends change.
6. Start with a few drops, not a palmful
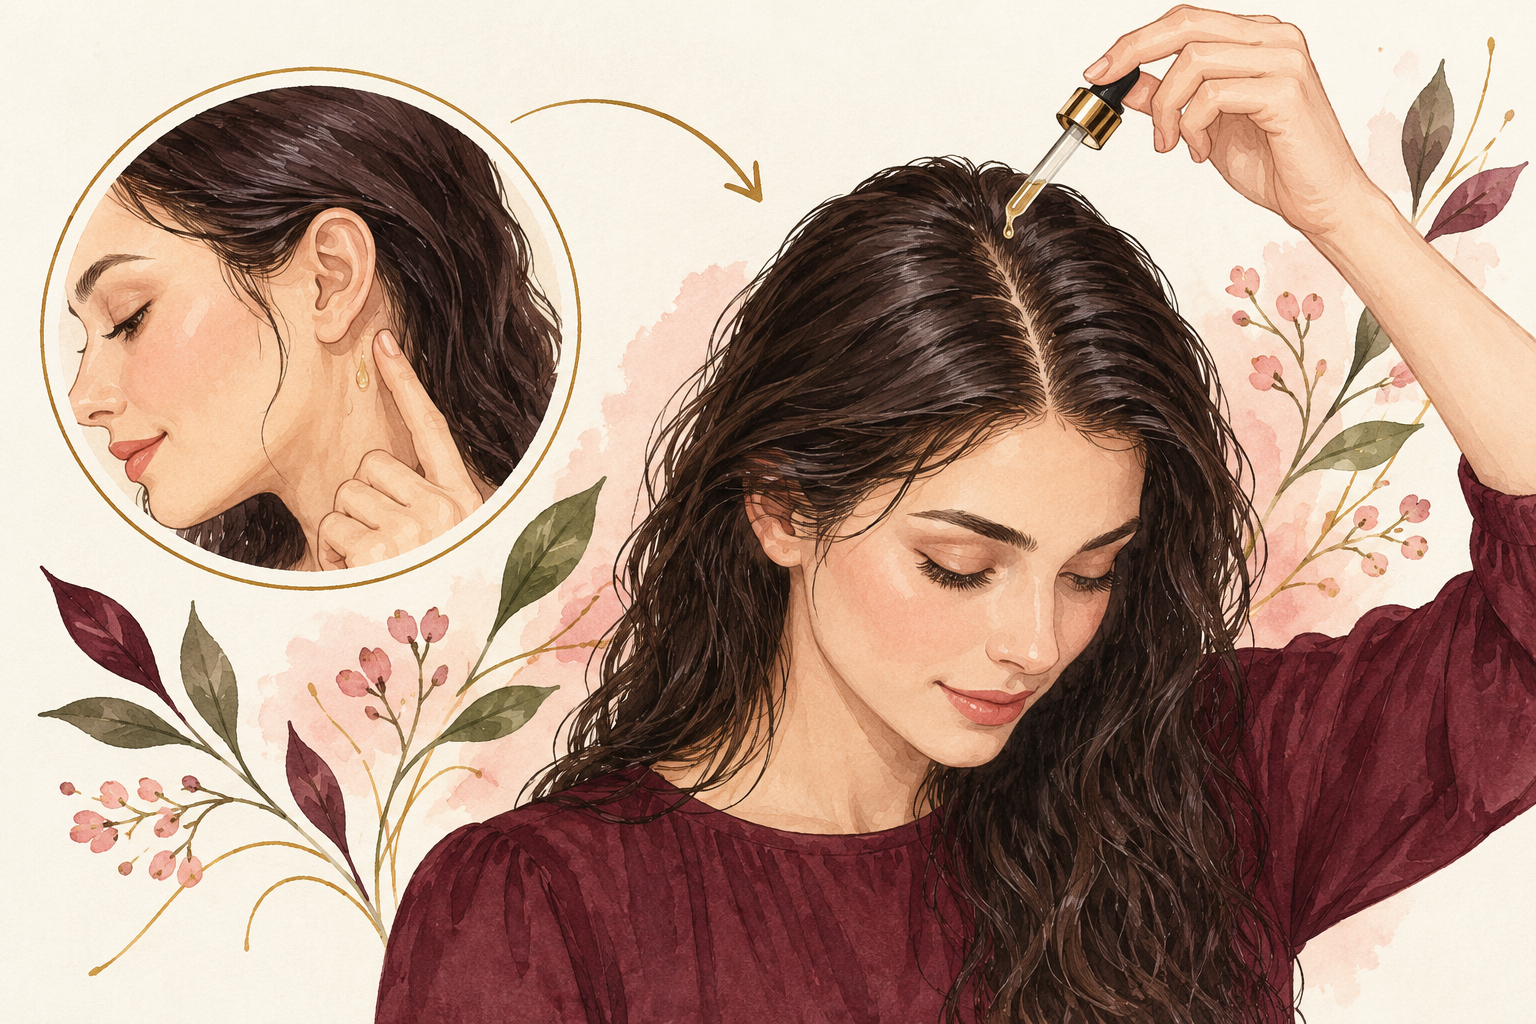
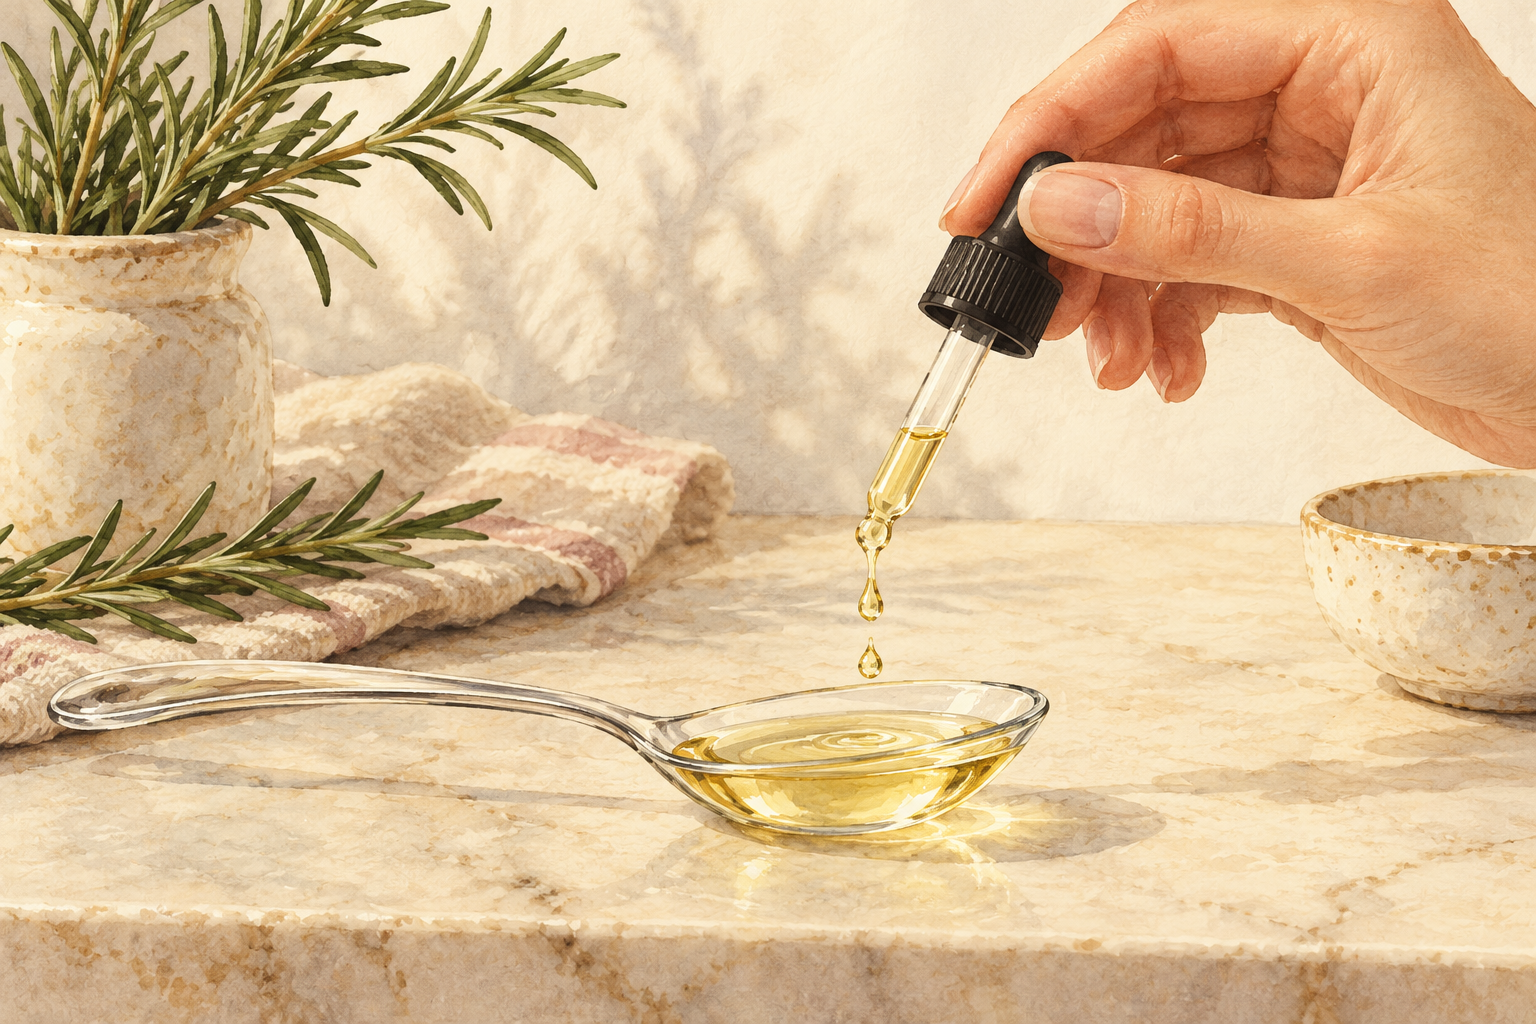
Use three to five drops for your whole scalp, rubbed between your palms before you touch your head. Too much oil leaves hair limp, makes shampooing a chore and blocks your scalp. You can always add another drop, but you cannot take it back. Hold the dropper close to the parting so the drops land exactly where you want them. A small bottle should last a good while when you use it this way. If your hair looks greasy by evening, cut the amount in half next time. Press the oil flat against the scalp instead of dabbing so it spreads without pooling.
7. Use it two or three times a week
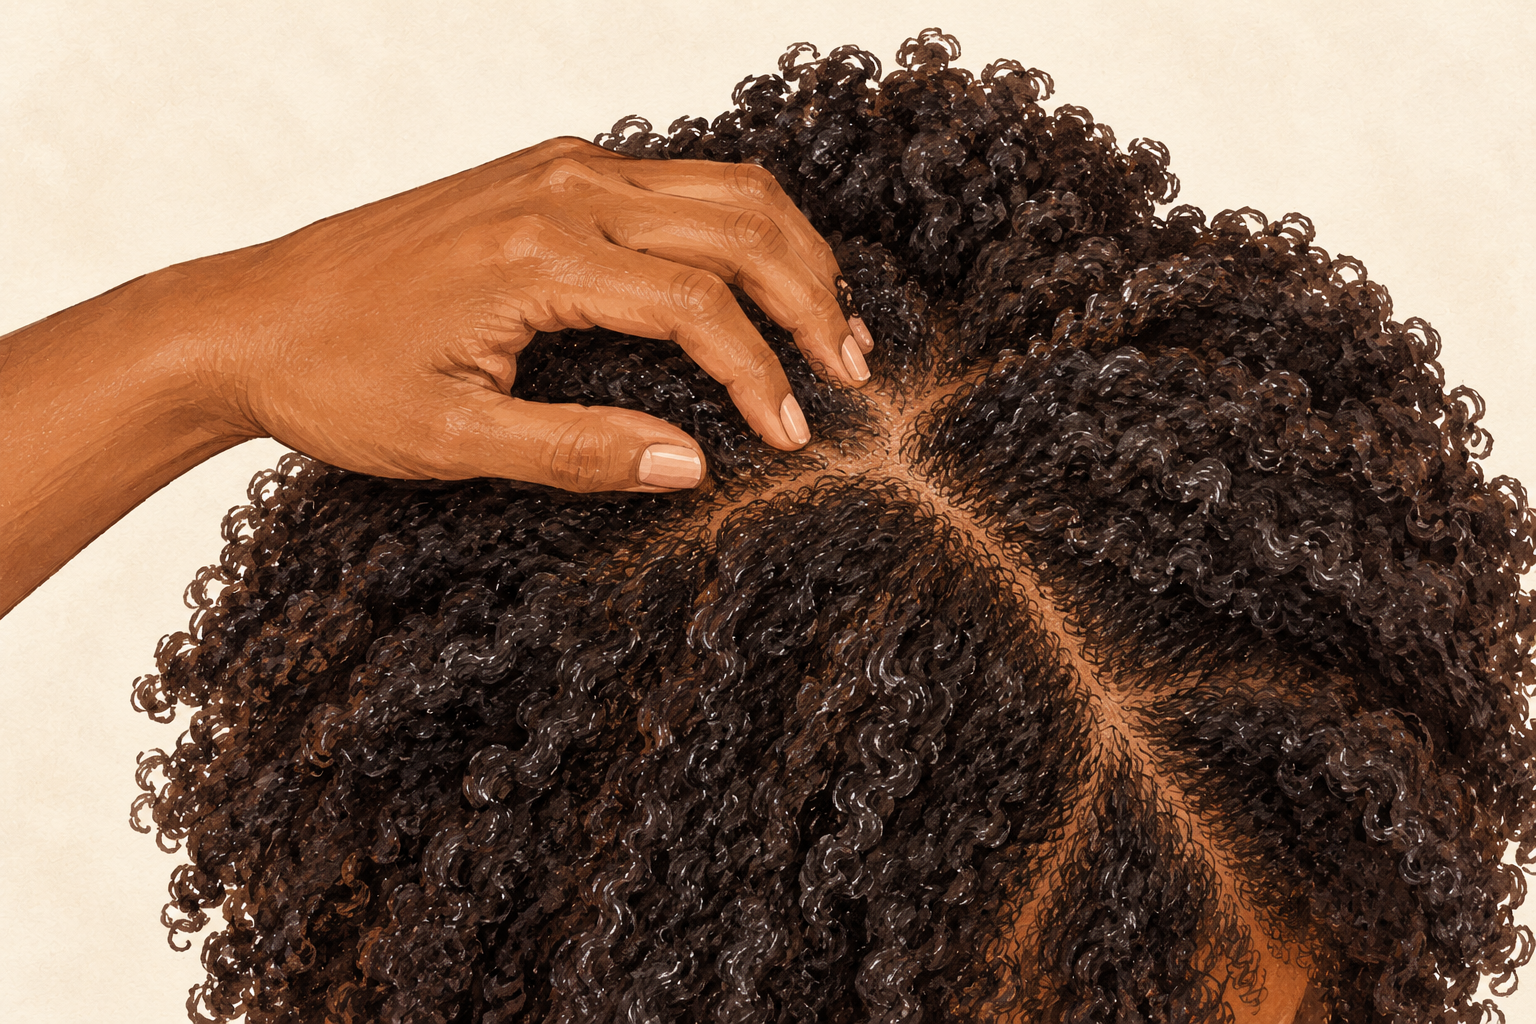
Massage it into a clean, parted scalp two or three evenings a week, and leave it for at least an hour. Oil needs time to soften the skin, and the massage is as helpful as the oil. Work in small circles for three minutes, then spread what is left through your ends. Wash it out the next morning, or after a few hours if your scalp is oily. Daily use clogs the scalp and builds up. A steady rhythm for months beats a heavy week followed by a gap. Tie your hair up under a satin bonnet while it soaks, to protect your pillow.
8. Apply it to damp hair, not dry strands
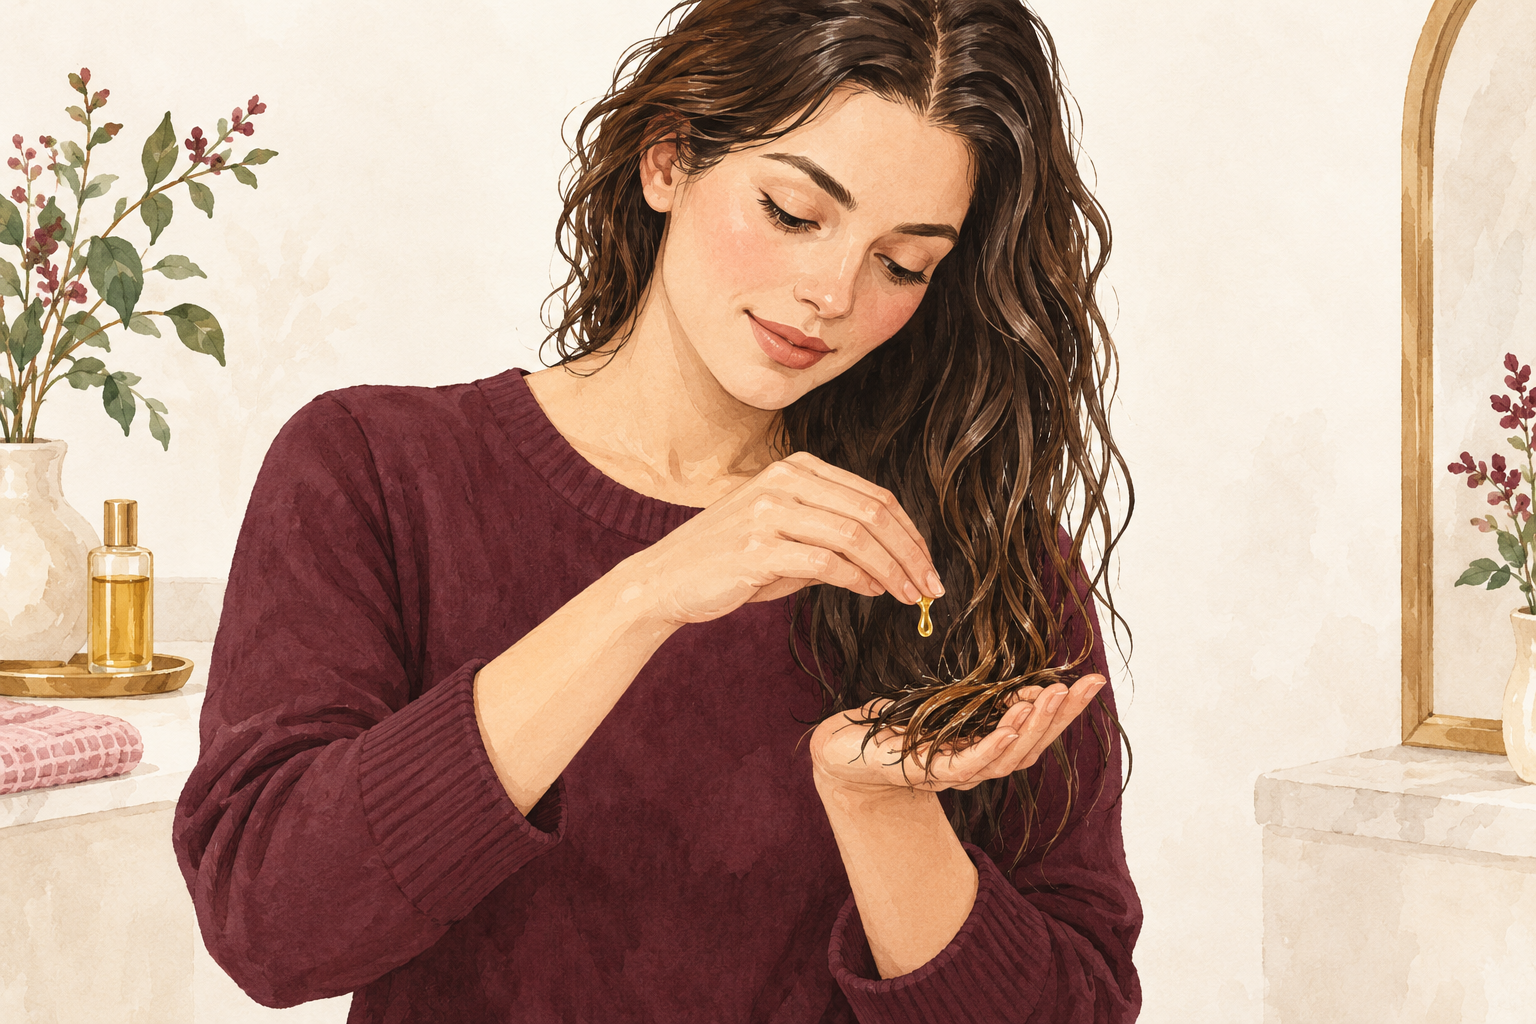
Mist your hair with water first, then press the oil over the damp lengths to seal. Oil on dry strands only coats the outside and traps dryness underneath. On damp hair it holds in the water you just added. Aim for the ends and mid lengths, which are driest, and use a light touch at the roots. Smooth it down with your palms instead of rubbing. This turns a bottle of oil into a proper seal, and your hair stays softer for days. A fine mist from a spray bottle is enough, as the hair only needs to feel cool and slightly wet.
9. Do not stack it on top of heavy products
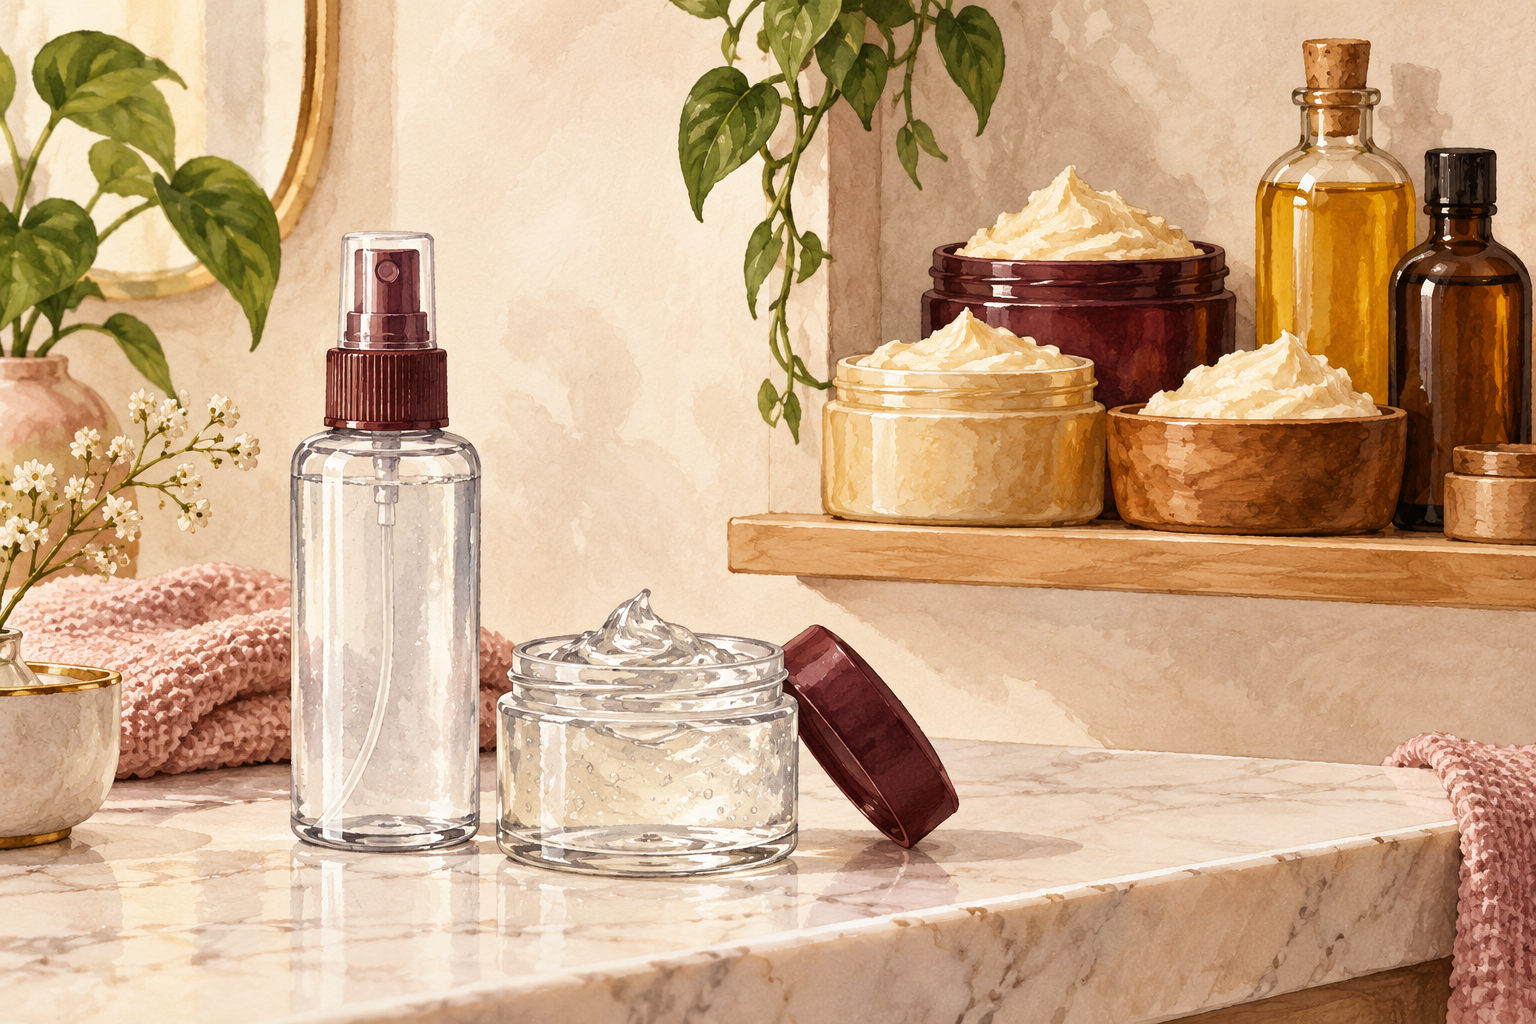
Skip the butter and thick pomade on days you use the oil, and clarify once a month. Layers of heavy products plus oil build up into a sticky coat that stops water getting through. Your hair then feels dry underneath and greasy on top, which fools you into adding more. If your hair feels coated and flat, wash with a clarifying shampoo and start again with less. A thin layer used often is better than a thick layer used rarely. Choose one oil product for the scalp and one for the ends. Swap products one at a time if your hair feels weighed down, so you find the culprit quickly.
10. Blend two oils you already know
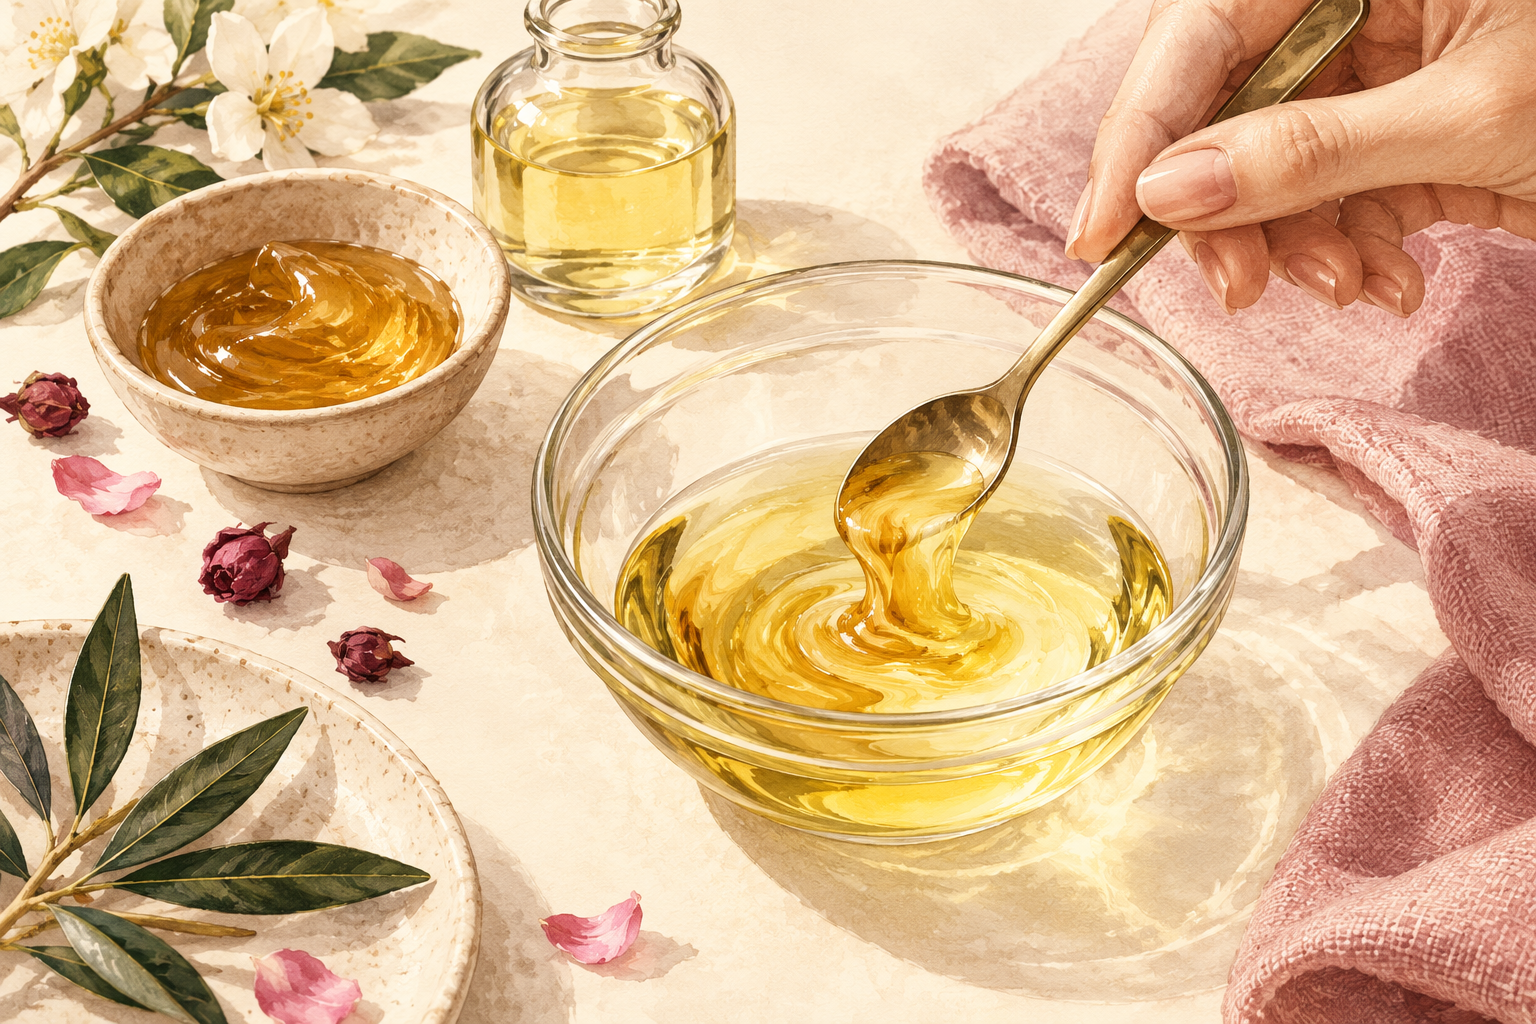
Stir one spoon of castor oil into two spoons of jojoba or olive oil for a simple homemade version. It takes a few minutes, and you control exactly what goes in it. Store it in a small dark bottle away from heat, and use it within a couple of months. Label the date on the bottle. If it smells sharp or sour, throw it away. This is a good way to learn what your hair likes before committing to a bottle with a long list. Shake the bottle gently before each use, because the oils settle apart.
11. Add botanicals slowly and carefully
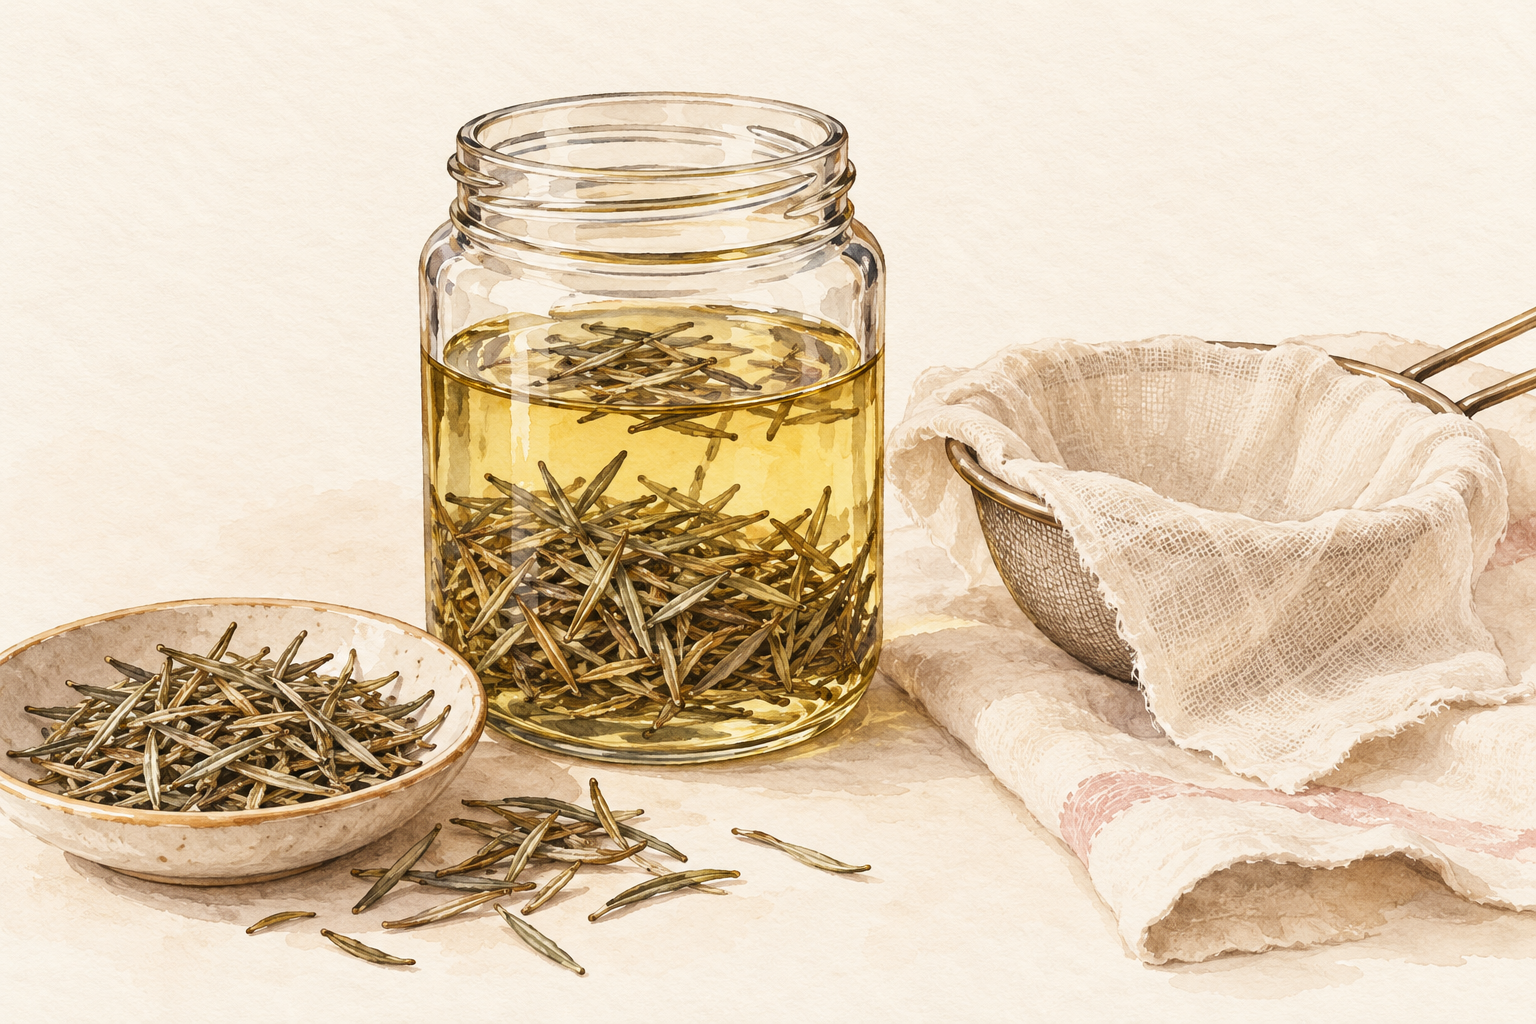
Drop in one herb at a time, like a sprig of dried rosemary, and wait two weeks before adding another. Strong herbs and essential oils can irritate the scalp, so keep them to a tiny amount. Never use an essential oil undiluted, and keep it to one drop per tablespoon of carrier oil. If you change three things at once, you will not know which one helped or which one stung. Slow experiments teach you far more than a shelf full of mixes. Keep a note on your phone of what you added and the date, so you can trace any reaction.
12. Judge it after twelve weeks, and stop if your scalp complains
Check for softer hair and less breakage at twelve weeks, and stop right away if your scalp itches, burns or flakes. Hair grows about half an inch a month, so any growth oil needs a few months before you can judge it. What you will likely notice is fewer snapped strands, a calmer scalp and smoother ends. If nothing has changed, it may simply not suit you, and that is fine. Pass the bottle to a friend, and if wild growth hair oil does not suit you, a plain carrier oil from your kitchen shelf does a fine job.
Complete the Routine: Wild Growth Hair Oil, Used Wisely
Tonight, read the label, patch test, and try three drops on a parted scalp. For more options, read about hair growth oil and natural hair growth oil.