Wash day drags on when you are not sure what comes next, and your curls end up frizzy anyway. The trouble is rarely your hair, it is the order and the rushing. This curly hair care routine lays out 12 steps with the time each one takes, so you can plan your evening. Start at number one tonight.
1. Set out everything you need
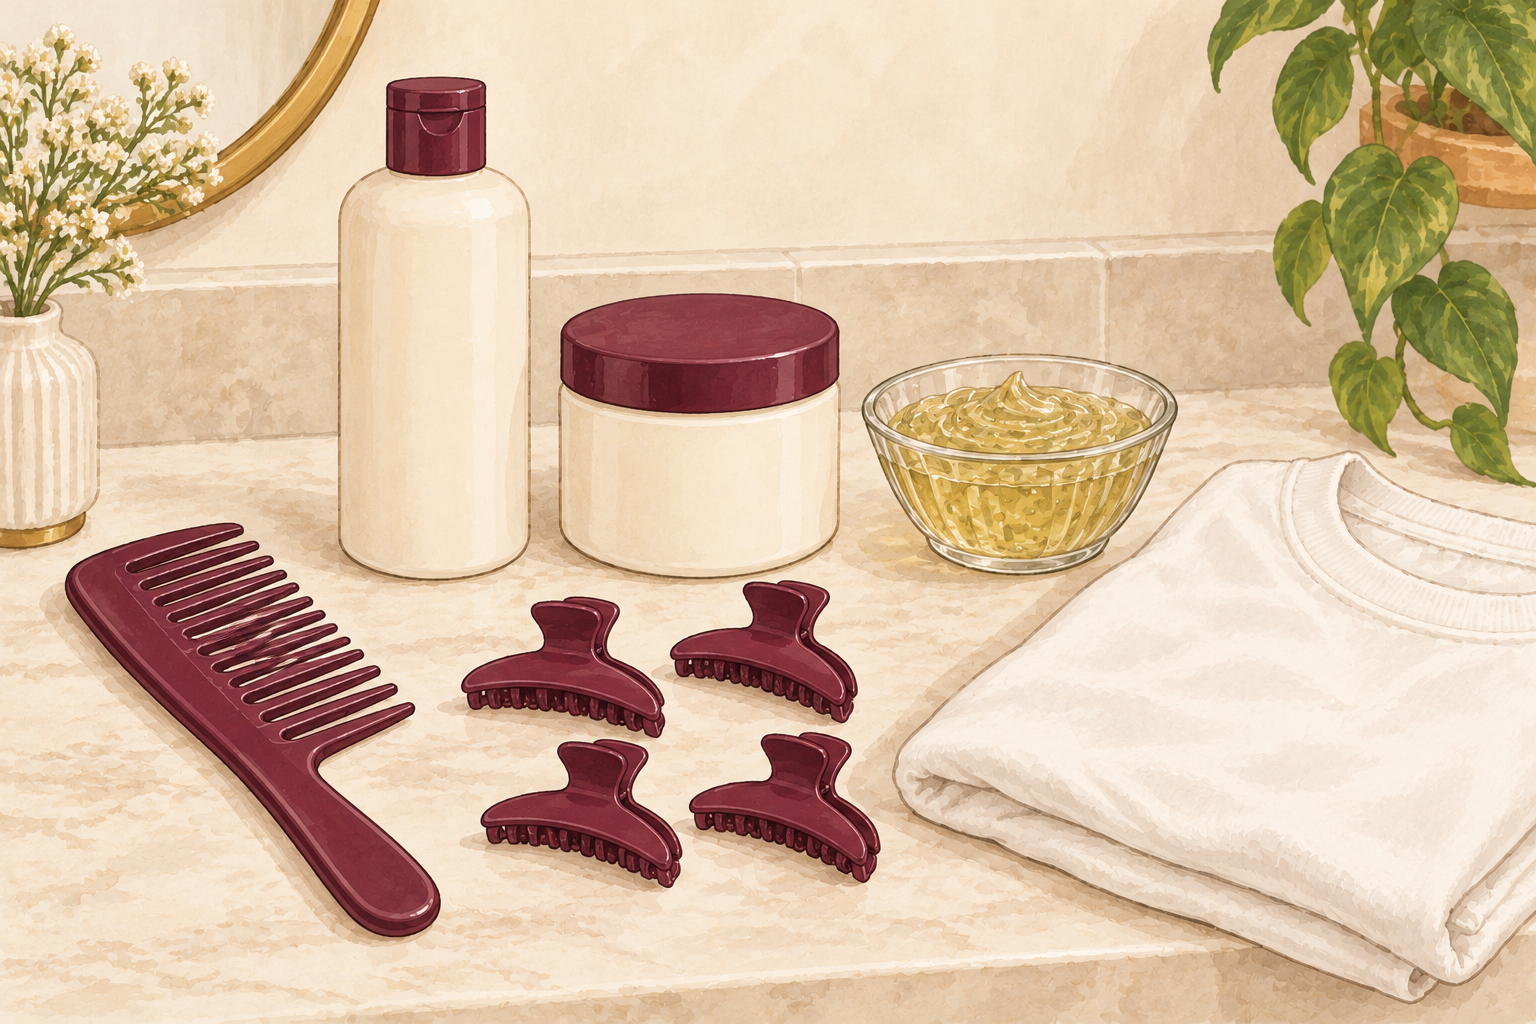
Spend five minutes lining up your tools before the water runs. You need a shampoo, a conditioner, a leave in, a gel or mousse, a wide tooth comb, four clips and an old cotton t shirt. Put a towel on your shoulders, and a hair tie on your wrist. Nothing is worse than standing soaked and dripping while you hunt for a clip. Put a timer on your phone, and a drink within reach. When everything is in one spot, wash day feels calm instead of chaotic. Keep it all in a basket and carry it to the bathroom each time. With your basket packed, curly hair care is the page to read for the wider routine behind these steps.
2. Divide your hair into four sections
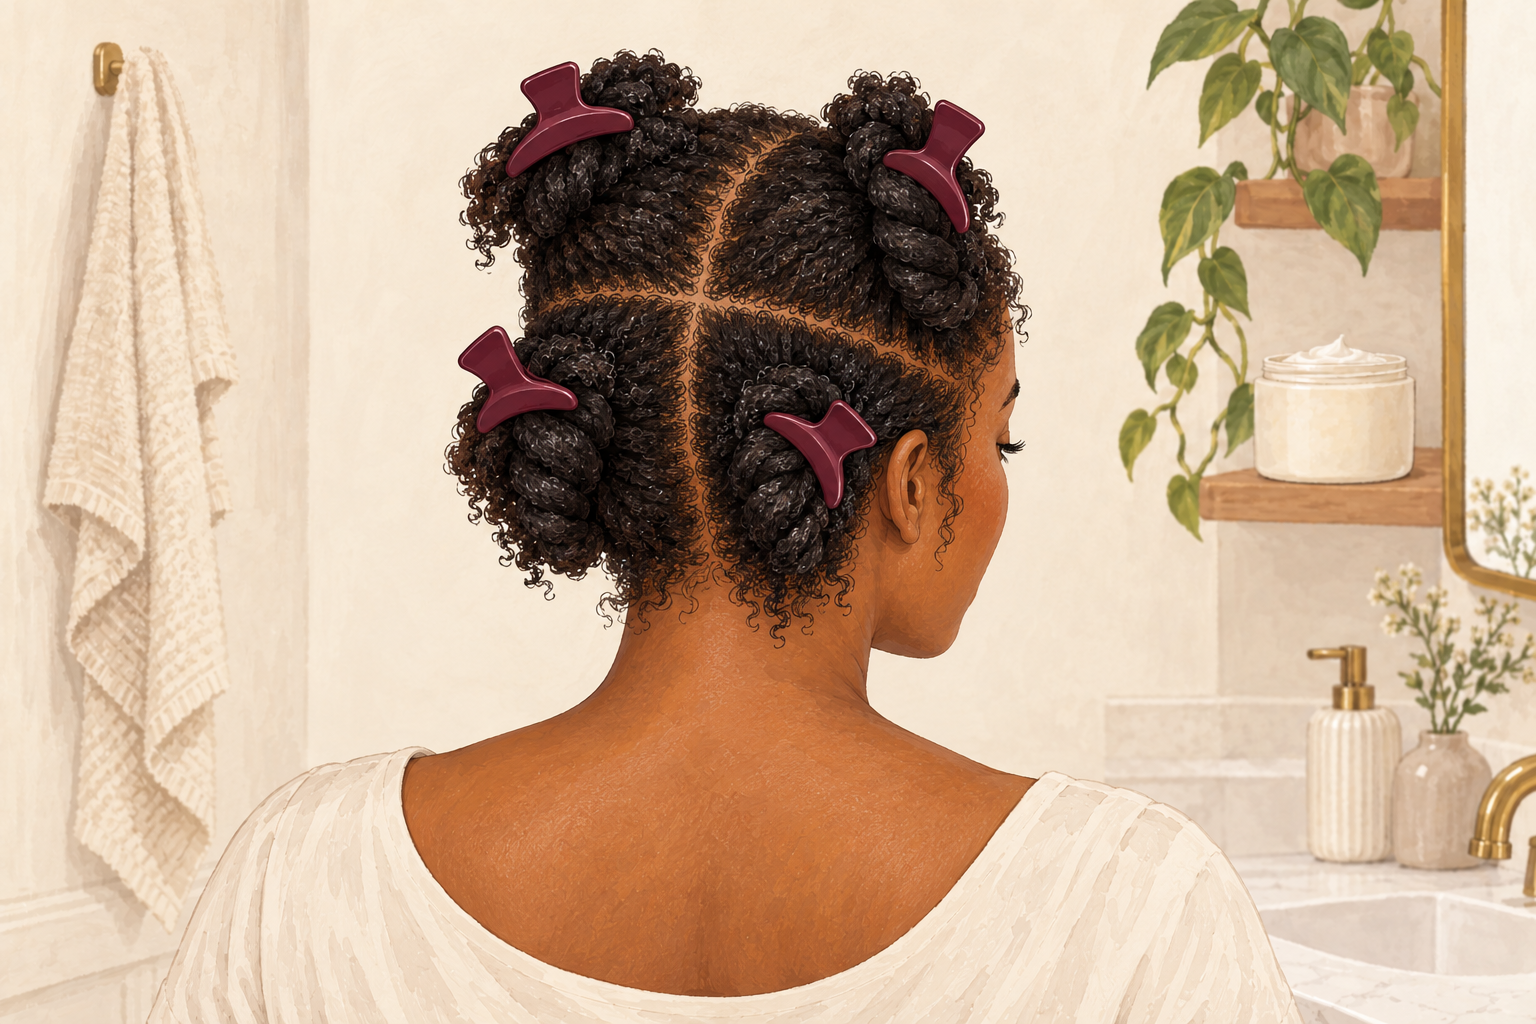
Part your dry hair into four chunks and clip each one up. This takes about three minutes. It stops tangles from spreading and makes sure every section gets its fair share of product. Work with one section at a time from here on. If your hair is very thick, use six sections. Part it down the middle first, then from ear to ear. Do not worry about tidy lines, because only you will see them. Dividing in advance is also what keeps your wash day from running over its time. Release one clip when you are ready to work on that part.
3. Add an optional pre wash treatment
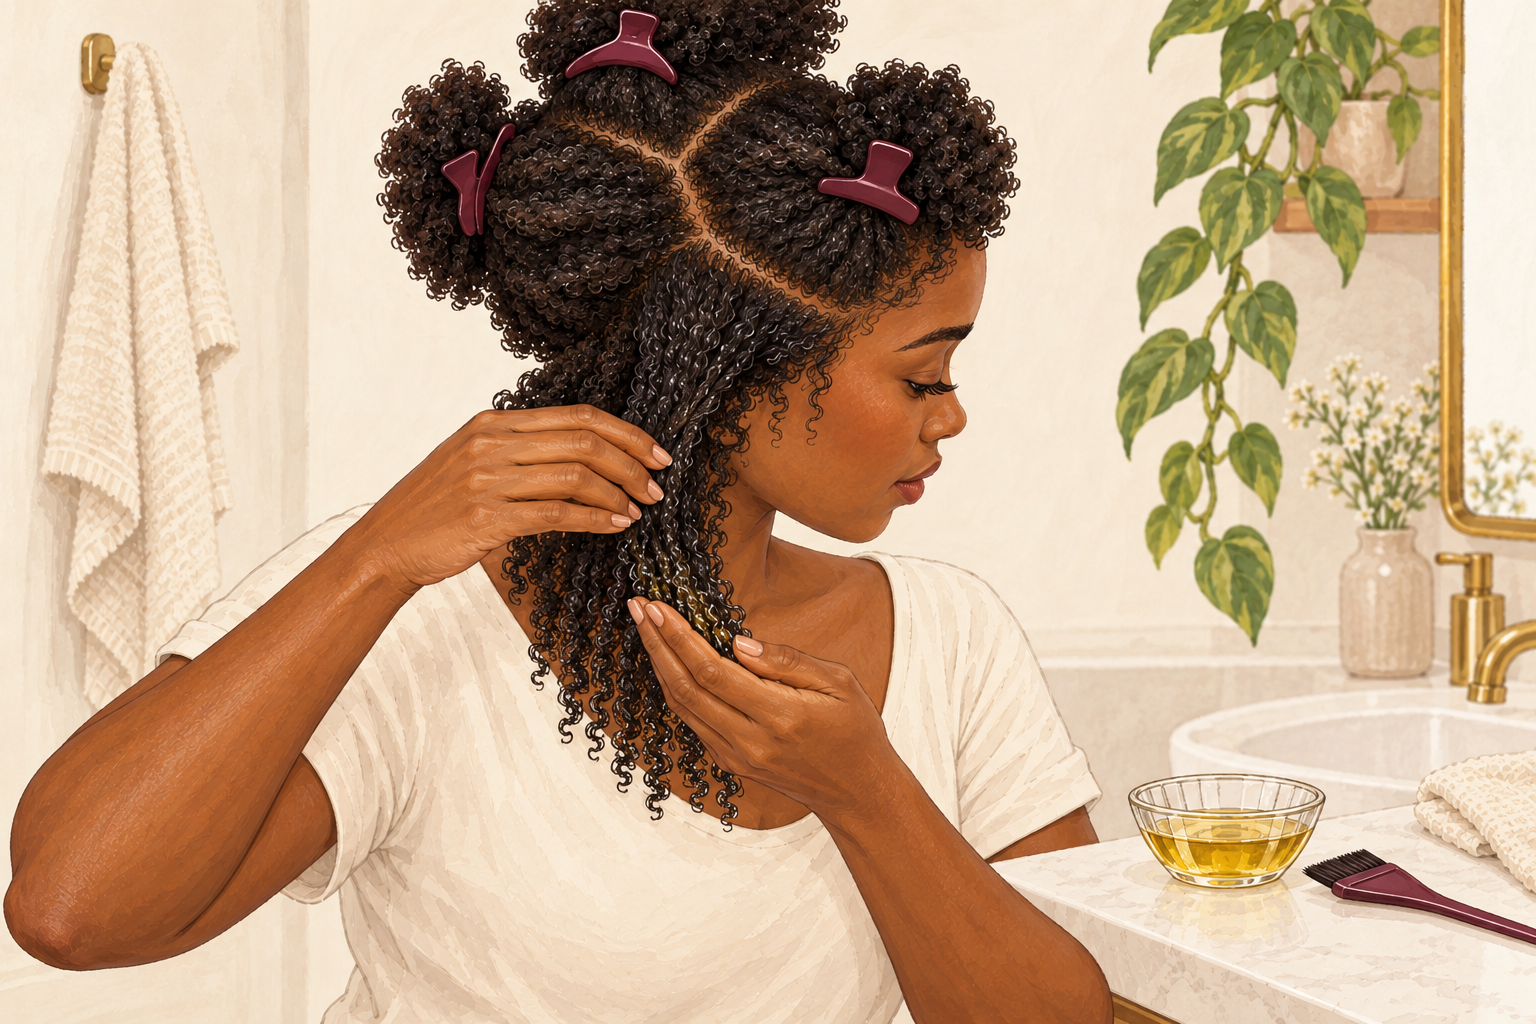
Smooth a little warm oil along your lengths and leave it for ten to thirty minutes before shampooing. This step is optional, but it helps very dry curls survive the wash with less stripping. Use a teaspoon per section of olive, coconut or jojoba oil, warmed between your palms. Avoid putting it on your scalp if you get oily roots. Cover your hair with a shower cap while you tidy the bathroom. Then shampoo as usual. If your curls are already soft and bouncy, skip it. Dry, tight curls are the ones that thank you for it the most.
4. Wash the scalp for two to three minutes
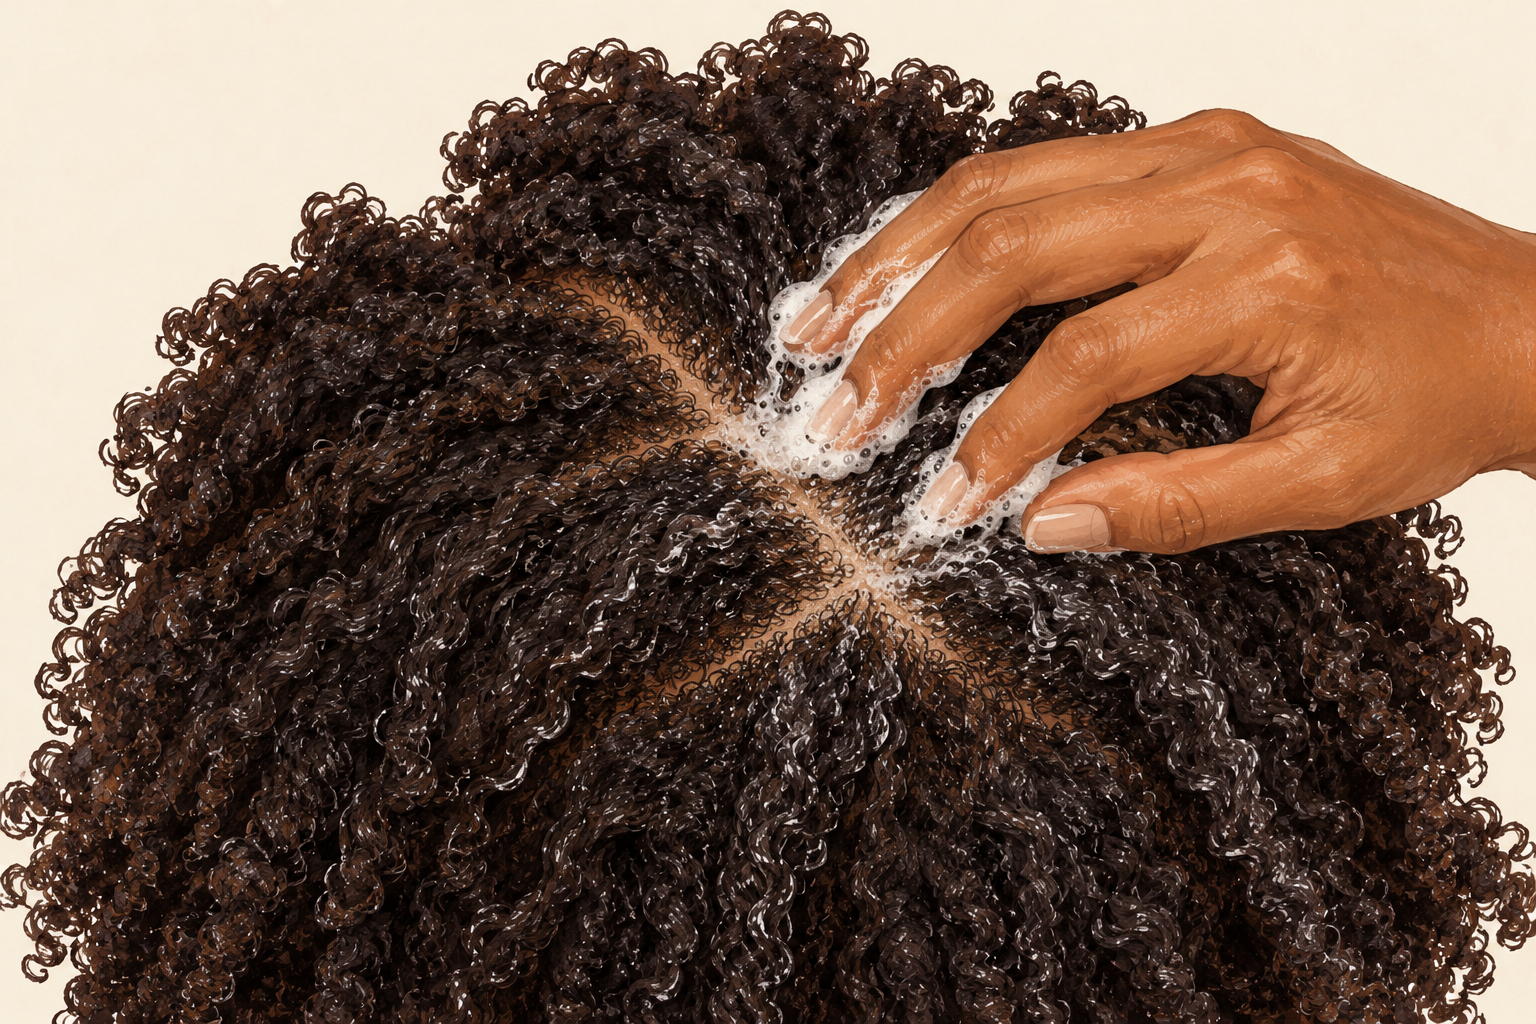
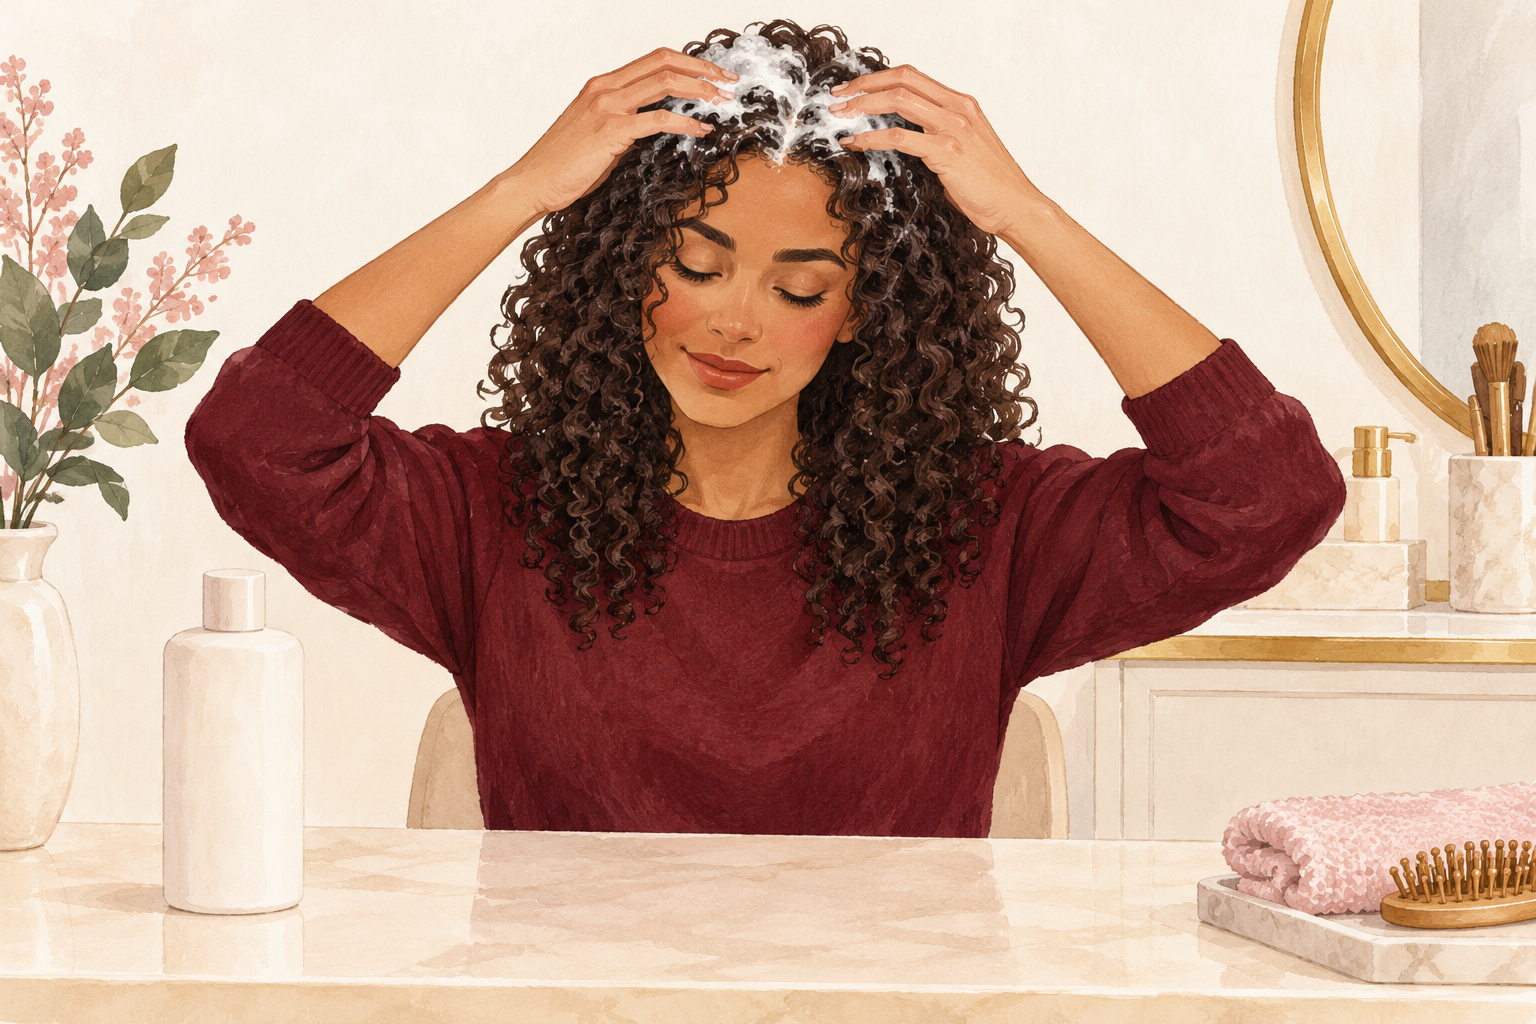
Massage shampoo into your scalp with the pads of your fingers for a full two to three minutes. Open one section at a time and work the foam into the roots. Your scalp is what needs the clean, so leave the lengths alone. Let the foam run down the curls as you rinse. Use lukewarm water, never hot. If you have a lot of build up, wash twice, but keep the second round short. Rinse until your scalp feels light and squeaks a little. Rushing this step is how flakes and itching begin, so let the timer run. Healthy scalp habits are a fine starting point, and once wash day feels easy, you can explore curly hair growth next.
5. Detangle with conditioner in each section
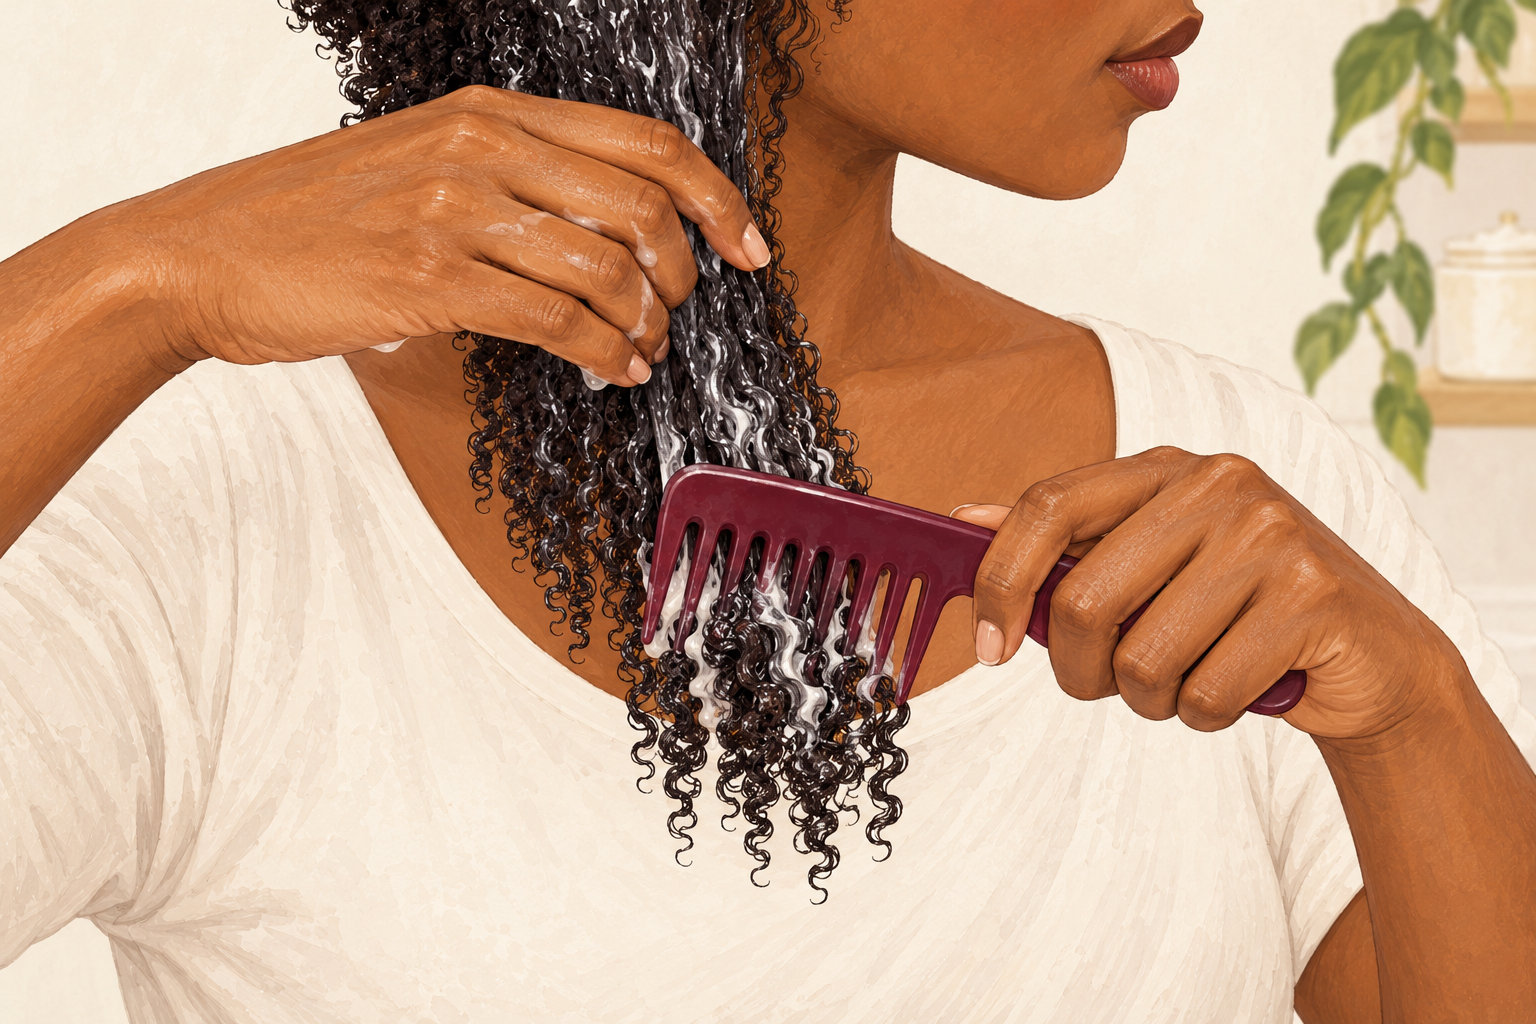
Smooth a handful of conditioner through one section and comb from the ends up. This takes about five minutes for the whole head. Use a wide tooth comb or your fingers, and hold the hair above each knot. The conditioner should be thick enough for the comb to glide with no tugging. Twist the finished section and clip it up again, then move to the next. If a knot will not move, add more conditioner. Dry detangling is how curls snap, so never do it before you wash. The more patient you are here, the less you lose down the drain.
6. Rinse most of it out and leave a little
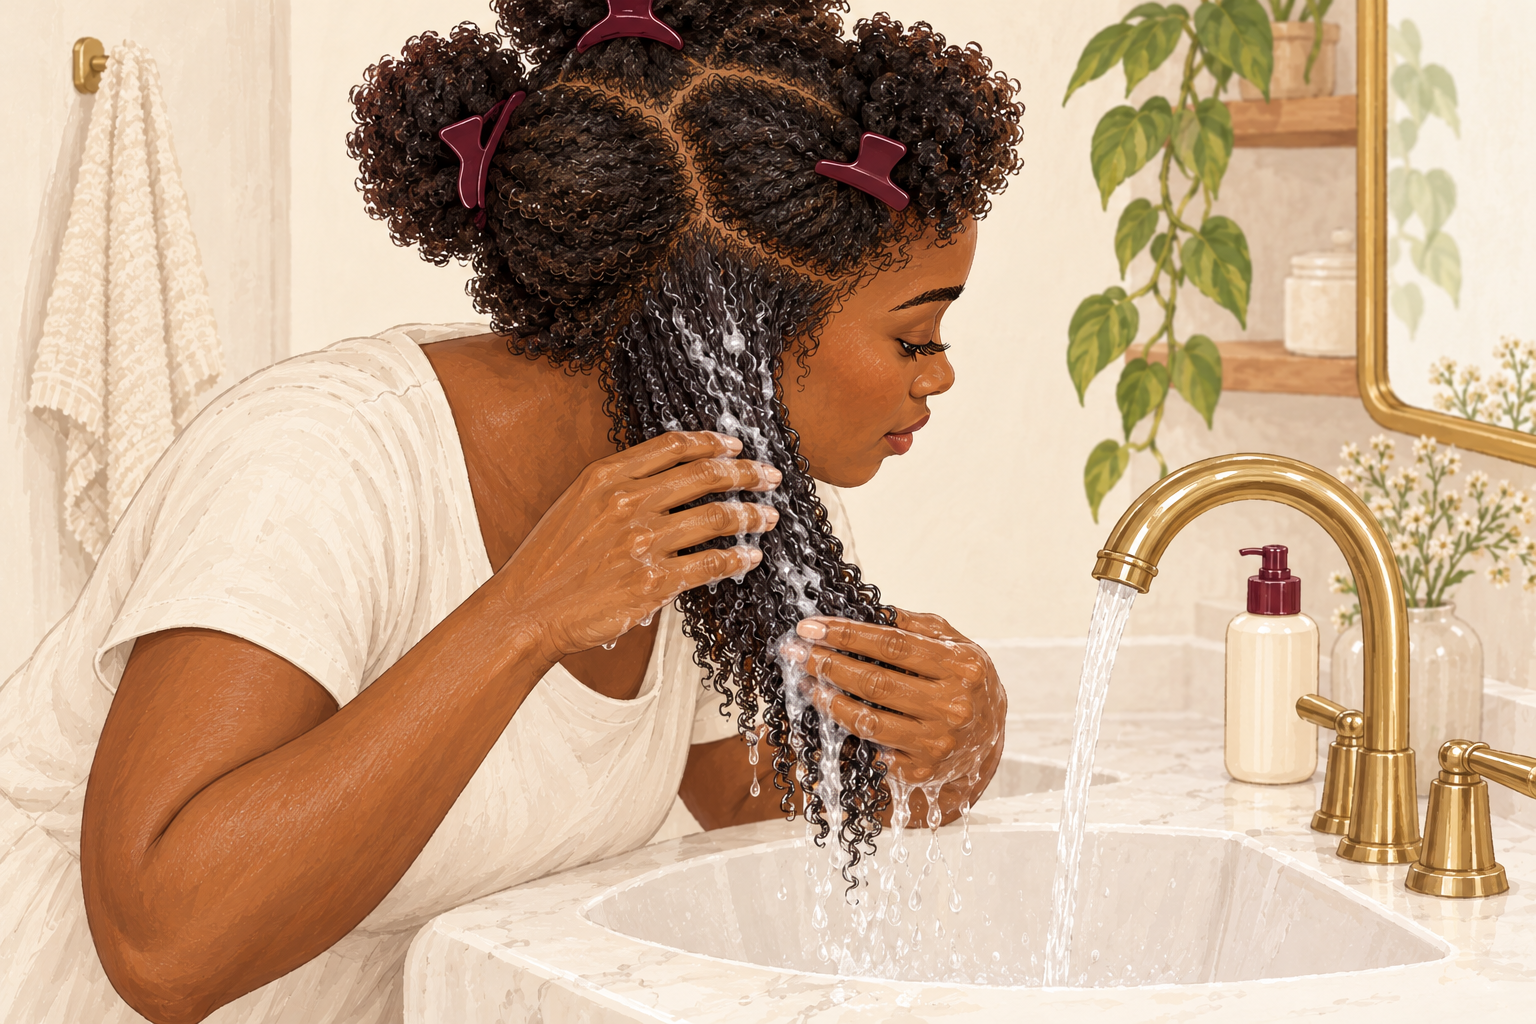
Rinse for about a minute with cool water, and stop while your curls still feel slippery. A thin film of conditioner is a good thing, because it keeps the curls soft until you style. Rinsing it all out leaves them rough and ready to frizz. Cool water also helps the outer layer lie flat. Tilt your head forward to let the water run through. If your hair feels coated and heavy, rinse a little longer next time. If it feels squeaky, use less rinsing. Pay attention to the feel, because your hands know the right amount. After a few wash days you will stop guessing and simply know.
7. Deep condition once a week or every other week
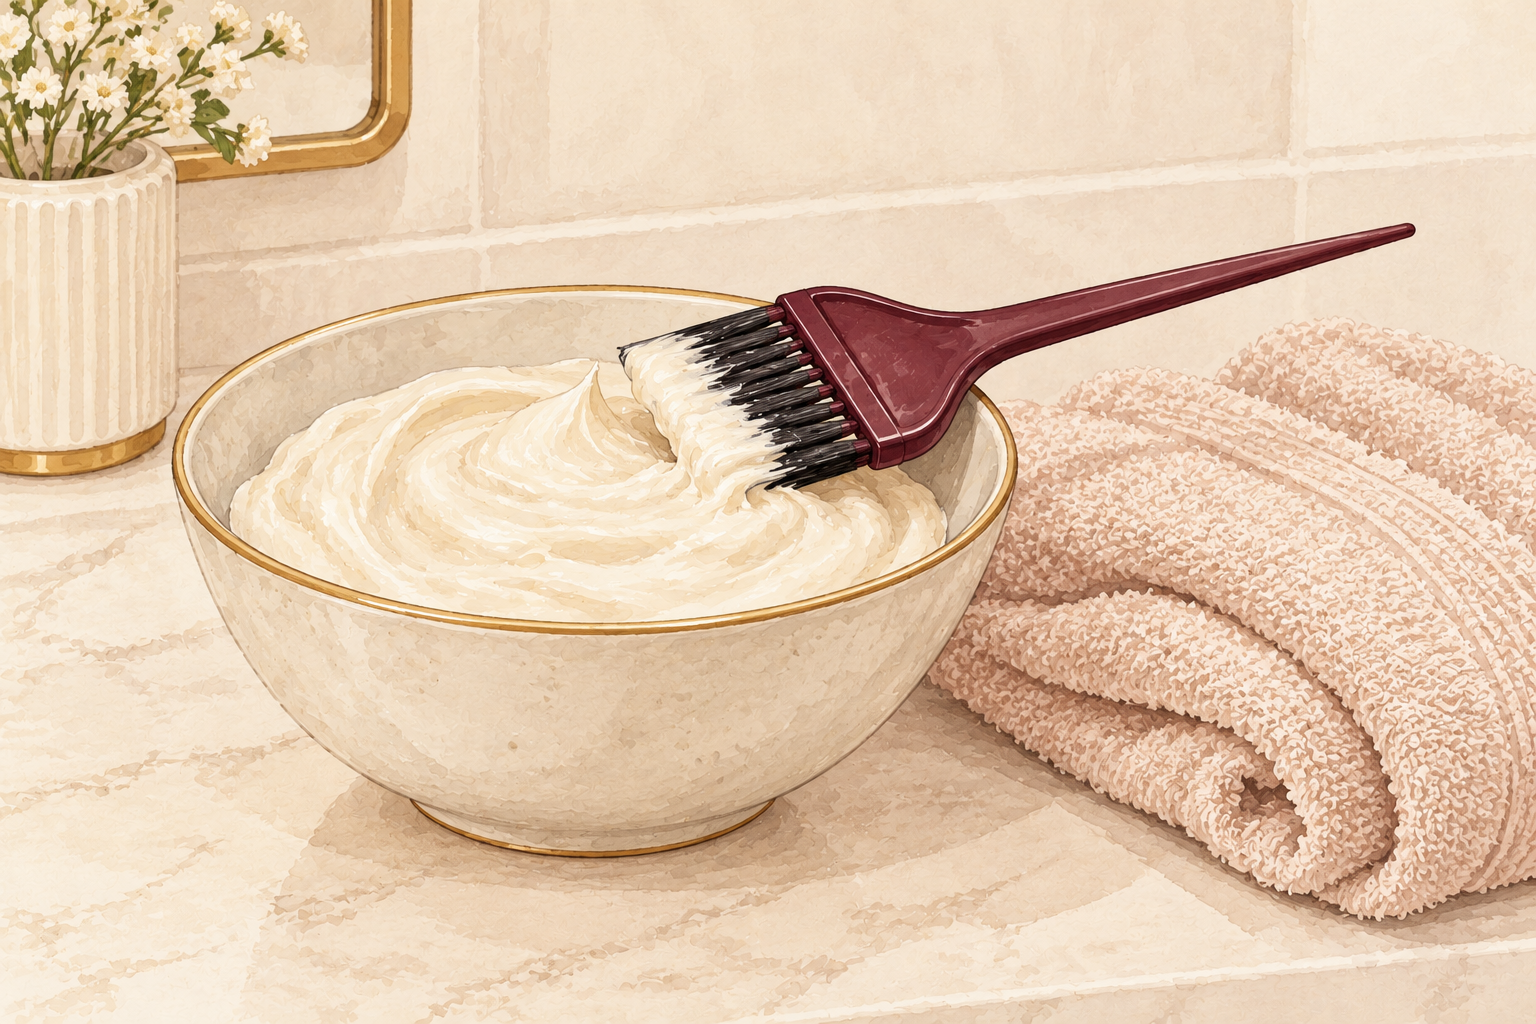
Put on a rich mask after shampooing and leave it for fifteen to twenty minutes. Do this on one wash day out of two if your curls are healthy, and every time if they are dry or colored. Wrap your hair in a warm towel or a shower cap to help it sink in. Rinse with cool water until the slippery feeling mostly goes. This is where your curls are repaired, and it makes the styling steps work better. Skip it on a week when your hair already feels soft and heavy. Use the wait to wash your body or tidy your space.
8. Add a leave in while your hair is soaking wet
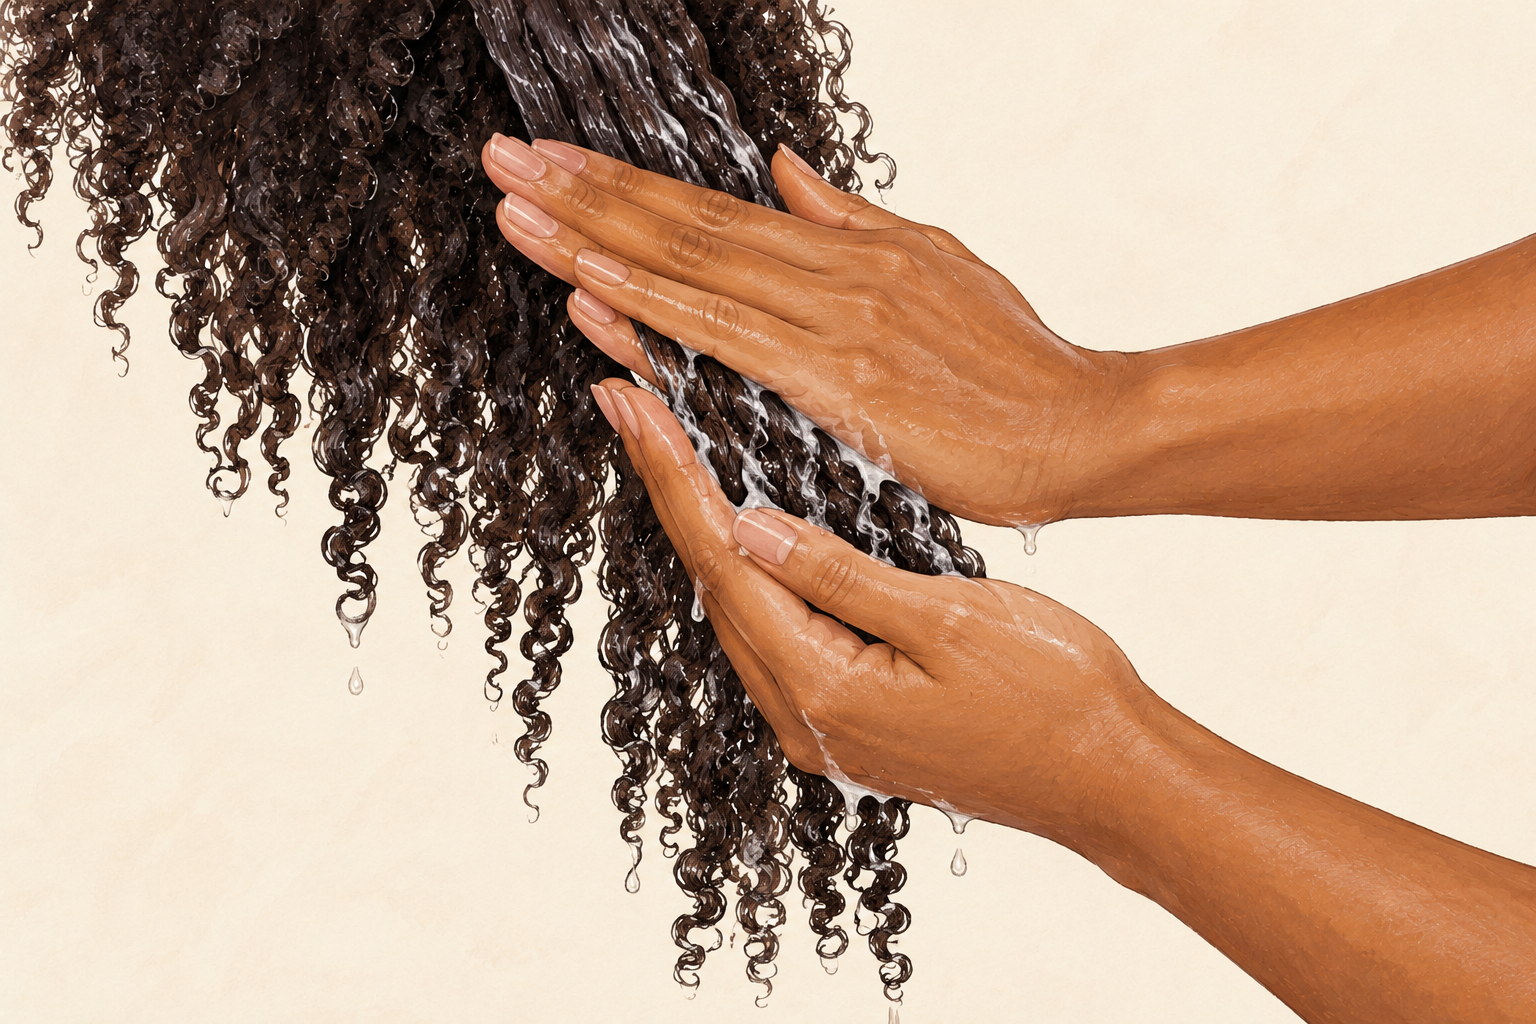
Smooth a coin sized amount of leave in through each section, starting at the ends. Do this with the water still dripping, not after you have towel dried. The whole head takes about three minutes. It locks in moisture and gives your gel something to grab. Rake it through gently with your fingers and then press your palms along the hair. If your curls are fine, use a spray or a light lotion. If they are coily, a cream works better. Too much will make the curls limp, so start small. You can always add more once the first layer settles.
9. Layer your styler and scrunch upward
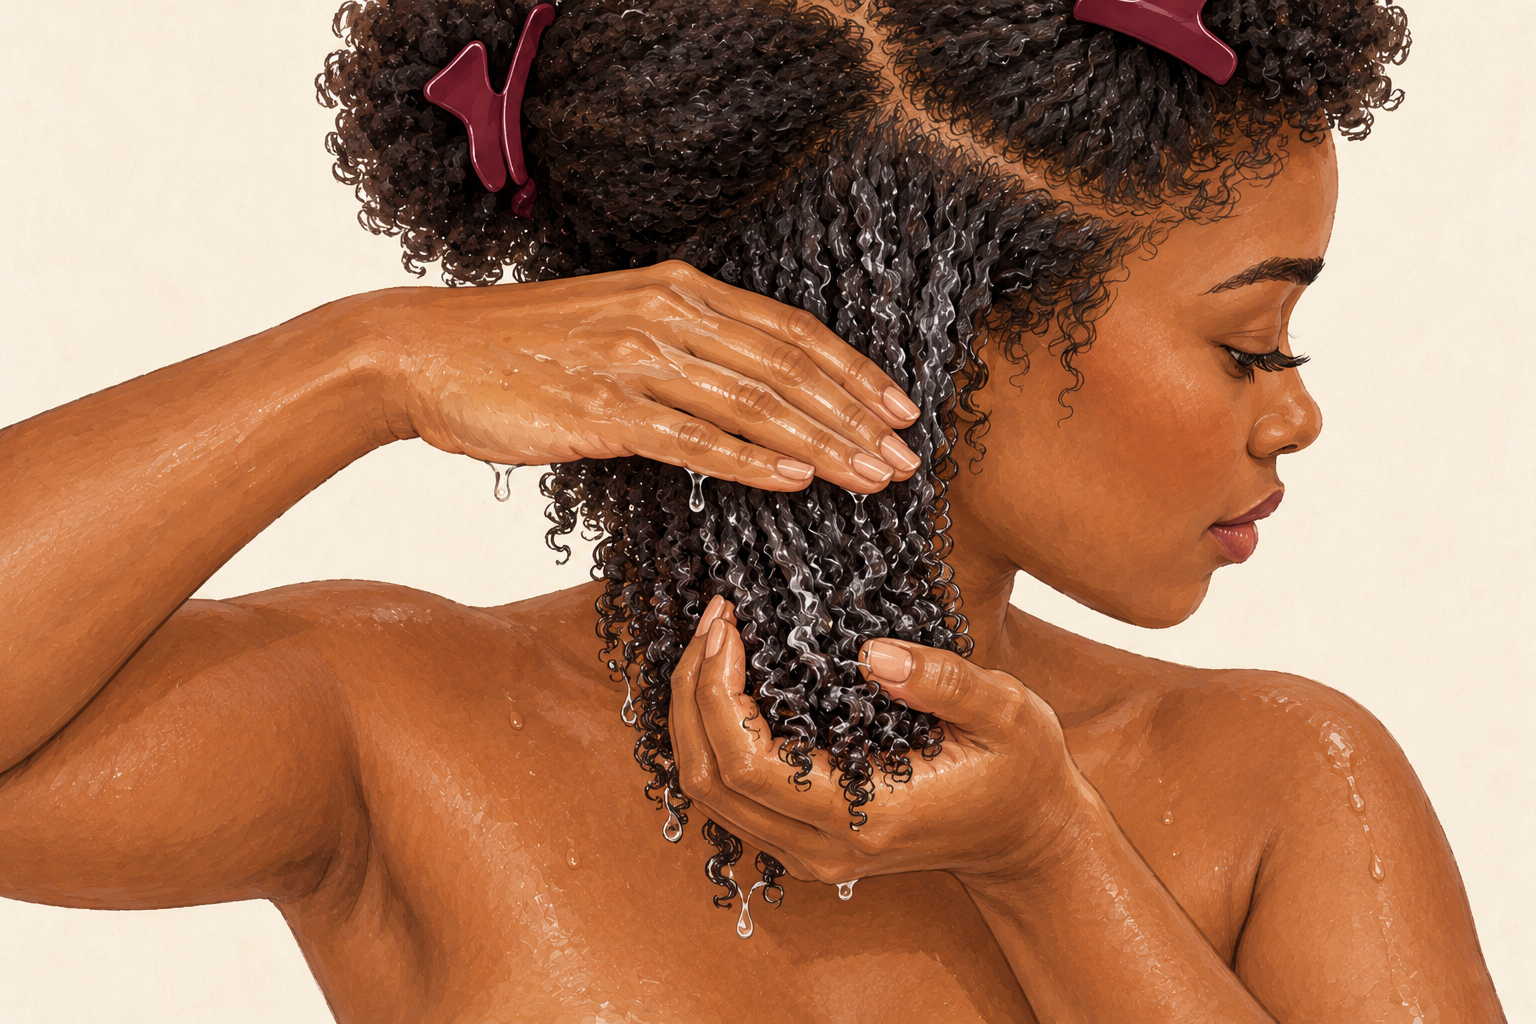
Add gel or mousse in a layer on top of the leave in, then scrunch from the ends up toward the scalp. Spend about five minutes on this step. Press your palms flat along each section first, then squeeze upward until you hear a squelch. That sound means the water and the gel have joined together. Add more gel if your curls look loose and stringy. Do not rake or separate the clumps. Stop when each section looks like a shiny wet ribbon of curls, with no dry patches left on the underside. This is the step that decides how defined your finished curls will be.
10. Remove the excess water gently
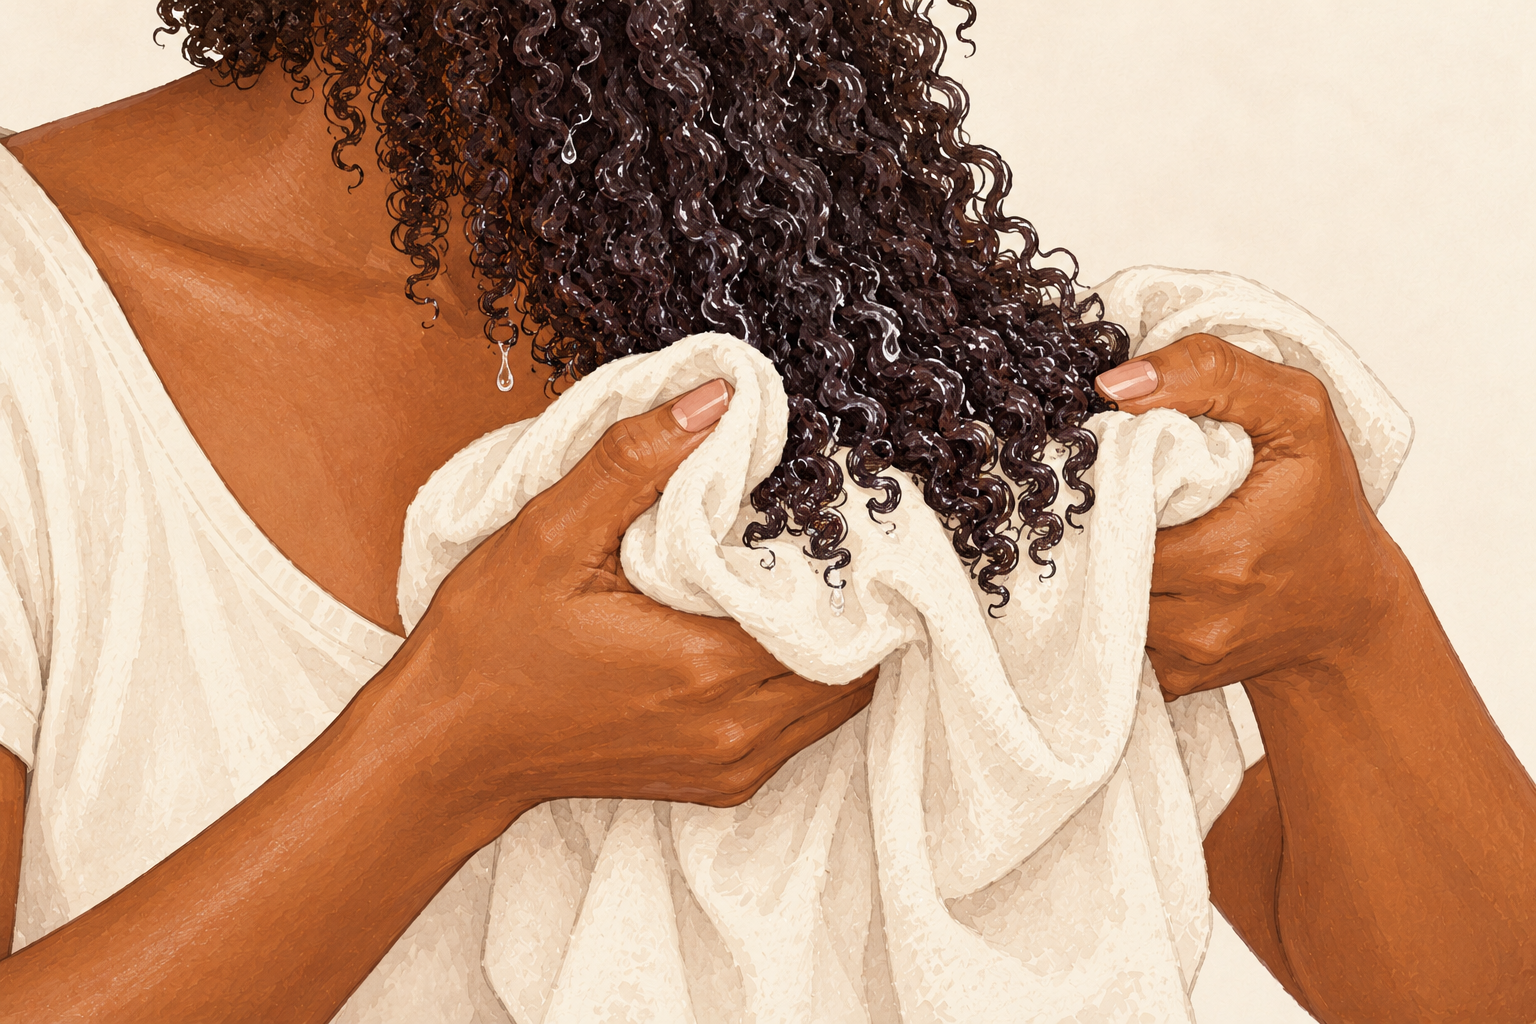
Squeeze your curls with a cotton t shirt for two to three minutes, pressing and releasing. Do not rub. Cup the ends in the fabric and press upward. You are taking away the drips and leaving the gel in place. A t shirt grabs less than a terry towel, so it causes much less frizz. If your hair is long, you can wrap it in the shirt for ten minutes to speed things up. Stop when it is damp but not dripping. Too much squeezing breaks the clumps, so keep the movement soft and short. Hold the shirt for a few seconds at a time, then lift away and look at the shine on each ringlet.
11. Dry with a diffuser or let the air do the work
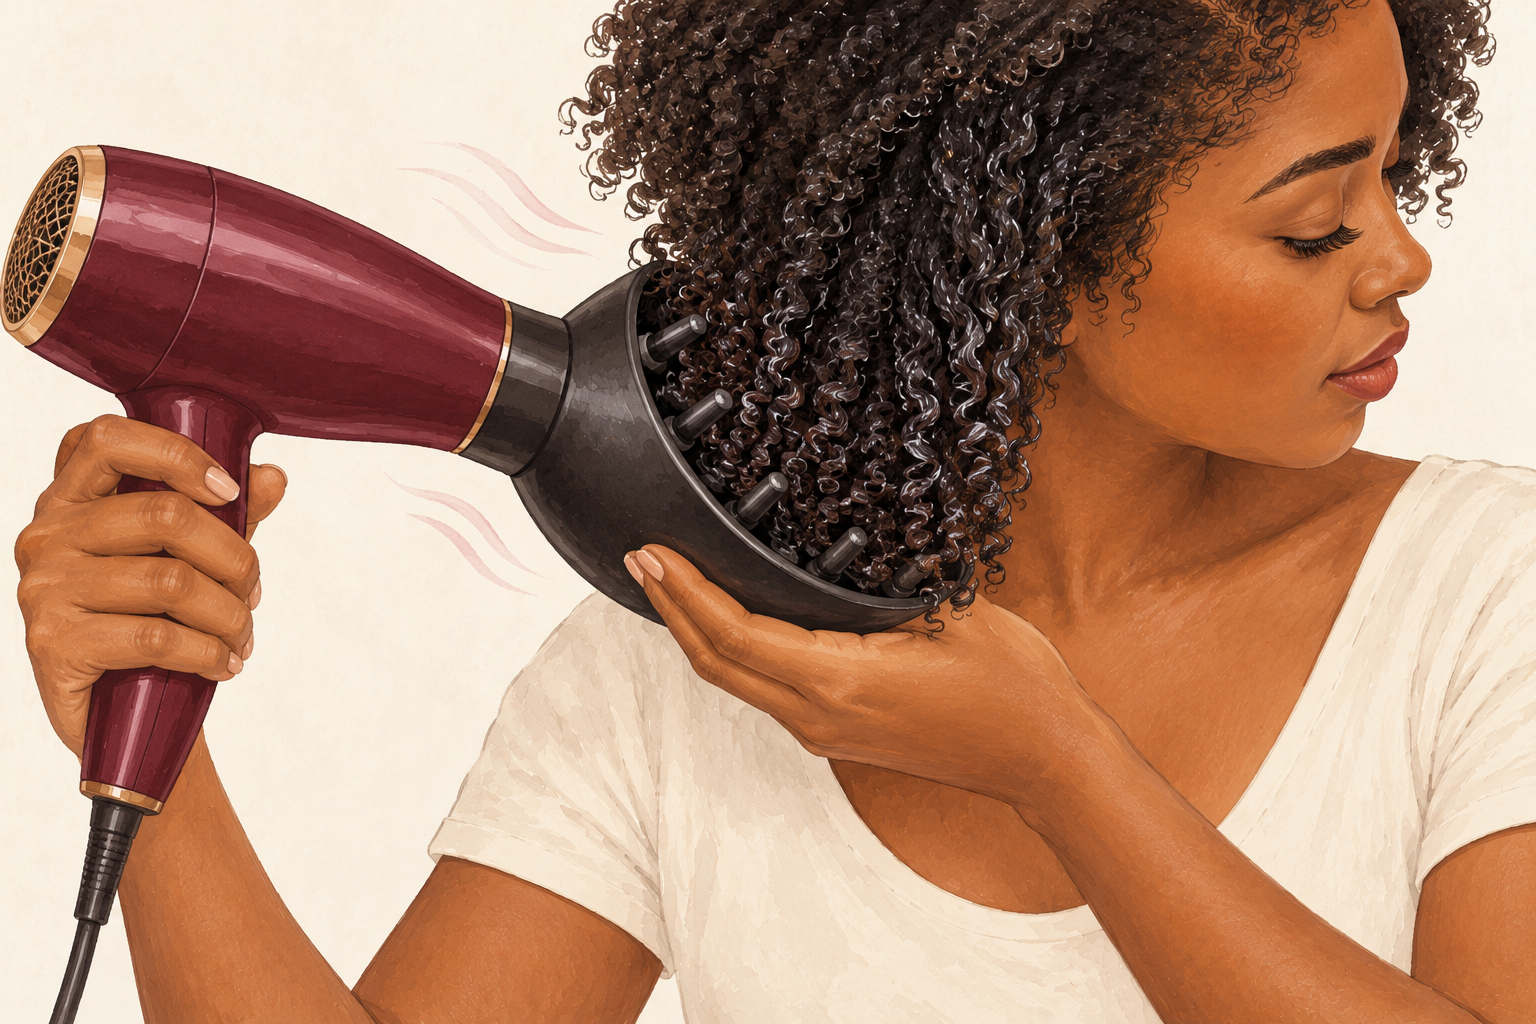
Diffuse on low heat and low speed for ten to twenty minutes, or air dry for a few hours. Cup each section in the diffuser from underneath and hold it still. Do not move your fingers through the hair. If you air dry, sit by a window and keep your hands off. Do not sleep on wet curls or your pattern will flatten. Diffusing gives more volume, while air drying gives softer clumps. Use whichever suits your day. Either way, wait until your hair is fully dry before you touch it, or the frizz will return.
12. Scrunch out the crunch once fully dry
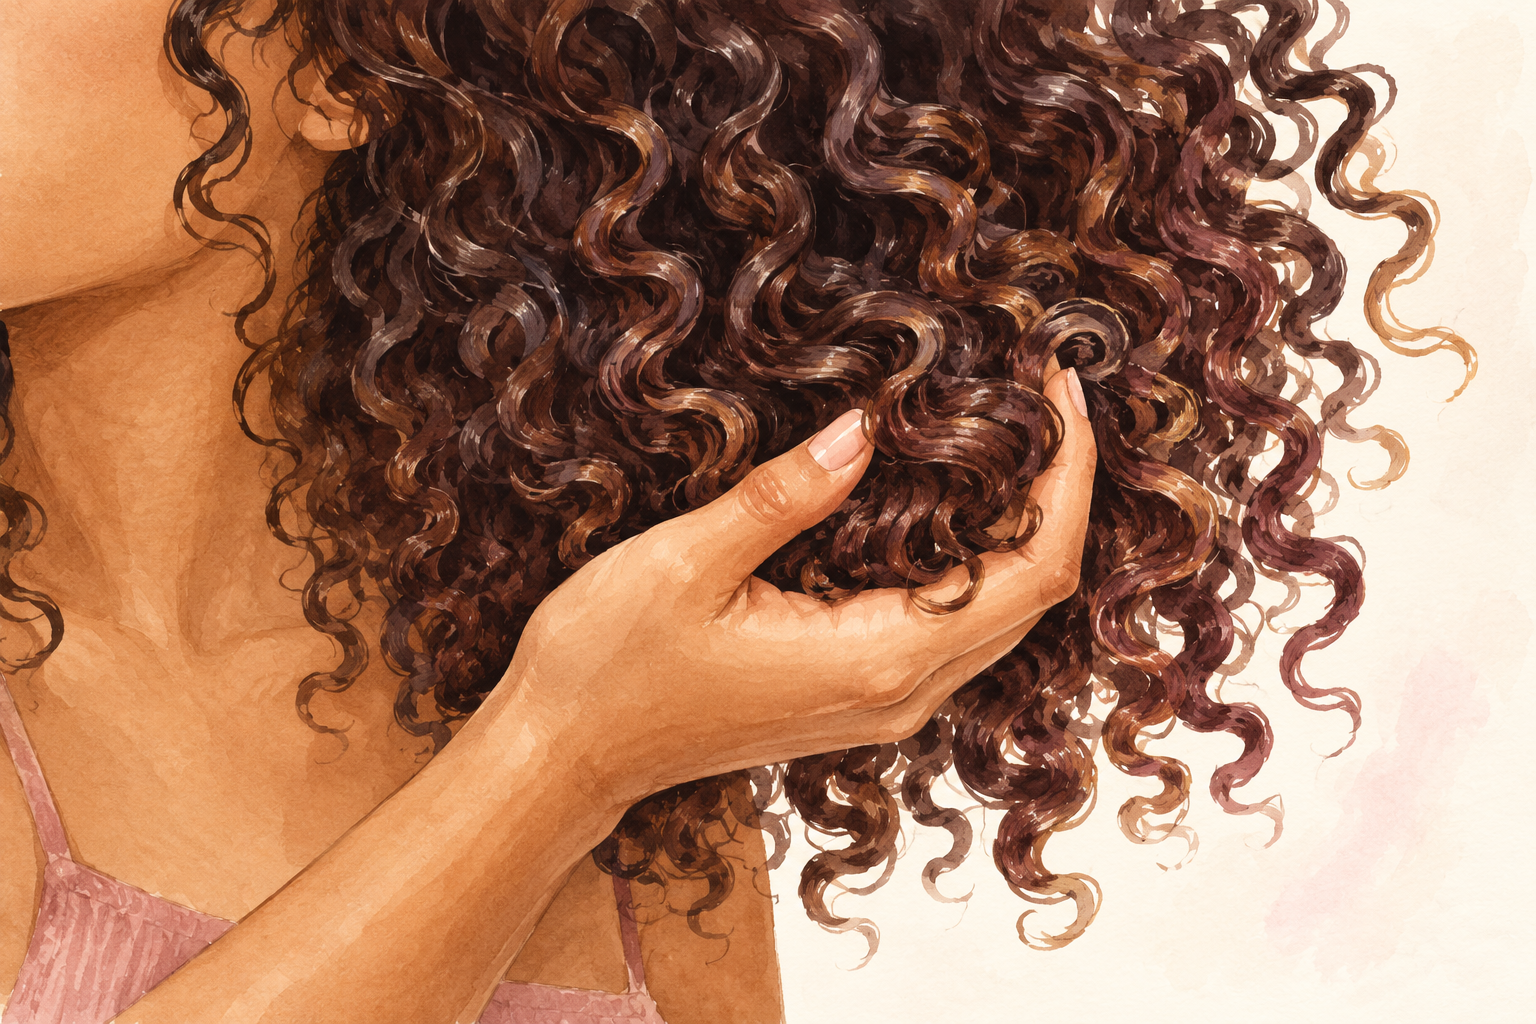
Flip your head upside down and scrunch your curls upward for thirty seconds. The crunch is the gel cast that held the curl as it dried. Breaking it releases soft, defined curls with no stiffness. Use clean, dry palms and, if it still feels hard, rub a drop of light oil between them first. Fluff the roots with your fingertips for volume. Your curl care is now done until the next wash day. Wear your curls like this for five to seven days, refreshing with water on day three. A good curly hair care routine pays you back all week.
Complete the Routine: Your Curly Hair Care Routine for Every Wash Day
Block out two hours on a quiet evening and follow the steps in order. There is more to try for curls once wash day runs smoothly, so keep reading the guides below for your next experiment.