You finish painting, admire your hands for ten minutes, then spot a dent on your thumb, a bubble on your index finger and a wobbly line along every cuticle. A diy manicure goes wrong in the same few places for almost everyone, which means each slip has a simple swap. Here are 12 mistakes and their fixes, so start at number one tonight.
1. Painting over oily nails
Wipe every nail with a pad of remover right before the base coat goes on. Hand cream, cuticle oil and even your own natural skin oil leave a thin film, and polish slides off a film in sheets after a day or two. Wash, dry your hands fully, then wipe each nail once. Save the cuticle oil and cream for after the polish has hardened. This one habit fixes more chipping than any fancy top coat. If your nails look shiny after the wipe, that sheen is oil, so wipe once more. A clean nail looks slightly dull and chalky, and that is exactly the surface a diy manicure needs.
2. Skipping the base coat
Brush on one thin clear base coat and let it dry for two minutes before any color. Dark reds and bright shades can stain a bare nail yellow, and color clings badly to a smooth, bare surface. The base gives the polish something to hold and helps it come off cleanly later. Without one, a manicure often looks fine for two days and then lifts at the edges. Let it dry fully, until the edge of the nail no longer feels tacky when you touch it very lightly. A rushed base is where a lot of later bubbles start.
3. Painting one thick coat
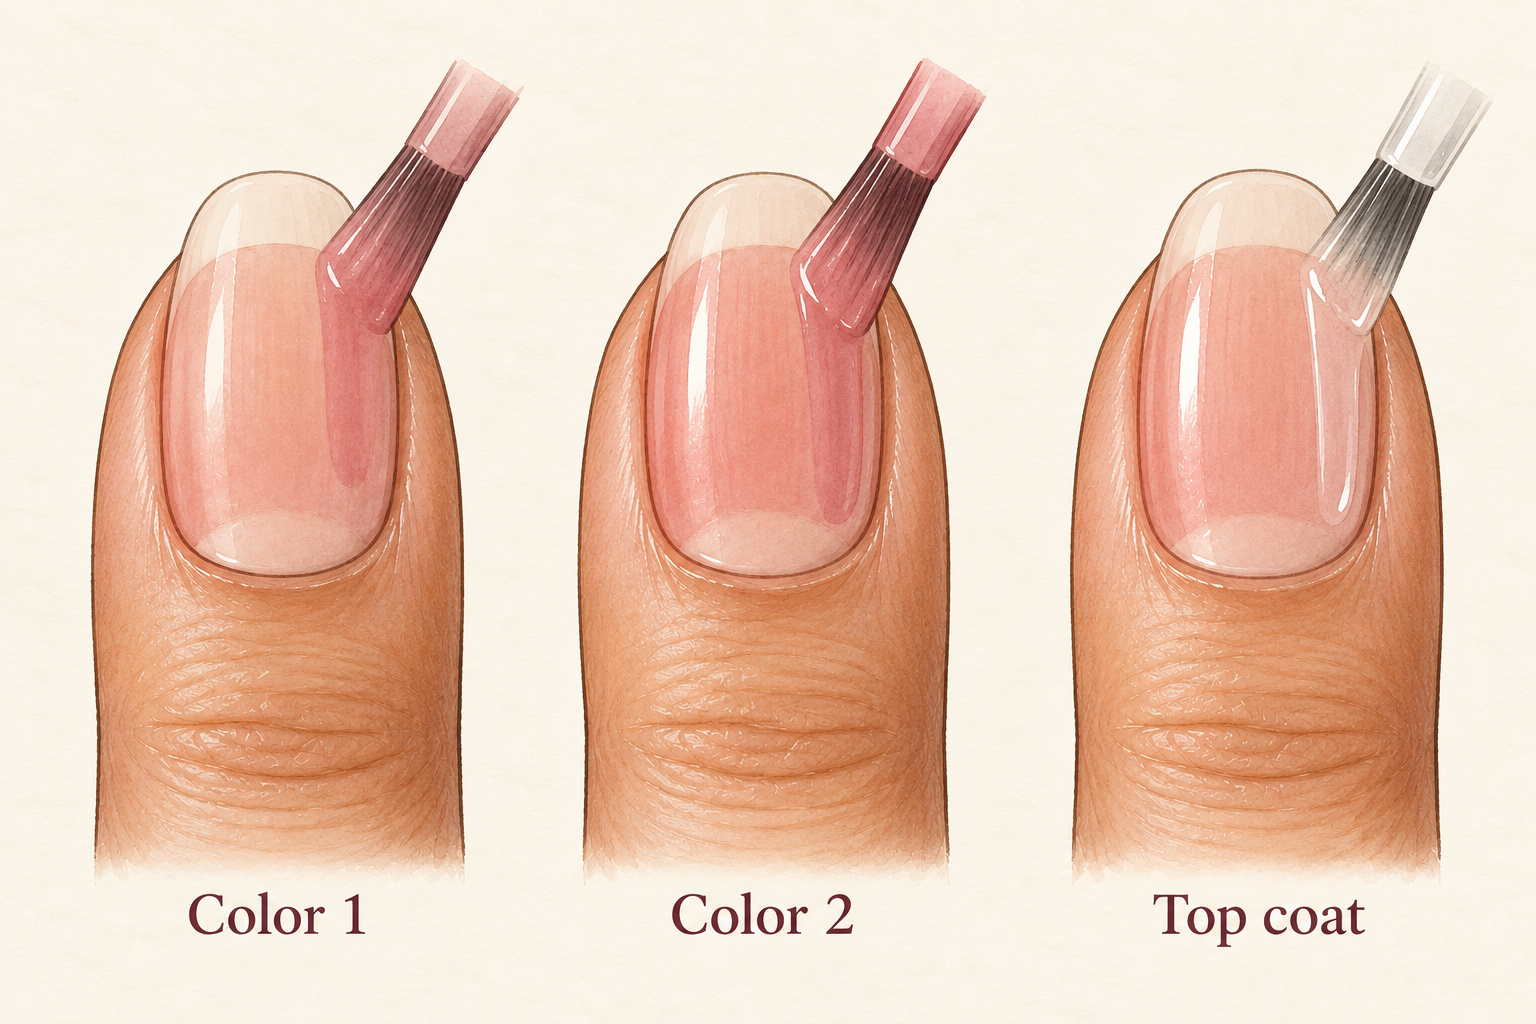
Take a small bead on the brush, wipe one side on the bottle neck, and paint two thin coats. A fat coat stays wet underneath, which is why it dents, bubbles and takes forever to set. Make one stripe down the middle and one along each side, stopping a hair short of the cuticle. Wait two minutes, then do it again. Two thin coats look smoother, cover the nail properly and last longer than one heavy layer. Sheer colors may need a third thin layer. Patience between layers is what makes a diy manicure look smooth. Each layer needs its own wait, so bring how to paint nails perfectly along for the next round.
4. Cutting your cuticles
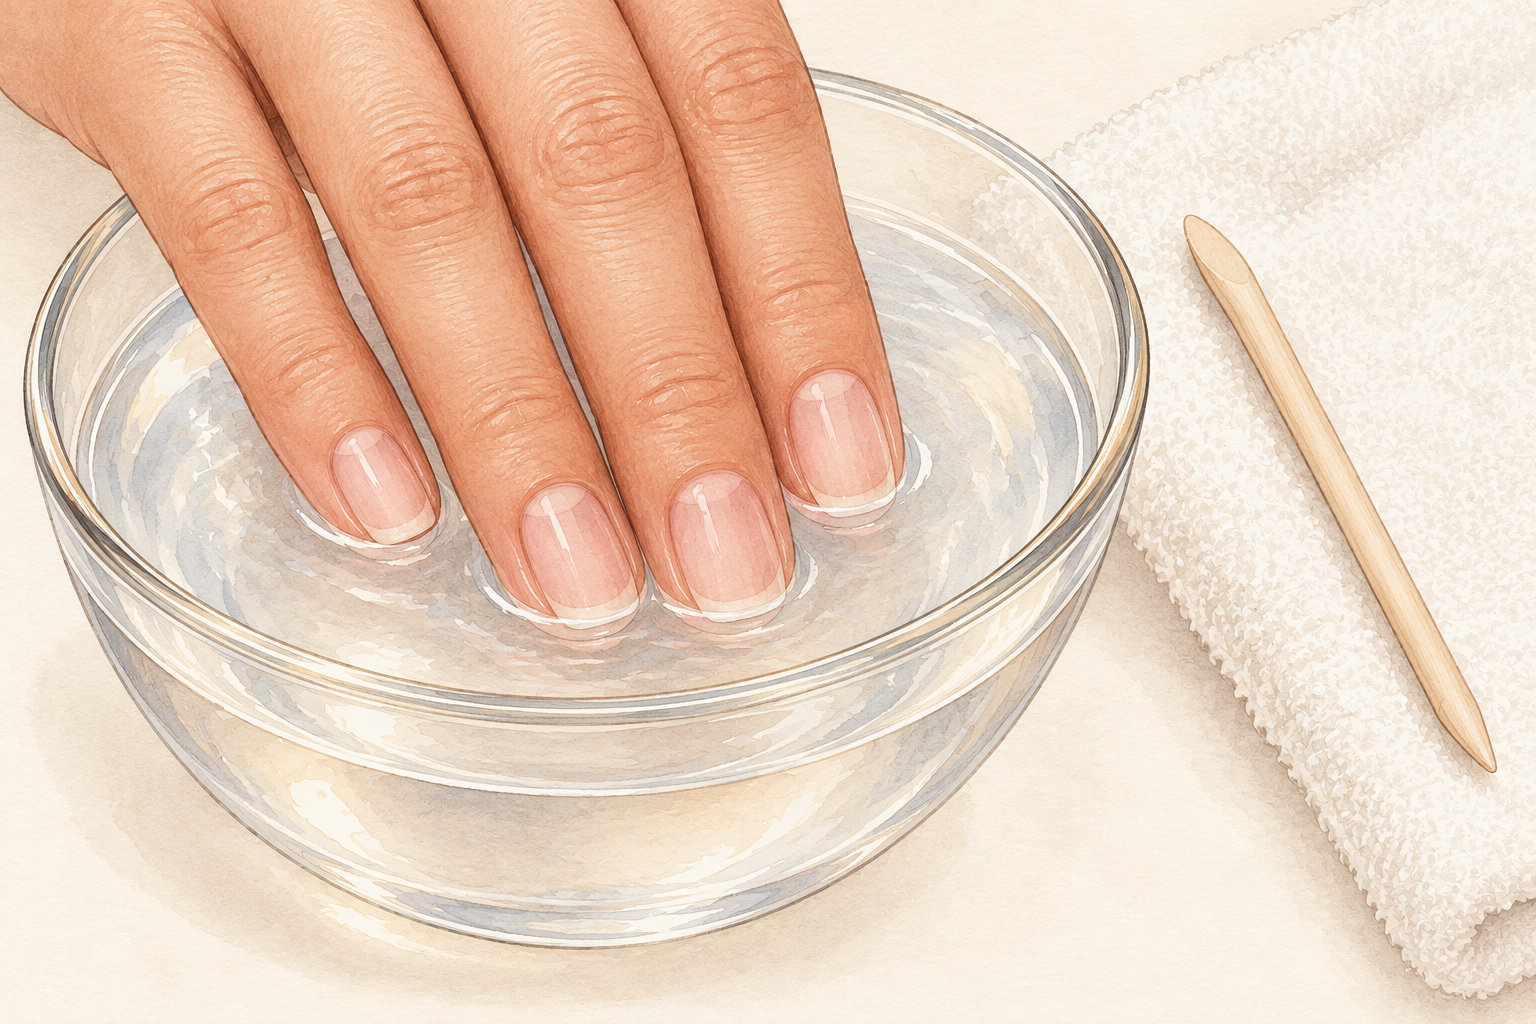
Soak your fingertips in warm water for three minutes, then nudge the skin back with a wooden stick. Cutting leaves the skin raw and open, and it grows back thicker. Trim only a loose hangnail, never the whole edge. If the stick tugs, soak a little longer. The result is a tidy line at the base of the nail, which makes any polish look sharper, even a plain clear one. Do this once or twice a week at most. Afterwards add one drop of oil so the skin does not crack, and push back only the soft, loose part, never the hard rim. You will see more of your nail within a week.
5. Sawing the file back and forth
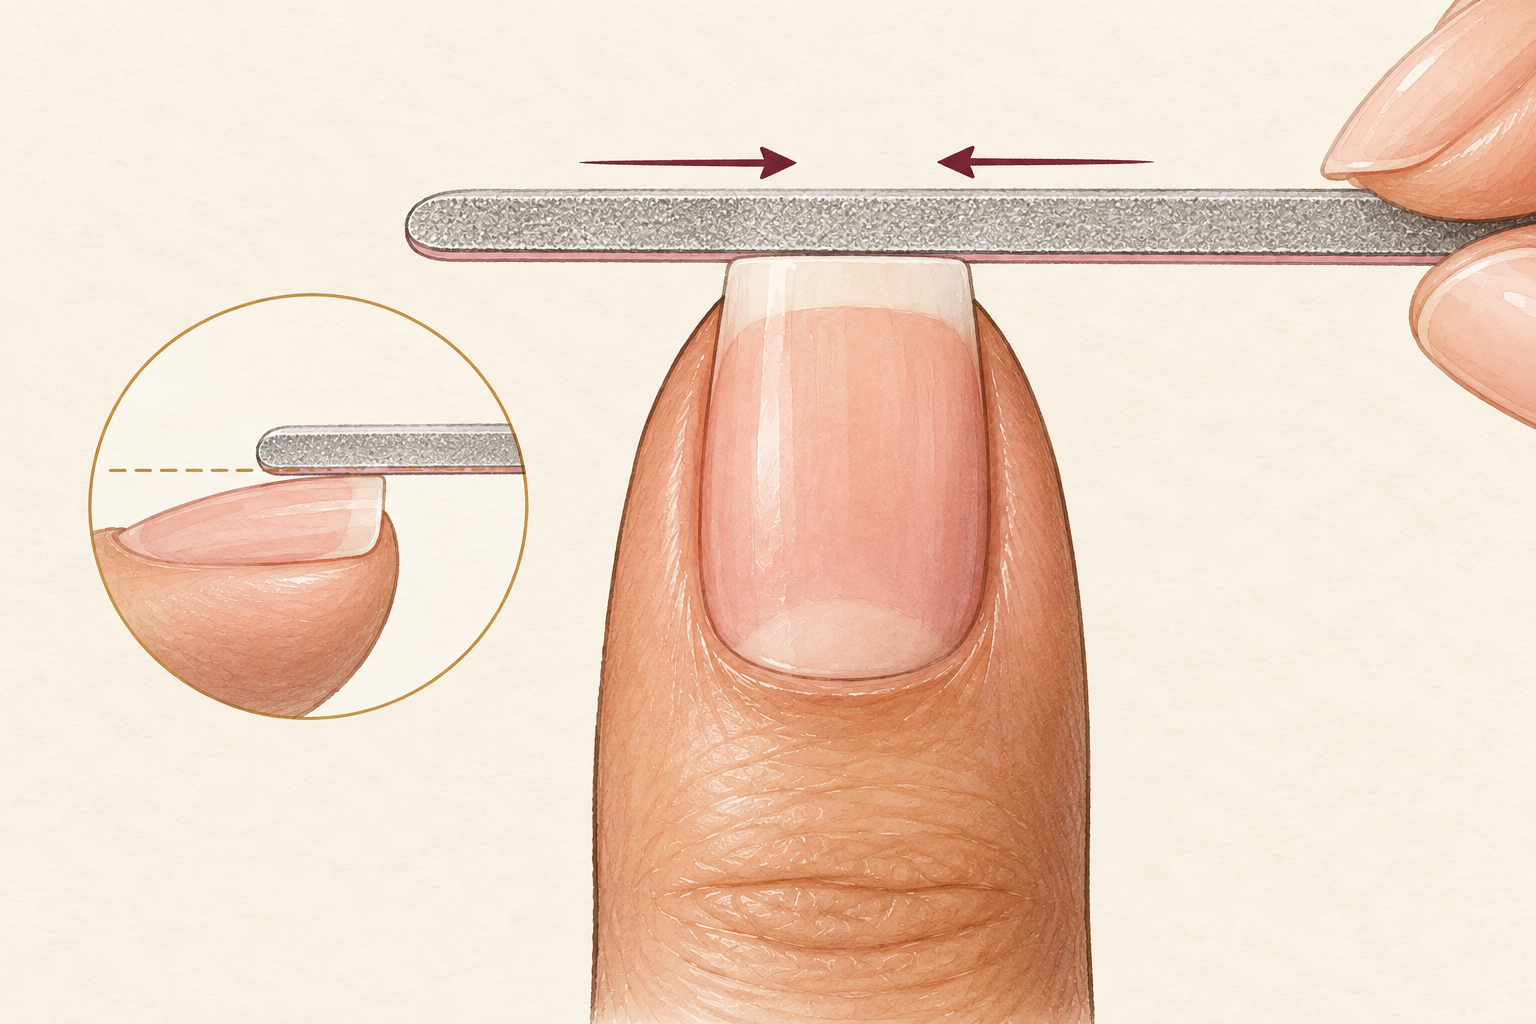
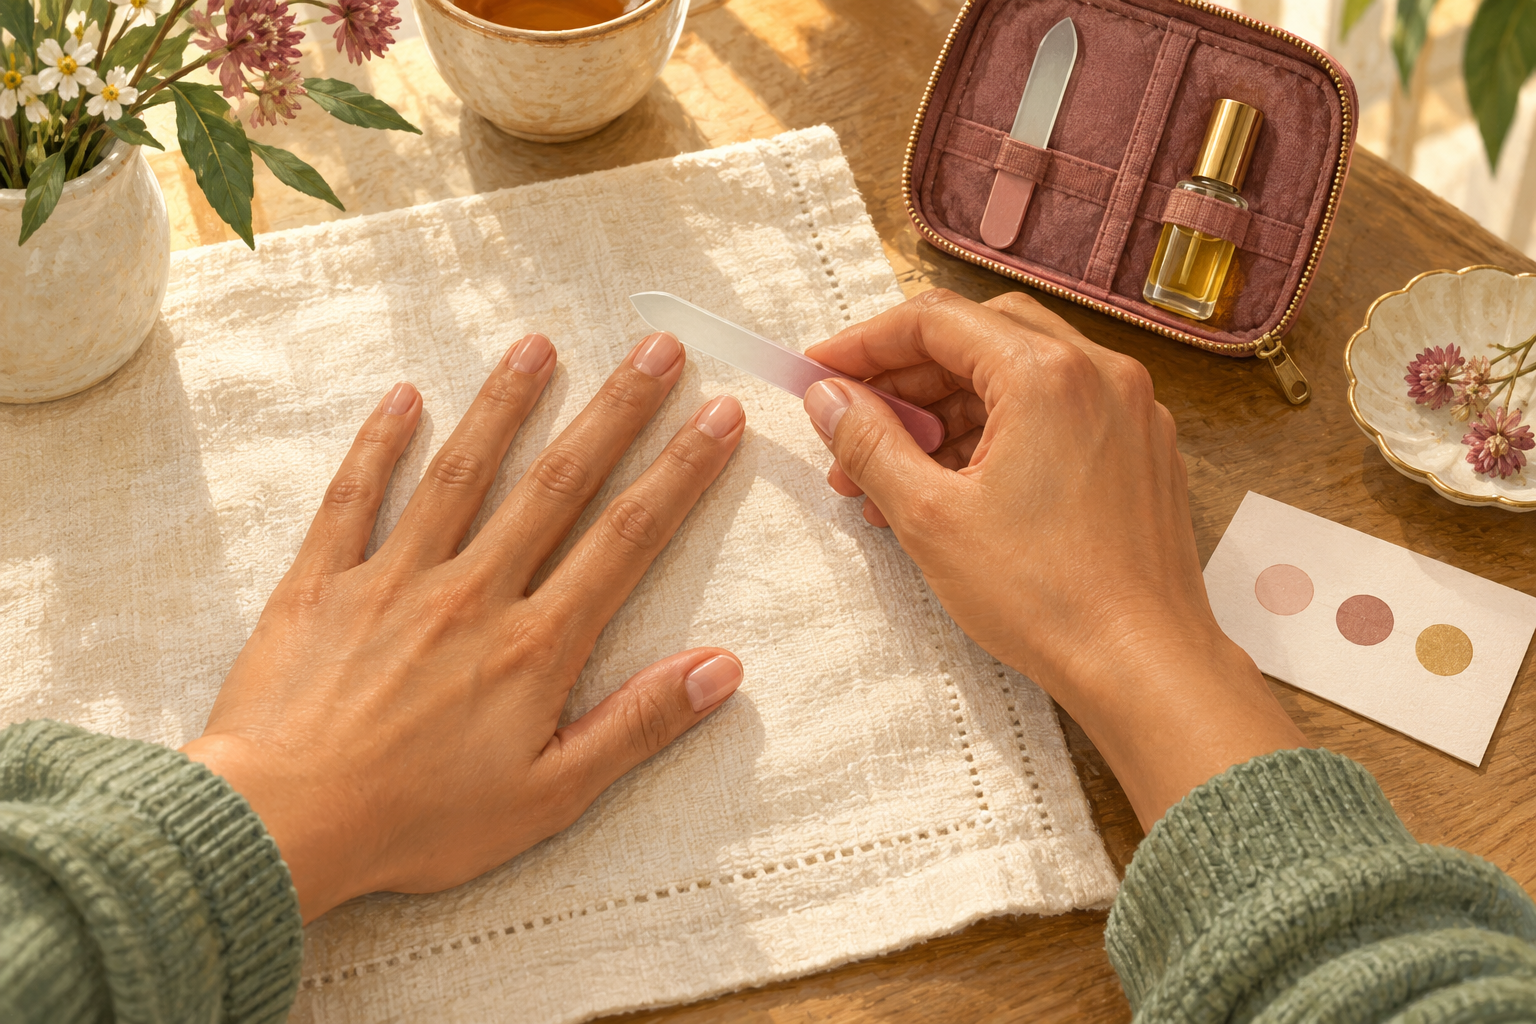
File from the outer corner toward the middle in one direction, lifting the file between strokes. Sawing frays the edge, and a frayed edge splits and snags on your sleeve. Use a fine or glass file on dry nails, because wet nails bend and file unevenly. Two or three light passes per side are plenty. Round the corners just slightly so they cannot catch. Run a fingertip over each edge afterwards, and if it snags, give it one more gentle pass. Keep your nails dry while you file them, ideally before you wash your hands, since softened nails tear and flake at the edge. Short, even strokes keep every nail the same shape.
6. Shaking the bottle
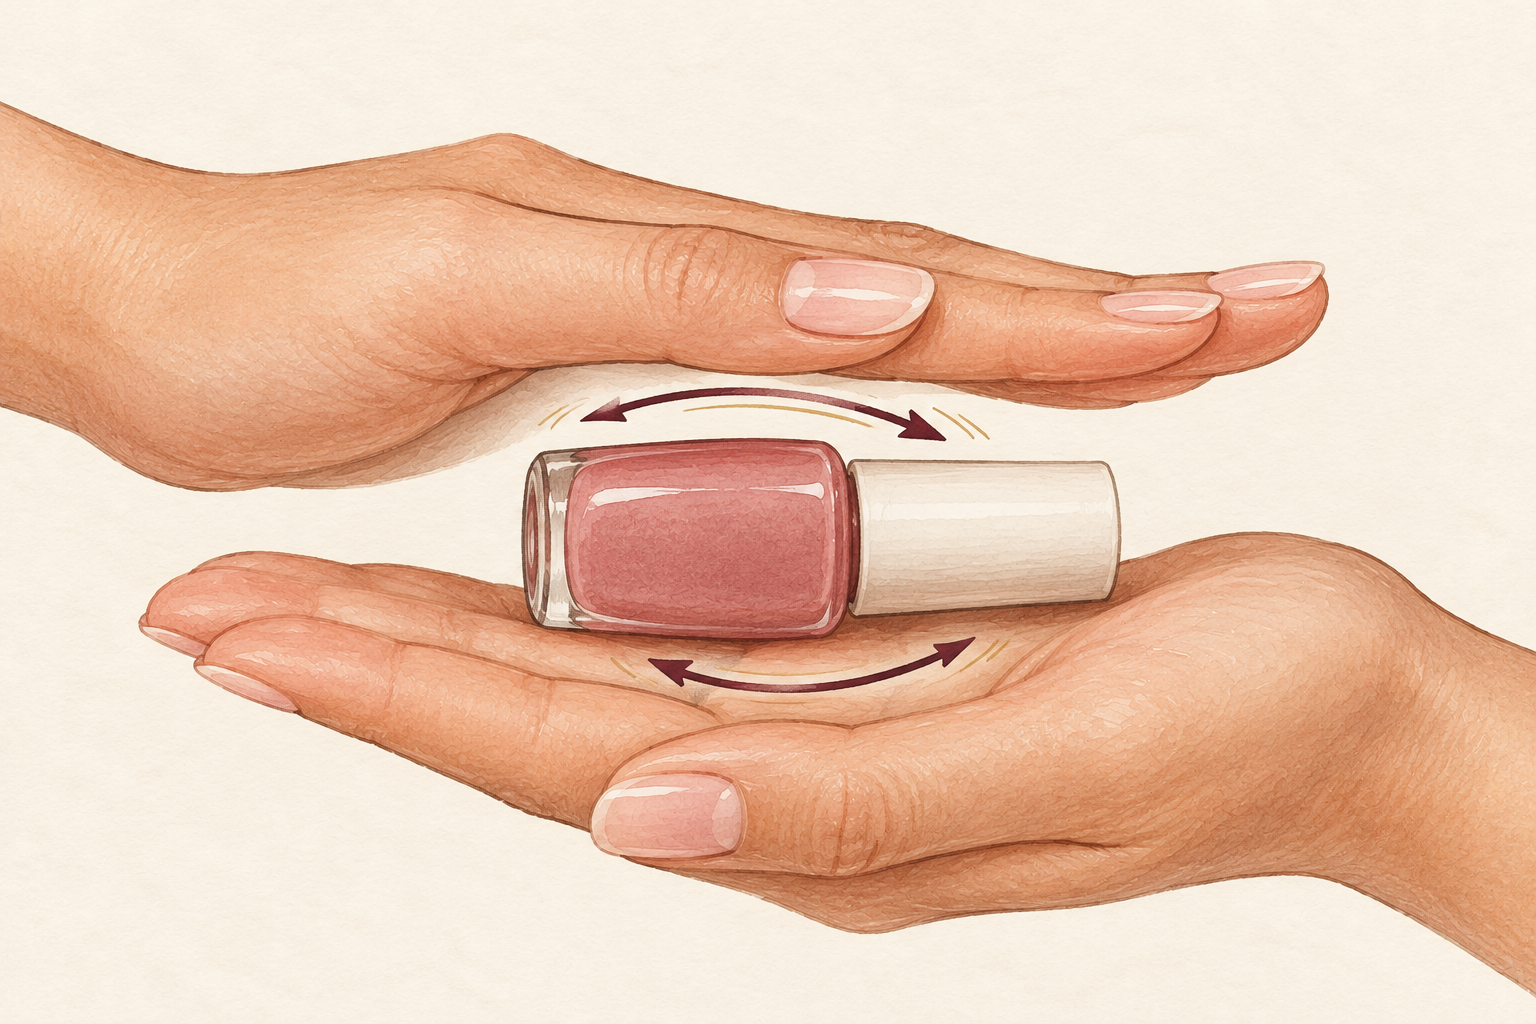
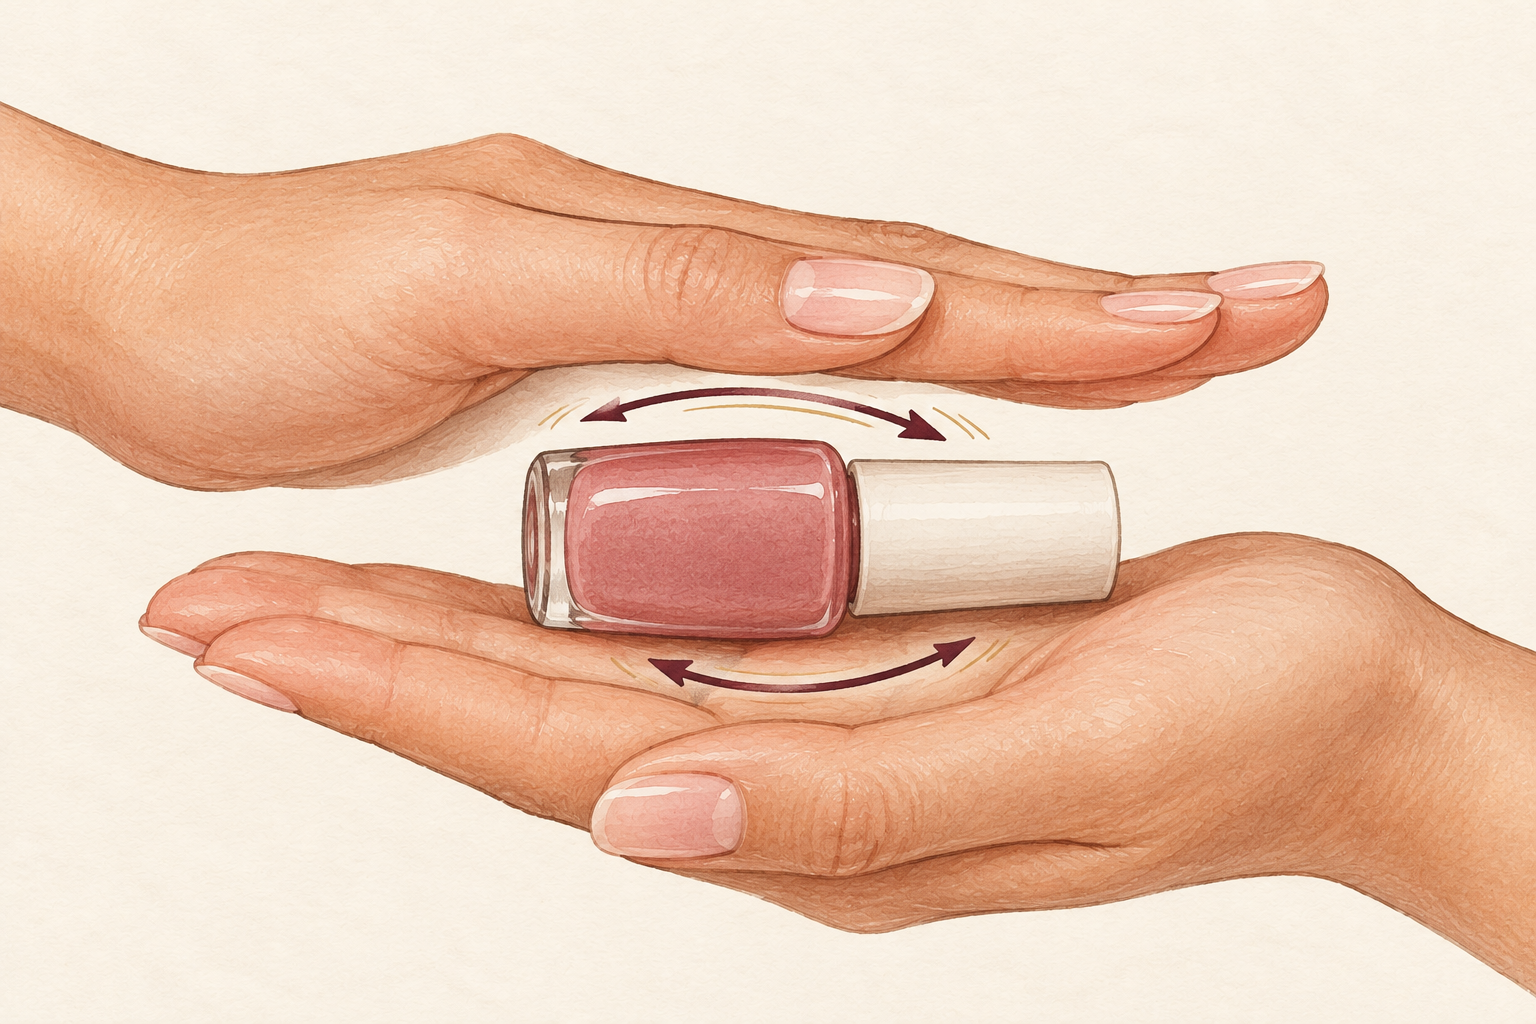
Roll the bottle between your palms for thirty seconds instead of shaking it. Shaking whips tiny air bubbles into the polish, and those bubbles show up as pits and bumps on your nails. Rolling mixes the pigment gently and warms the polish a little, so it glides. Paint away from a draft or steamy bathroom, where damp air makes the surface ripple. A bottle gone thick and stringy is past its best. Warm polish glides in a thinner, more even layer, which is half the secret of a smooth finish. Keep the cap and bottle neck wiped clean so the lid seals properly.
7. Leaving polish on the skin
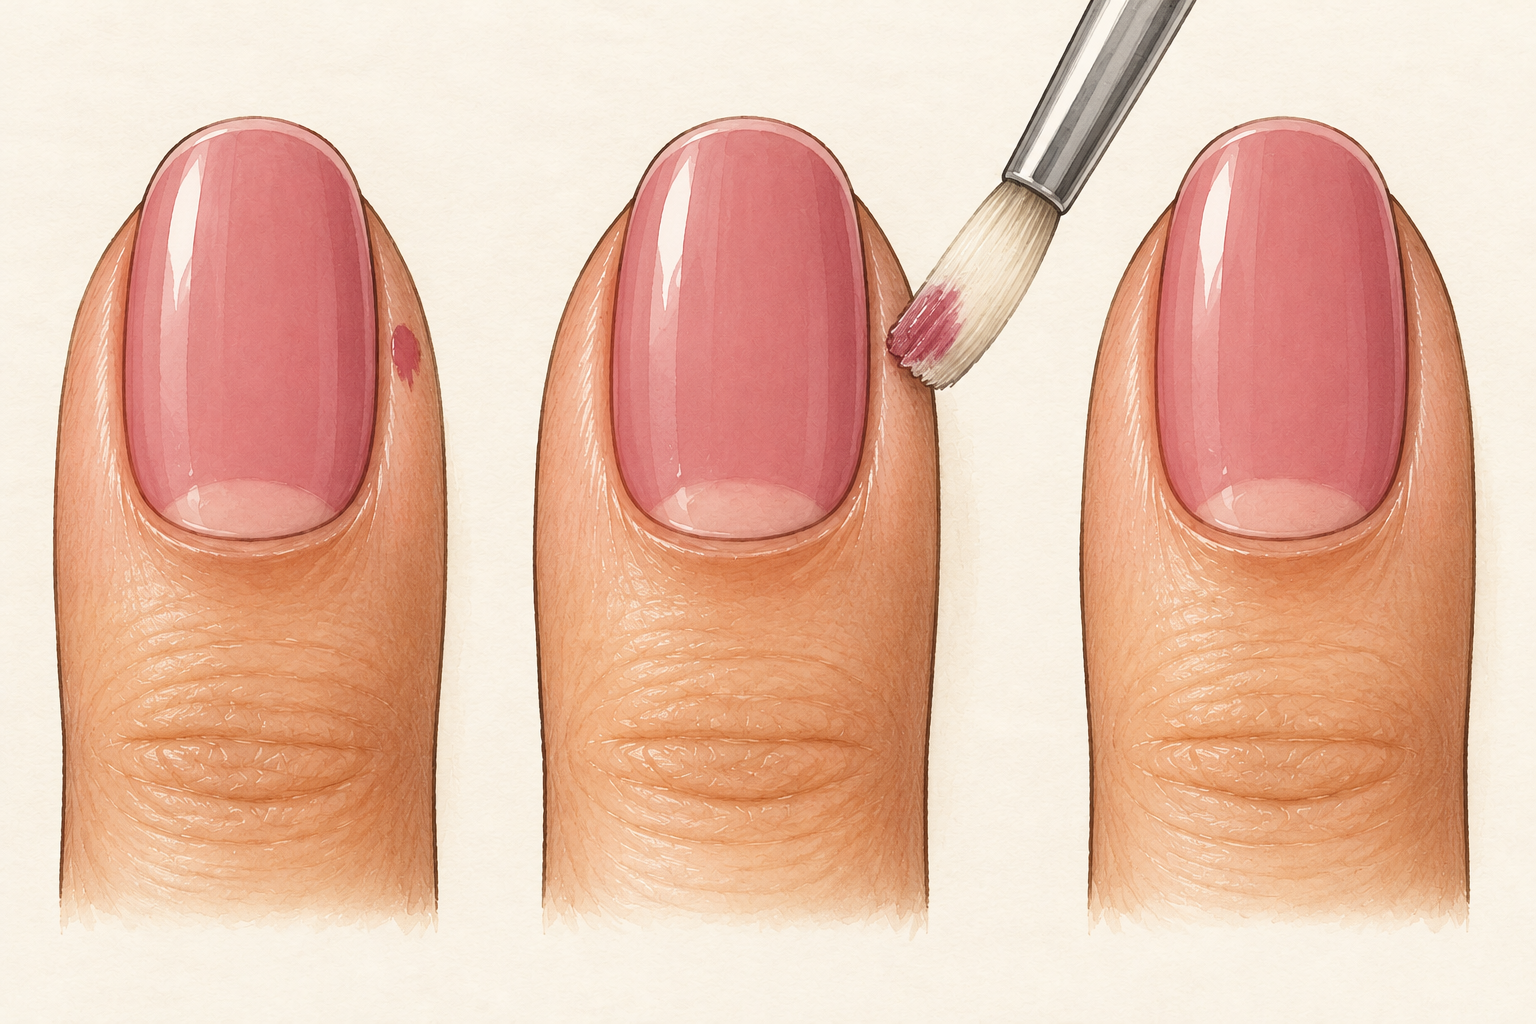
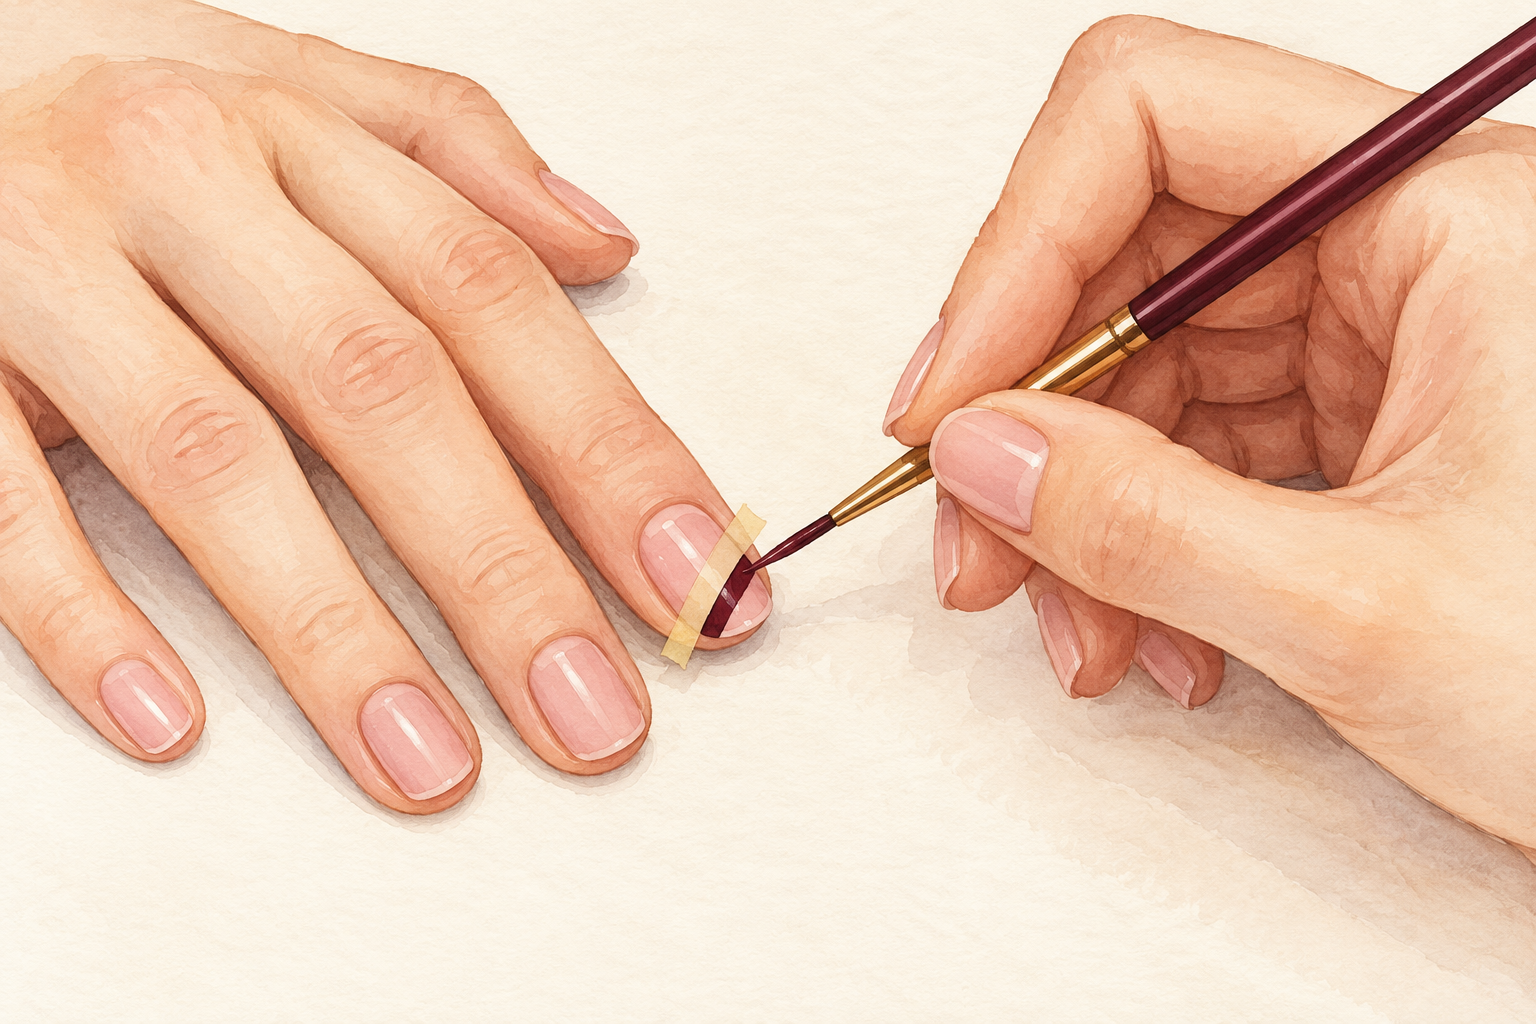
Clean the edges with a thin flat brush dipped in remover, not a cotton swab. Polish on the skin looks messy and lifts first, taking the whole manicure with it. Swabs leave fluff in the color, while a brush gives a crisp line. Wait until the polish has set slightly so you do not smear it across the nail. Press the brush along the edge and swipe away from the nail. Next time, leave a tiny gap at the cuticle when you paint, and the cleanup shrinks. Dab the brush on a tissue between nails so you never drag old color onto a new nail. Wash your hands afterwards, since remover leaves the skin papery.
8. Forgetting to cap the free edge
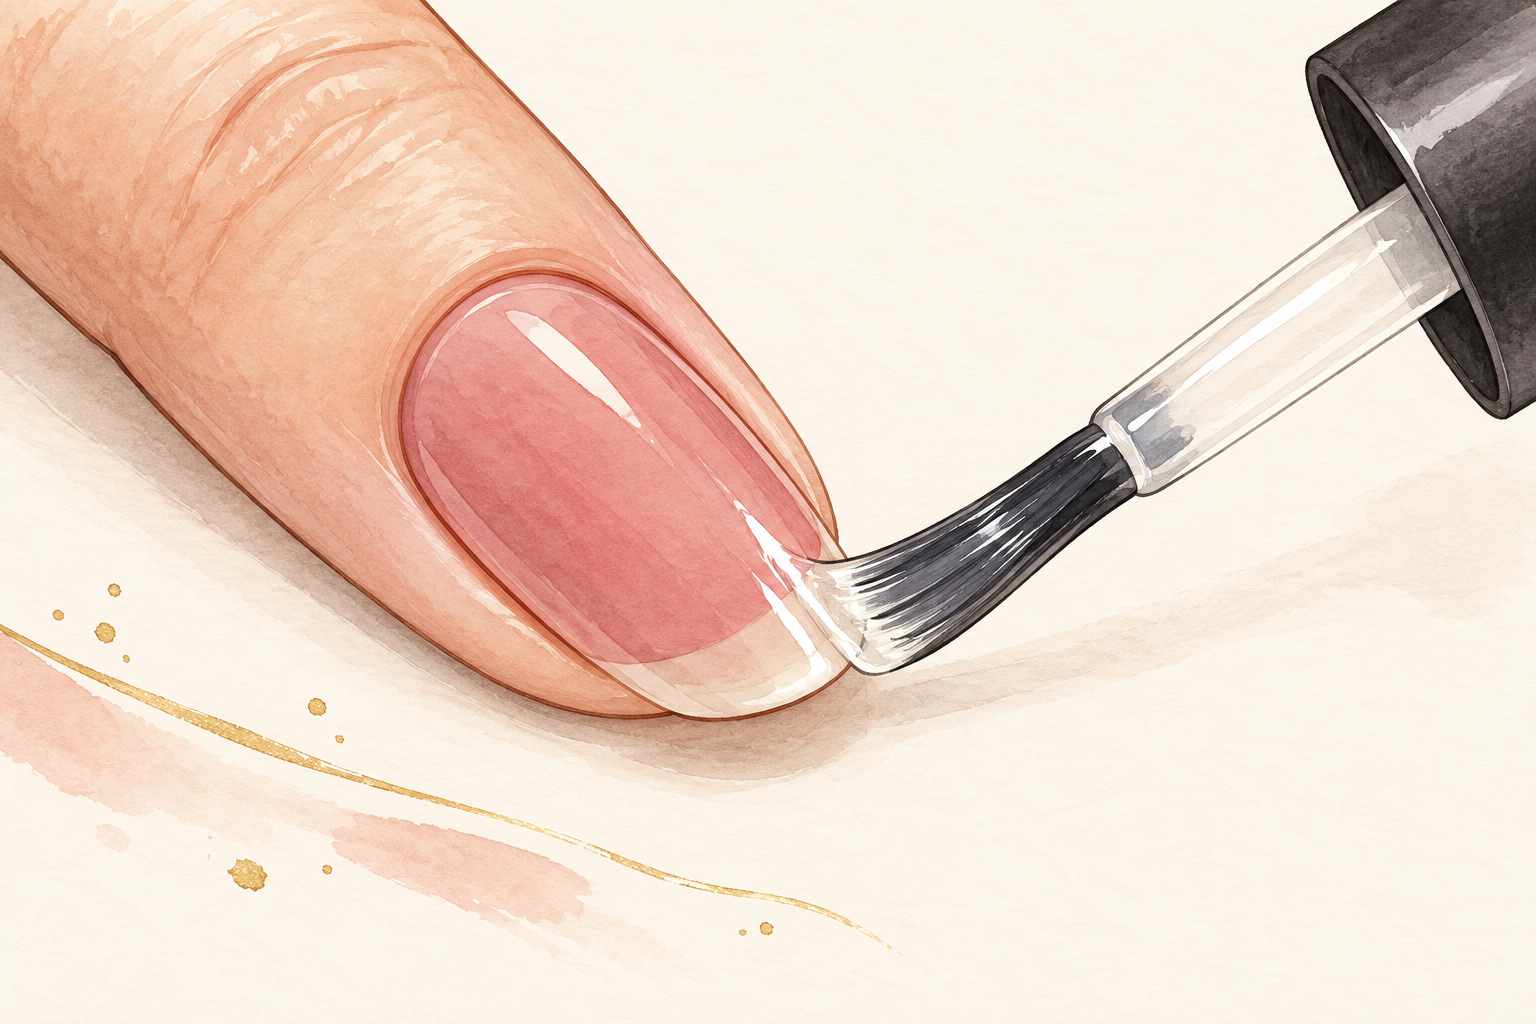
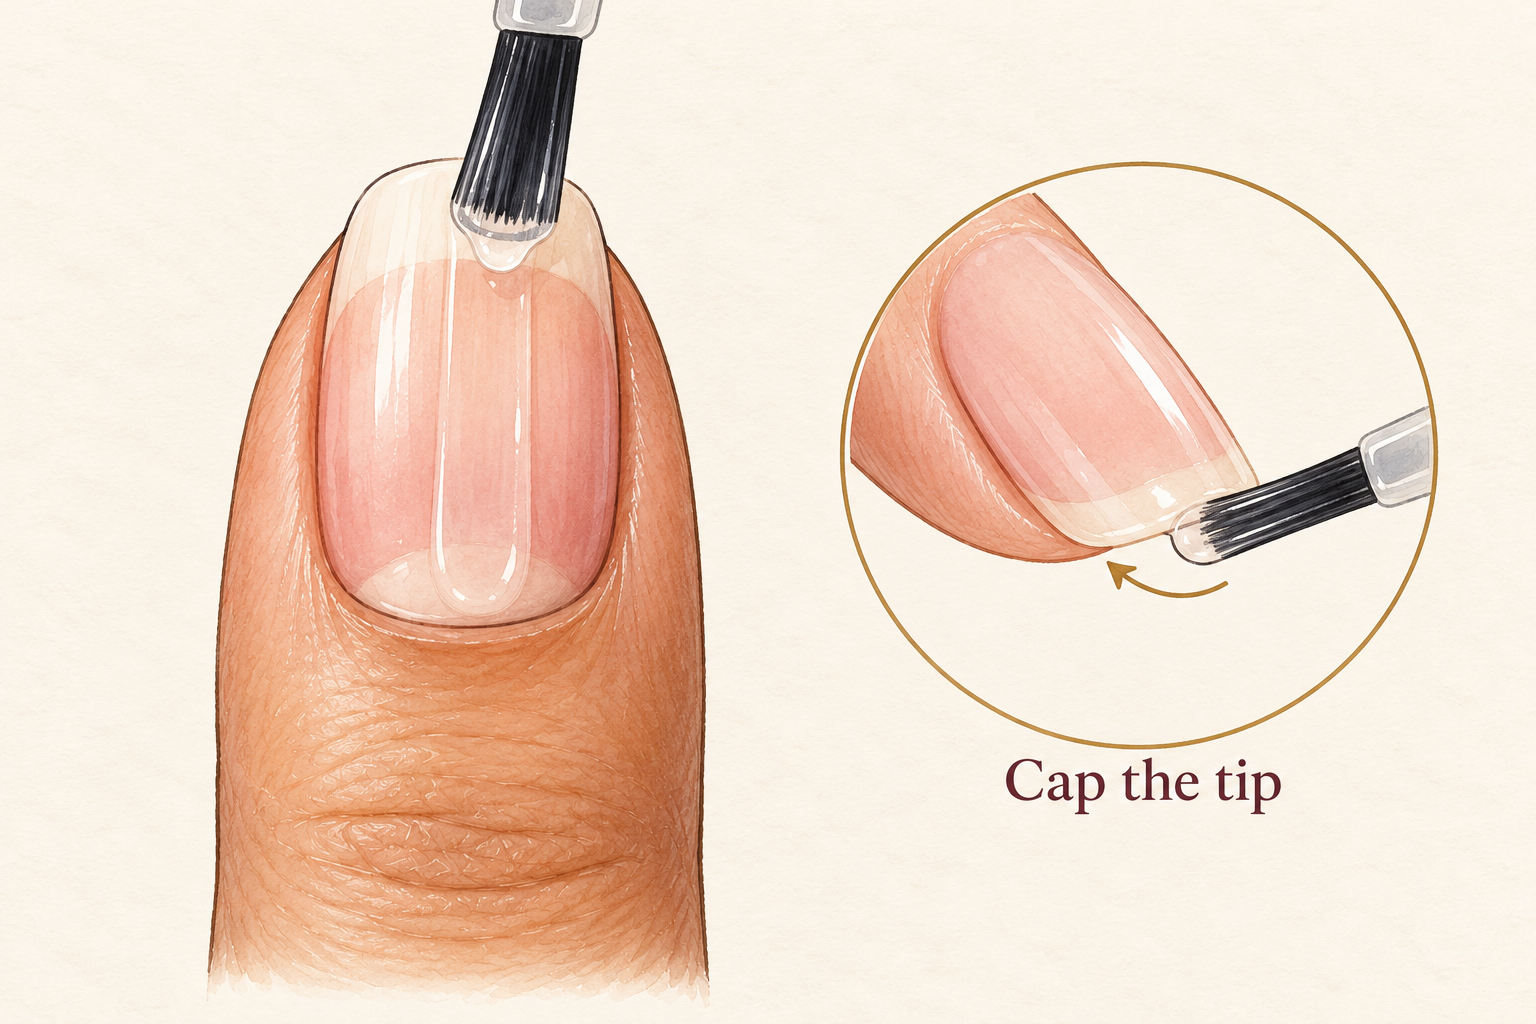
Run the top coat brush along the very tip of each nail, like sealing the end of an envelope. Wear starts at the tip, so a bare edge is where the first chip begins. Use a thin layer, because a thick one stays soft for ages and dents. Brush on a fresh thin top coat again on day three or four to bring the shine back. You will likely notice the tips stay intact for a few days longer than before. Then press a drop of cuticle oil into the skin around the nail each evening, once the polish has hardened, so the skin does not crack and pull the color up.
9. Rushing the drying time
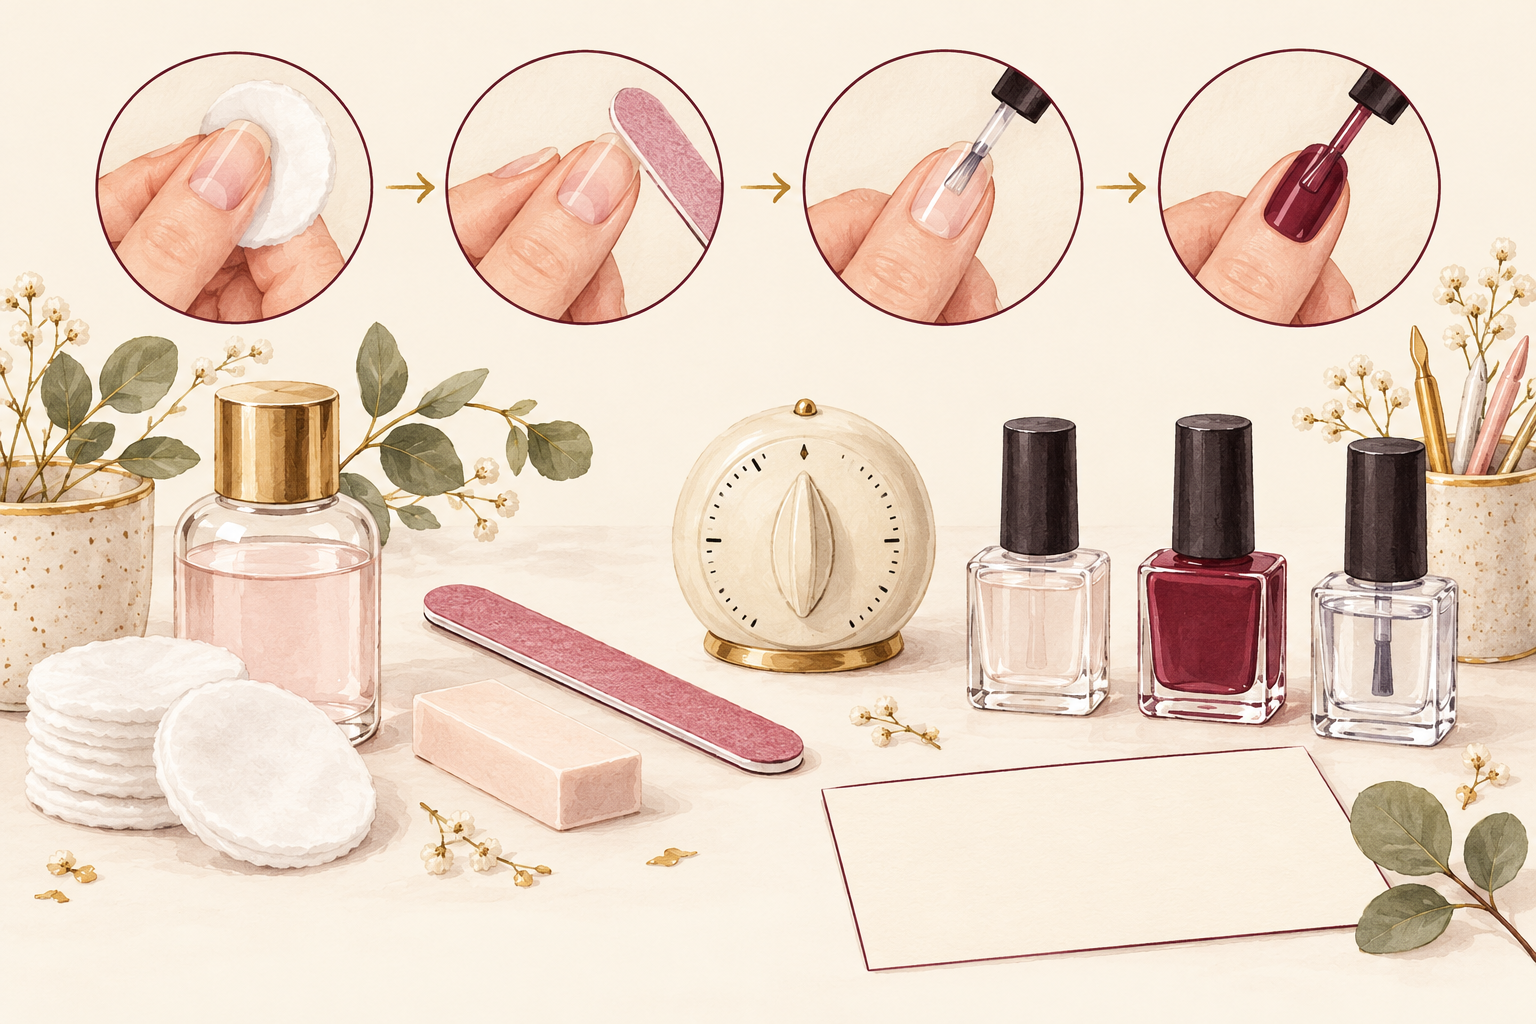
Keep your hands still for twenty minutes, and be gentle for a couple of hours after. Touch dry is not hard dry, and a dent usually means you went back to your phone too soon. Sit near a window where the air moves. Do not blow on the nails, which can cause tiny ripples. If you get a dent, buff it lightly once it has hardened and cover it with one thin layer of top coat. Plan the manicure for an evening when you have nothing to do. Touch the very edge of one nail with a clean fingertip to test it. If it leaves a print, give it ten more minutes.
10. Using the cold water and hairdryer shortcuts
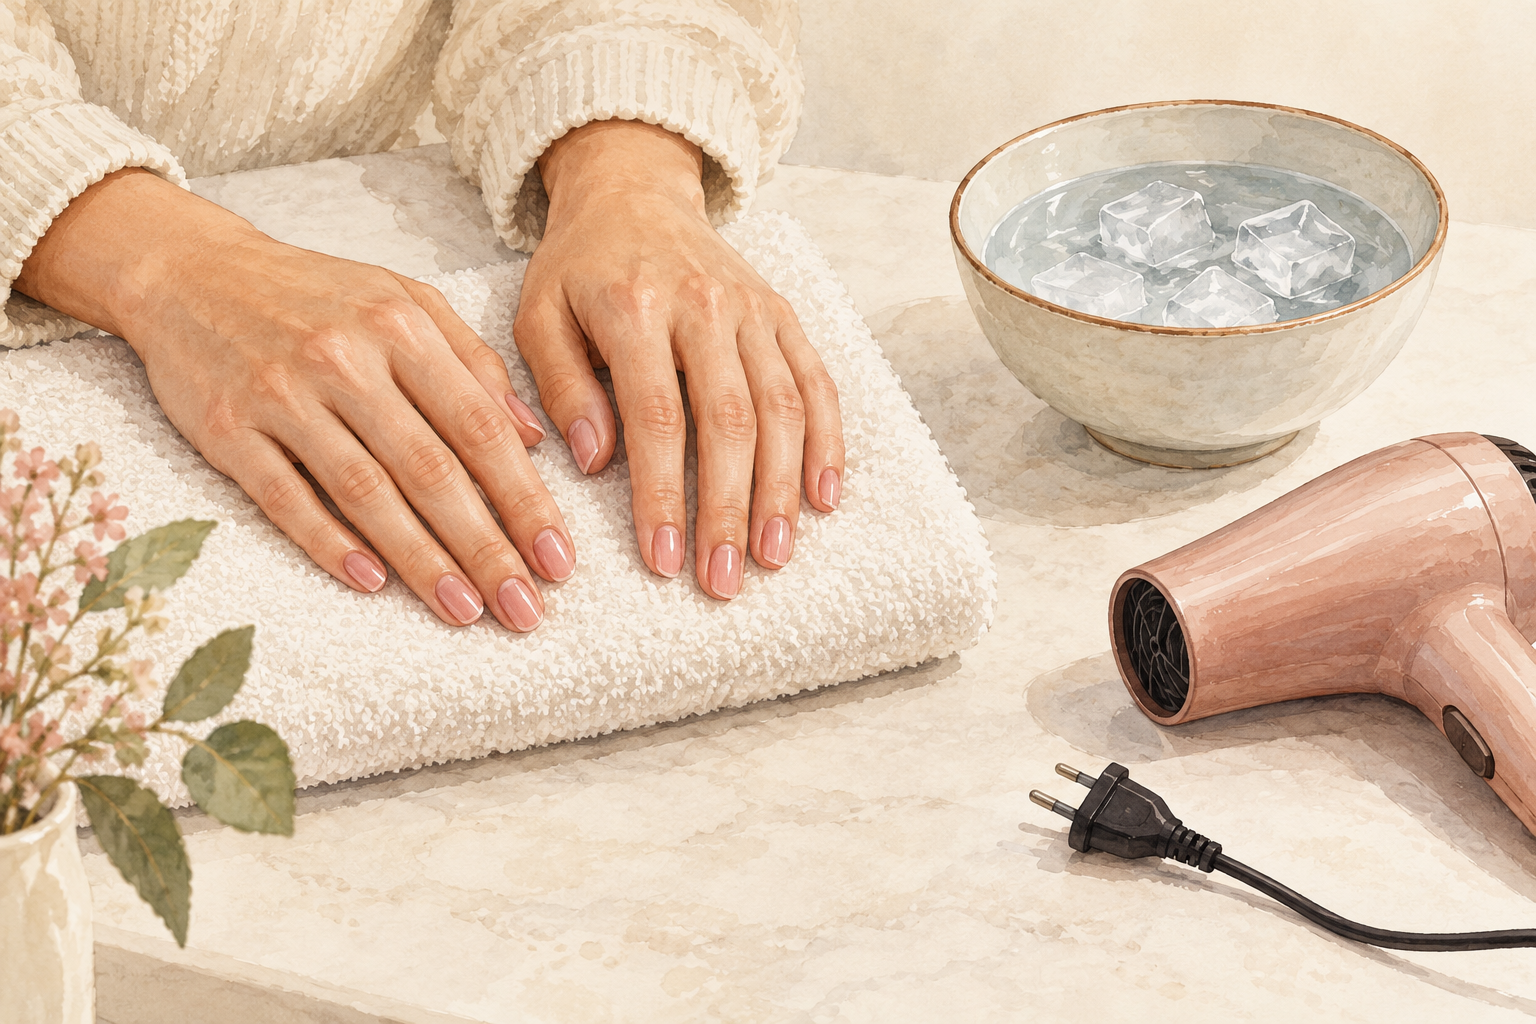
Skip the ice bath and the hairdryer, and let the polish set in room air. Both feel clever, yet they often set the surface while the layers underneath stay soft. Hot air can also make polish bubble. Quick drying drops help a little, though the nails still need quiet time. Do not wash dishes or take a long shower right after painting, because water exposure is hard on fresh polish. If you are in a hurry, do the manicure last thing at night and sleep on it. Hands in cold water also tighten the skin, which cracks polish at the edges. A cool window seat works better than any trick.
11. Picking polish off when it is done
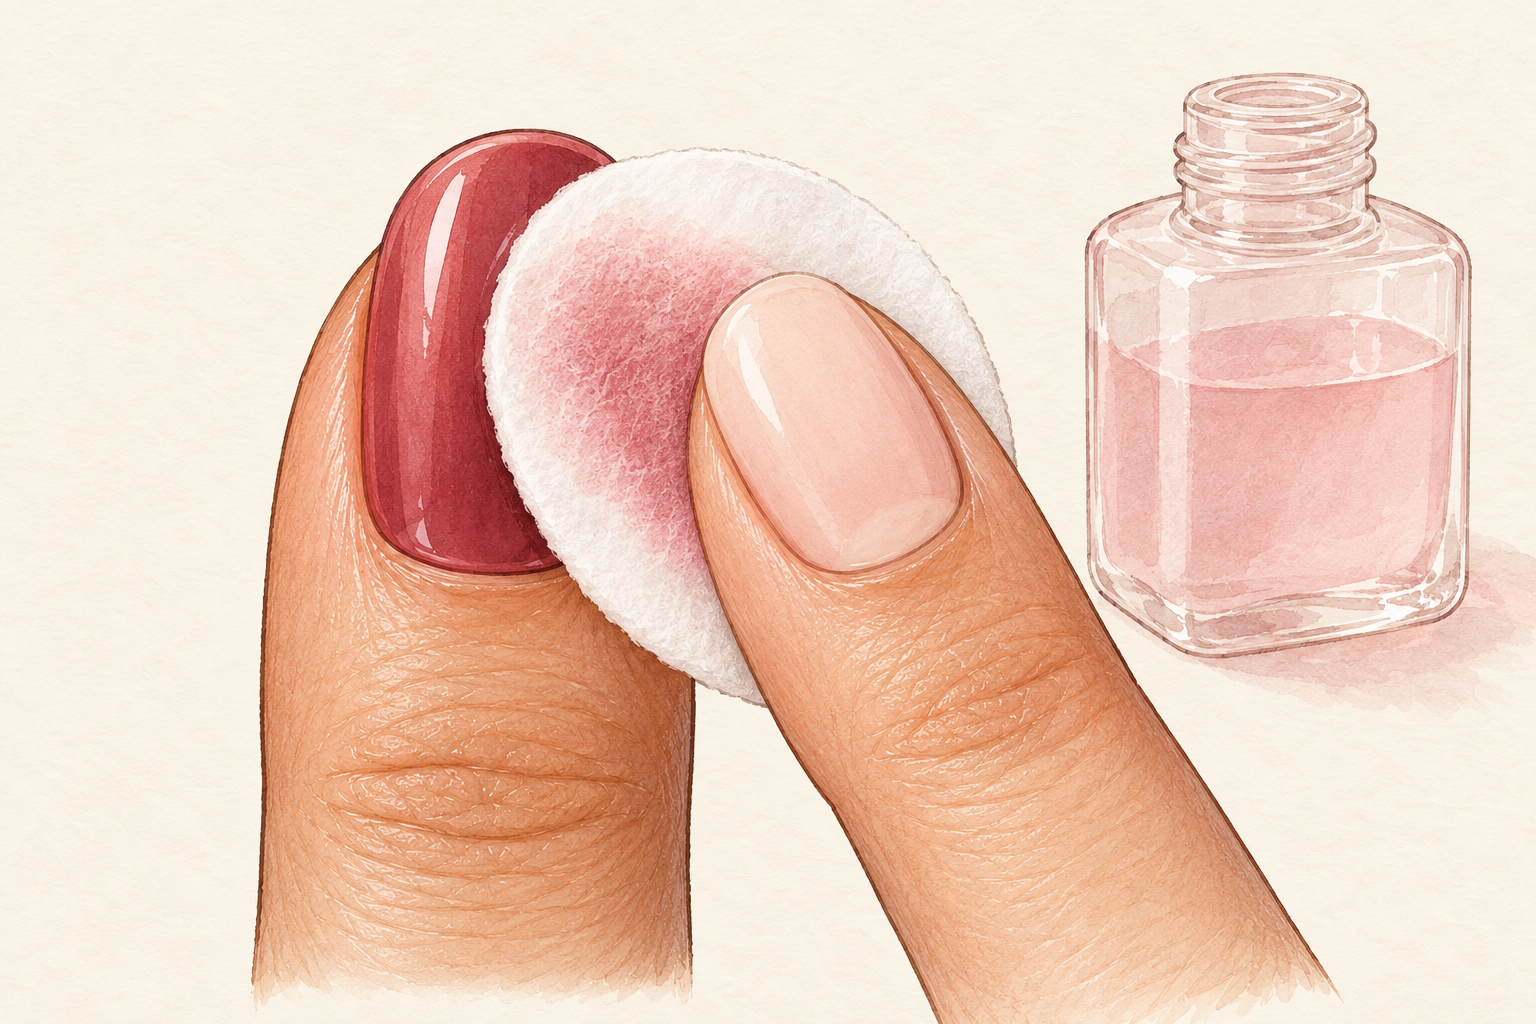
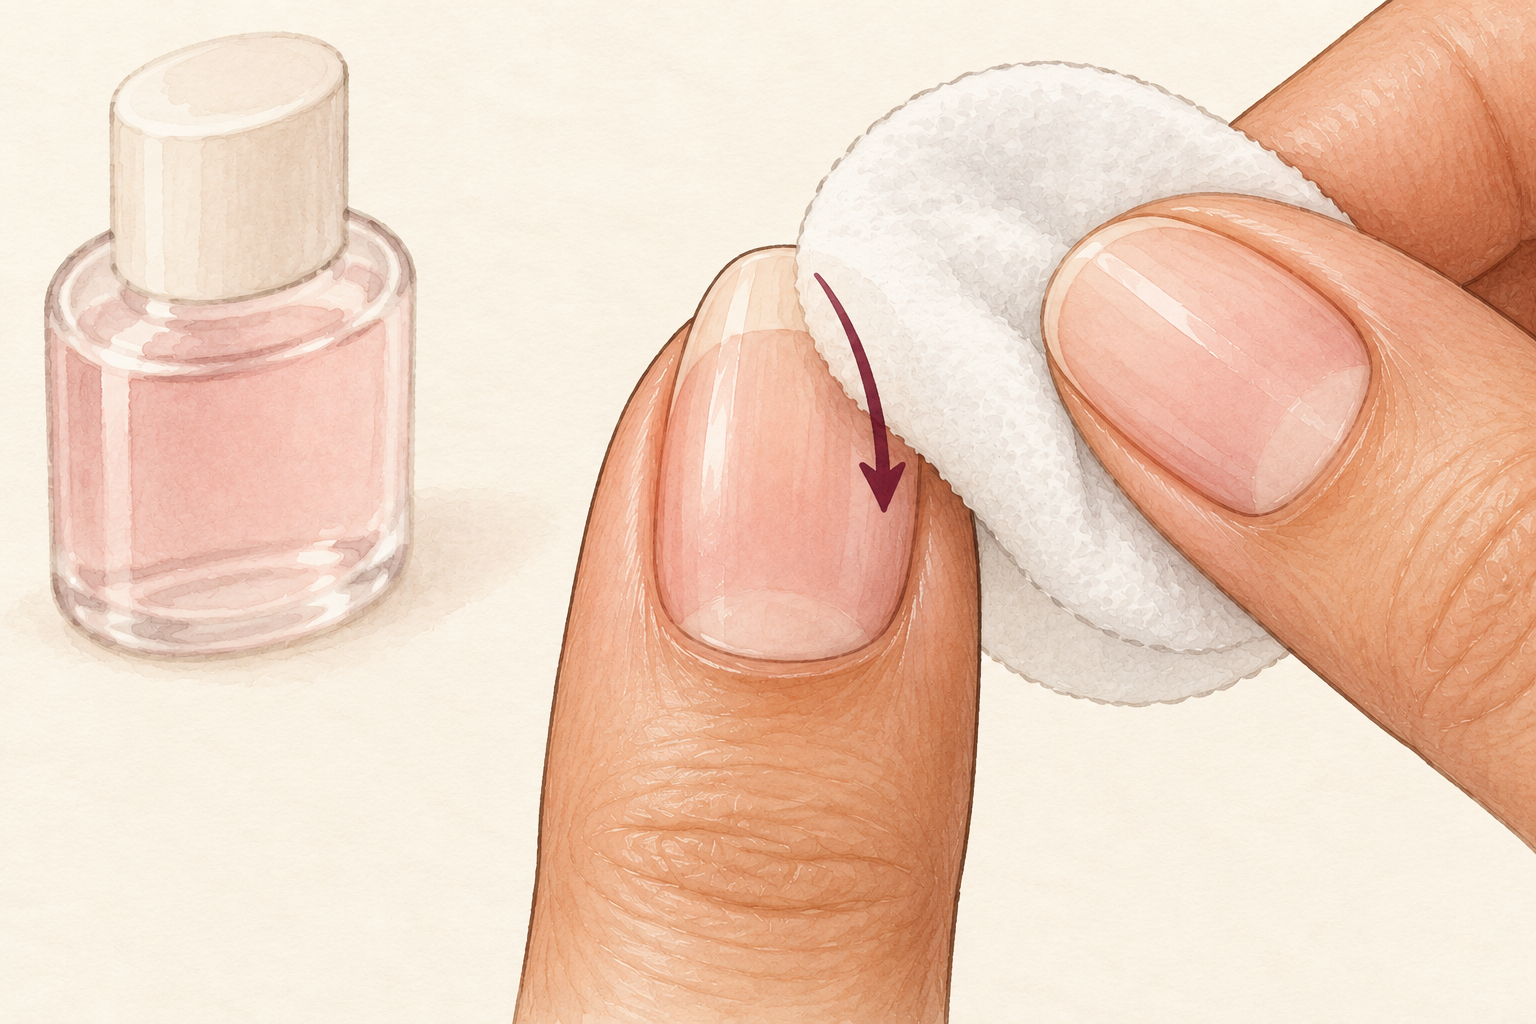
Press a soaked cotton pad on each nail for ten seconds, then wipe it away in one pass. Peeling polish pulls a thin layer of the nail off with it, leaving the surface flaky and weak. Pressing first does the dissolving for you, so there is less rubbing and less drying. Wash your hands afterwards and rub in a rich cream. By day ten most home manicures are ready to come off anyway, before they start to peel. Choose a gentle remover if your nails feel dry. Use a cotton pad folded in half so the clean side stays against the nail. Never scrape the leftovers with a fingernail, because it digs in.
12. Never giving your nails a break
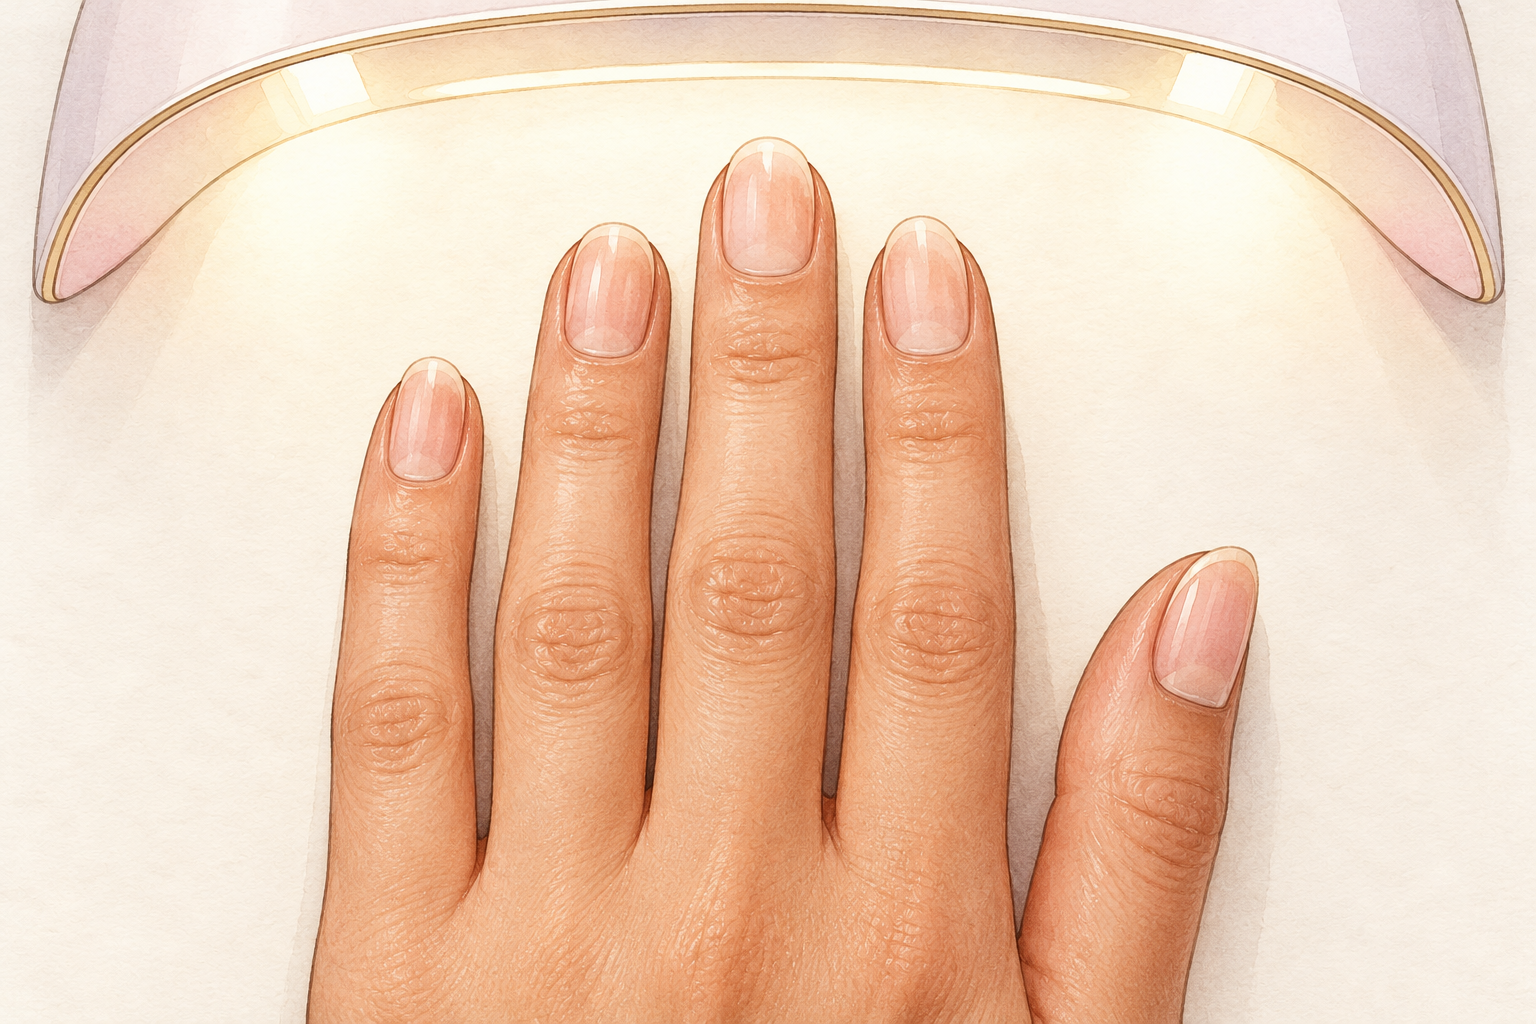
Go bare for a few days between manicures, and press a drop of oil into each cuticle every evening. Polish and remover both dry the nail, so a short rest lets it recover. A home manicure looks its best for about a week, so do not fight that. Use the break to file the shape and keep your nails short and neat. You will likely notice a softer shine and less peeling at the tips after two or three gaps like this. Use gloves for washing up in the days between, and never use your nails as tools for prying lids or opening cans. Days off the polish matter, and you can slot manicure at home around them.
Complete the Routine: Make Your Next DIY Manicure Better
Tonight, practice just the prep on one nail: wash, ease the cuticle back and wipe with remover. Fixing these slips one by one makes the next manicure calmer, and the guides below are where to head for your next nail goal.