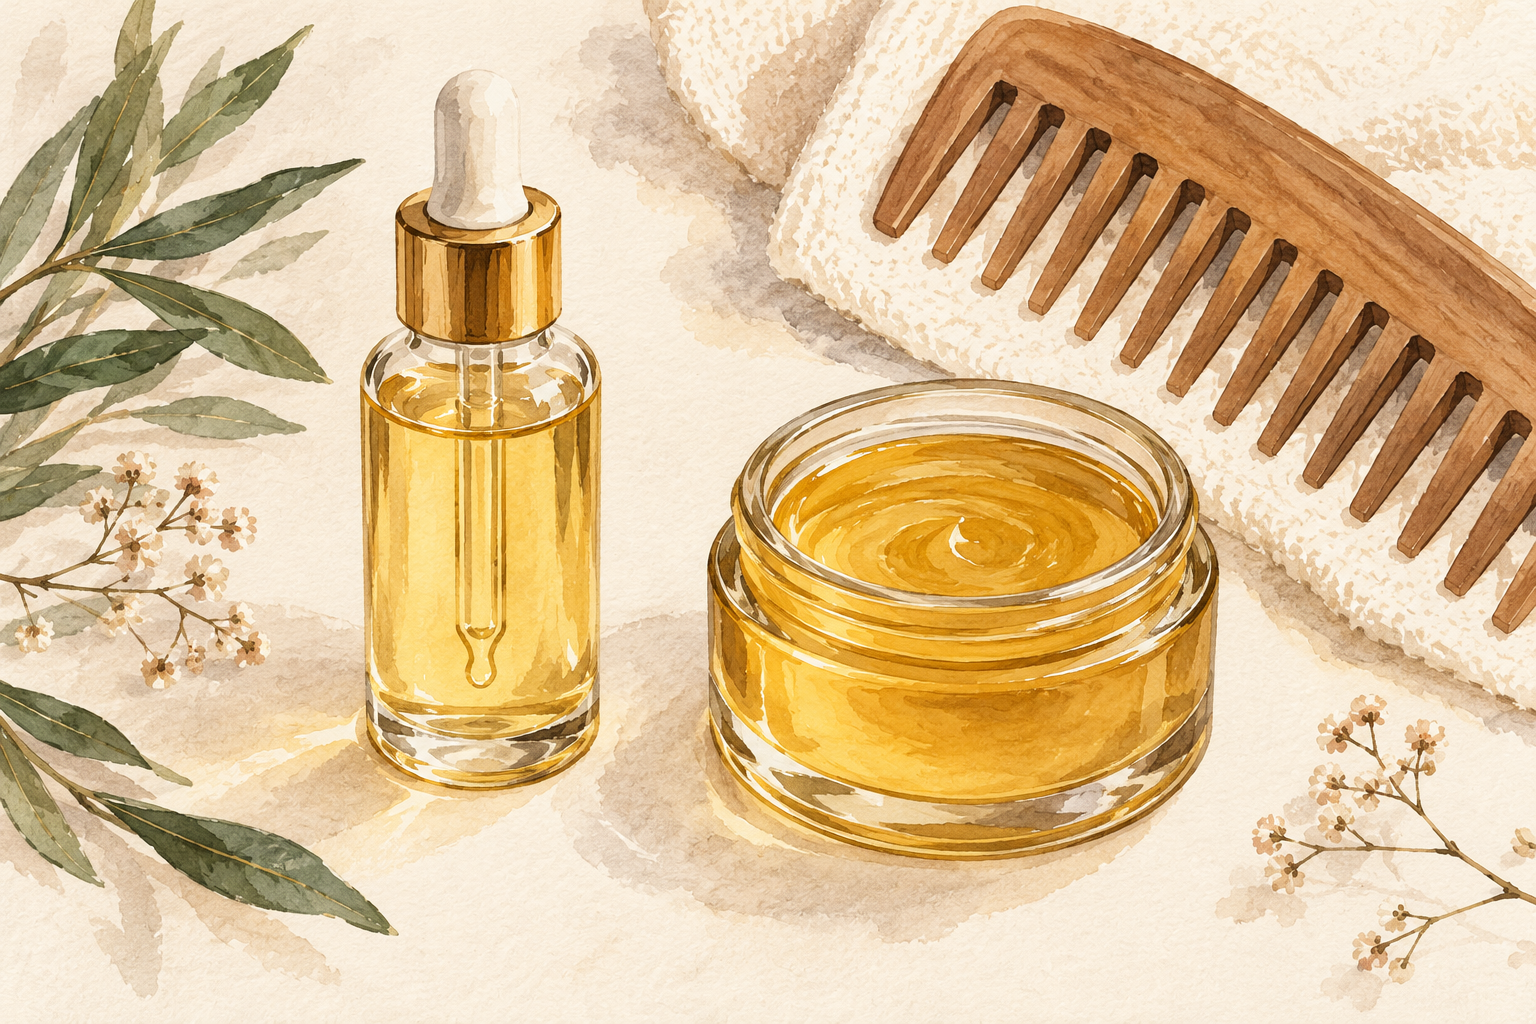
You massaged oil into your hair last night, woke up on a greasy pillow, and your shampoo barely cut through it this morning. Hair oiling should leave hair soft, but plenty of us end up with flat roots and a pillowcase to wash. The oil was not the problem. The amount, the timing and the spot were. Here are 12 rules, so start at number one tonight.
1. Pick a light oil to start

Choose one oil you already like the smell of, such as coconut, olive, almond or jojoba. Light oils like almond and jojoba soak in without weighing hair down, while coconut and olive are richer and suit thick or coily hair. Castor is very thick, so mix a spoonful into a lighter oil instead of using it alone. Buy a small bottle, because oil goes off if it sits for a year. Smell it before you use it, since a sharp, crayon like scent means it has turned. Using one oil at a time lets you learn how your hair reacts.
2. Patch test before the first time
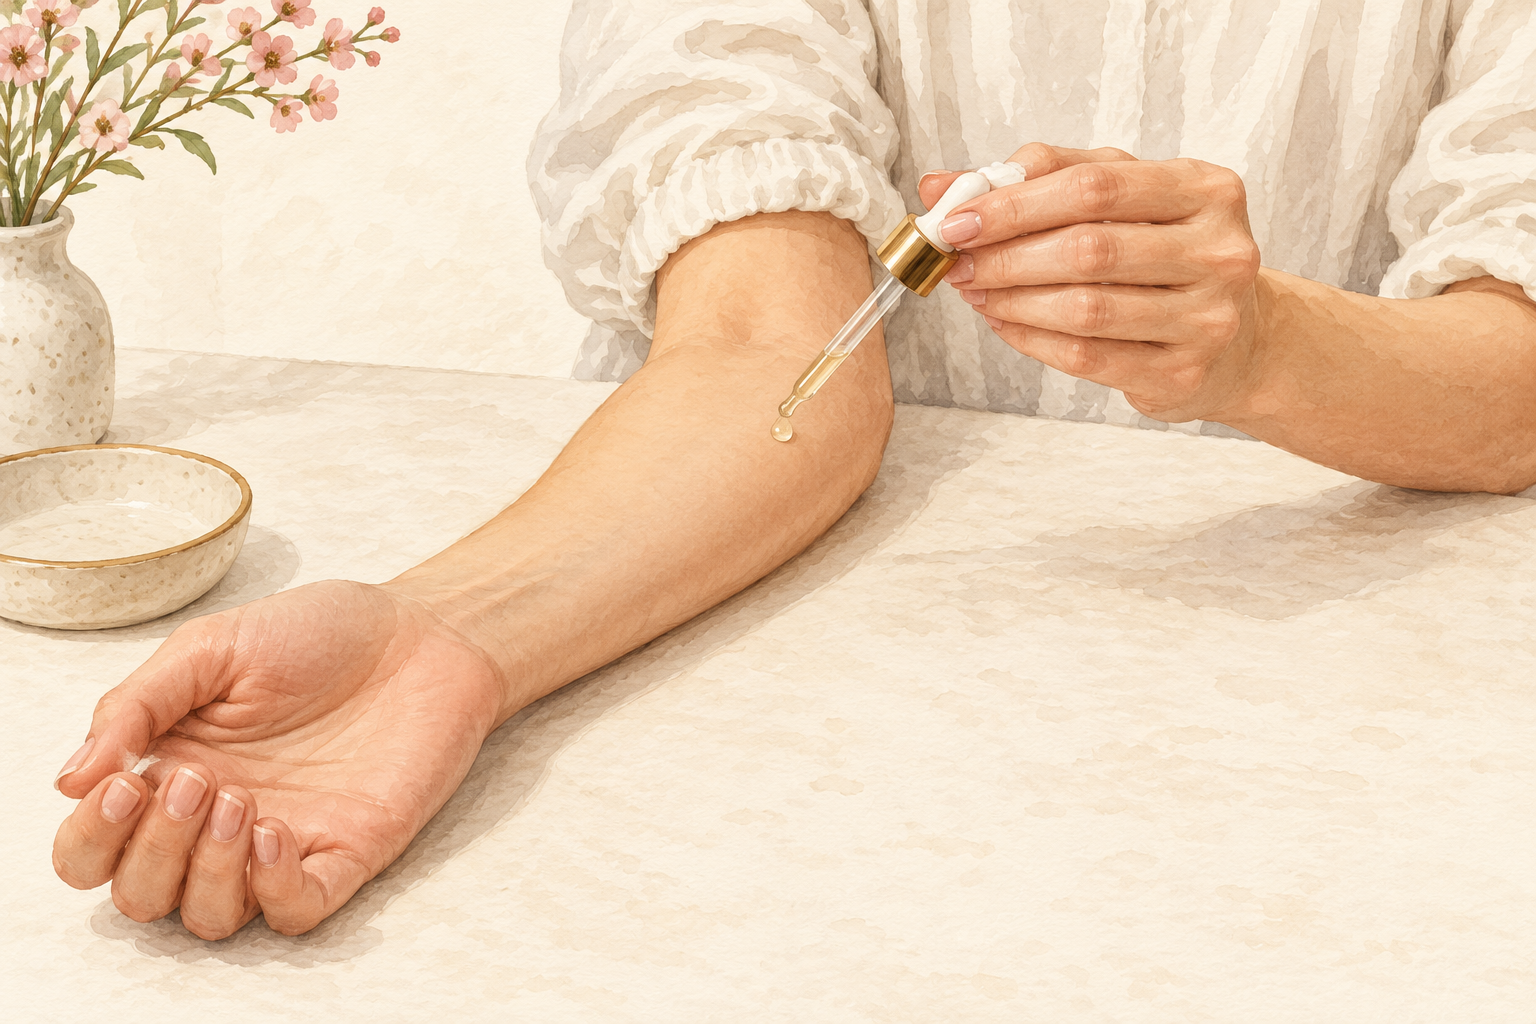
Dab a drop of the oil on the inside of your arm and wait a full day. If the skin stays calm, you are good to go. If it itches, reddens or feels hot, wash it off and cross that oil off the list. This matters most with any oil you have not used on your skin before, and with blends that include essential oils. Your scalp is more delicate than your arm, so do not skip it because the arm looked fine. Do the test the day before your first session, so you are not stuck waiting with a head full of oil.
3. Warm the oil gently
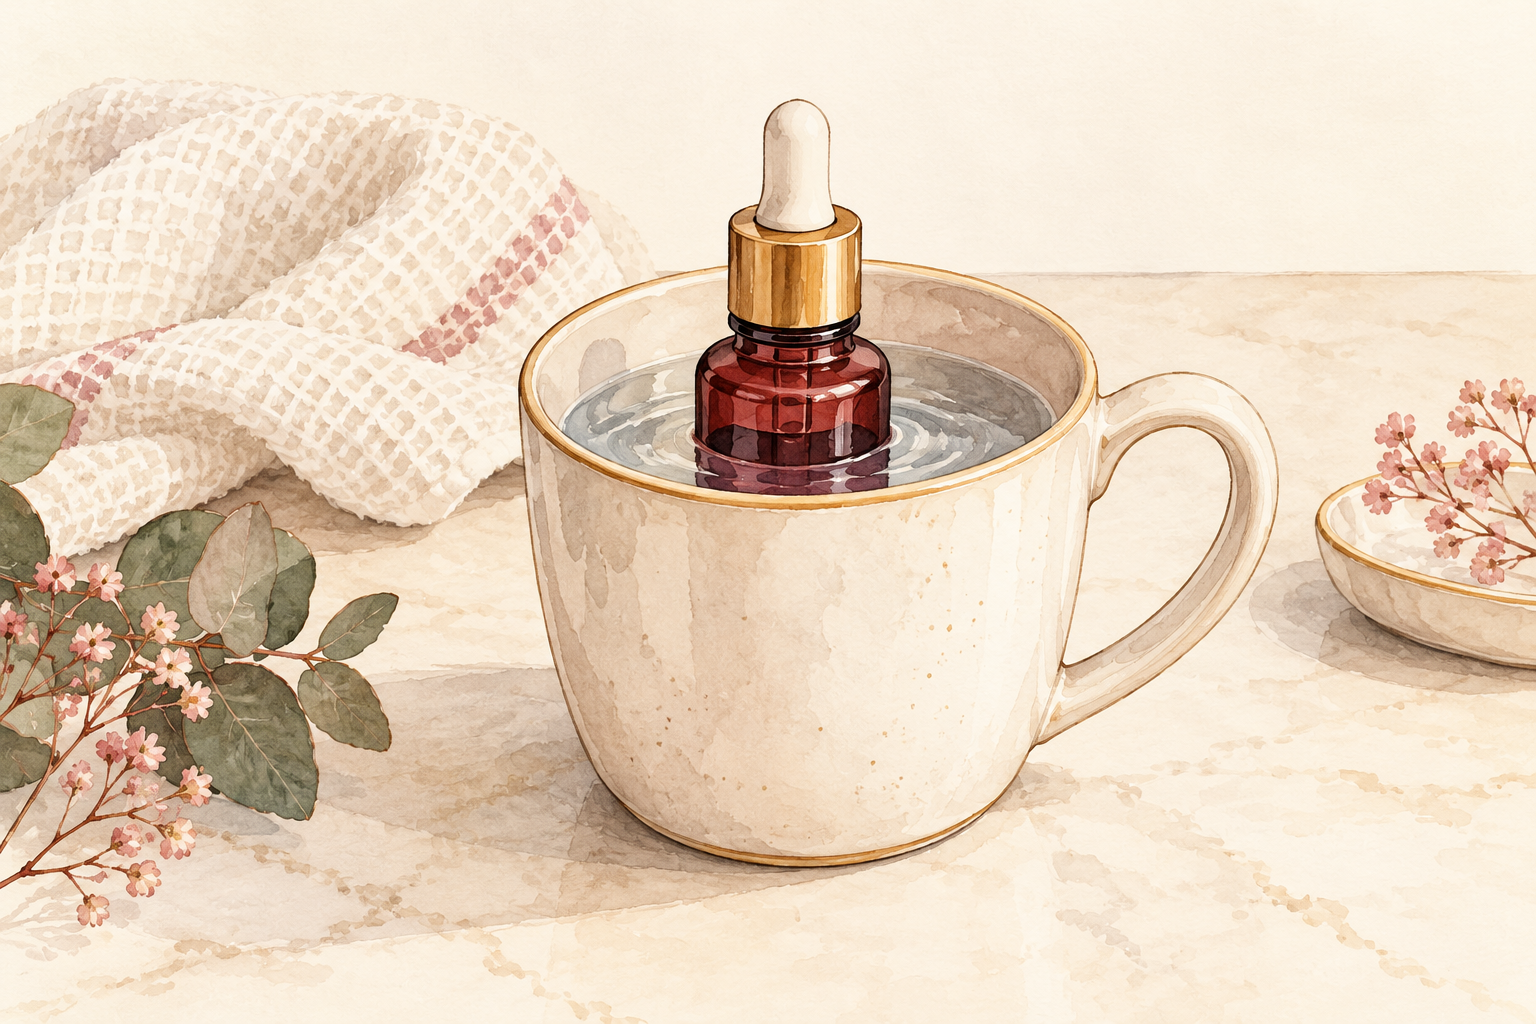
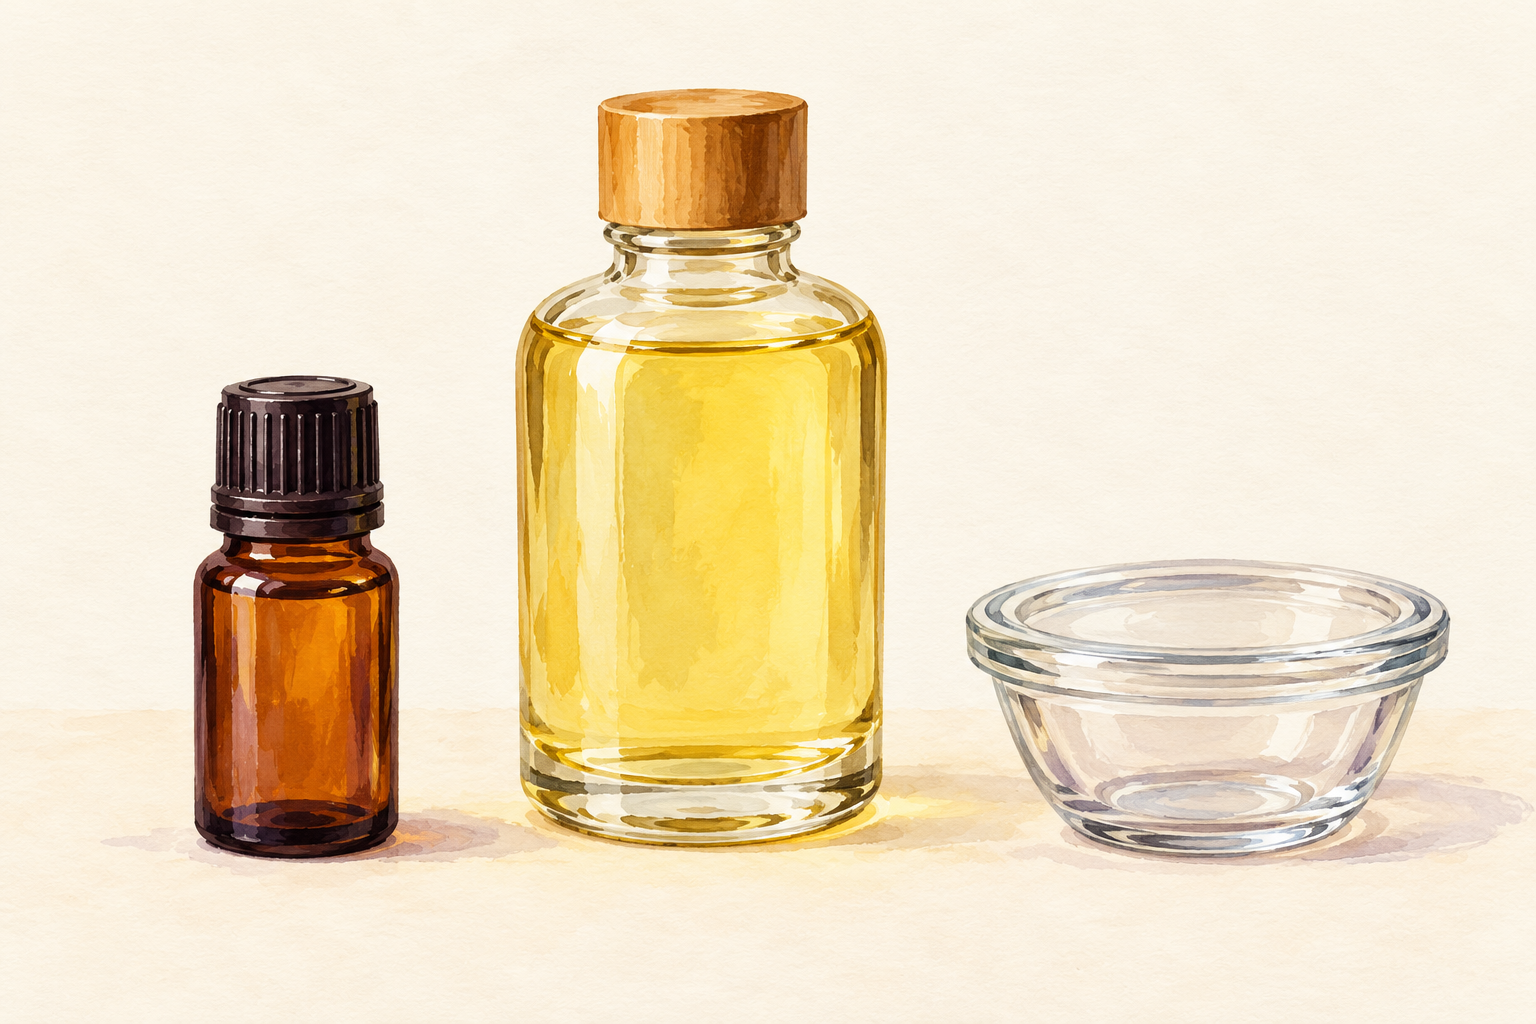
Stand a small bowl of oil in a larger bowl of warm water for two minutes. Warm oil spreads thin and feels lovely on the scalp, while cold oil sits in clumps. It should feel pleasantly warm on your wrist, never hot. Do not microwave it, because the middle can be scalding while the edge feels fine. Two tablespoons is plenty for shoulder length hair, and you can add another spoon for long or thick hair. You can always put more on, but you cannot take it off without a second wash. Keep a clean towel nearby for drips, and tie your hair back while the oil warms so nothing sticks to your sleeves.
4. Choose pre poo or overnight
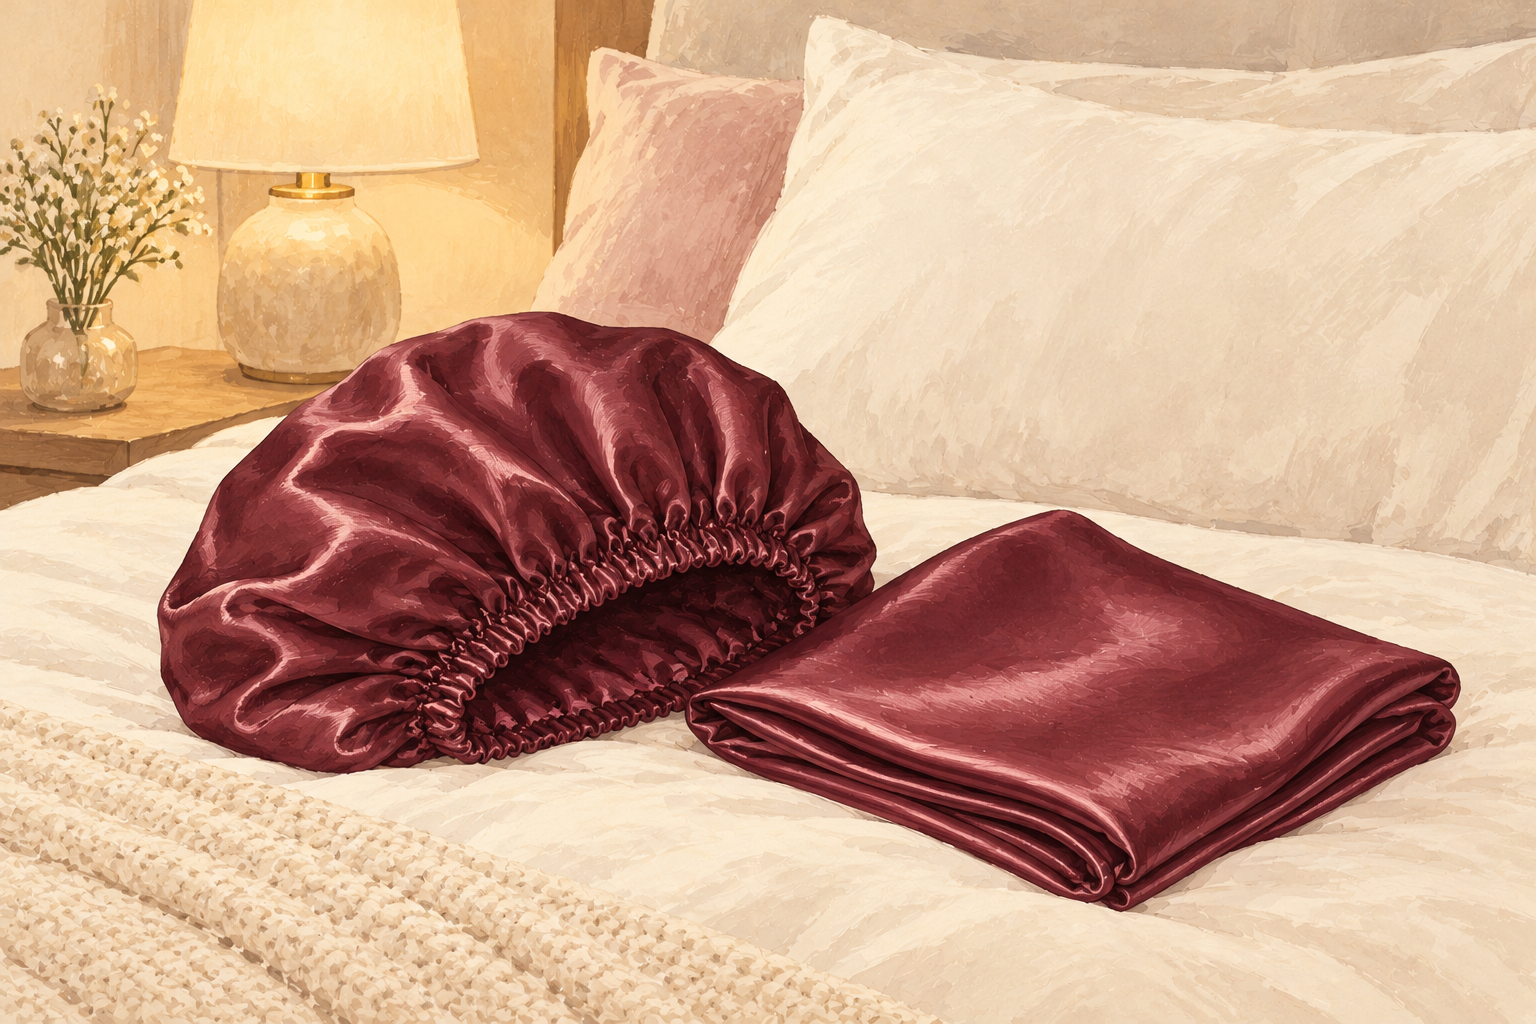
Leave the oil on for thirty to sixty minutes before shampooing, which is pre poo, or overnight if your hair is very dry. Pre poo is the easy one. It protects your hair from the dryness shampoo can cause, and it never touches your pillow. Overnight gives a deeper soak but needs a cap and a washed pillowcase. If your roots go oily fast, stay with the shorter pre poo. Pick a night you are not rushing in the morning, because overnight oil needs a proper wash, and rushing it is how you end up with hair that looks greasy all day.
5. Section your dry hair
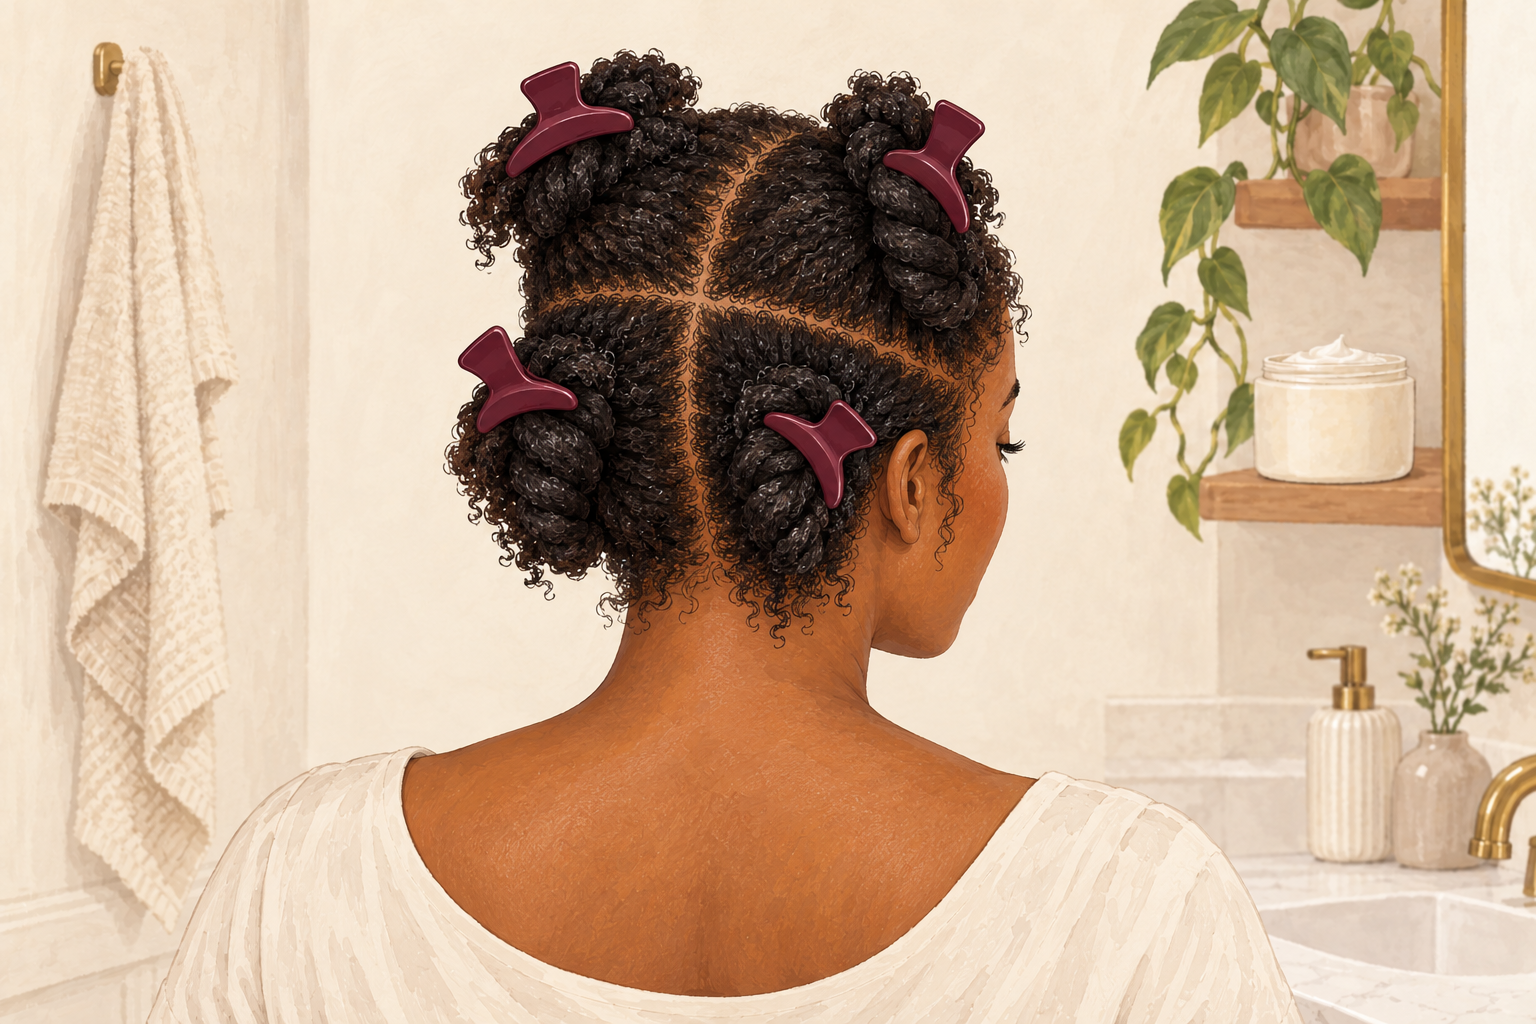
Start with dry or slightly damp hair, and clip it into four sections. Oil sits on top of soaking wet hair because water and oil do not mix. Comb out the tangles first so your fingers can glide through. Four sections let you reach every part of the scalp without dripping onto your clothes, so put an old towel around your shoulders. Take your time here. It is the step that saves you from missed patches and uneven coverage. A hair clip in each hand is all you need. Run the comb through once more at the end of each section so the oil spreads evenly and nothing is left clumped near the parting.
6. Massage the scalp for five minutes
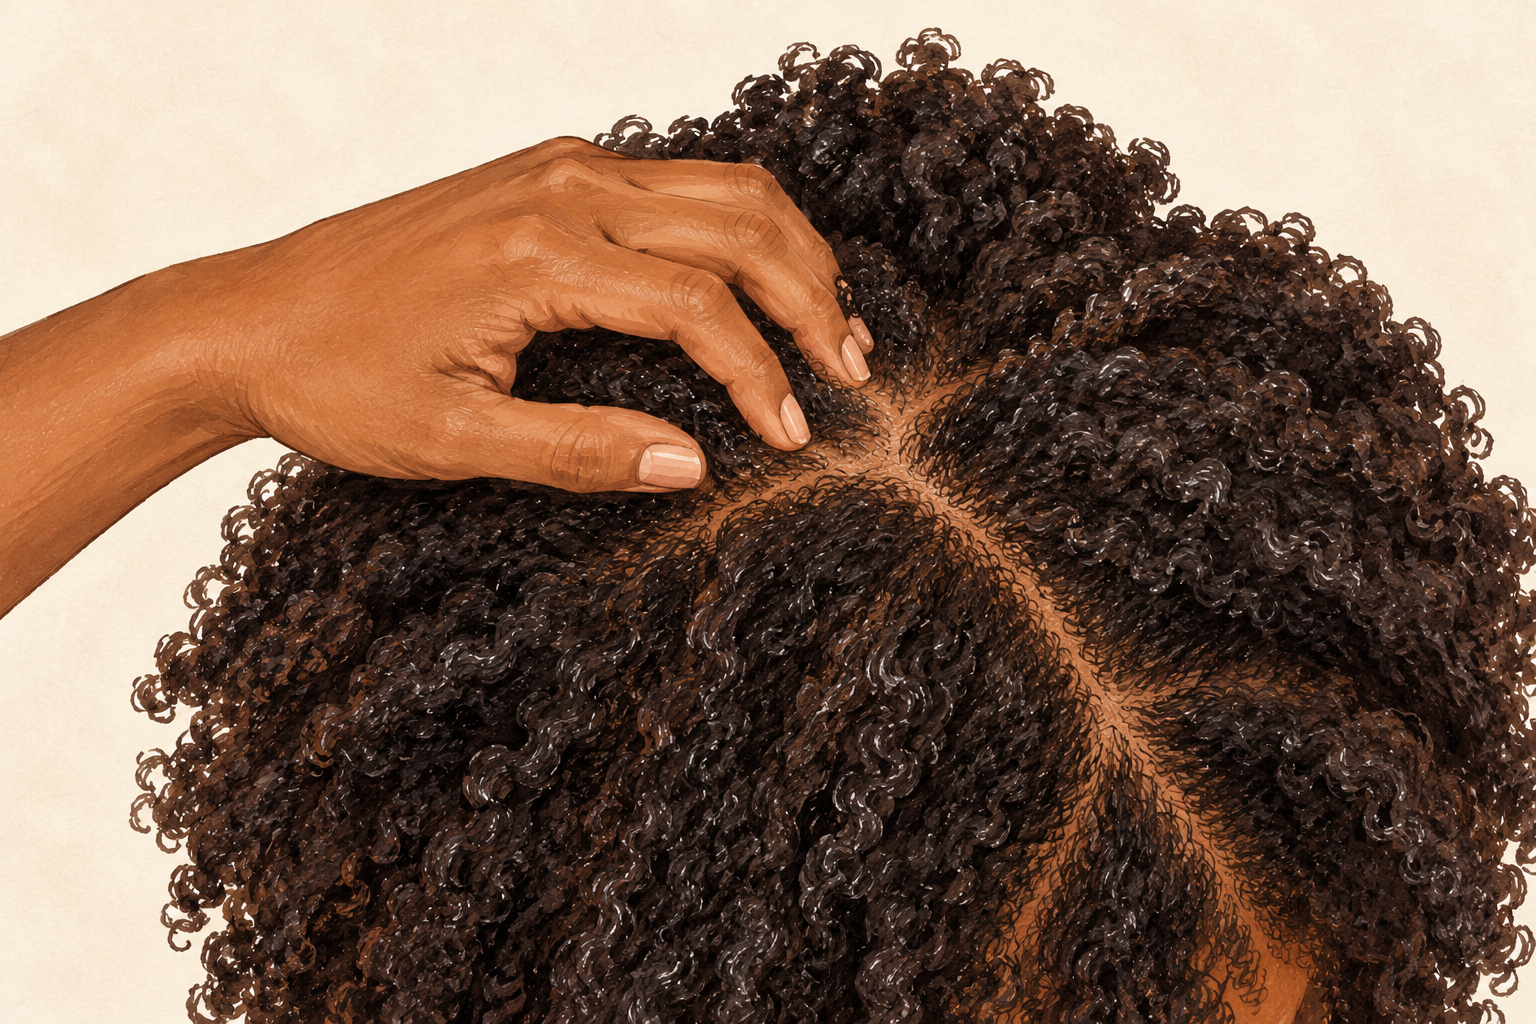
Dip your fingertips in the oil, dab it along the partings, and massage in small slow circles. Use the pads of your fingers, never your nails. Press firmly enough to move the skin over the bone, then release. Five minutes feels long the first time, so put on some music. A good scalp massage feels relaxing and makes hair feel lighter afterwards. Use about a teaspoon for the whole scalp, not a handful. If you have a flaky scalp, keep the oil thin and skip heavy layers, because thick oil can trap flakes. Stop if anything stings.
7. Smooth the rest through your lengths
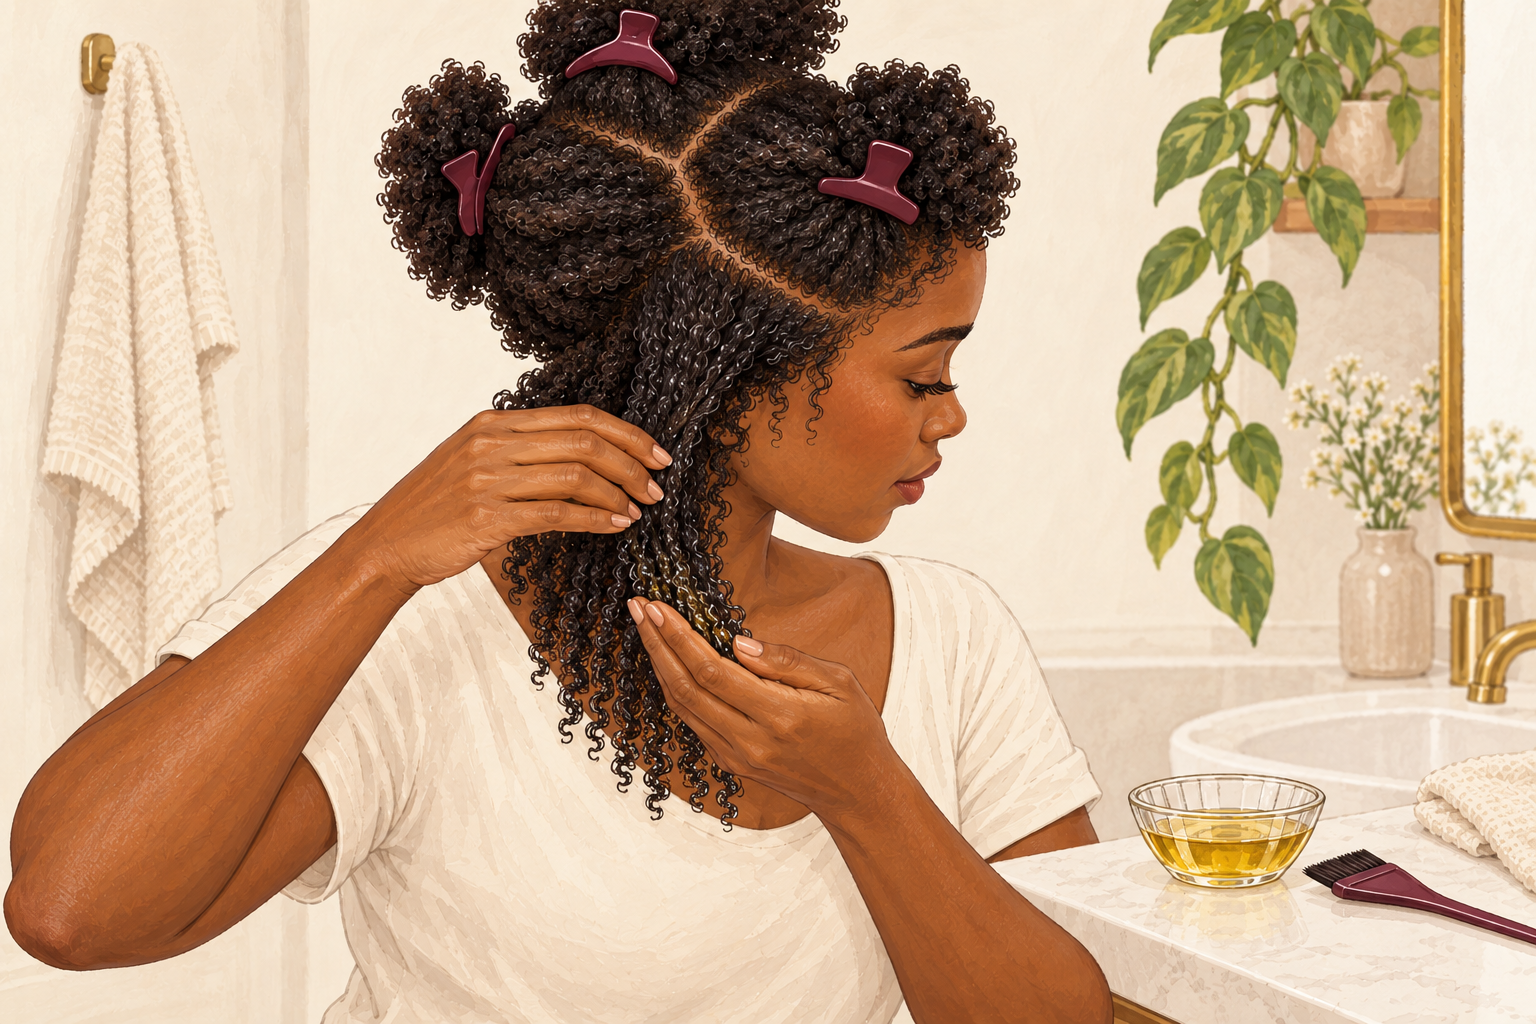
Warm a little oil between your palms and glide it from the mid lengths to the ends. Ends are the oldest and driest part of your hair, so they get the most. Skip the roots here, because the scalp already got its share. Squeeze the oil in rather than raking it, which causes breakage. A few drops are enough for fine hair, while thick or coily hair can take a tablespoon. Twist the lengths into a loose bun to keep them tidy. If your ends look shiny and wet, you have used enough. Wash the oil off your palms with a little shampoo before touching your face, since leftover oil on your hands can cause breakouts on your forehead.
8. Cover it and protect the pillow
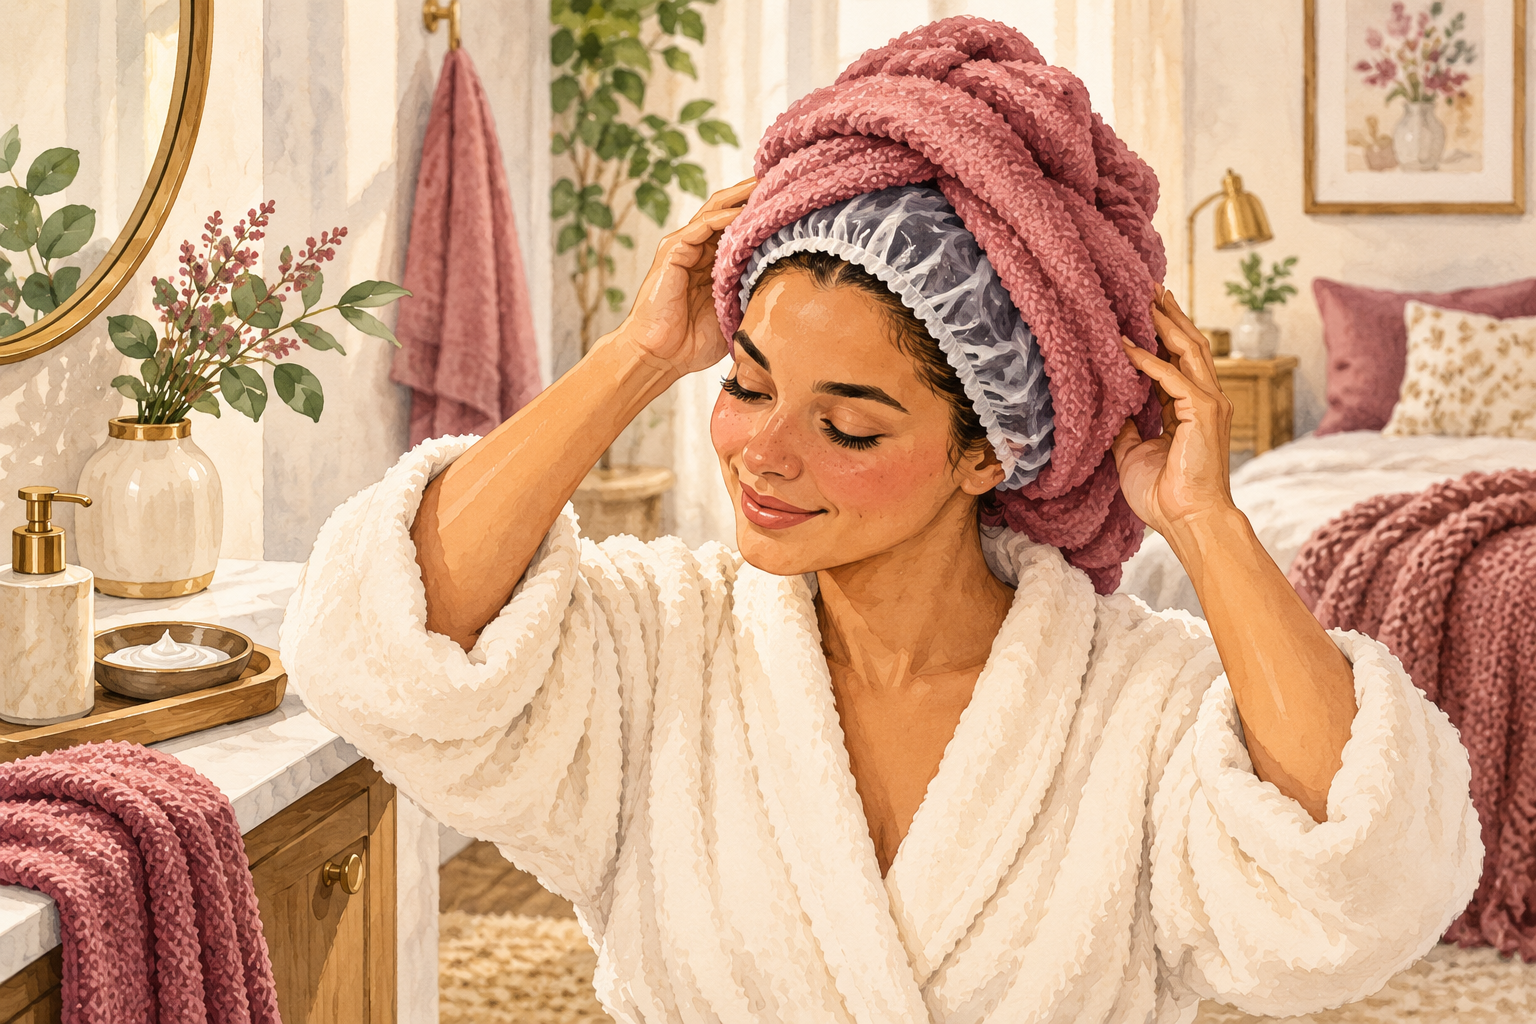
Slip on a shower cap or a satin bonnet, and lay an old towel over your pillow. The cap keeps the oil from smearing everywhere and adds a little gentle warmth. It also keeps your pillow safe, so you do not have to wash bedding after every session. Keep the bun loose, because a tight style pulls on oiled hair while you sleep. For pre poo, a cap and a cup of tea are all you need for thirty minutes. Do not sleep with a plastic cap on if it makes you sweaty. A satin bonnet is the comfortable swap.
9. Shampoo it out before you wet it
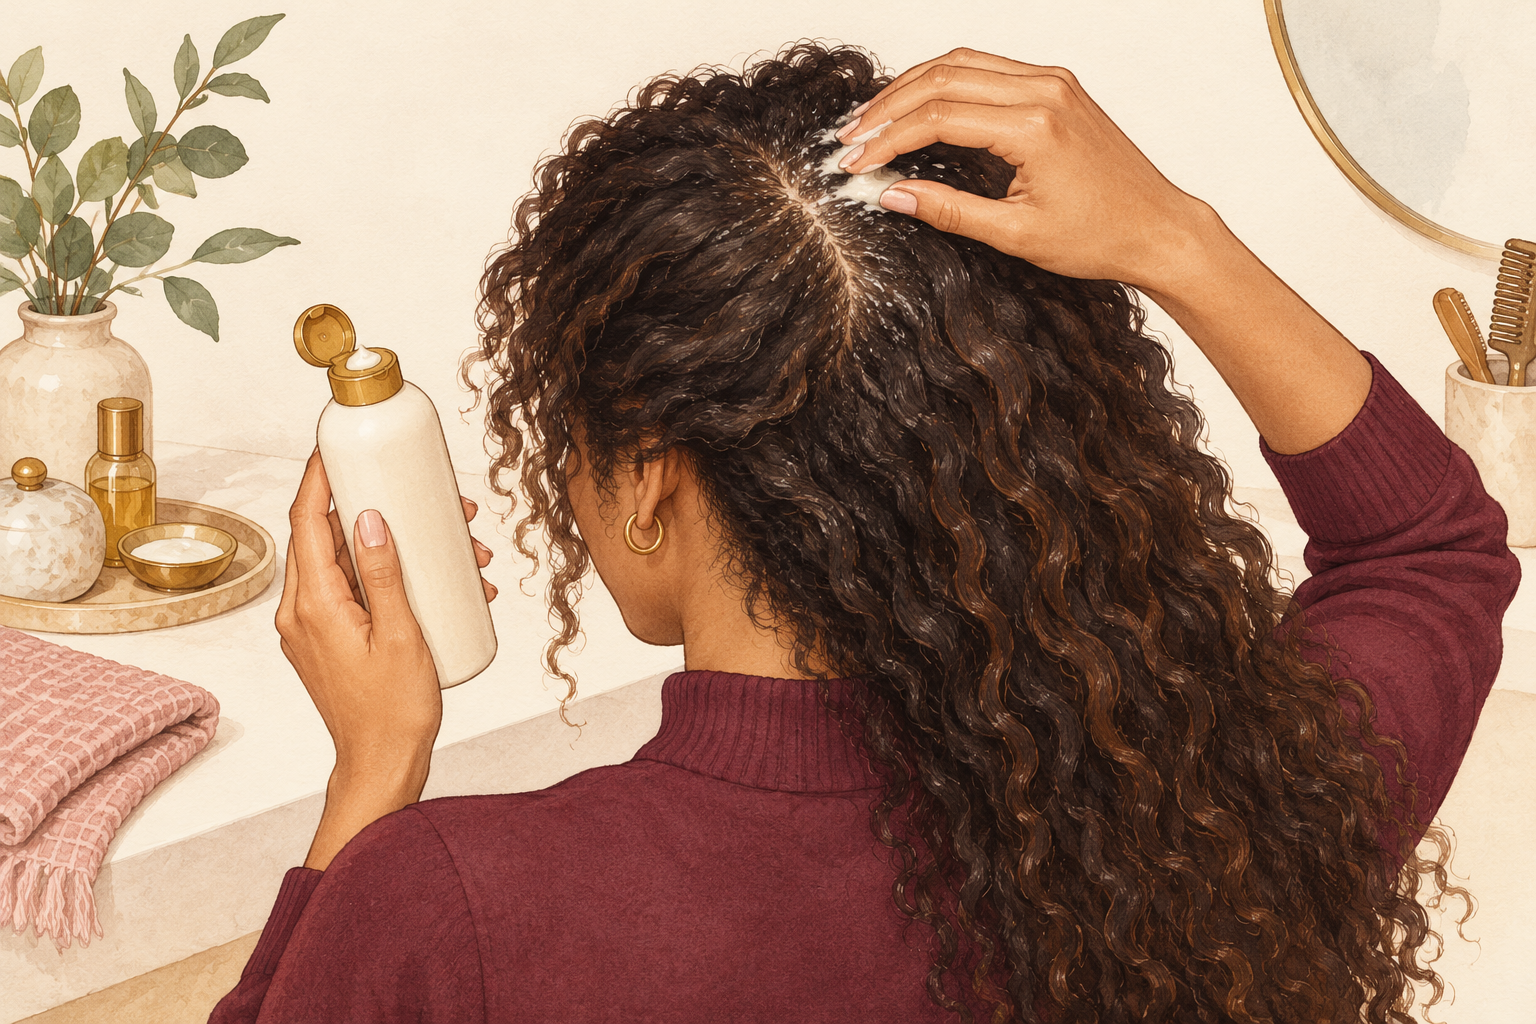
Put shampoo on your oily hair while it is still dry, then add a little water and lather. Shampoo grabs the oil best before water gets in. Rinse, then shampoo again, because the first wash lifts the oil and the second cleans the scalp. Use lukewarm water, since hot water makes your scalp itchy. Follow with conditioner on the lengths only. If your hair still feels coated after two washes, you used too much oil, so halve it next time. A rinse with plenty of water is worth the extra minute. Squeak test it at the end by pinching a few strands, and if they slide with a slight squeak instead of a slick film, the oil is gone.
10. Match the how often to your hair
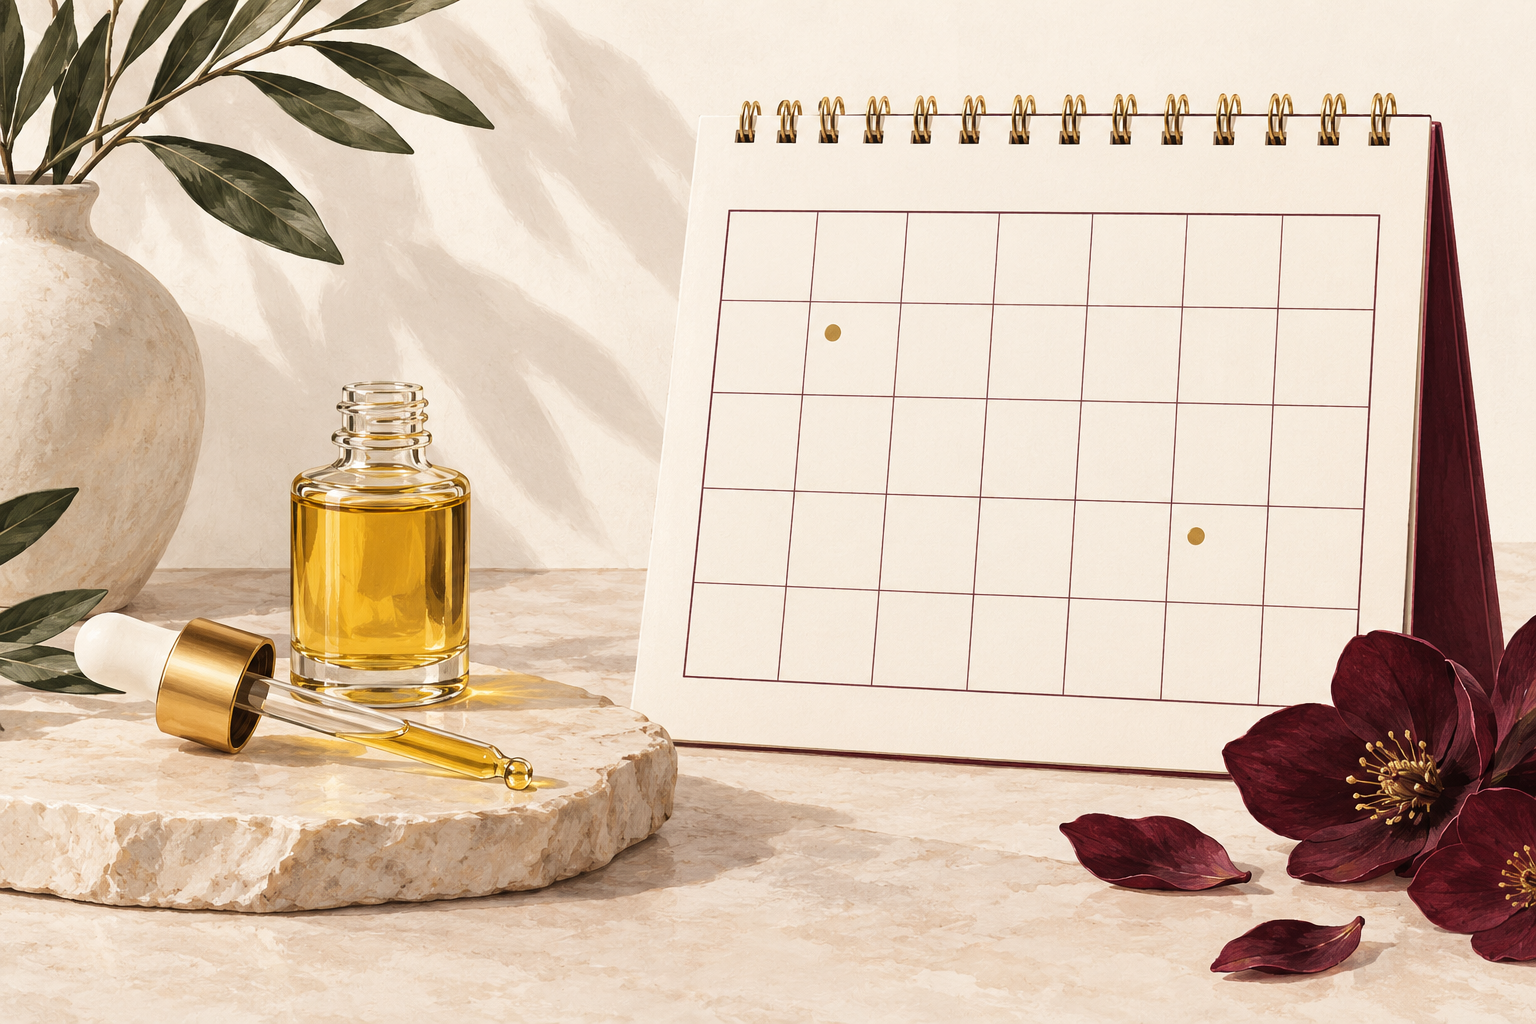
Fine or straight hair does best with hair oiling once a week, and thick or curly hair can go once or twice. Oily scalps should stay on the shorter side, with just the ends oiled between washes. Very dry or coily hair can take a little extra on the lengths between wash days. More is not better, because hair that is oiled every day gets limp and clogged. Pick one fixed day, such as Sunday, so the habit sticks. If your scalp gets spotty or itchy, cut back to every other week and see what changes.
11. Avoid the common slips
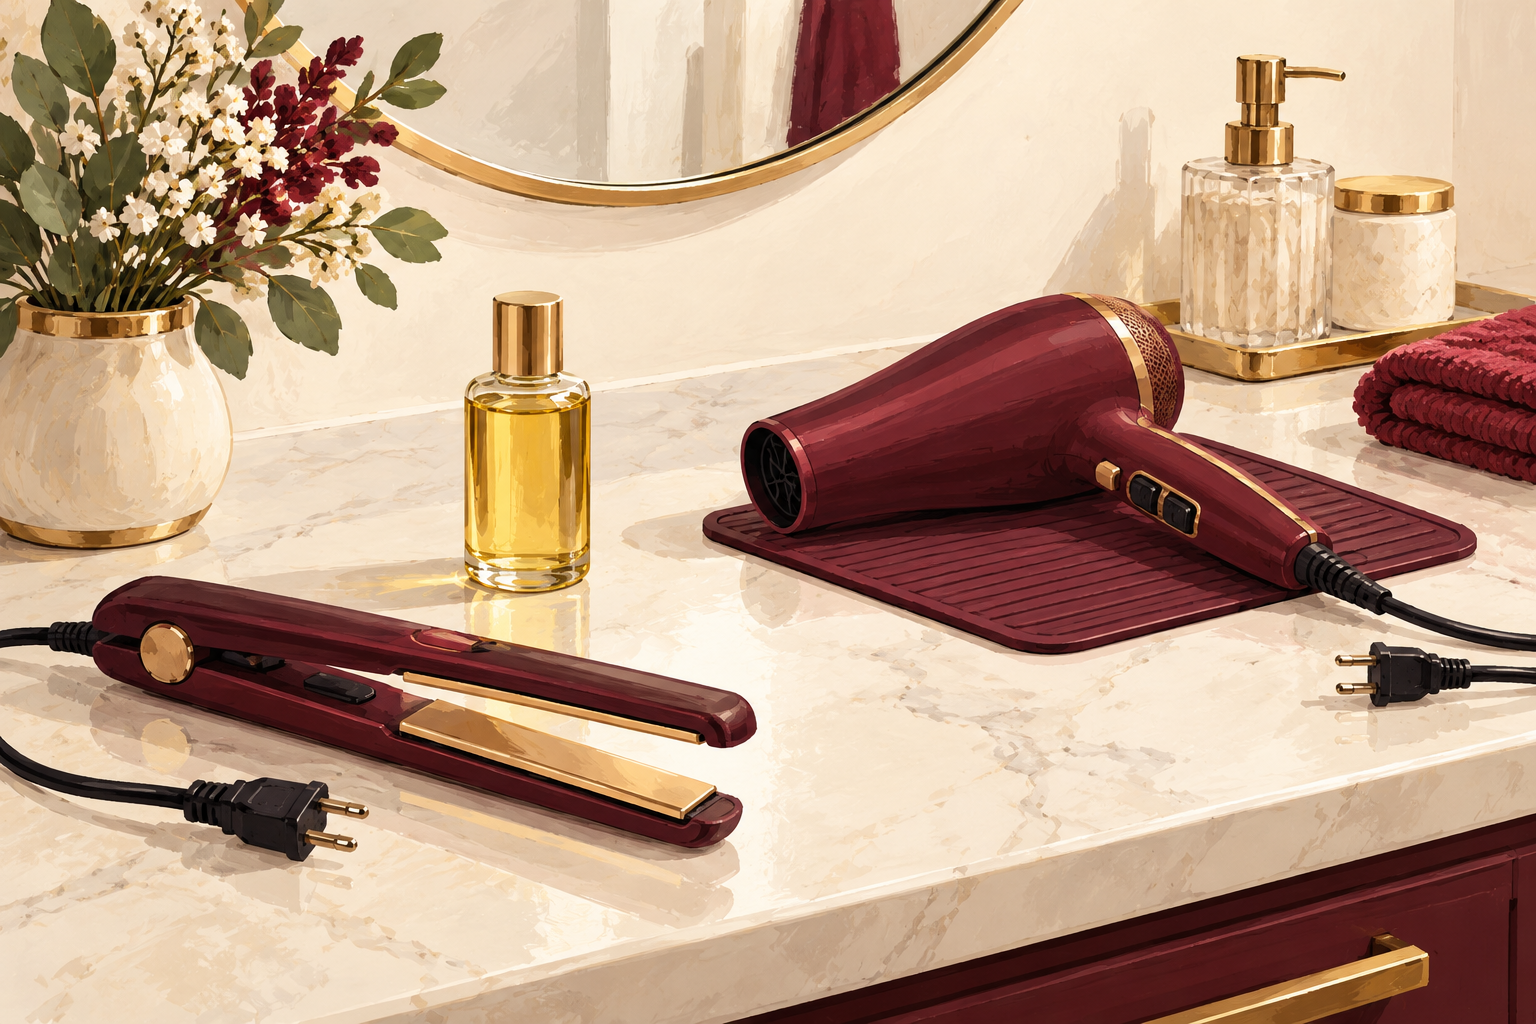
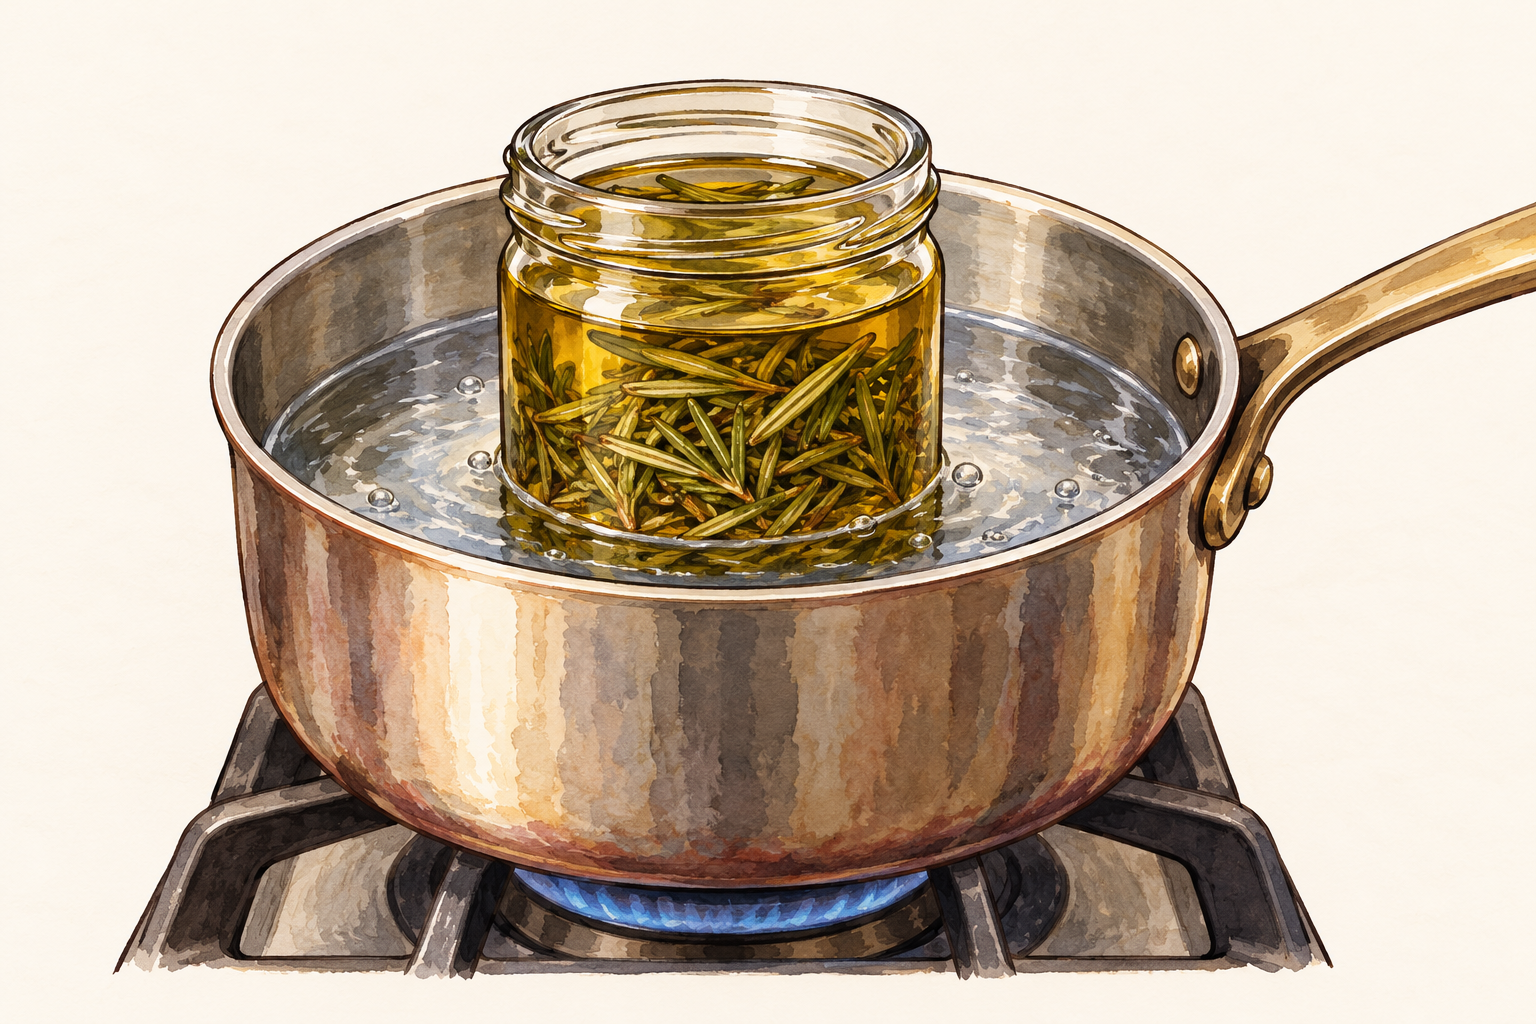
Do not drench the roots, do not oil soaking wet hair, and never leave oil on for days. Too much oil at the roots blocks the scalp and makes flat, greasy hair. Skipping the wash leaves old oil that can smell stale. Never oil and then use a hot dryer or flat iron, because the oil can fry the strand. Heating oil on the stove is another slip, so stay with warm water. If you feel breakouts along your hairline, skip that edge. Start with less than you think you need, because a little goes a long way.
12. Know what you will likely notice
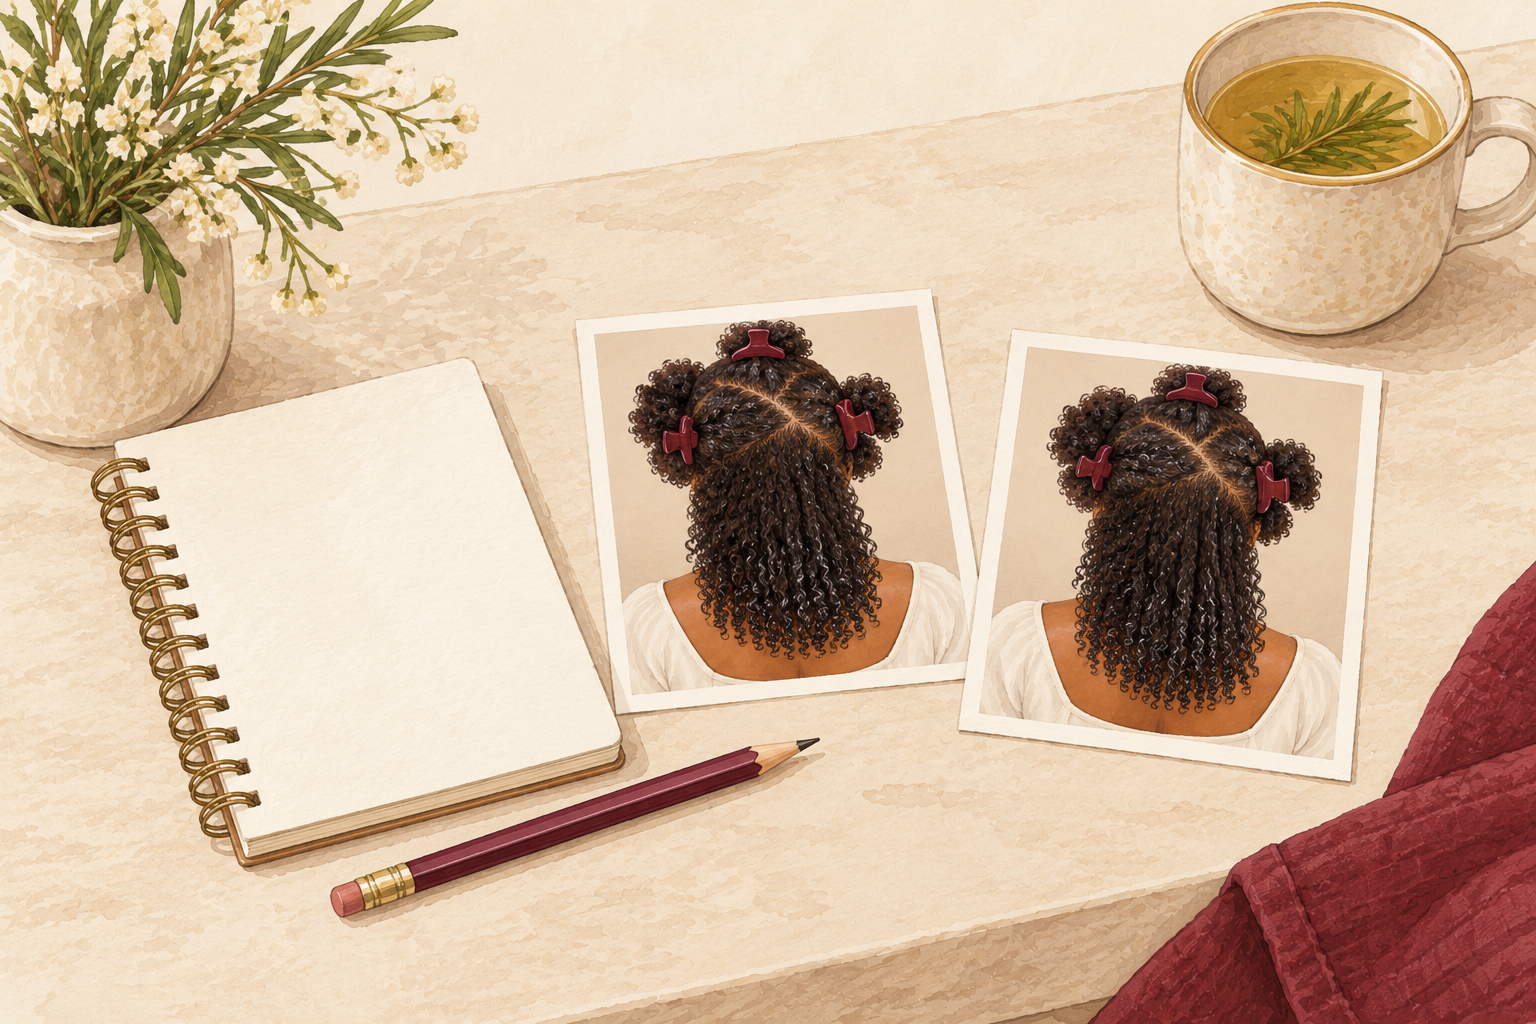
Expect softer, shinier hair and a calmer scalp after a few weeks, not instant growth. After the first session, the lengths feel smoother and the ends look glossy. By week three or four you may see less frizz and fewer snapped ends in your brush. Oil cannot grow hair overnight, but it can protect what you have. If your hair feels greasy, cut the amount in half. Take a photo before you start so you can compare at week four. Notice how the pillowcase feels in the morning too, because a clean one is a good sign you are using the right amount. If your scalp feels sore or hair keeps falling out, stop and see your doctor.
Complete the Routine: Hair Oiling Made Simple
Tonight, try a thirty minute pre poo with a warm light oil and a proper double wash. When you want to try a herbal oil, read about rosemary oil and how to make rosemary oil for hair.