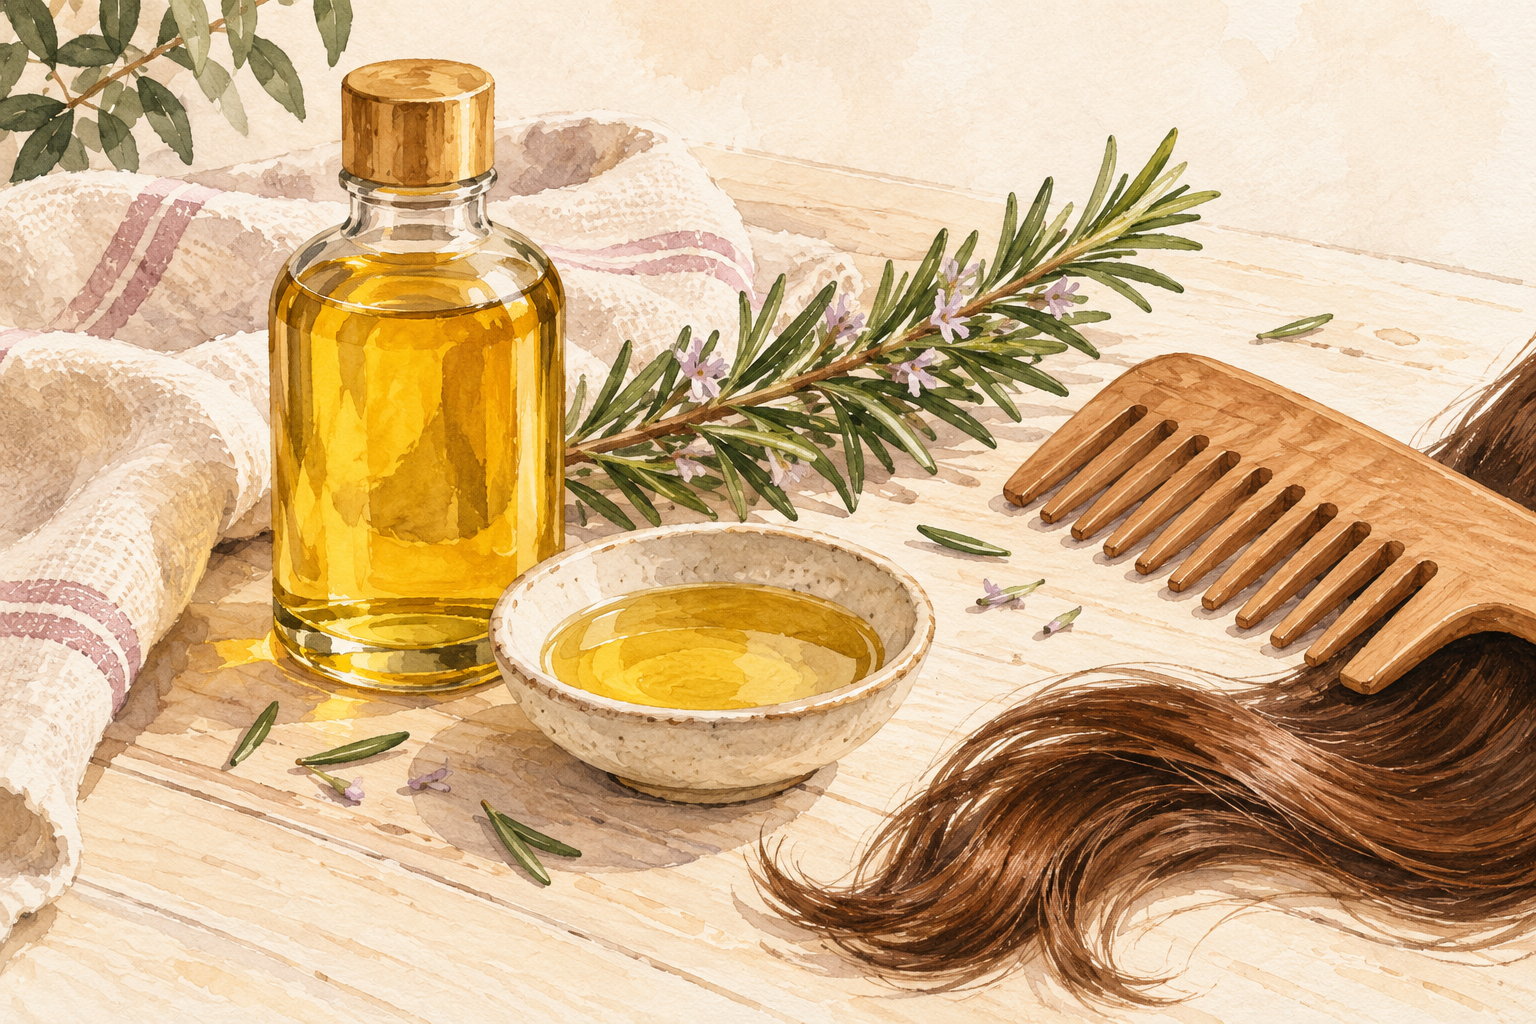
You have seen rosemary oil all over your feed, and the little bottles cost more than they should. Making your own is easy, but it can also go moldy or sting your scalp if you skip a few small things. Here is how to make rosemary oil for hair in 12 safe steps, so start at number one tonight.
1. Gather your ingredients and test first
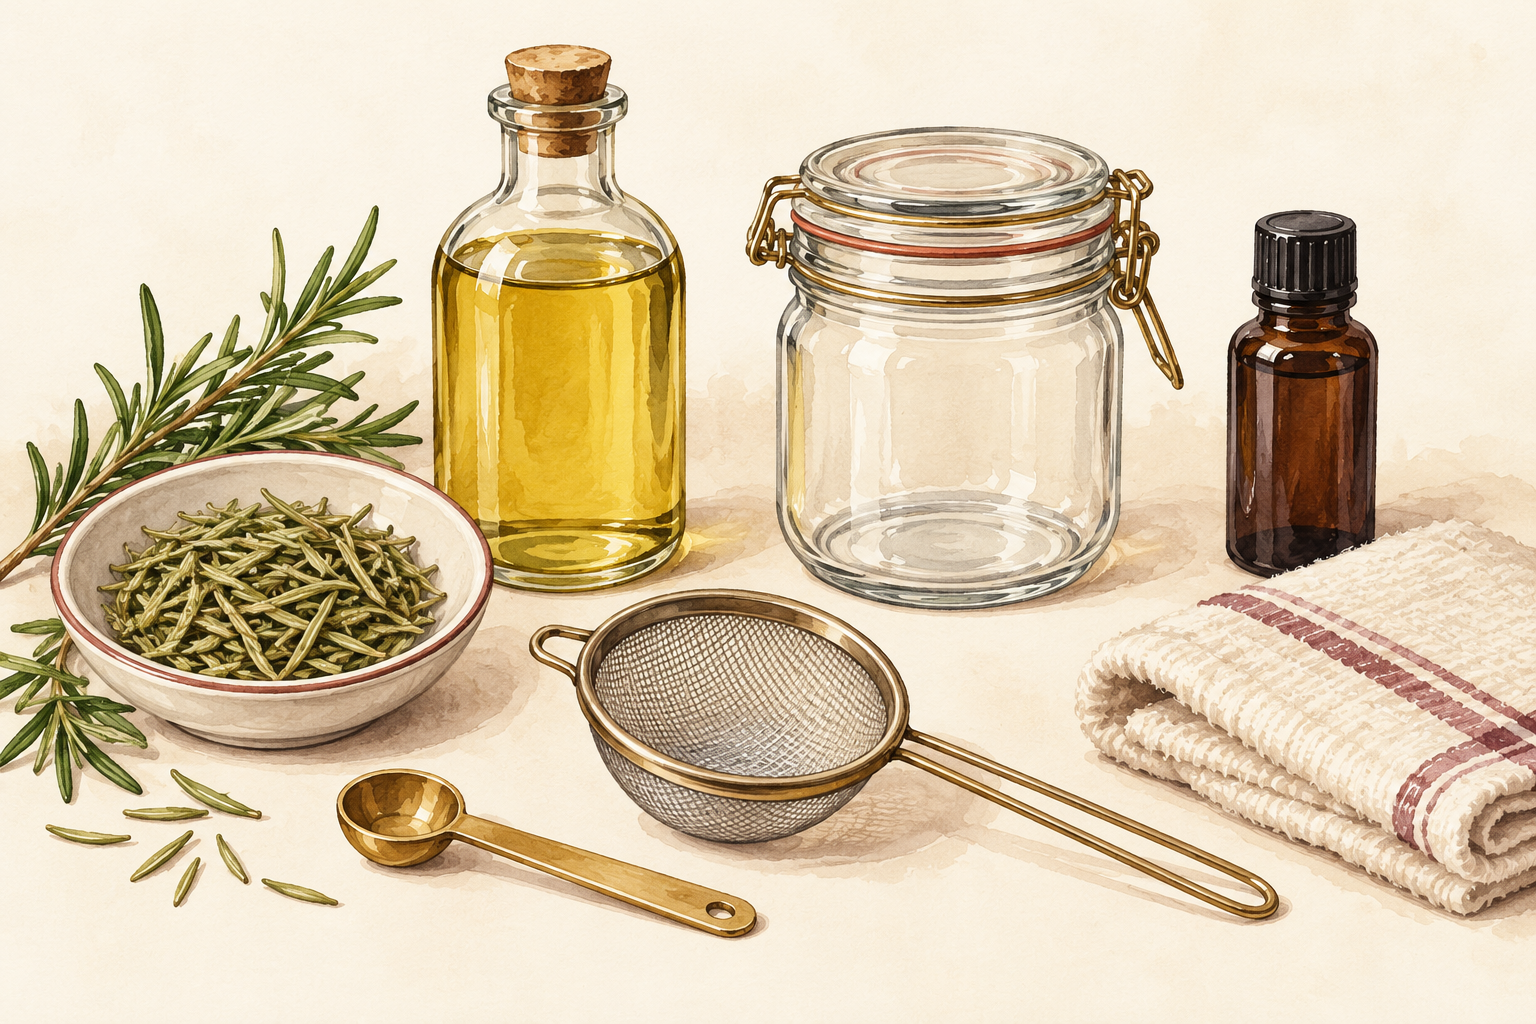
You need dried rosemary, one plain carrier oil, a clean glass jar, a fine strainer and a dark bottle. Before you start, put a drop of the plain oil on the inside of your arm and wait a day to see if your skin agrees. Pick a dry herb, not fresh, because water in fresh sprigs makes oil go moldy. Wash the jar in hot soapy water and let it dry completely. Dry hands and a dry spoon matter just as much, since one drop of water can spoil the batch. Learning how to make rosemary oil for hair is mostly about keeping things clean and dry.
2. Choose dried rosemary over fresh
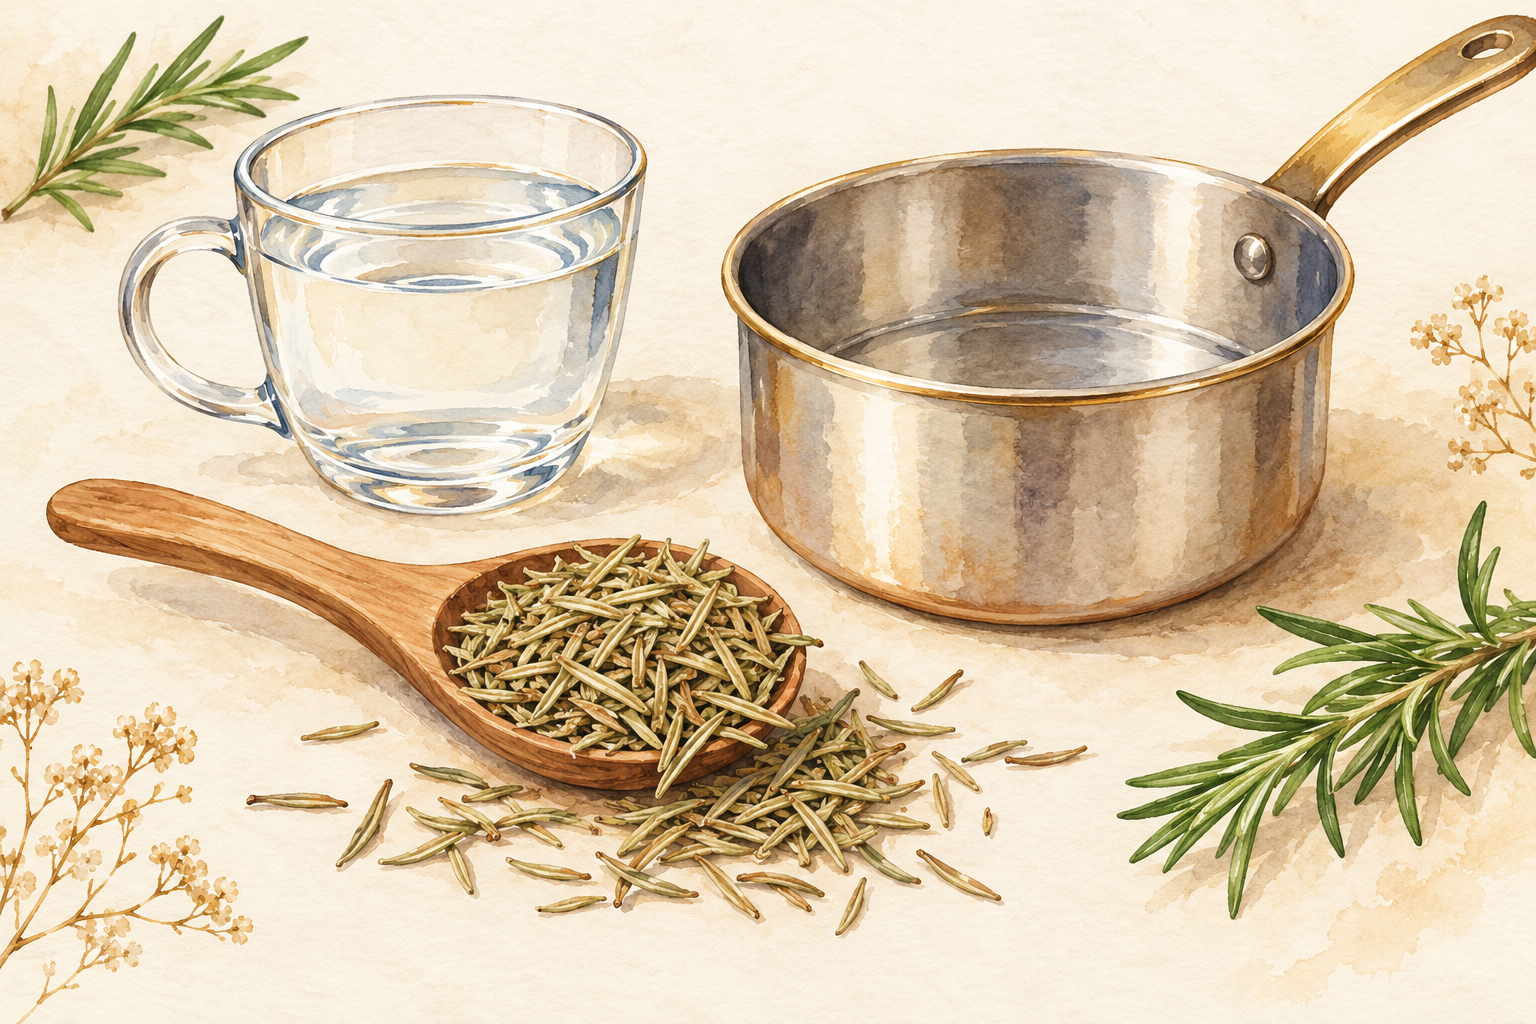
Use dried leaves, because fresh sprigs hold water and water is what spoils oil. If you grow a bush on the balcony, hang the cuttings in a dry spot for one or two weeks until the leaves snap between your fingers. Crush them lightly with your fingers, not a blender. Measure them after crushing, not before, so the ratio stays right. Shop bought dried rosemary from the spice shelf is fine too. Fresh herb is only for a quick warm batch you plan to finish within a few days. Smell the leaves first, and skip any that smell dusty. Store the rest in a sealed tin away from the cooker.
3. Pick a carrier oil your skin already likes

Choose an oil you have used before, such as olive, sweet almond, jojoba or grapeseed. The base oil touches your scalp, so it matters as much as the herb. Lighter oils feel less heavy on fine hair, and richer ones suit thick, dry hair. If you have a nut allergy, skip almond. If an oil has ever made your skin break out, do not choose it just because a recipe did. A familiar kitchen oil takes one worry away. Use a fresh bottle, since old oil smells stale and spoils faster. Pour out only what you need so the bottle stays sealed.
4. Start with the gentle cold infusion
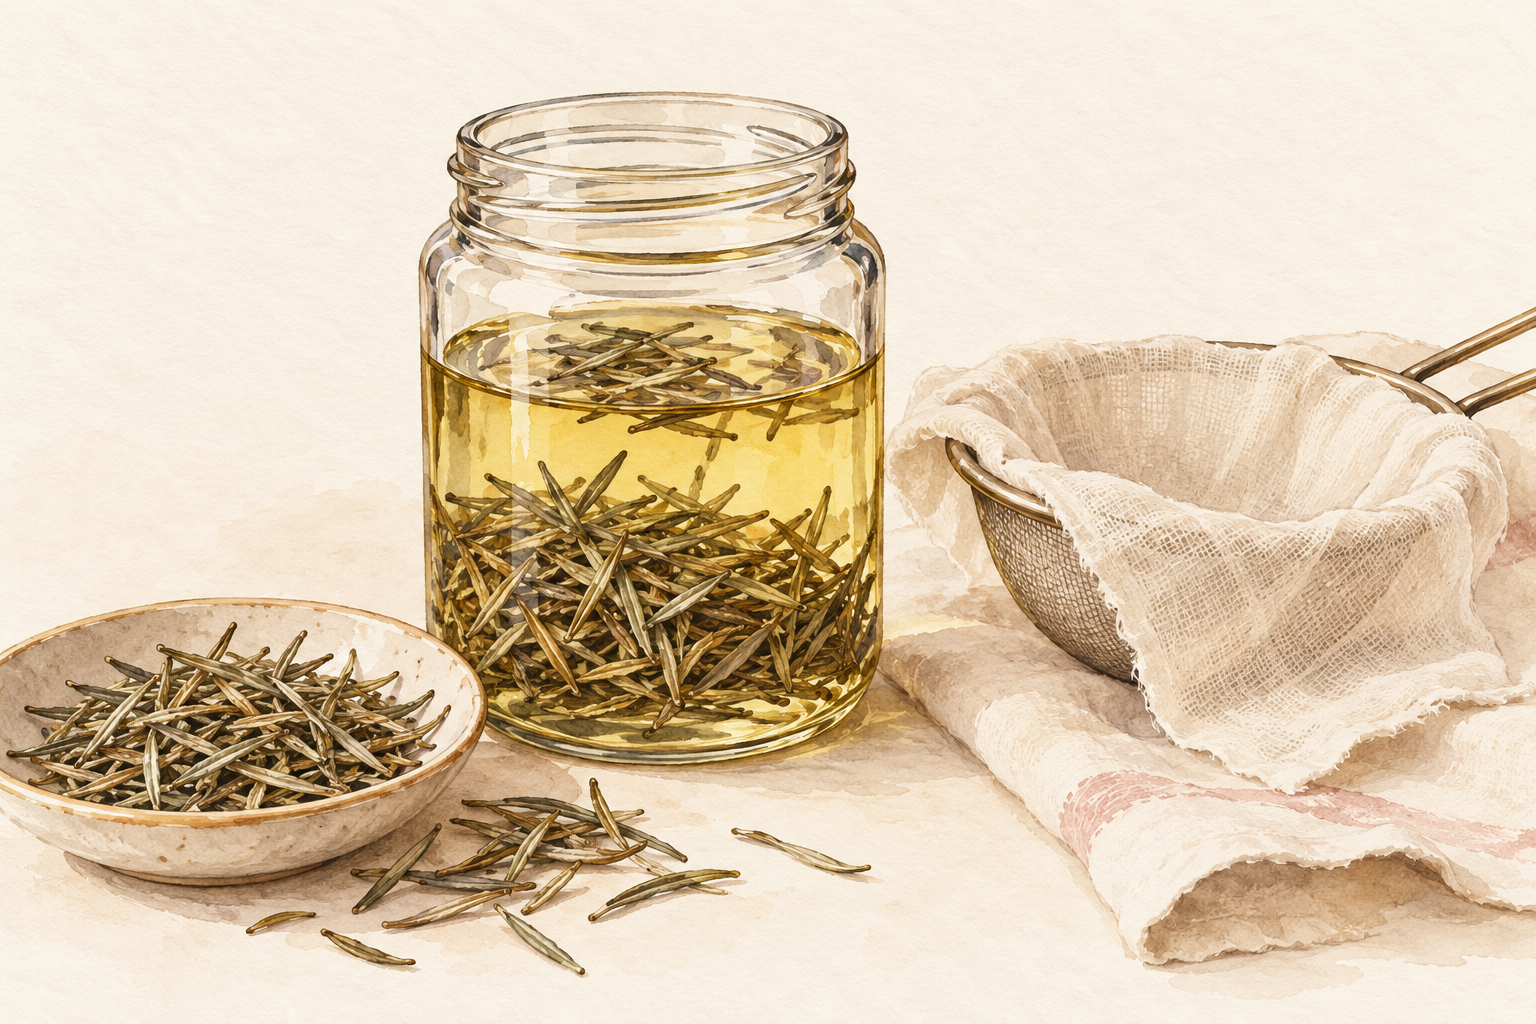
Pack a quarter cup of dried rosemary into the jar, cover it with one cup of oil and screw the lid on. Press the leaves under the surface so none float. Keep the jar somewhere warm but out of direct sun, and shake it every day or two for two to four weeks. The color slowly turns from pale to a faint green gold, and the smell deepens. It is very hard to ruin, though it asks for more patience than most of us have. Put the start date on a strip of tape so you do not forget. Cold infusion takes longer, but the oil stays gentle and smells soft and green.
5. Use the warm method when you want it today
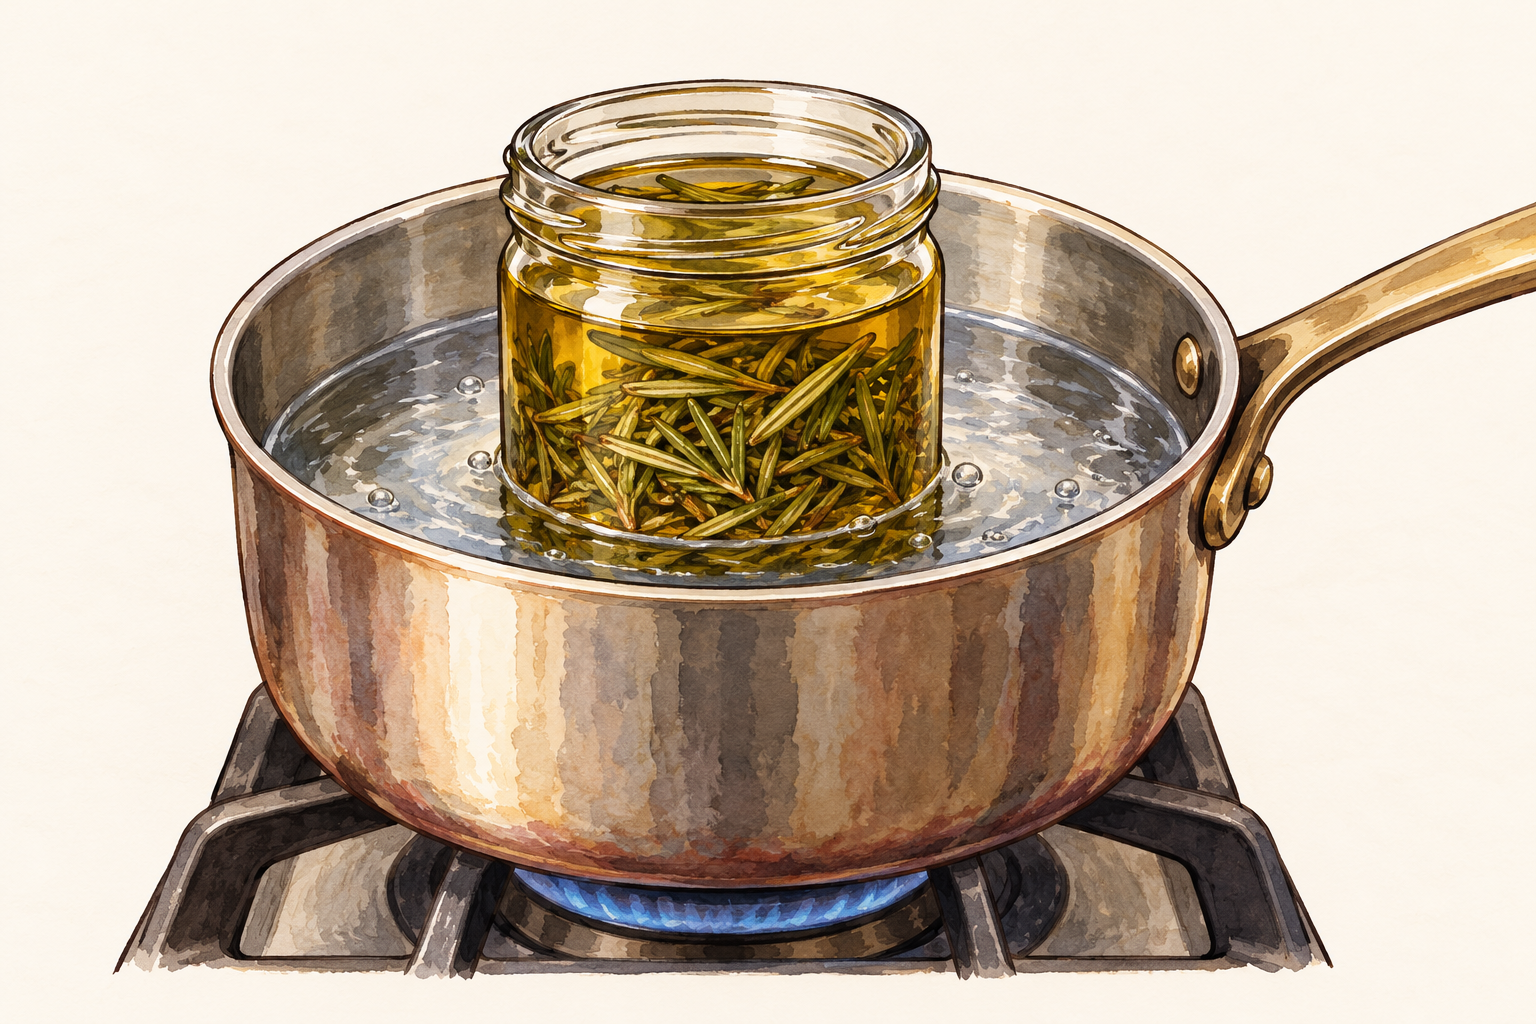
Put the same quarter cup of herb and one cup of oil in a heatproof jar, then stand it in a pan of barely simmering water. Keep the heat low for two to three hours. Never heat the oil directly or let the water boil hard, because overheated oil smells burnt and loses its goodness. Top up the water as it drops. Let everything cool completely before you touch the jar, since hot oil burns skin. A warm batch is ready the same evening and smells stronger than a cold one. This is the quick way to make rosemary oil for hair when you cannot wait a month.
6. Strain twice so nothing cloudy is stored
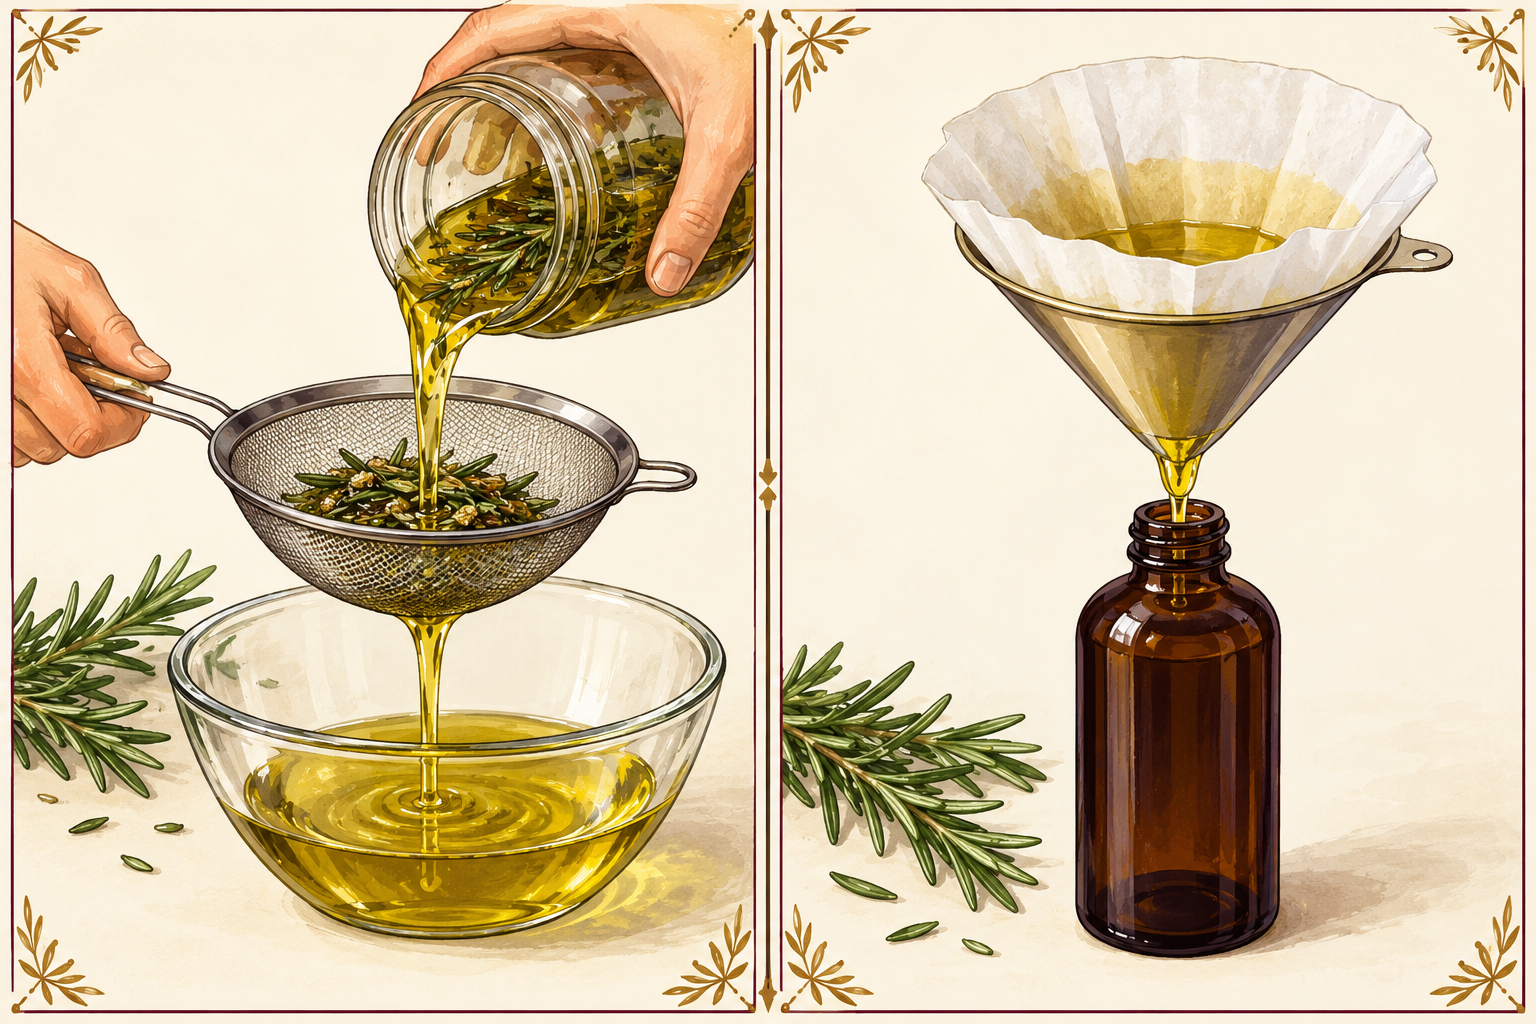
Pour the oil through a fine sieve, then through a clean coffee filter or a piece of muslin. Leftover plant bits spoil first, so straining is not optional. Let it drip slowly instead of squeezing, or cloudy bits slip through. Pour the result into a clean, dry bottle, ideally dark glass. Wipe the neck before you cap it. A dark bottle protects the oil from light. Whatever is left in the strainer goes in the bin, not back in the jar. Straining twice also stops the dropper from clogging. A funnel helps, because oil is slippery and spills onto the counter.
7. Keep the strength mild
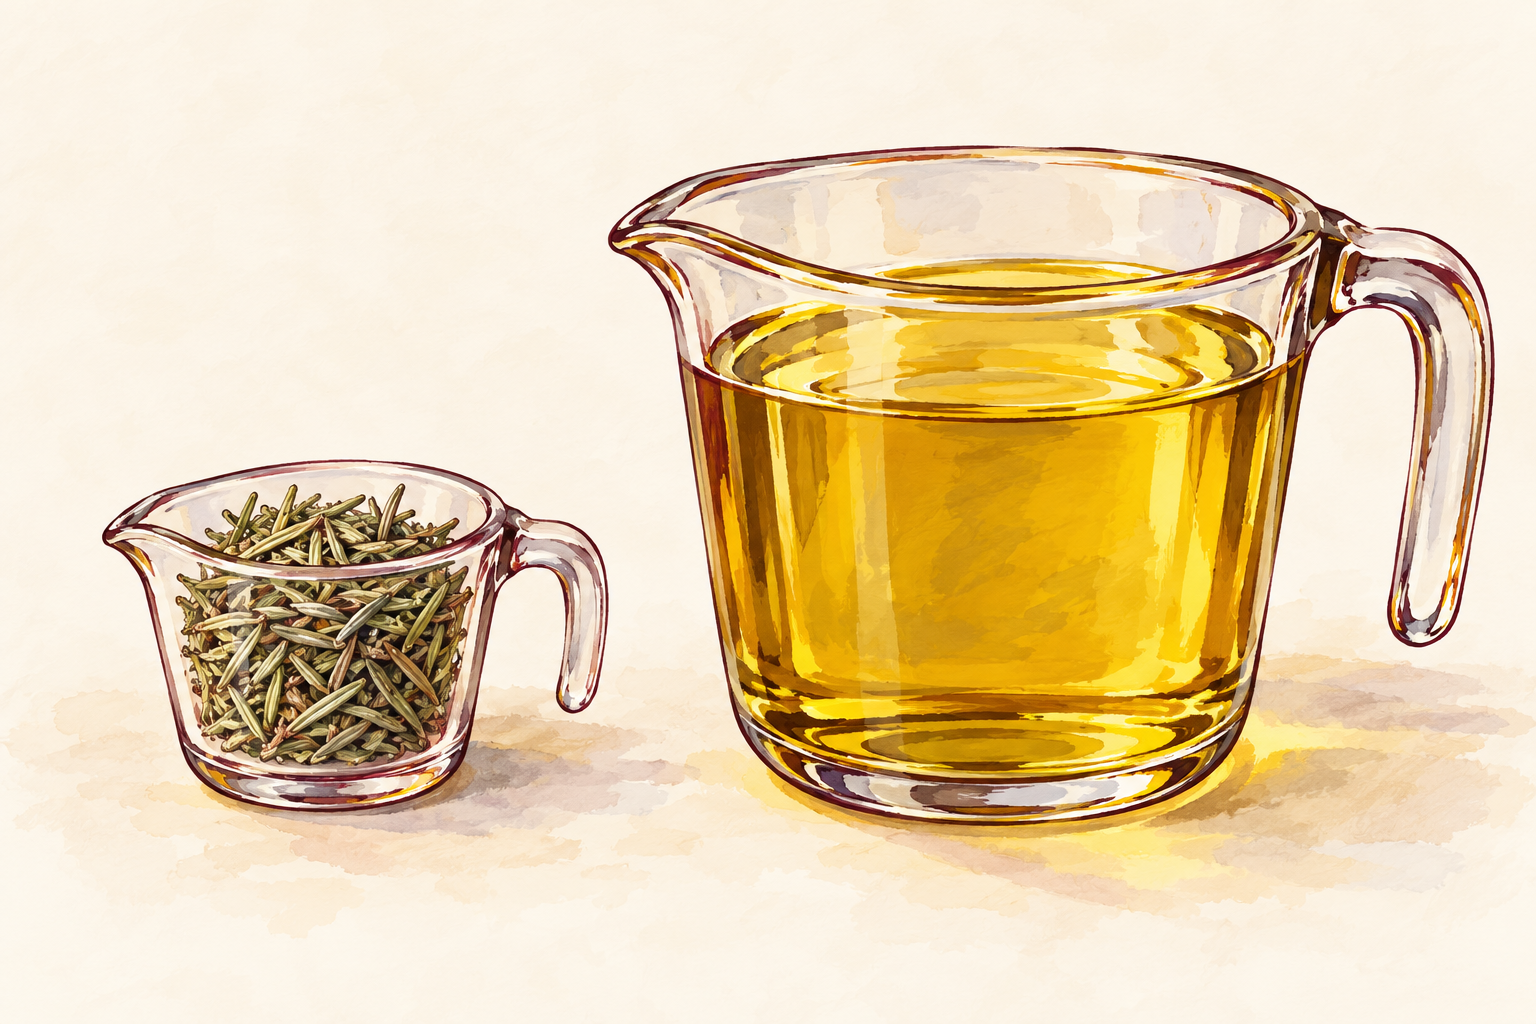
One quarter cup of dried herb to one cup of oil gives a gentle, everyday strength. You do not need more herb to make it work, and extra herb only makes the oil harder to strain. If you want more scent, steep a second batch of dried leaves in the strained oil. Never add essential oil neat to your scalp. If you do mix some in, use two or three drops per teaspoon and stay well under that. Skip the essential oil in pregnancy. The plain infused oil is enough for most heads.
8. Patch test the finished oil
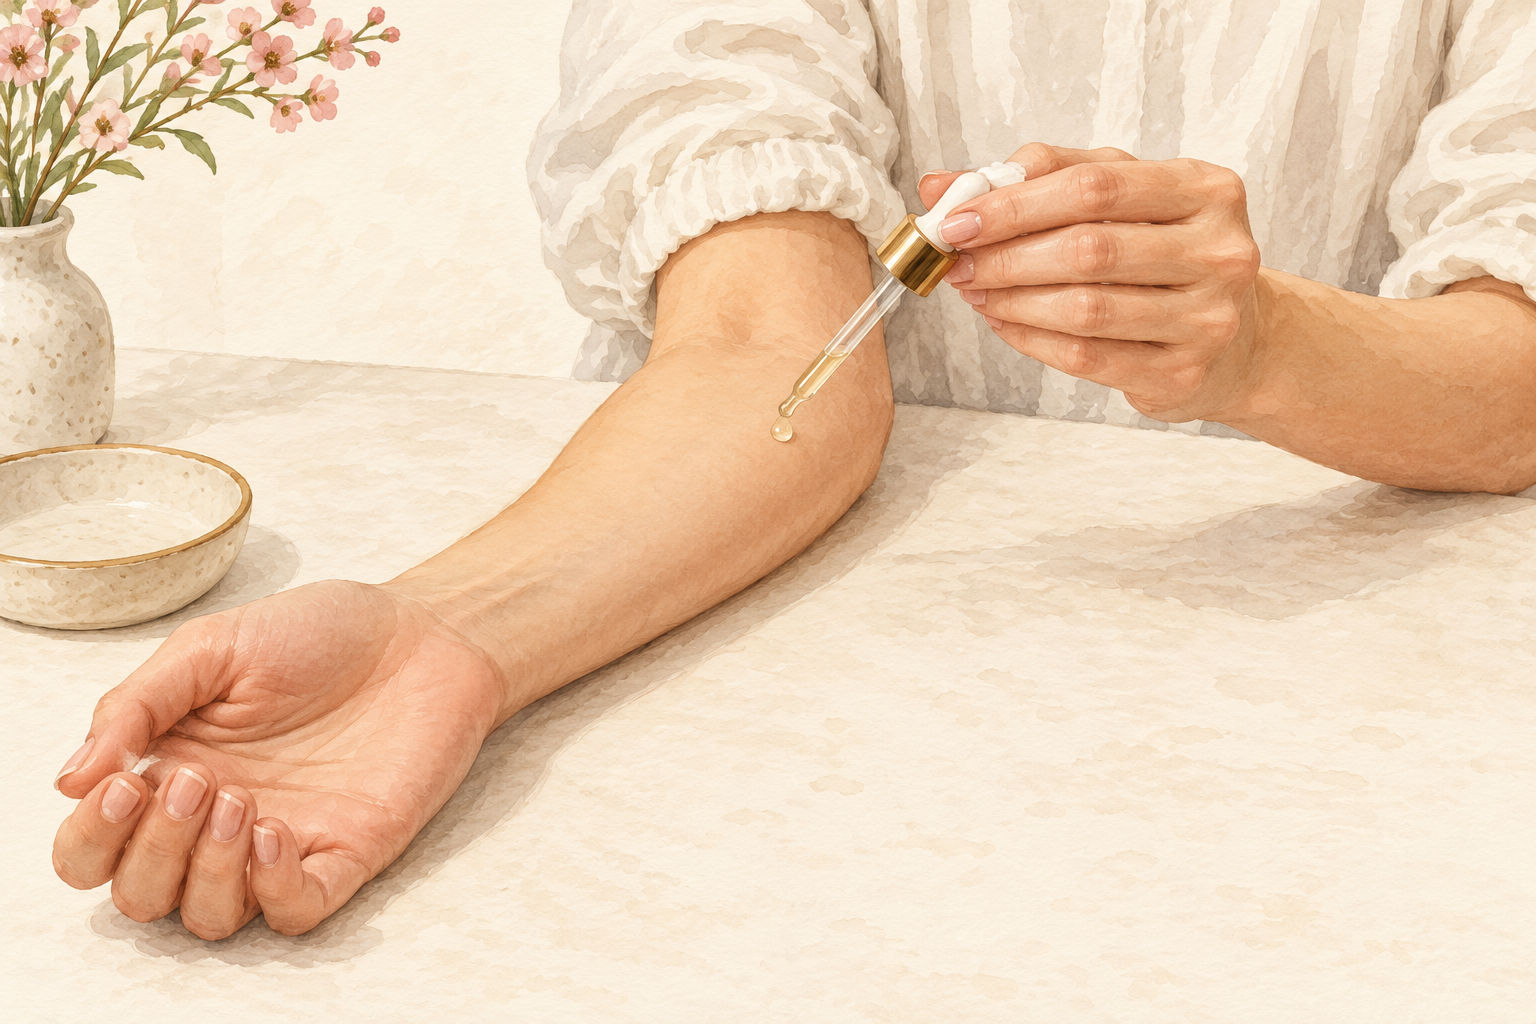
Put a small dab on the inside of your forearm and leave it for twenty four hours. Redness, itching, bumps or burning mean the oil is not for you, so wash it off at once. If the skin looks normal after a day, try a tiny amount at the hairline behind your ear. Only then use it on your whole scalp. It is a boring step, and it is the one that stops a miserable afternoon. Dilute it with more plain oil if your skin is sensitive. If you feel any sting, rinse with plenty of water and cross it off the list.
9. Massage in a teaspoon, once or twice a week

Part your hair in sections and massage one teaspoon into your scalp with your fingertips for a few minutes. Leave it on for half an hour, or overnight under a towel, then shampoo it out twice. Pick a day with no plans, since the oil needs time to sit. Use it once or twice a week, not every day, because too much oil clogs the scalp. If you feel stinging, heat or itching, wash it out and stop using that bottle. Keep it off your eyes, and warm the oil in your palms first. A silk scarf over your hair at night keeps the pillow clean.
10. Label, date and store it cool and dark
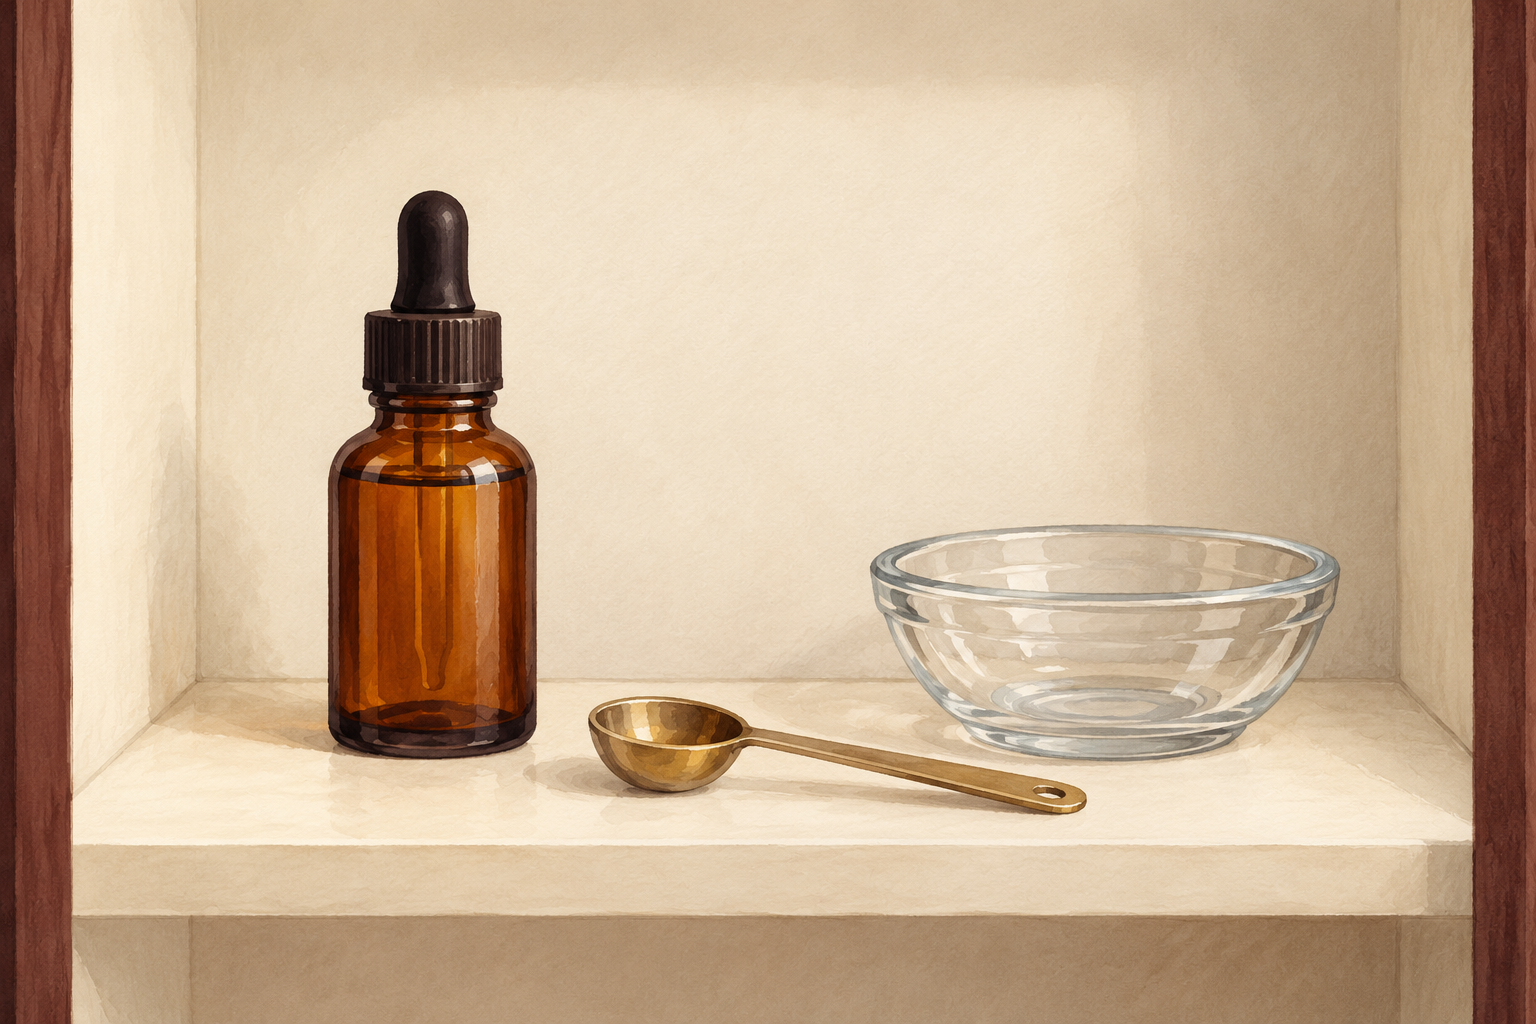
Write the date and the oil you used on a strip of tape, because you will not remember in six weeks. Keep the bottle somewhere cool and dark, or in the fridge if your kitchen runs hot. It may turn cloudy there and clear again at room temperature. Aim to finish a small batch within a month or two. Use clean, dry fingers or a clean dropper so no water gets in. Wipe the dropper after every use. Never pour used oil back into the bottle. Pump or pour from a clean dropper each time.
11. Learn the signs it has turned
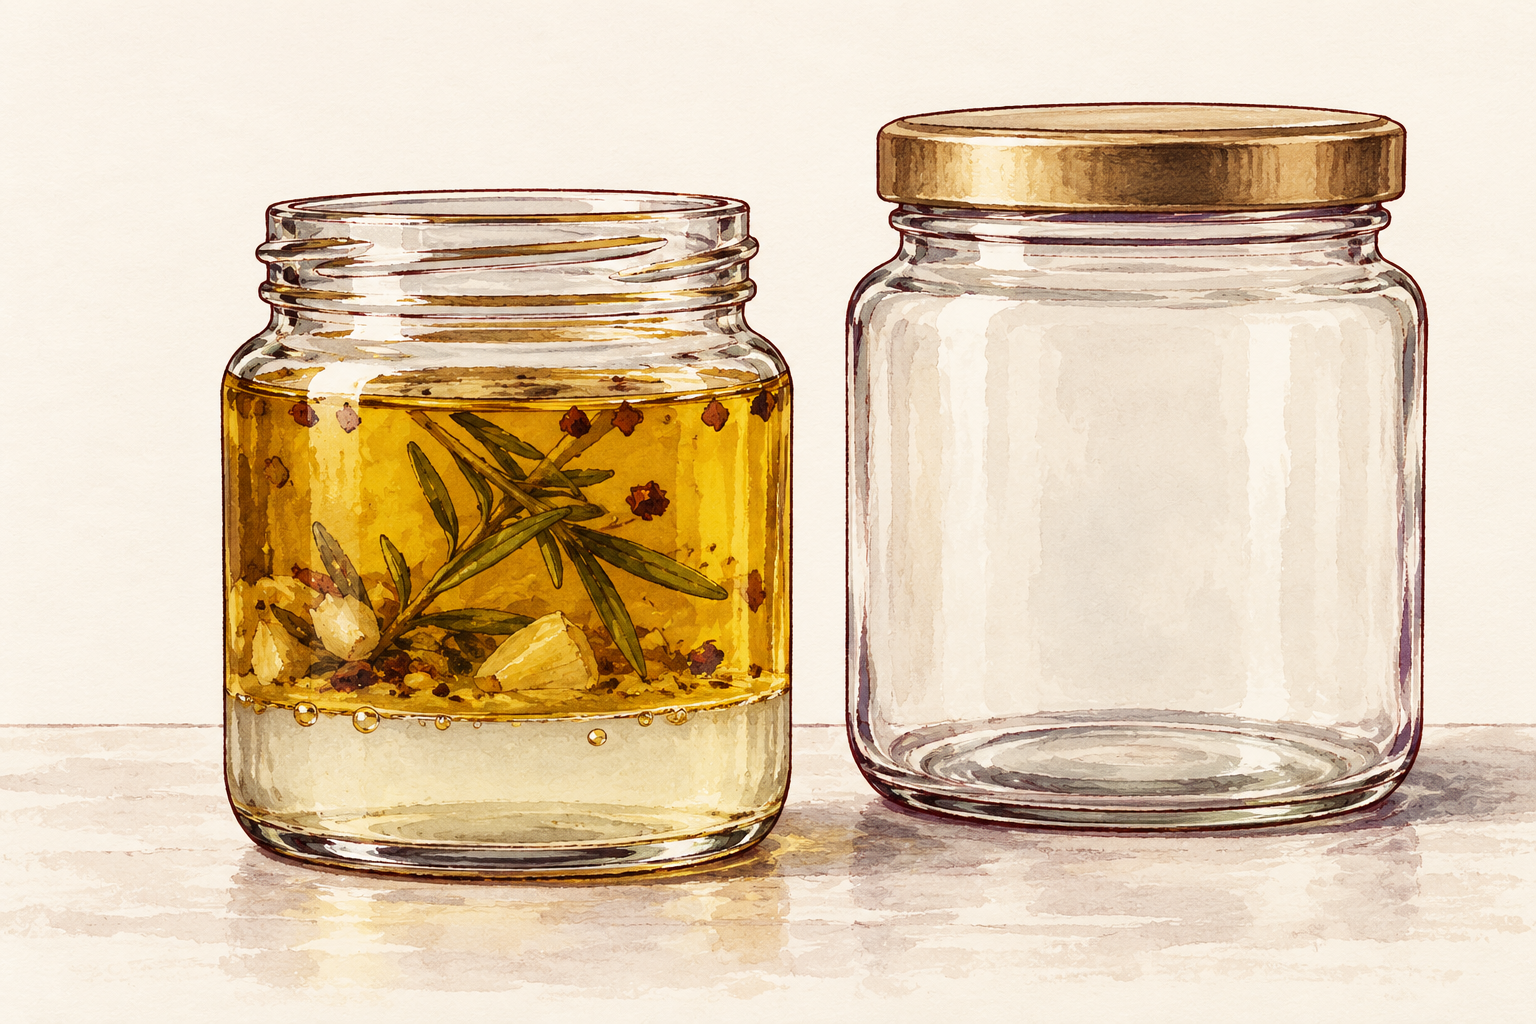
Trust your nose and eyes, and throw it out if you are unsure. Fresh rosemary oil smells herbal and clean. Oil that has gone off smells sharp, sour or like old crayons. Fuzzy spots, bubbles or a watery layer at the bottom mean the batch is finished. A sour smell is the clearest warning, so sniff before every use. Do not try to filter it back to health. Pour it away, wash the jar in hot soapy water and start again with drier herb and a smaller quantity. Smaller batches are easier to finish before they turn.
12. Expect small changes at week four and eight

Give it a few months of steady use before you decide, because hair grows slowly. By week one you will know whether you like the feel and whether your scalp stays calm. By week four your roots may feel a little softer and less dry. Hair on your brush should look the same or lighter than before. By week eight you can fairly judge the habit. Rosemary oil is a pleasant scalp ritual, not a promise, and it will not turn thin hair thick overnight. Take a photo of your parting each month so you can compare in good light. If your scalp keeps getting worse, stop and see your doctor.
Complete the Routine: How to Make Rosemary Oil for Hair Part of Your Week
Tonight, do the forearm patch test and set a reminder for tomorrow evening. For more ideas, read about hair oiling and rosemary hair oil.