You run a comb through the back of your head and it stops dead, caught in a hard, felted lump that will not budge. Do not yank it. Learning how to detangle matted hair is mostly about slip, time and a gentle hand. Here are 12 steps from first touch to the last comb stroke, so start at number one before you reach for the scissors.
1. Check how bad the mat is
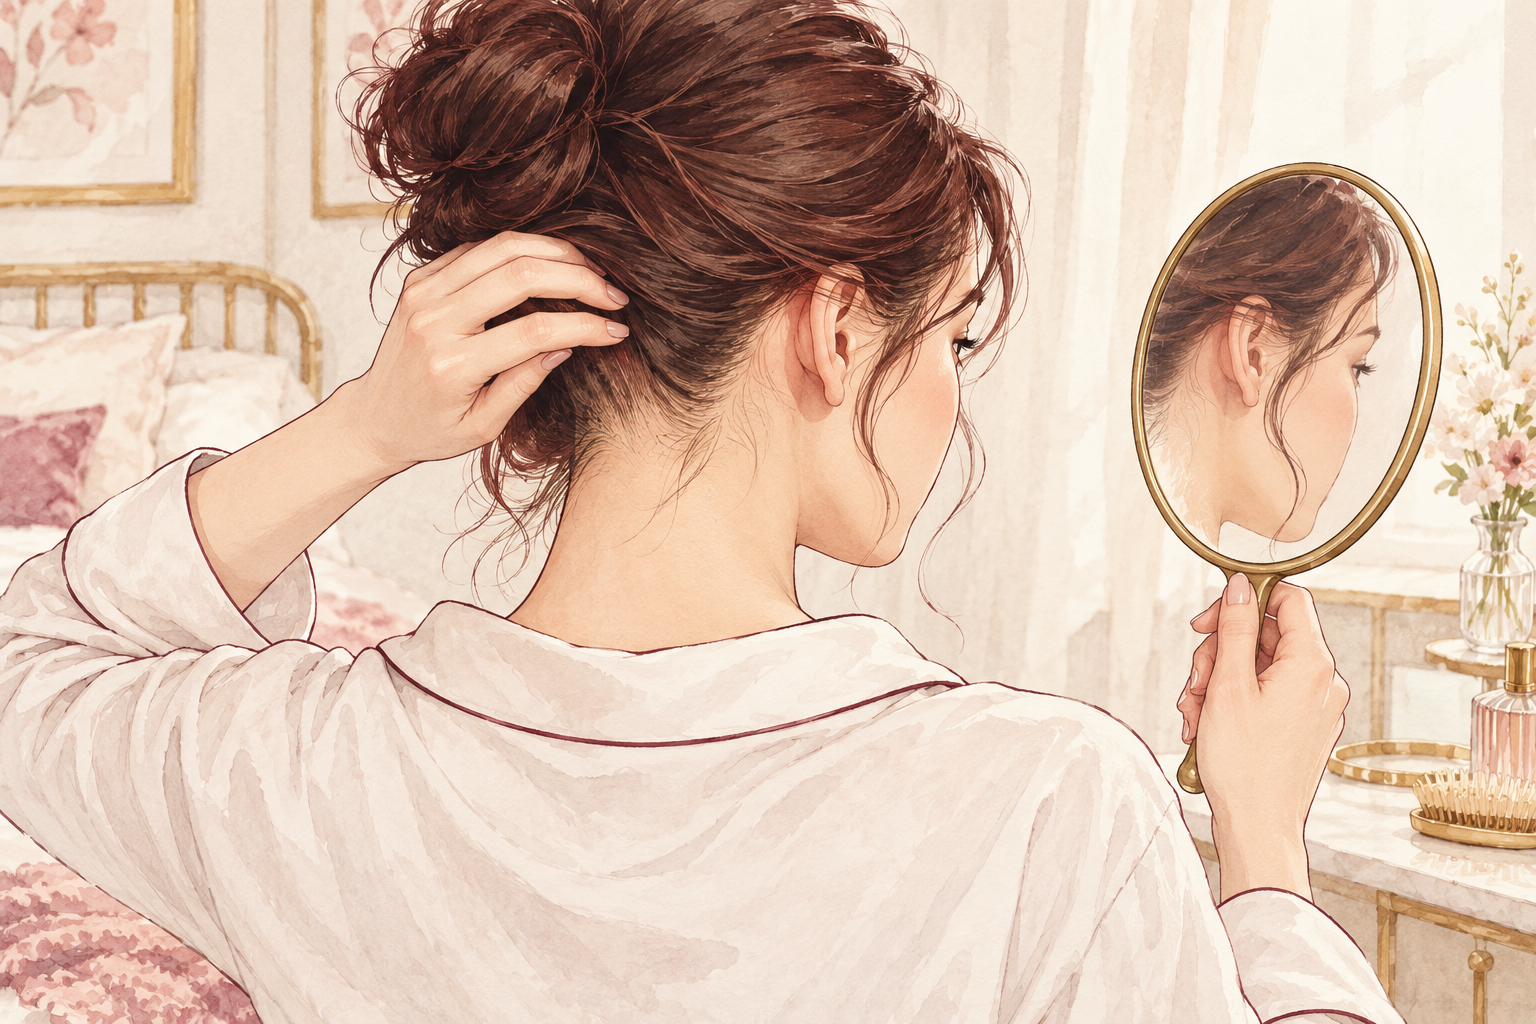
Find the mat with your fingers and feel its size, how far it sits from your scalp and whether it is soft or stiff. A loose knot gives a little when you pinch it. A true mat feels flat and felted, like a small pad of wool. If it sits tight against the scalp or you cannot slide a finger underneath, plan for a possible cut later. Looking first takes two minutes and tells you whether this is a rescue or a trim. It also stops you pulling blindly at something you have not understood yet, which is how a small mat becomes a big one.
2. Set up with time, light and a wide tooth comb
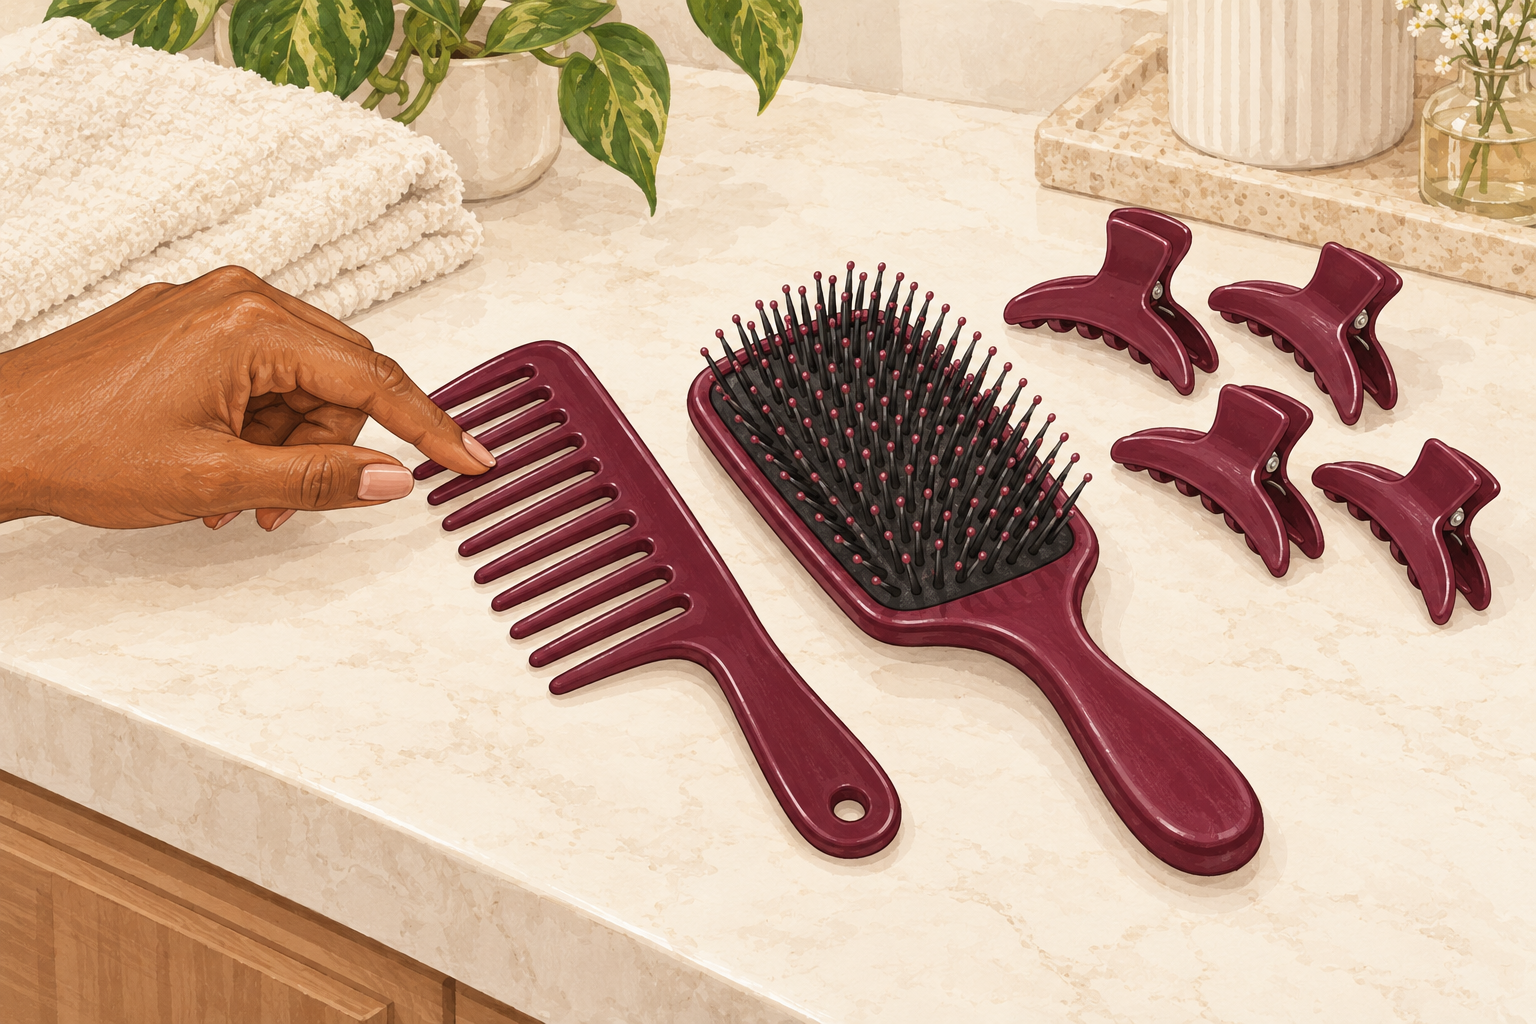
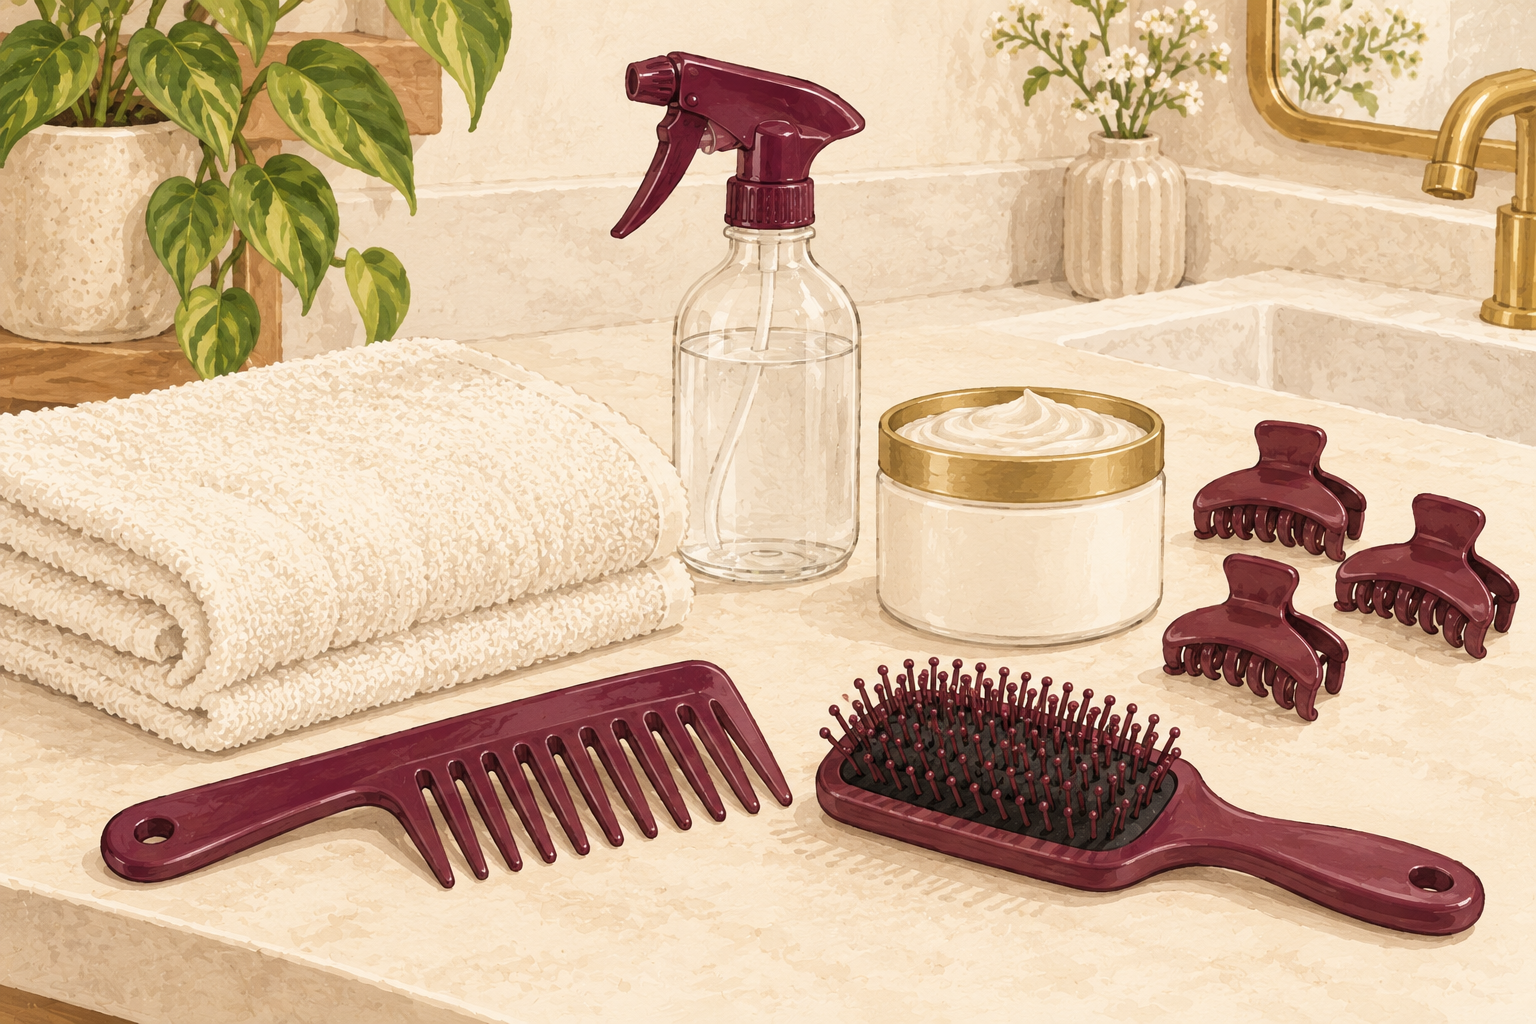
Clear an hour, sit by a window or a lamp with a mirror, and drape an old towel over your shoulders. Gather a wide tooth comb, clips for sections, a small bowl of oil or a jar of thick conditioner, and a spray bottle of water. Put something on the screen to keep you patient. Never start this ten minutes before you have to leave, because rushing is when strands snap. If the mat is at the back, prop a second mirror so you can see your hands.
3. Pick something slippery and patch test it
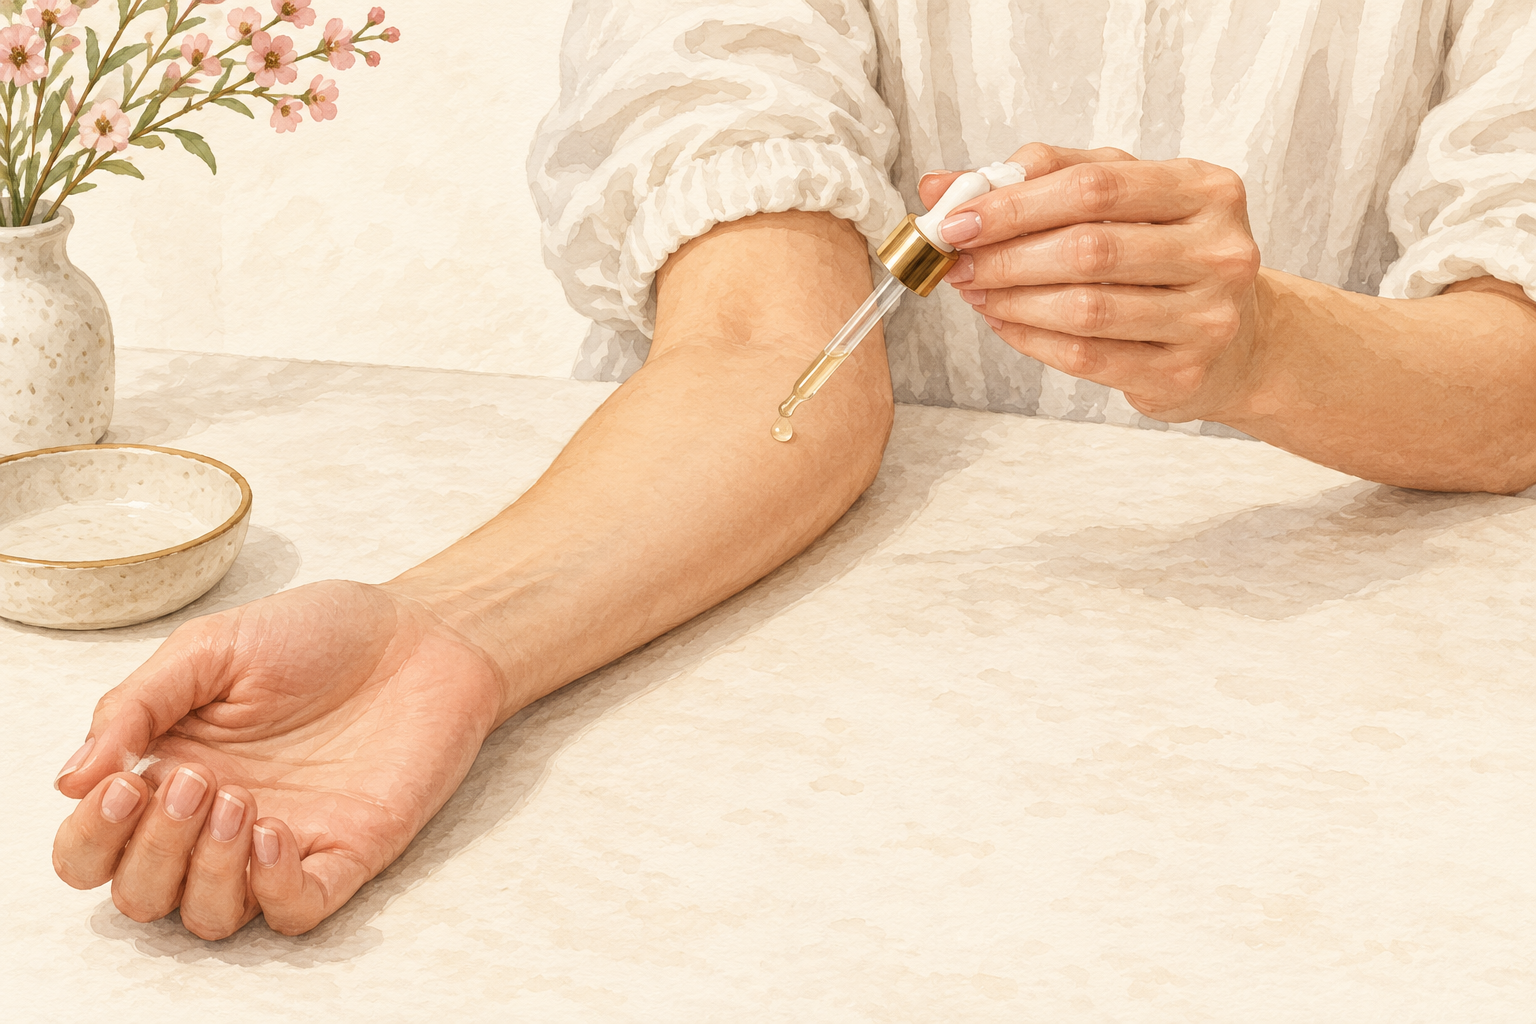
Choose a plain oil you already use on your skin, such as olive or coconut, or a thick conditioner. What you need is slip. Dab a little on the inside of your elbow and wait a day to see if your skin itches or goes red, before it goes on your scalp. Skip essential oils for this job. Never reach for household products like fabric softener or spray lubricant, because they are not made for hair. If you are short on time, a conditioner you already use is the safest bet, and a thick one gives the most grip between strands.
4. Saturate the mat and wait
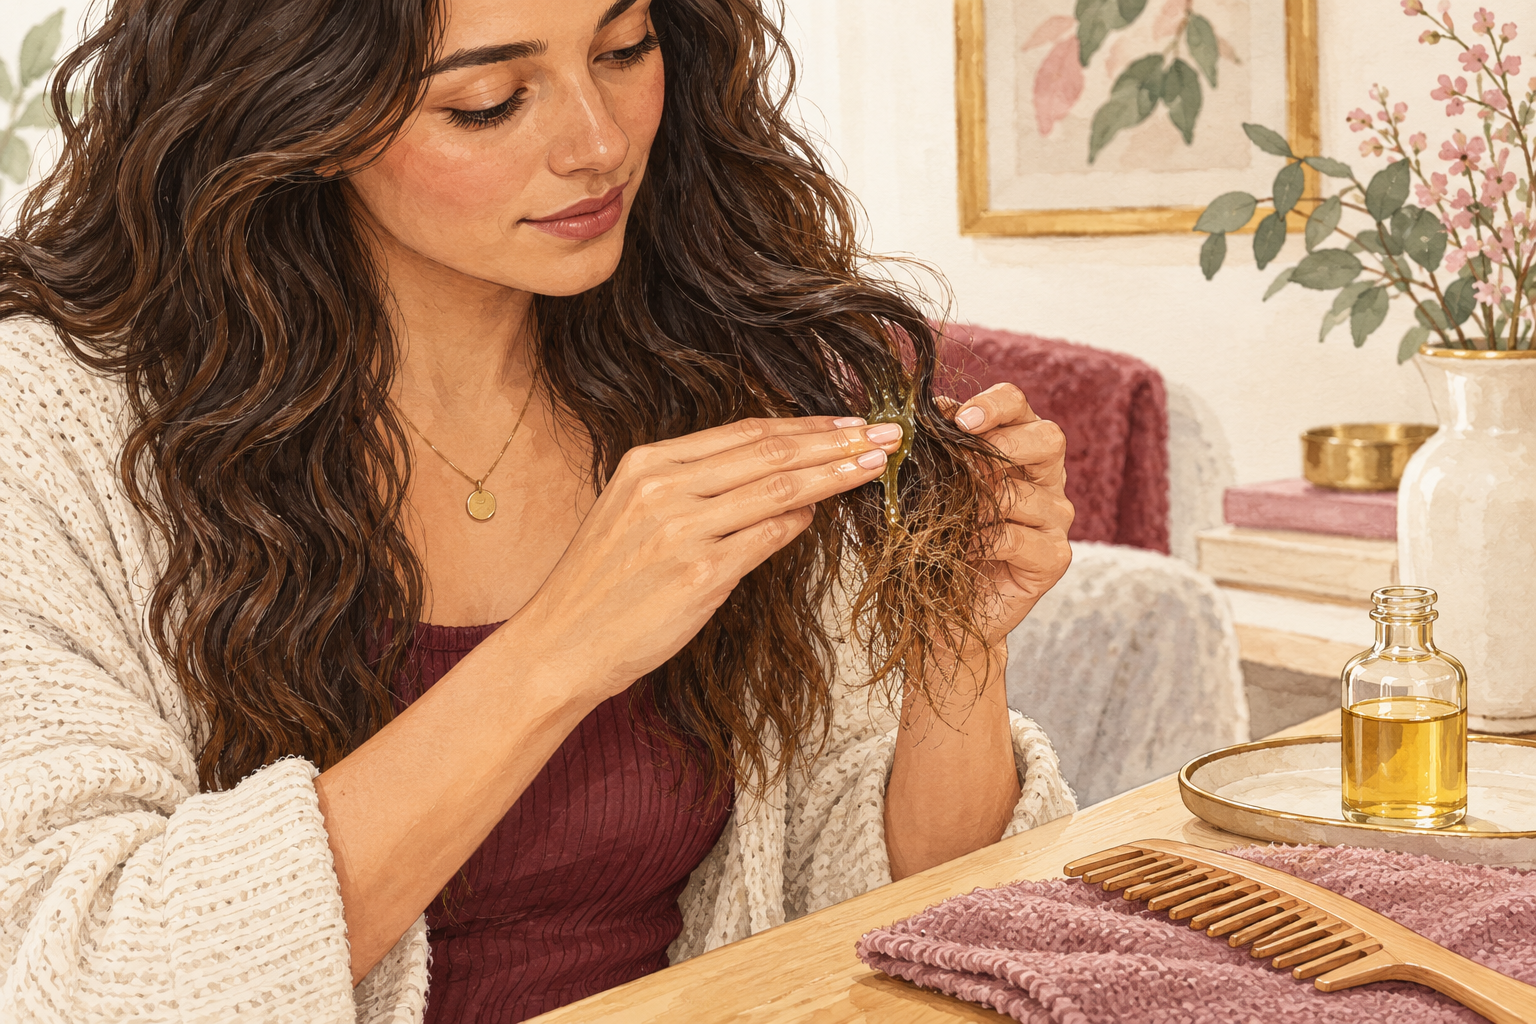
Start with dry hair and work oil or conditioner into the mat until every strand is coated. Press it in rather than scrubbing, and leave it for fifteen to twenty minutes so it can travel between the strands. Wet hair stretches and tightens a mat, which is why dry is the better start. Slip makes the strands slide, but it cannot open a mat that has felted solid, so go to the next steps if nothing moves. Reapply a little oil if the hair soaks it all up while you wait, since dry hair drinks it up quickly. The hair should feel slick, like wet soap, before you move on.
5. Pick the edges apart with your fingers
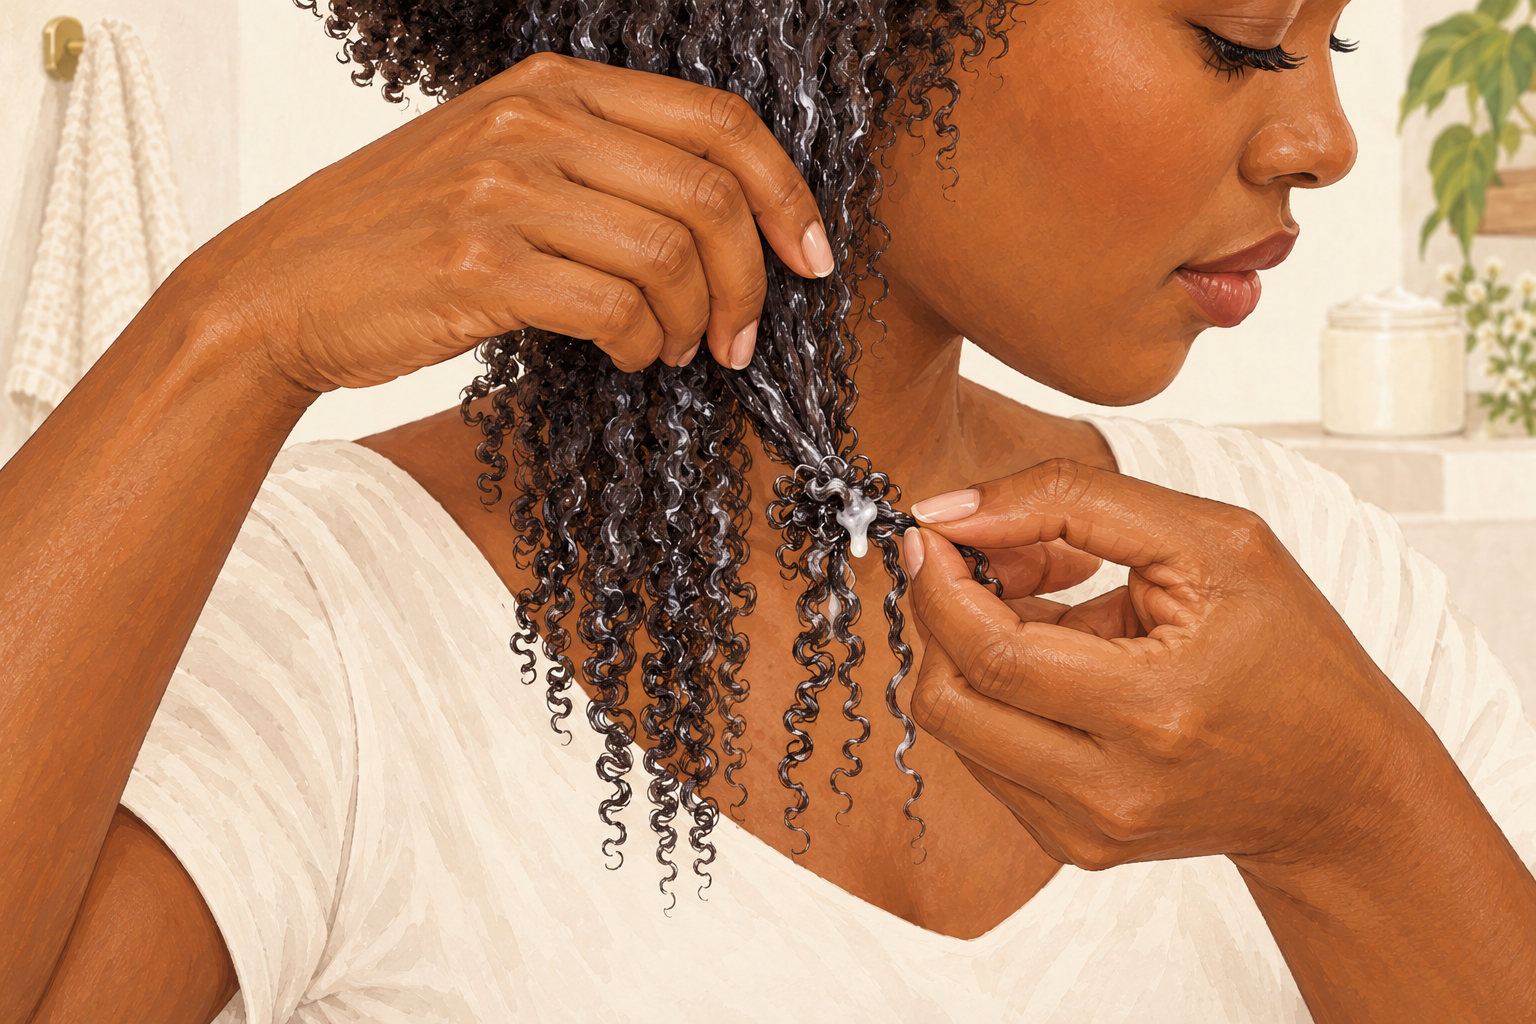
Hold the hair above the mat with one hand so your scalp is not tugged, then use the other hand to pry off a small piece from the outer edge. Work from the edge inward, loosening it into smaller pieces. Treat each little section as its own knot. Your fingers feel resistance before it becomes damage, so use them alone for the first ten minutes. Resist the urge to tug the middle first, because the middle is the tightest part. Even a tiny loosened piece gives the rest room to move.
6. Comb from the tips upward in tiny steps
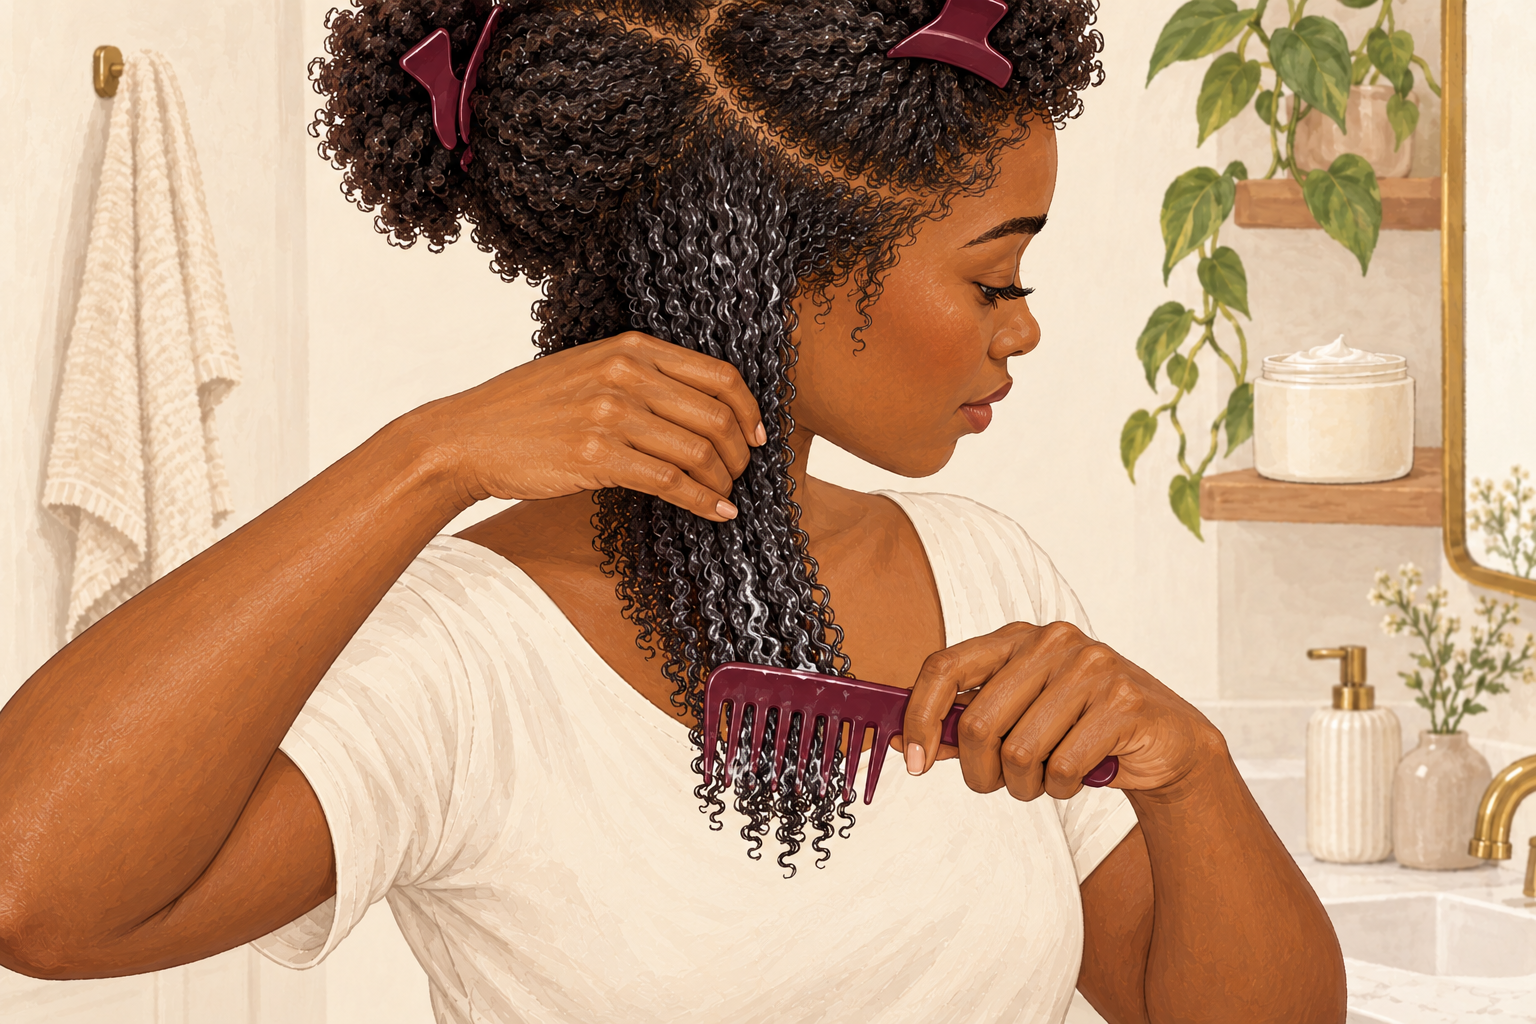
Once the mat has opened, take the wide tooth comb and start at the very ends. Work a short stretch at a time and move up toward the root, holding the hair above the section so the pull stays in your hand. Some shed hair will come out, and that is normal, because it was part of the knot. If you are still working through it after an hour, stop and take a break. Add a little more oil whenever the comb starts to catch or drag. Each small stretch you free is a win, so count them instead of watching the clock.
7. Rinse cool and wash gently

Rinse with cool water, then wash gently without piling the hair on top of your head. Pile it up and you tangle everything again. Use plenty of conditioner and comb it through once more while it sits. Oil left in the hair can make shampoo feel slippery and thin, so it may take two light washes. Let the water do the work, and skip any rough scrubbing this time round. Dab the ends with a towel instead of rubbing them dry, and let the hair air dry loose rather than tying it up wet.
8. Expect a two day job
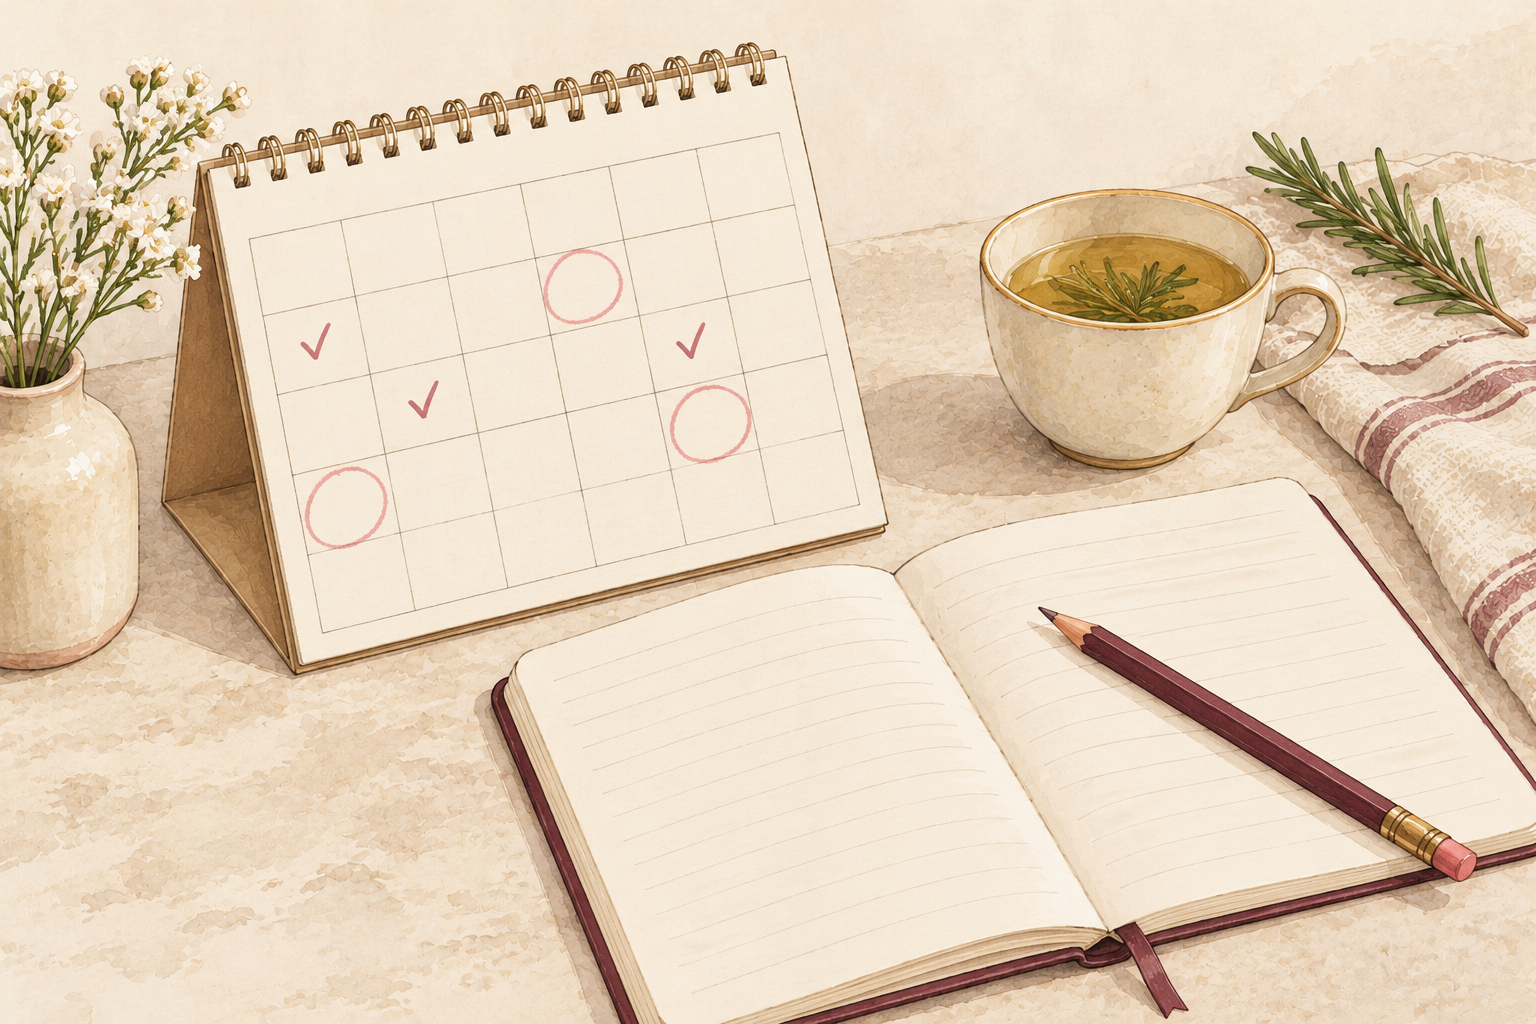
A bad mat can take an hour or two on the first day, and you may stop with it only partly loose. On day two, pick up where you left off, and the second session is usually shorter because your hair has rested. By week two the hair should feel normal again, with a little extra care at that spot. If the mat has not moved after two sessions, you already know the answer is a cut. Keep the oil handy between sessions, and sleep with the hair in a loose braid, so the hair does not rematt overnight while you rest.
9. Decide when to cut instead of pulling
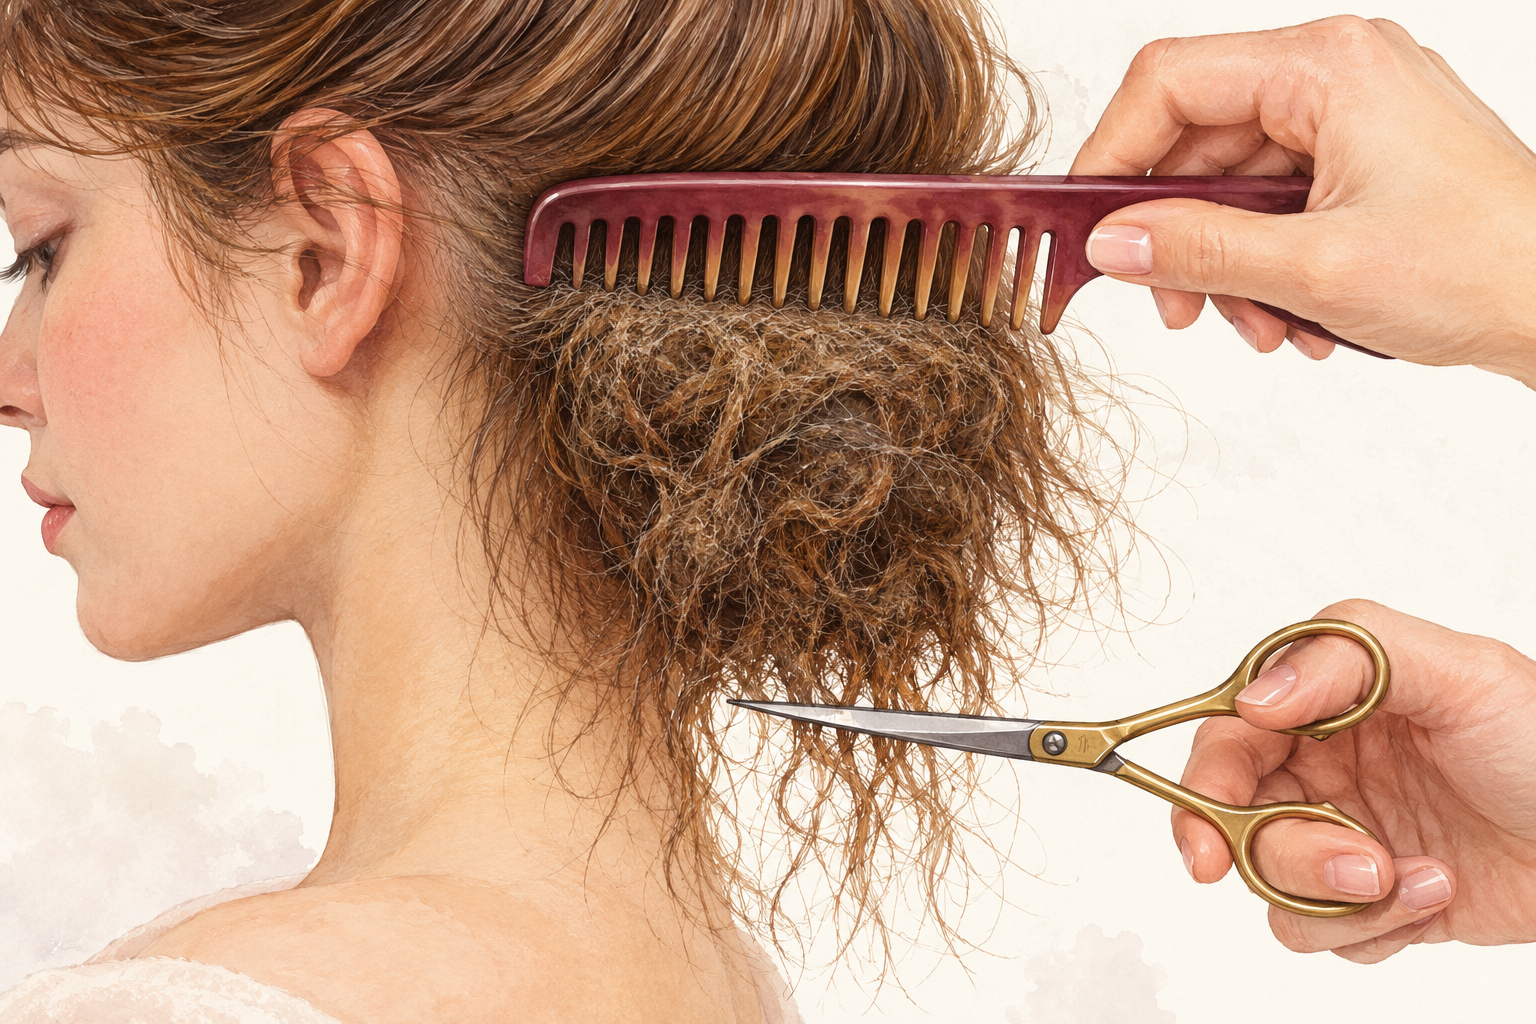
Cut when the mat is hard and flat, sits tight to the scalp, hurts when you touch it, or has not shifted after two sessions. Slide a comb between the mat and your scalp as a guard, then use small scissors to snip off only the bottom of the mat, leaving the root end. Always cut away from your skin, and ask a friend to look if it is at the back of your head. A small gap at the nape grows out, and it costs far less than a broken section. Take the cut in small steps, and stop once the comb passes through easily.
10. Swap the moves that make a mat worse
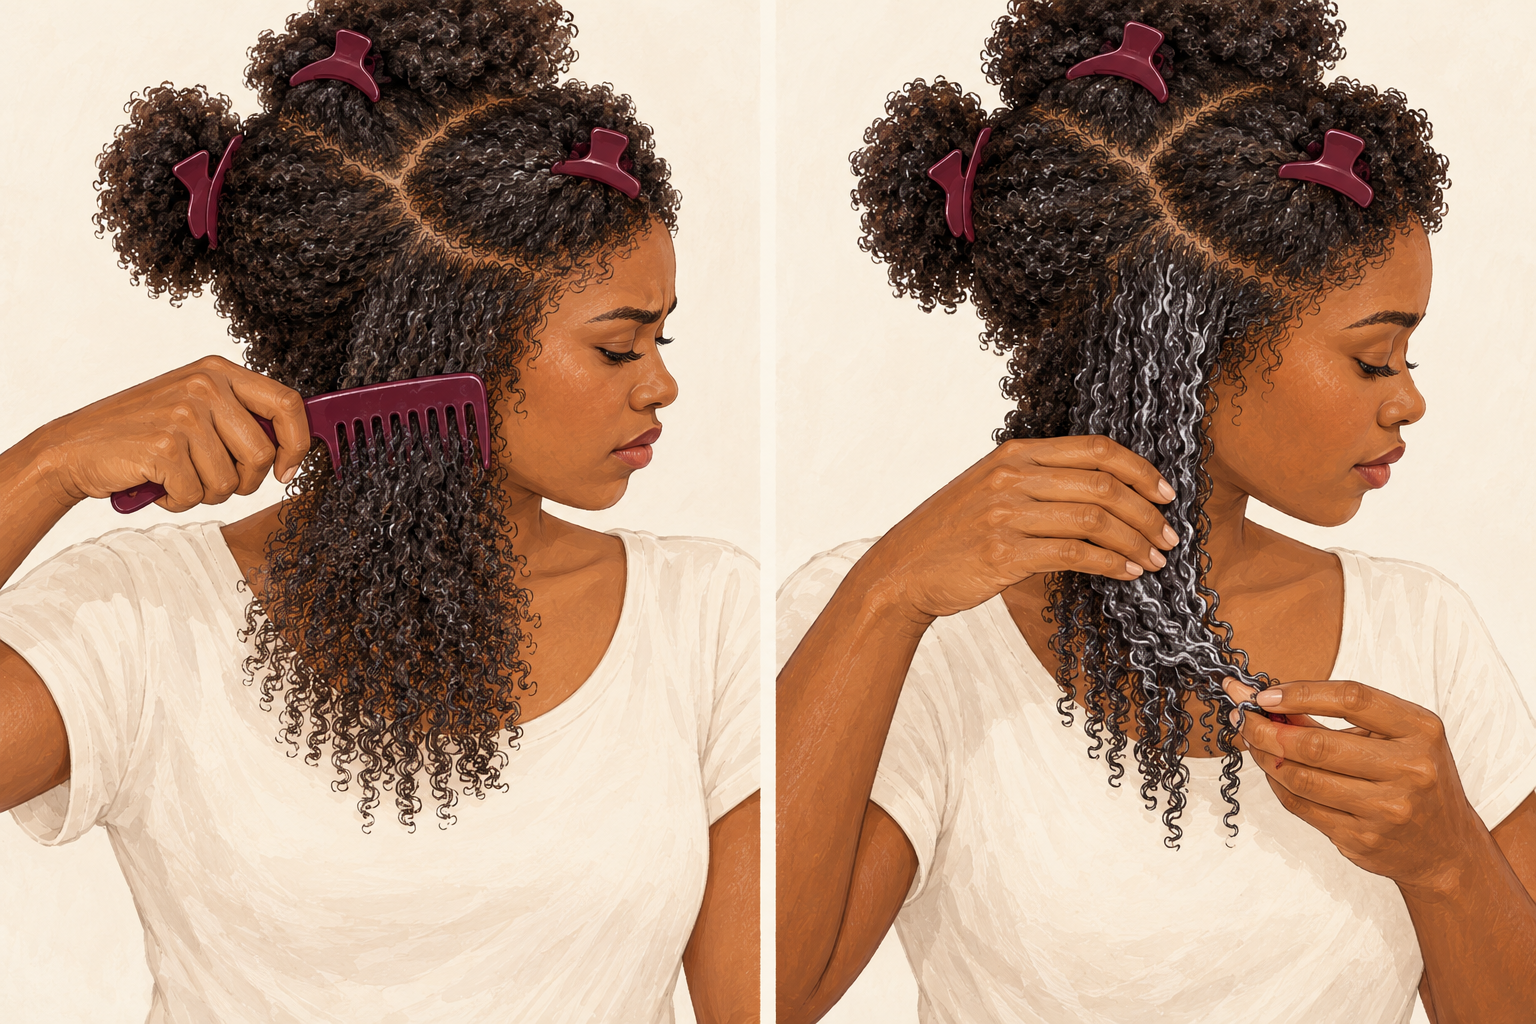
Swap brushing dry hair, pulling straight down on the knot and scrubbing matted hair in the shower for oil, patience and your fingers. All three tighten the mat. Fabric softener and spray lubricants are on the same list, so use oil or conditioner instead. Also skip the fine tooth comb, because it catches on everything and snaps strands. Each swap costs you nothing, and together they stop a tangle from turning into a haircut. Keep this list on your phone for next time, so you never pick the wrong tool when you are frustrated.
11. Detangle gently between wash days
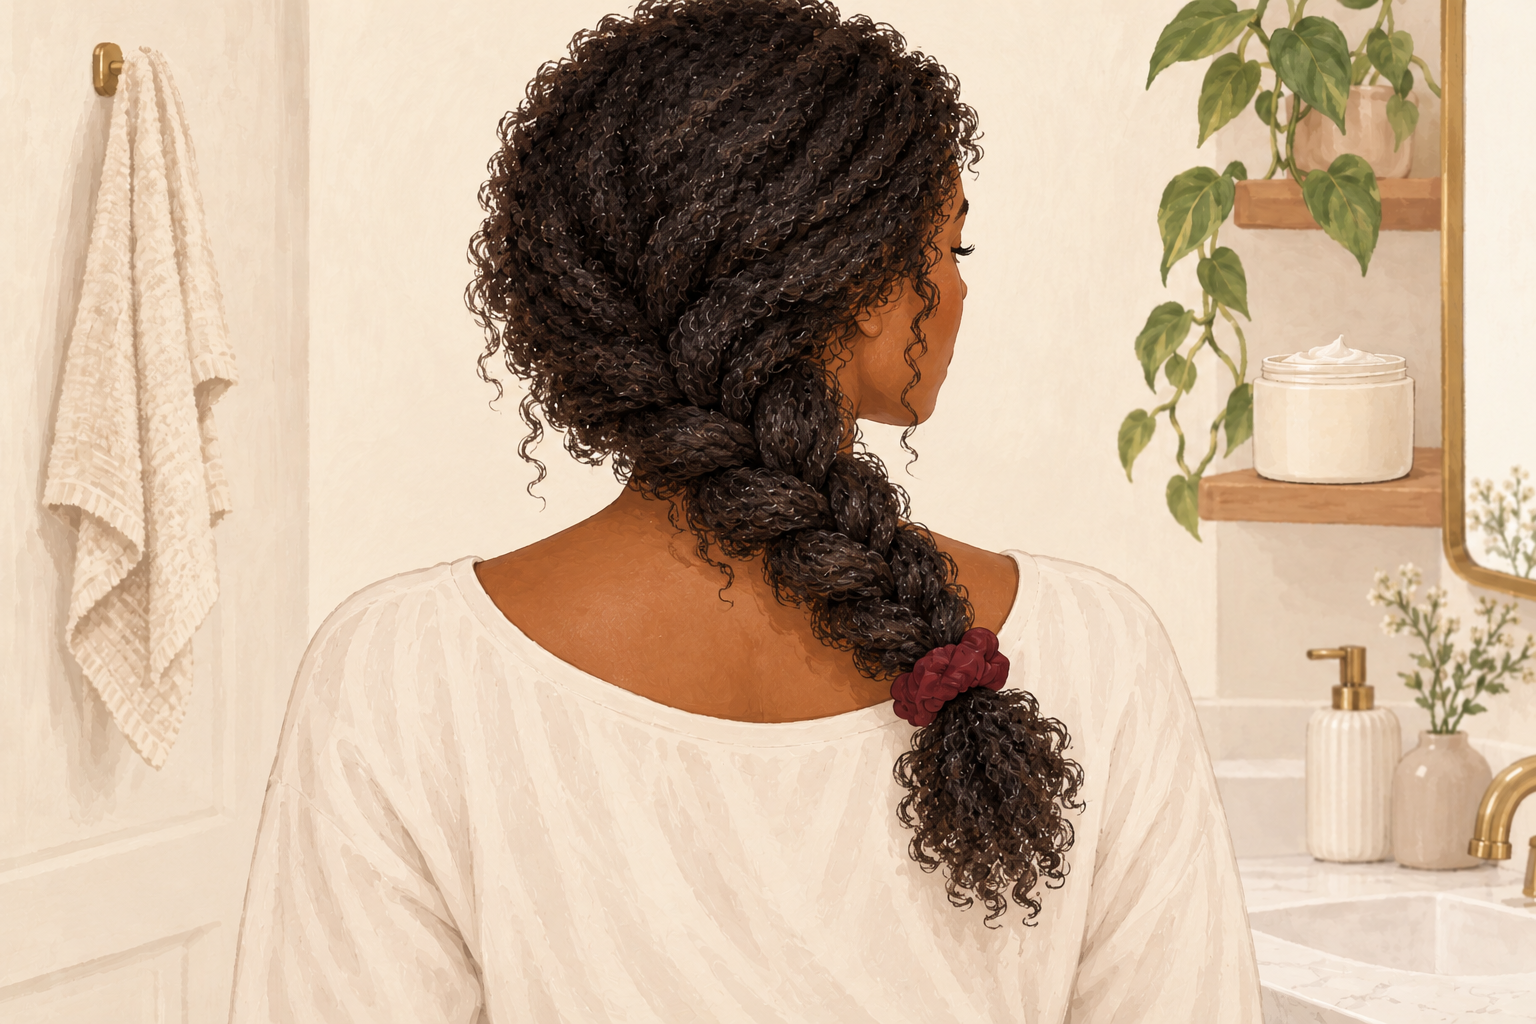
Take two minutes every day or every other day to run your fingers or a wide tooth comb through your hair, starting from the ends. Shed hair is what starts a mat, so clear it as it falls. Put long or textured hair in loose braids or twists at night, and sleep on satin. Check behind your ears and at the nape, because that is where friction from collars and pillows builds up. This is the main way to avoid learning how to detangle matted hair a second time. Leave off tight hair ties on the days a mat is brewing.
12. Know when to hand it over
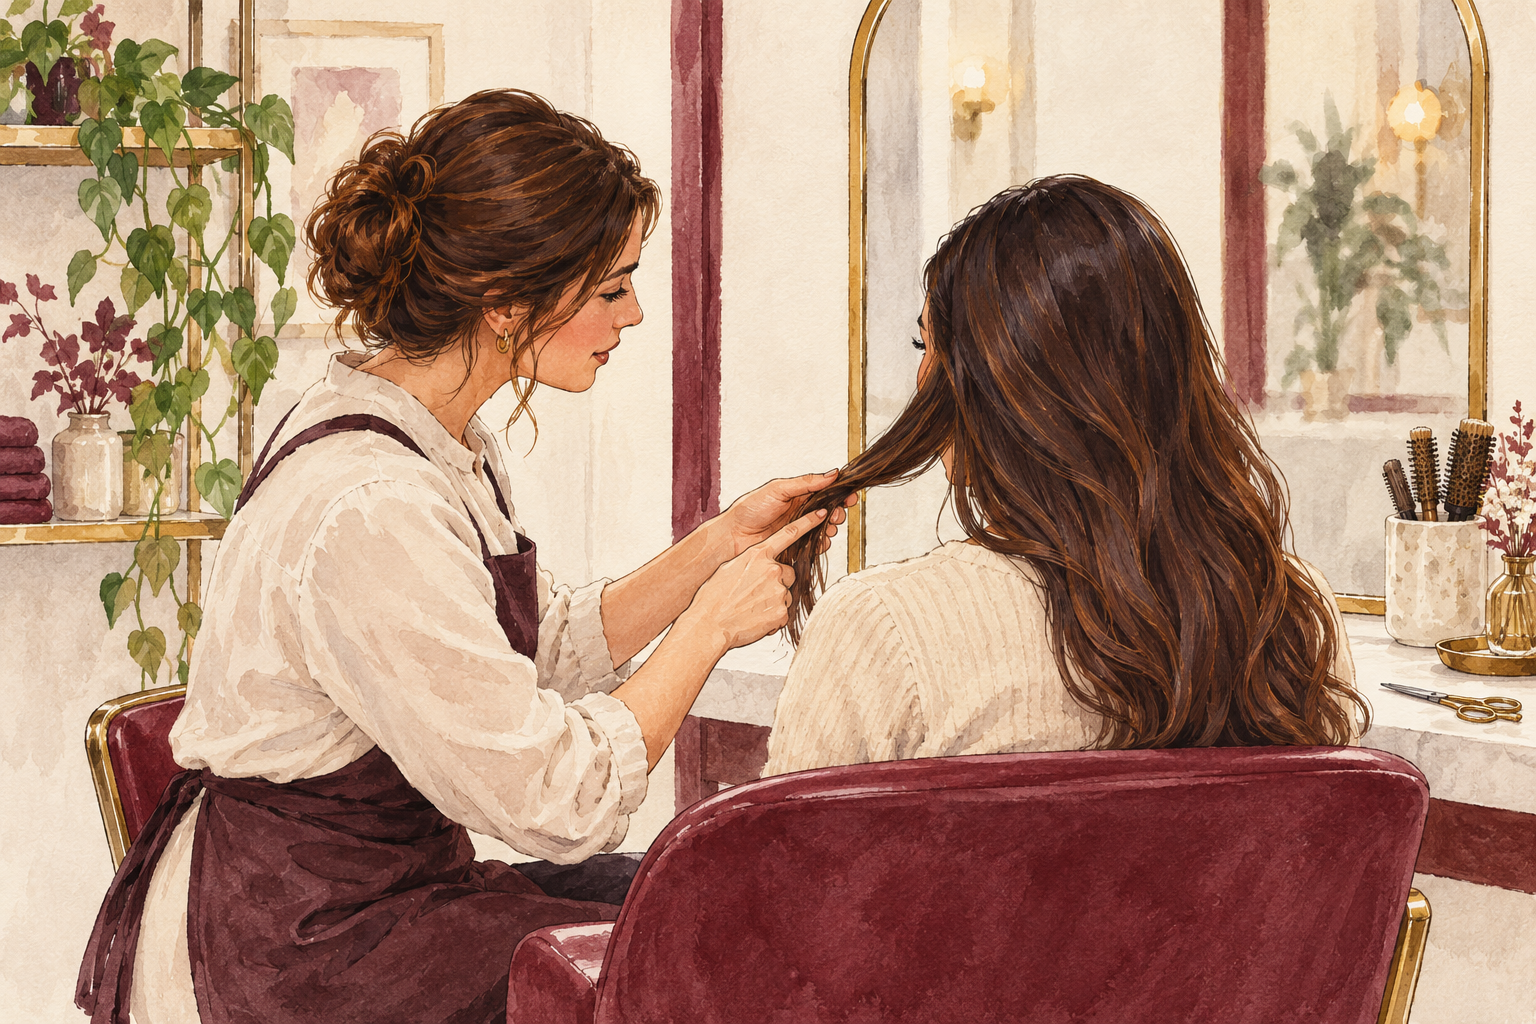
If an hour of work has not moved the mat, or it is close to the scalp and sore, ask a hairdresser or a friend to help instead of pulling on. Extensions and braids can tangle with your own hair too, and they are worth taking out with a second pair of hands. Hand it over before you lose a chunk of hair, not after. Asking for help is part of how to detangle matted hair, and nobody wins a medal for doing it alone. A friend’s steady hands and good light often finish in ten minutes what you struggled with for an hour.
Complete the Routine: How to Detangle Matted Hair and Keep It Away
Tonight, put your hair in a loose braid or twist with a satin scrunchie, then check your nape and behind your ears for early knots. To understand why hair mats, read about matted hair, and for textured hair see detangling natural hair.