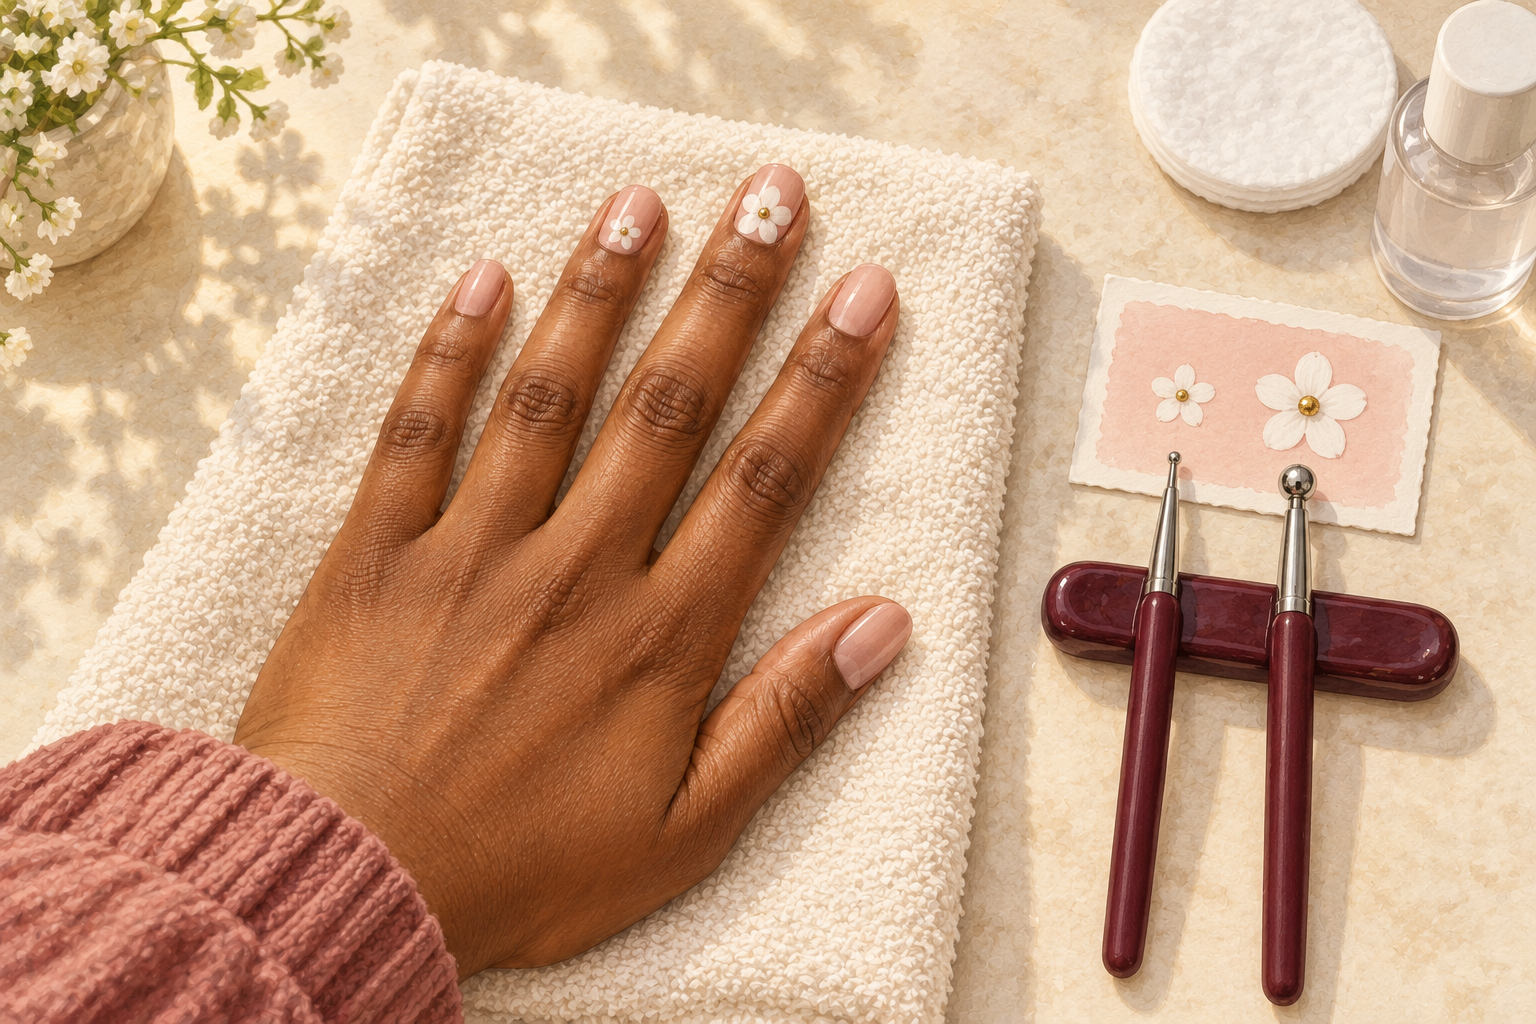
You pictured a bold tropical bloom on your ring finger, and your first try came out as a pink blob with a yellow smudge in the middle. The flower is easier than it looks once you build it petal by petal. Here is how to do hibiscus flower nails in 12 calm steps, so start at number one tonight.
1. Pick one base, two petal shades and a dark throat
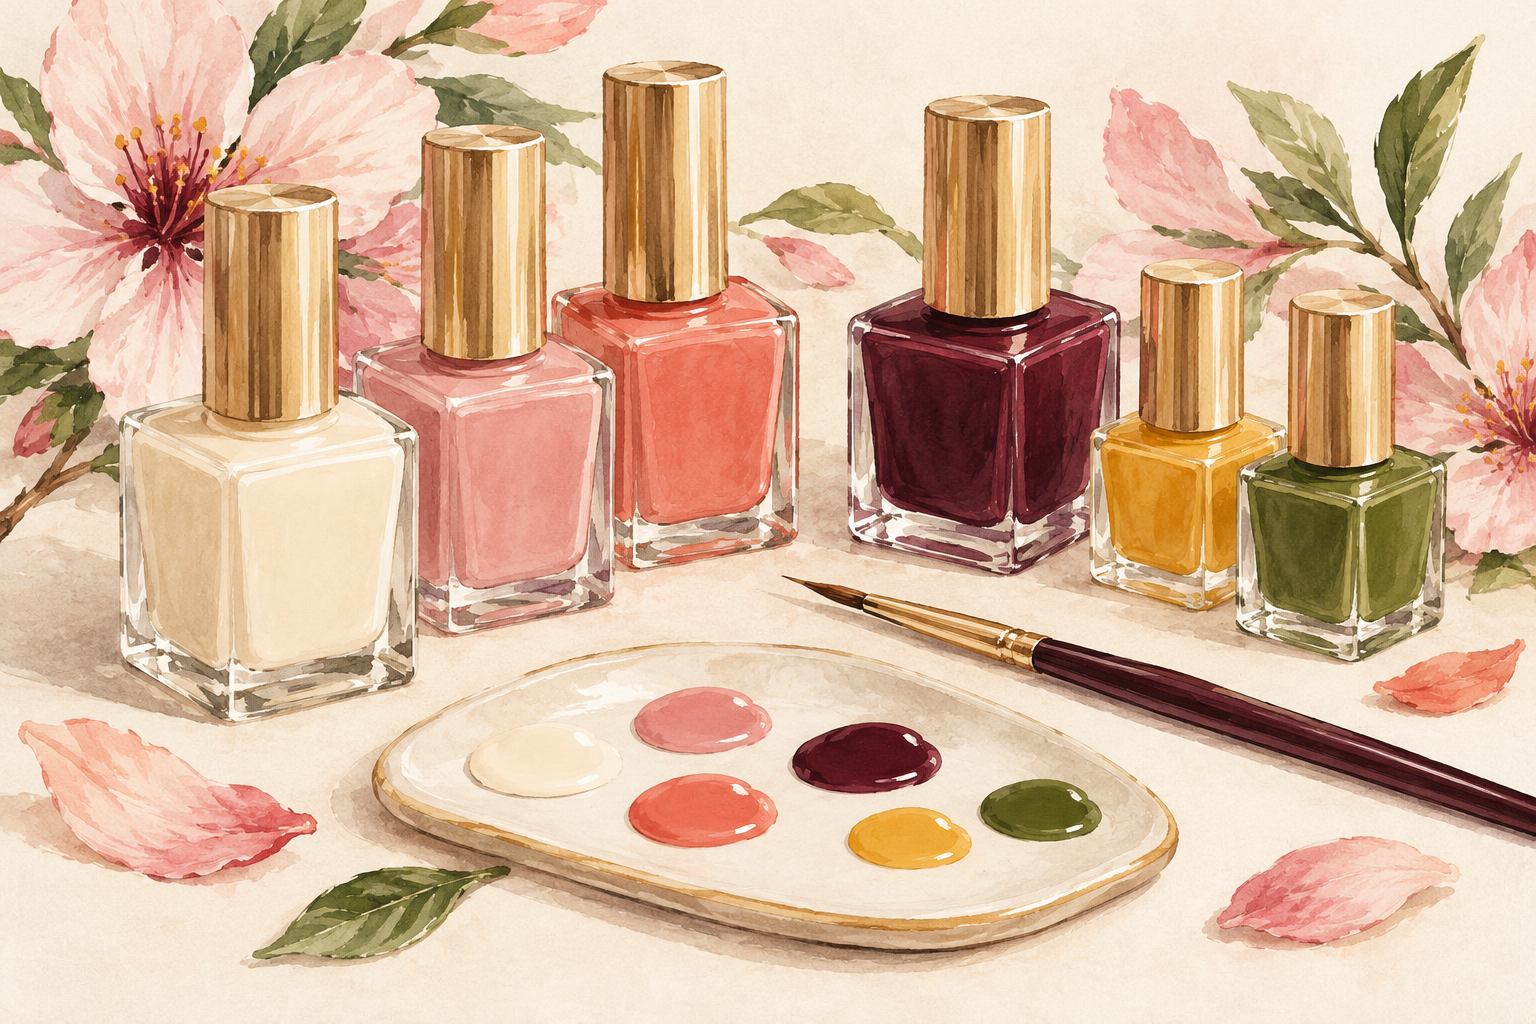
Choose a soft cream or pale pink base, two petal colors in pink and coral, and one deep red for the center. Close shades give the petals depth without looking messy. A pale base makes the bright flower pop, while a dark base needs a white underlayer first. Add a little yellow for the stamen and a touch of green for leaves. Pour tiny puddles of each color onto a palette, as the bottle brush is too fat for details. Test the shades on a scrap of paper to make sure they sit well together. Pink with coral feels summery, while red with orange feels loud, so choose the mood you want to wear.
2. Sketch the flower on paper or a practice card
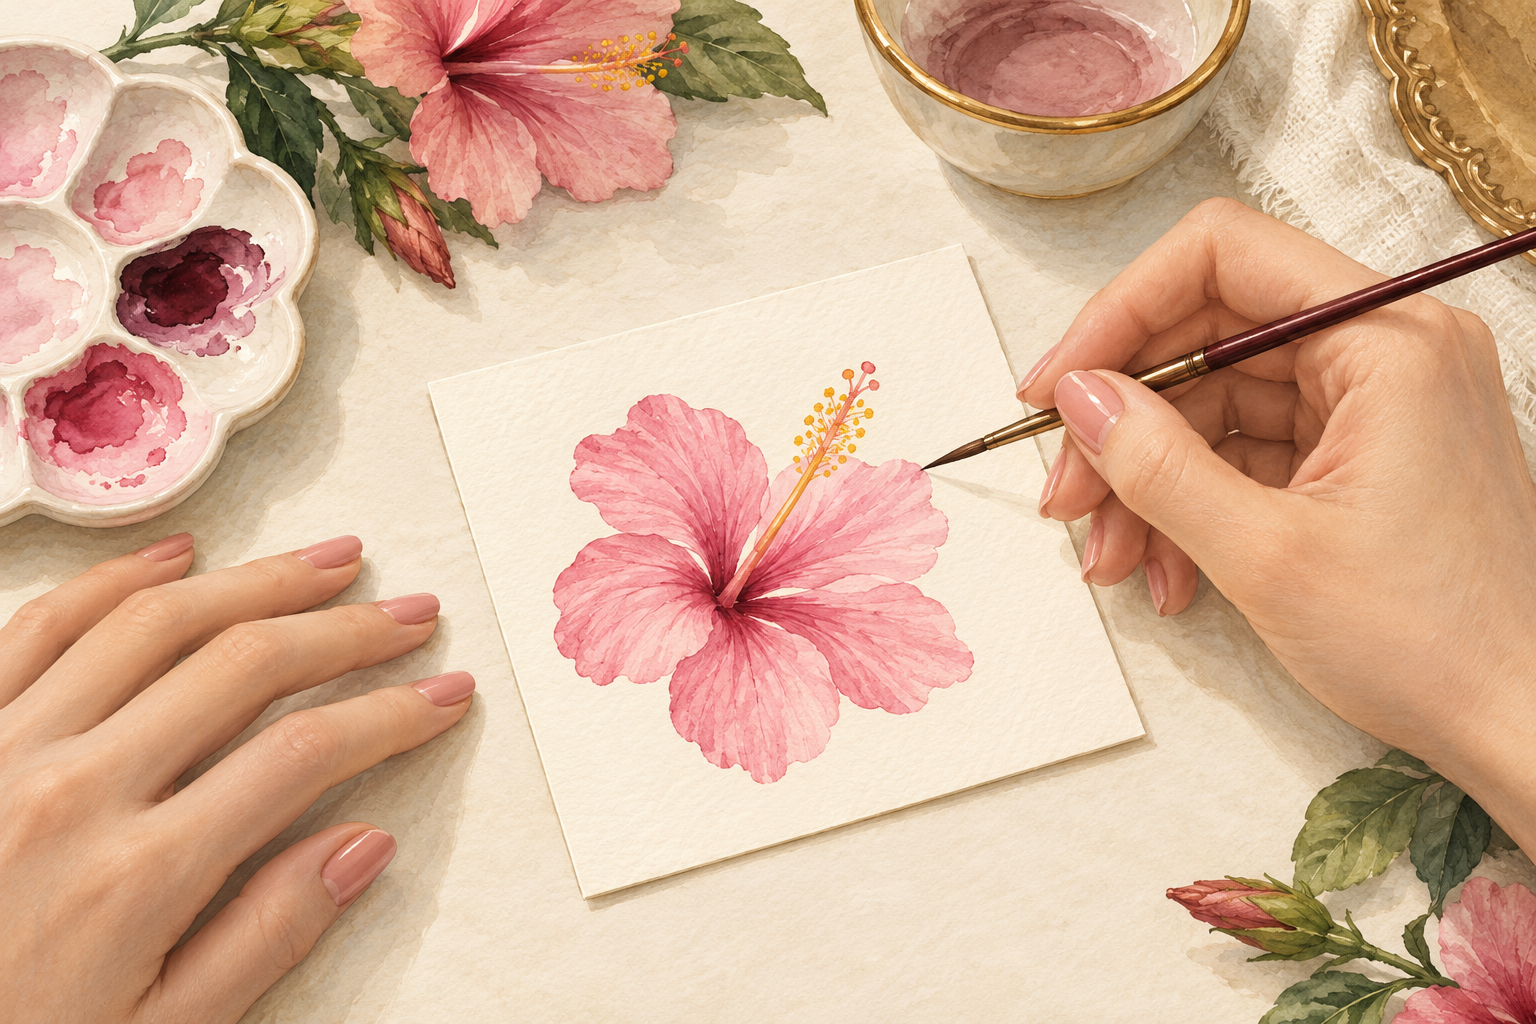
Draw five rounded petals around a small center on paper, then paint it once in your real colors. A hibiscus has five wide petals that overlap and ruffle at the edges, so seeing the shape first helps your hand. Practice for five minutes on a plastic practice card or the back of a spare tip. You will find out how much polish your brush holds. A flower that looks good on paper will look good on a nail, so do not skip it. This warm up is the part of how to do hibiscus flower nails that feels silly, and it is the part that saves the set.
3. Mark the five petals with dots
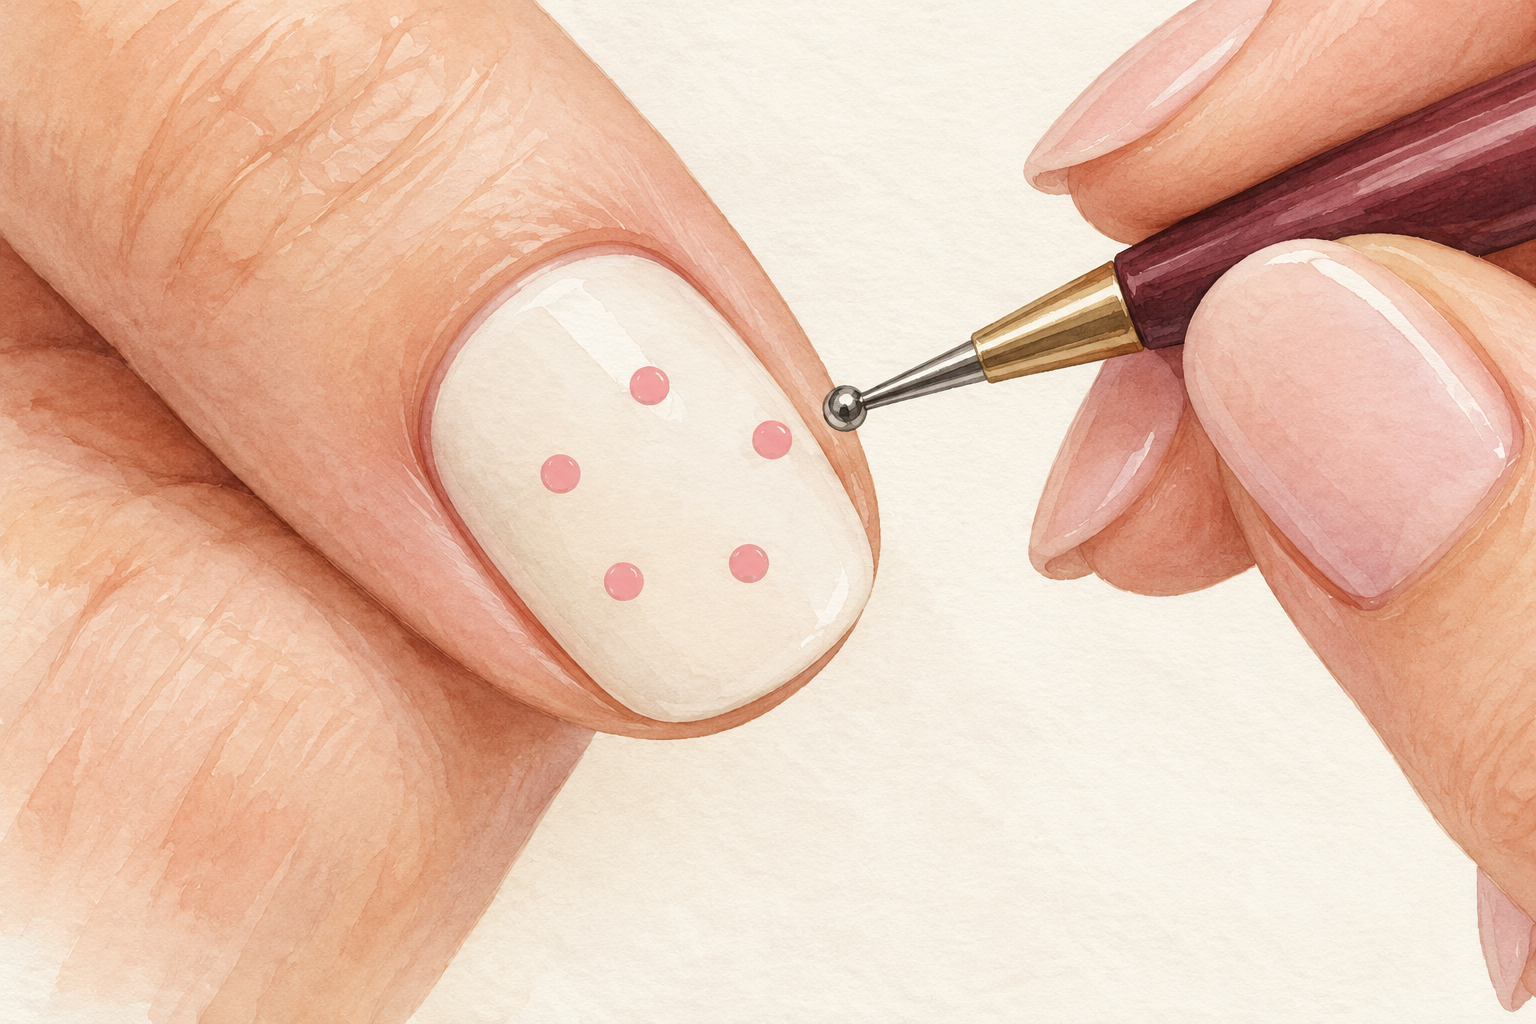
Press the dotting tool five times in a ring, leaving a small gap in the middle. Each dot is the tip of a petal, so space them evenly, like numbers on a clock face. Place the flower off center on one or two nails, near the cuticle or leaning toward the side. Keep the dots small, as they only guide you. Wait until the base is fully dry before you start. If a dot is crooked, wipe it with a damp bud and try again. A leaning flower looks lovely too, so do not chase a perfect circle, as real blooms are never evenly spaced.
4. Pull each petal out from the center
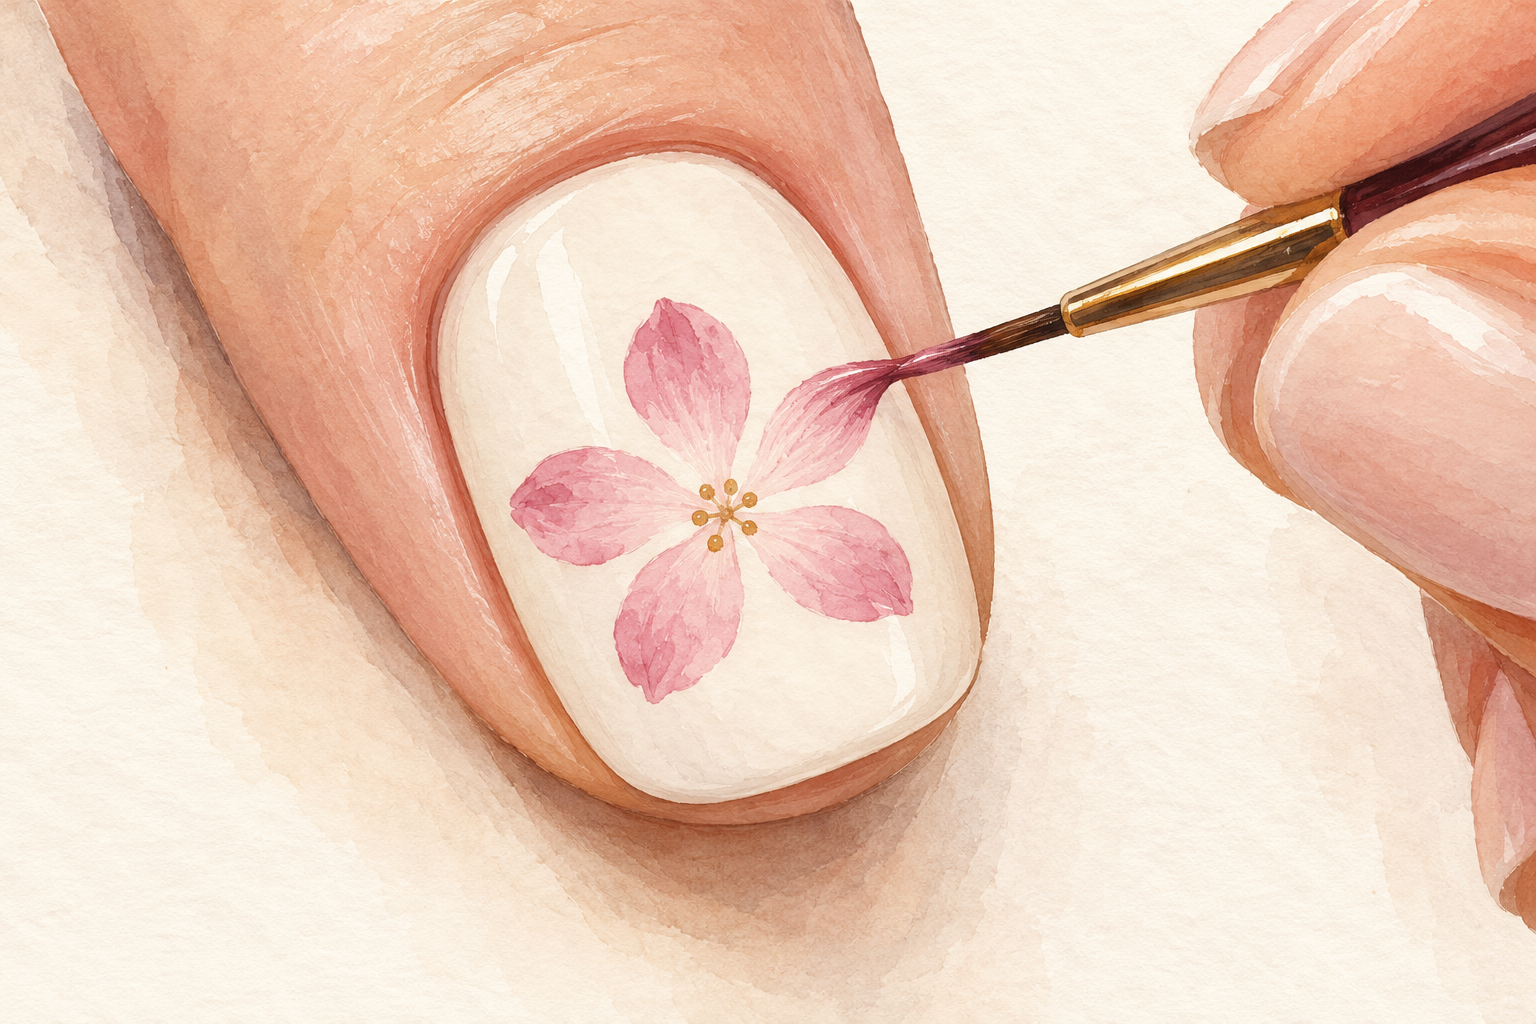
Dip the fine brush in pink, touch each dot, and pull it toward the center in one soft stroke. The petal gets thinner toward the middle, like a teardrop with its point facing inwards. Press harder at the dot, then lift as you pull. Use a small amount of polish, since too much floods the shape. Go around the flower once, then let it set for a minute before you add the next layer. Your petals should overlap slightly, like fingers of a fan. If two petals blur together, let them be for now, because the ruffled edge in the next step will separate them again. Start simple with the first flower, then move on to how to do flowers on nails once petals feel easy.
5. Add a lighter edge and ruffle the outline
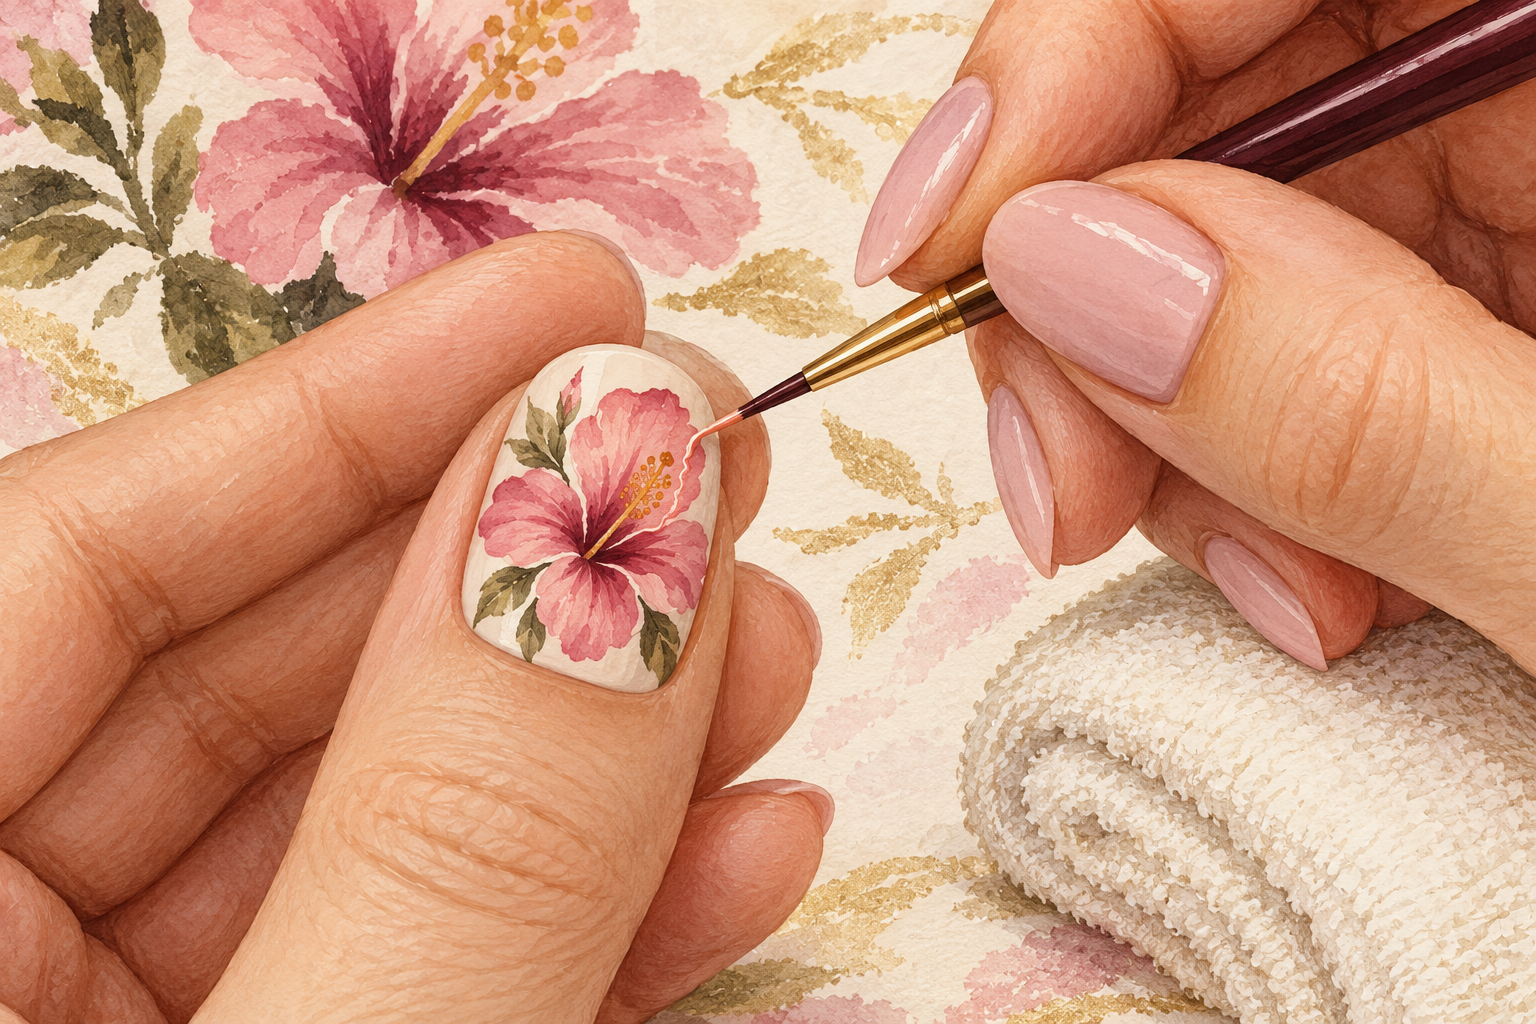
Brush a thin line of the lighter coral shade along the outer edge of each petal, with a gentle wave. Hibiscus petals ruffle like silk, so avoid a perfectly smooth outline. Two or three small waves per petal is enough. This layer gives the flower depth and makes the petals look soft. Wipe your brush on a tissue so it holds very little polish. If an edge looks heavy, blot it with a clean brush while it is wet. Take a breath between petals, as steady hands paint better. Lean your wrist on a rolled towel and breathe out as you pull each wave, and the line stays smooth and soft.
6. Darken the throat with a small star shape
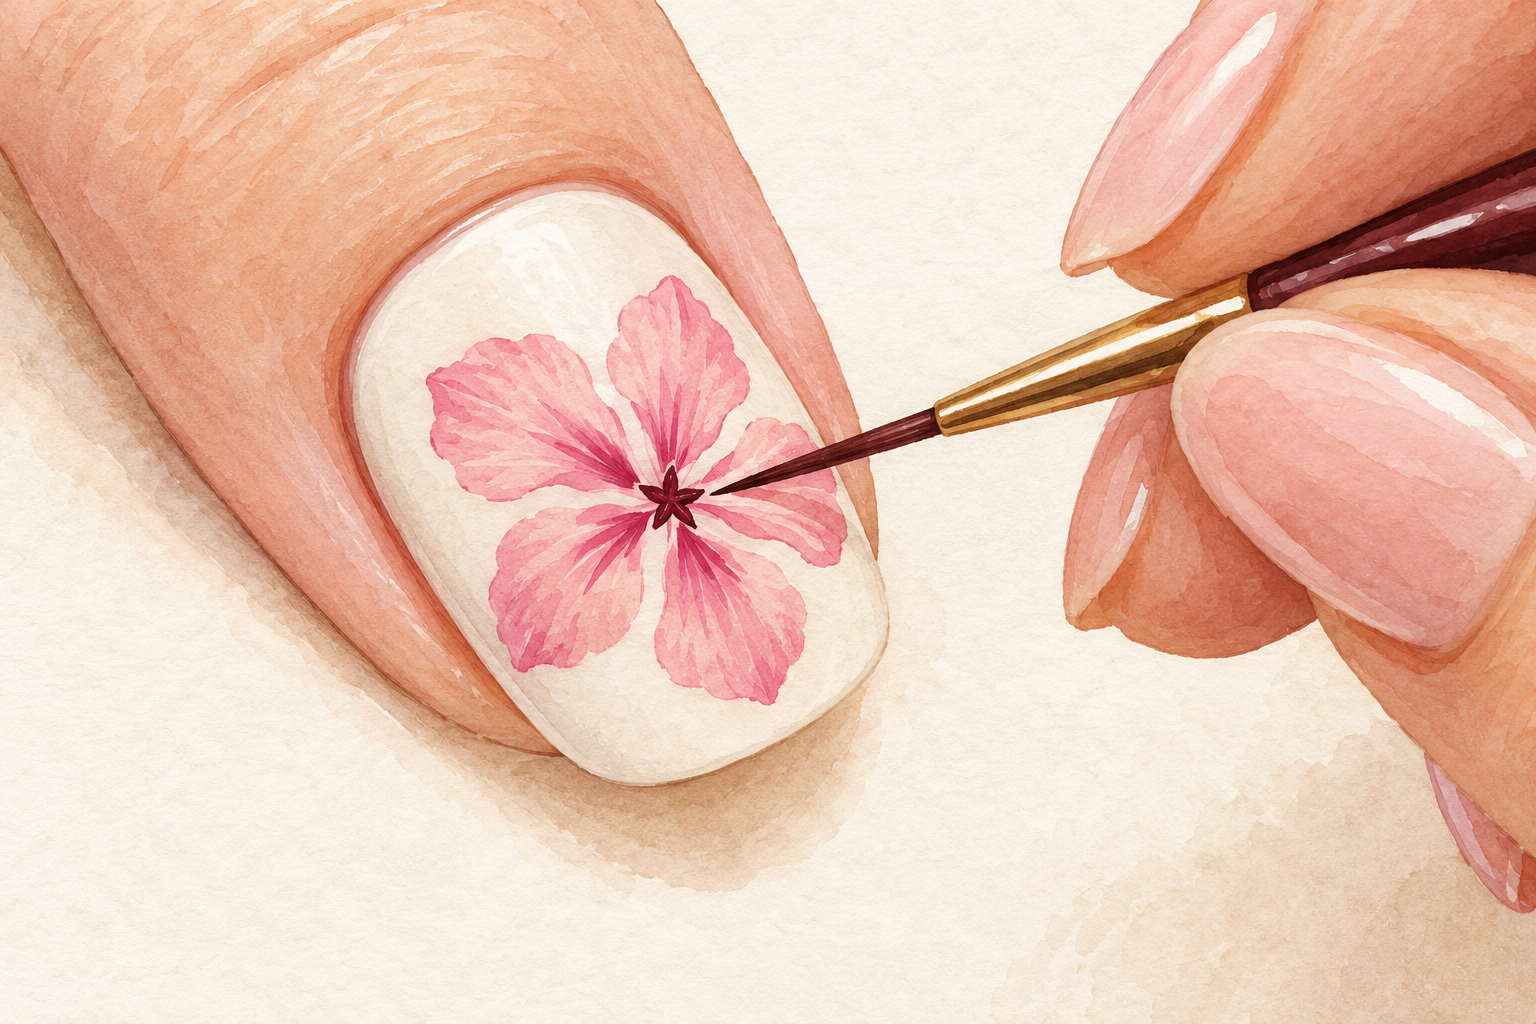
Paint a tiny star in deep red at the center, with its points reaching a little way into each petal. This dark throat is what makes a hibiscus look like a hibiscus rather than a plain flower. Use the very tip of the brush, and let the red fade out into the pink by feathering the points. Keep the star small, about the size of a grain of rice. Allow the colors to dry for a couple of minutes. Too much red makes the flower look heavy and angry. You will notice the petals suddenly look deeper and more real, like a bloom with the sun behind it.
7. Draw one curved stamen with a thin brush
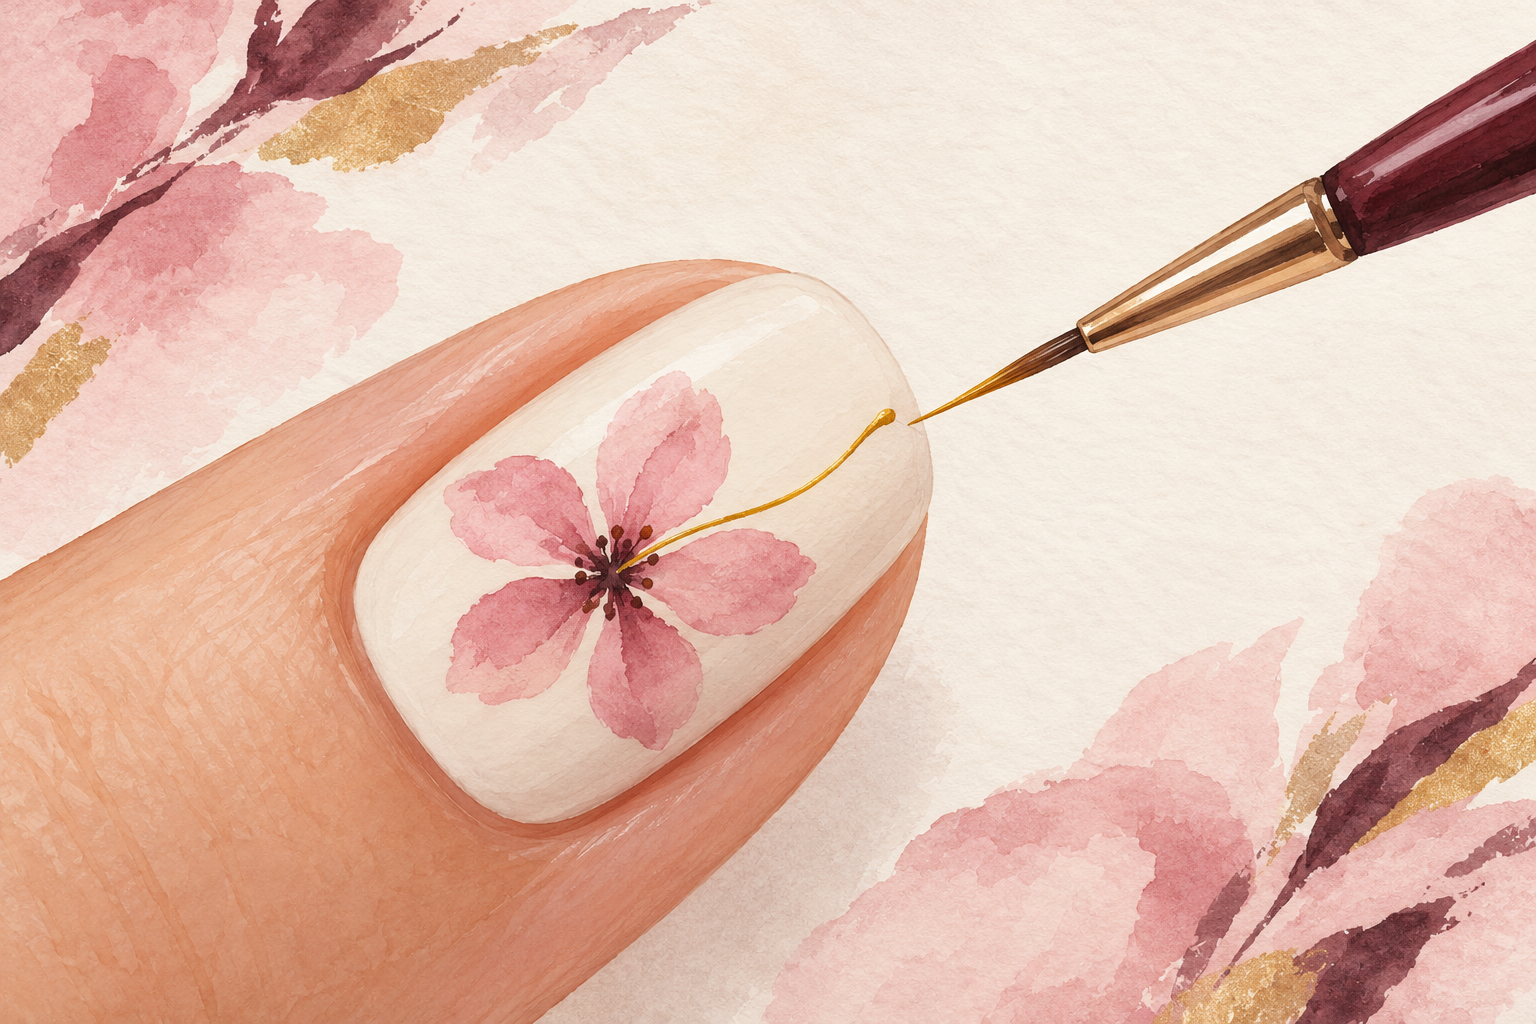
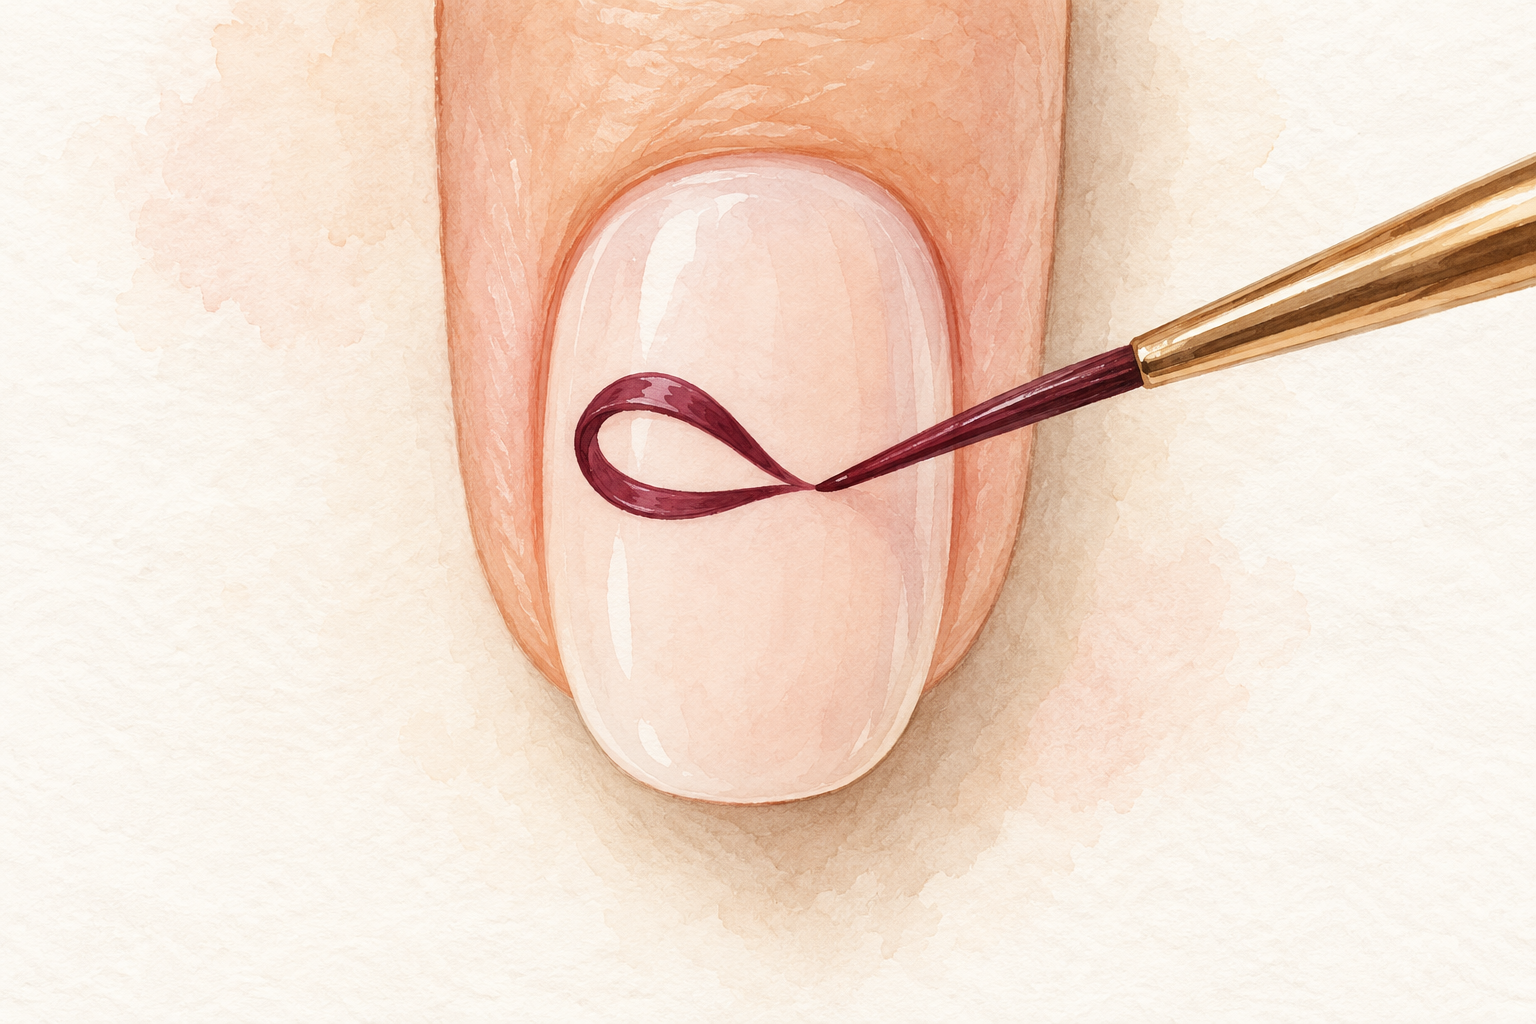
Pull one long, slightly curved line from the center out past the petals, in yellow or white. The stamen is the long stalk that makes a hibiscus stand out from other flowers. Thin the polish with a drop of remover if it drags, and use the tip of the brush only. Curve the line gently away from the petals, ending a little past the edge. A shaky line reads as a natural curve, so do not worry about perfection. Wait for the red to dry first, or the yellow turns orange. Practice the curve on your palm with a dry brush once or twice, so your hand knows the path before the polish touches the nail. The same light, curved stroke also drives how to draw a bow on nails, so practice pays off twice.
8. Finish with pollen dots and two small leaves
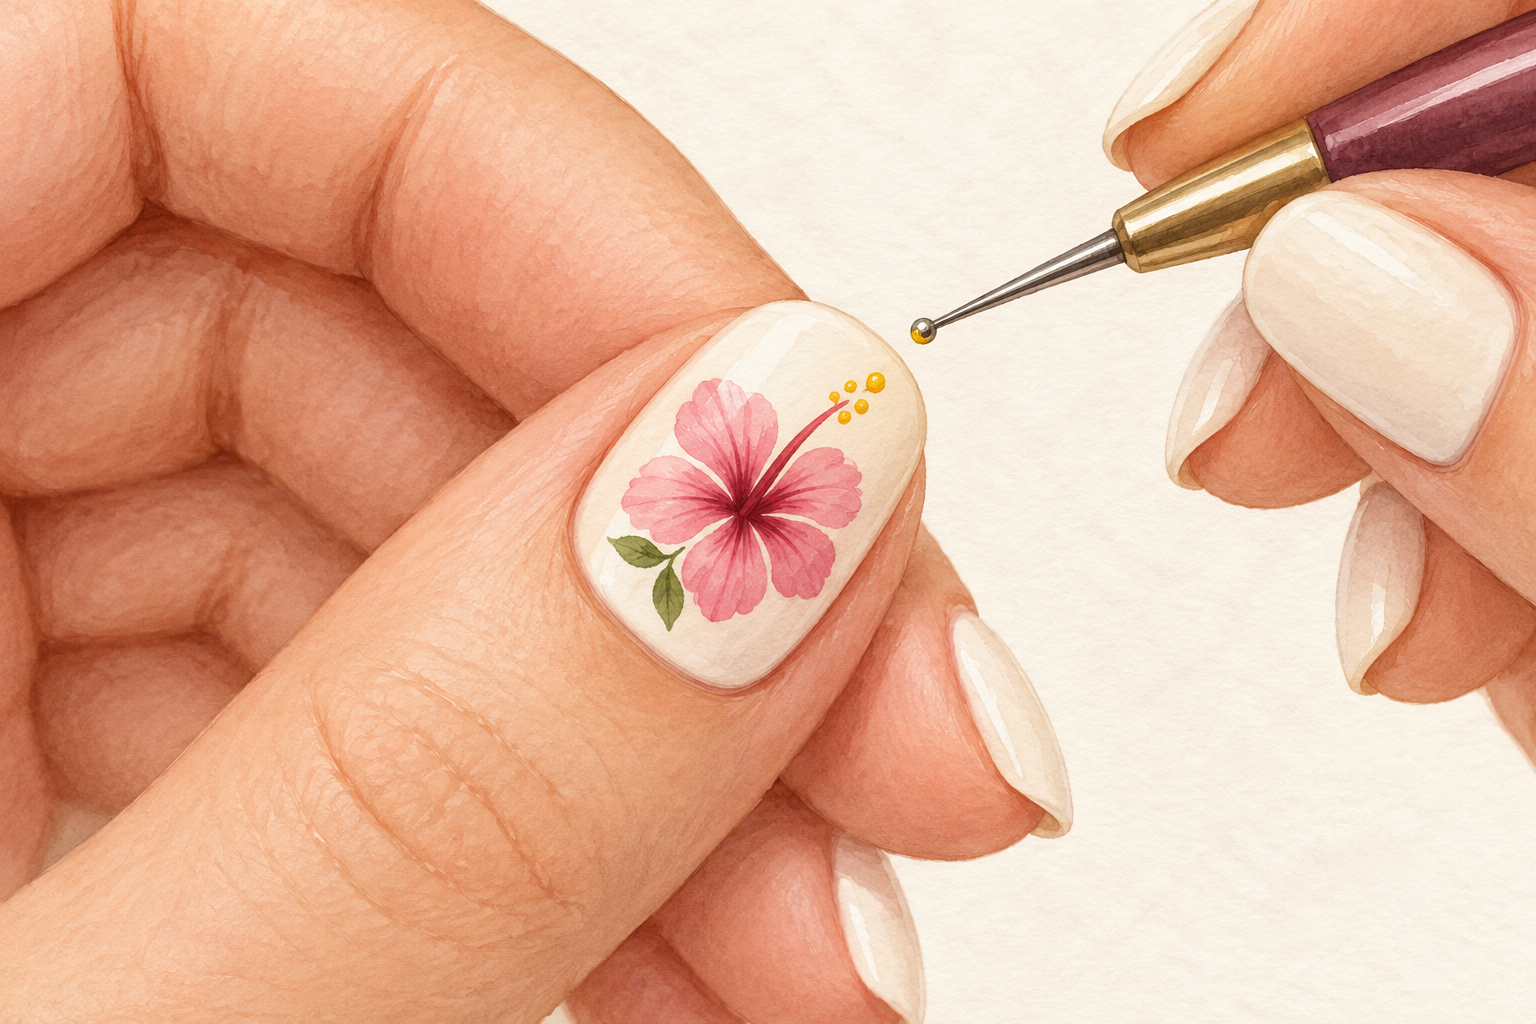
Add three tiny yellow dots at the tip of the stamen, then paint two little green leaves at the base of the flower. Use the smallest end of the dotting tool, and touch it down once for each dot. The leaves are simple teardrops, pulled outward from the flower’s base and slightly curved. Keep them small, so they frame the flower instead of competing with it. A single bright green is enough. If the leaves look dull, add a slim line of lighter green down the center of each. Leave a small gap between the leaf and the petal, which lets the flower breathe against the pale base.
9. Clean blobby petals with a remover bud
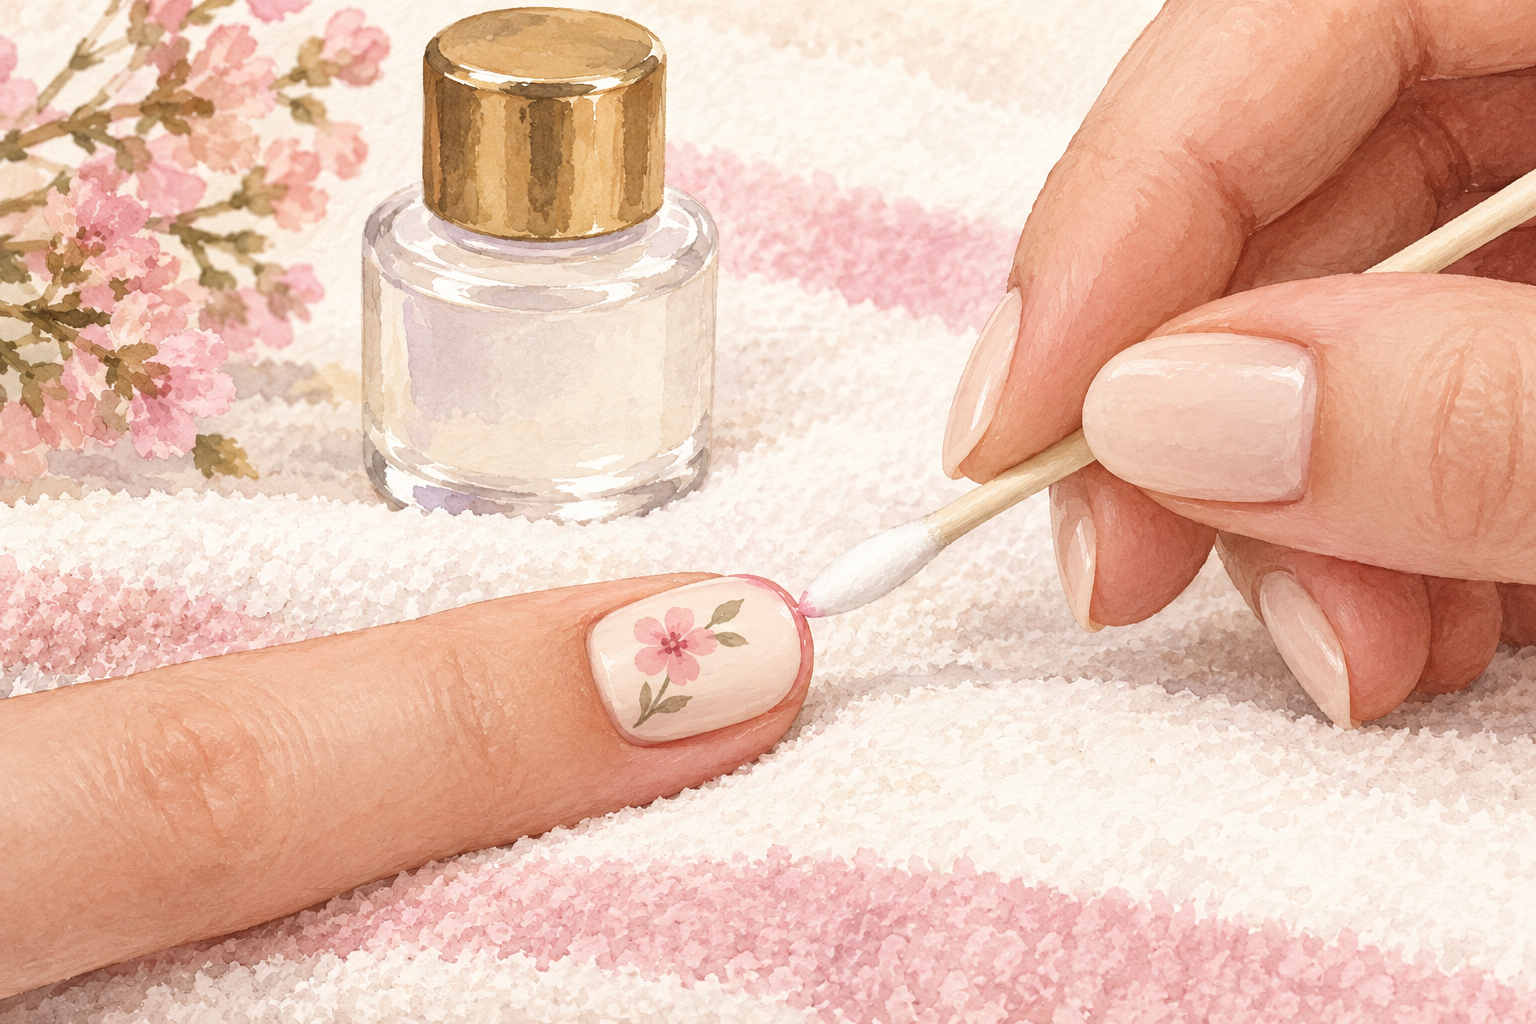
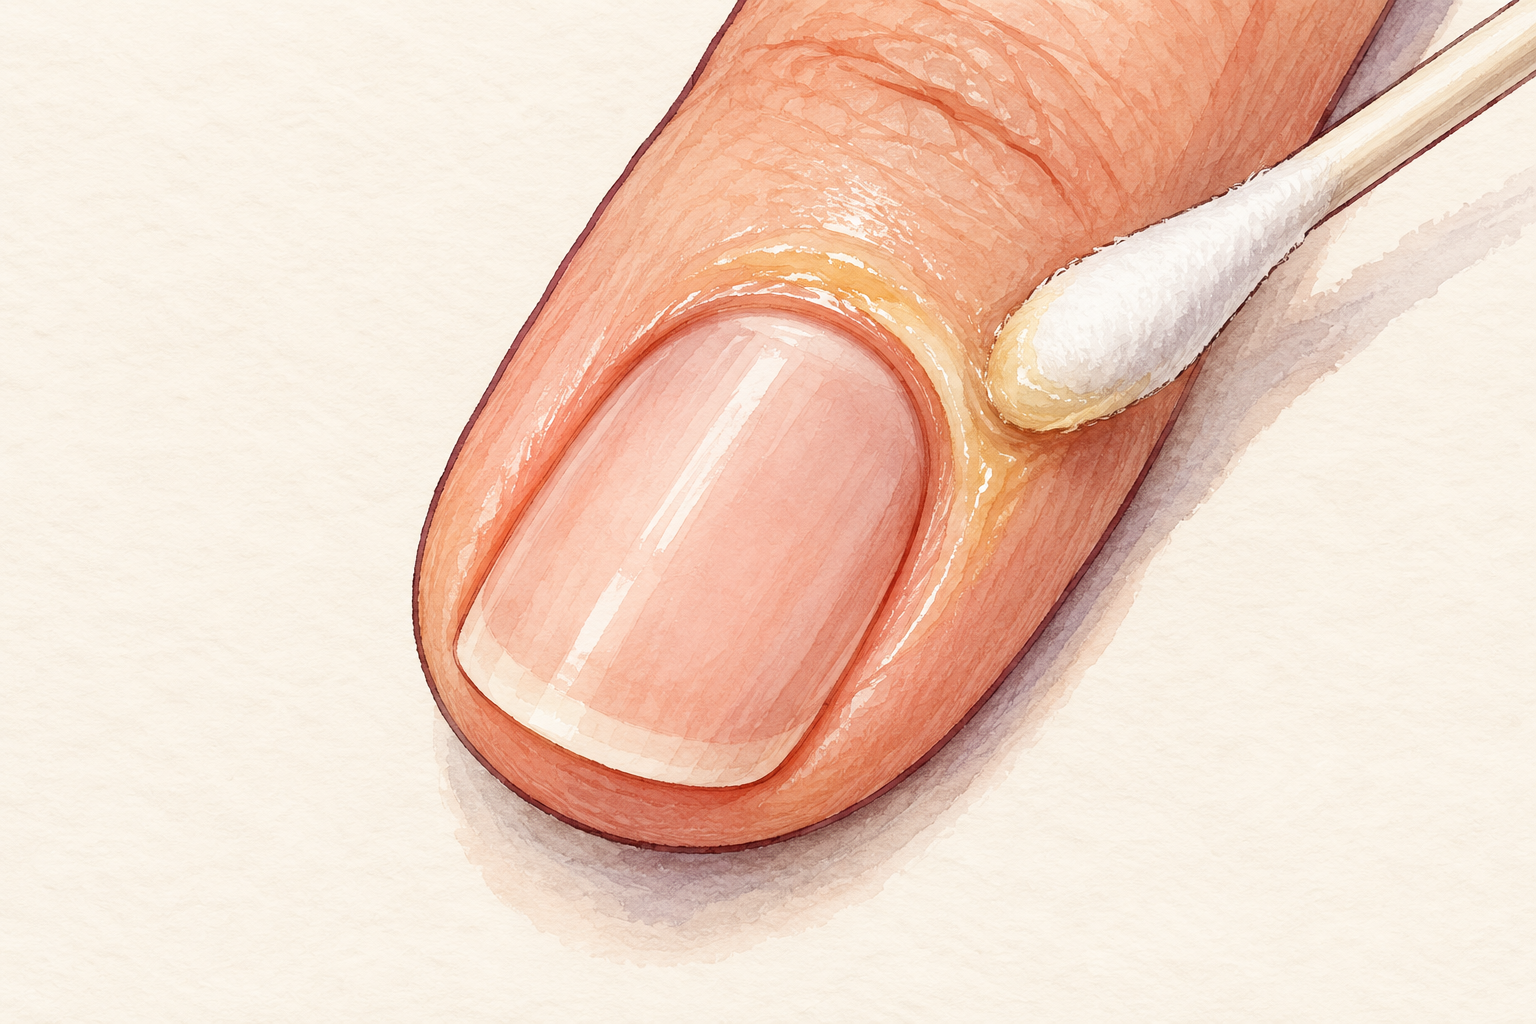
Dip a pointed cotton bud in remover, squeeze out the extra, and roll it along the blobby edge. Work slowly and take off only the extra polish. For a thick petal, wait until it is dry, then trim it with a clean brush dipped in base color. Fixing is part of the art, so do not give up. If the whole flower is a mess, wipe it off, paint the base again, and start from the dots. Blobs happen when the brush is too wet, so wipe it more often. Keep a tiny dot of remover on a lid to loosen the brush tip between petals, and the shape stays sharp.
10. Expect this from your first, third and fifth flower
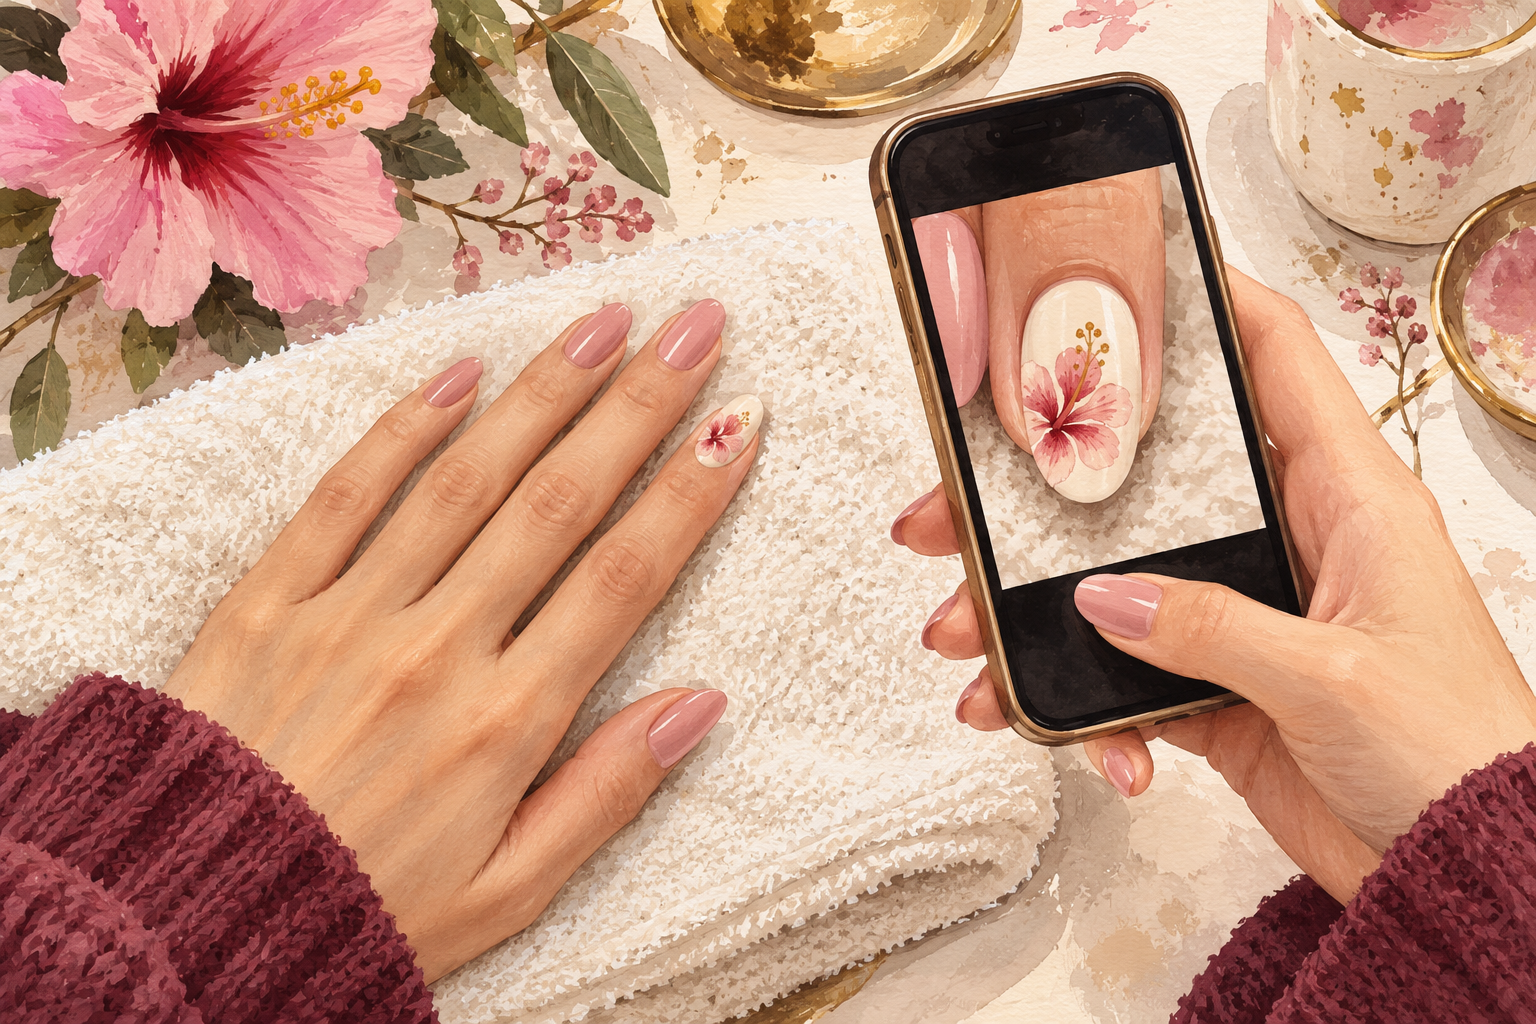
Your first hibiscus will look wobbly, your third will look sweet, and your fifth will look like a petal you could pick. Accept the first as practice. Notice what changed each time, such as less polish or a lighter pull. Take a photo of each flower, so you can see how quickly you improve. Do the thumb last, because it is the widest and easiest nail to forgive. A good hand needs a bit of repetition, and it comes quicker than you think. By the fifth flower you will likely finish an accent nail in about fifteen minutes and wonder why it once felt hard.
11. Seal with a floating top coat
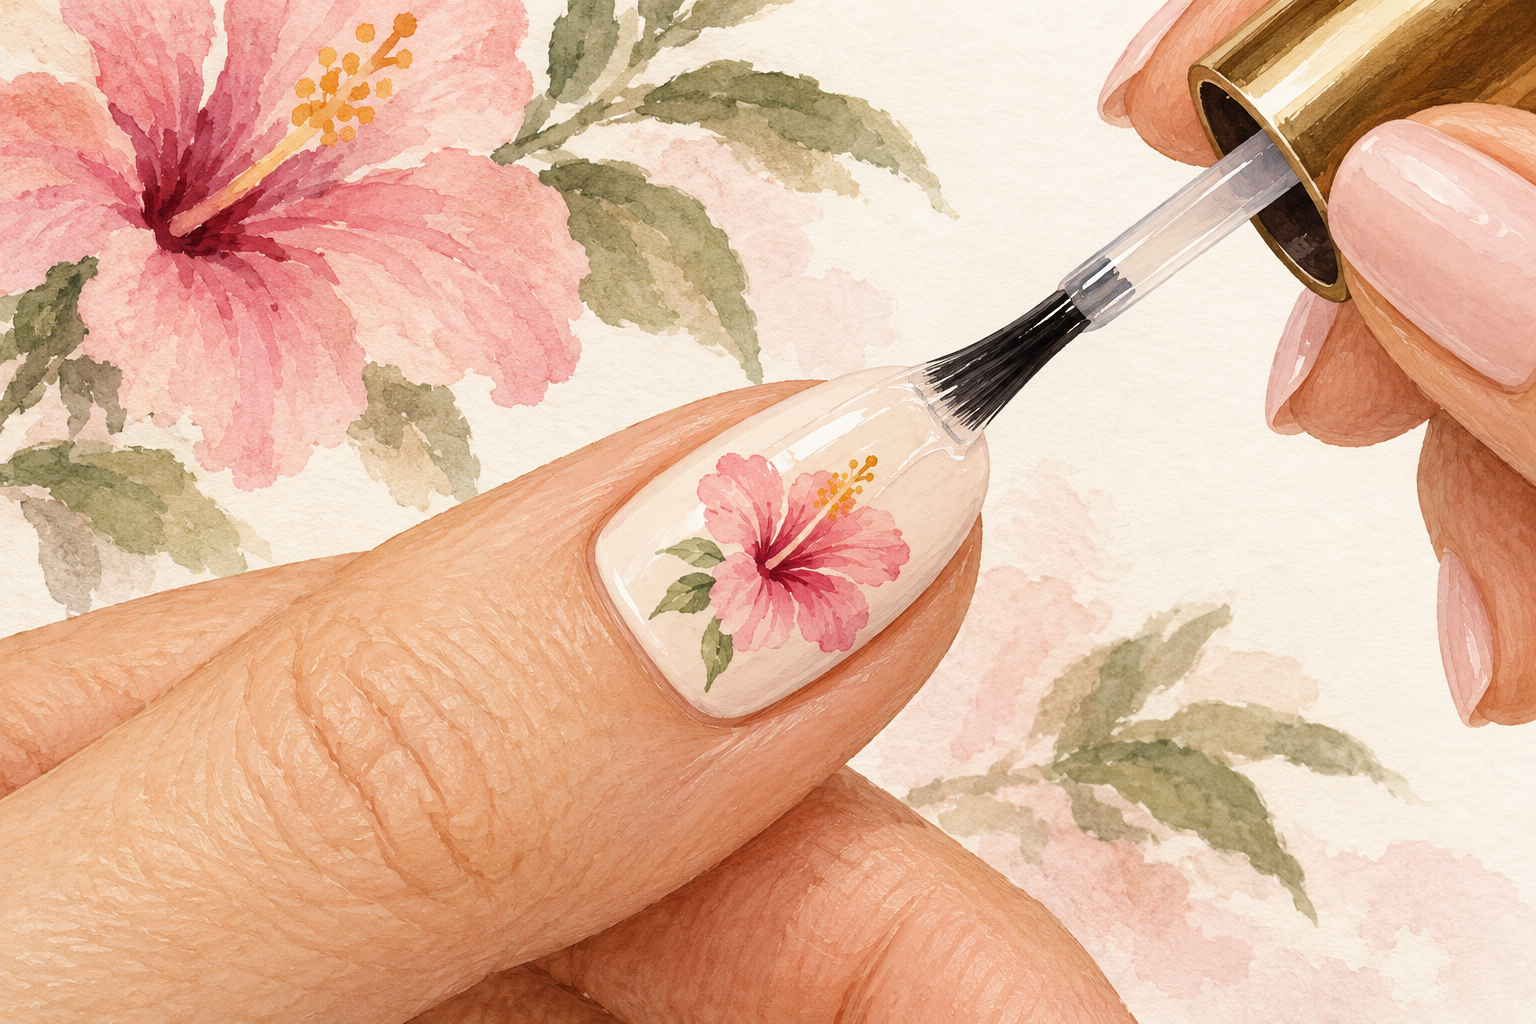
Wait until the flower is dry, then lay a generous bead of top coat over it without pressing. A heavy hand drags the wet petals and turns them smoky. Float the brush, cap the free edge, and let the bead settle by itself. Do it in a bright spot so you can see the shine. Leave the nail alone for twenty minutes. A second coat on day three keeps the flower bright. Wear gloves for washing up, as hot water softens polish over time. A sealed hibiscus can stay bright for a week, and the red throat is the last part to fade.
12. Remove it gently and give your nails a week
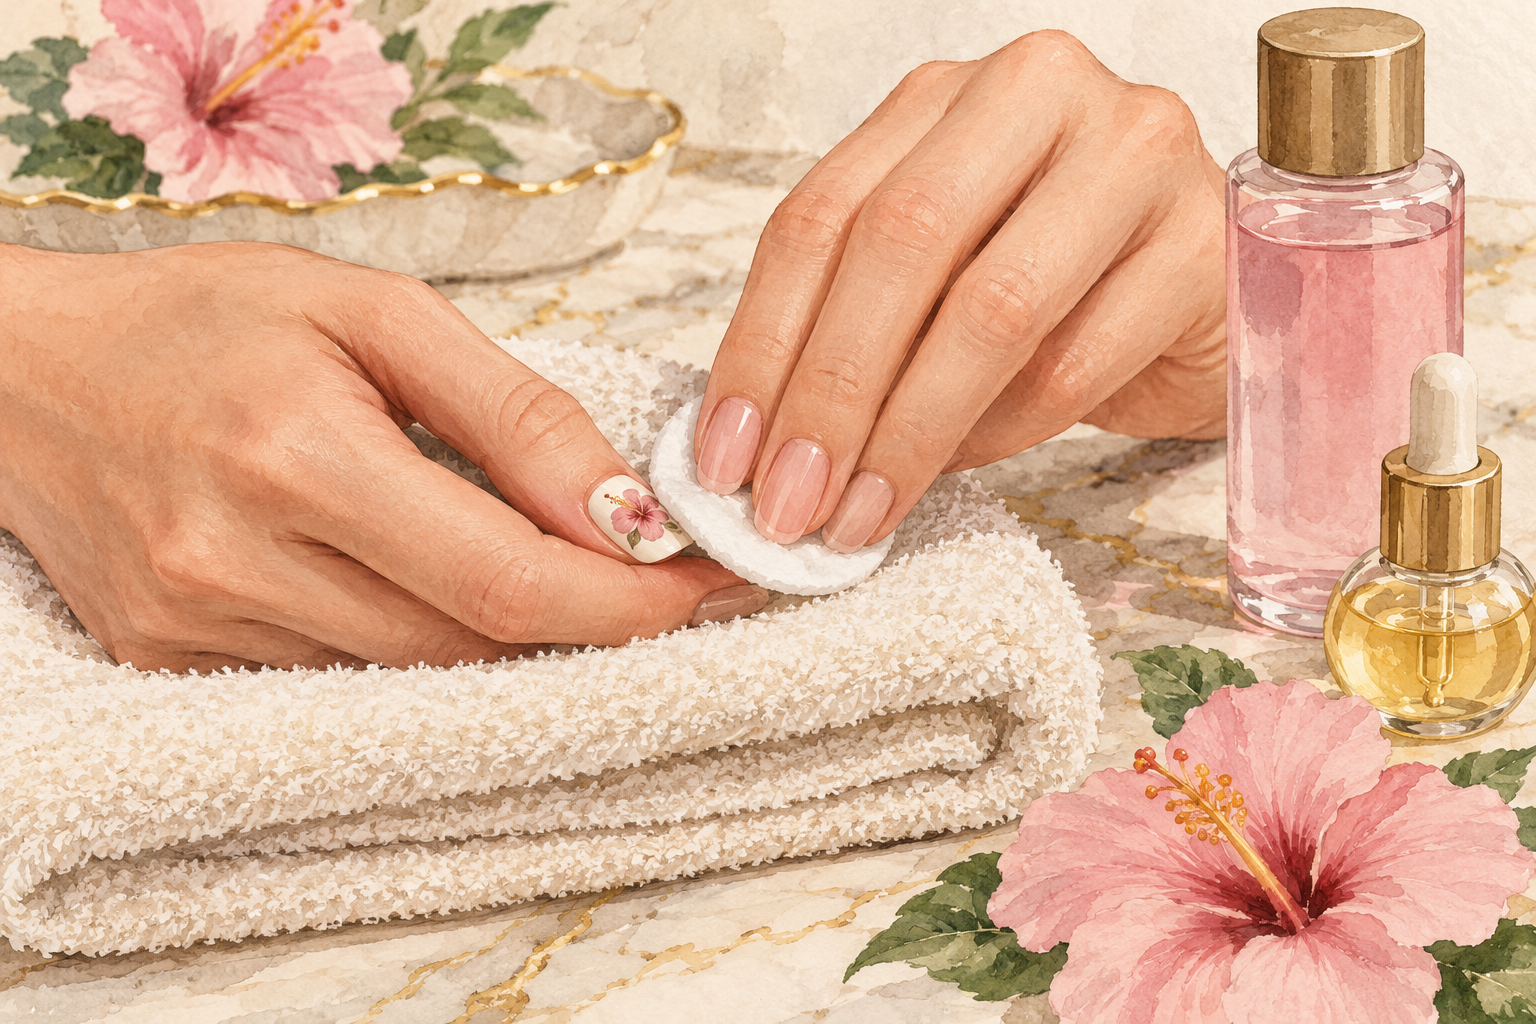
Press a soaked cotton pad on each nail for ten seconds, then wipe once, rather than scraping. Flowers need several layers, so they take longer to lift. Add a little more remover and wait, never pick. Rub in cuticle oil afterward and leave your nails bare for a week. They will look dull for a day or two and then shine again. Then pick another bright shade and plant your next flower. A yellow or white hibiscus on a soft peach base makes a lovely change, and it uses exactly the same steps.
Complete the Look: How to Do Hibiscus Flower Nails on Every Finger
Do one accent nail first, then add the others once you trust your hand. Slow and steady wins here, so enjoy the process while you pick one more guide below to try this week.