You paint a tiny bow on one accent nail, step back, and it looks like two sad commas and a blob. If you have been searching how to draw a bow on nails, the trouble is rarely your hand. It is usually polish that is too thick, a brush that is too wide or a base that is not dry yet. Here are 12 steps, four simple strokes and the tools that make them easy, so start at number one.
1. Choose colors that contrast strongly
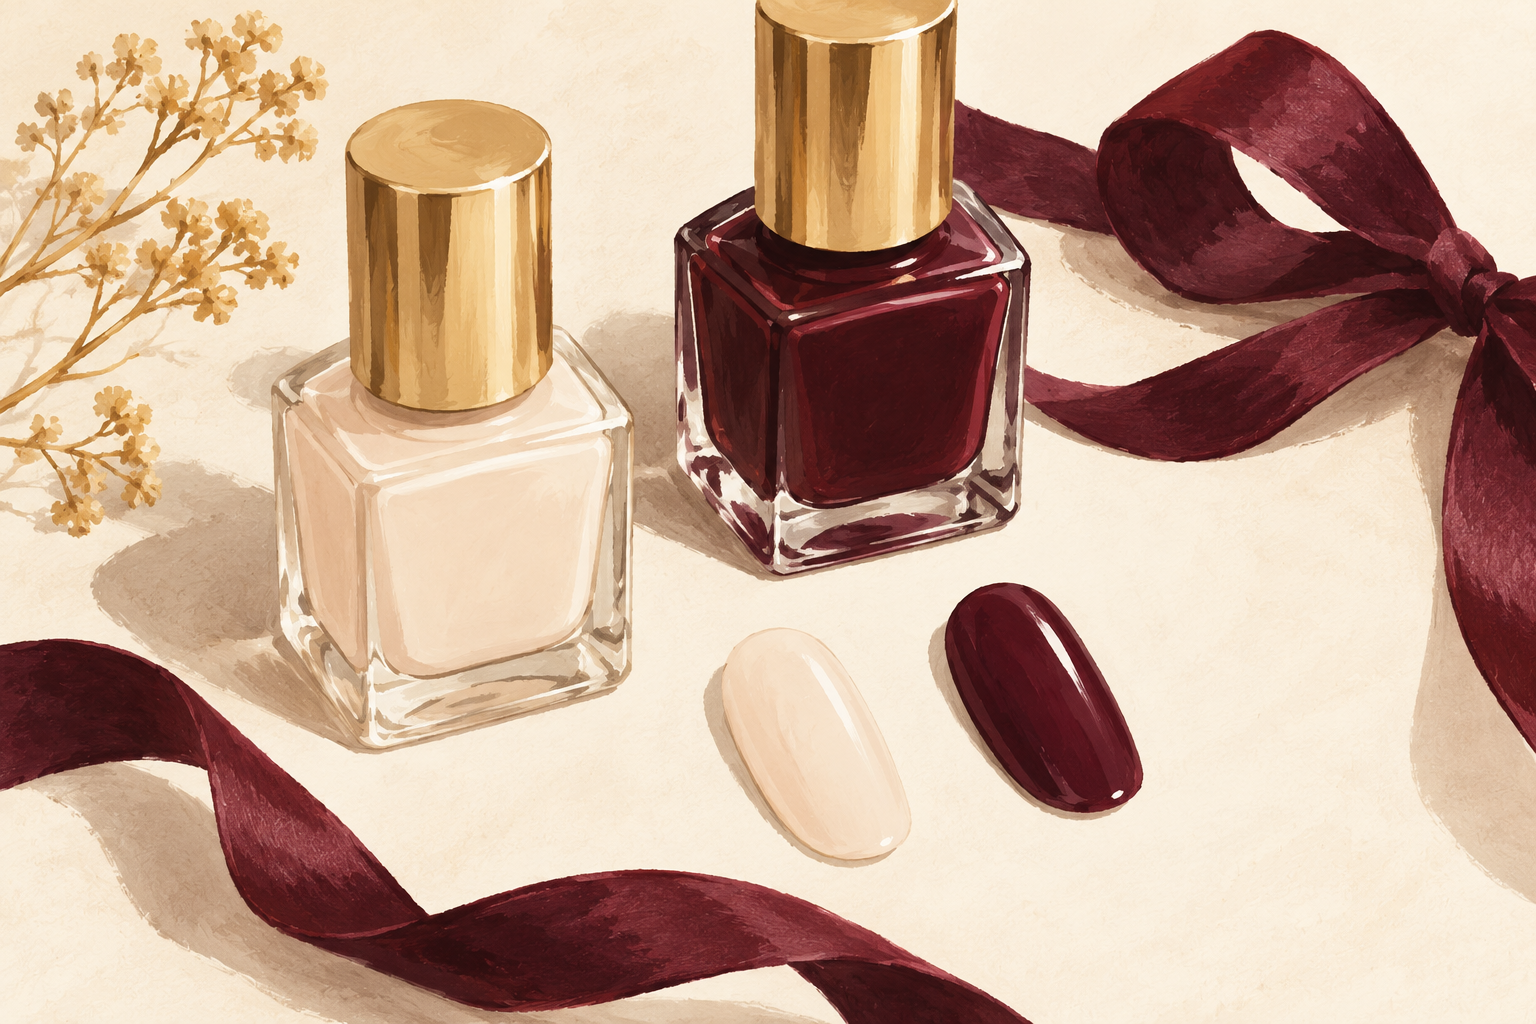
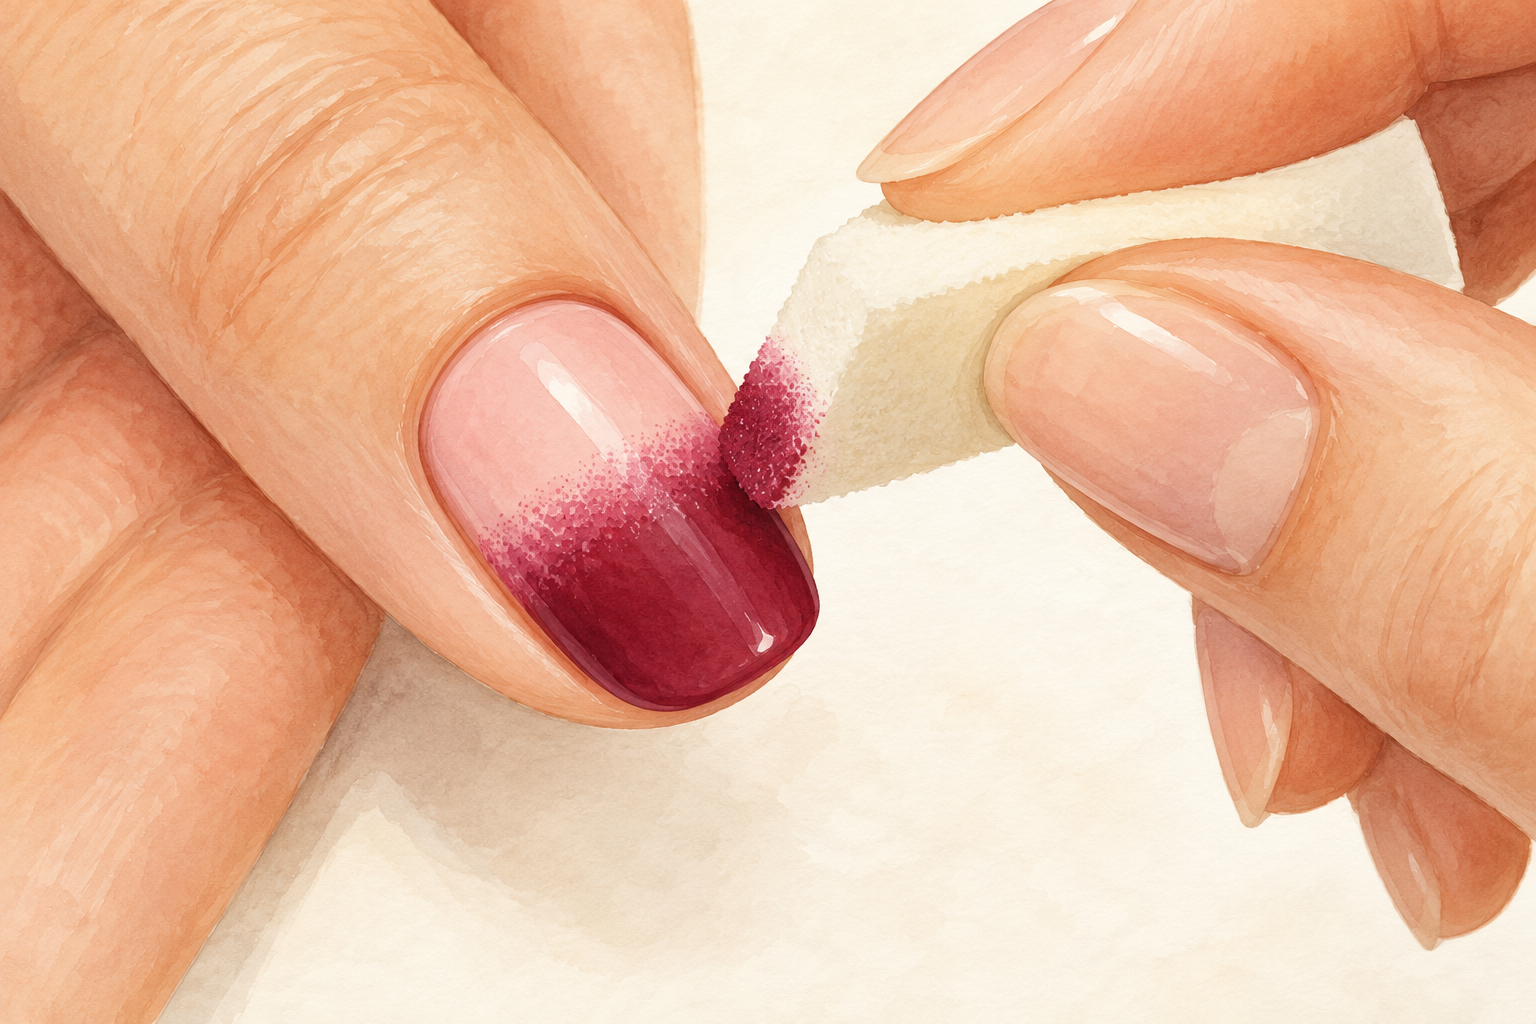
Pair a pale base with a dark bow, such as black on nude, white on black or deep red on soft pink. A bow in a color close to the base disappears, and you end up redrawing it three times. Paint two thin coats of the base and wait a full ten minutes, until the edge no longer feels tacky. A base that is only dry on top drags under the brush and makes the lines shake. Keep the bow color in a creamy, opaque polish, because sheer polish leaves see through loops that look unfinished. Test the pair on a scrap of paper first to see how they sit together. Gradients are the flip side of strong contrast, so keep how to do ombre nails in view.
2. Pick one tool for your first bow
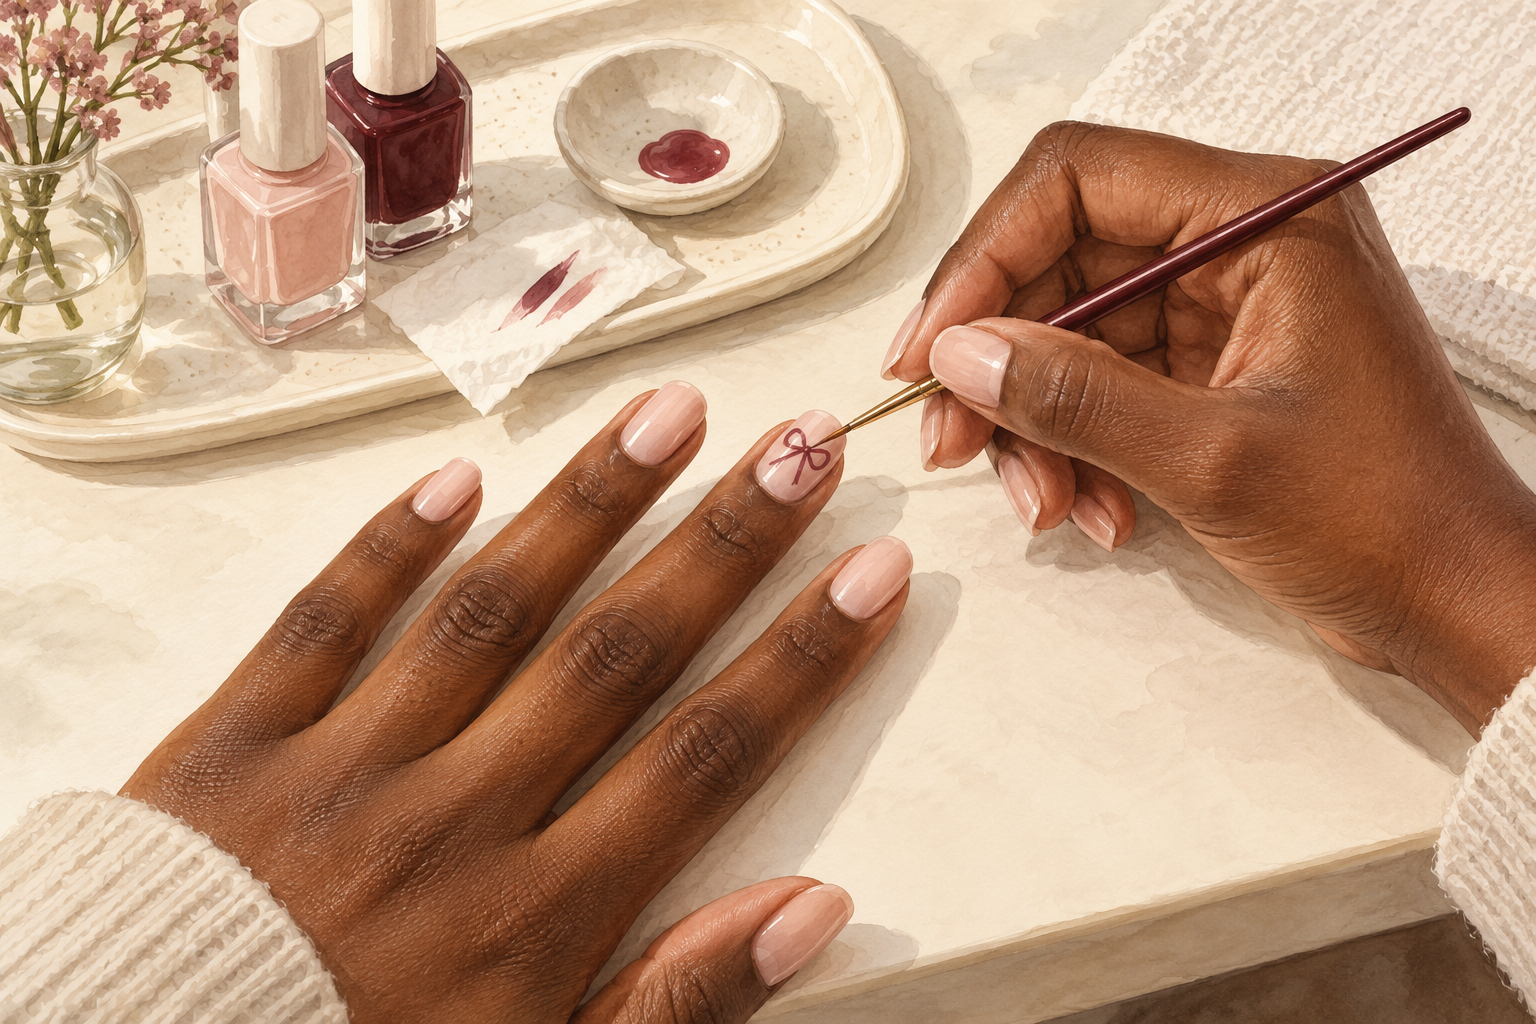
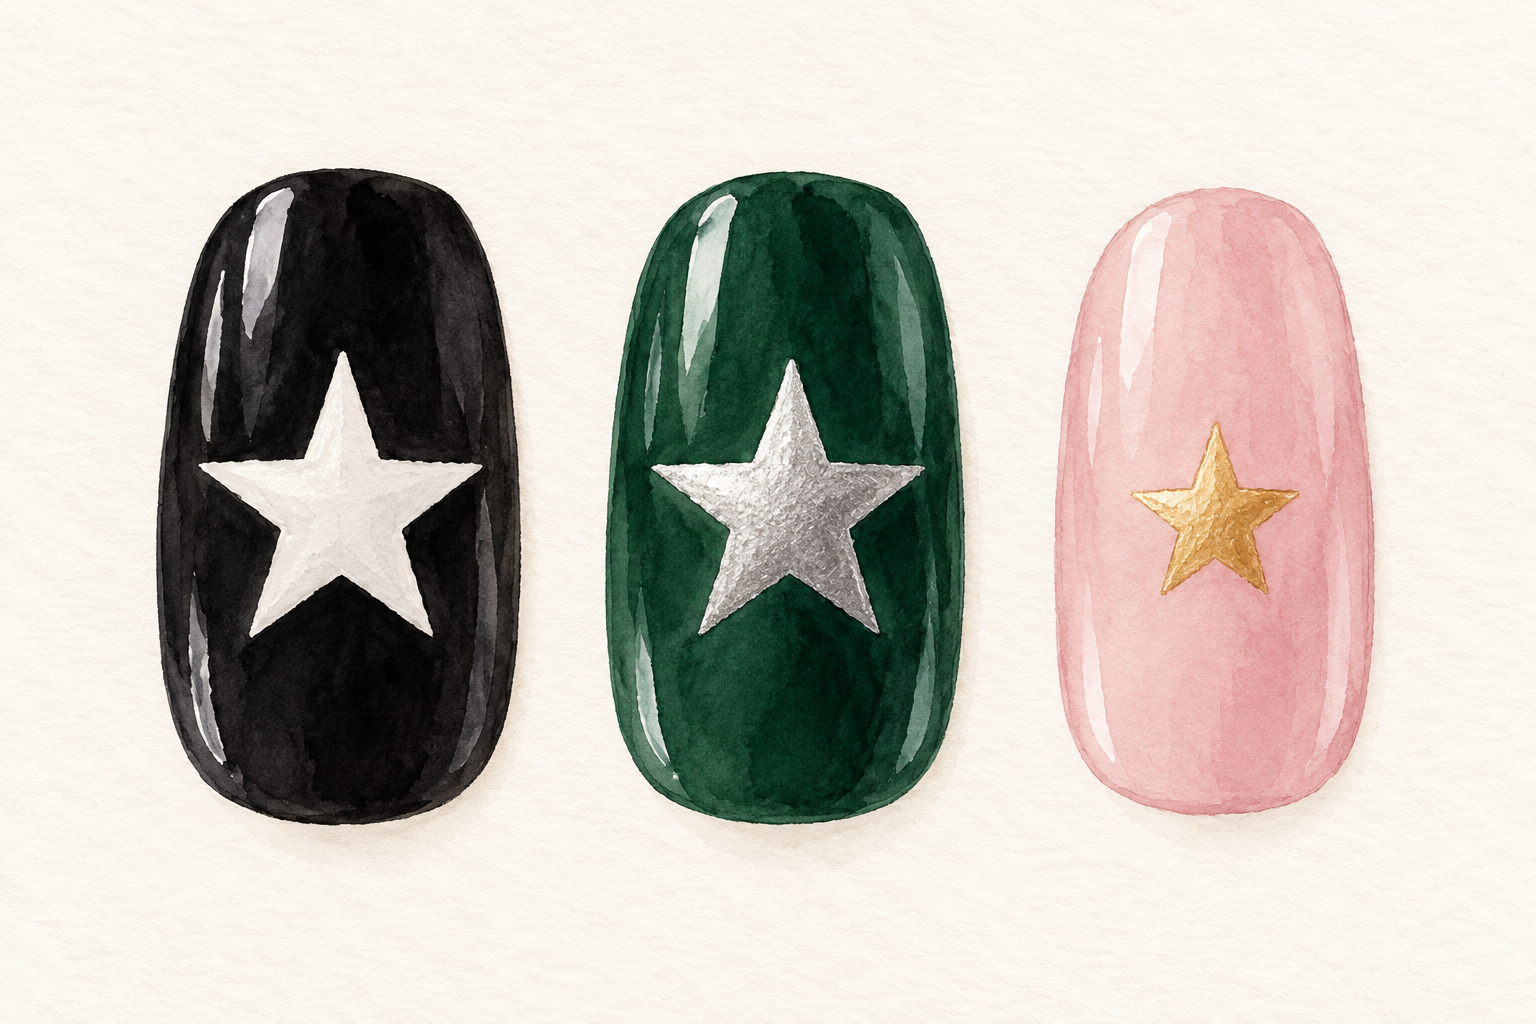
A thin detail brush gives the neatest loops, a dotting tool makes a bow with no brush control, and a toothpick works in a pinch. Choose one and stay with it for the whole nail, because switching tools changes the line width and makes the bow look pieced together. If all you own is a normal polish brush, wipe it against a tissue until the bristles come to a point. Keep a second, clean tool aside for rescues. A tool that fits your hand matters more than a fancy one, so pick the one that feels steady. Practice with the tool that feels right, and when you are ready for a new motif, how to draw stars on nails is next.
3. Put the polish on foil and test it on paper
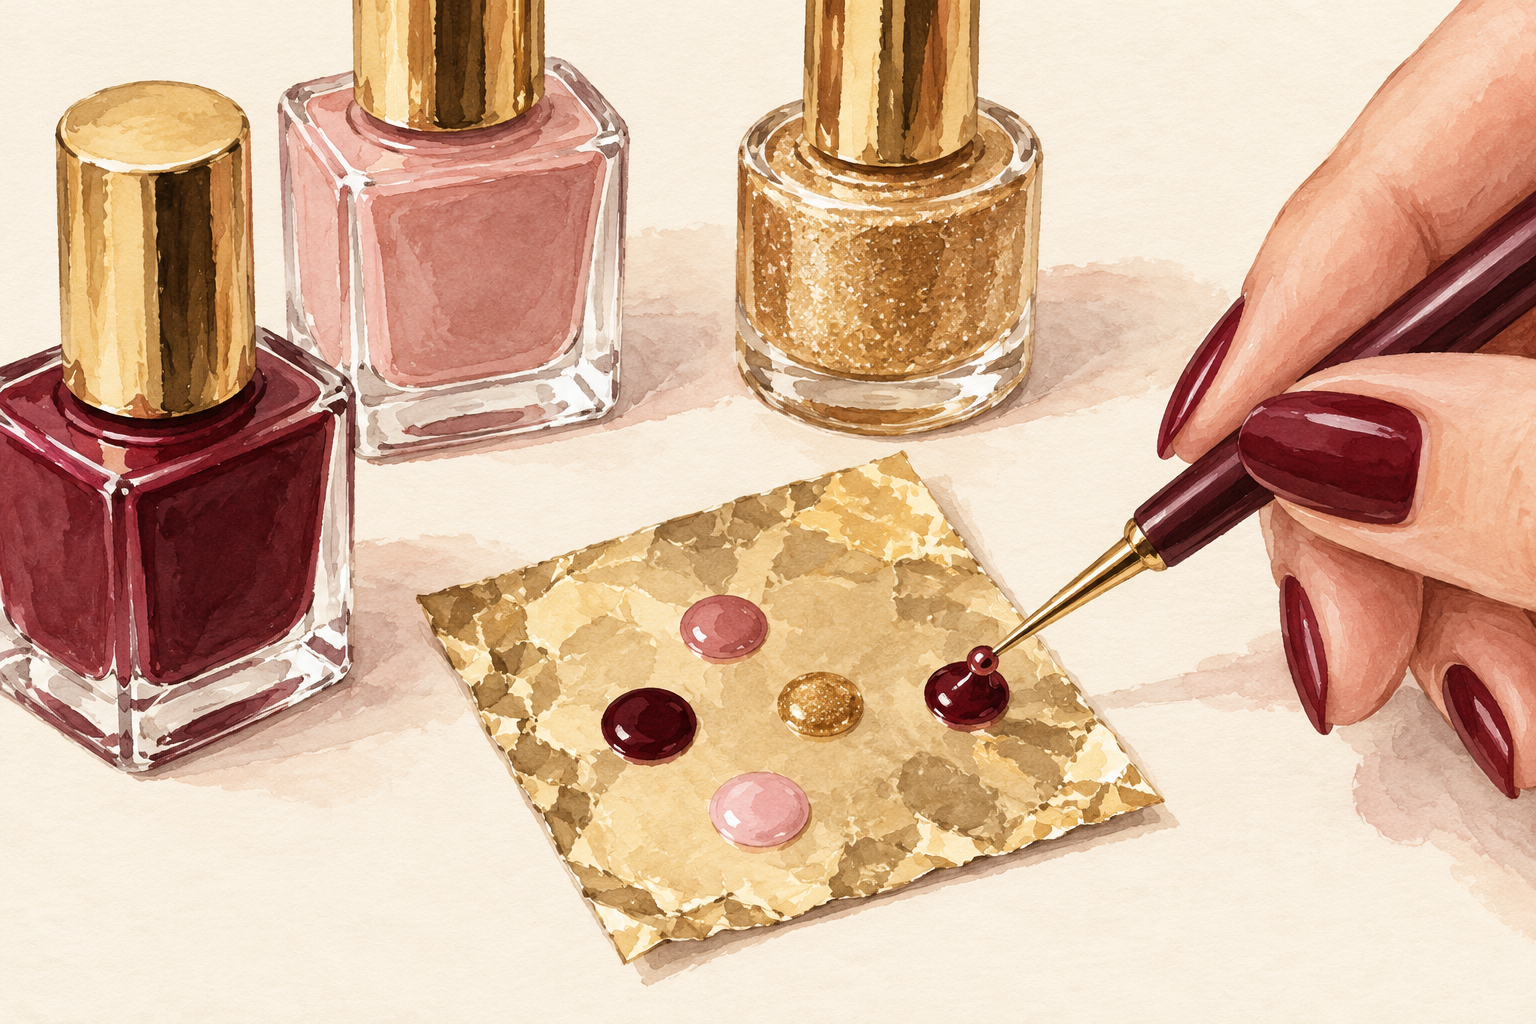
Drop a bead of the bow color onto foil or a plastic lid, and draw three strokes on paper before you touch a nail. Thick polish makes fat, wobbly lines, so if it clings to the brush in a clump, mix in one drop of polish thinner. Never use remover for this, because it breaks the formula down. The paper test shows you the line width and how fast the polish flows. Work near an open window, since thinner has a strong smell. Dab the brush on the foil again whenever it starts to drag.
4. Stroke one: draw the left loop
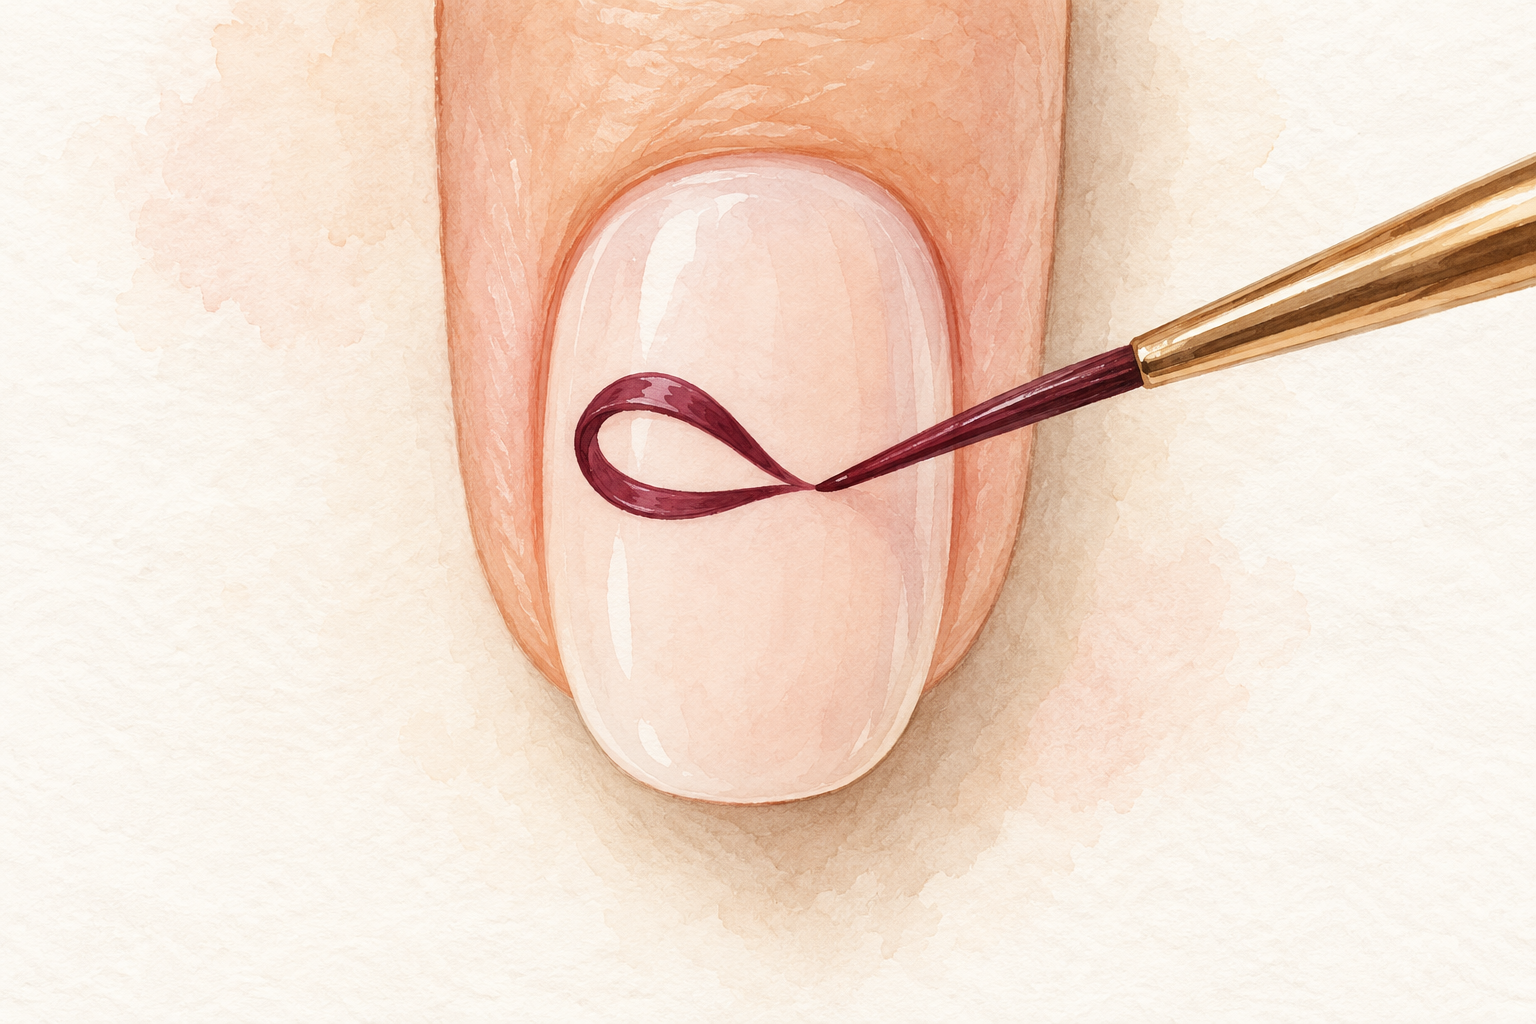
With a barely loaded brush, paint a small teardrop pointing toward the center of the nail, like a leaf lying on its side. Start at the point, curve out and back in to close the shape, then fill it with a second light pass. The left loop sets the size of the whole bow, so keep it smaller than you think it should be, about a third of the nail width. If it looks tiny, that is a good sign. Rest the side of your hand on the table so the brush stays steady while you curve.
5. Stroke two: mirror it on the right
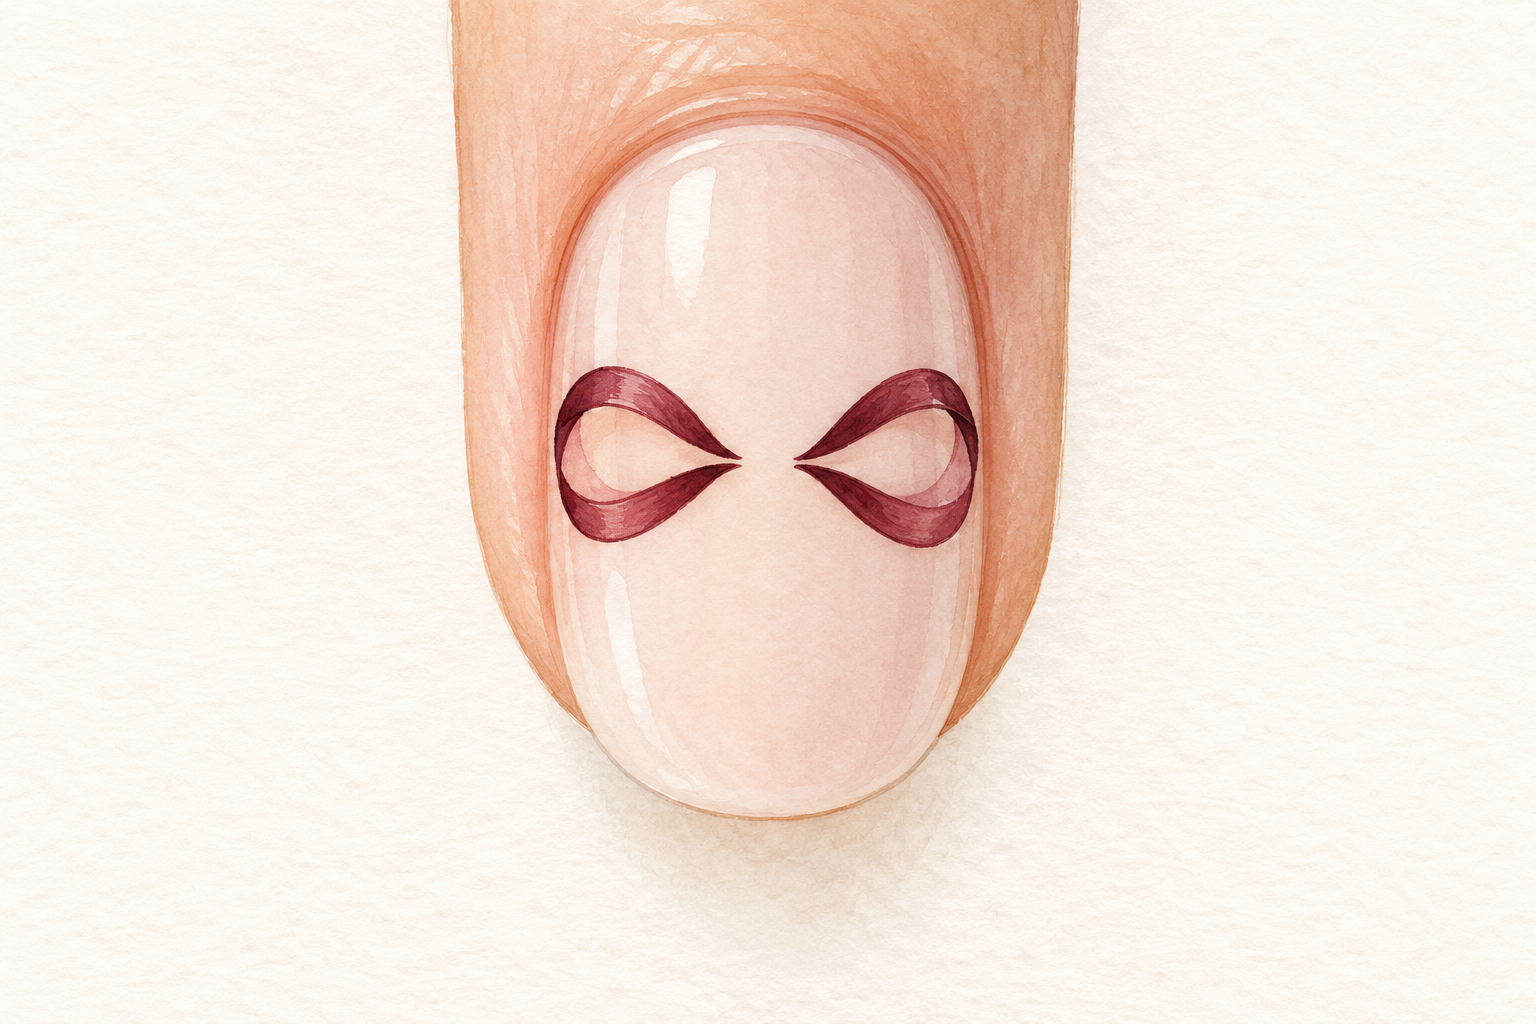
Leave a gap about the width of your brush, then paint the right loop the same way. The gap is where the knot will sit, so do not crowd it. If the right loop turns out bigger, do not paint over it to shrink it, because wet polish bleeds into the base. Aim for loops that are close in size, not twins, since the knot hides small differences. Pause for a minute before you move on so the wet loops cannot creep into each other. Turn your hand a little if the angle feels awkward, because moving the nail is easier than twisting the brush.
6. Strokes three and four: the knot and the tails
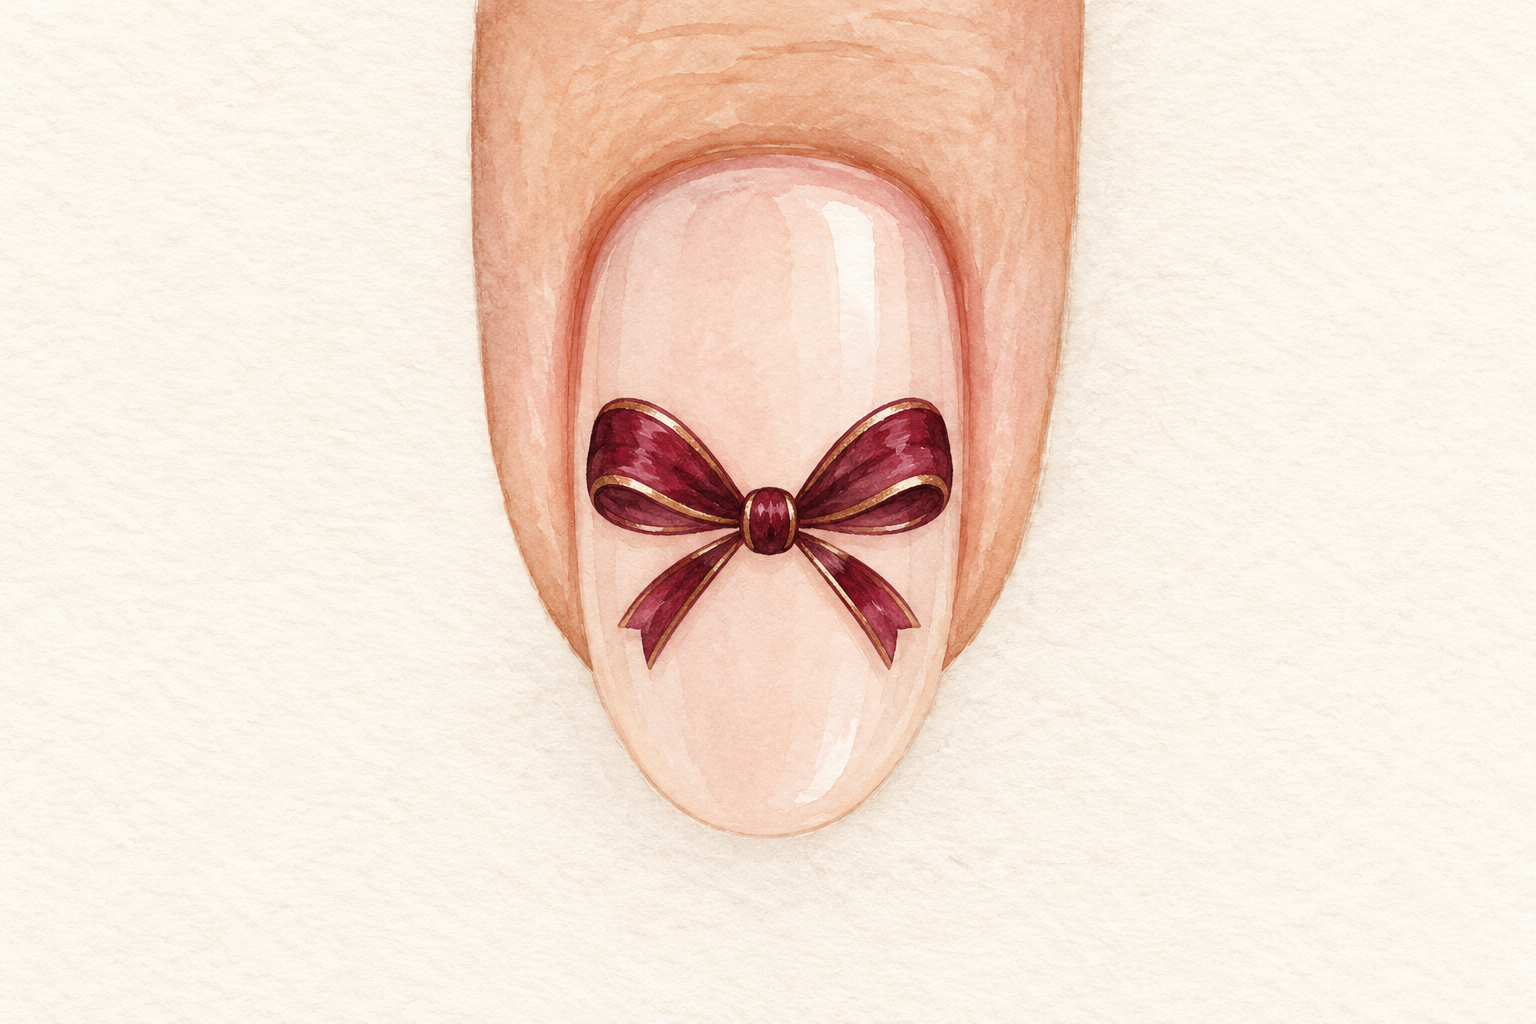
Dot a small oval in the gap between the loops, then pull two short lines down from it, angling outward like ribbon ends. Keep the tails shorter than the loops, because long tails make a bow look top heavy and lopsided. Let each stroke set for a minute before the next so nothing blurs together. The finished bow should sit just above the middle of the nail, with room around it to breathe. If the knot looks too big, leave it, since shrinking it means a smear. A small neat knot ties the whole shape together, and you will see the bow come alive at this step.
7. Drag two dots into loops with a dotting tool
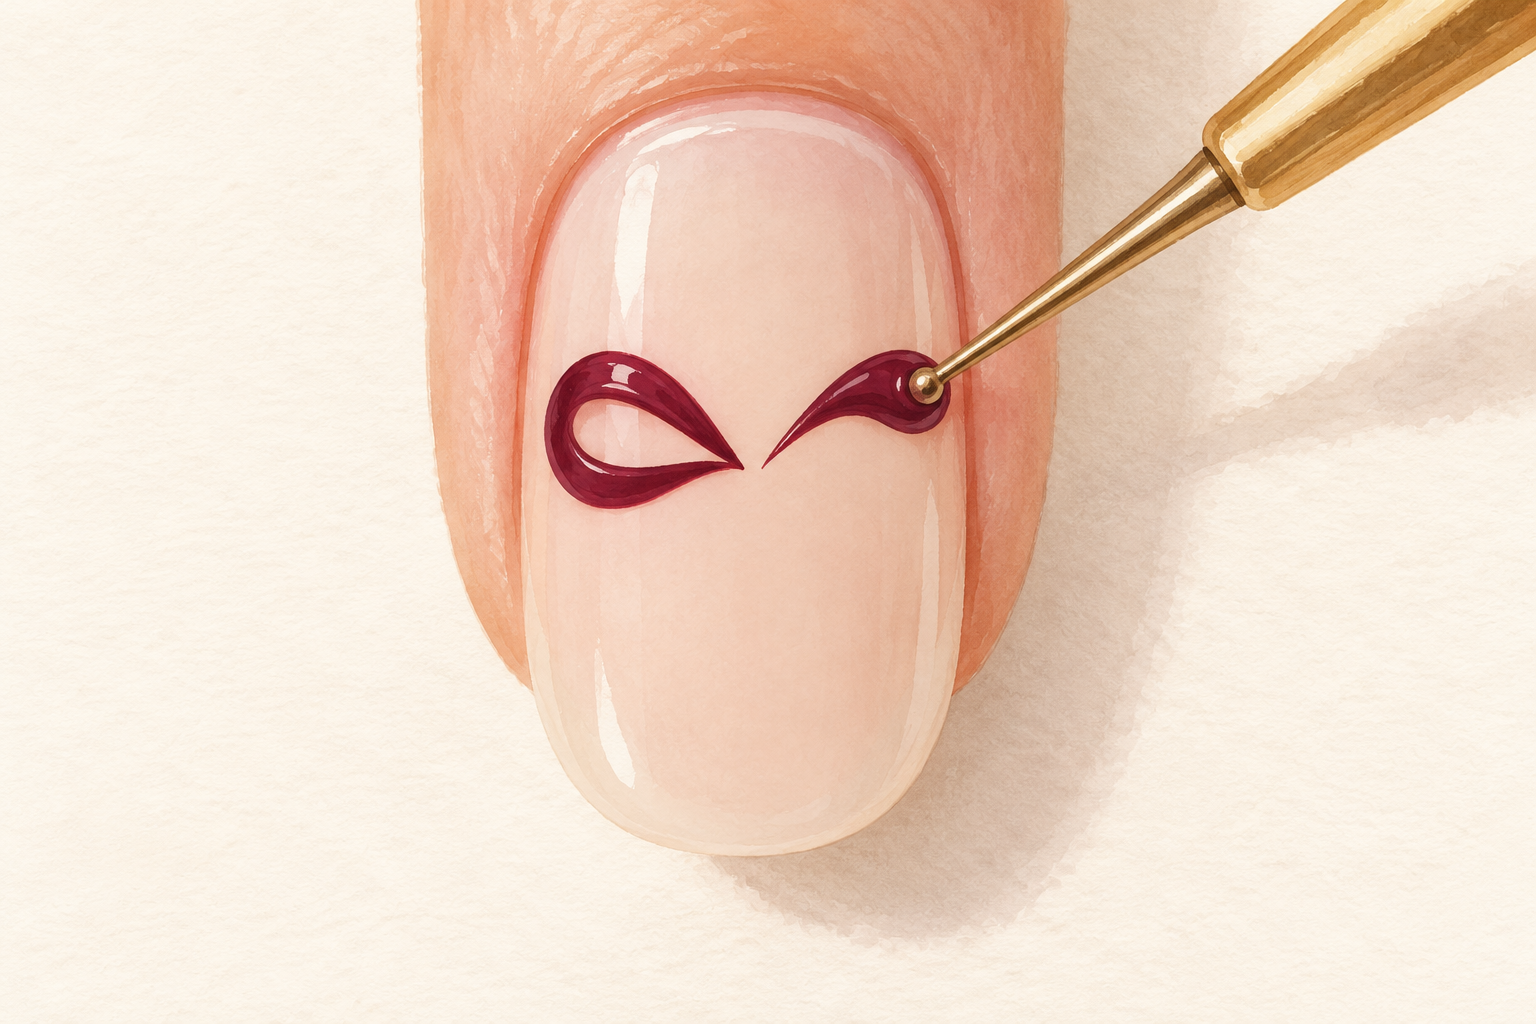
Place two dots side by side, then drag each one a short way toward the center, like pulling toffee. This is the easiest way to learn how to draw a bow on nails if you have no brush control at all. Add a smaller dot between them for the knot, then pull two tiny tails down with the tip. Work one loop at a time, because polish only moves while it is wet. If a dragged tail looks ragged, your polish has started to thicken, so take a fresh bead from the foil and try again.
8. Outline first, then fill, for a bigger bow
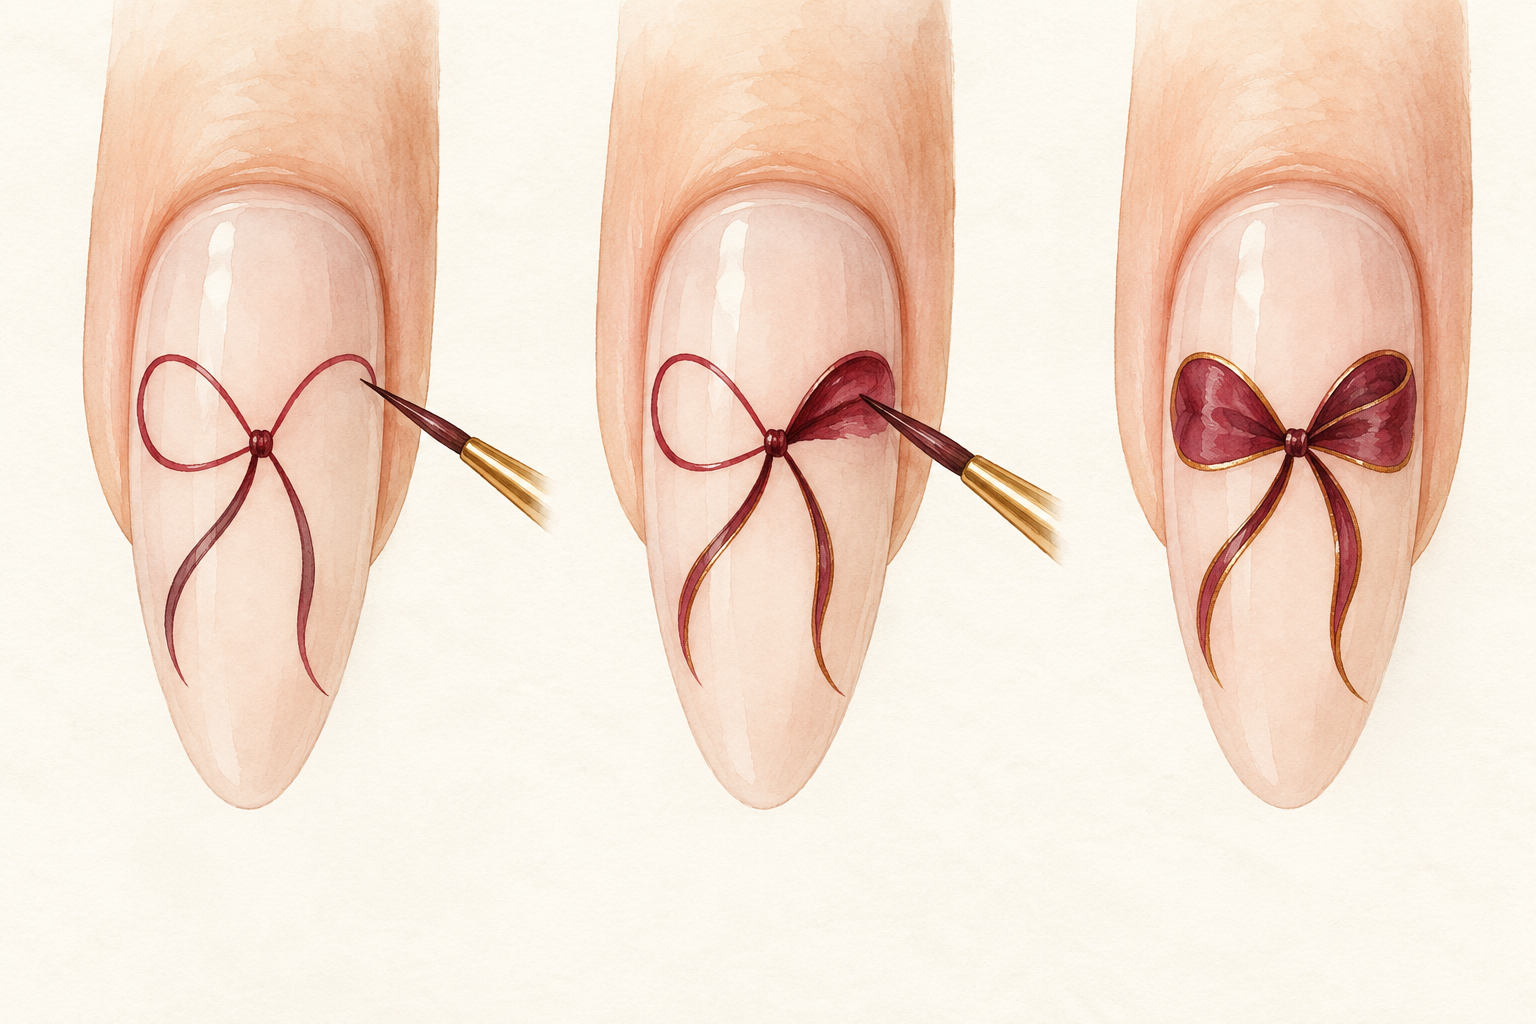
On a long nail, draw both loops as a thin outline and fill them in once the outline has set for a few minutes. The outline lets you fix the shape before you commit to color, which makes it the most forgiving method here. Fill with the same color for a solid bow, or with a second shade for a soft two tone look. Wait before filling, or the colors will merge at the edges. This takes longer than four quick strokes, so give yourself half an hour and a podcast. Keep the outline thin so the filled loops stay light, and fill from the tip of each loop toward the knot so the polish does not pool.
9. Wait, then float the top coat
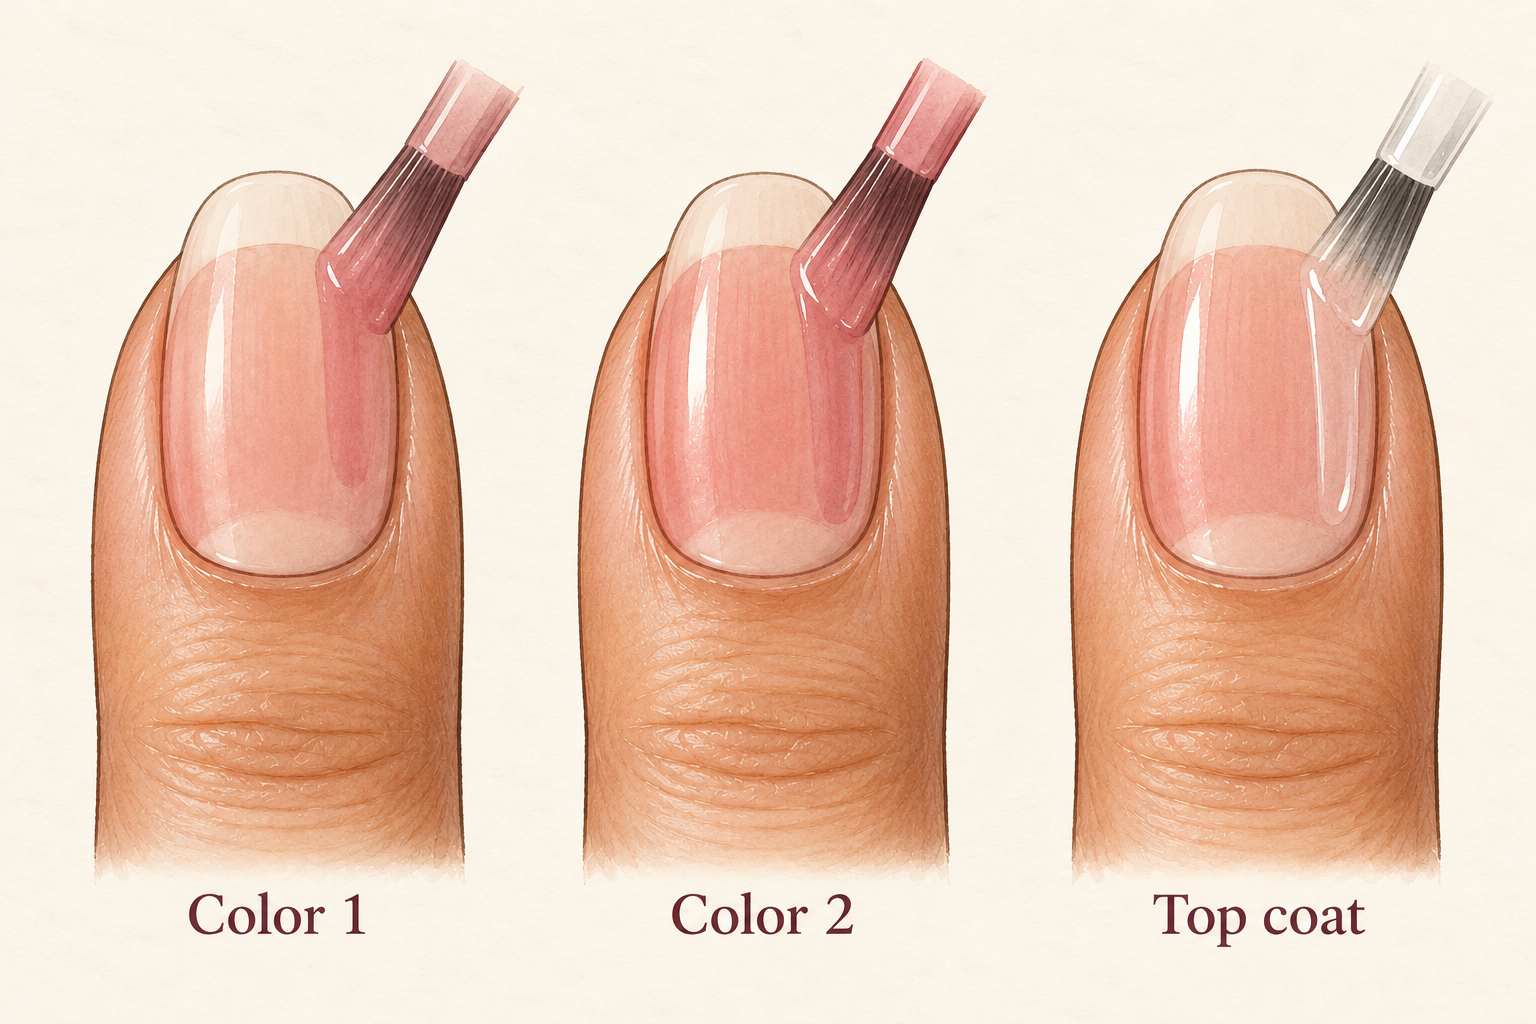
Give the bow ten to twelve minutes to set, then glide a generous bead of top coat over it without pressing. Thicker dots and lines take longer to harden than a thin coat. Test a spare edge away from the bow with the back of a clean fingernail, and if it dents, wait longer. Let the brush carry the top coat, then cap the tip. Rushing this step is the usual reason a clean bow turns into a smudge. Keep your hands still for another few minutes before you touch your phone or your hair.
10. Fix a wonky or crowded bow
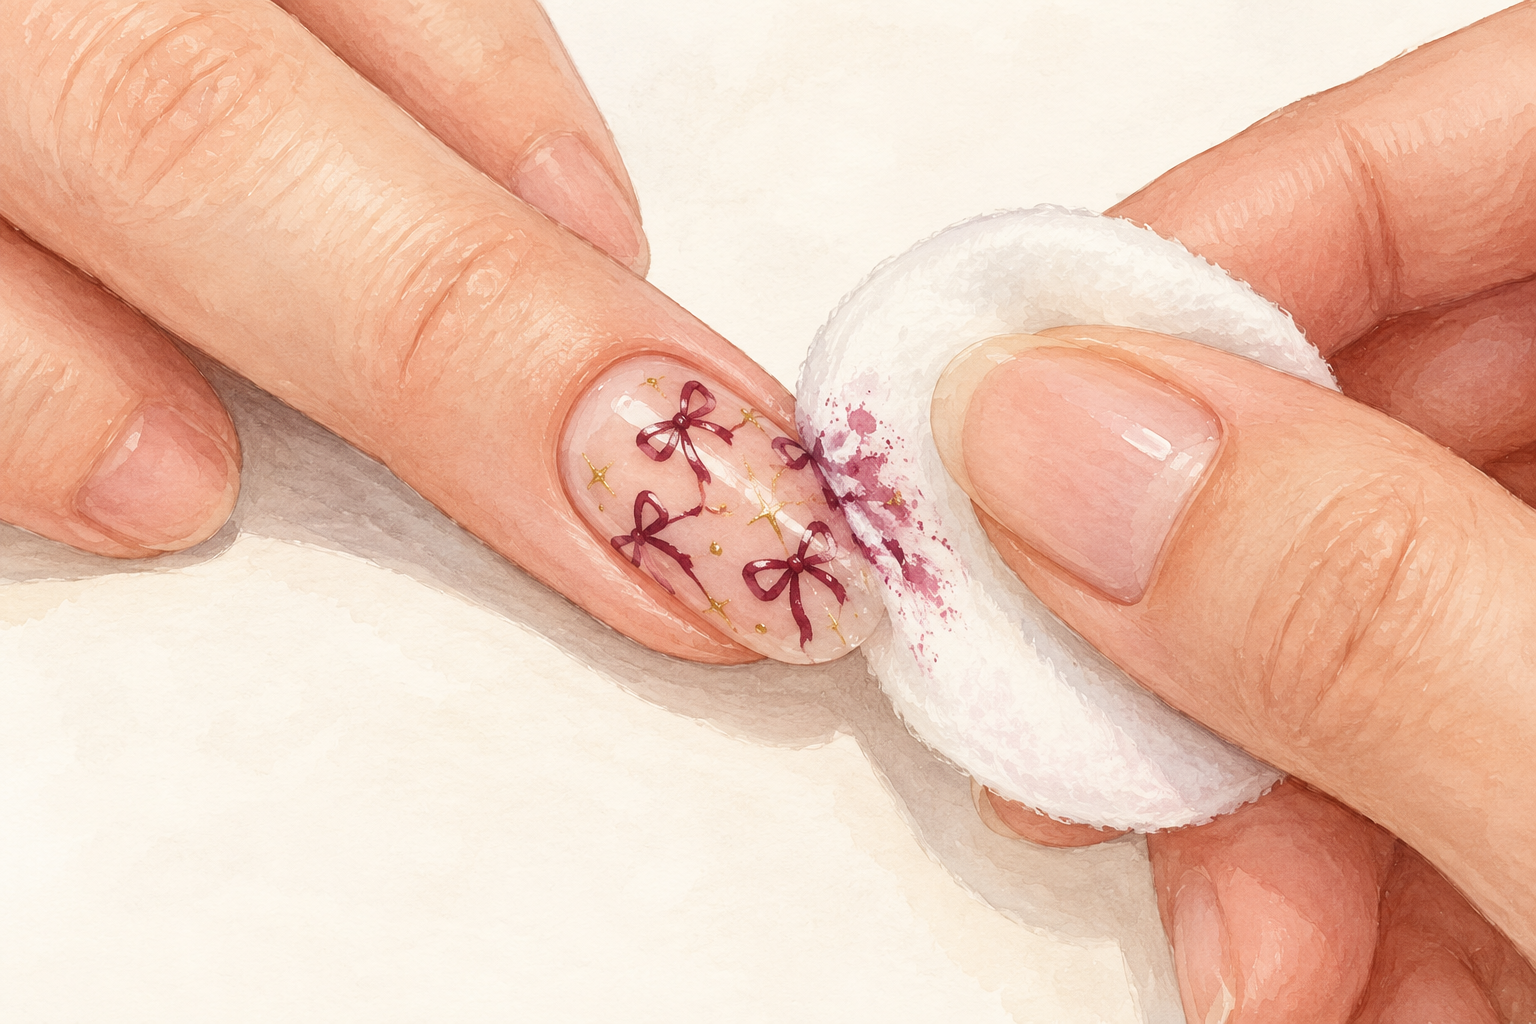
If the bow is too large, lopsided or fat, wipe the whole nail clean and start again smaller. A bow that fills the nail looks crowded, so aim for about half the nail width. A lopsided bow usually means your hand moved halfway through, so keep your wrist planted on the table from start to finish. Patching a bad bow with extra polish rarely helps, and it leaves a bump you can feel. Use a little remover on a cotton bud and wipe once, because rubbing repeatedly lifts the base. Take a short break, then try again on a dry, clean nail with a thinner bead on the brush.
11. Make the bow last a full week
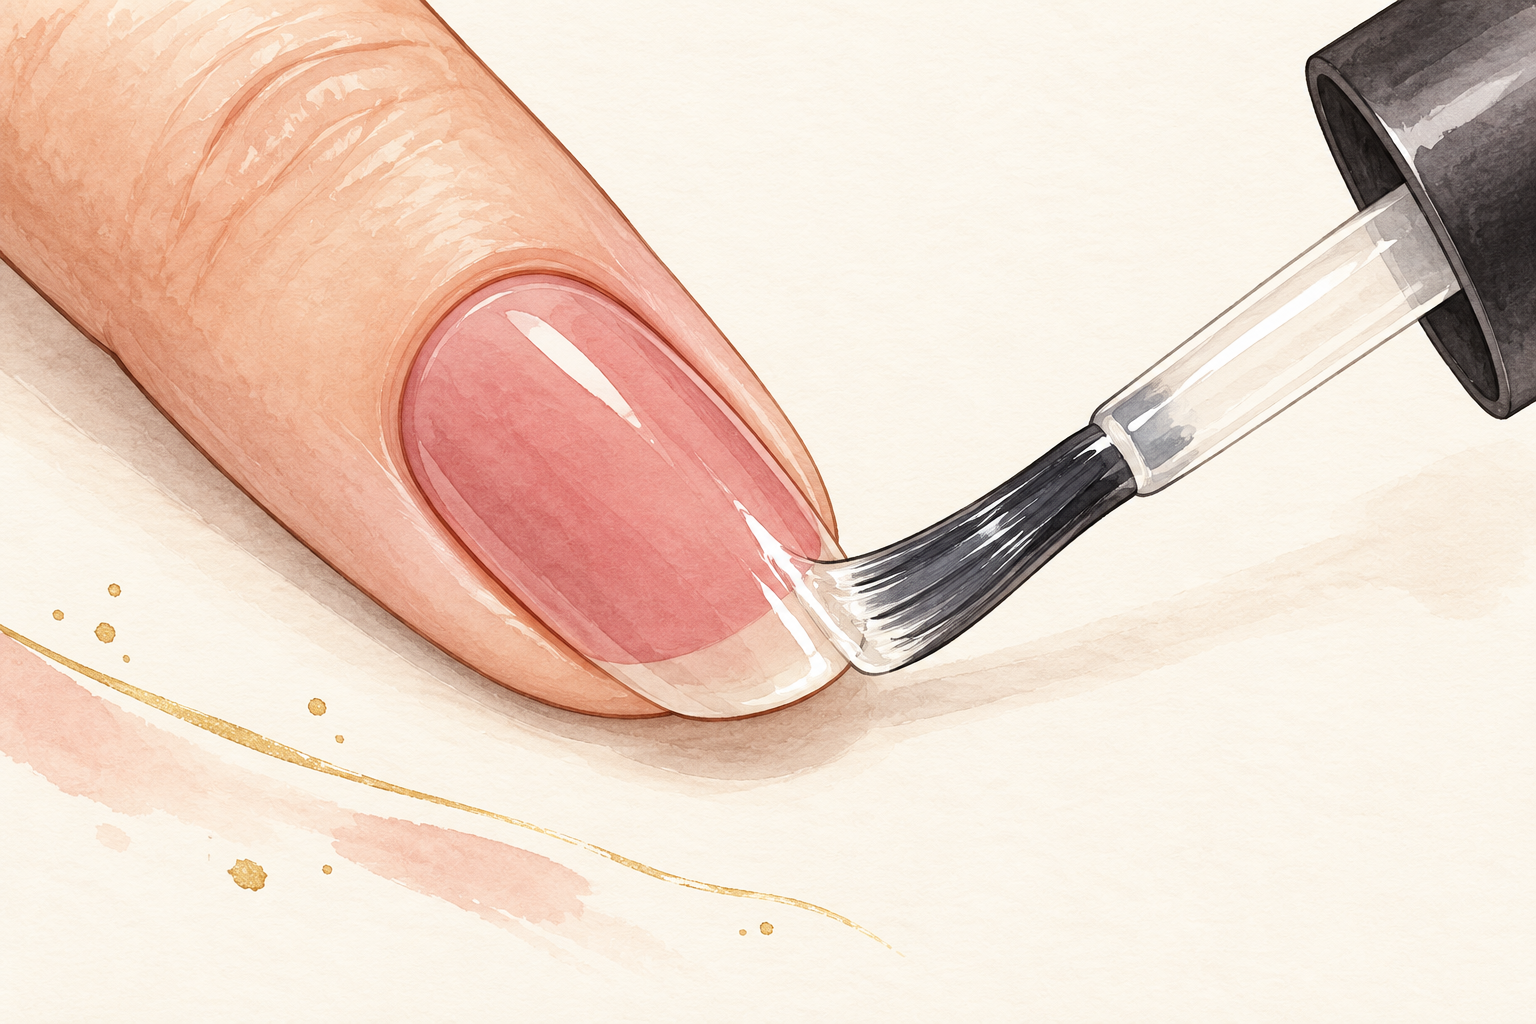
Brush on one more thin layer of top coat on day three, and cap the tip each time. The tips chip first, and a capped edge delays that by days. Wear gloves for washing up, because hot water softens polish. Because a bow is small, touch ups are easy, so you can refresh the shine without redrawing it. A drop of cuticle oil each night keeps the skin around the bow tidy and soft. Avoid peeling at a lifted corner, which tears the design and the polish under it.
12. Try a new bow next time
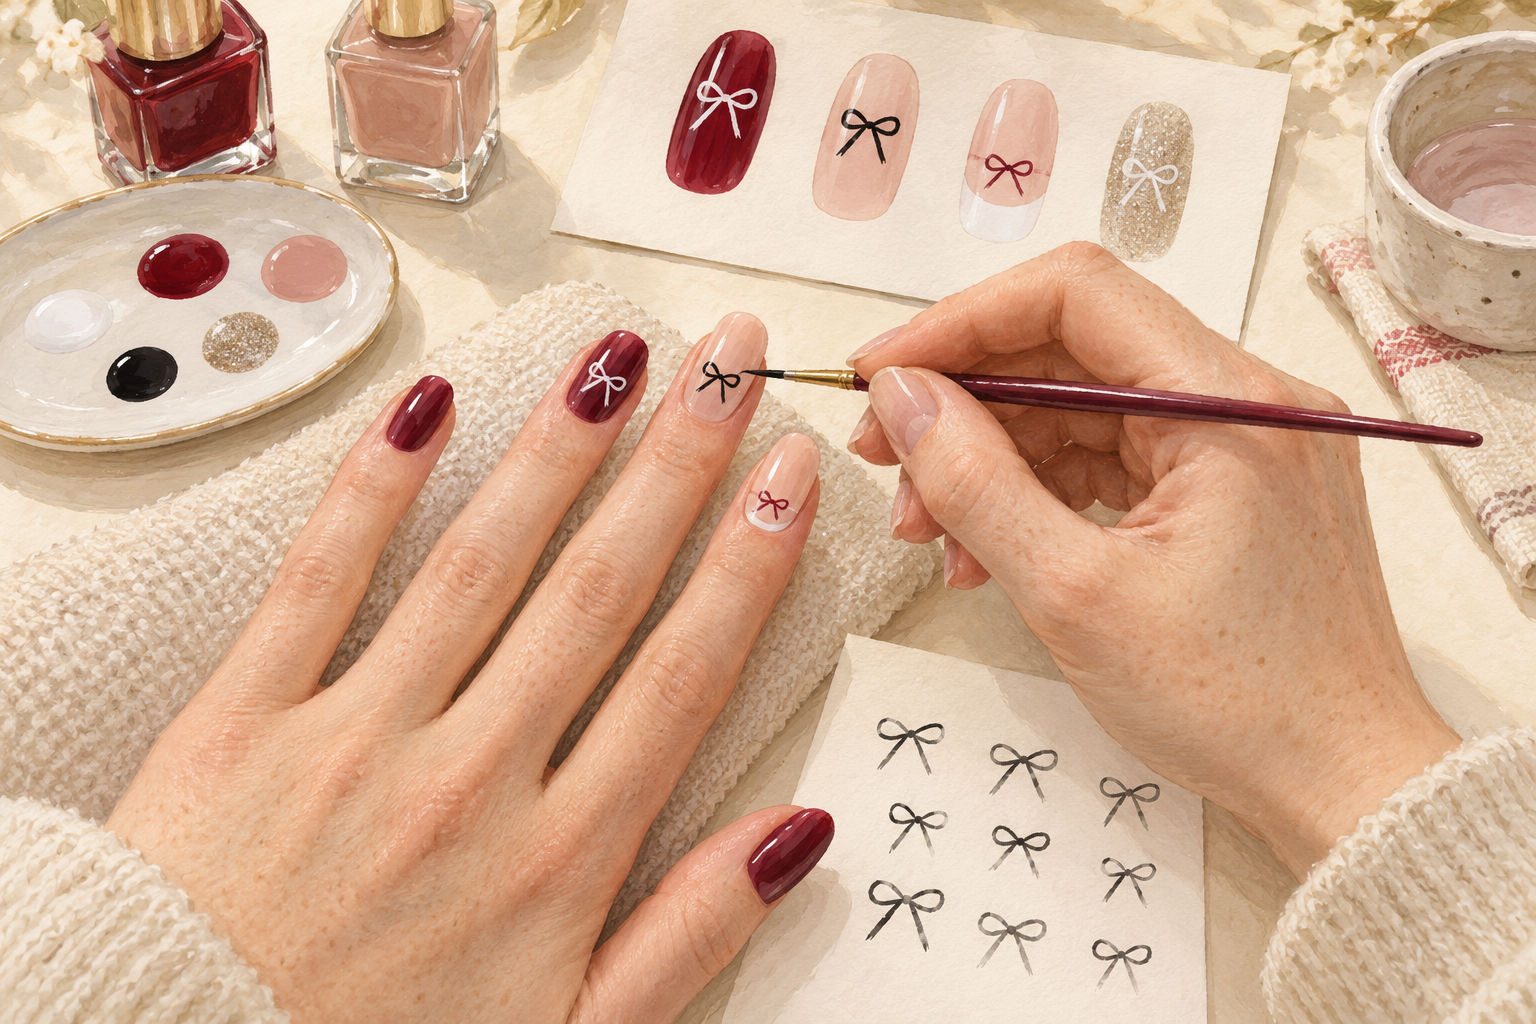
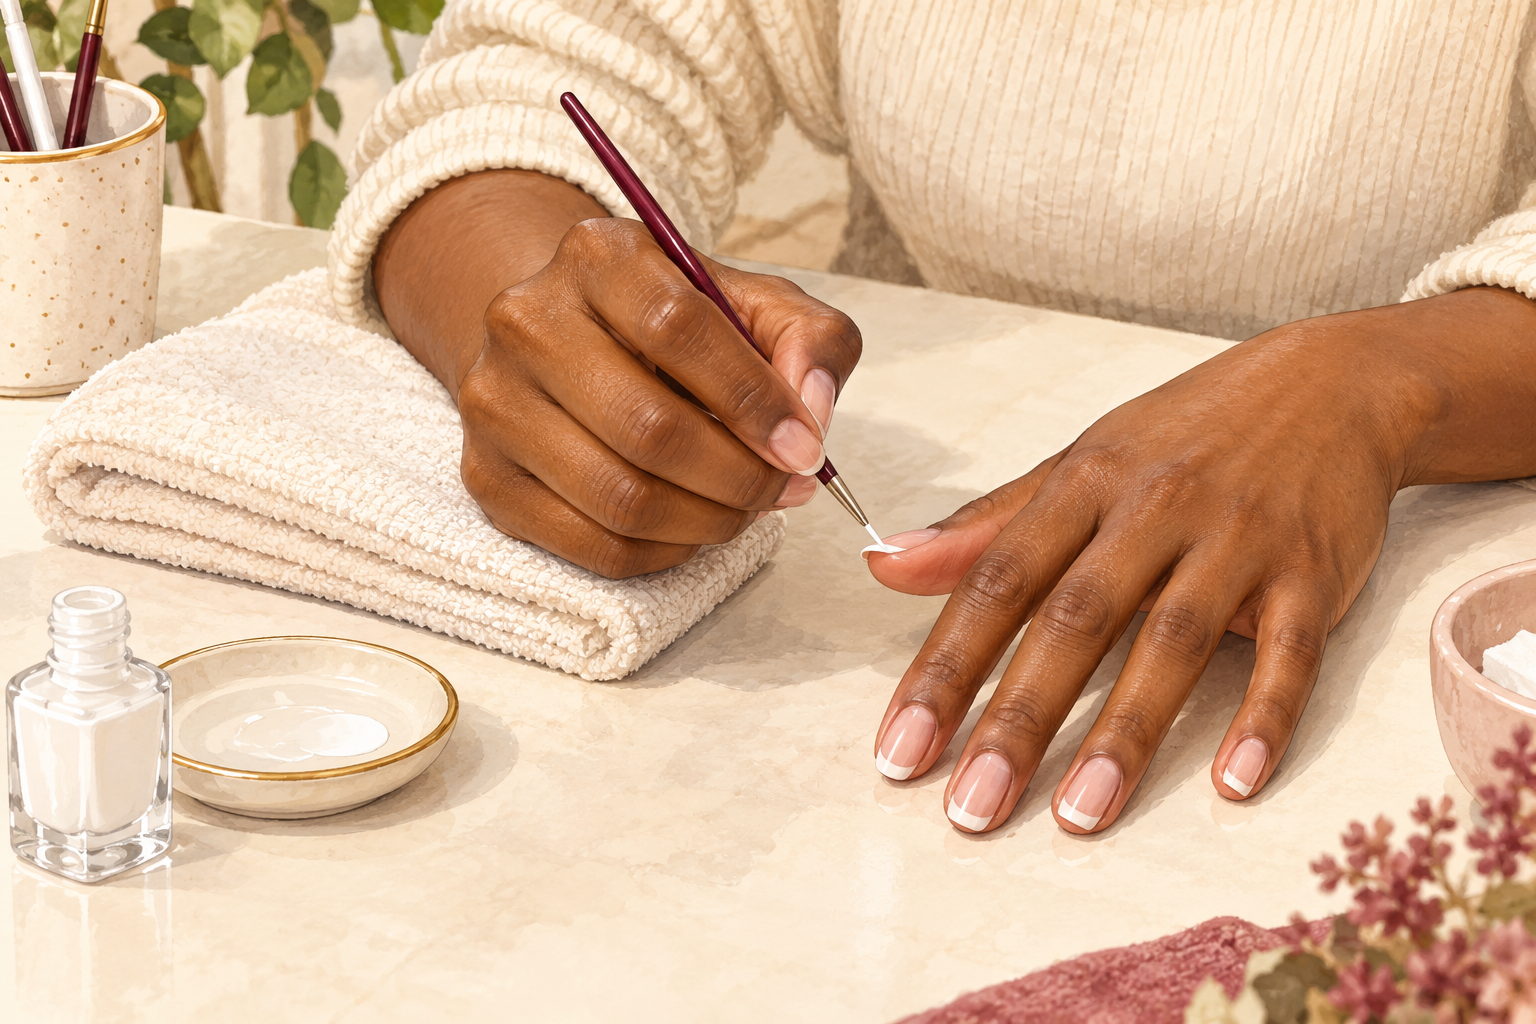
Once the four strokes feel easy, shrink the bow for every nail, paint it in glitter or tuck it into a French tip. A white bow on deep red looks festive, while a tiny black bow on nude looks quiet and neat. Practice on paper first, because ten drawn bows teach your hand the curve faster than your eyes can. Keep the rest of the set plain so the bow stays the star, or repeat it on the ring fingers only. Take a photo of each attempt, and you will see which loop size you like most.
Complete the Look: How to Draw a Bow on Nails Again
Do one accent nail on each hand first, then add more once the strokes feel easy. Bows look fancy, but they are built from simple strokes you already know. Take it slowly, and the guides below will be waiting when a new challenge feels right.