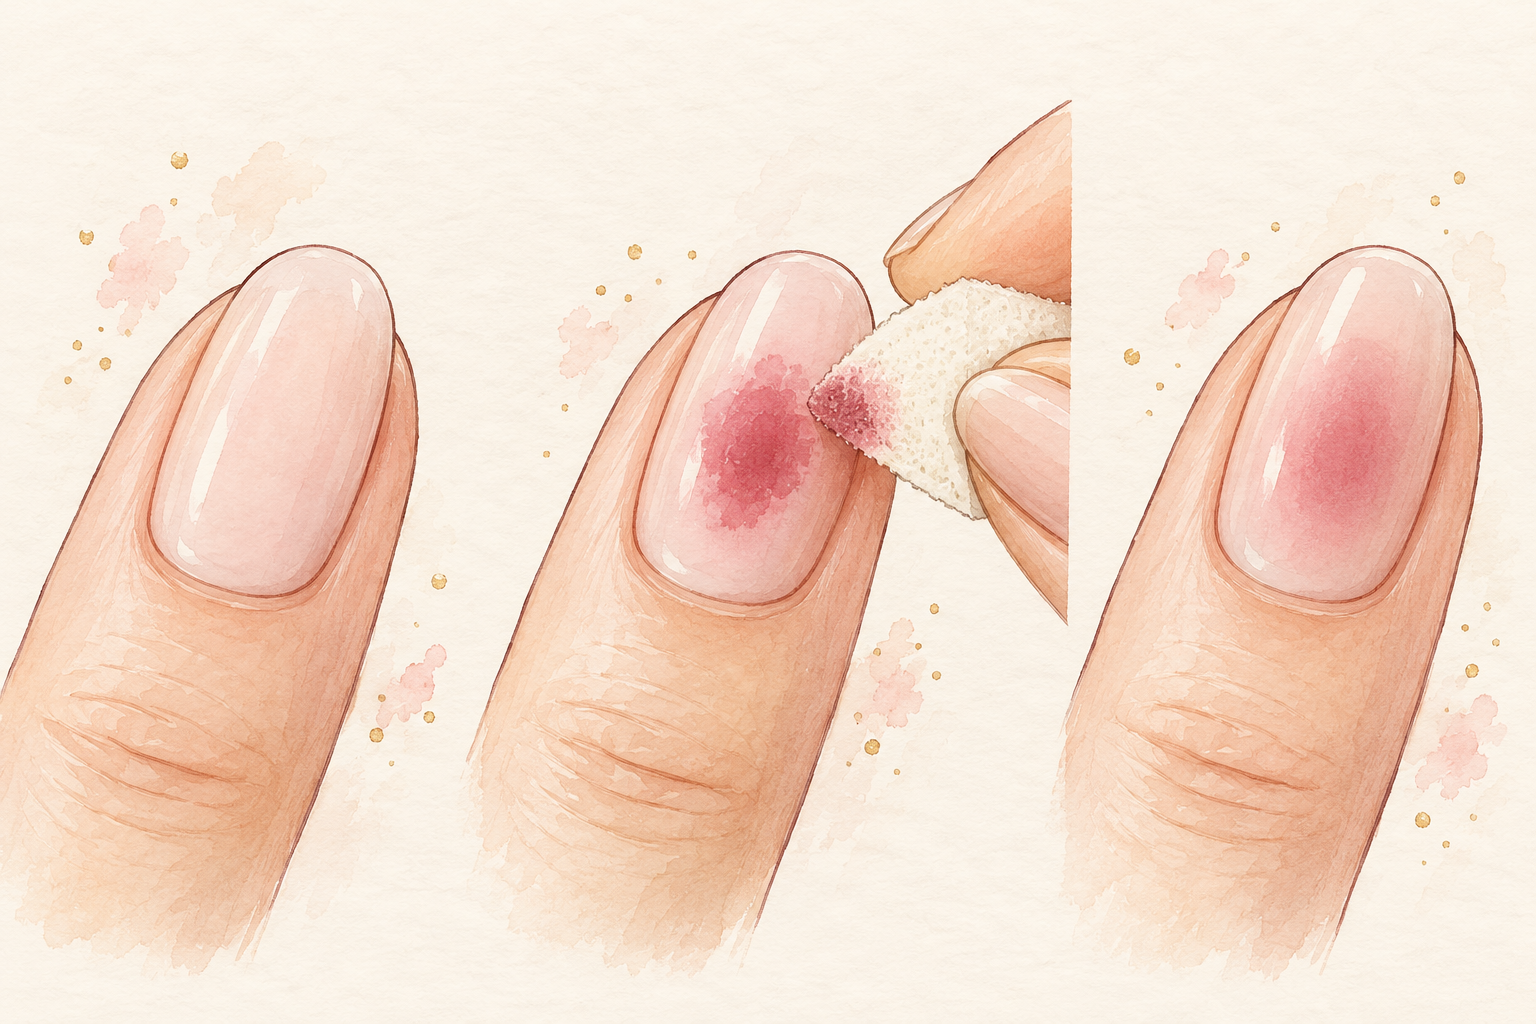
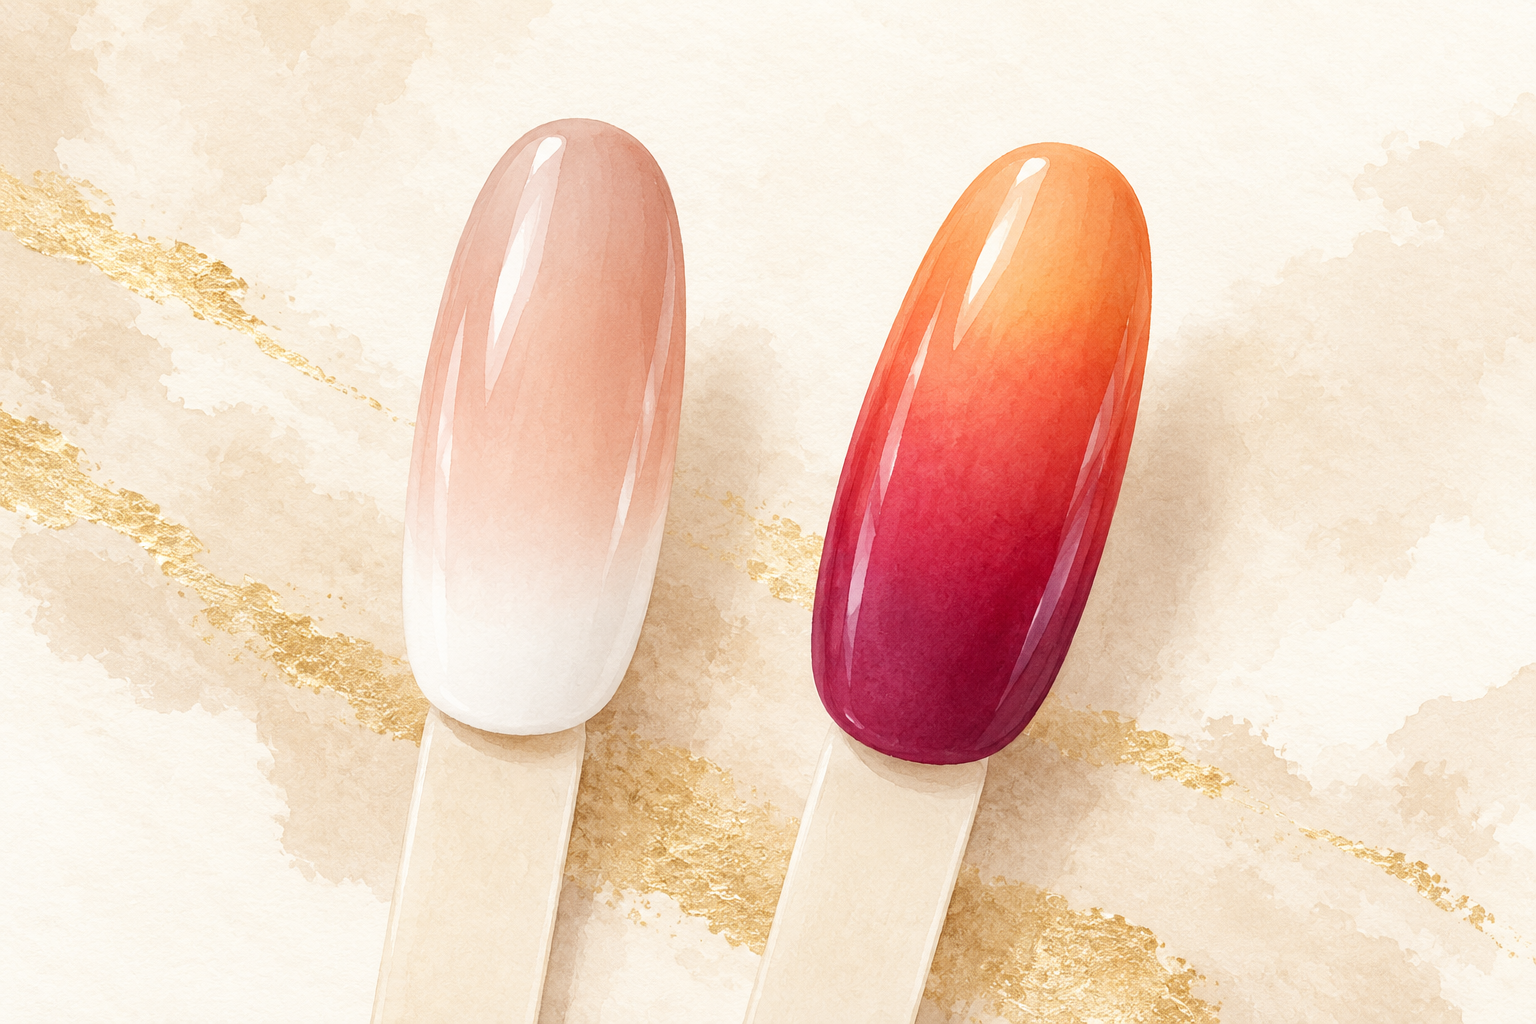
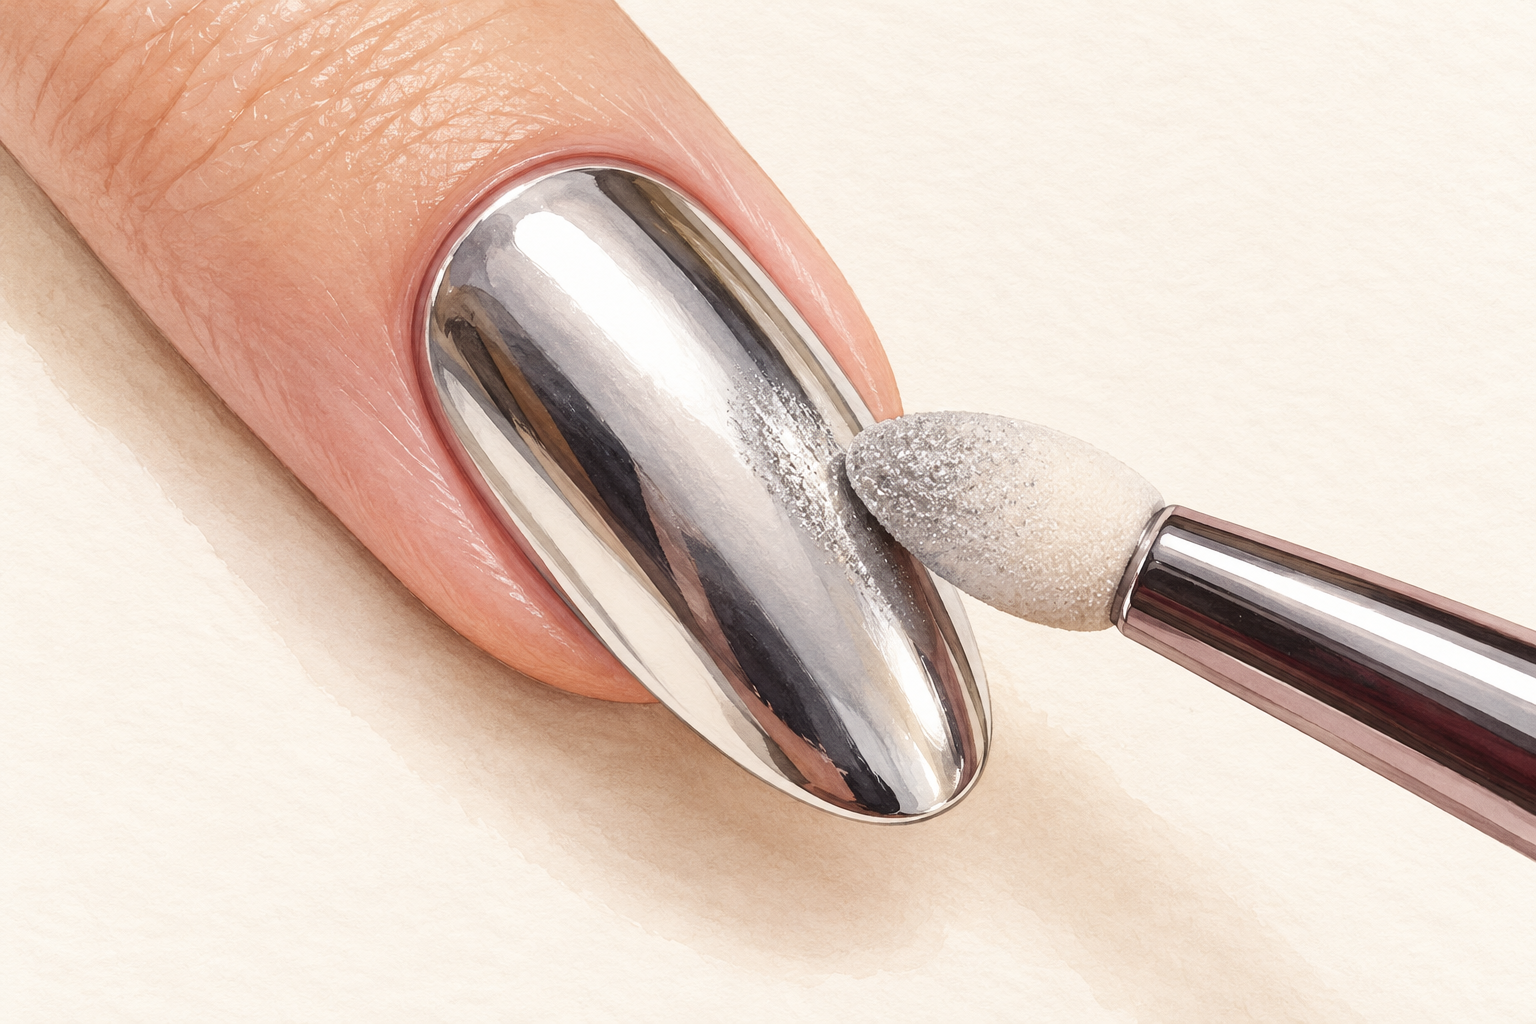
You dragged a brush through two colors, hoping for elegant stone veins, and got a gray puddle that looks like dishwater. Marble is easy once you know how little color it needs. Here is how to do marble nails in 12 steps, with a brush or a scrap of plastic wrap, so start at number one tonight.
1. Pick a pale base and two accent colors
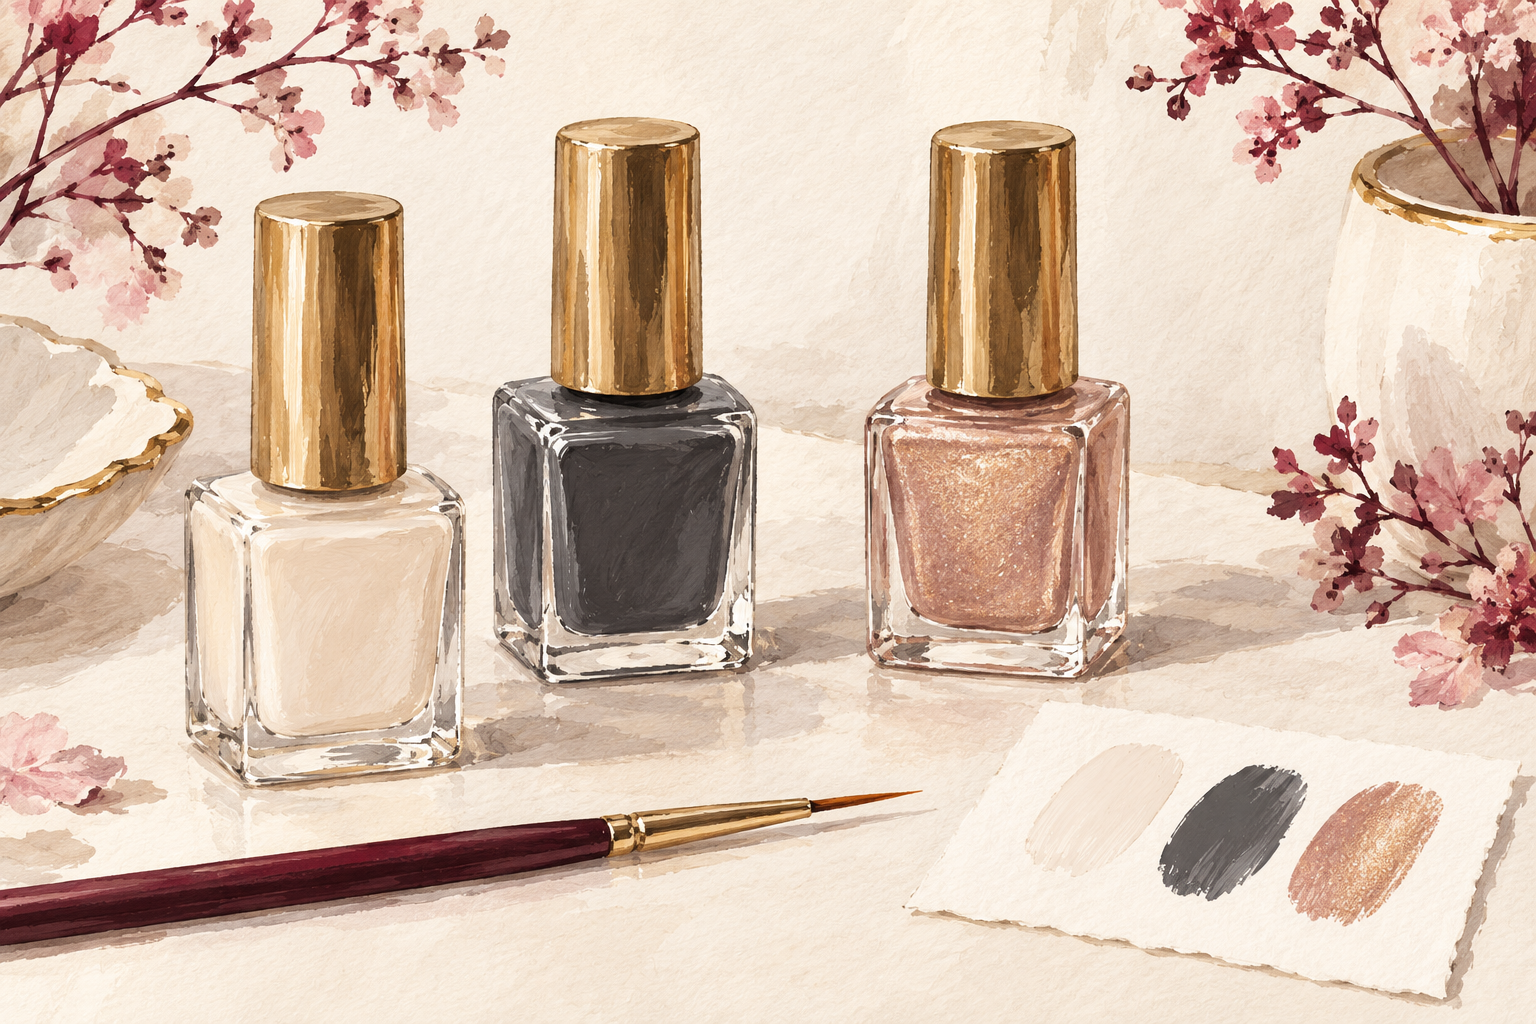
Choose a white, cream or soft gray base, then one gray or black and one gold or blush for the veins. Fewer colors keep the stone look clean, because every extra shade muddies the swirl. Thin, sheer polishes drag and blend better than thick ones, so pick a creamy but fluid formula. Test the colors together on a spare piece of paper. If the veins vanish into the base, the contrast is too small. A strong dark line on a pale base is what makes marble look real. Keep your colors in cool tones if you want the look of gray stone, or add blush for a warm rose marble. Testing these shades side by side is a good warm up for how to do ombre nails next.
2. Work one nail at a time
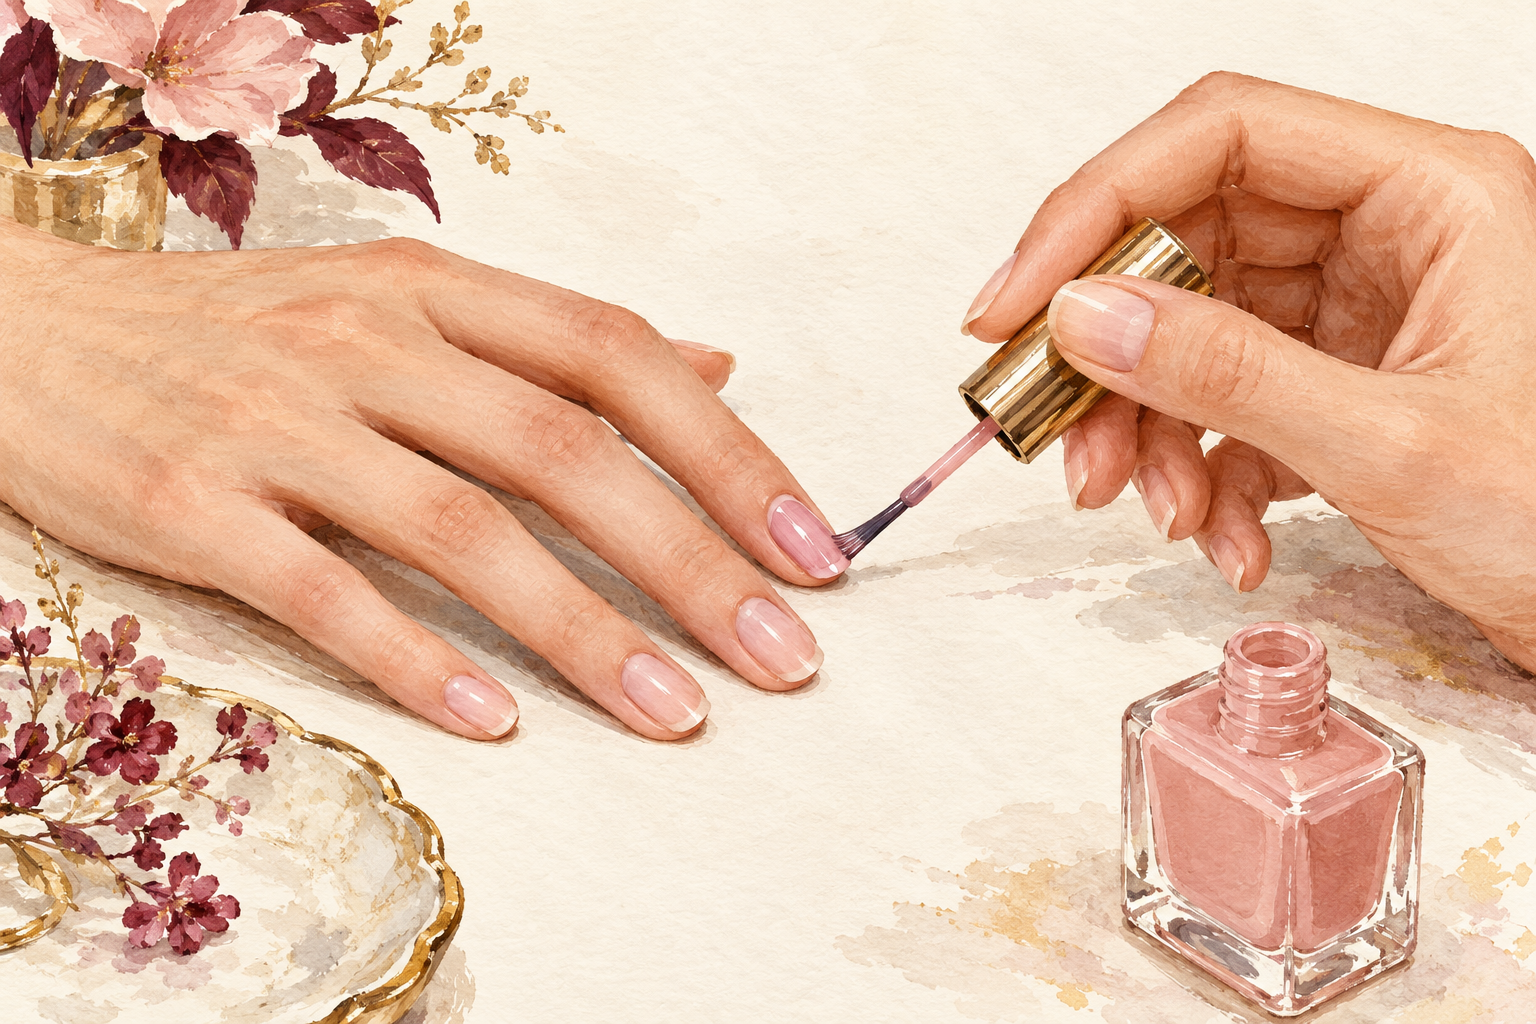
Paint the base and the swirl on a single nail before you move to the next. Marble depends on a wet surface, and polish dries fast, so painting all ten at once leaves you with stiff, scratchy swirls on the first ones. Set out your tools, wipe the brush, and settle your hand on a table before you start. Two thin base coats give the color depth, and the swirl goes on after the second. If you are slow, work on three nails at a time at most. A calm pace gives a cleaner look, and one finished nail also shows you whether you like the pattern before you commit the whole hand.
3. Protect the skin and open a window
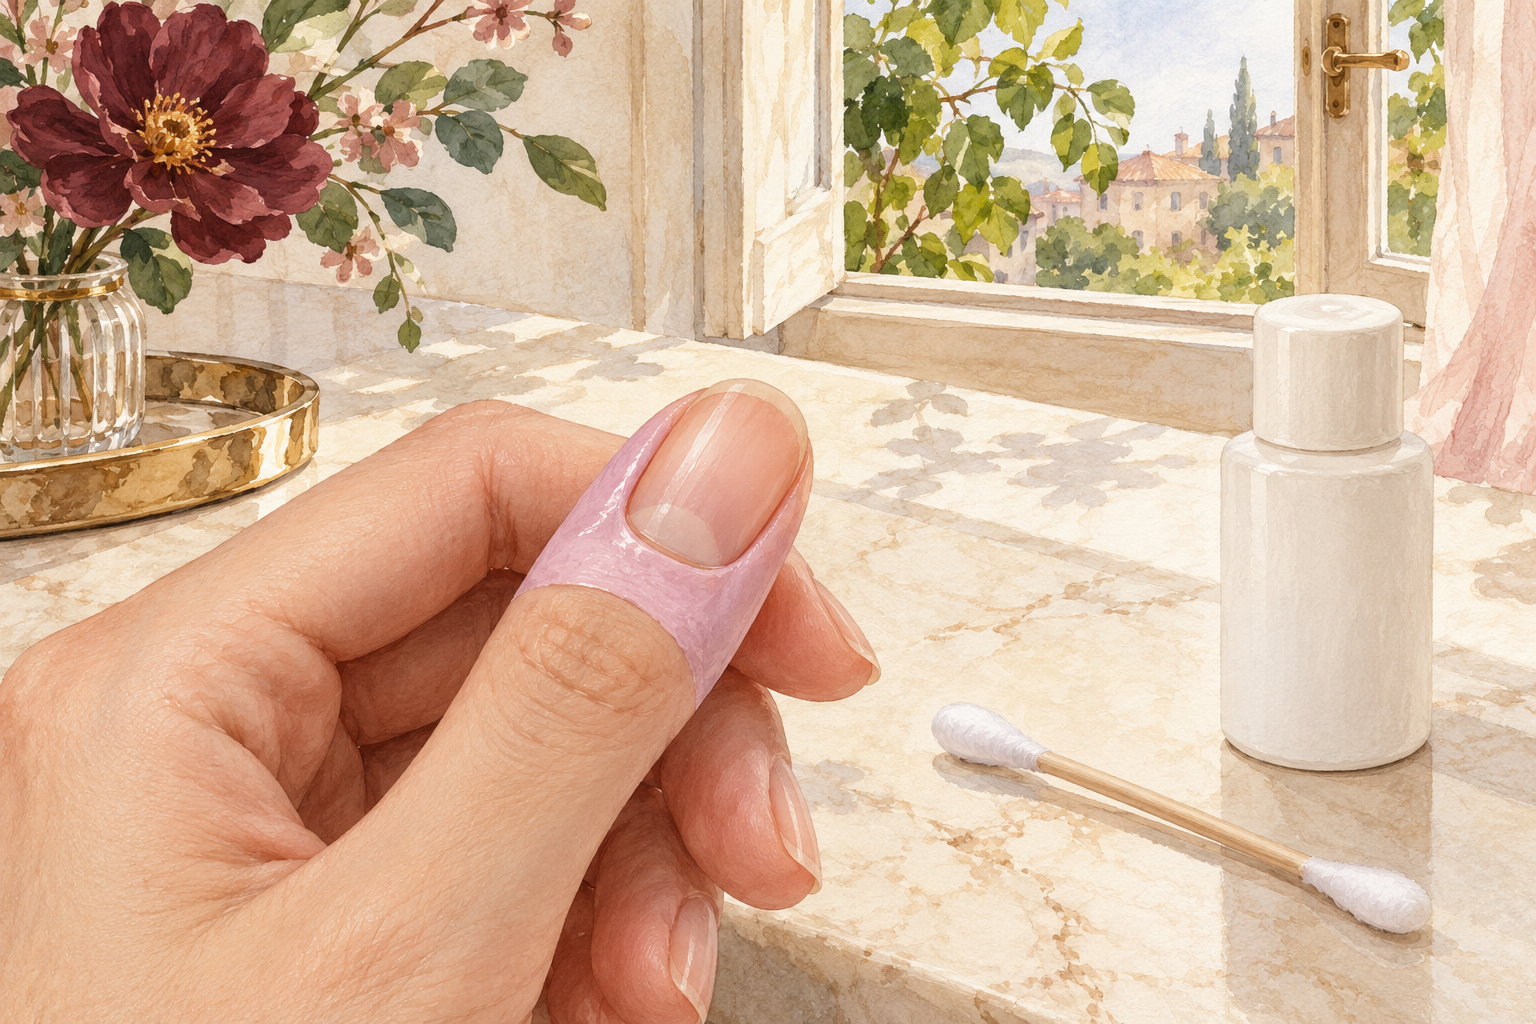
Dab a little cuticle oil or a peel off guard on the skin around the nail, and keep a window open. Wet polish runs onto the skin during swirling, and oil or a guard makes the cleanup wipe away easily. Fresh air matters because you will bend over wet polish for a while. Keep a cotton bud dipped in remover beside you. Wipe the oil from the nail itself before you paint, or the polish will slide off. Tie your hair back to keep it out of the wet color. This is the boring setup part of how to do marble nails, and it saves the most cleanup later.
4. Drop small beads of color on the wet base
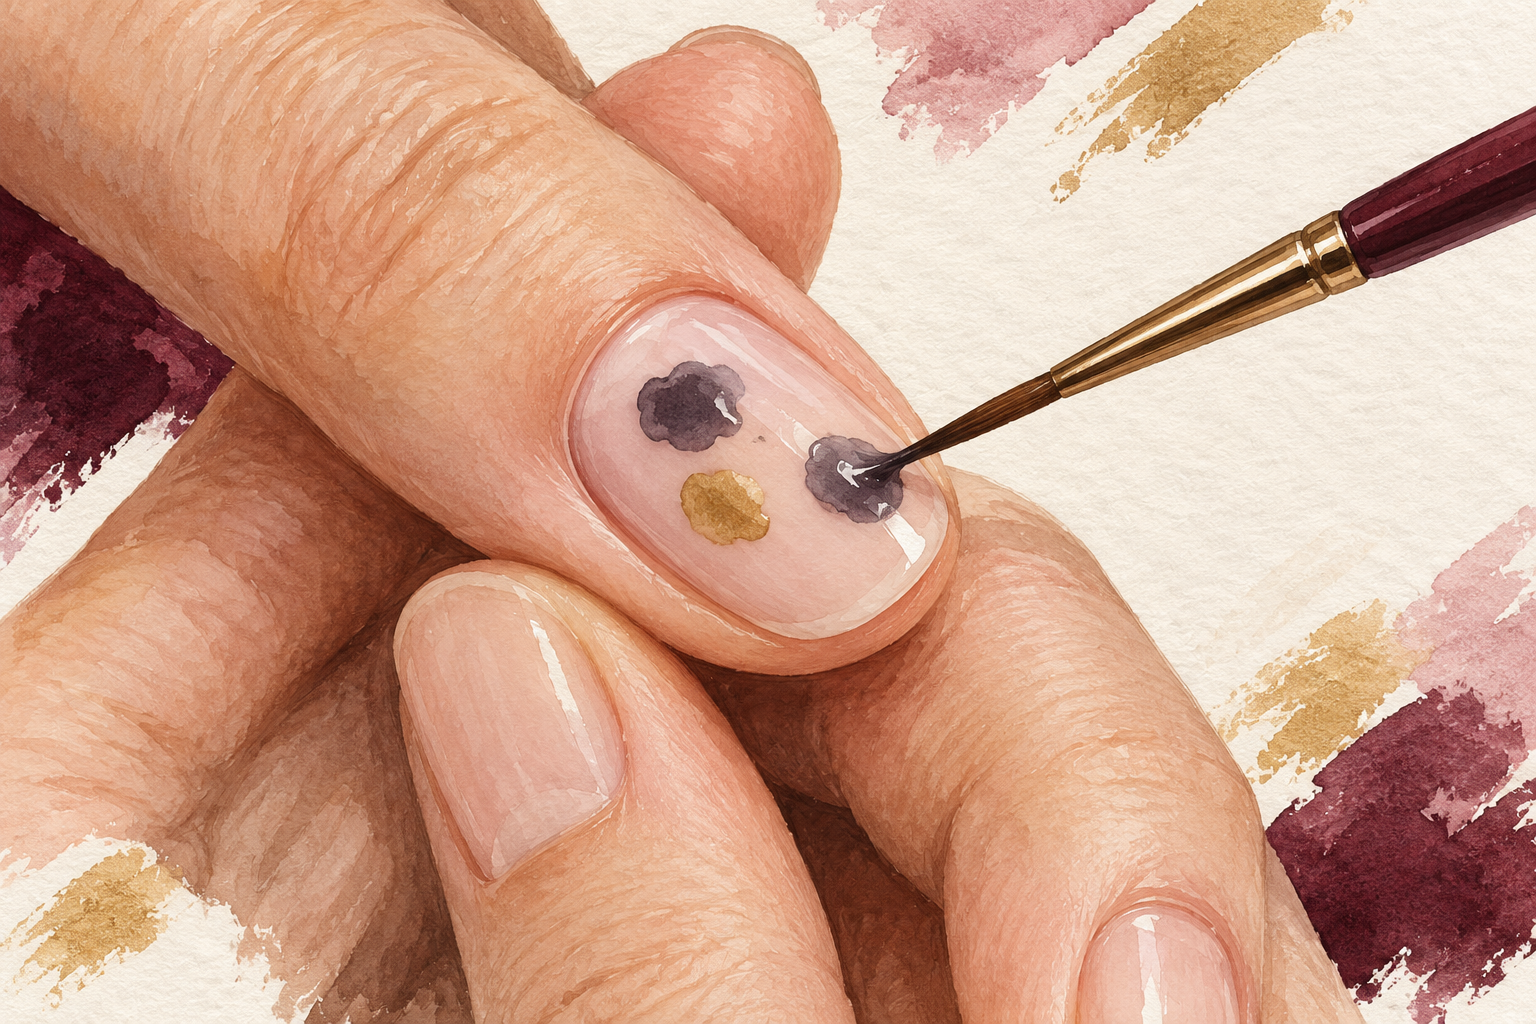
While the base is still wet, dot two or three tiny beads of gray and one of gold, spaced apart. Use the brush tip, not the whole brush, and keep the dots smaller than a pin head. Too much polish is the main reason marble turns muddy. Space them out on a diagonal, since real marble runs in slanted lines. You can always add more later, but you cannot take it away. Work quickly, within about ten seconds, before the base starts to set. If the base has already gone tacky, wipe the nail and repaint a thin wet coat, because beads will not spread on a dry surface. Blended looks sit close to marble, and if you want that softer finish, how to do aura nails is next.
5. Drag a fine brush through once or twice
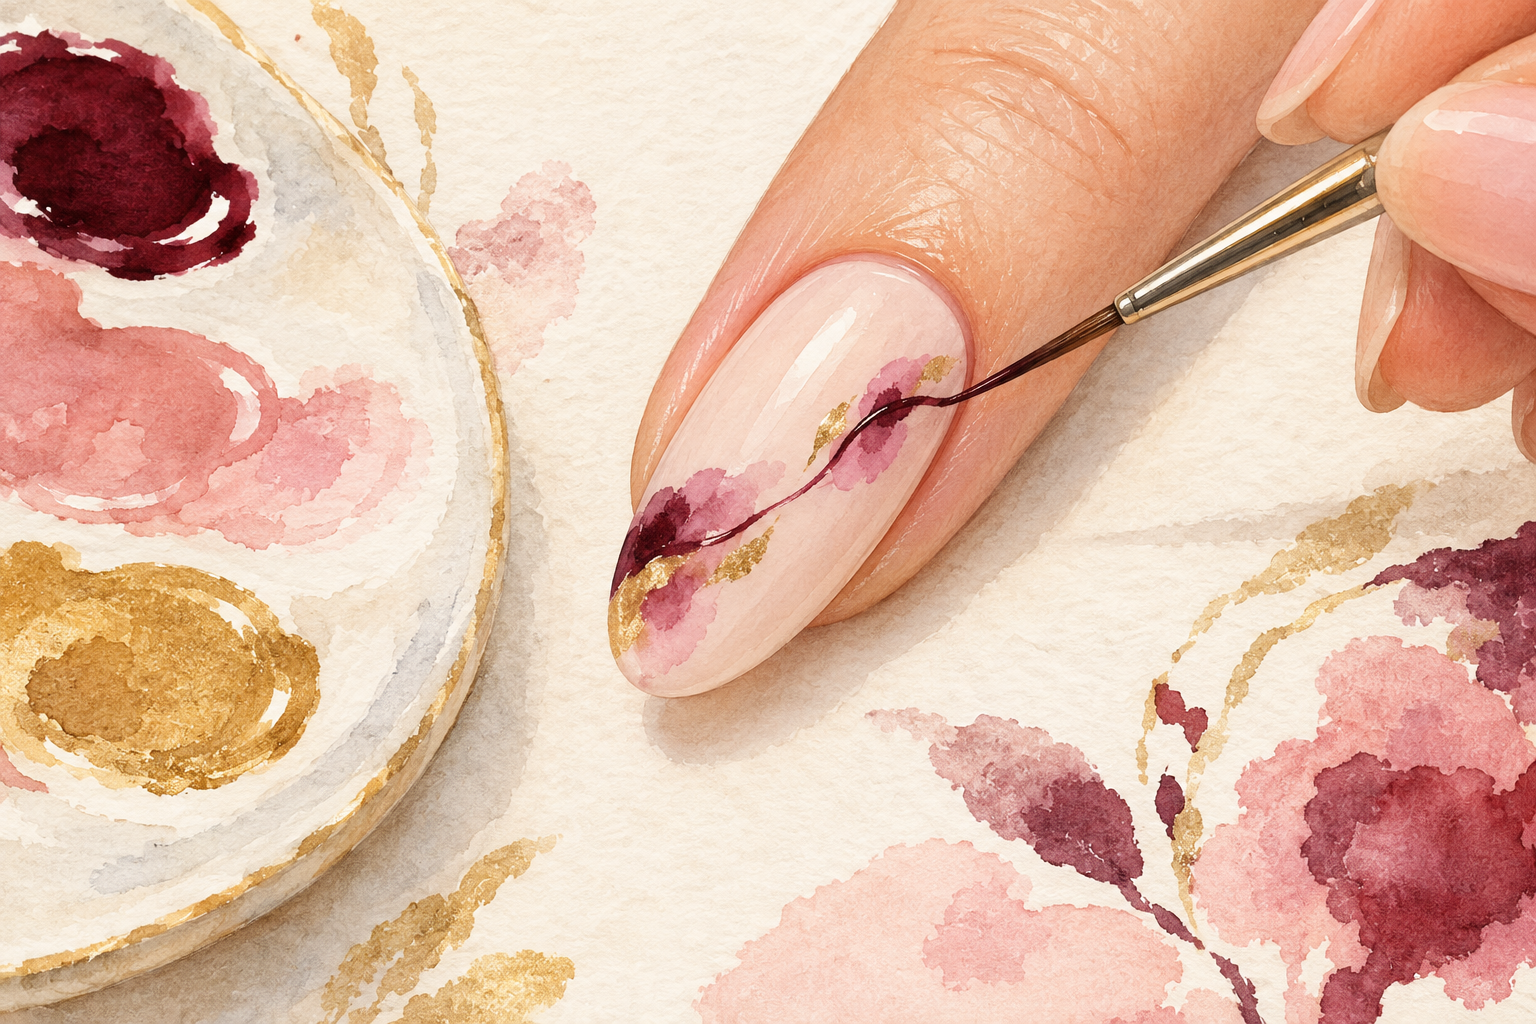
Run a clean, thin brush through the beads in one slow, wavy line, then stop. Resist the urge to keep going, because each extra pass blends the colors into a gray wash. Wipe the brush clean on a tissue between nails. Move your wrist, not your fingers, so the line looks natural. Cross a small second line over the first if you want a more branched vein. One or two passes is the whole secret of marble that looks like stone. If the first line looks too plain, leave it, as the veins in step six will add the drama.
6. Add thin veins after the swirl dries
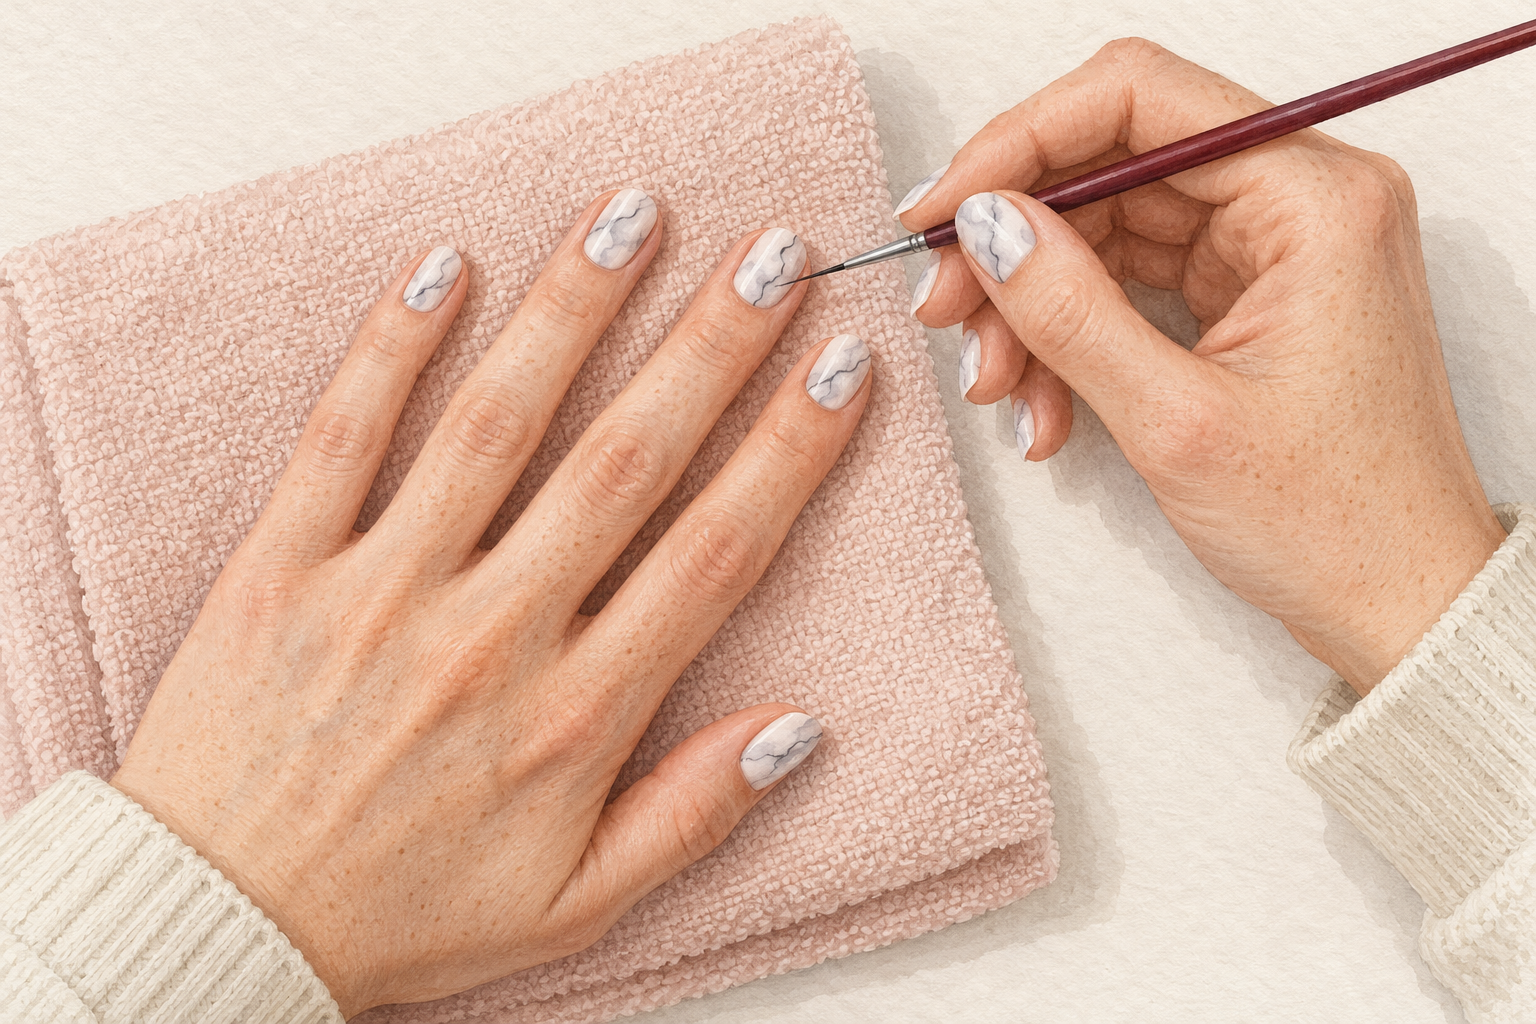
Once the swirl is nearly dry, draw two or three hair thin lines across it with a very fine brush. These sharp veins are what turn a soft cloud into real marble. Use a darker gray or black, and wipe the brush nearly dry so the line stays fine. Let your lines wander and cross at angles. Add a few tiny flecks of gold if you like a richer stone. Keep them sparse. If you make a line too thick, dab it softly with a cotton bud dipped in remover. Rest your pinky on the table so the lines stay thin and steady.
7. Crumple the wrap and dab, never drag
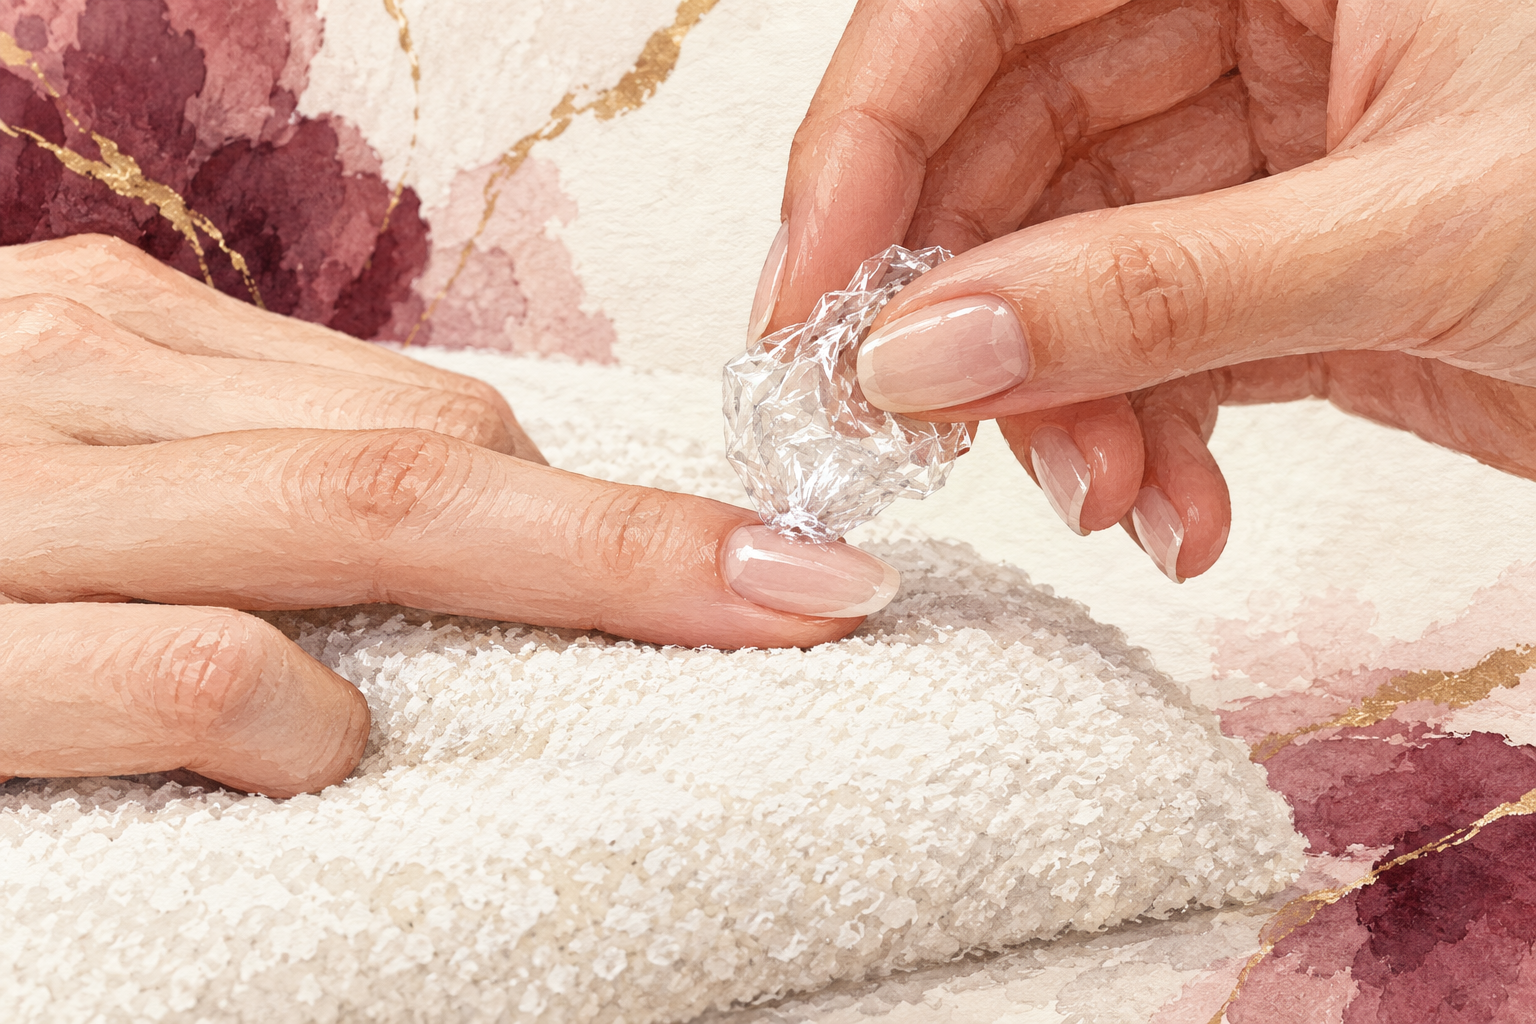
Scrunch a piece of plastic wrap into a loose ball and press it lightly on the wet polish, then lift straight up. The creases leave a soft, cloudy stone texture that is hard to draw by hand. Use a fresh spot of wrap every time. Dragging smears the colors into one muddy sheet, so pat and lift only. Apply two or three light dabs and stop. Hold the wrap by the edges so the fingers do not touch the polish. The result should look like soft clouds of gray drifting across white, which you can sharpen later with a single brush vein.
8. Choose the method that suits your nail length
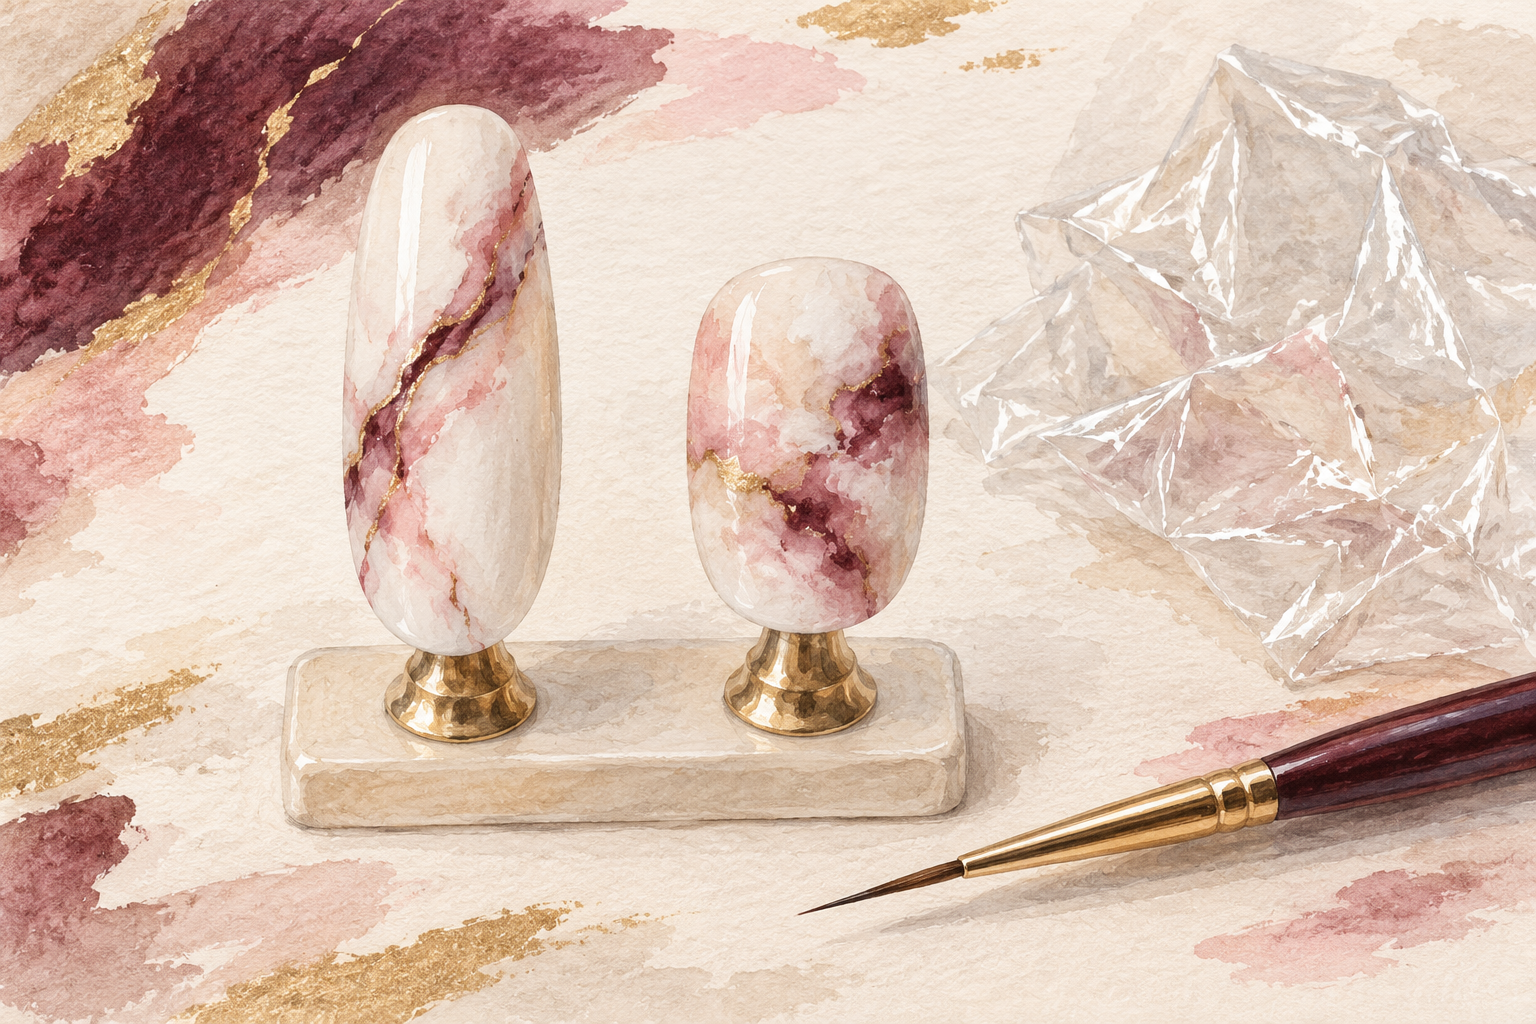
Use the brush on long nails, where there is room for veins, and the plastic wrap on short ones. A long, narrow nail looks lovely with one long diagonal vein. On short nails, wrap dabbing gives an all over soft look with no fussy lines. You can even use both, wrap first and a few brush veins on top. Pick what feels easy for you today. Marble is forgiving, so no two nails need to match, and the variety makes the set look more like real stone. Keep the thumb simple if you tire, because it is the widest nail and the hardest to cover in swirls.
9. Fix mud with less color and fewer passes
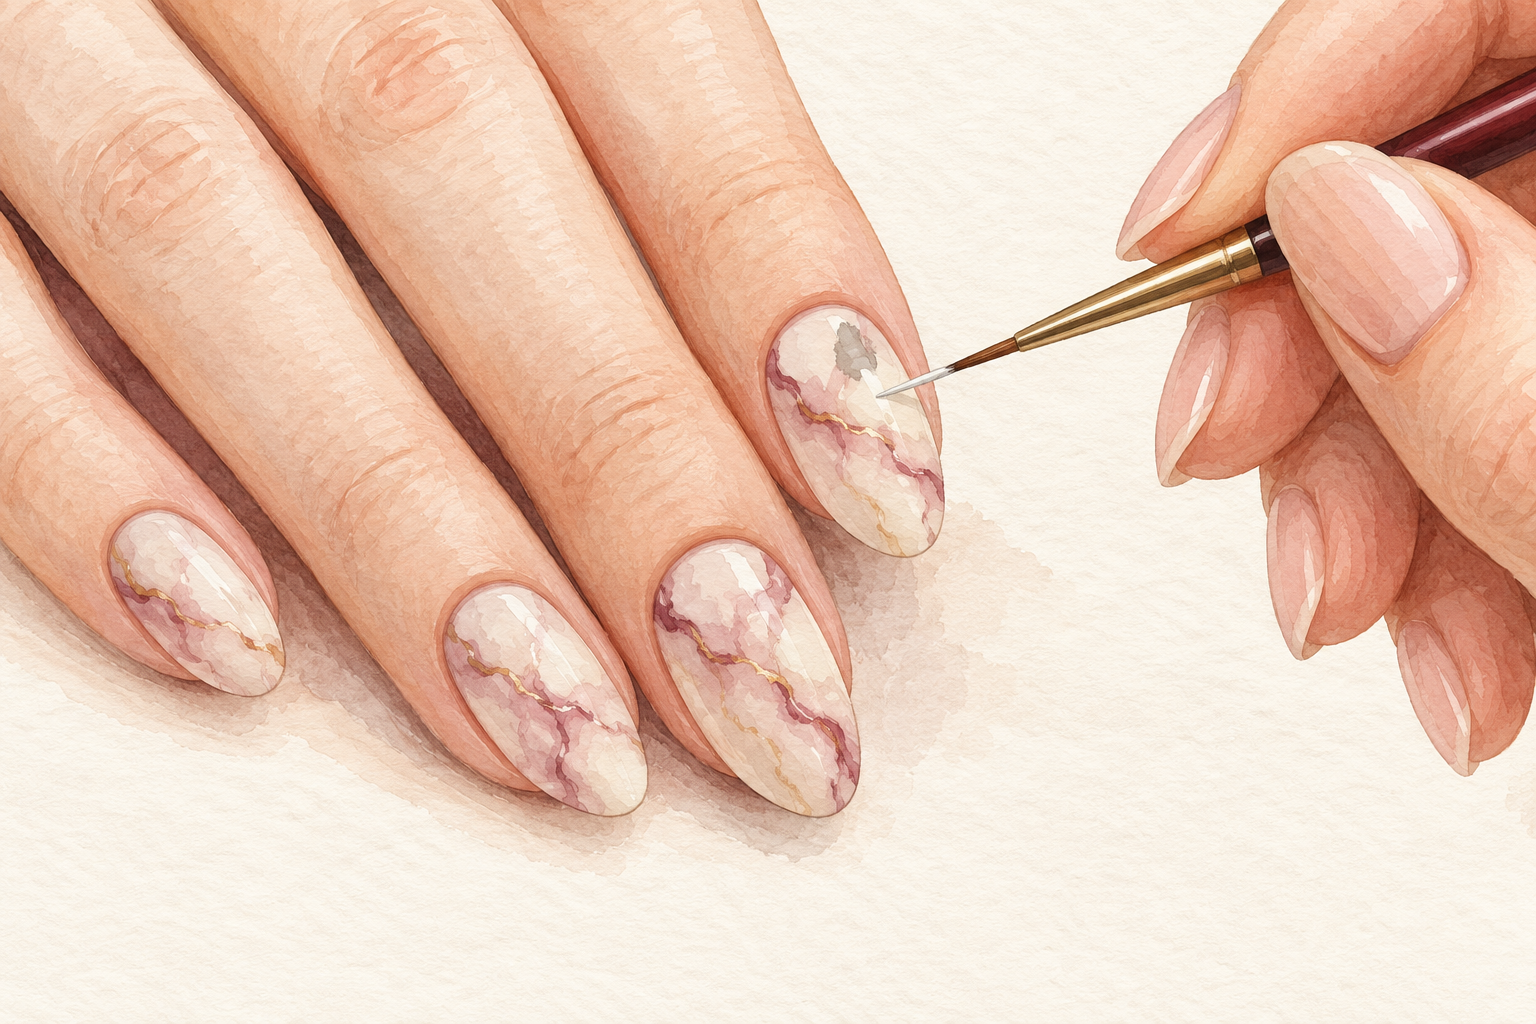
If the swirl turns gray and flat, wait until it is dry, then paint a thin patch of white back over it and start again. Mud comes from too much polish and too many passes. Use half the color, and drag half as much. Let the base layer dry for a minute between attempts so the new swirl sits on top instead of mixing. A fresh sheer layer of white also lifts a tired nail. Do not scrub it off, because that only ruins the nail surface. If a nail looks streaky instead of muddy, add one more bead of white and give a single, gentle pass.
10. Expect this from your first, third and fifth set
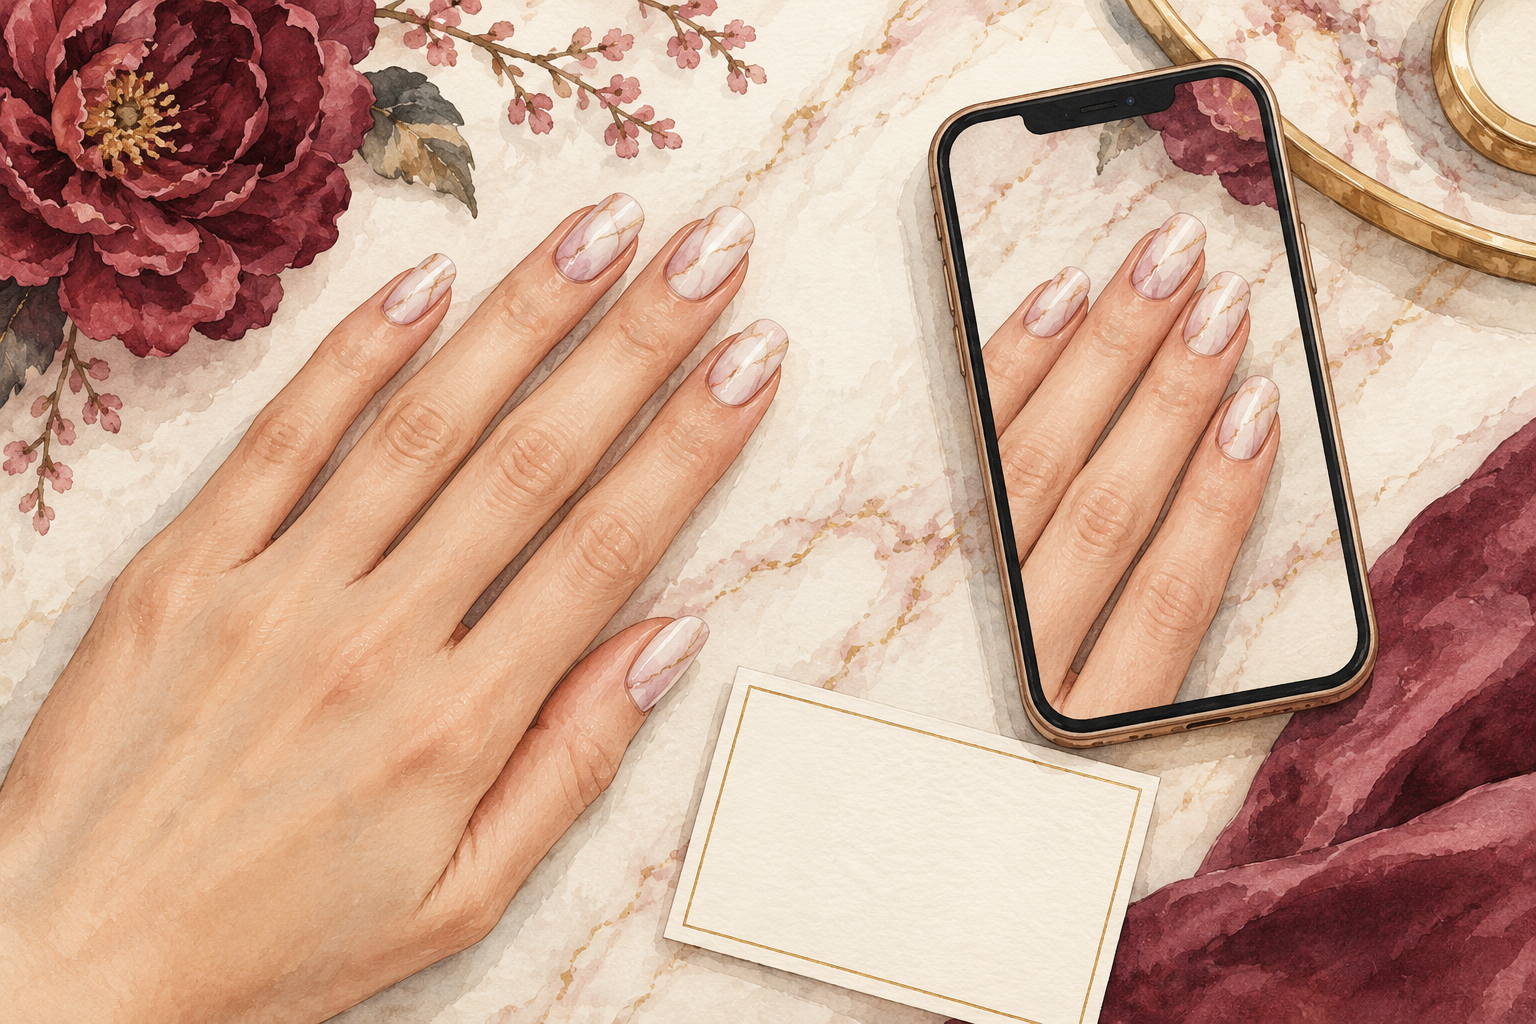
Your first set will look messy, your third will look decent, and your fifth will look like stone. That is the normal curve, so be patient with yourself. Keep a note of what worked, such as how many beads and how many passes, since how to do marble nails well is mostly a matter of small, repeated choices. By the third set you will know the right amount of polish for your brand of brush. Take a photo of every set to compare. Sharing a close up with a friend can be your reward. Marble is also a very kind design for growing nails, because the busy pattern hides tiny chips and a little wear at the tips.
11. Float a generous top coat without dragging
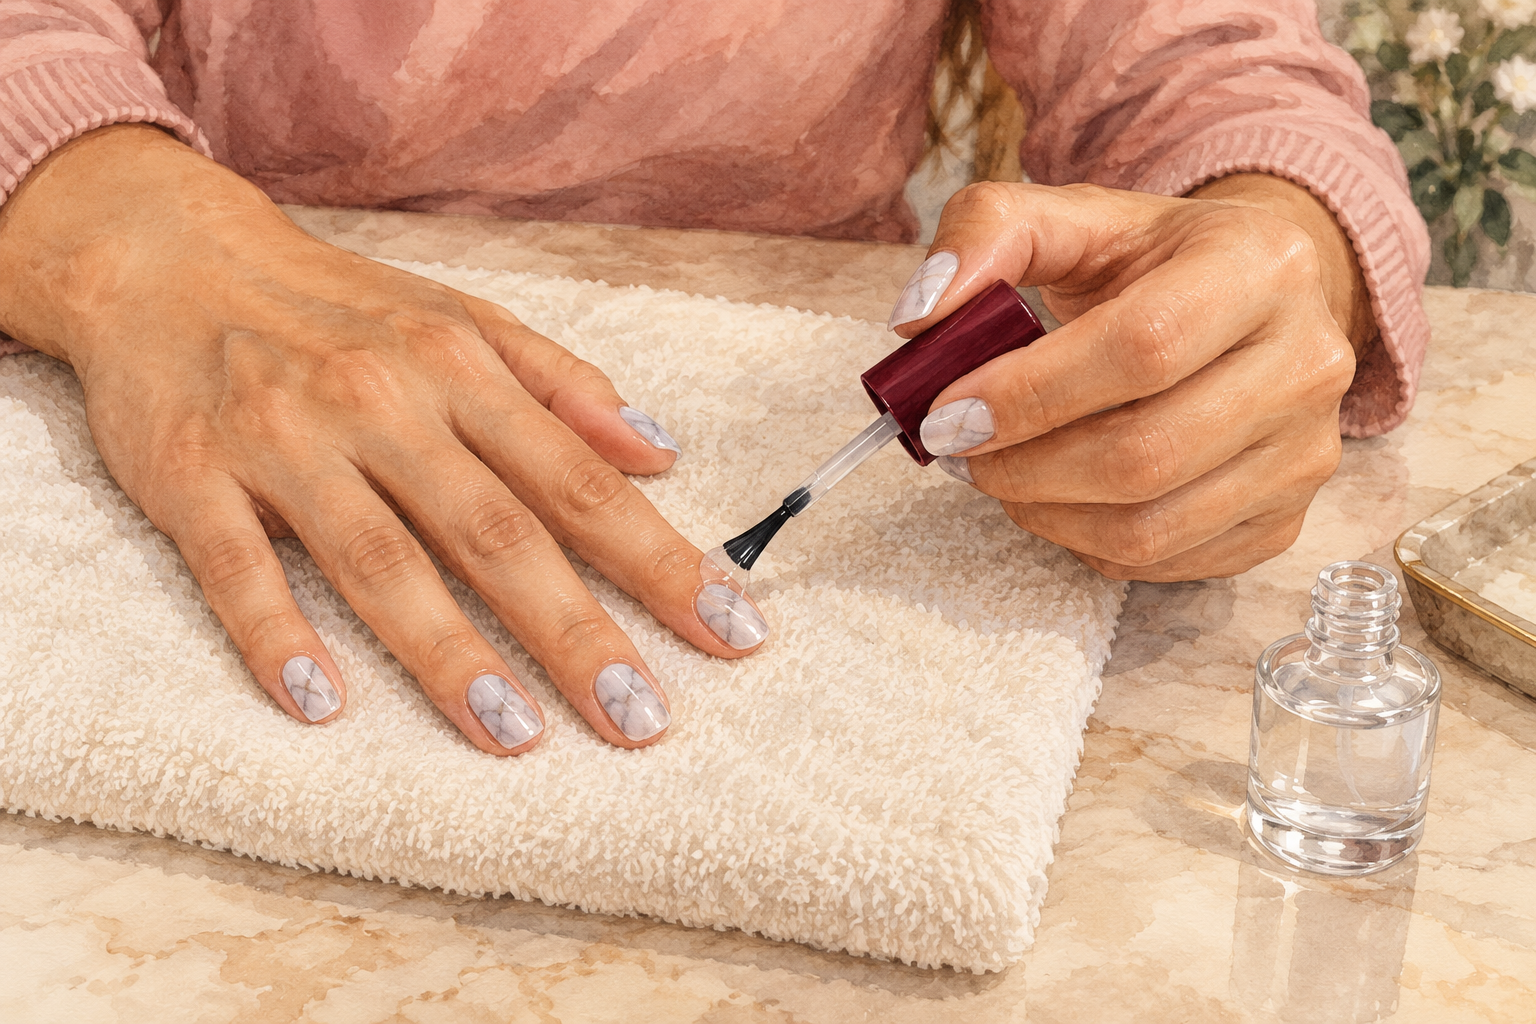
Load the brush with a big bead of top coat and lay it on the nail without pressing, so it floats over the design. Pressing drags the wet veins and turns them smoky. Wait until the polish is dry to the touch, about five minutes. Cap the free edge to stop chipping. The top coat also smooths any little bumps from the wrap or the beads. Let it dry for at least twenty minutes before you pick up anything. A fresh layer on day three keeps the shine going. If a speck of dust lands in the wet top coat, leave it and wait, since poking it only drags the veins.
12. Take it off gently and give your nails a rest
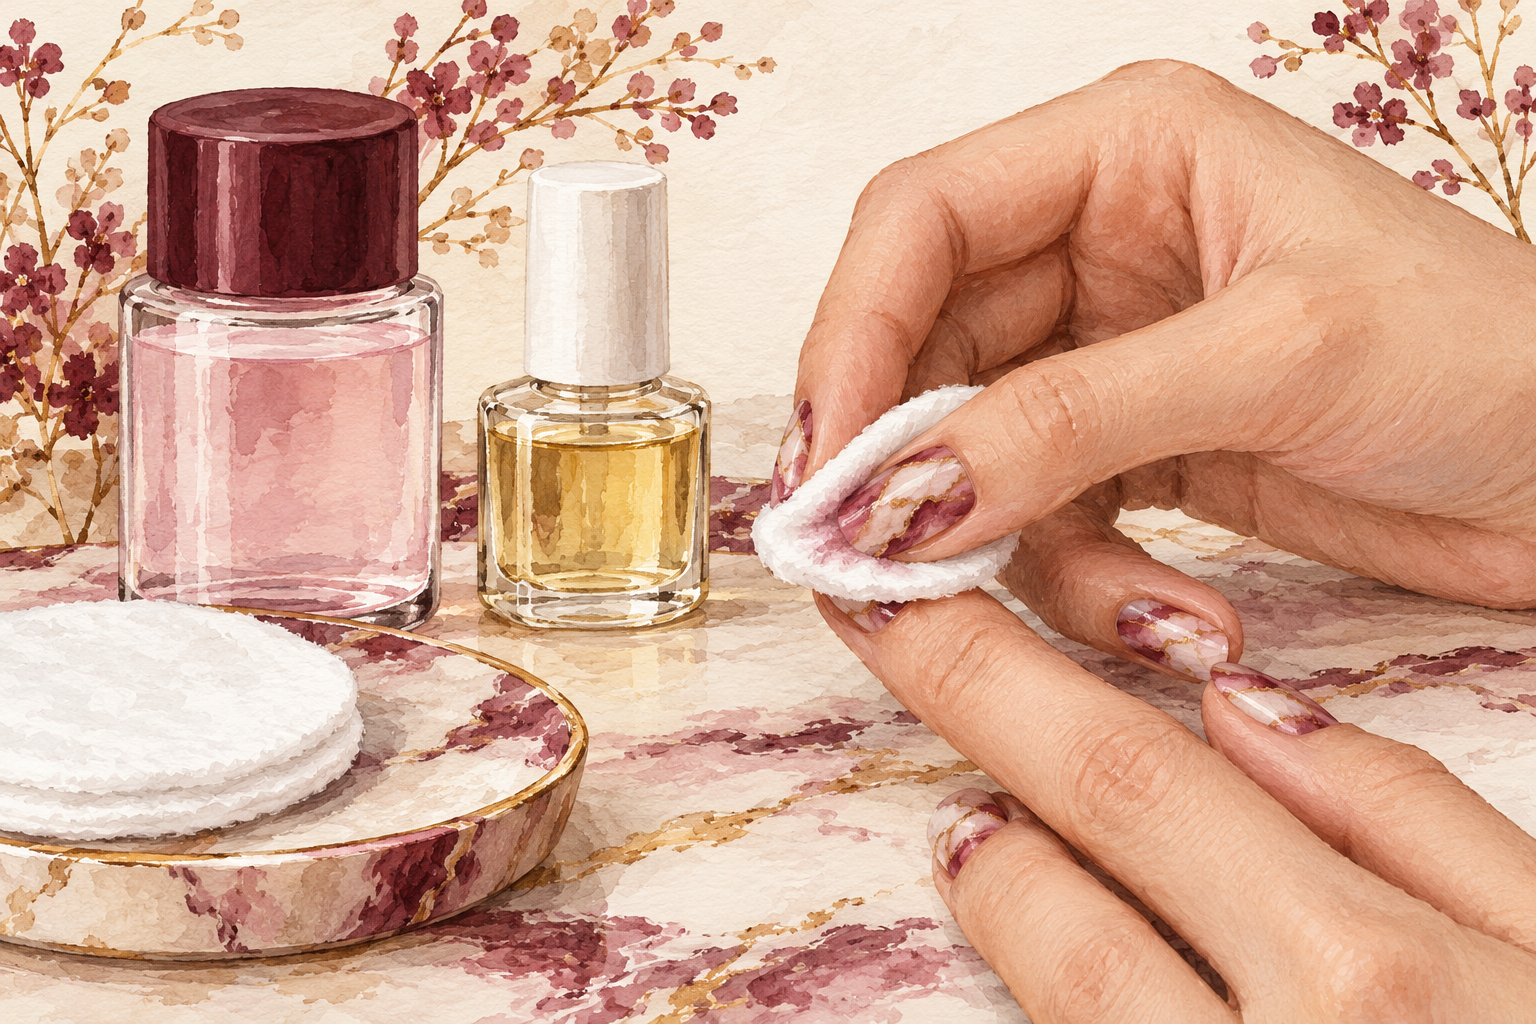
Press a soaked cotton pad on each nail for ten seconds, wipe once, and rub in cuticle oil. Never scrape, because it thins the nail. Marble is a thick design with several coats, so give it a little longer if it is stubborn. Take a week off polish before the next design if you can. Your nails will feel softer, and the oil brings the shine back. Then you can start again, with a new color story, such as soft blush with gold, or deep green with cream, for a richer stone.
Complete the Look: How to Do Marble Nails Again Next Week
Practice on one hand first, and do the other once you like the swirl. Marble rewards a loose hand, so choose one more guide below to try this week and keep the pace gentle.