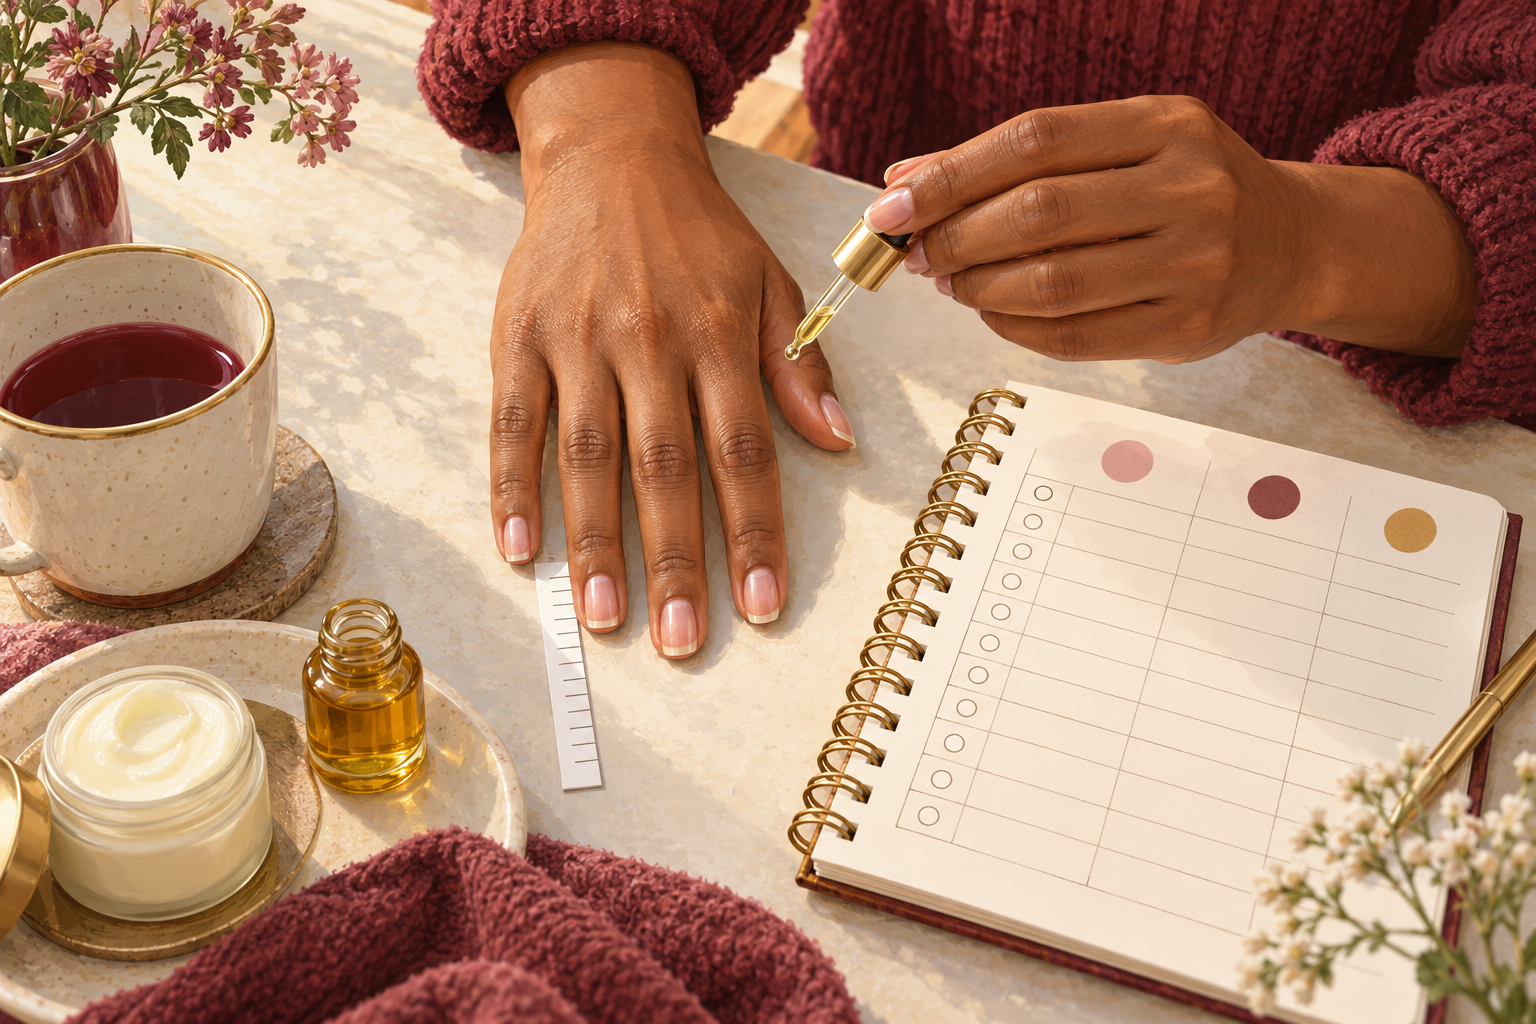
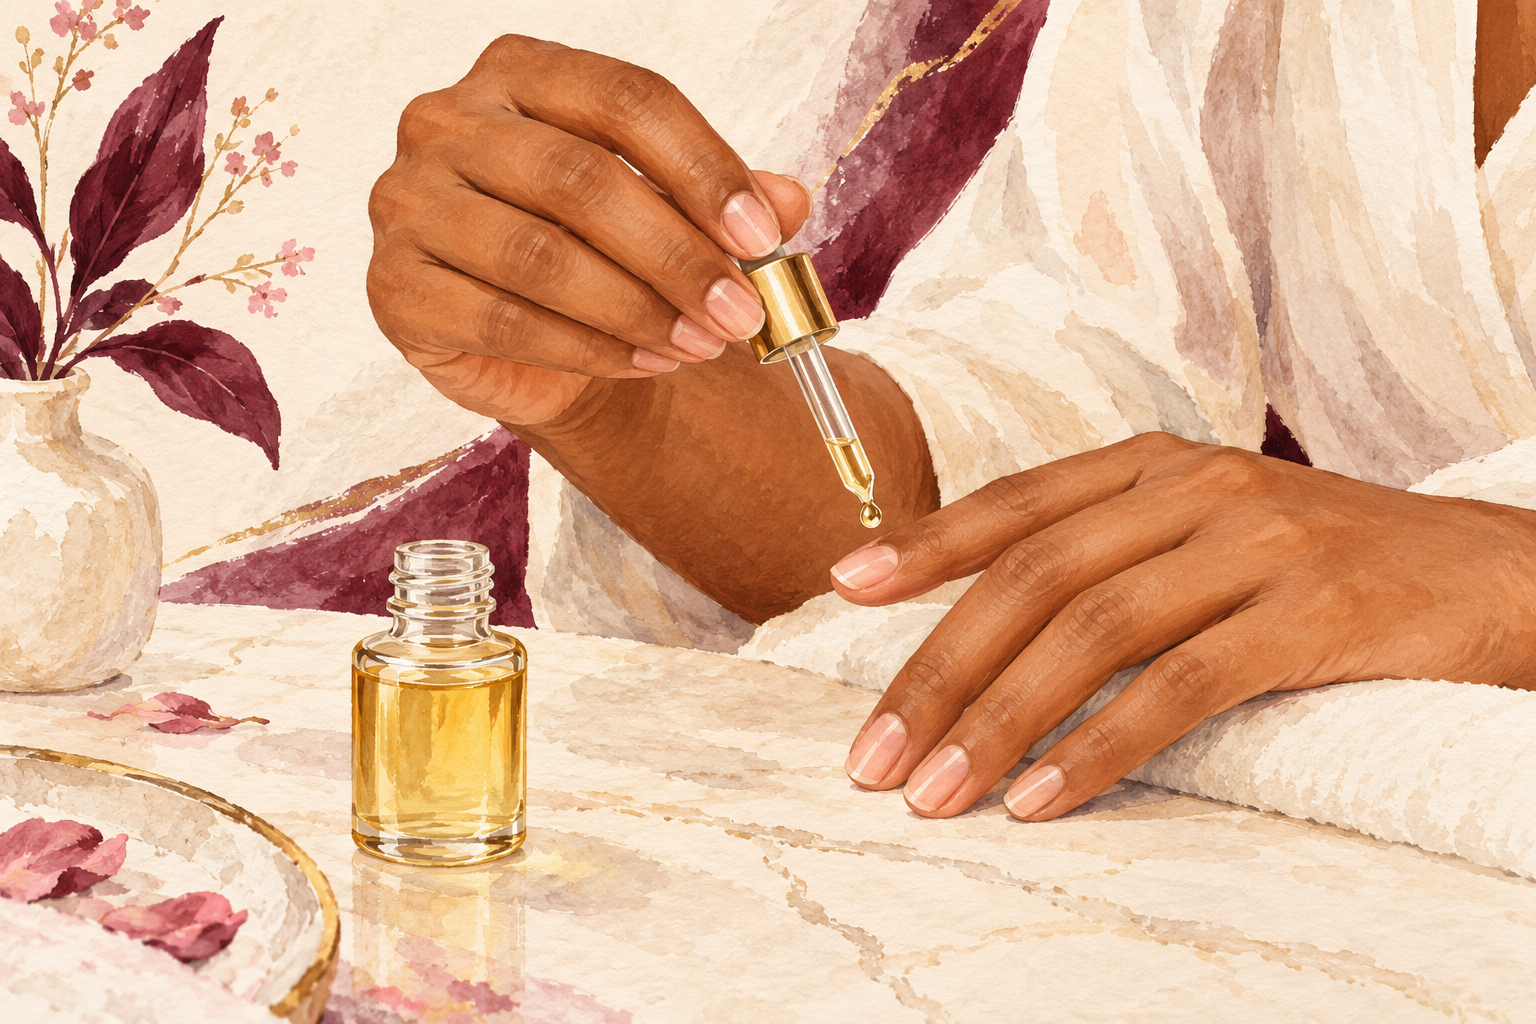
You have been oiling your nails for weeks and the length still will not show. Nails grow slowly on their own, and nail growth oil helps by keeping them soft enough that they do not snap before they get long. Here are 12 steps covering which oils to use and the massage that makes them worth it, so start at number one tonight.
1. Gather your oil and patch test it
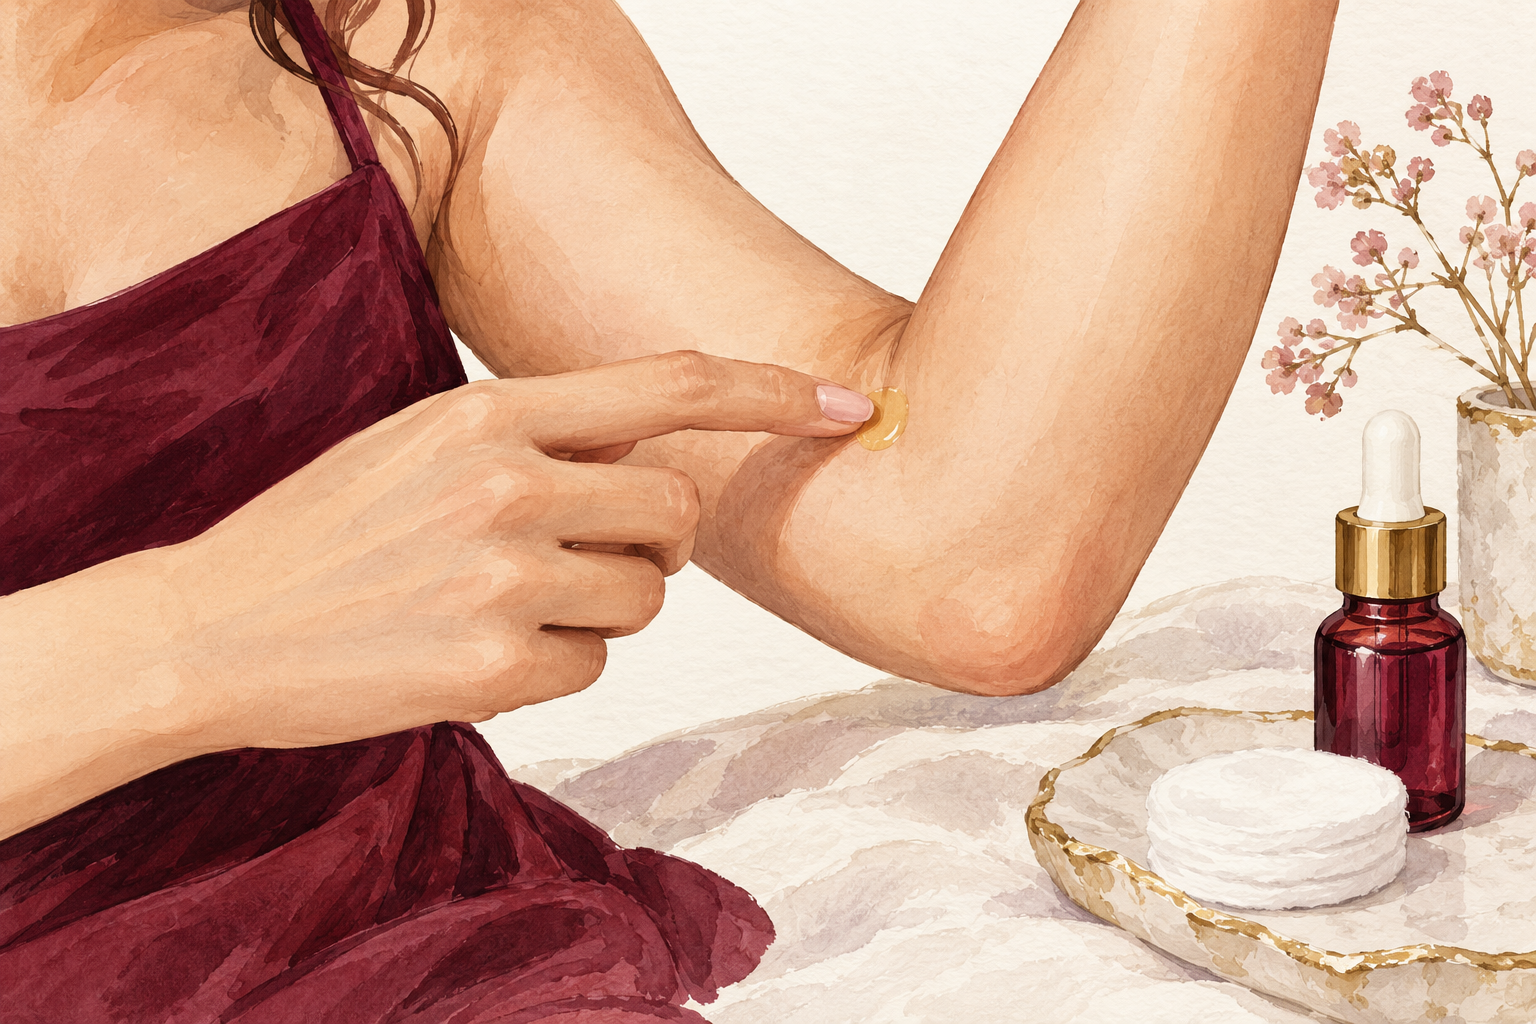
You need one plain oil, a small dropper bottle and a clean cotton pad. Choose jojoba, sweet almond or olive oil from your kitchen. Before it goes near your nails, dab a drop on the inside of your elbow and wait a day. If the skin stays calm, you are good to go. Stop if you see redness or itching, and try a different oil. Pour a small amount into the dropper bottle so you are not dipping your fingers into the main jar. Keep the bottle by your bed so it is the last thing you touch before sleep. Wash your hands first so no dirt gets pressed into the skin.
2. See if you are the right fit
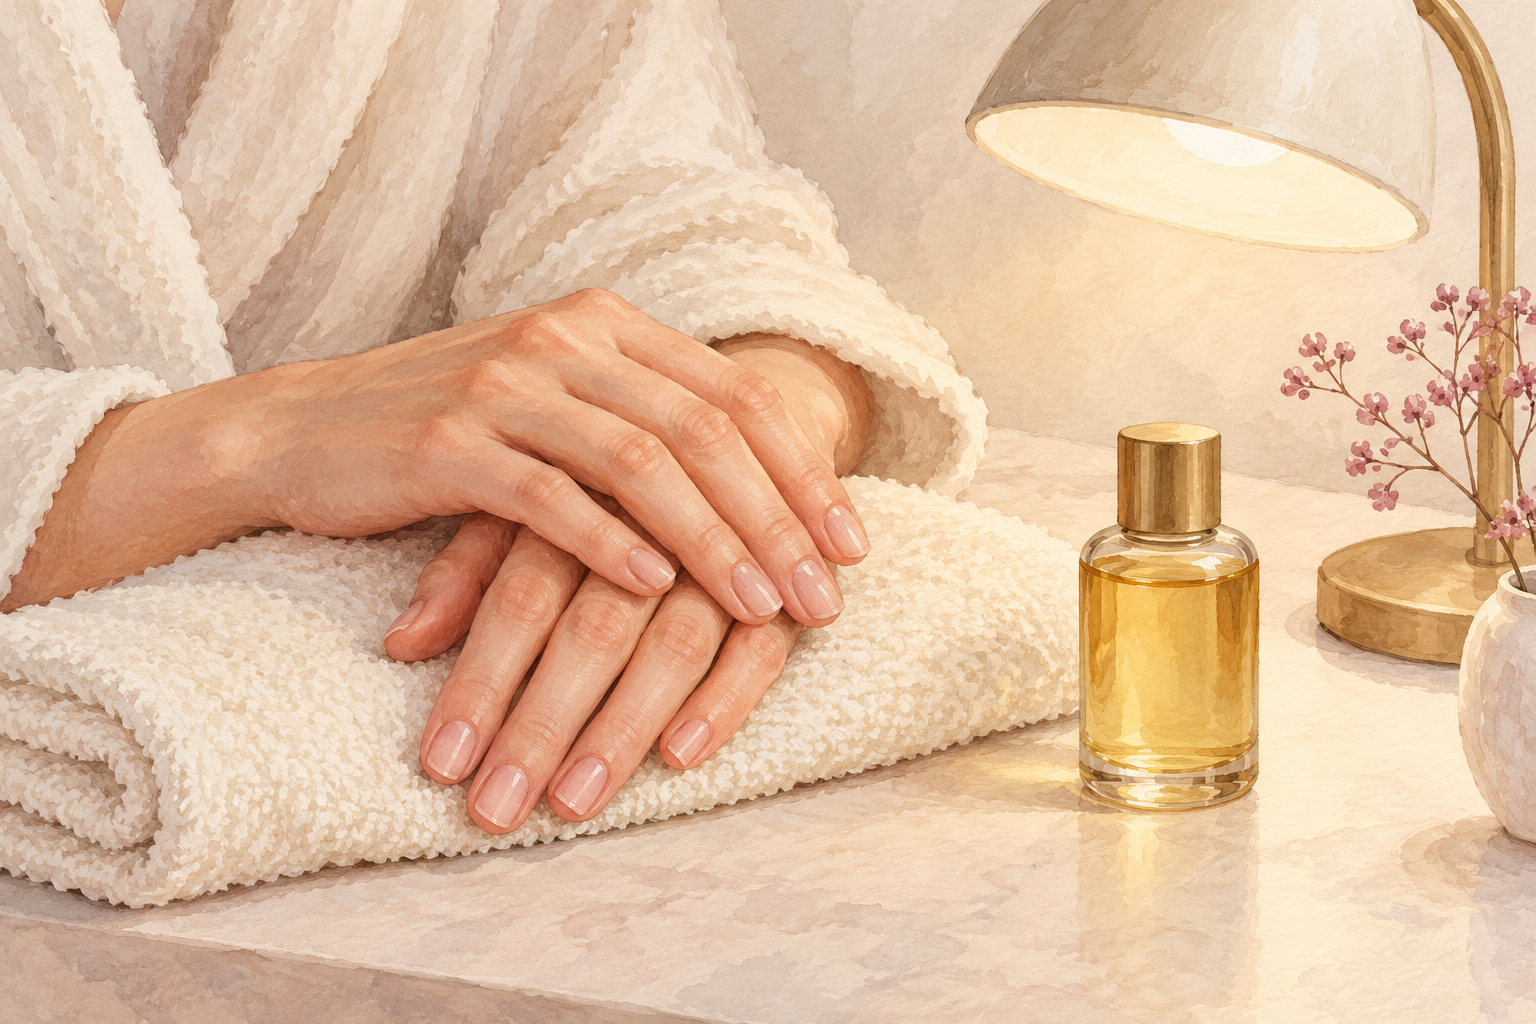
Oil suits nails that are dry, peel, snap at the tip, or sit in dry, cracked cuticles. If your nails break before they get long, this is for you. If your nails are already soft and floppy, go lighter, with oil only twice a week. Anyone allergic to nuts should skip almond oil and use jojoba. Know what oil does: it does not make nails grow faster, but it keeps them from breaking, so the length you grow actually stays. That is the quiet trick behind most long natural nails, and it costs you only a minute a night.
3. Begin with jojoba, the gentlest choice
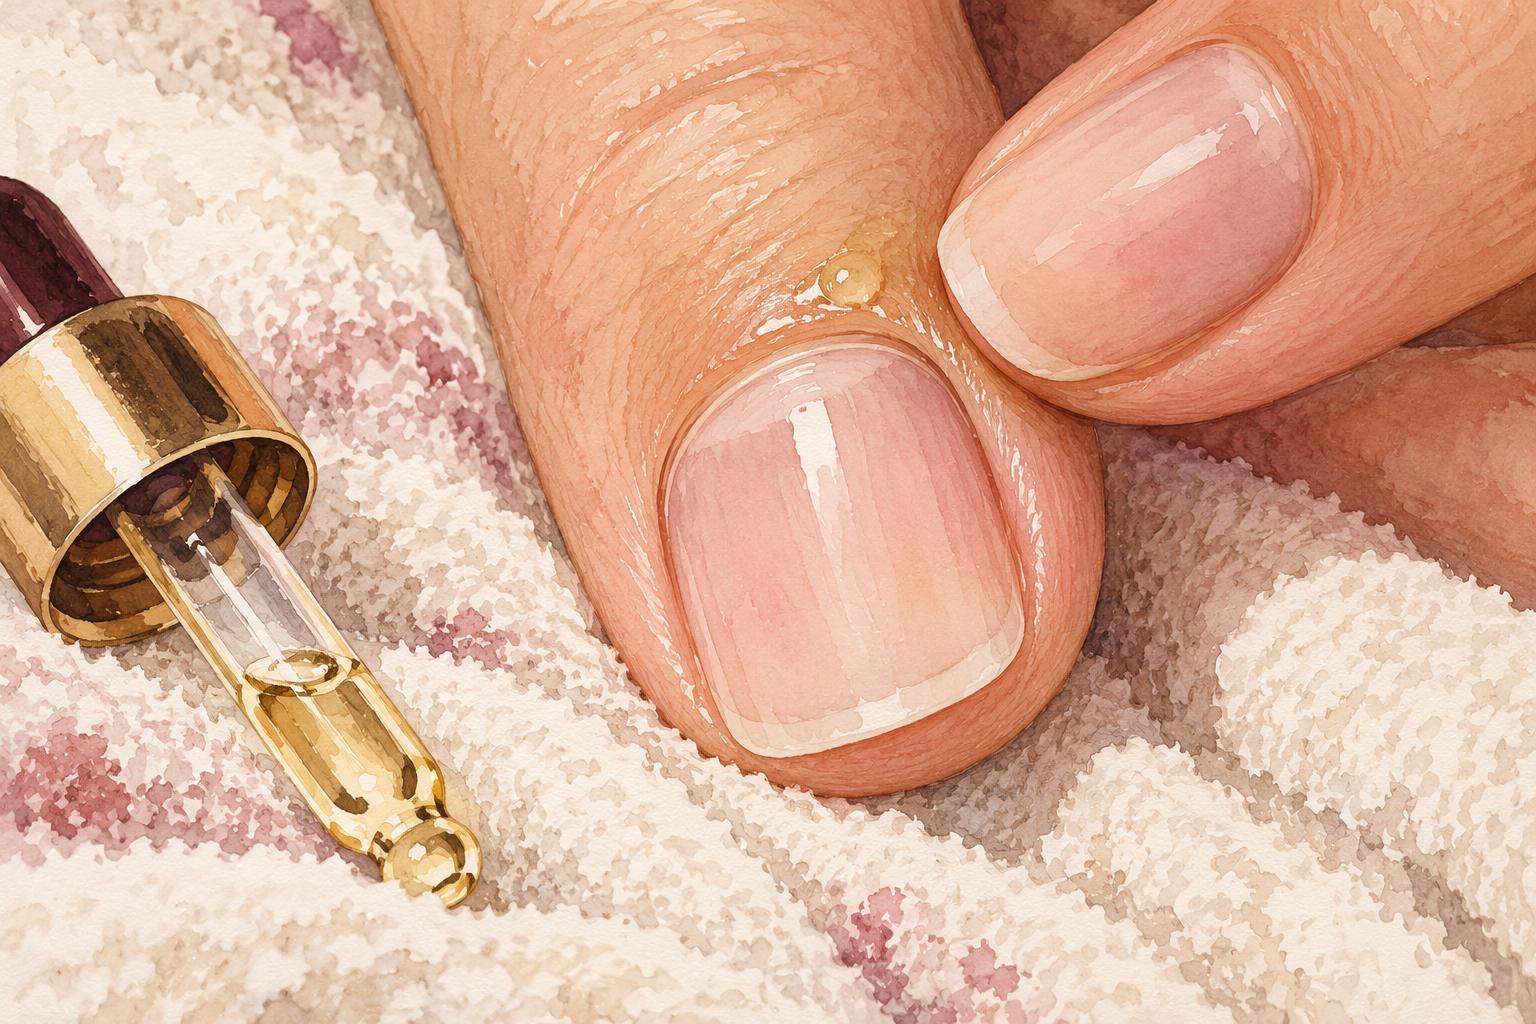
Press one drop of jojoba oil onto the base of each nail and rub it in for ten seconds. Jojoba is light and sinks in without a greasy film, so it is the easiest to live with. It rarely irritates and has almost no smell. It is also very stable, so a bottle lasts months without going off. Use a clean fingertip, not the dropper, on the nail so the bottle stays clean. Start here for the first two weeks before you try anything else. Your cuticles should already feel softer by the end of the first week, and the skin near them less tight.
4. Swap in almond or olive oil from the kitchen
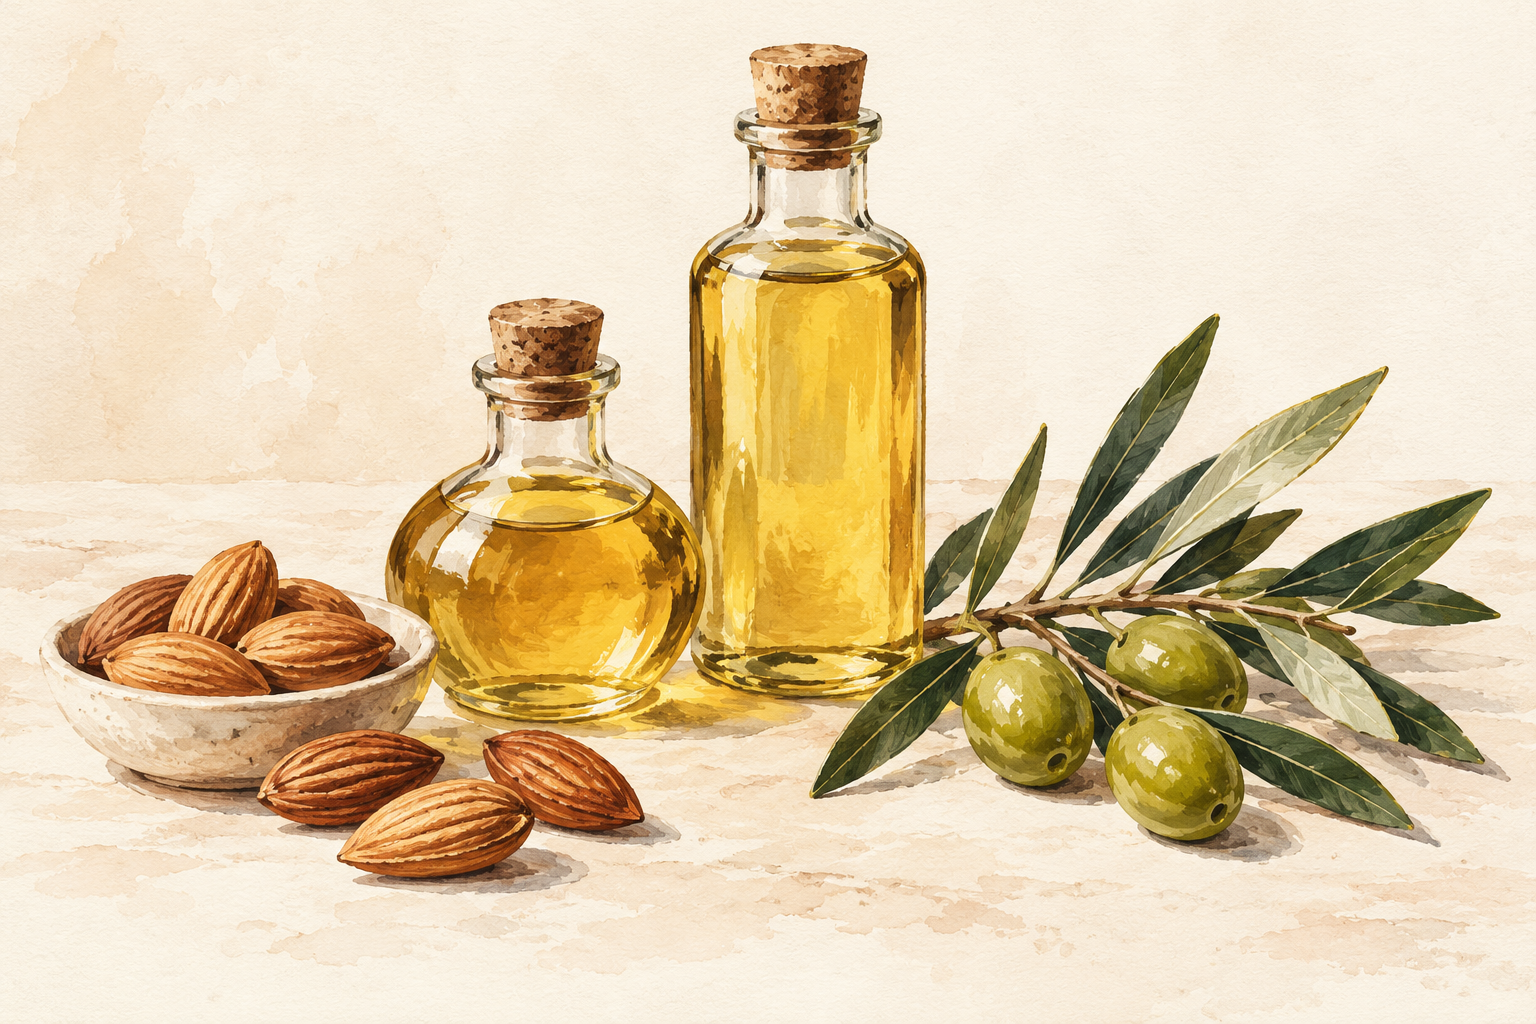
Use sweet almond oil for a silkier feel, or plain olive oil if that is what you have. Almond oil is rich in vitamin E and glides on easily. Olive oil is thicker and can leave a slight shine and smell, so use less, about half a drop per nail. Warm either oil between your fingers before you press it in. Check the bottle says plain, with no added fragrance. If your skin feels greasy or breaks out, go back to jojoba. All three do the same job, and the best one is the one you will use every night.
5. Mix your own simple blend
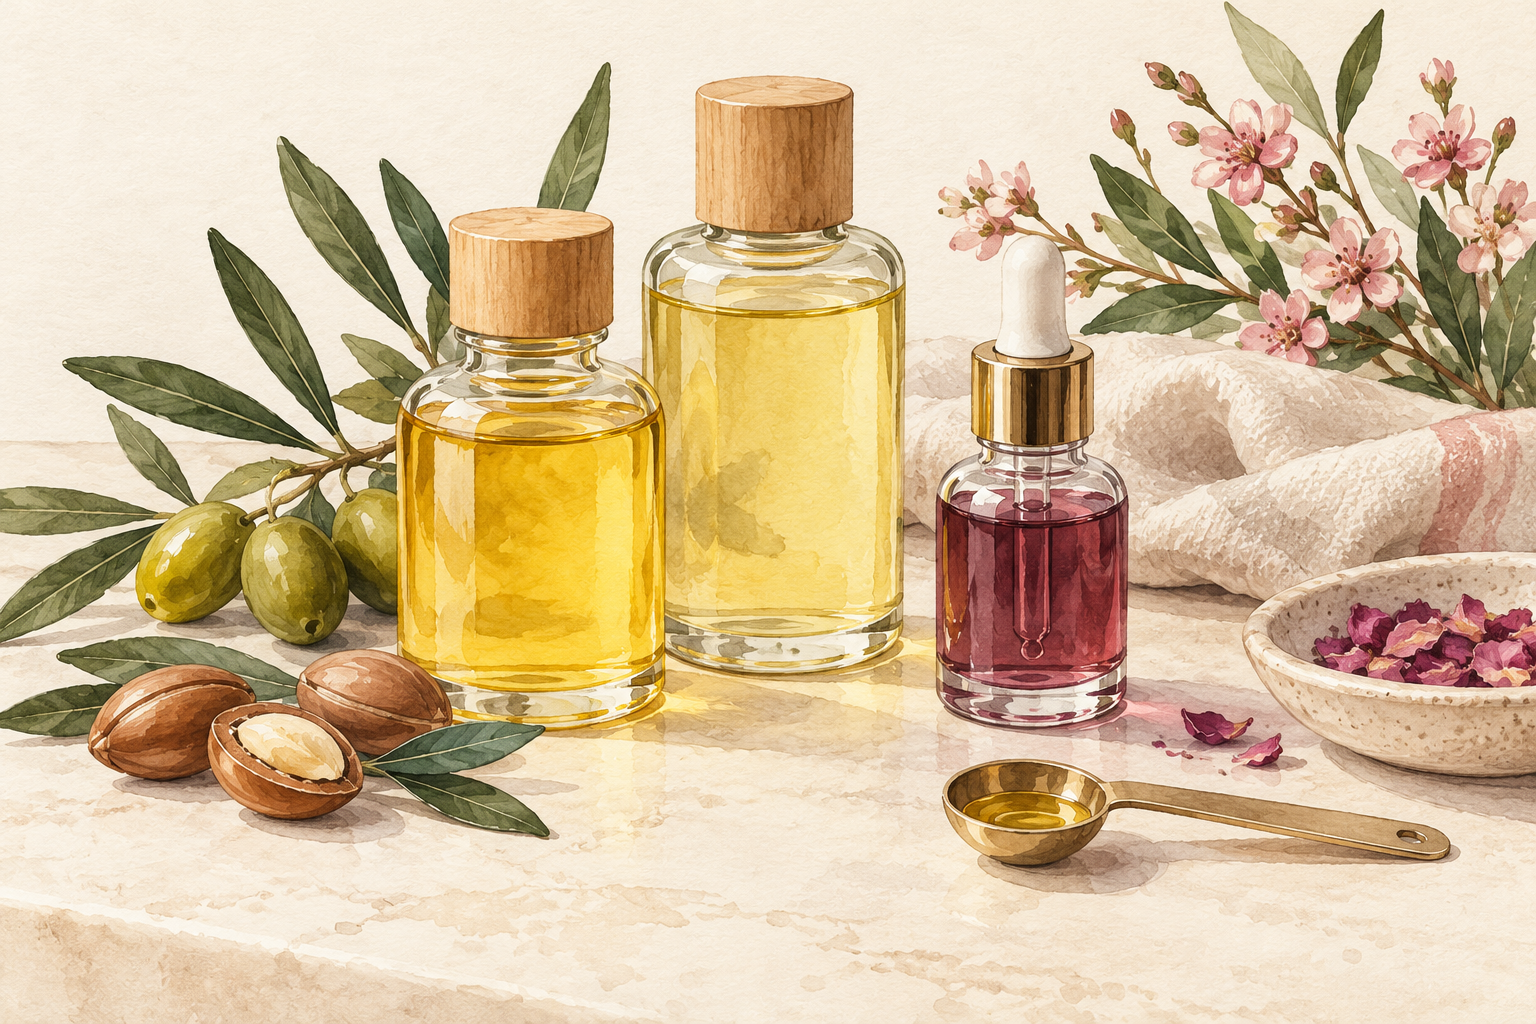
Combine two teaspoons of sweet almond oil with one teaspoon of jojoba oil in your dropper bottle and shake it. That is the whole recipe. The almond oil nourishes and the jojoba helps it sink in. Make a small batch you will finish in a month, and label it with the date. If you love a scent, add a single drop of lavender oil to the mix, but patch test first and keep it away from your eyes. Skip stronger essential oils, because neat or heavy amounts can burn the skin around your nails, and plain is plenty.
6. Do the massage that makes it work
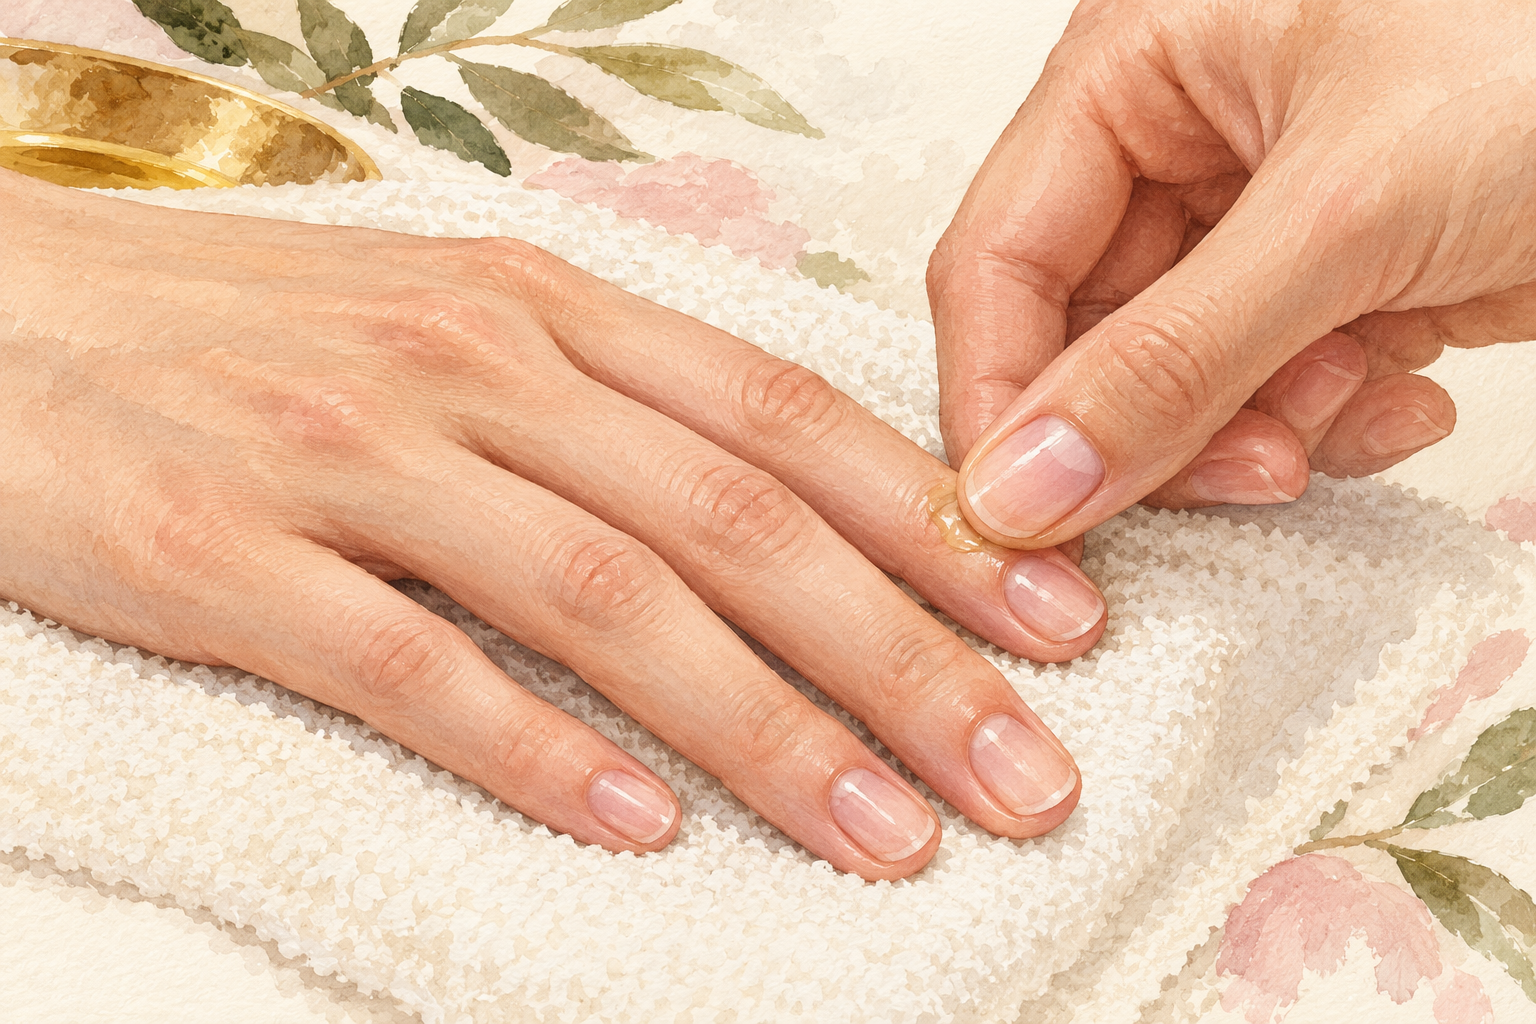
Rub a drop into the nail base with your thumb in small circles for thirty seconds per nail. Press firmly, like you are polishing a tiny coin, and work the skin around the nail as well. The massage warms the area and brings blood to the nail base, where new nail is made. Oil alone just sits on the surface, so the rubbing is the real work. Do it with the other hand’s thumb and switch. Finish with a little squeeze on each fingertip, from the tip down to the first knuckle. A minute per hand is plenty, and it feels lovely after a long day.
7. Massage after warm water
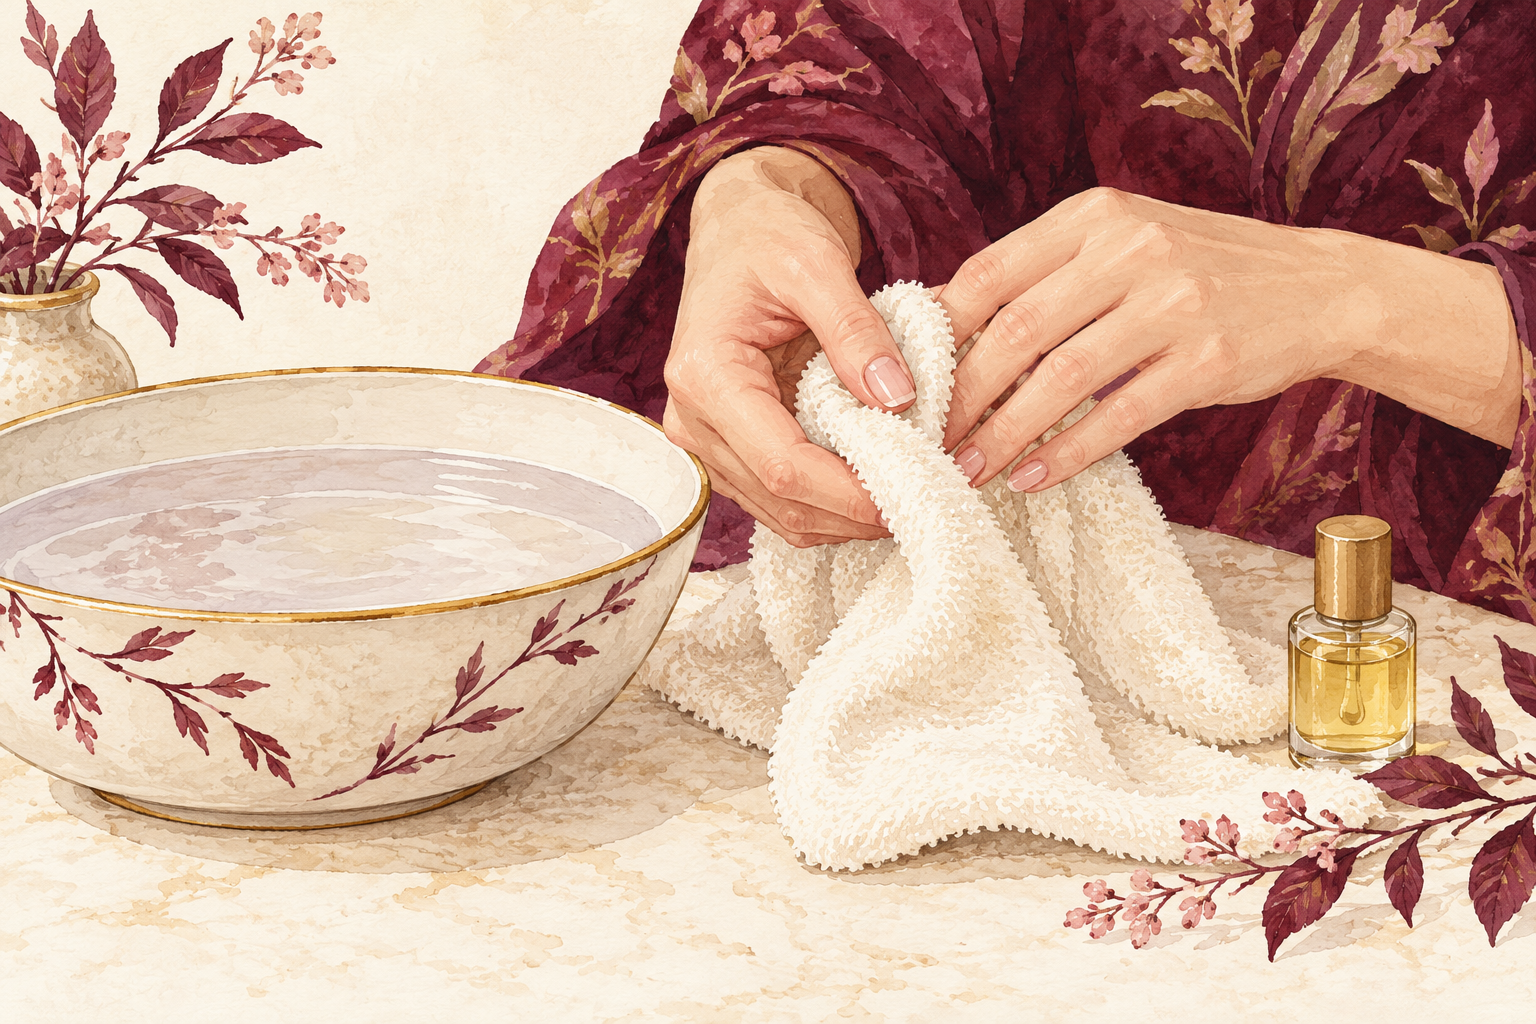
Soak your fingertips in warm water for two minutes, pat dry and apply the oil while the skin is still soft. Dry skin and nails soak up less, so warmth does half the work for you. Do it after washing your face or doing the dishes with gloves on. Pat dry with a towel but leave the skin slightly damp, because oil traps that moisture in. Avoid water that is too hot, since it dries the nail and the skin around it. If you have no time for a soak, hold your hands under the warm tap for thirty seconds and then dry them.
8. Do it at night, once a day
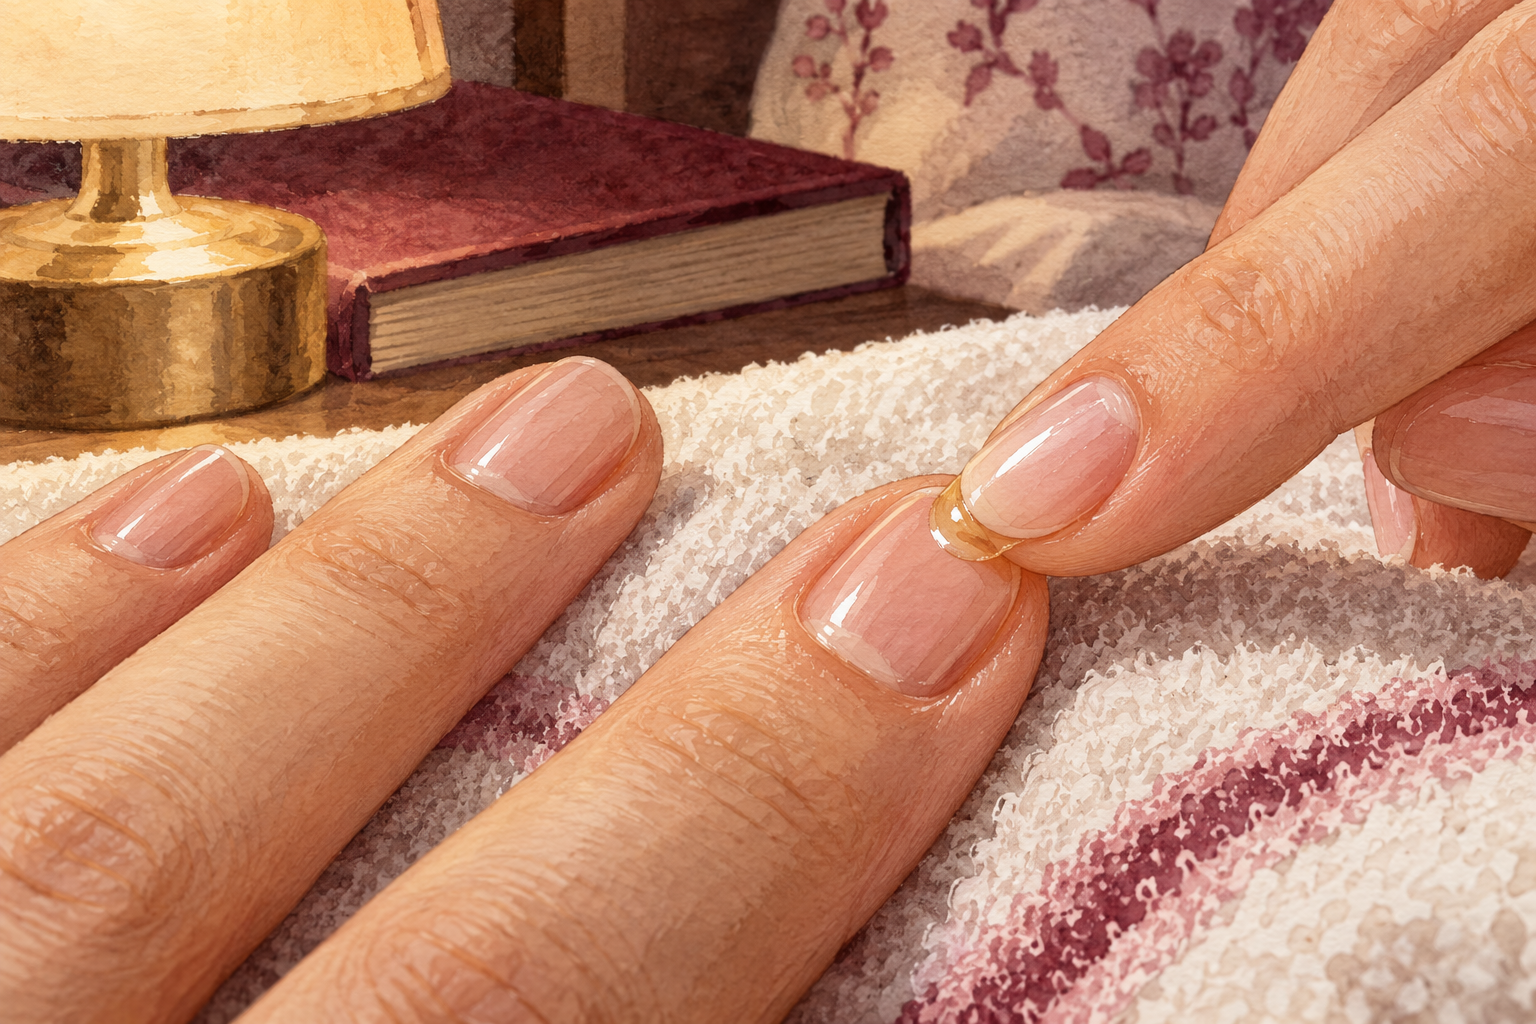
Oil your nails before bed, every night, and leave it on until morning. Night is when your hands rest, so the oil has hours to sink in without being washed off. One round a day is enough, and a second round in the morning is a bonus if your hands are very dry. Link it to something you already do, like brushing your teeth or setting your alarm. Rubbing leftover oil into your hands and wrists also feels good. If you miss a night, carry on the next day, because steady beats perfect with nail growth oil. Tie this to bedtime, then find more ideas in nail growth tips for the rest of the day.
9. Add a Sunday oil soak
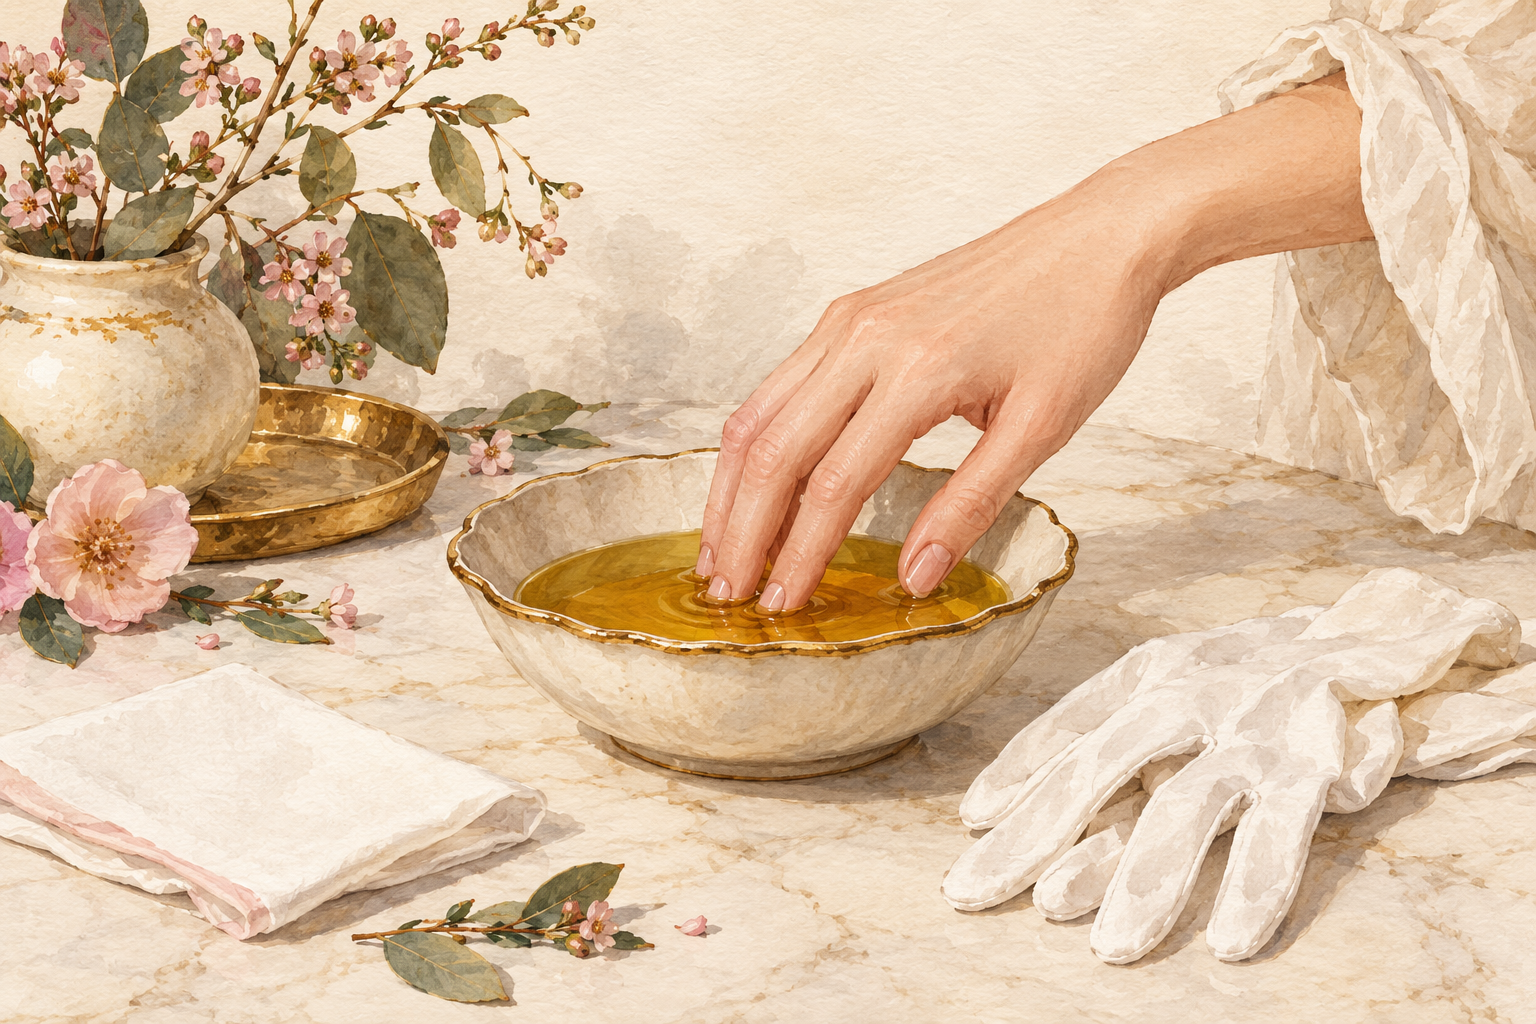
Warm two tablespoons of oil in a bowl until comfortable to touch and soak your fingertips for ten minutes. Test the heat on your wrist before you dip in. Wipe off the extra with a tissue rather than rinsing, then slip on cotton gloves for an hour if you can. It leaves dry nails softer by morning and is a sweet little ritual. Do it once a week only, as more can make nails feel too soft. Put on a podcast and let the time pass, since the hands need the rest as much as the oil does.
10. Swap oil before polish for oil after
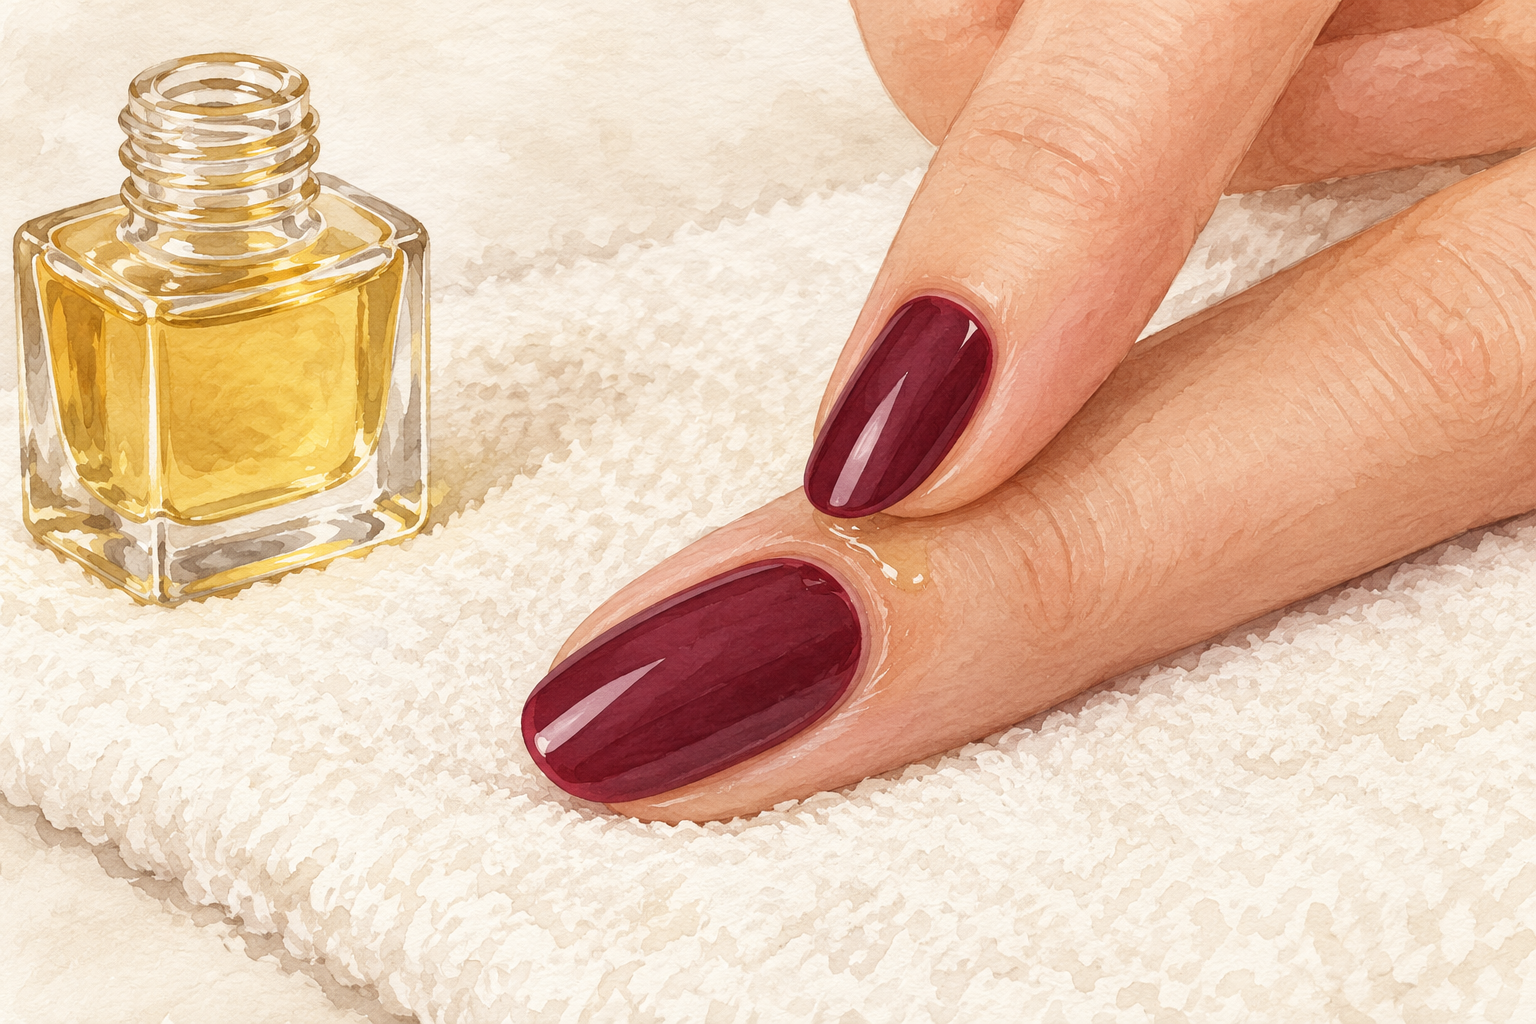
Skip the oil in the hour before you paint, and use it after the polish has dried instead. Oil on the nail surface makes polish slide off and chip sooner. Wipe your nails with a cotton pad before the base coat goes on. Once the top coat is dry, press a drop around the cuticles and skin, not on the polish itself. If you wear polish all week, keep to the cuticle and skin only. A polish break every few weeks lets the oil reach the nail itself, which gives you the best result. Even five bare days is enough to feel the difference.
11. Avoid the mistake of using too much
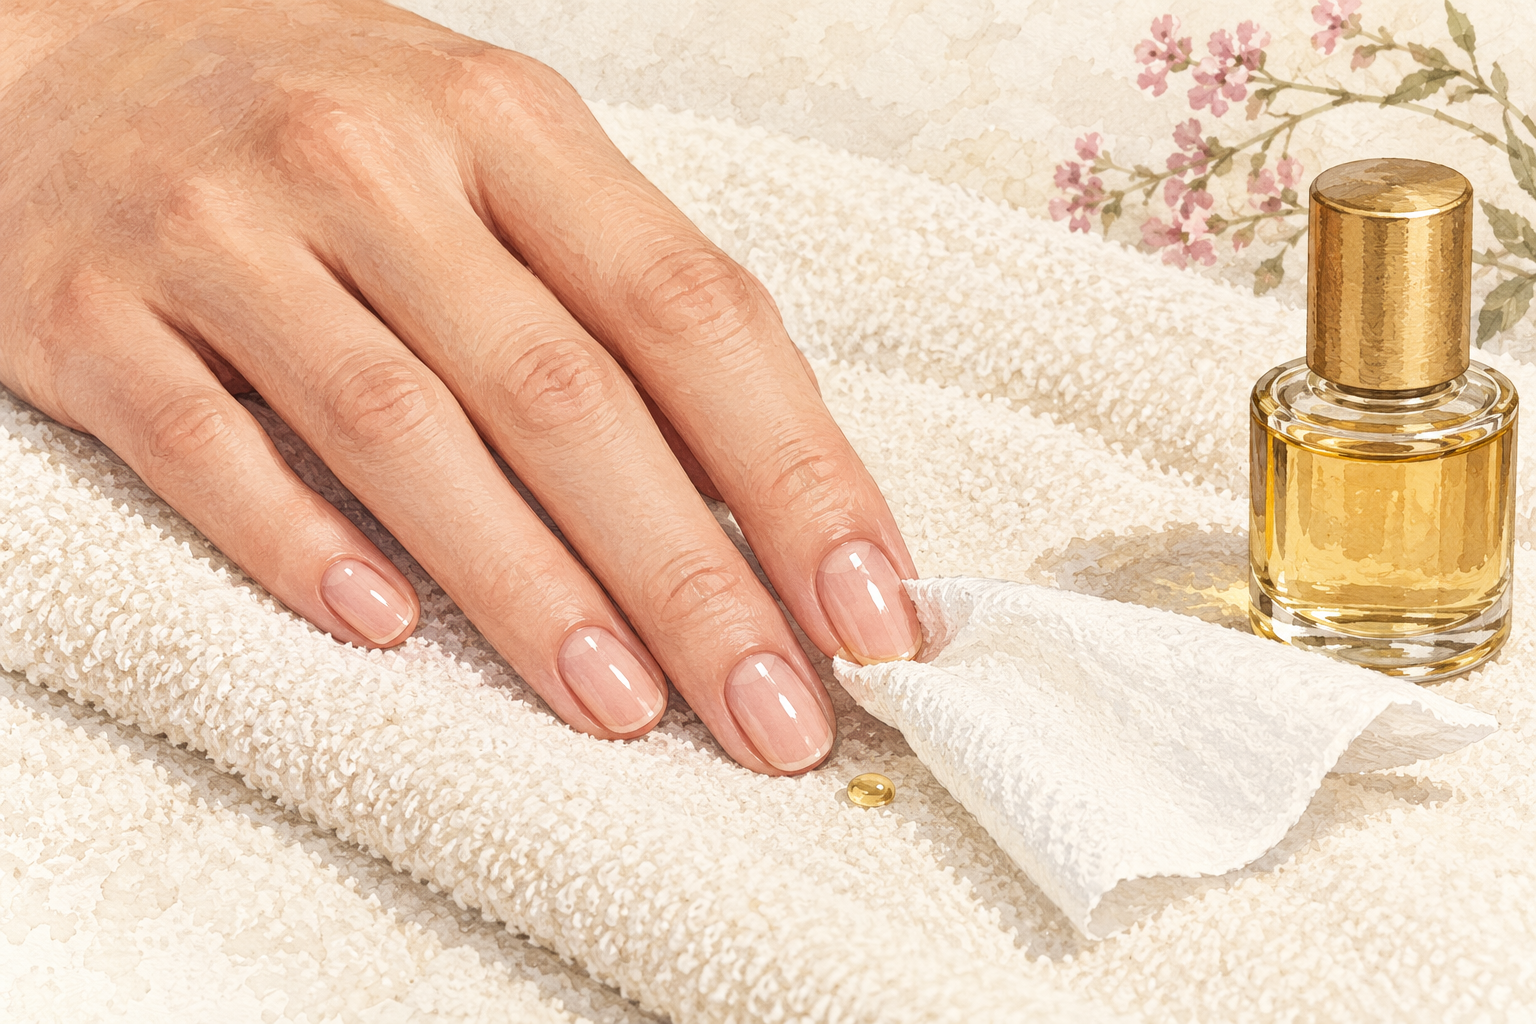
One drop per nail is enough, and more will not do more. Too much oil leaves nails soft and slippery, makes polish lift, and can clog the skin around the nail so it gets red or itchy. Never use lemon juice or strong essential oils to speed things up, and skip any oil that stings. If the skin around your nails goes red, puffy or sore, stop for a week and let it settle with plain cream. Wipe the extra off with a tissue after a minute, and press the tissue in to lift the shine from the nail. Steady and light works better than heavy, and your skin will tell you when it has had enough.
12. Know what you will likely notice
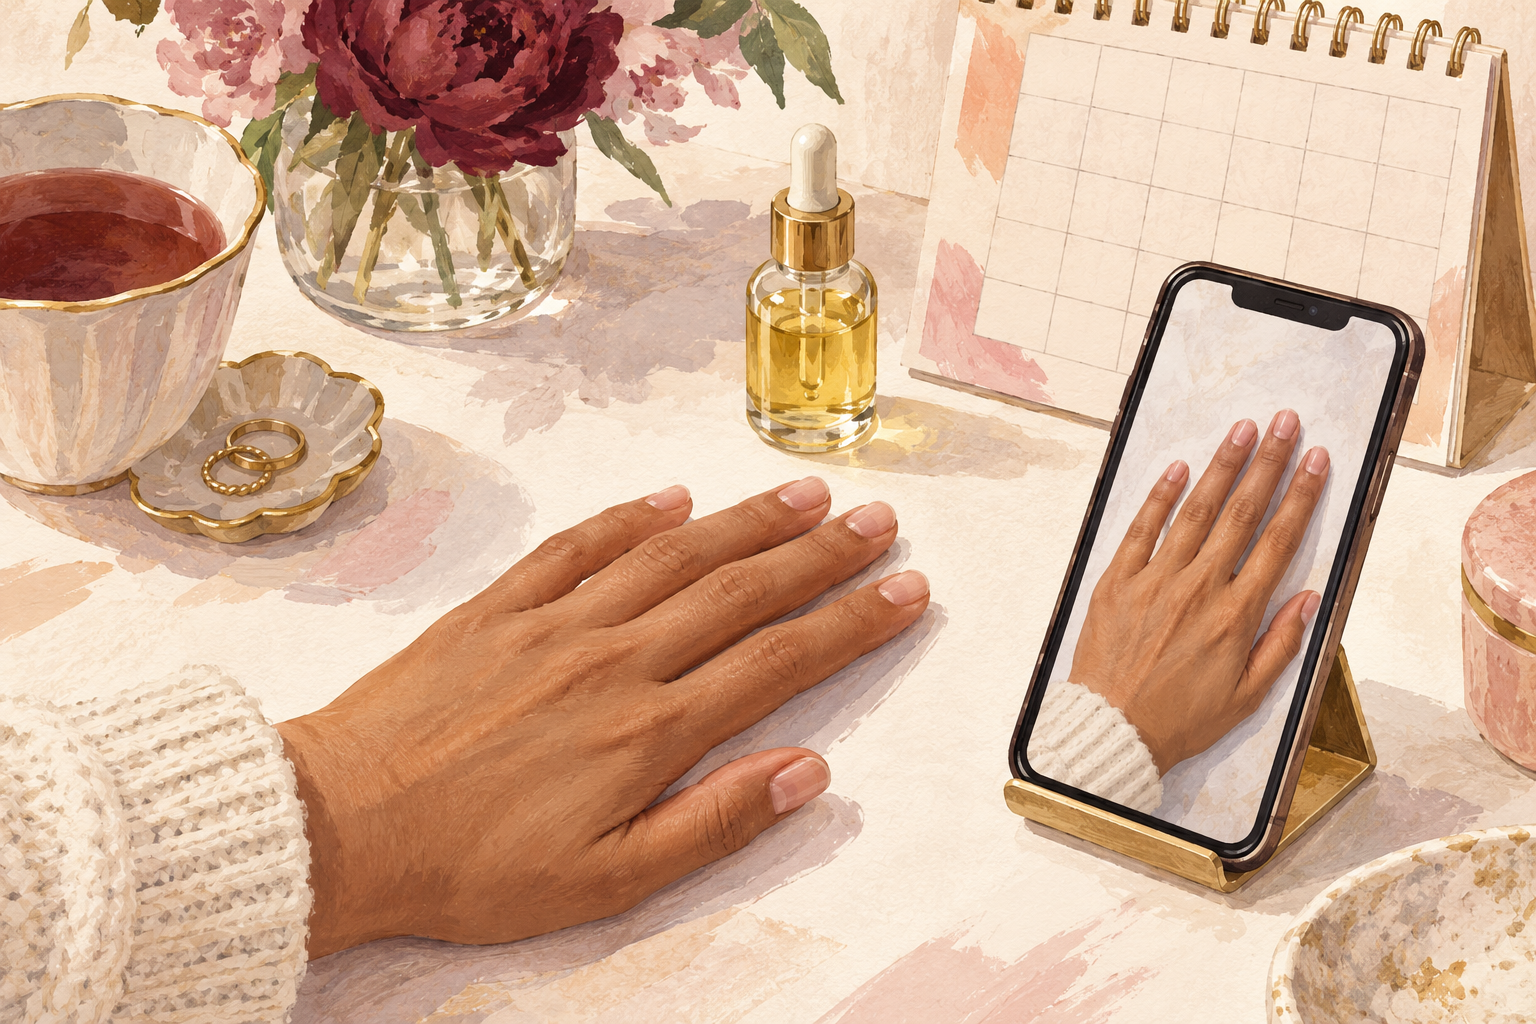
Look for softer cuticles in the first week, fewer snags by week four and visible extra length by week twelve. Nails grow only a few millimeters a month, so photos matter more than your eyes. Take one now and one every four weeks, in the same light. Nail growth oil works by stopping breakage, so you keep what grows. If your nails still split after twelve weeks, check your hand washing and glove habits next. Be patient, since a fingernail needs about four to six months to renew from base to tip, and a toenail much longer. Keep the nails short and tidy while you wait, and file any snag the moment you feel it. Measuring from photos works better than guessing, and reading about how to grow nails adds context.
Complete the Routine: Make Nail Growth Oil Part of Your Night
Tonight, patch test your oil and do the thirty second massage. Oil works best as a habit, so pick one more guide below to find its place this week and give the routine time.