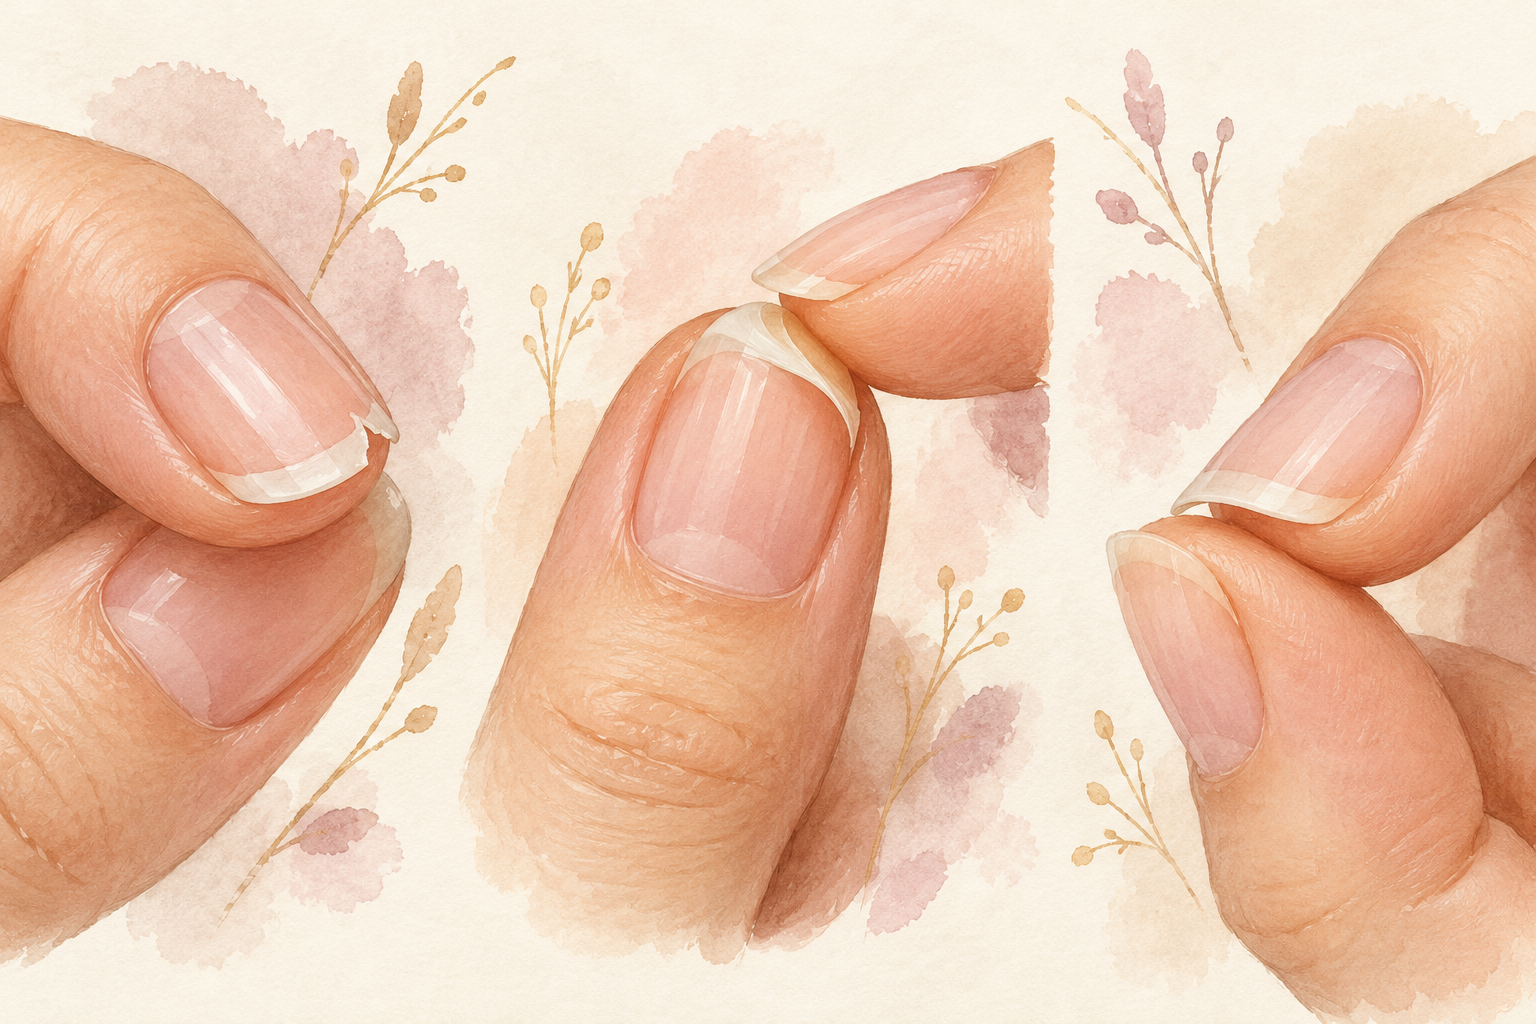
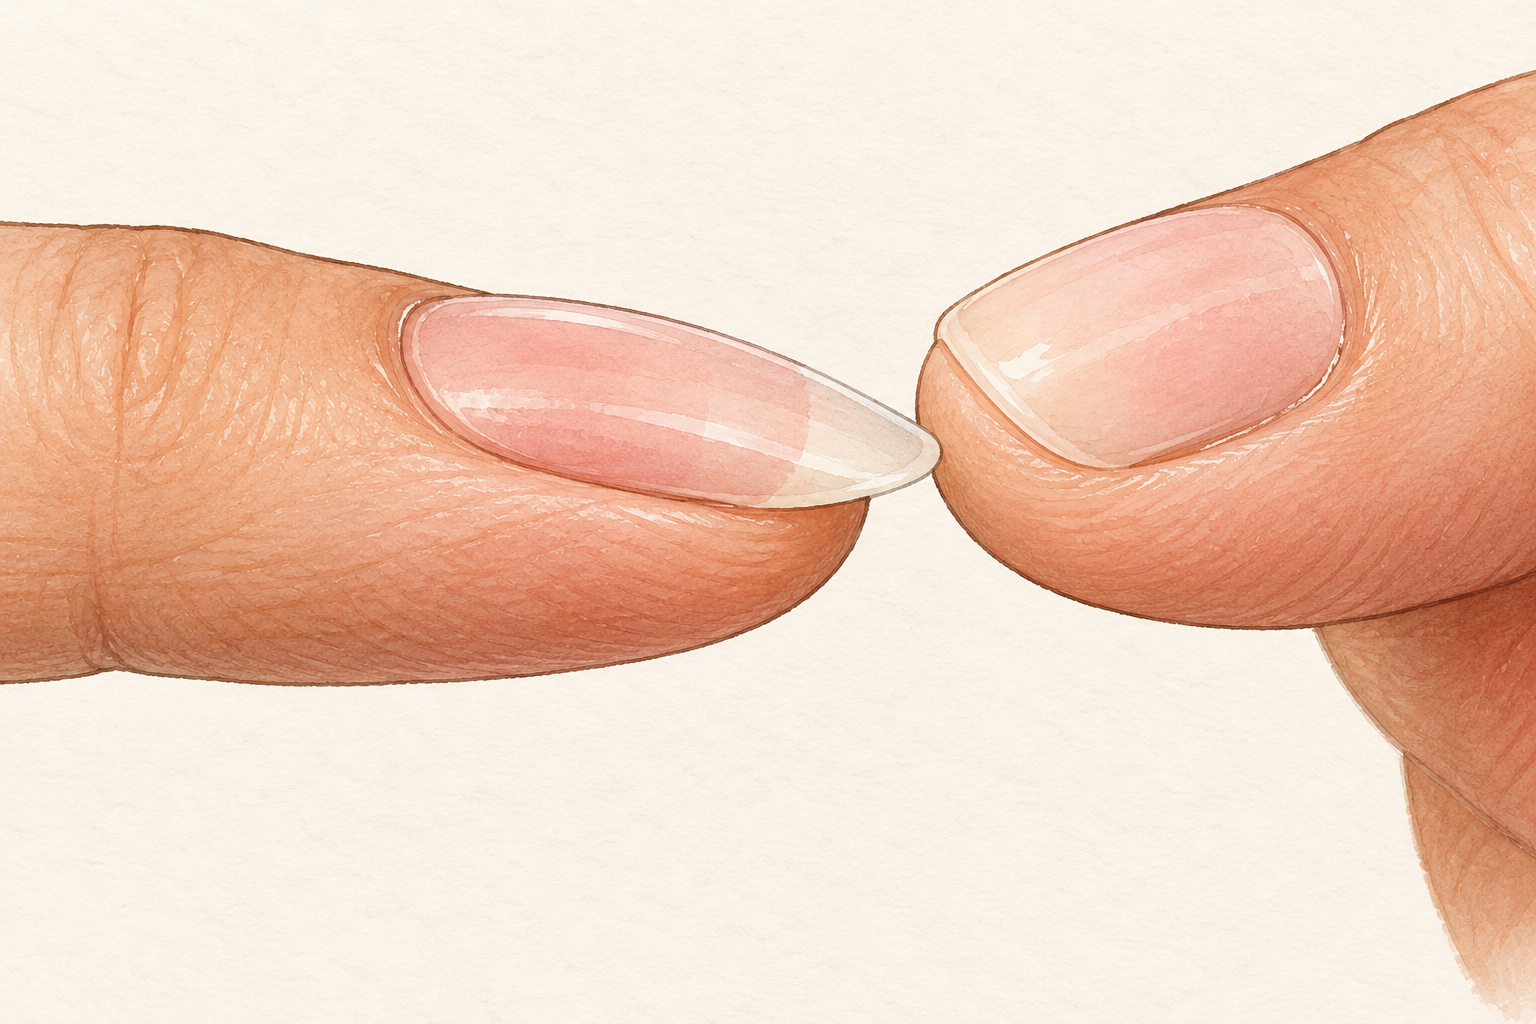
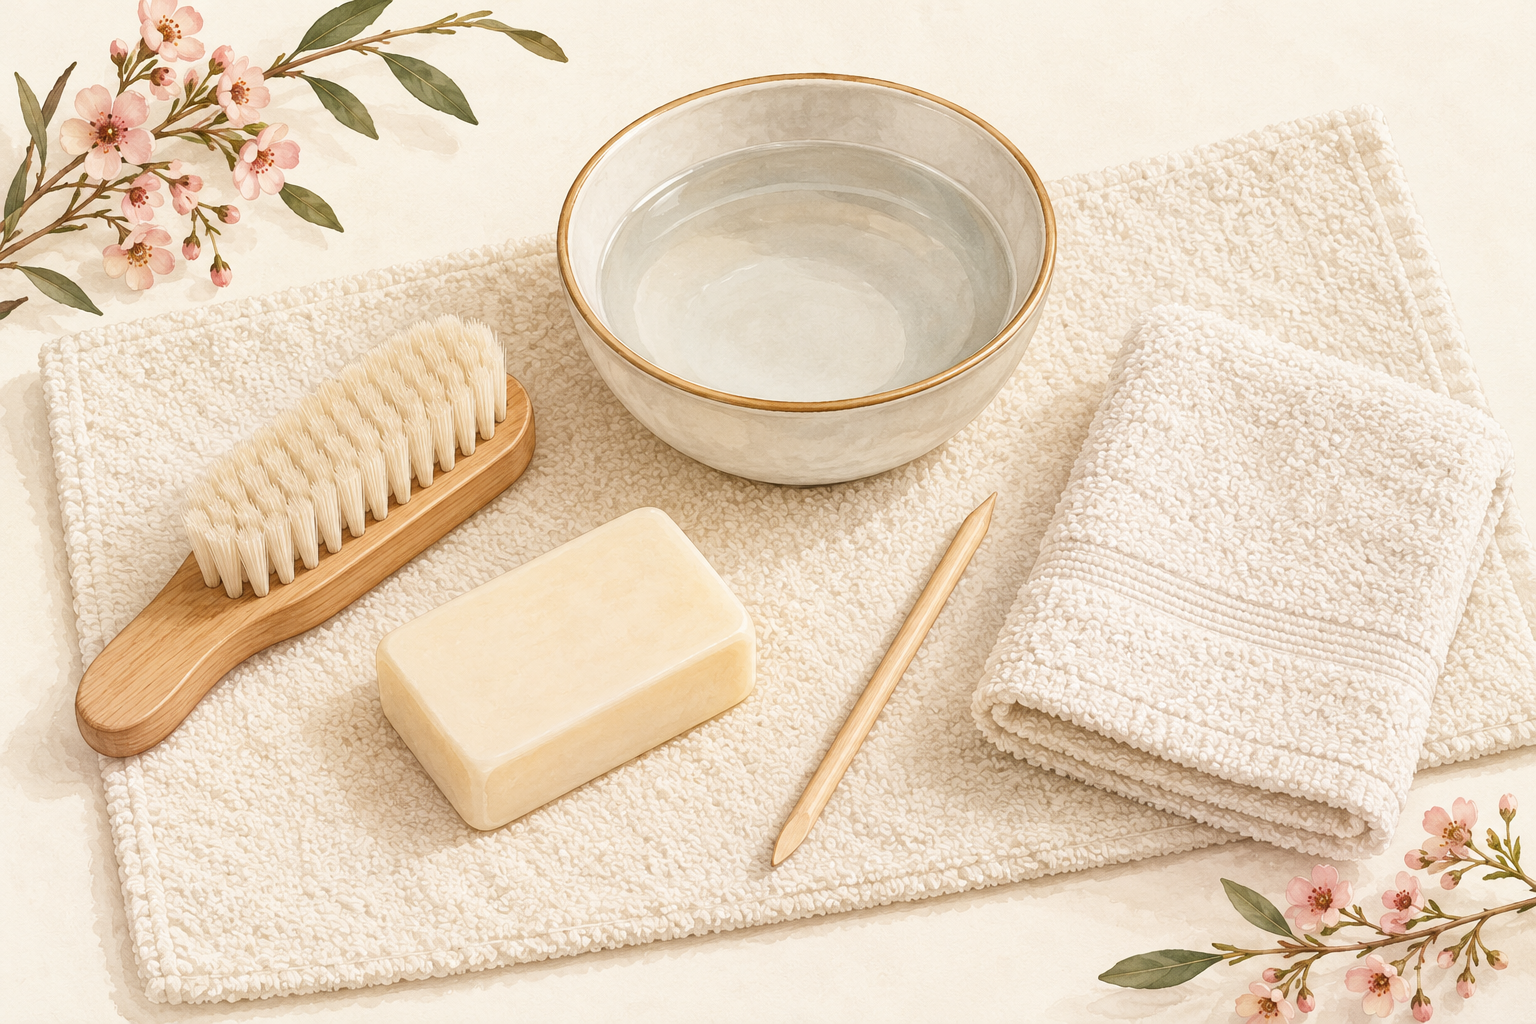
It is Wednesday, you have a meeting at ten, and your nail has split down the middle and snags on everything it touches. Do not chew it and do not rip it. A split nail repair takes about ten minutes and holds for days when you pick the right fix. These 12 steps cover tea bag patches, glue and a few no glue options, so start at number one tonight.
1. Tell a tip split from a deep crack
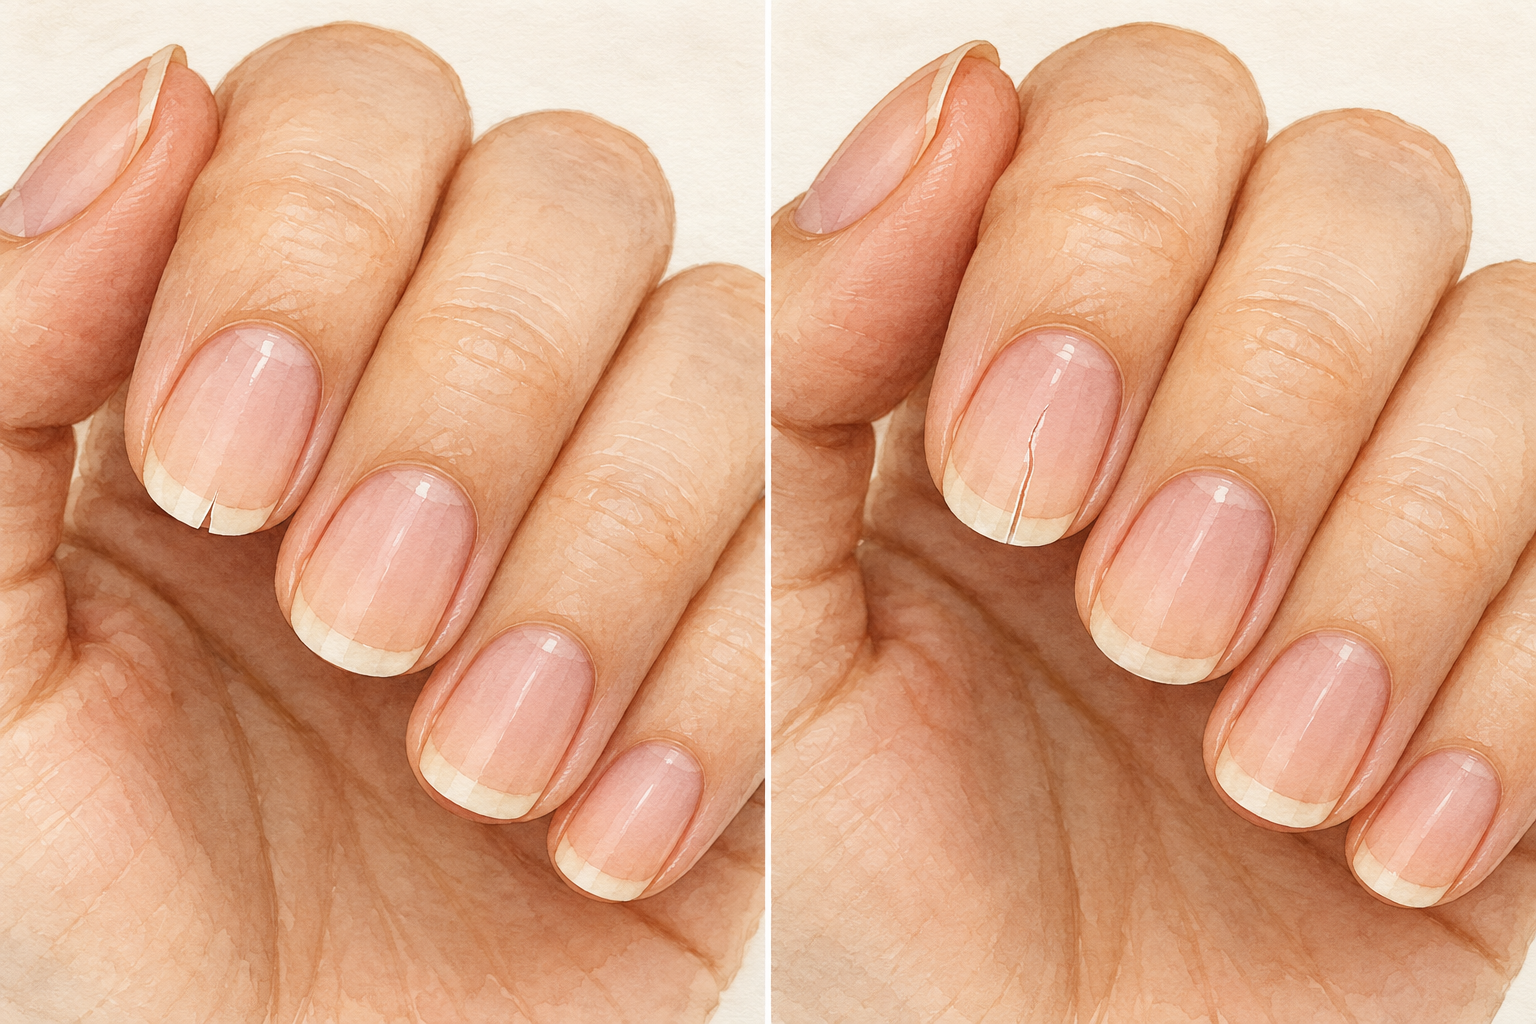
Look at the nail in bright light and see how far the split travels. A tip split is a thin line near the free edge, and it sits in the white part of the nail. A deep crack runs down into the pink, toward the skin. Tip splits are easy to fix at home with a patch or a trim. Deep cracks need a stronger patch and more care, and a crack that reaches the skin should be left alone. Press very lightly to see if the pieces move. Count how many nails are affected, because one split nail is usually a knock and many point to dryness.
2. Stop picking and smooth the edge
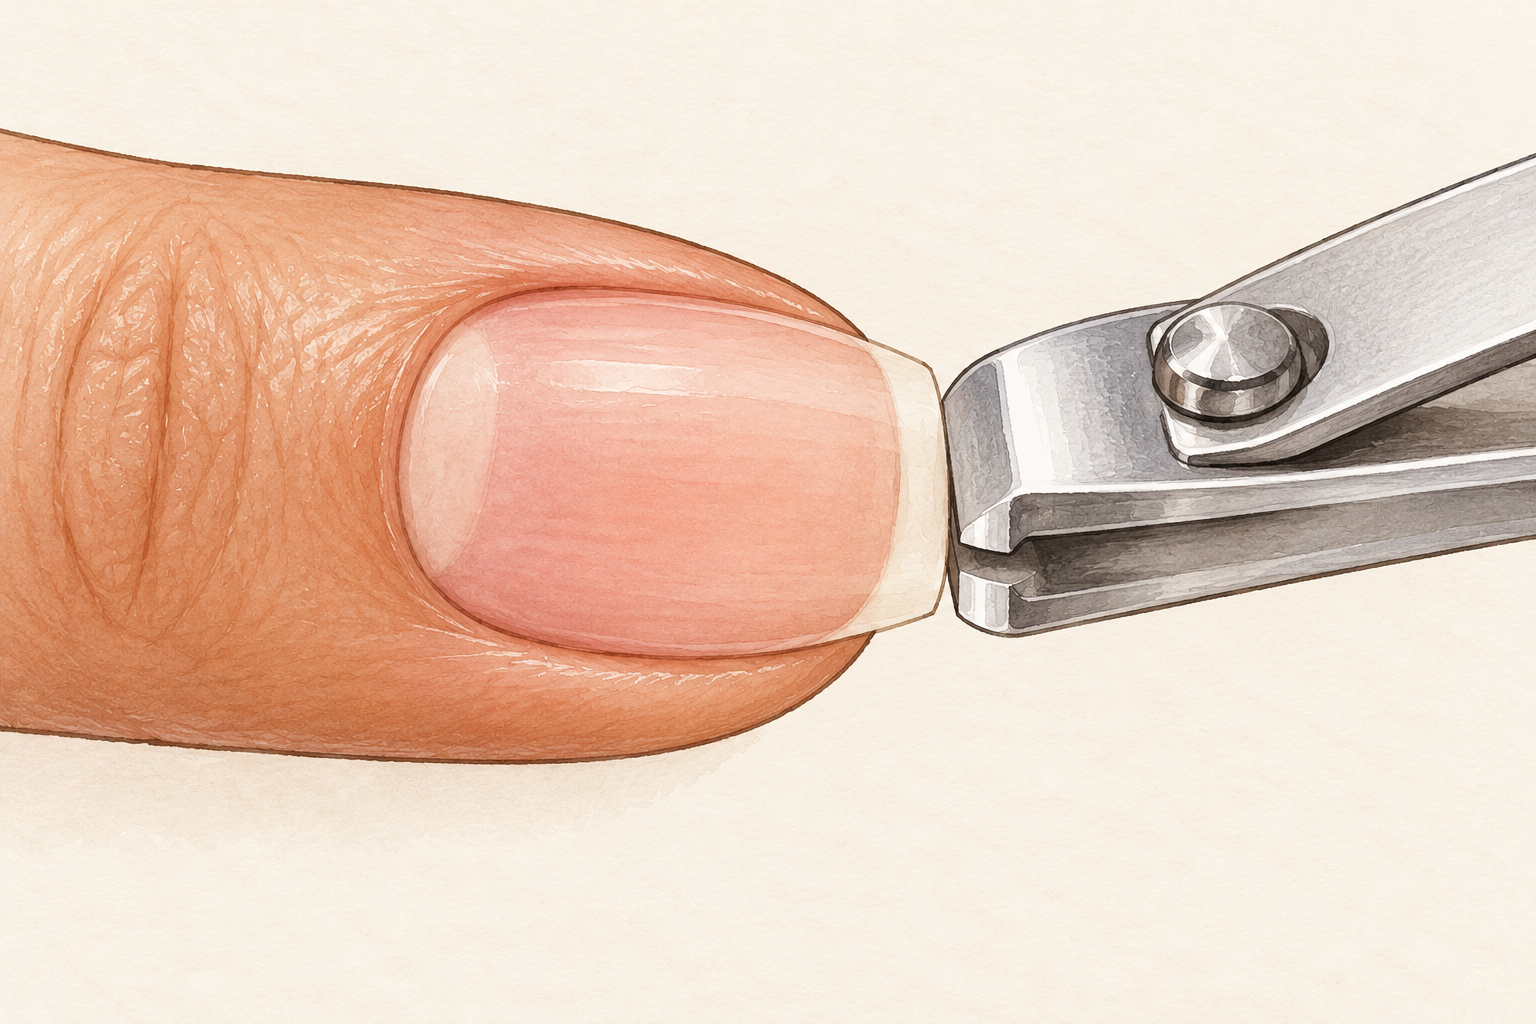
Snip away any loose flap with clean clippers, then file the edge smooth in one direction. A rough edge catches on fabric and rips the split further, so tidy it before anything else. Cut straight, in small snips, rather than tearing. Never peel the loose bit, because it pulls up healthy layers. Wash your hands afterwards and pat them dry, since a clean, dry nail is what the next steps need. If the split bleeds or hurts, stop and wrap the finger in a plaster for the day. Keep the clippers for nails only, and wipe them with a cotton pad before you start.
3. Work out what caused it
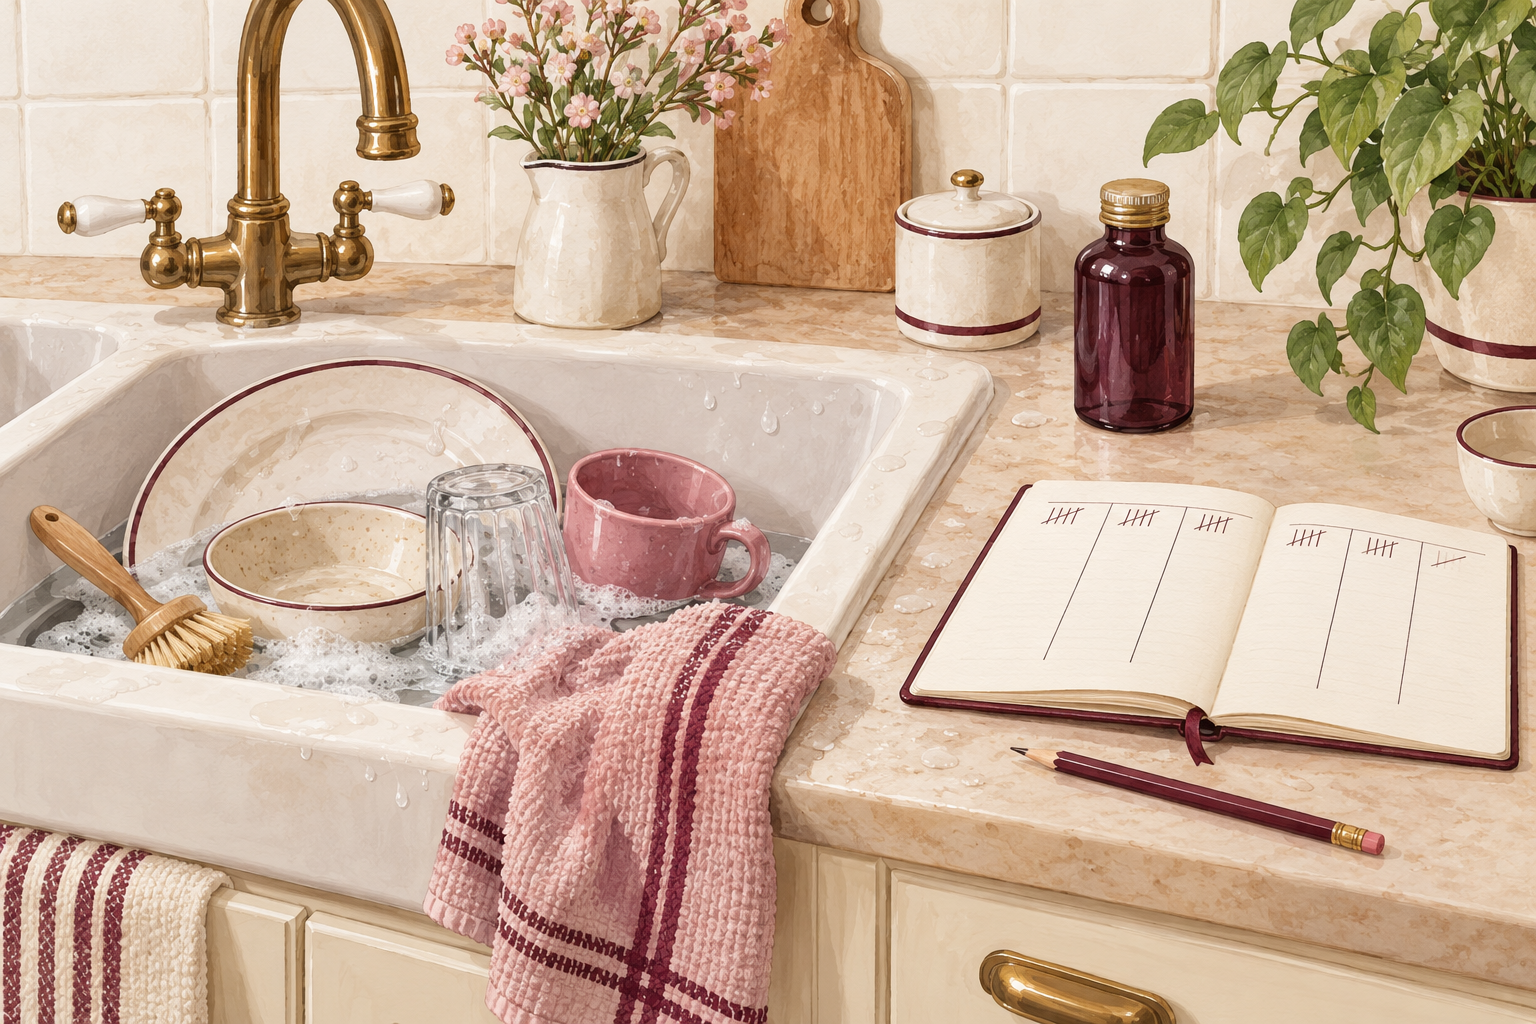
Think about what your nails went through this week. Water is the quiet culprit, because nails swell when wet and shrink as they dry, and that cycle makes them brittle. Using a nail as a screwdriver or can opener, harsh remover, and sawing at the edge with a file are the other usual suspects. Long nails snap more easily than short ones. Pick the cause you recognize and fix it first, or the split will come back as soon as the patch comes off. Look at your hands after a long shower, because pale, papery nails mean they spent too long wet.
4. Cut and place a tea bag patch
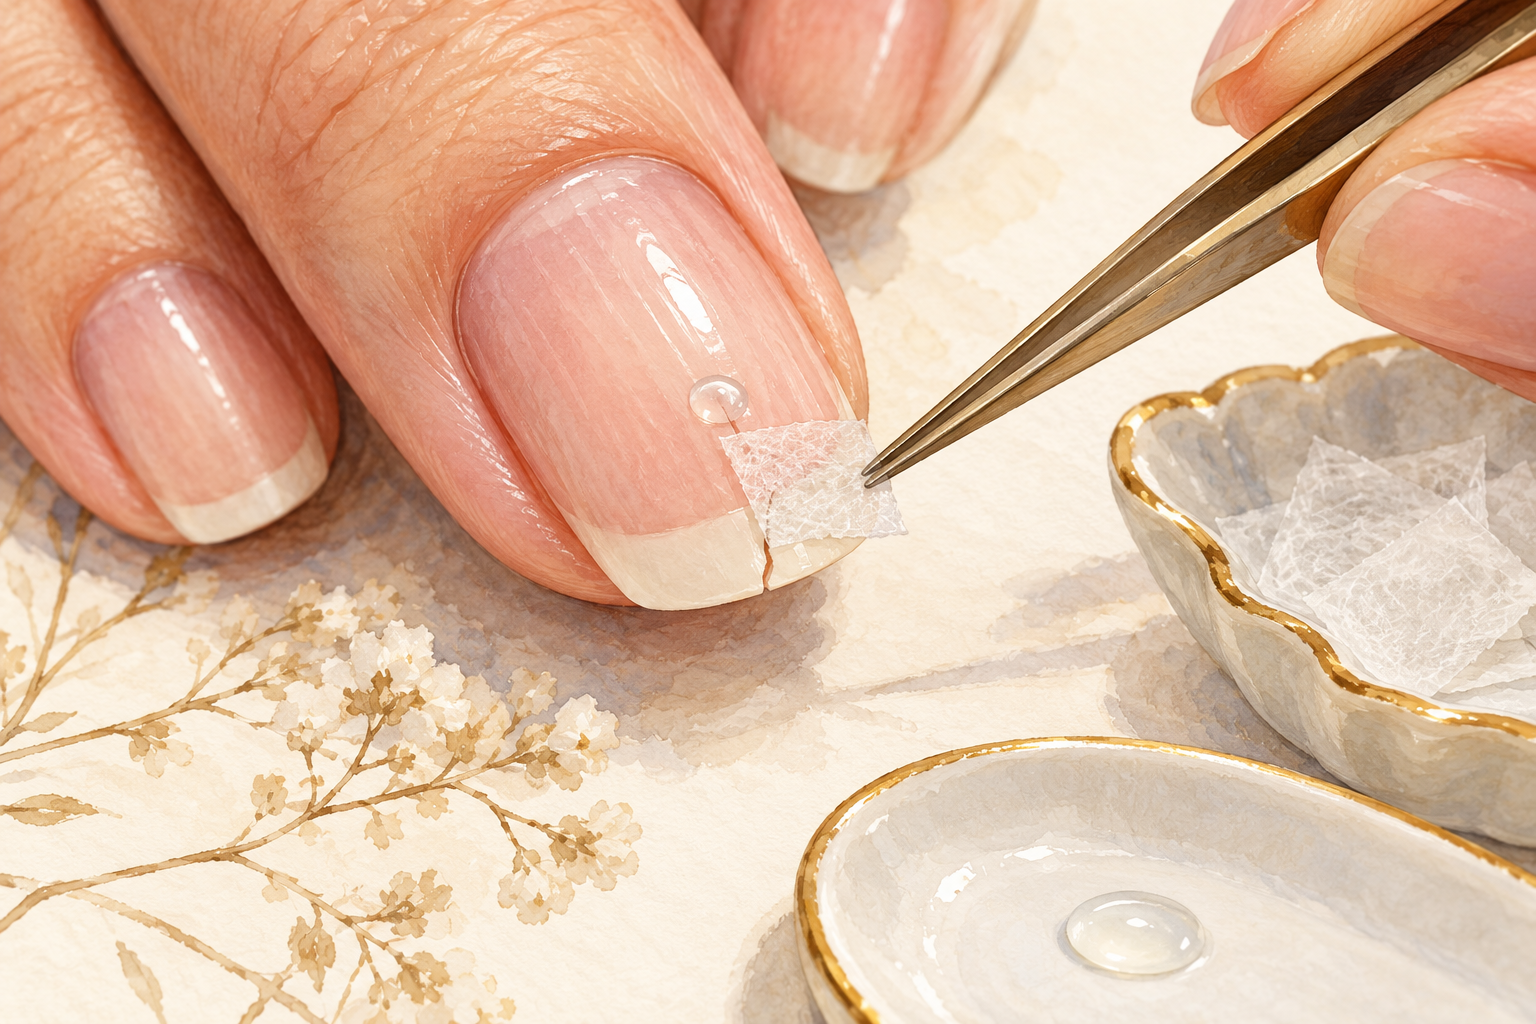
Cut a piece of tea bag paper just a little wider than the split, and lay it on a thin layer of nail glue. Empty a clean, unused tea bag, trim a tiny rectangle, and use tweezers to place it. Press it flat with the back of a stick, then add another thin coat of glue on top. Keep the glue off your skin. Let it dry for a minute between coats. The paper blends into the nail and gives the split something to hold on to. Keep the paper just over the split and off the skin, so the patch stays tidy and does not lift.
5. Use glue alone for a hairline split
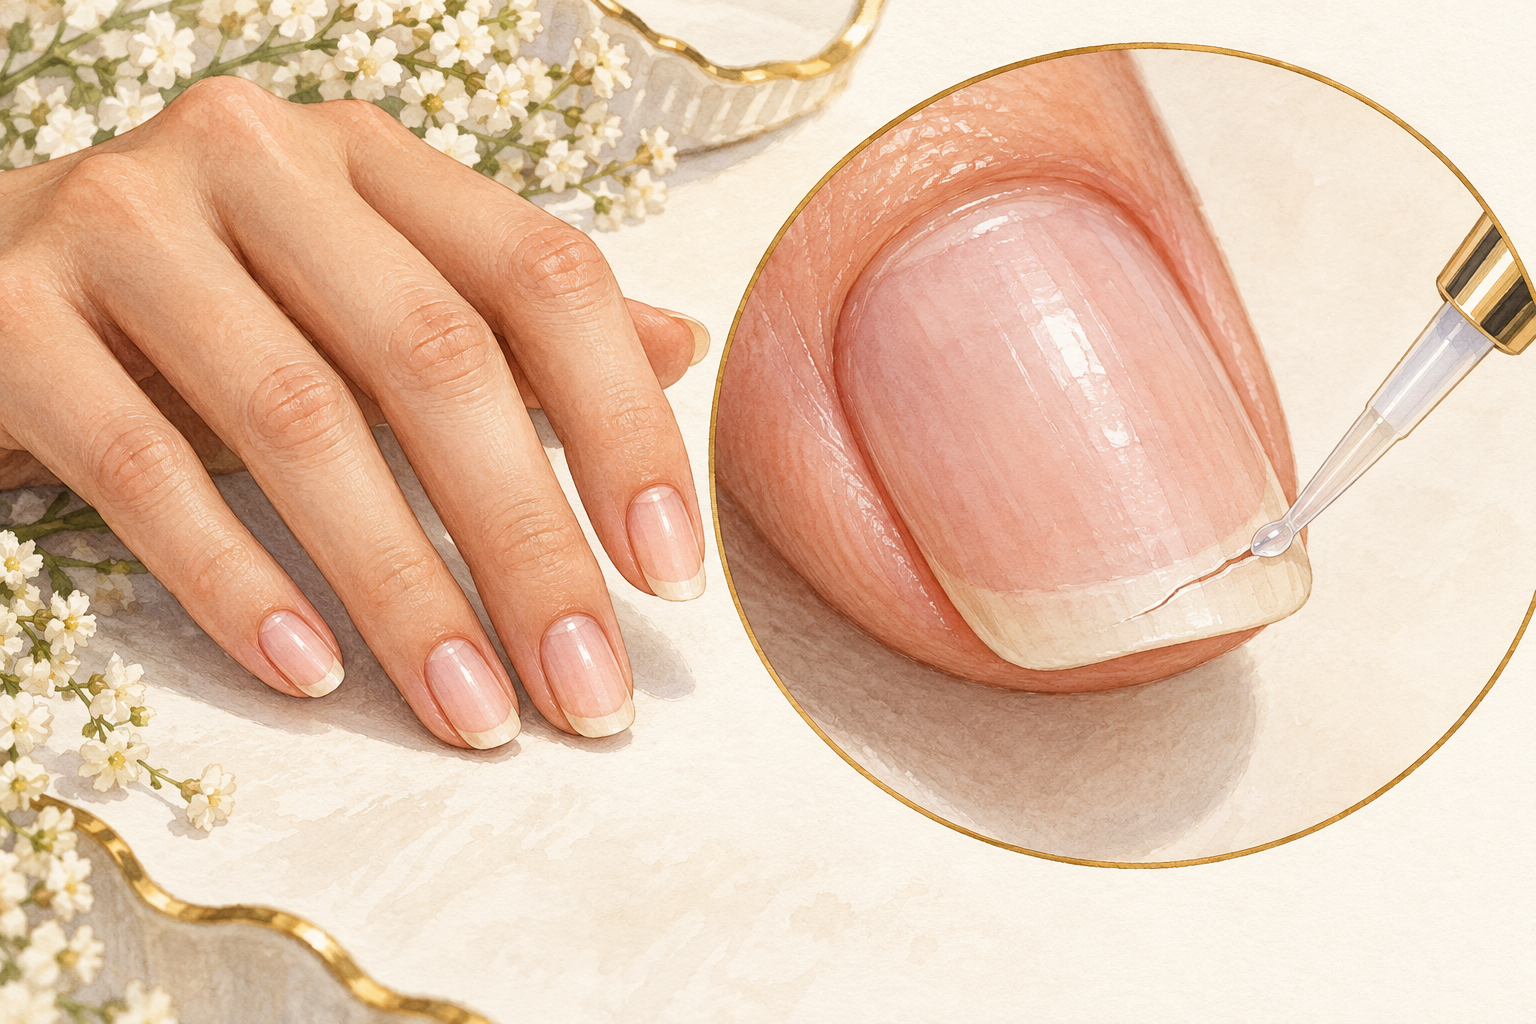
For a hairline tip split, run one tiny drop of nail glue along the line and press the edges together for ten seconds. Use as little as you can, because too much glue turns white and cloudy. Wipe the extra with a cotton bud before it dries. Hold your fingers still, and do not use the nail for the next few minutes. This is the fastest fix and it works best on short nails with a clean edge. If the split reopens, go back to the tea bag patch. Count to ten slowly while you press, and you should feel the two sides settle together like a zip closing.
6. Buff smooth and seal the patch
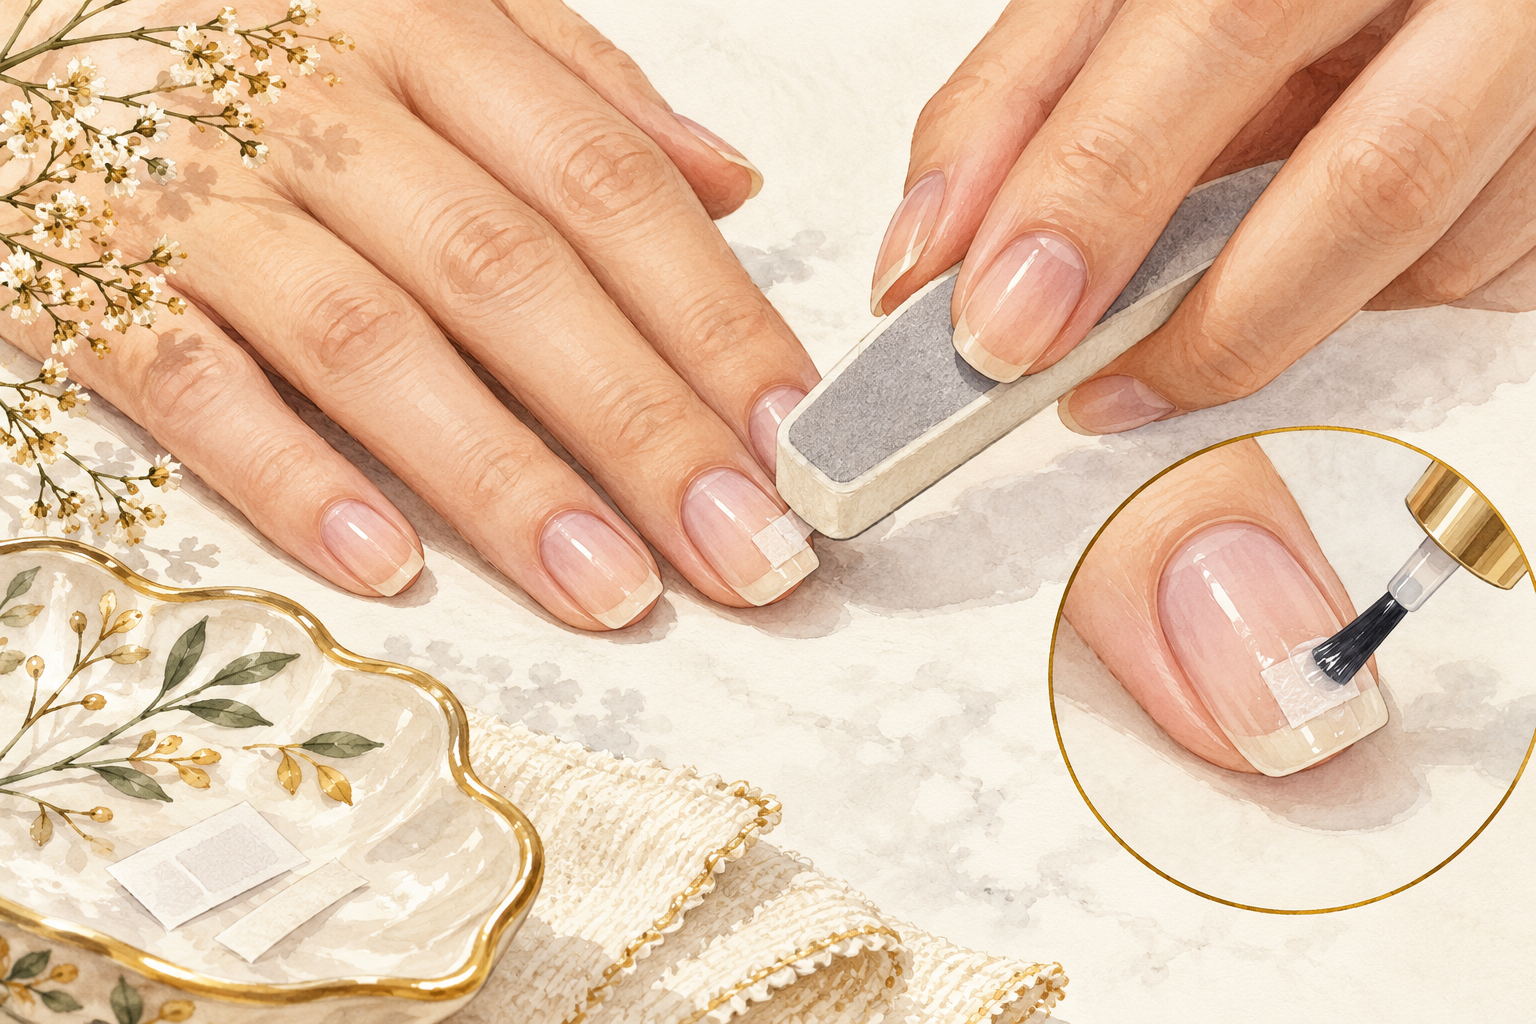
Buff the patch with the smoothest side of a buffer, using two or three light strokes, then wipe off the dust. The patch should feel flat when you slide a fingertip over it. Seal it with a thin coat of clear polish or a base coat, and let it dry for a few minutes. Add a second sealing coat on day three to keep it from lifting. Do not press hard when buffing, as you can thin the nail beneath and make it weaker. You will know it worked when a fingertip glides over the nail with no bump or catch.
7. Press clear tape over a split in a hurry
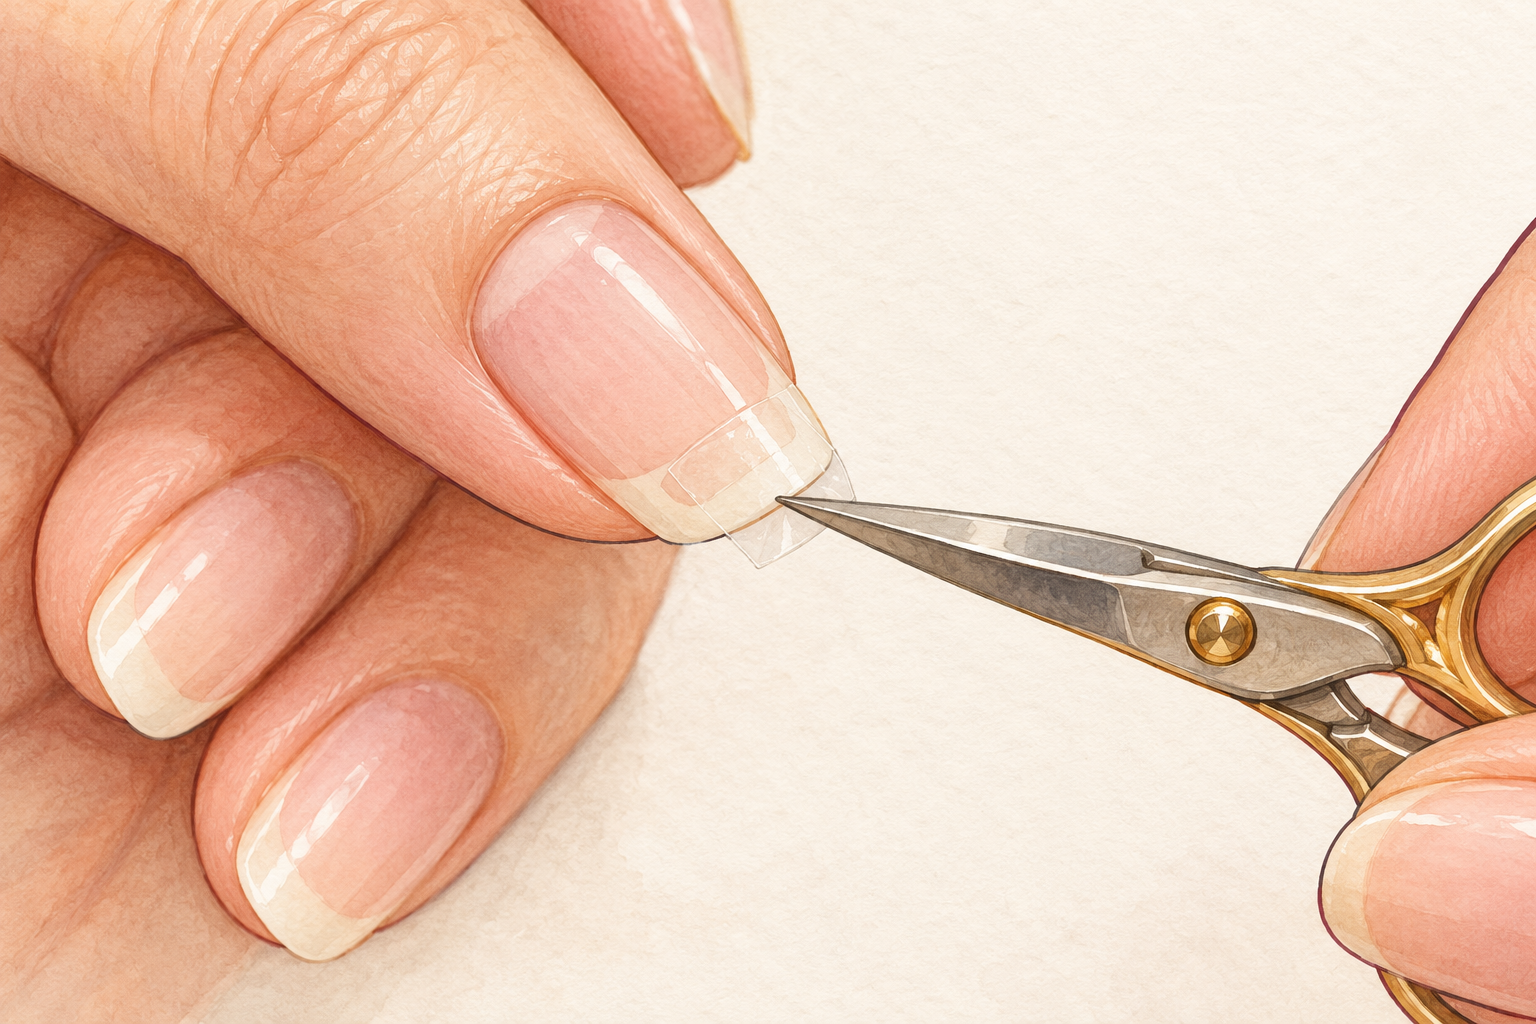
Cut a small piece of clear tape, press it over the split, and trim it neatly to the edge of the nail. This works for a day or two when you have no glue to hand. Smooth out any air bubbles with your thumbnail. Keep the tape dry, and take it off gently with a drop of oil when the day is over. It will not hold up through the washing up. It is a rescue for a busy afternoon, not a long term fix. Choose clear tape over a patterned one, and change it each morning so moisture does not sit underneath.
8. File short and pick a rounded shape
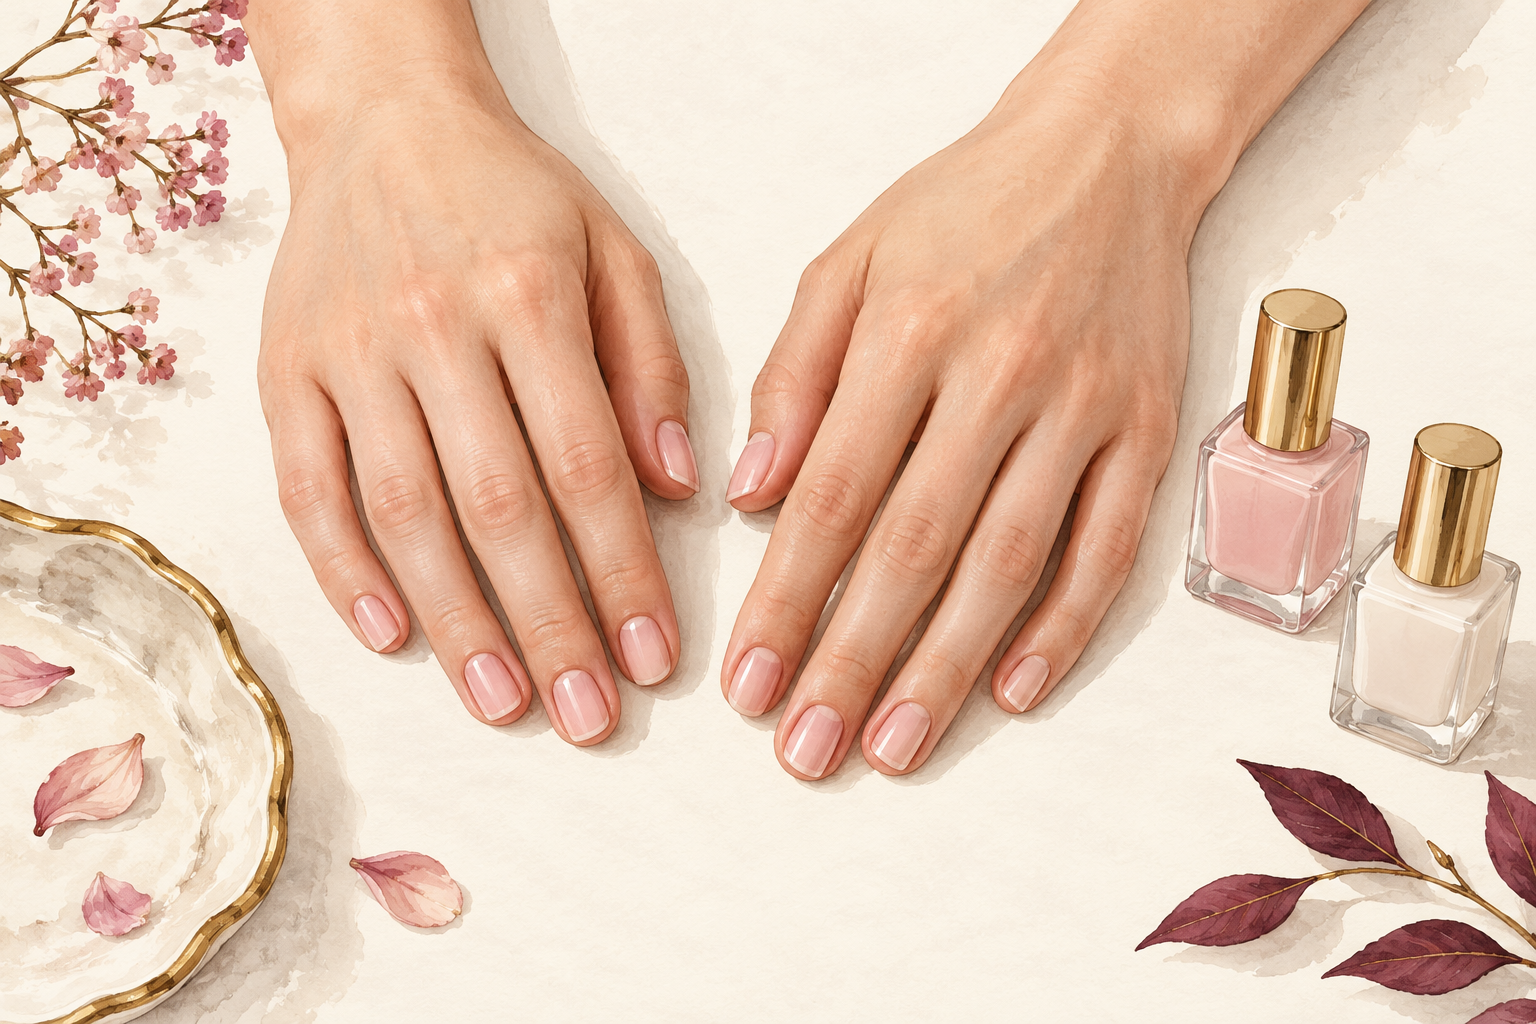
Take the nail down shorter than you want and round it softly, so the split has less to lever against. A short, rounded nail snaps far less than a long square one. File in one direction, from the side toward the middle, and do not saw. Taking off a few millimeters is a small sacrifice for a nail that grows out strong. If the split is deep, you may need to trim the nail back to where the crack stops. Run a fingertip over the new shape, and there should be no sharp corner left to catch.
9. Avoid the common patch mistakes
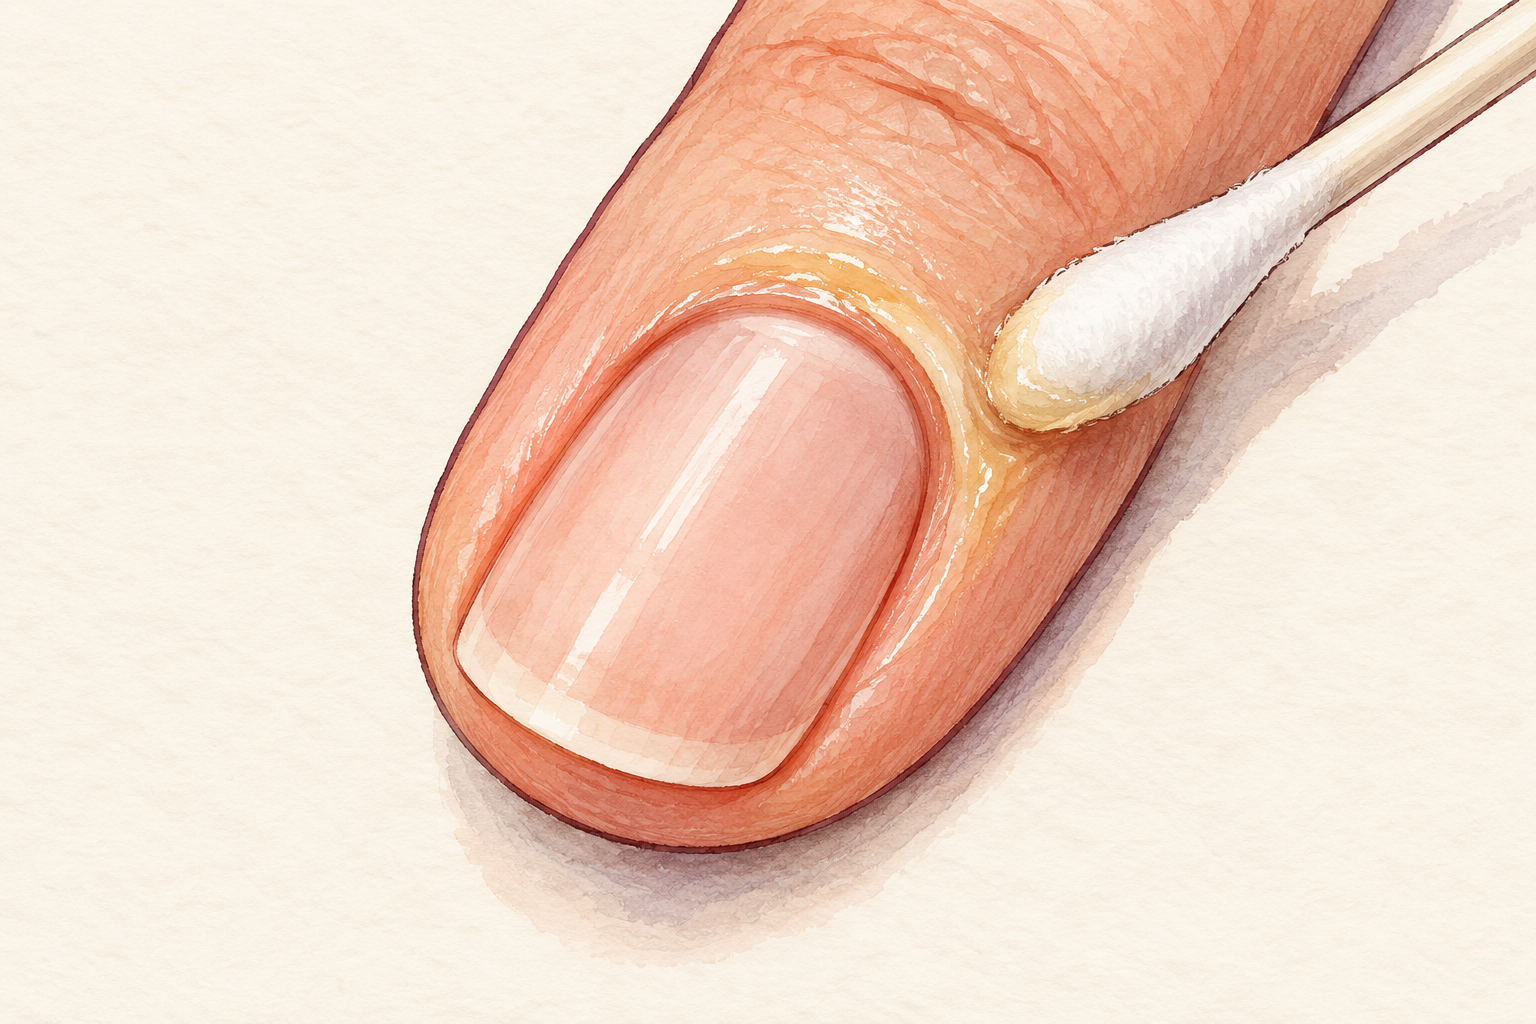
Do not use too much glue, a patch that is too big, or glue that touches the skin. A thick blob never dries properly, and it lifts at the edges within a day. A patch that overlaps the sides catches on fabric. Do not use household super glue, because it is not made for nails or skin. Do not paint over wet glue. Work in a small, calm area with a lid on the glue bottle, and wash off any glue that lands on you. If a patch lifts after one day, take it off with remover and start again with less glue, because gluing over a lifted patch never lasts.
10. Oil every night while it grows out
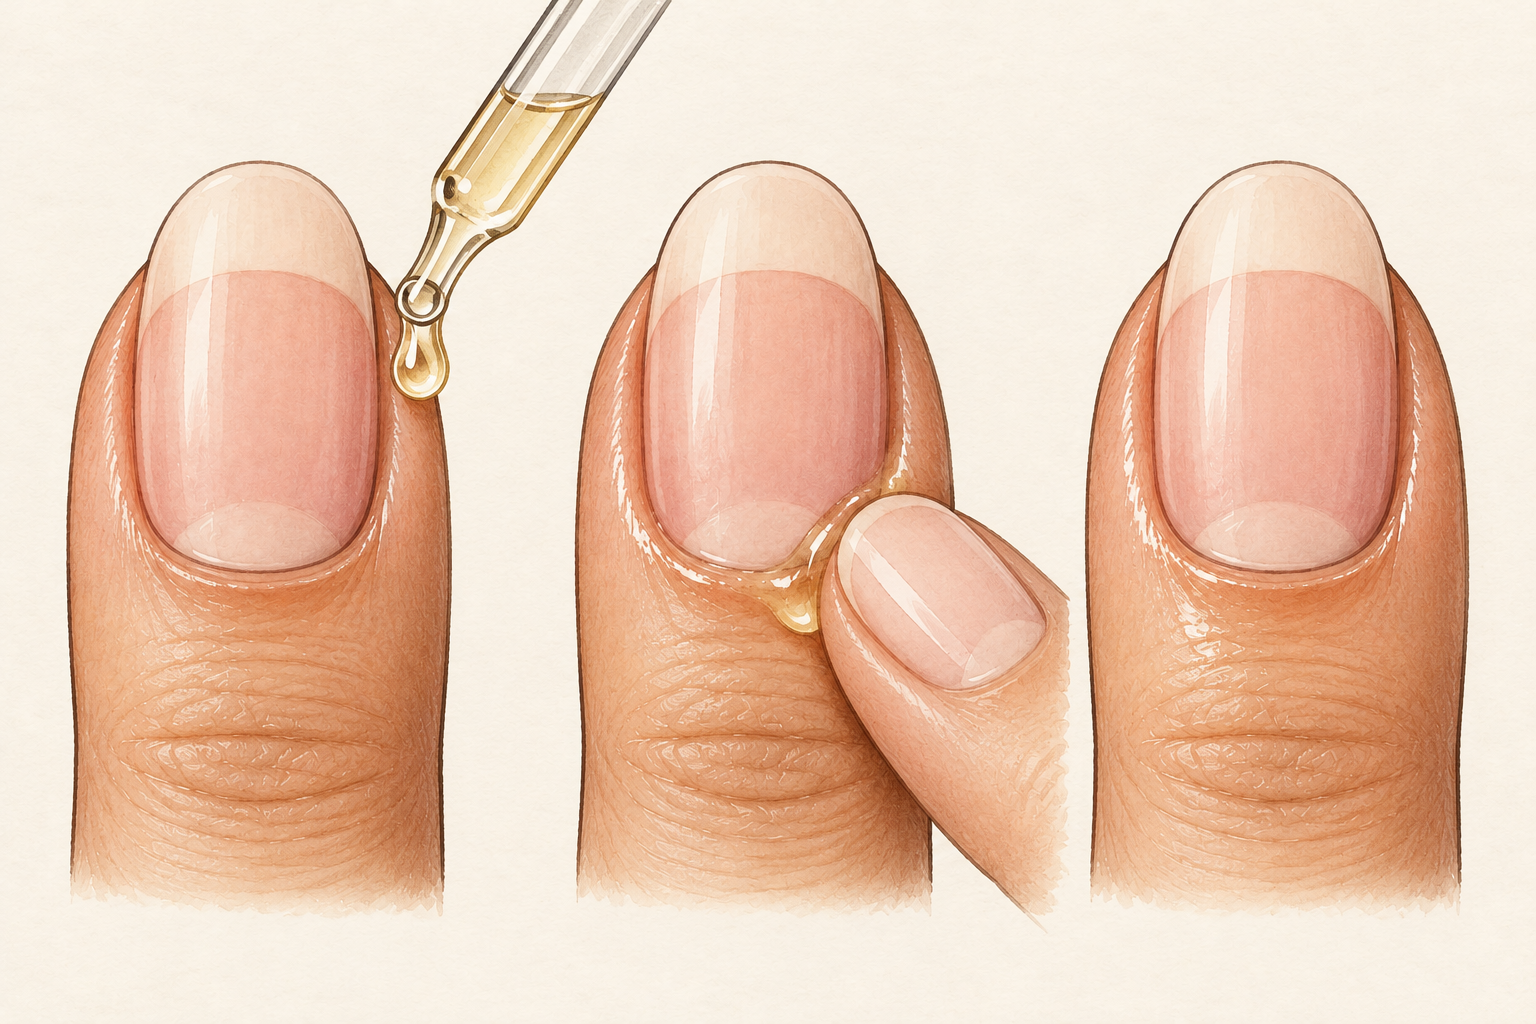
Press a drop of oil into each cuticle every evening and massage the nail for ten seconds. Oil keeps the nail flexible, so it bends instead of breaking. The patch holds the split together, but only new growth will replace it. A nail needs four to six months to grow out fully, so keep the routine going. Do it before bed, when your hands are still. Hand cream after every wash helps too, because water is what dries them out. Good split nail repair carries on after the patch is on, so treat the oil as part of the fix. Oil and patch together, and when you want the strength side, open how to strengthen nails.
11. Glove up for chores and use tools
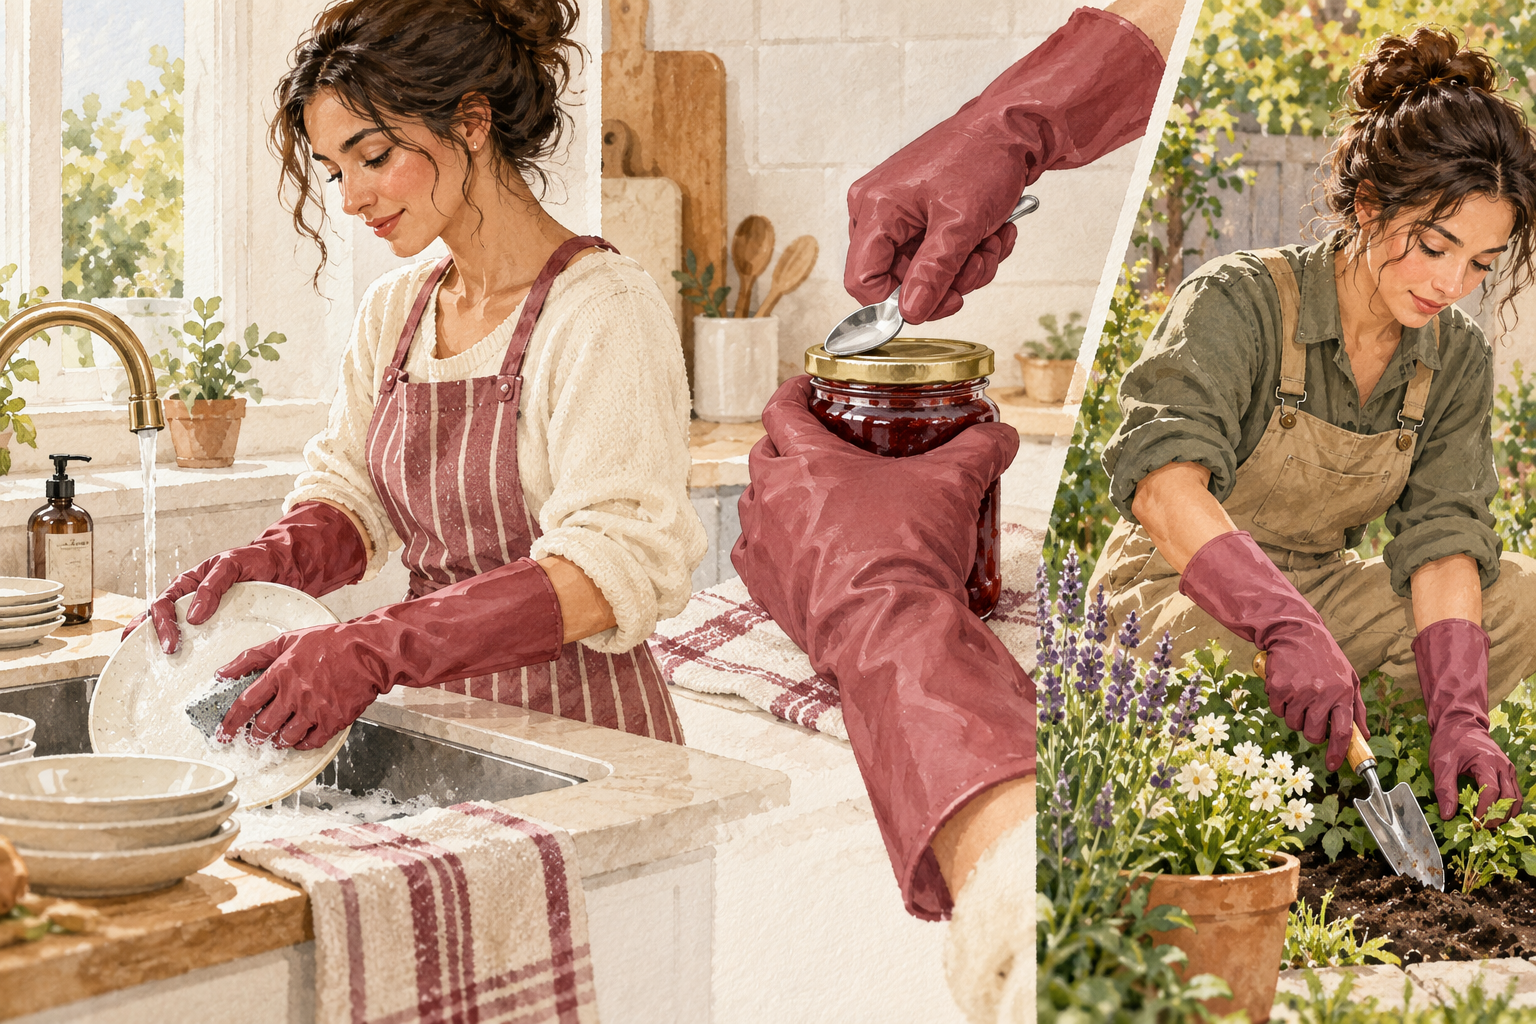
Wear gloves for washing up and cleaning, and use a spoon edge or a key to lift lids instead of your thumbnail. Water and prying are the two habits that split nails again. Your patch will last longer, and so will your polish. Keep gloves on the tap so you reach for them. Small changes add up faster than any treatment. If you type a lot, use the pads of your fingers instead of the tips. Wear gloves for garden work too, since soil packs under the tip and wet leaves are hard on nails. Everyday habits count for as much as products, so try healthy nails when you want the goal in view.
12. Check again in four weeks
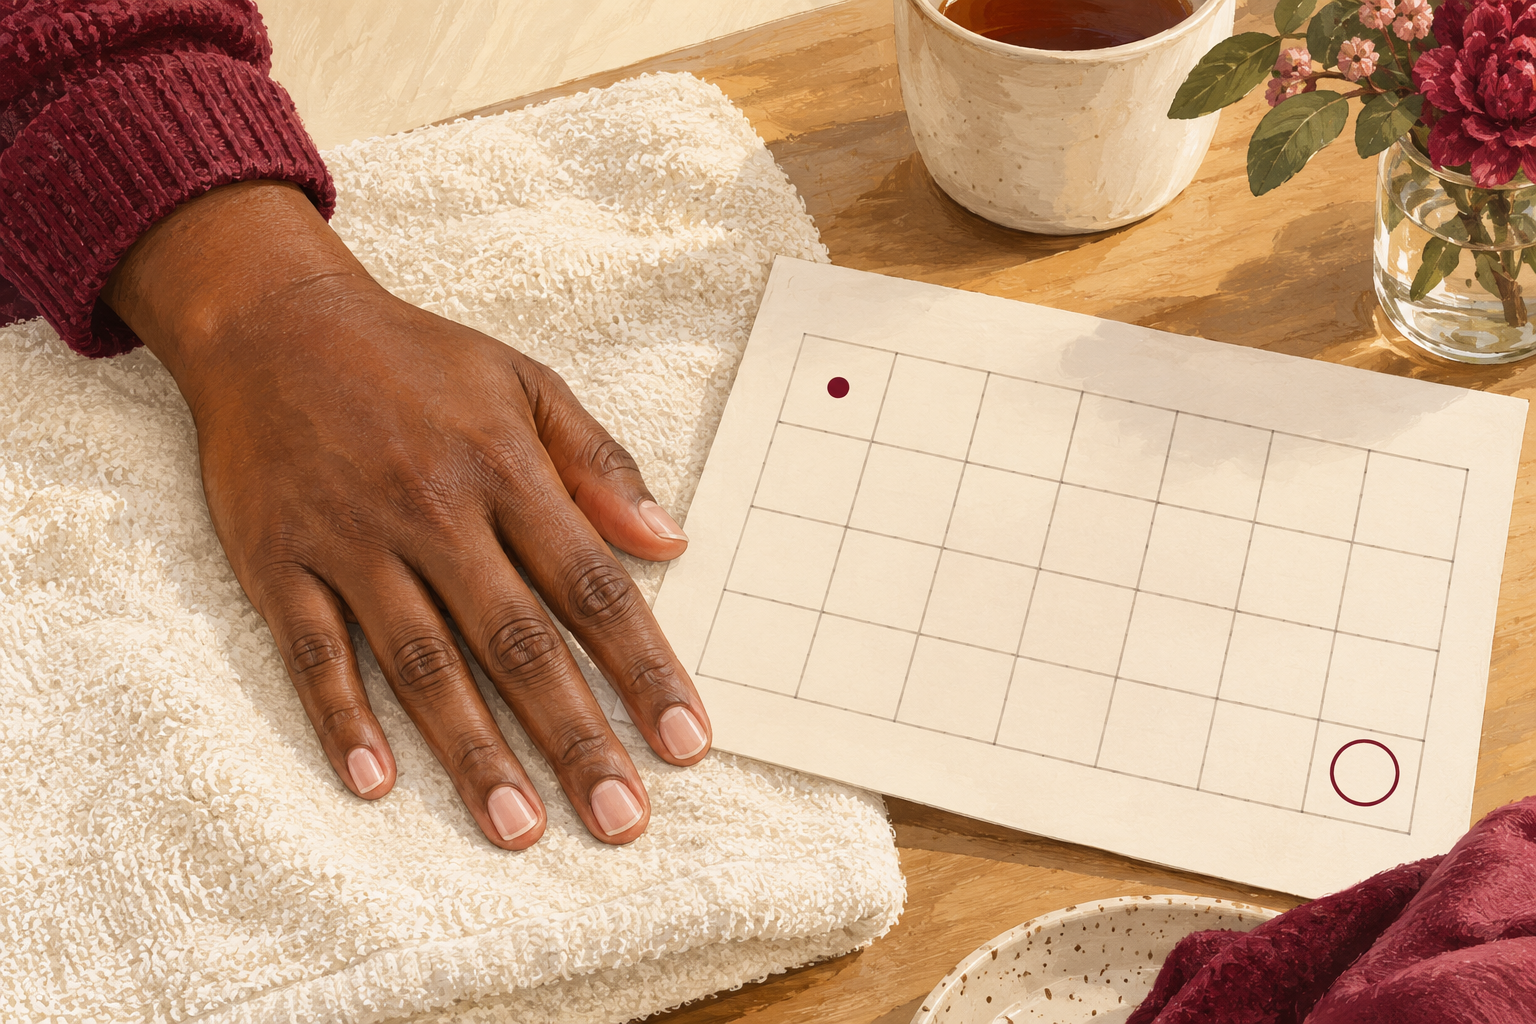
Look at your nails on the same day each week, and mark a date four weeks ahead for a proper check. In week one the patch should hold and the split should not spread. By week four you should see new, solid growth above the old split. By week eight the repaired section will have grown close to the tip and can be trimmed away. Take a photo today so you can see the new growth line move up the nail. If a nail is painful, red or swollen, or splits keep coming back on every finger, see your doctor.
Complete the Routine: Split Nail Repair That Lasts
Tonight, smooth the edge, patch the split and press in a drop of oil. Splits take a few weeks to settle, so be gentle with yourself while the nail grows. The guides below cover the rest of the routine when you want more.