You saw a mirror finish online, rubbed some powder on your own nails, and got dull gray streaks and a patchy shine. Chrome looks like magic, but it comes down to a dark base, a tacky layer and a firm rub. Here are 12 steps for how to do chrome nails with no streaks, so start at number one tonight.
1. Gather your chrome kit
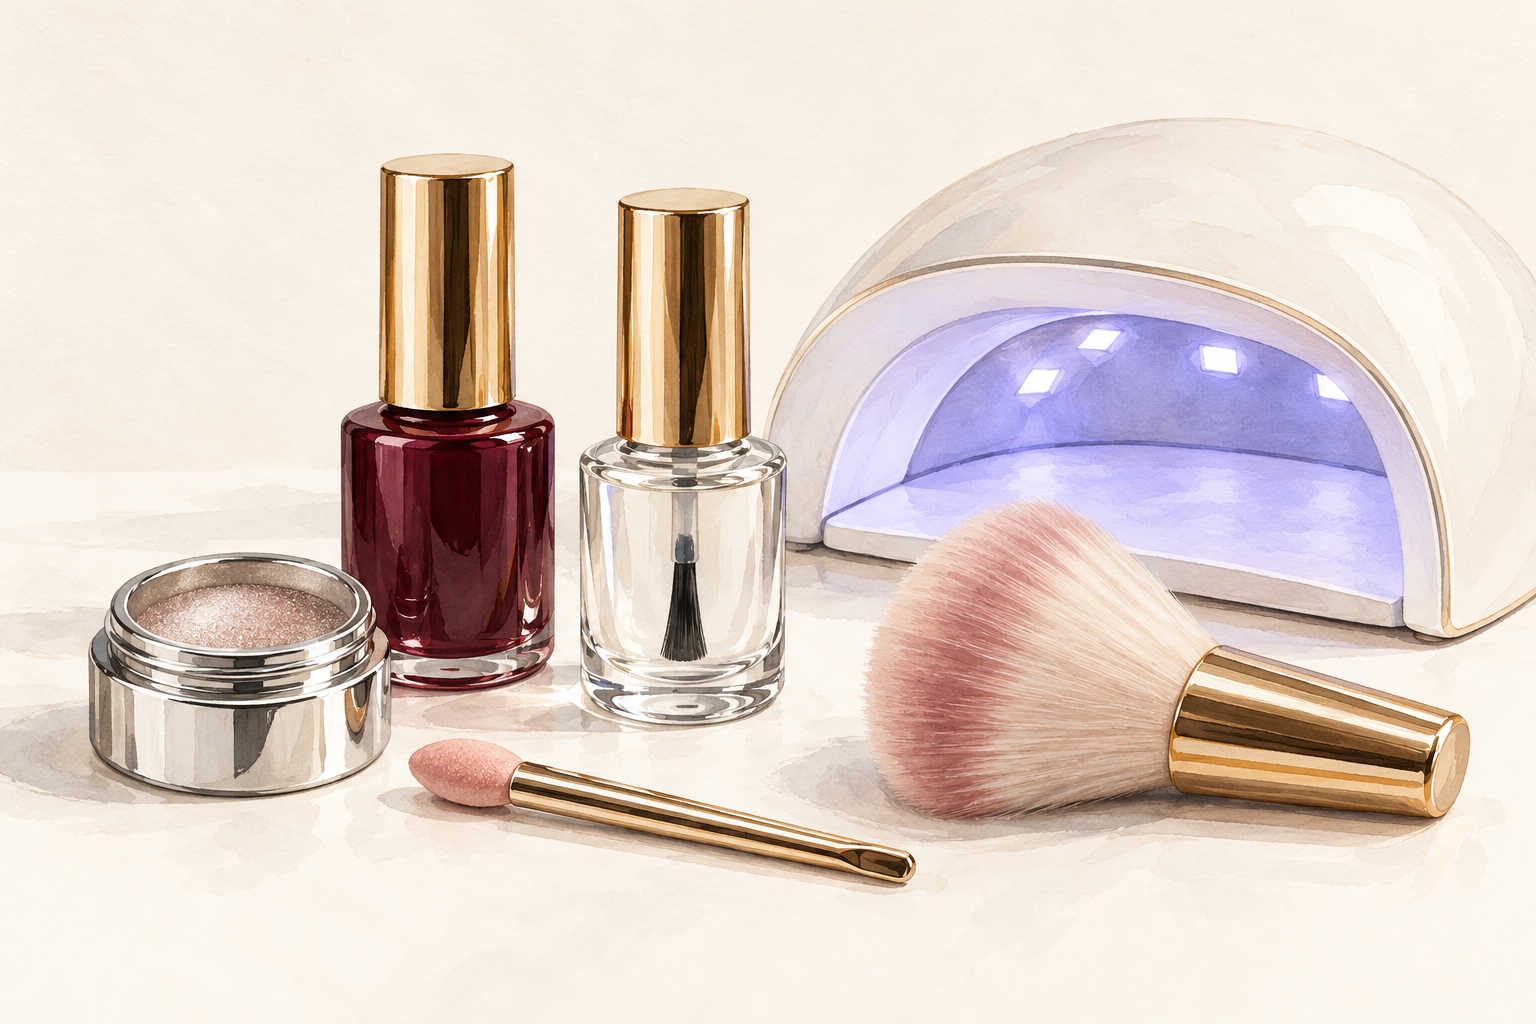
Set out chrome powder, a silicone or sponge applicator, a dark gel color, a no wipe top coat, a lamp and a soft brush. Chrome powder only sticks to cured gel, so you need a lamp for this design. The no wipe top coat is the star, because it is the base that the powder grabs. A dark base makes the mirror look deeper, and black is the classic choice. Keep a dry cotton bud nearby, plus a small pot for the dust. Put a sheet of paper under your hand, because the powder is very fine and flies everywhere. Learning how to do chrome nails is mostly about having these few things within reach.
2. Prep the nails and protect your skin
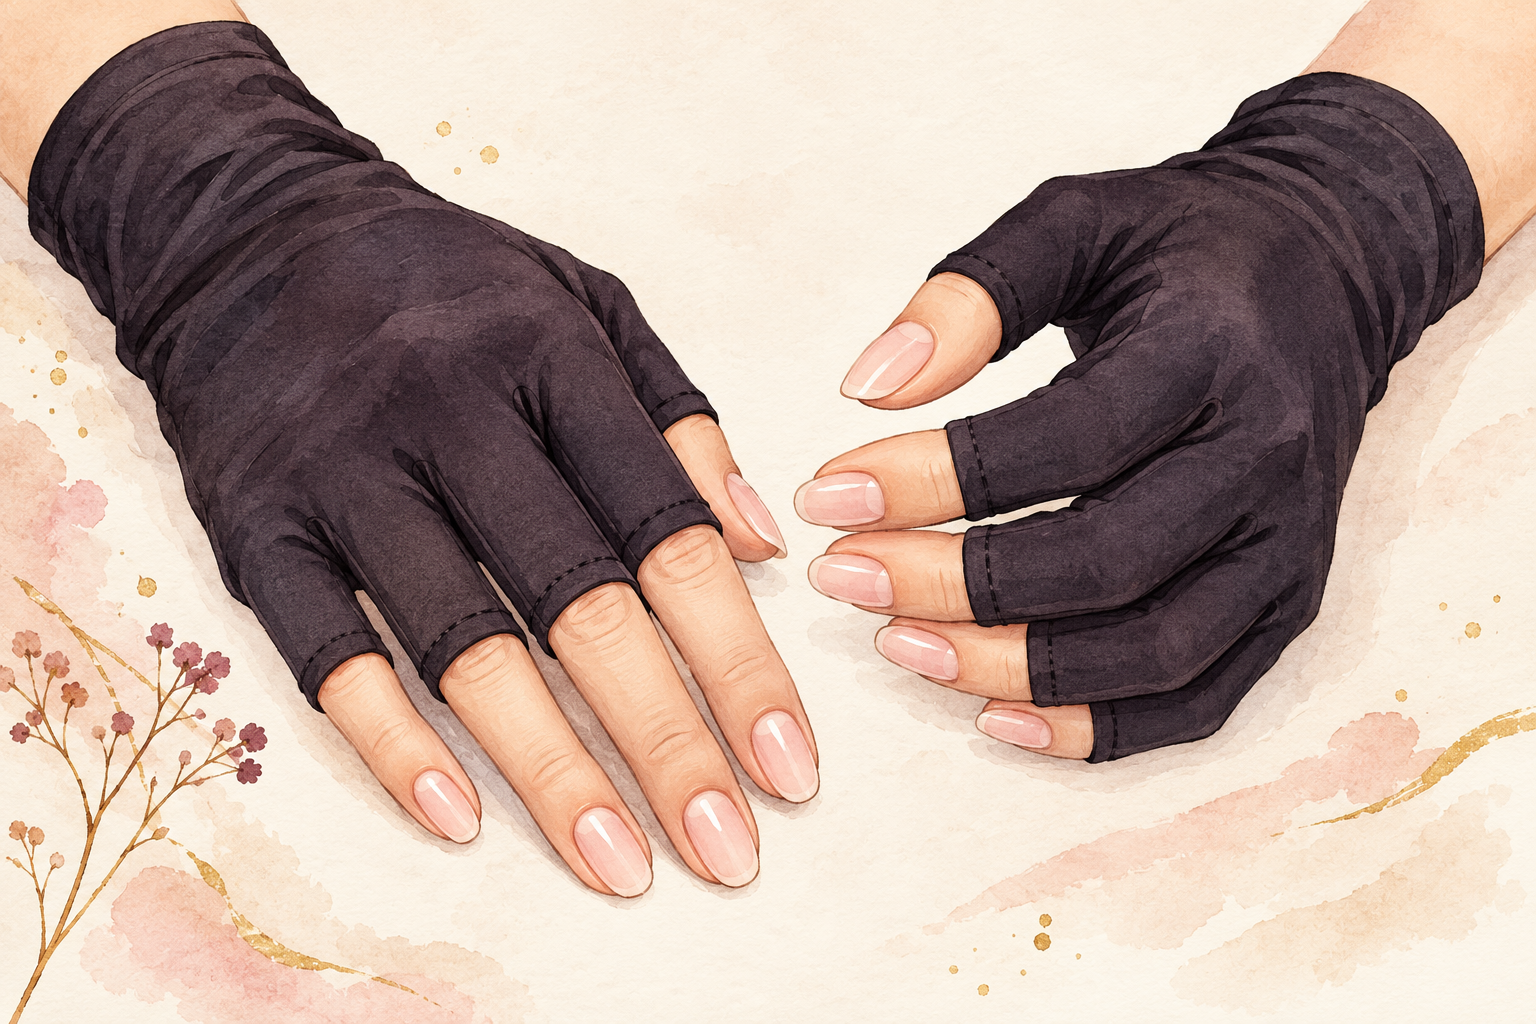
Push back the cuticles, shape the nails, buff the surface lightly and wipe away dust with cleanser. Gel and chrome grip a slightly matte nail far better than a glossy one. Smooth sunscreen on the backs of your hands before the lamp, or wear dark fingerless gloves. Any oil on the nail will show up later as a dull spot in the mirror, so avoid touching it after you wipe. A clean, smooth nail is the foundation for a flawless shine. Take your time here, because rushing the prep ruins the finish. Fresh, bare nails should look dull and chalky, which is exactly right.
3. Paint a thin base and cap the tip
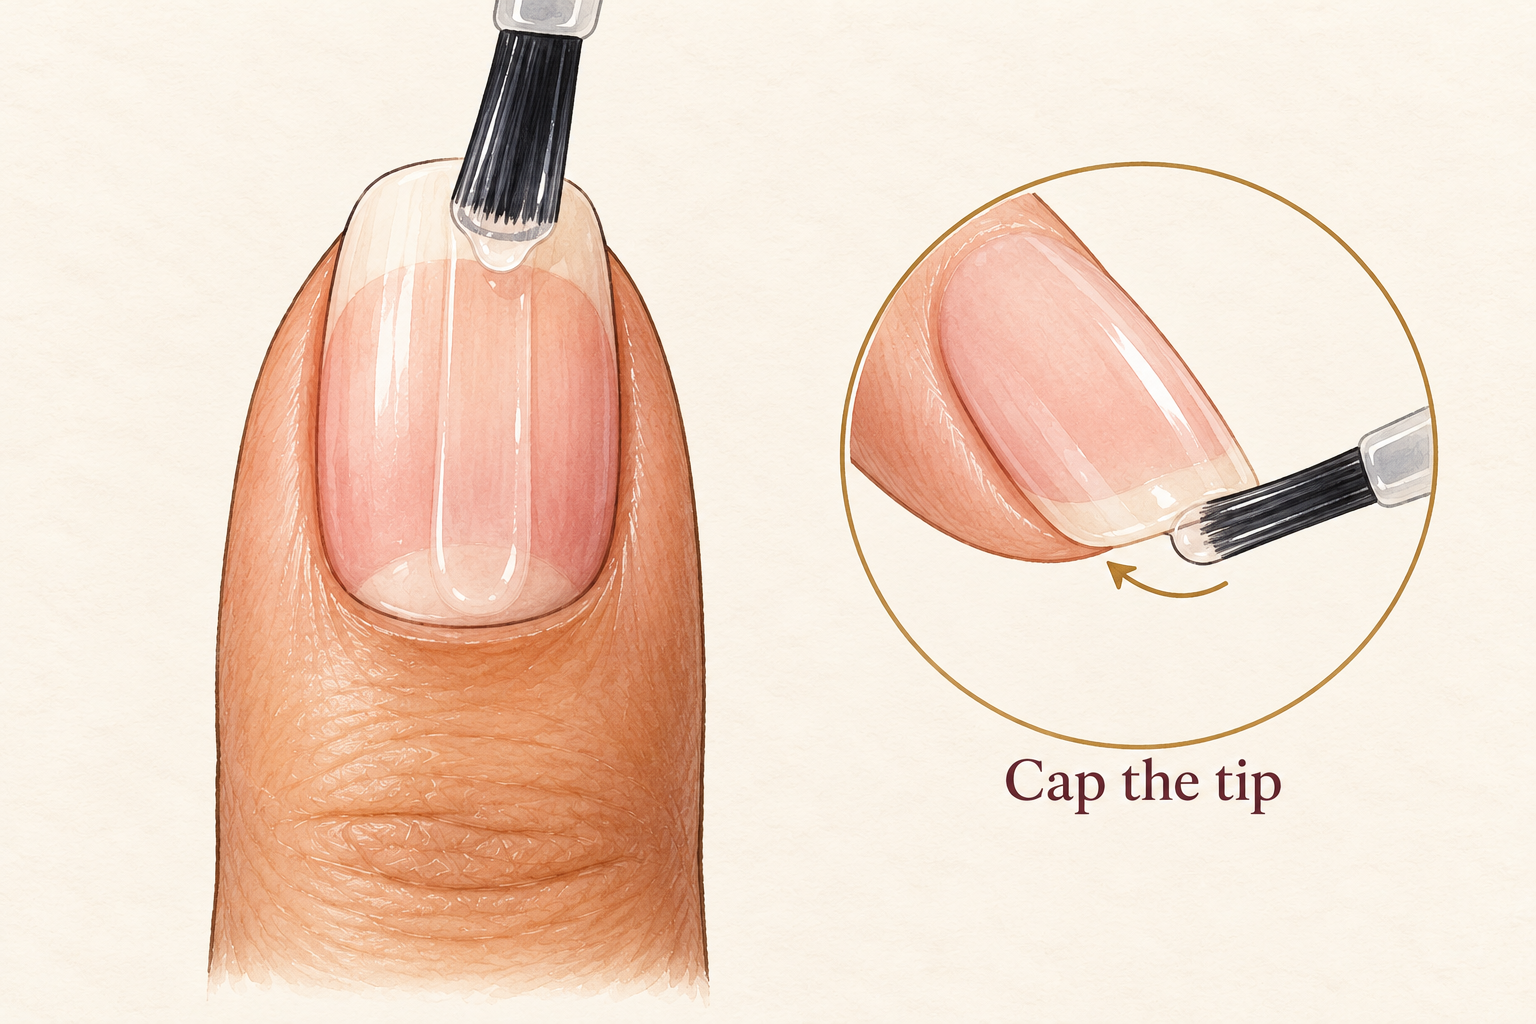
Brush on one thin layer of base gel, run it along the free edge and cure it for the time on the bottle. Keep gel off the skin, because it lifts later. A thin base helps the dark color go on evenly, and it gives the set a longer life. Thirty to sixty seconds in an LED lamp is typical, and longer under UV. If you get gel on your skin, wipe it away with a cotton bud before it cures. A cured base should feel smooth and set, never wet. Wipe the brush on the bottle neck first so the layer stays thin.
4. Build a deep, dark color
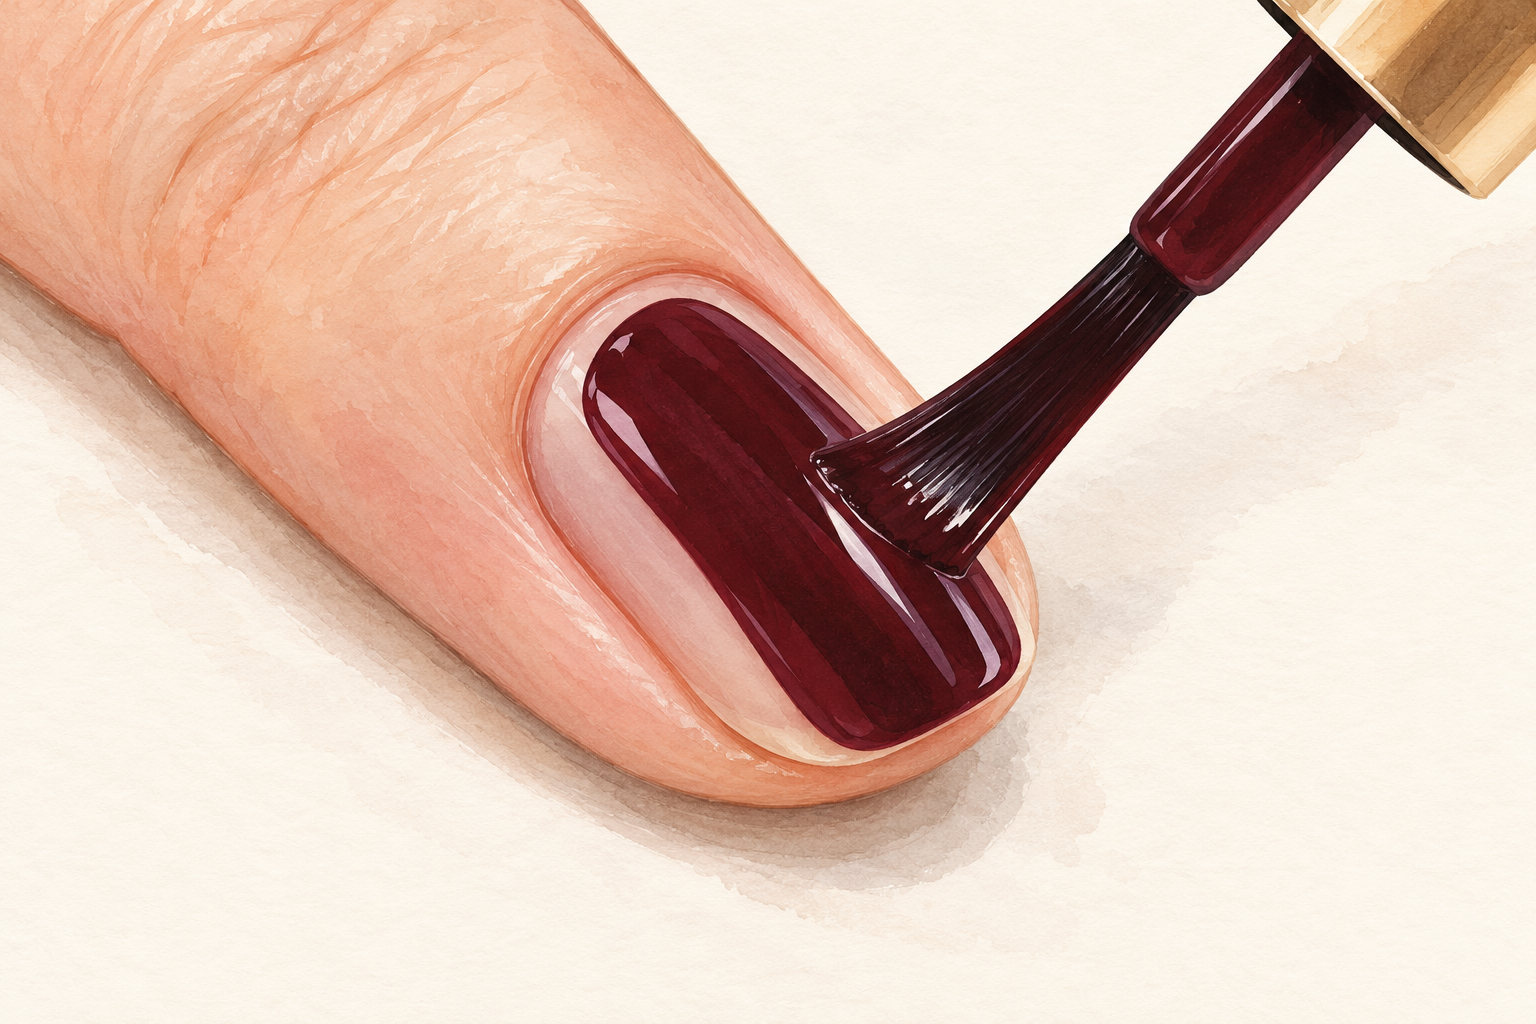
Paint two thin coats of black or a very dark color, curing each coat fully. Chrome is slightly see through, so a patchy base will show through the mirror. Two thin coats beat one thick coat, which wrinkles under the lamp. Cap the tip each time. Run your finger over the edge when it is cured and it should feel smooth, with no ridges. If the black looks gray in places, add a third thin layer. A rich, even base is the secret of a deep mirror. A pale base works too, if you prefer a softer, silvery look. Sheer looks have a different rhythm, and you can read about how to do jelly nails next.
5. Add the tacky layer with a thin top coat
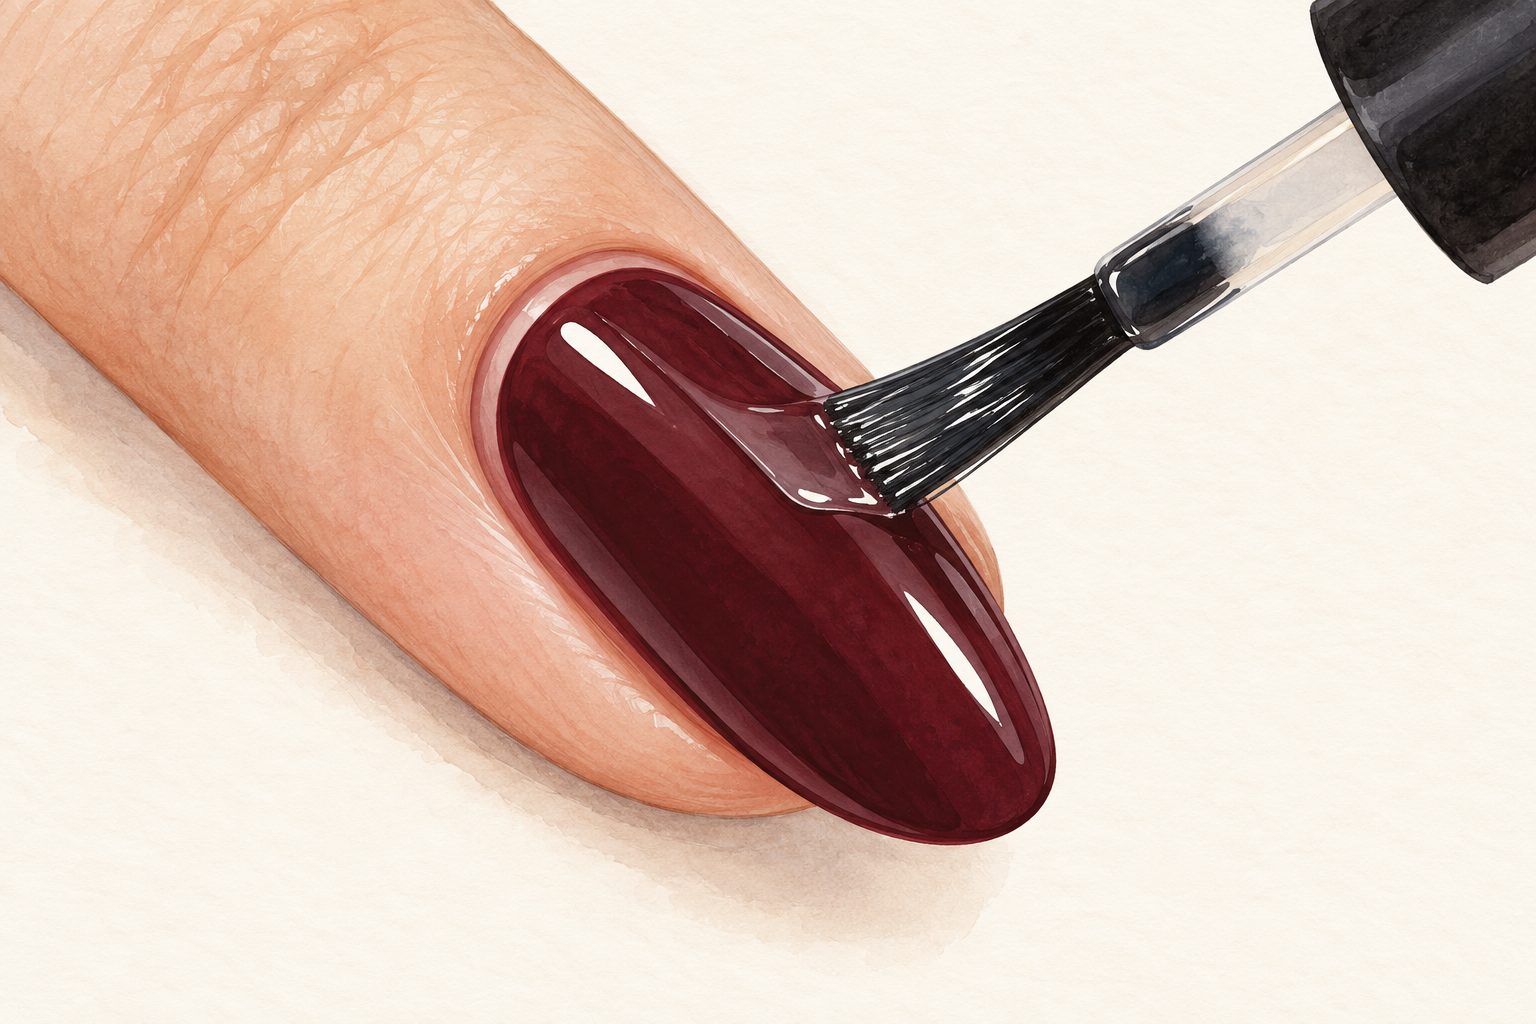
Brush a very thin layer of no wipe top coat over each nail and cure it for the full time. This is the tacky layer, and it is the step that decides whether the powder sticks. Too thick and it wrinkles, too thin and it goes dull. After curing, the surface should look shiny and feel faintly tacky, like the back of a sticker. If you can see brush marks, you used too much. Do not wipe it, and do not touch it with bare fingers. Oil from your skin kills the grip in one touch.
6. Pick up a tiny bit of powder
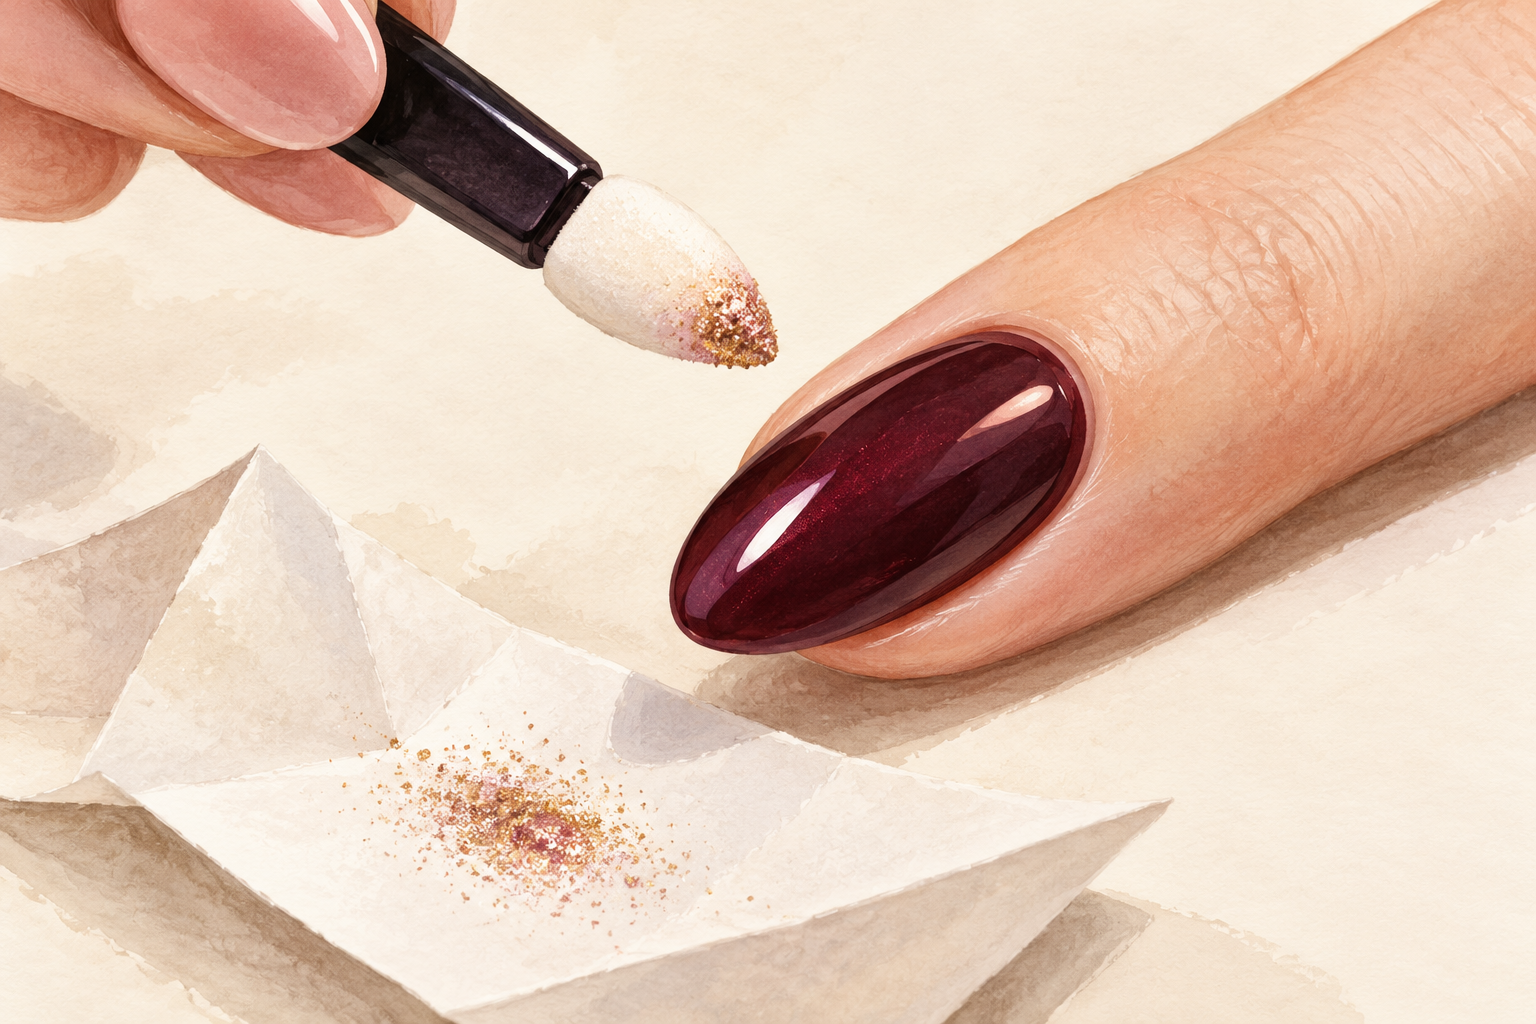
Dip the applicator lightly into the jar so it carries only a little powder, about the size of a grain of rice. Too much powder is wasted and makes a mess. Tap off the extra on the lid before you move toward your hand. Do this over the paper, not over the desk, and sit away from a fan. A tiny amount on the applicator gives a more even shine, so be generous with patience and sparing with powder. If you work with ten nails, expect to use only a thimbleful across the whole set. Keep the jar closed between nails, because the powder is very light.
7. Press and burnish in small circles
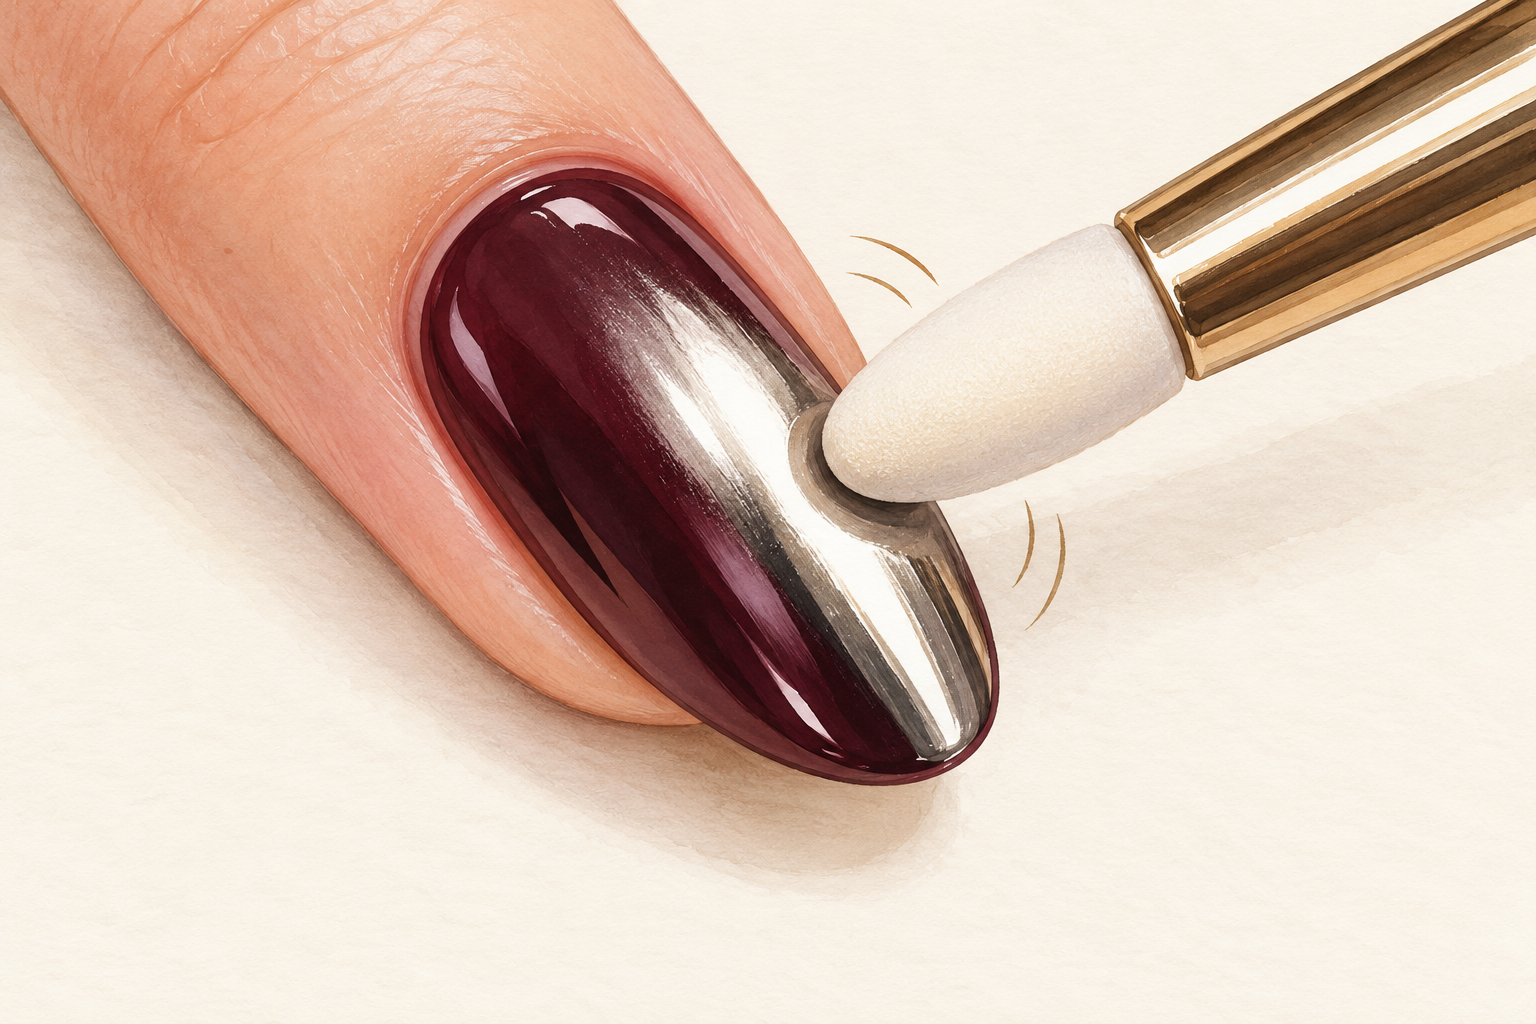
Rub the powder onto the nail with firm, small circles, pressing harder than you expect. Burnishing means rubbing it in until the powder bonds to the layer beneath. You will see the dull dust turn into a silver mirror under your applicator. Work from the center out, then along the edges, and be sure to cover the free edge. Keep the nail still and your wrist relaxed. Reload the applicator only when the shine stops building. The harder and slower you burnish, the more mirror like it becomes. Do one nail at a time, because the tacky layer dries out if you wait.
8. Brush away the loose dust
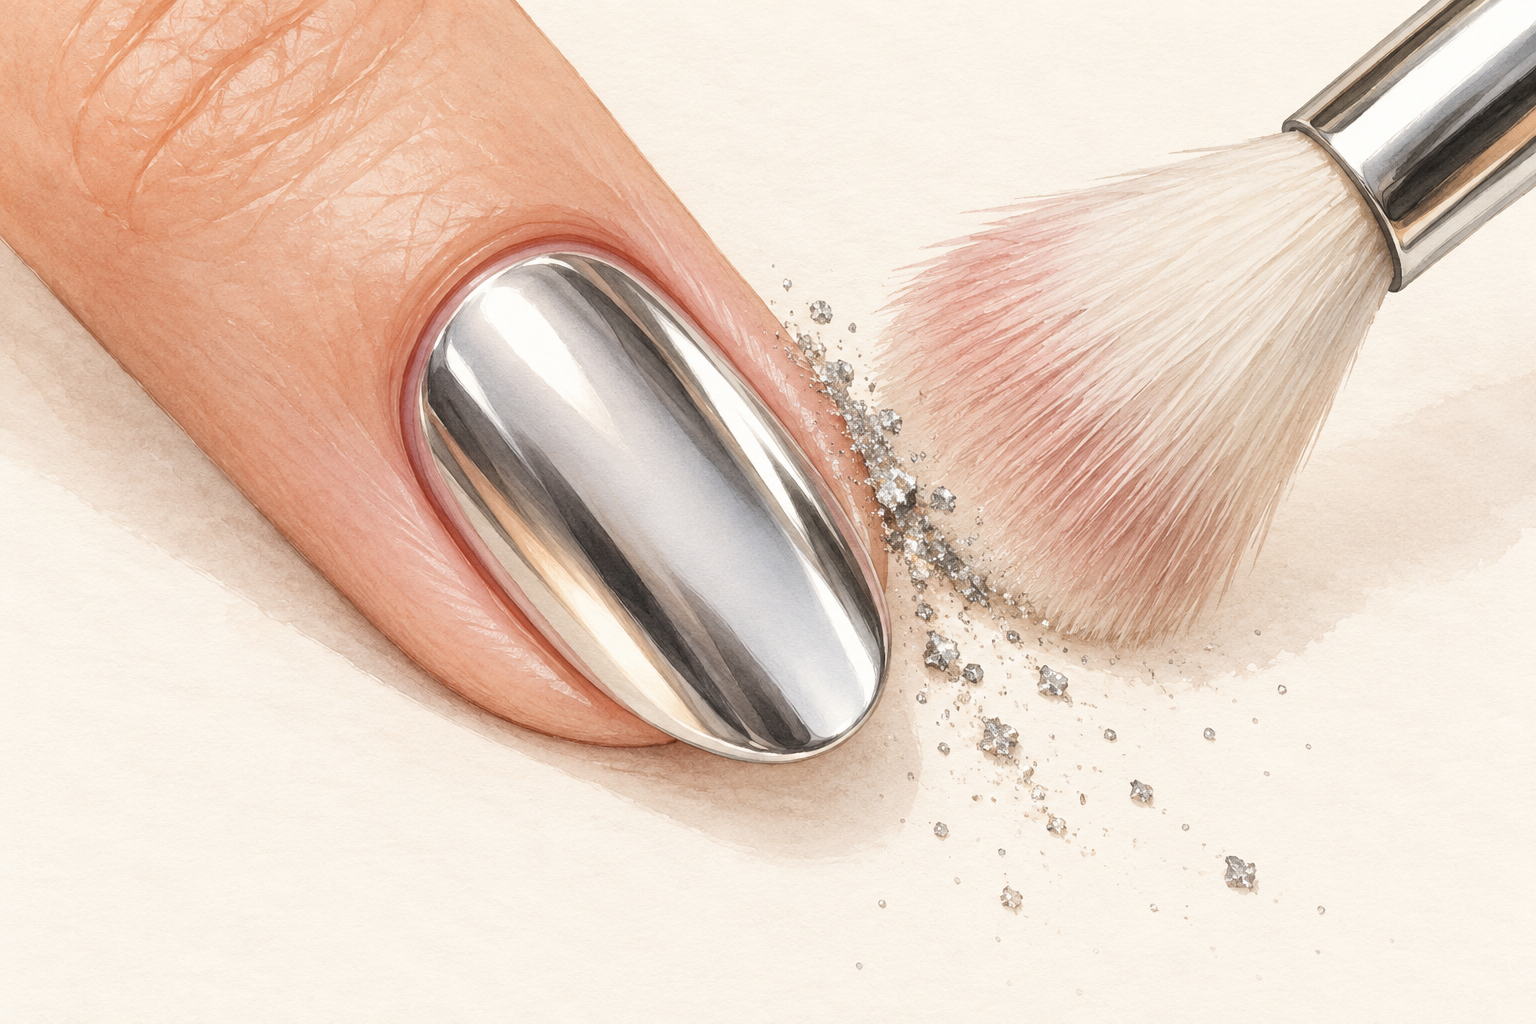
Use a soft, clean brush to sweep the extra powder off each nail and off the skin around it. Loose powder on the nail makes the mirror look cloudy, and powder on your skin ends up on the top coat. Wipe the brush on paper between nails. A dry cotton bud picks up specks at the cuticle. Look at the nail from different angles, and the shine should be bright and even, with no gray haze. If a spot still looks dull, burnish it once more before you seal. Tilt your hand under the lamp to catch the spots you might miss.
9. Fix streaks and dull patches
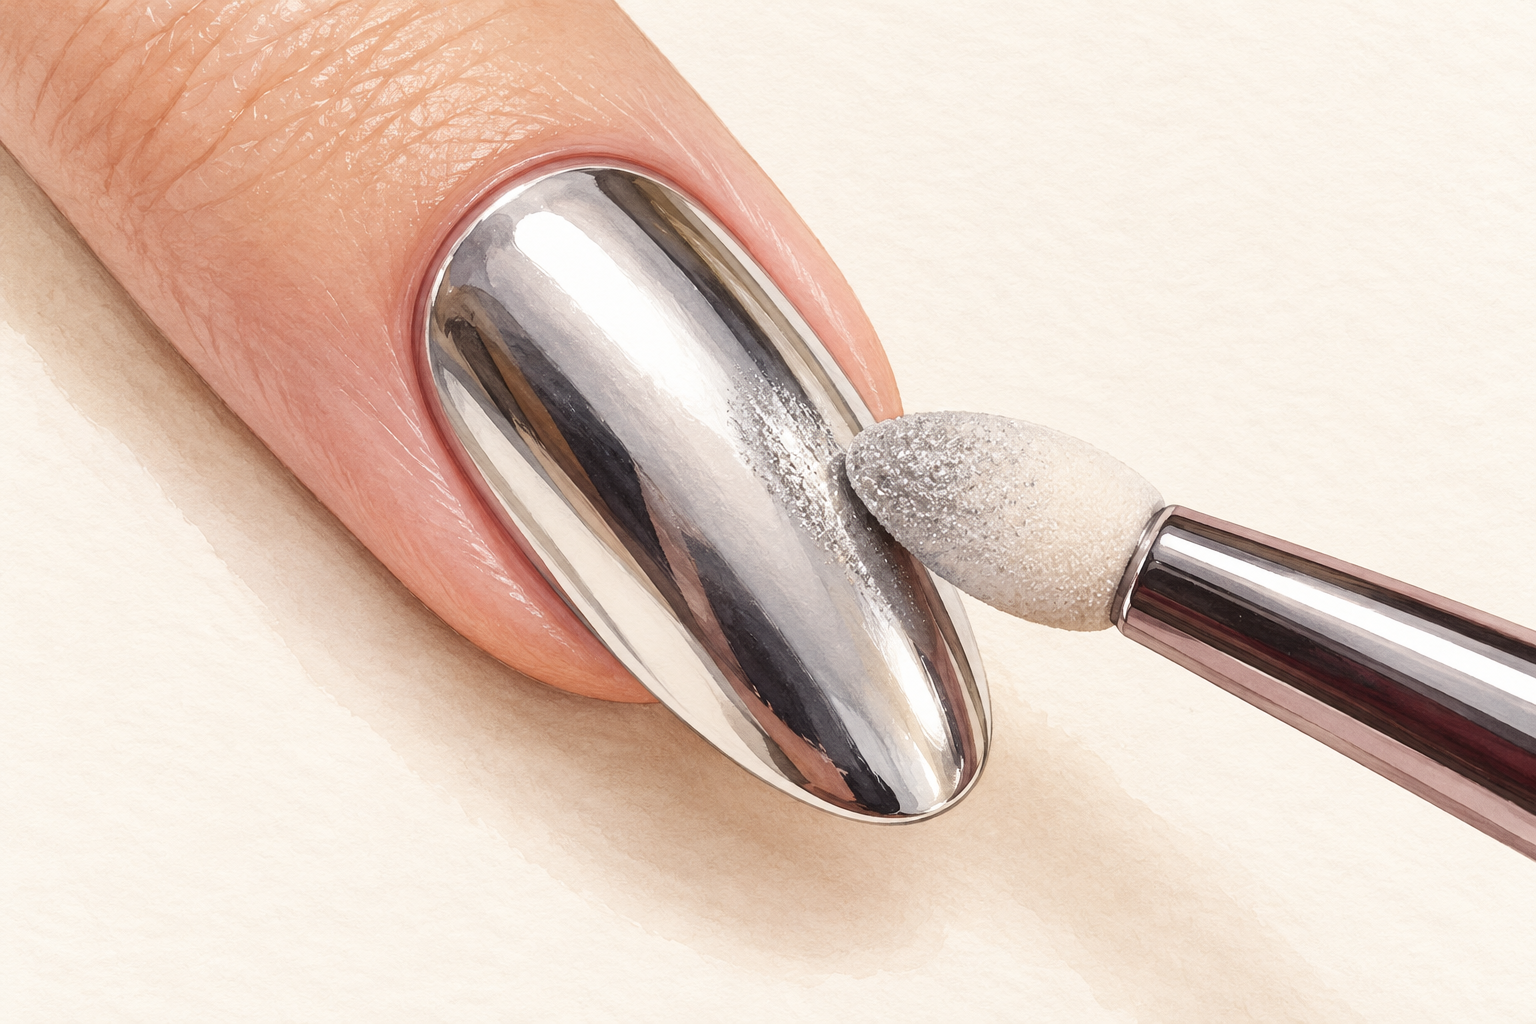
Add just a speck more powder and burnish the streak firmly in tiny circles. Streaks usually mean the surface was not tacky enough, or the powder was rubbed too lightly. If the patch will not shine, cure another very thin coat of no wipe top coat over it, then burnish again. Never wipe the nail with cleanser, as it removes the tacky layer and the chrome with it. Most streaks vanish with a second pass. Work patiently, because the fix is rubbing, not adding more powder. Piling on powder makes a thick, flaky layer that rubs off later.
10. Seal the mirror with a thin top coat
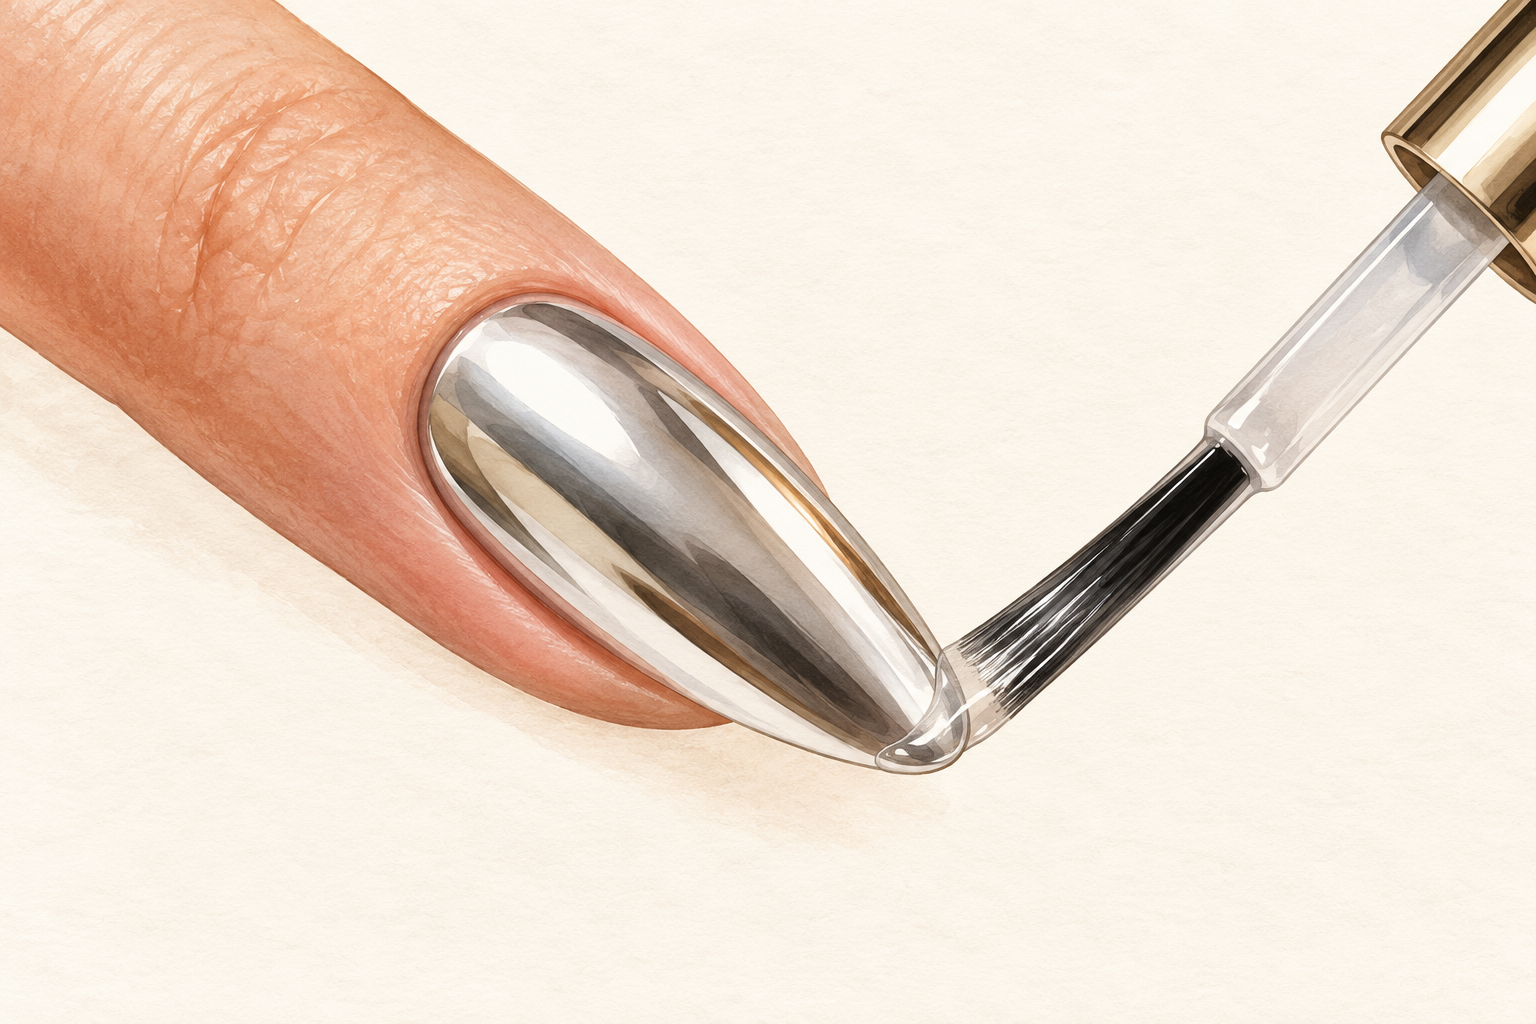
Brush a thin layer of no wipe top coat over the whole nail, cap the free edge and cure. Seal gently, as a heavy hand drags the powder. Use a clean brush that has never touched color. A thin seal keeps the mirror from rubbing off in a day, and it protects the tips. The shine can look slightly softer under the seal, and that is normal. Cover every edge, or water creeps under the chrome and lifts it. Let the nails cool for a minute before touching anything. Check every edge from the side, where unsealed chrome shows first.
11. Make the chrome last
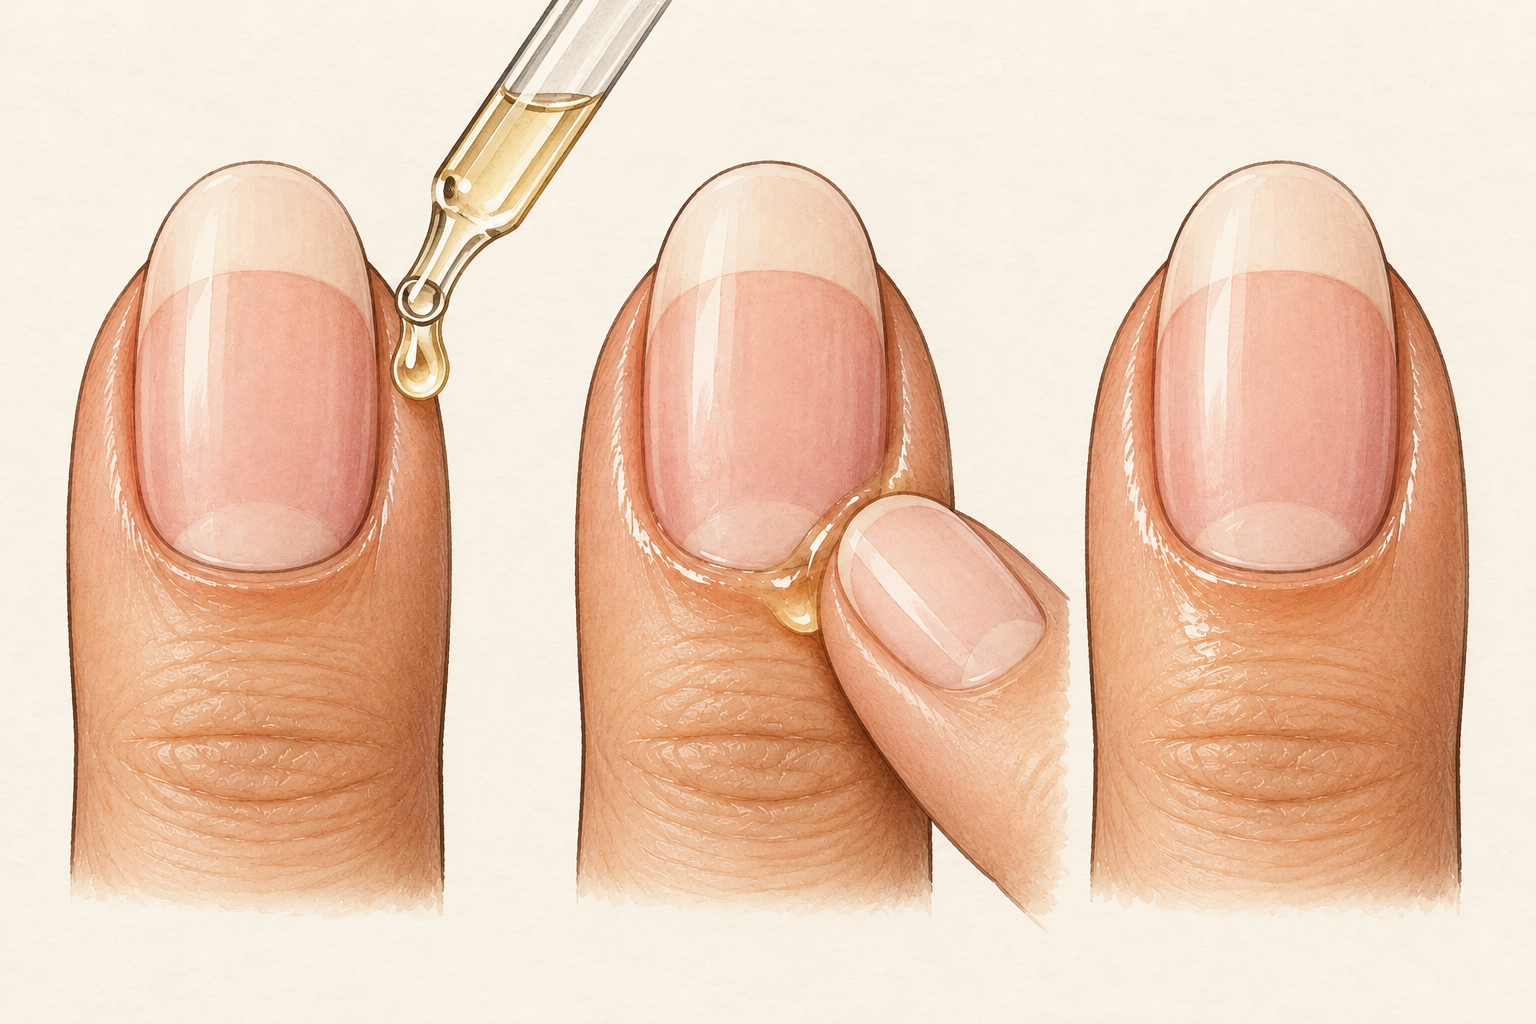
Wear gloves for washing up, add cuticle oil each night and keep your nails away from harsh cleaners. Properly sealed chrome lasts about two weeks, as long as the edges stay capped. Do not pick at a lifting corner, which peels the chrome and layers of nail with it. If a tip wears through, brush a thin top coat over it right away. Soft, oiled skin around the nails makes a mirror finish look even brighter. Try not to use your nails as tools, because even a strong seal can crack. Keep the nails short and rounded to avoid catching on knits.
12. Try new chrome looks
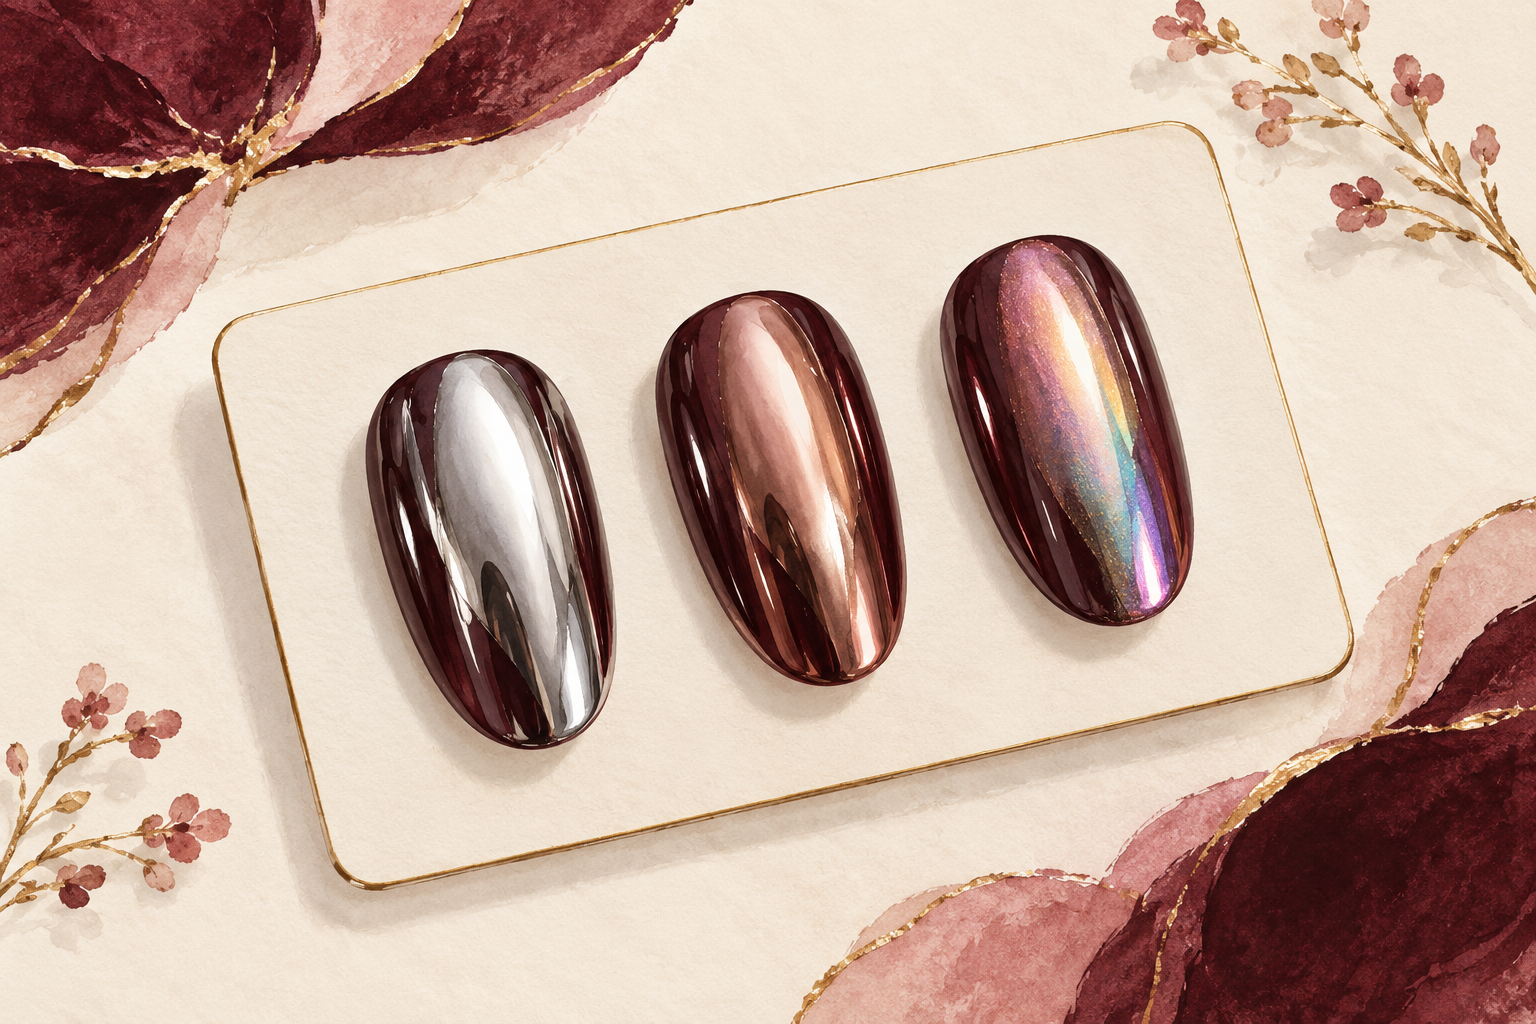
Swap silver for rose gold or gold, press pearly white powder over a pale base, or rub rainbow powder over black. Leave one nail plain as an accent, or press the powder only on the tips for a chrome French. A matte top coat over chrome gives a soft, brushed metal look. Rainbow powder shifts color as your hand moves, so it looks best over a dark base. Each new powder follows the same tacky layer and the same firm burnishing. Write down your favorite combinations, so you can repeat them. Once you know how to do chrome nails in silver, every new color is just a fresh jar. Soft glow fans can set this beside how to do aura nails to compare.
Complete the Look: How to Do Chrome Nails Again
Practice on one hand first, then do the other. Chrome is a fun skill to build, and the guides below will name the next finish to try.