You blended two colors until the middle looked perfect, slid your hand under the lamp, and pulled it out to find a wrinkled, bumpy surface with a hard line right where the colors meet. If you are learning how to do ombre nails with gel, that moment is almost always about cure order and thickness, not talent. Here are 12 steps for a smooth fade, so start at number one.
1. Pick two shades that sit close together
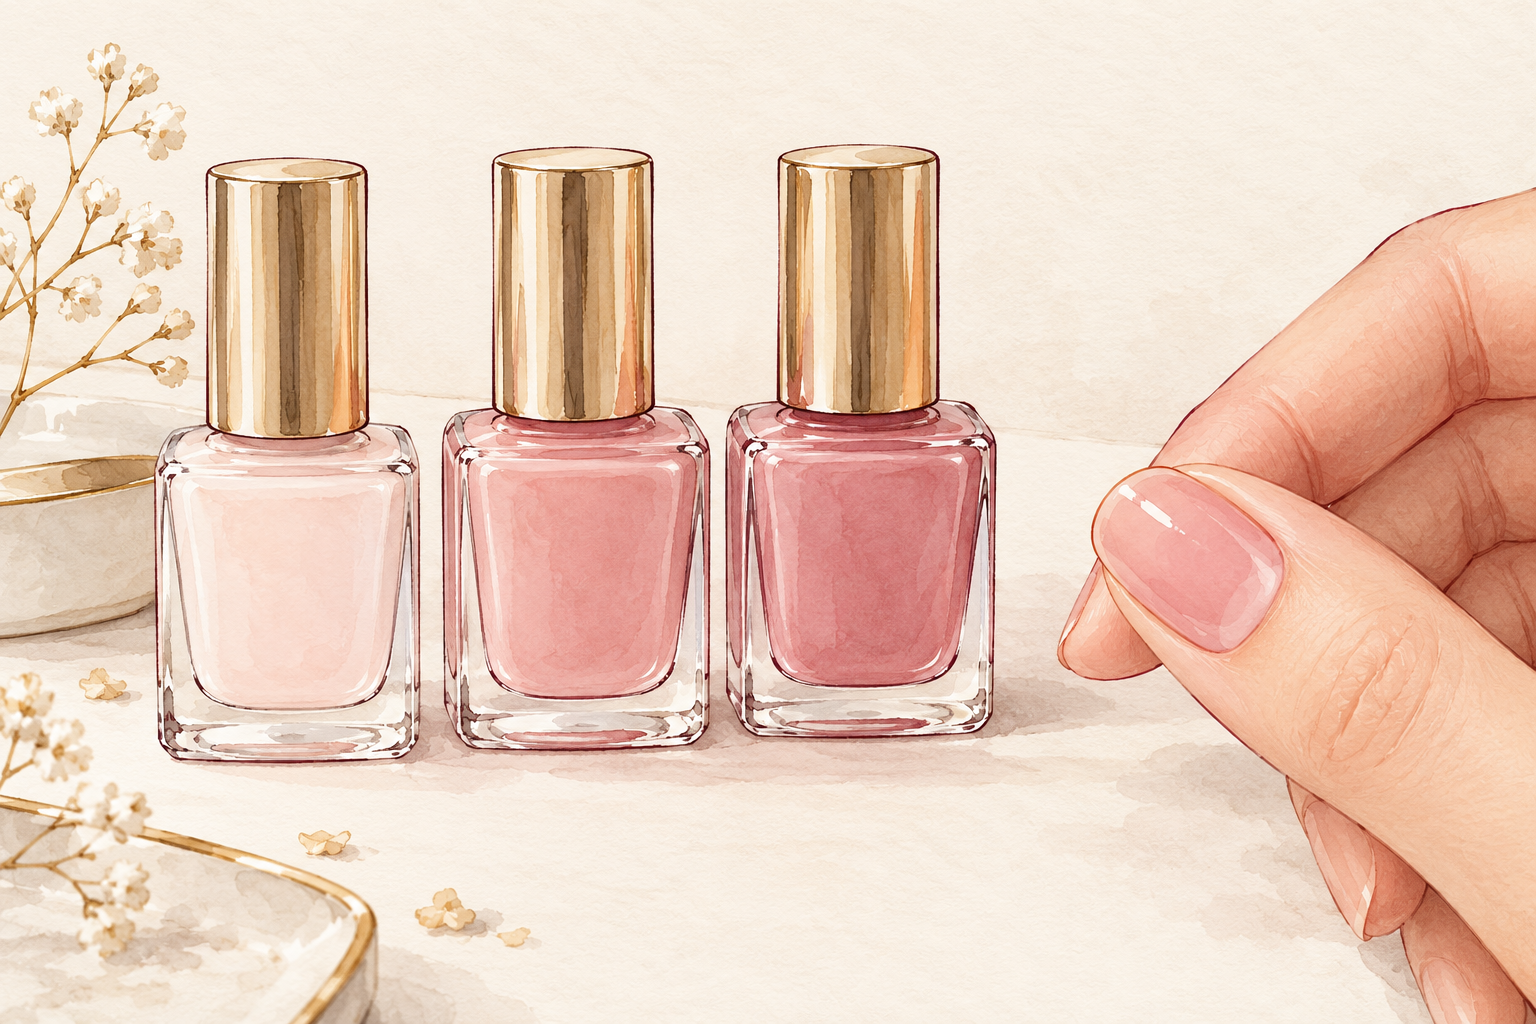
Start with a pale pink and a slightly deeper pink, or a cream and a soft beige. Shades that sit far apart, such as white and black, leave a muddy gray strip where they meet. Close shades hide small mistakes and read as a smooth fade, so they are the safest choice for a first set. Creamy, opaque gels blend better than sheer ones, which leave patchy streaks. Once the blend feels easy, move on to bolder pairs. Test the pair on a practice tip before you touch your own nails, so you know how the colors behave together once they are cured.
2. Prep, wipe and cure a thin base coat
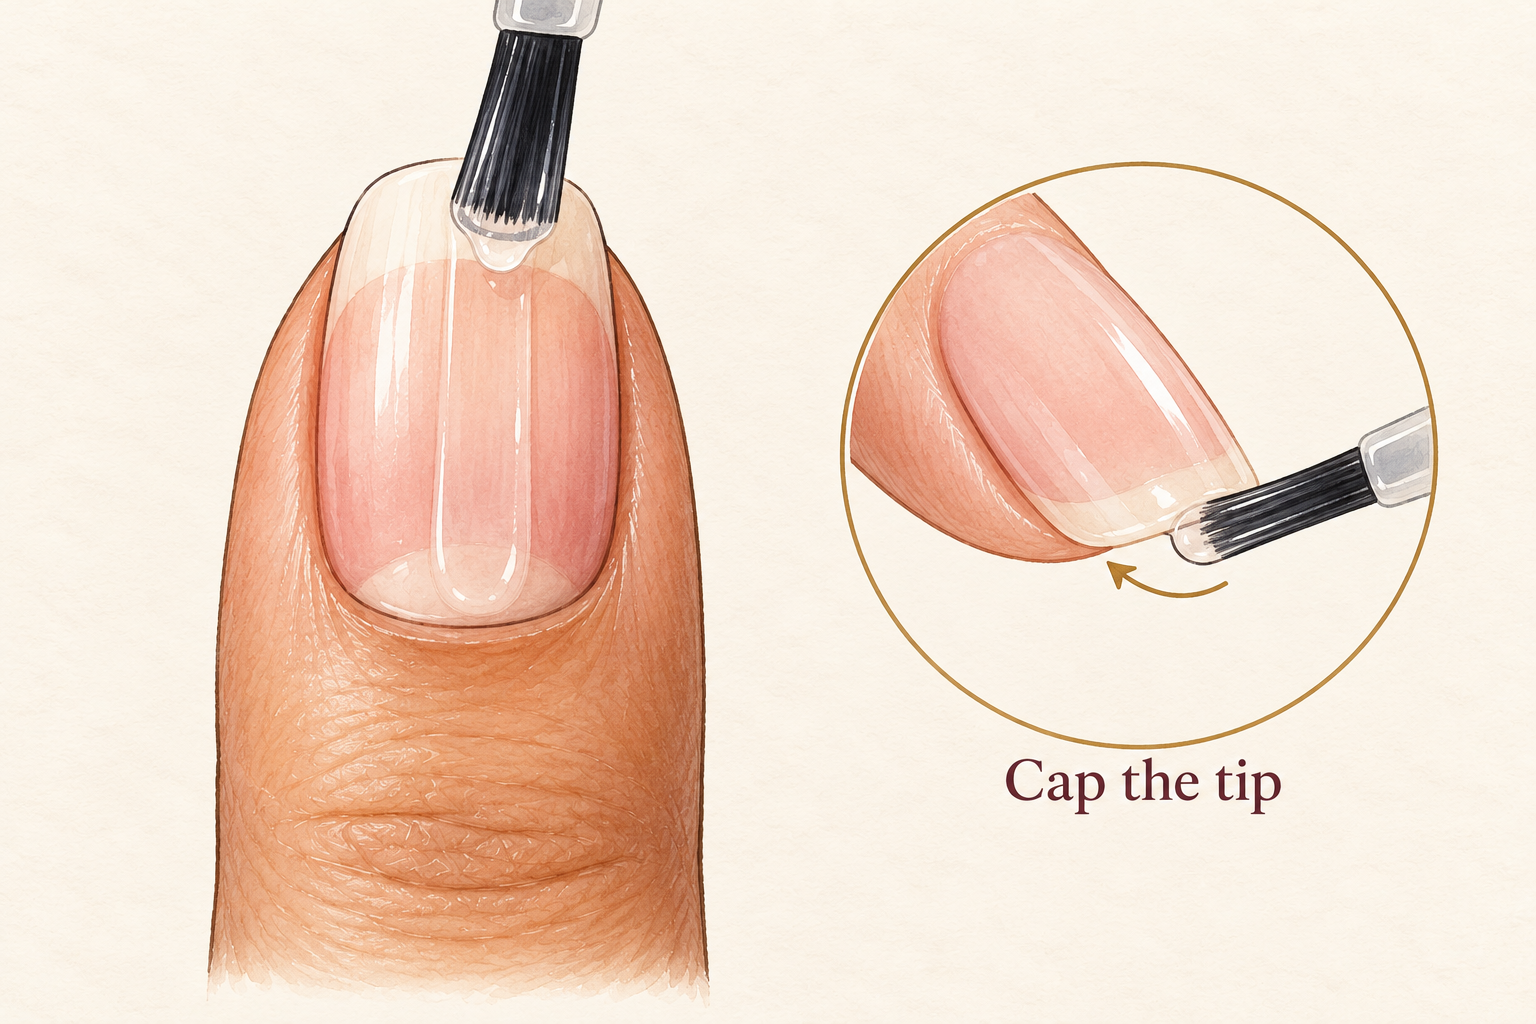
Push back the cuticles, buff the shine off lightly and wipe each nail clean of dust and oil. Apply one thin layer of base coat and cure it. A thick base is the first step toward wrinkles, so keep it almost see through. Keep gel off the skin, because contact irritates some people, and wipe up anything that touches. If your skin turns red or itchy around the nail, stop the session and clean it all off. A tidy start saves you from a lot of fixing later in the process, and the cured base gives the next layers something to grip.
3. Know your lamp and its cure time
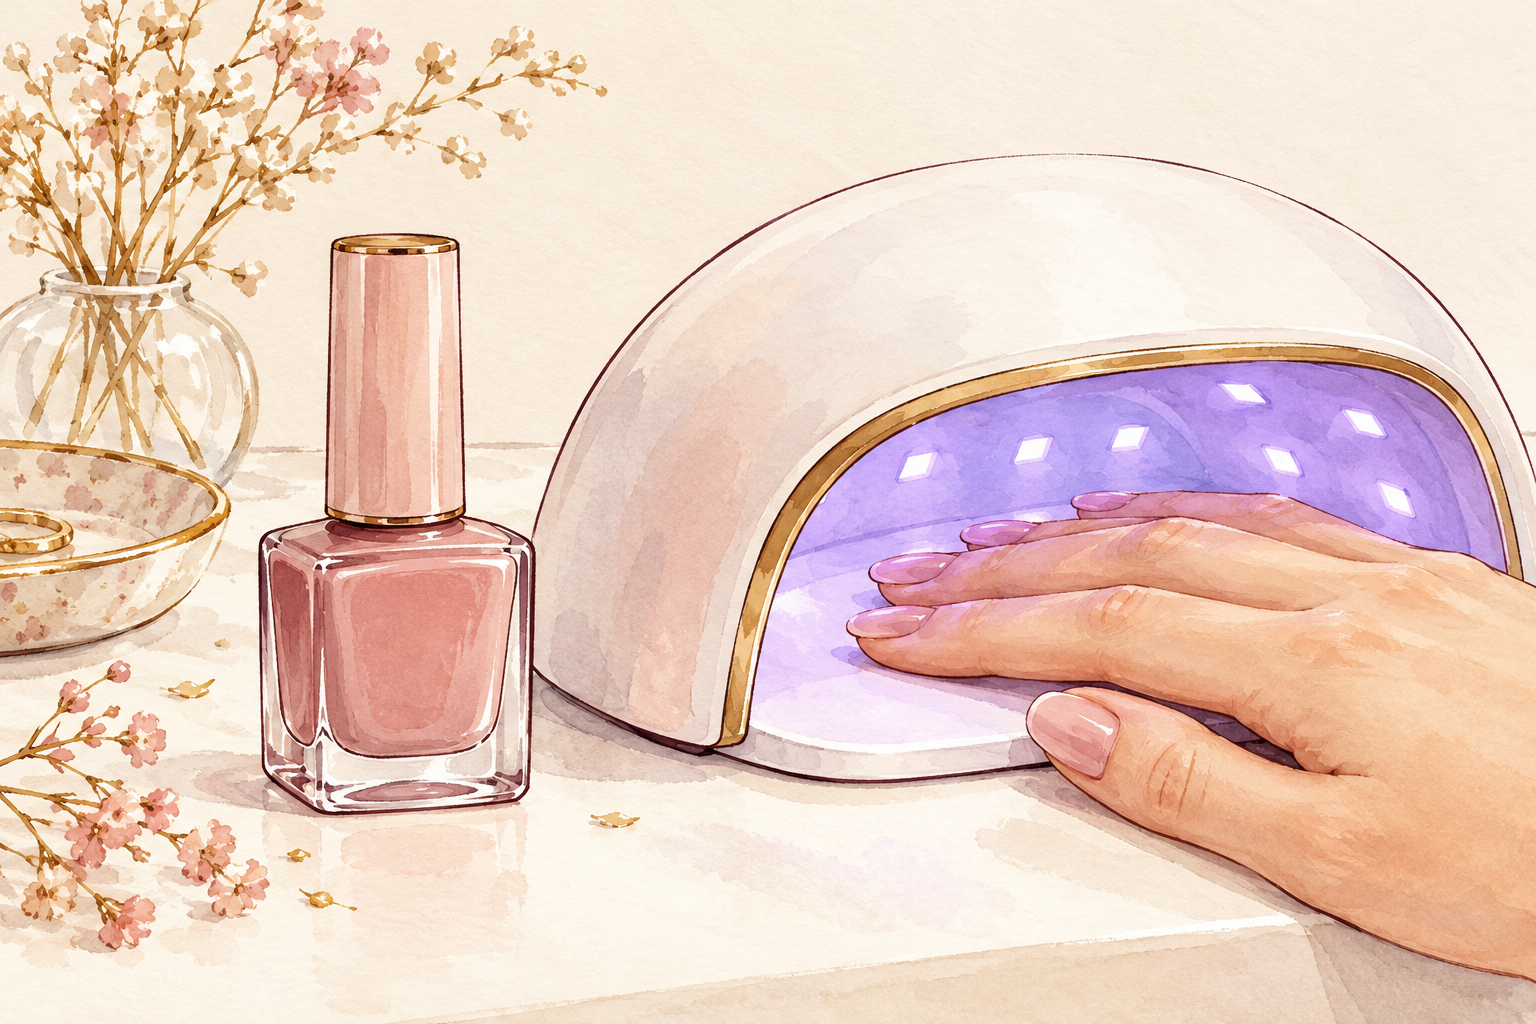
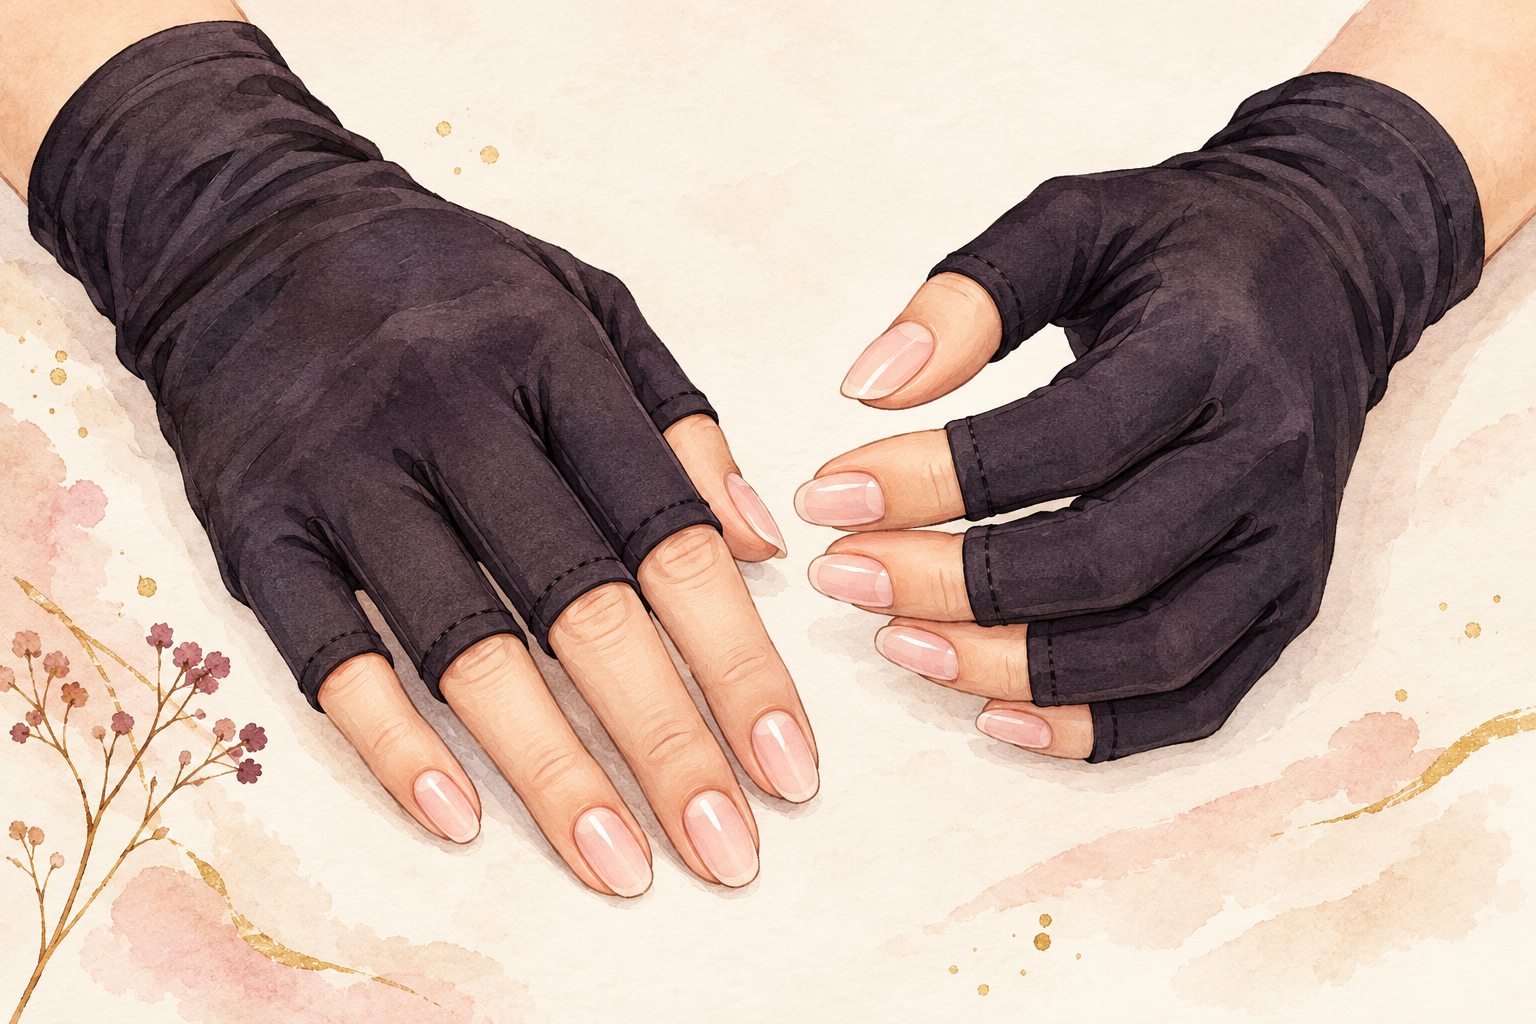
Check the time on the pot, usually thirty to sixty seconds under an LED lamp, and follow it. Undercured gel stays soft and wrinkles later. Lamps vary in strength, so the time on the label is a starting point, not a promise. If the surface still feels soft or tacky in an odd way after curing, add ten seconds. Put your thumbs in on their own, since they sit at a different angle to the light. If a finger feels hot, pull it out for a moment and go back in. Knowing your lamp is the quiet half of how to do ombre nails with gel.
4. Cure the lighter color as your base layer
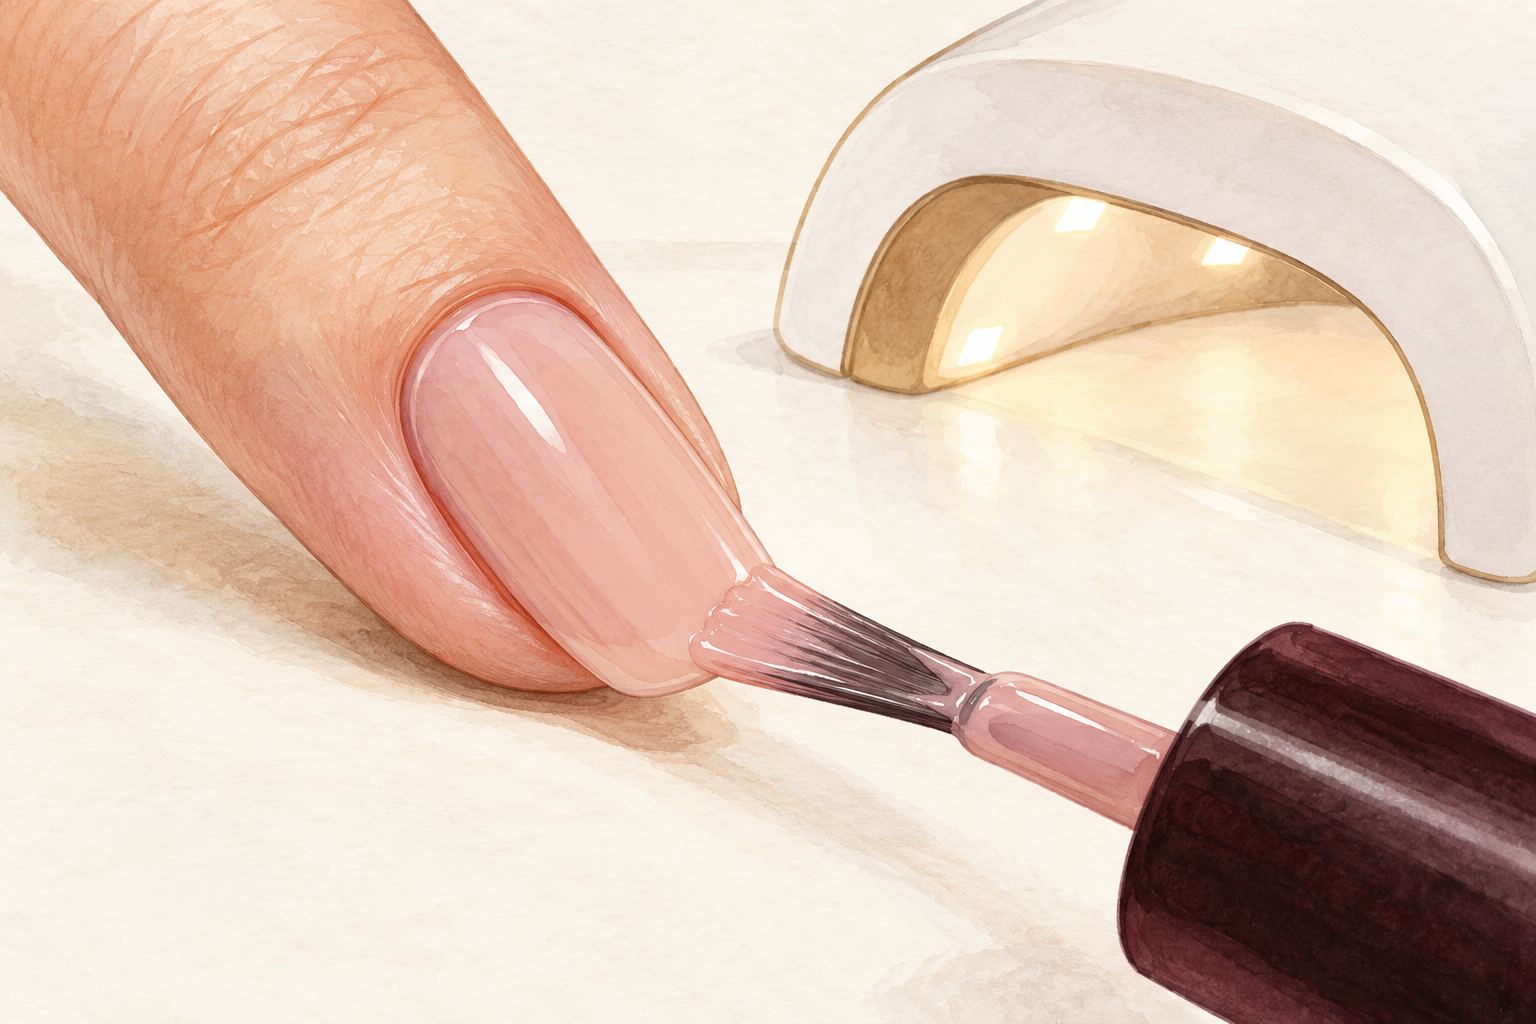
Paint one thin, even coat of the lighter shade over the whole nail, cap the free edge and cure it. This gives you a solid, dry surface that will not move while you blend on top. Add a second coat only if you can still see the nail through the first, and cure it too. Two thin layers cure better than one thick one. Wipe the brush on a lint free wipe between nails so no stray color drifts. Wait for the nail to cool a moment before you carry on, and wipe away any dust from the surface.
5. Paint the deeper shade on the tip and leave it wet
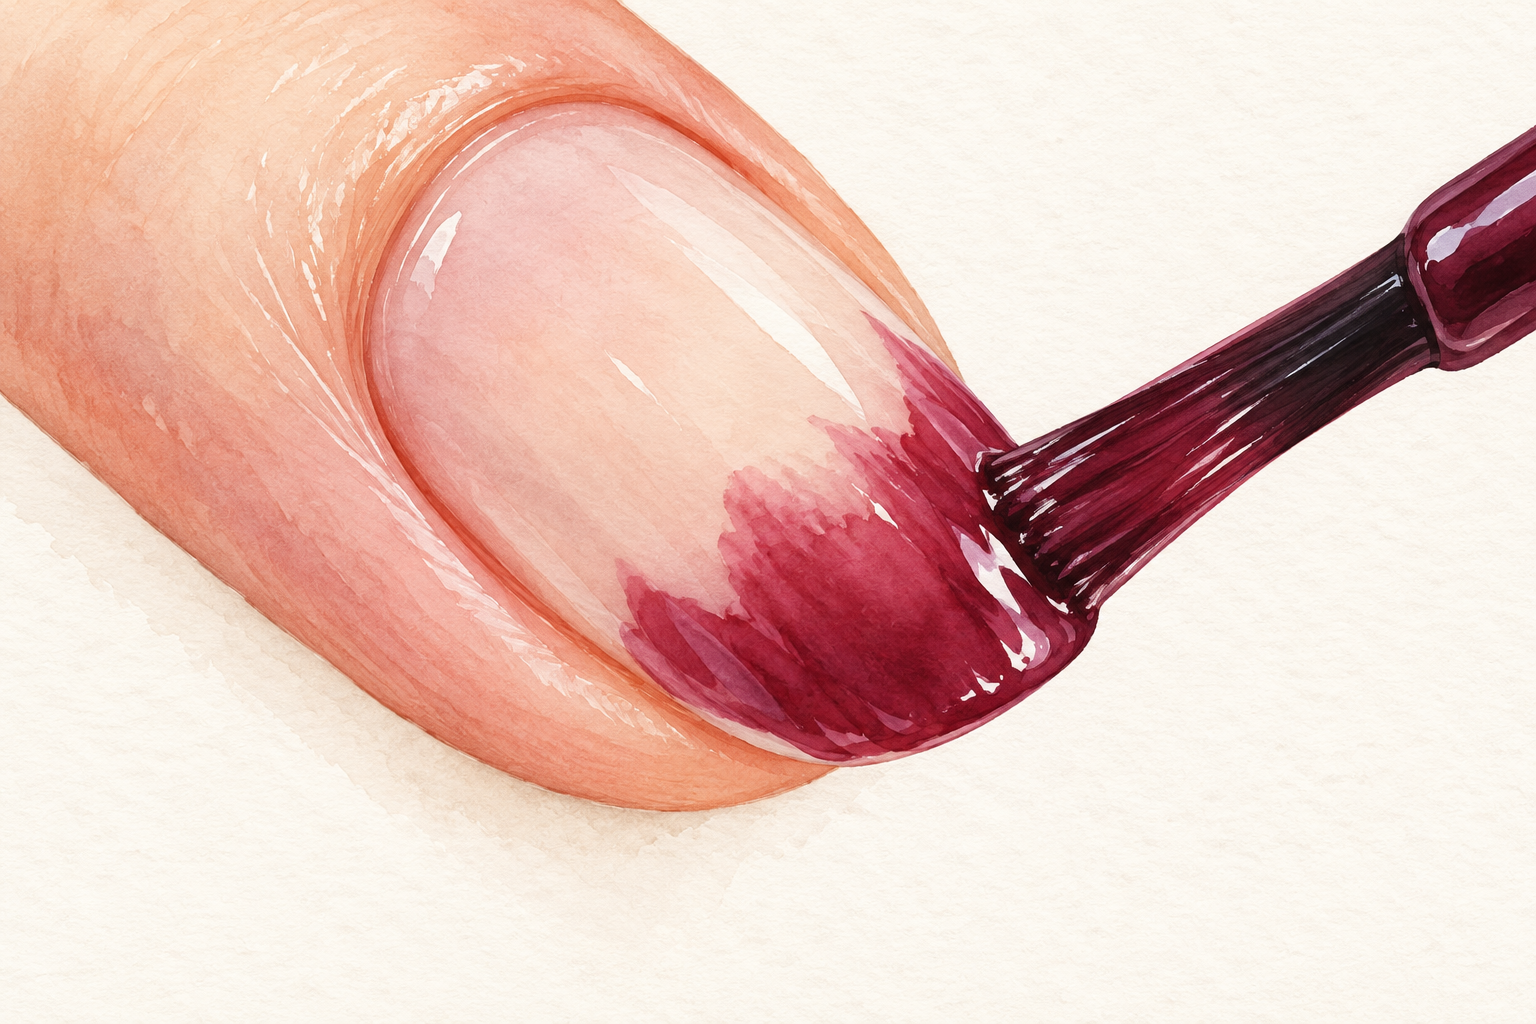
Brush a small amount of the darker gel on the outer third of the nail, going slightly past the middle in a few spots. Do not cure it yet. This is the one layer that must stay wet while you blend. Work on one nail at a time, since gel left on several nails starts to level out and flood. If the color looks heavy, wipe the brush and take some off. A thin dark layer blends far more softly than a thick one, so use less than you think you need, and add more only if the tip still looks pale.
6. Blend with a clean flat brush in tiny taps
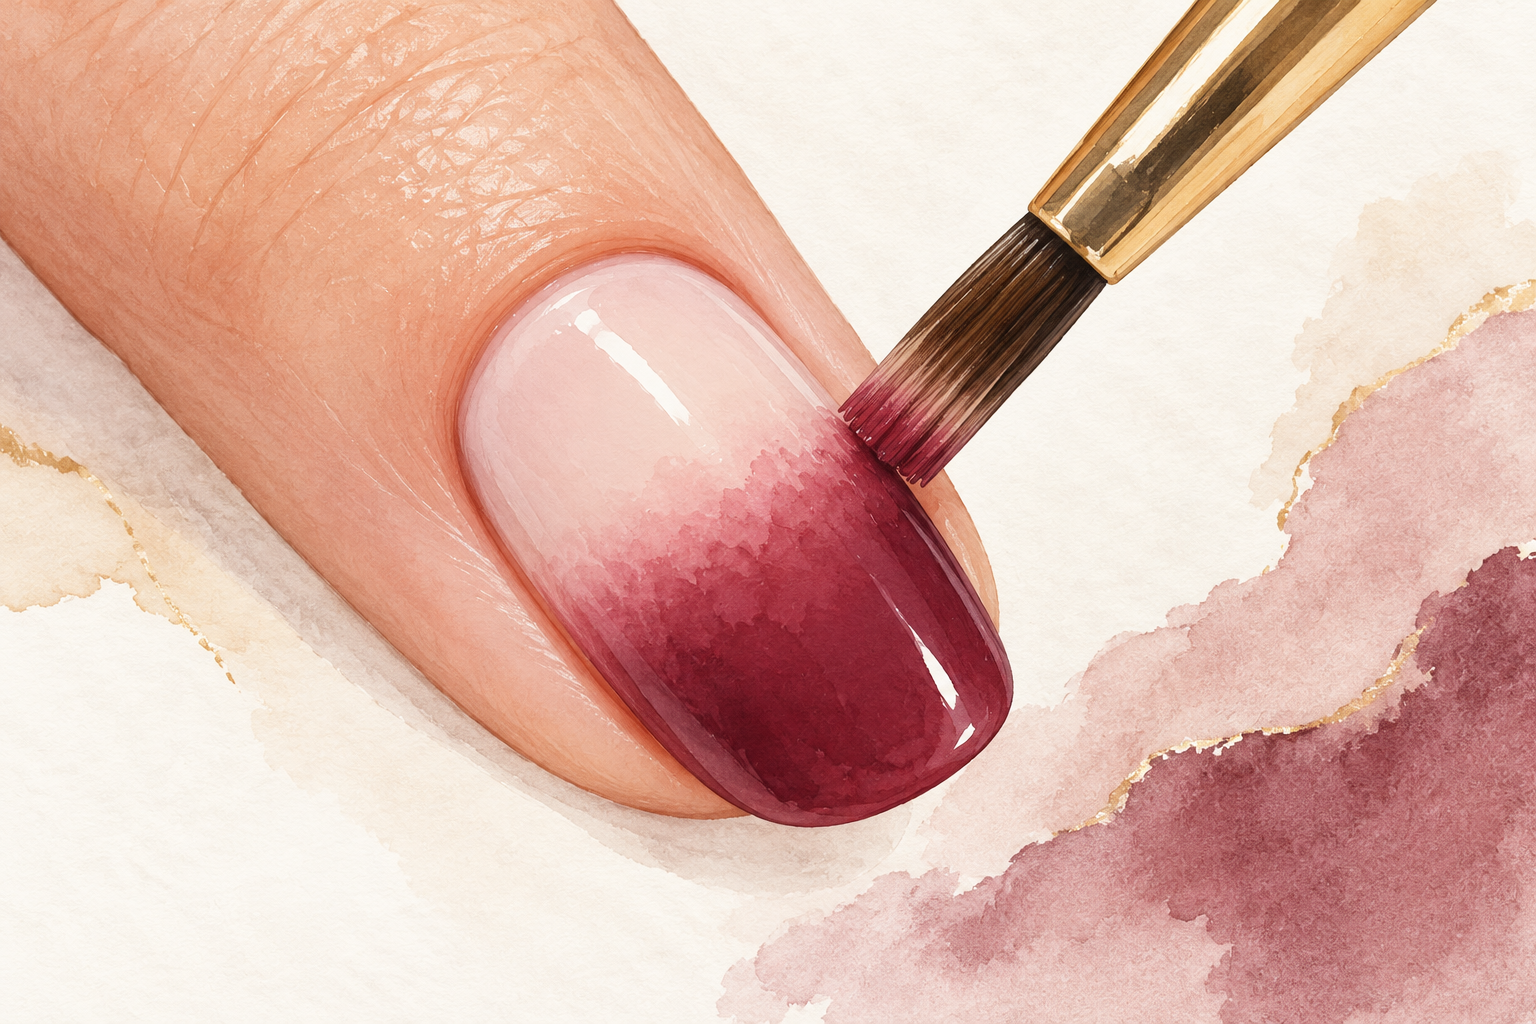
Wipe your flat brush on a lint free wipe, then tap along the line where the shades meet. Use many small taps with a very light touch. Dragging the brush pulls the dark color into streaks. Stop when the line is gone. Then cure. A gradient looks best after two or three passes with a cure between each, because each pass layers the fade a little further. Wipe the brush clean every few taps, since it gathers color and starts to leave smears. A fresh wipe each time keeps the fade clean and soft. Fresh wipes keep the fade soft, so once that feels easy, try how to do ombre nails next.
7. Thin the gel where it pools
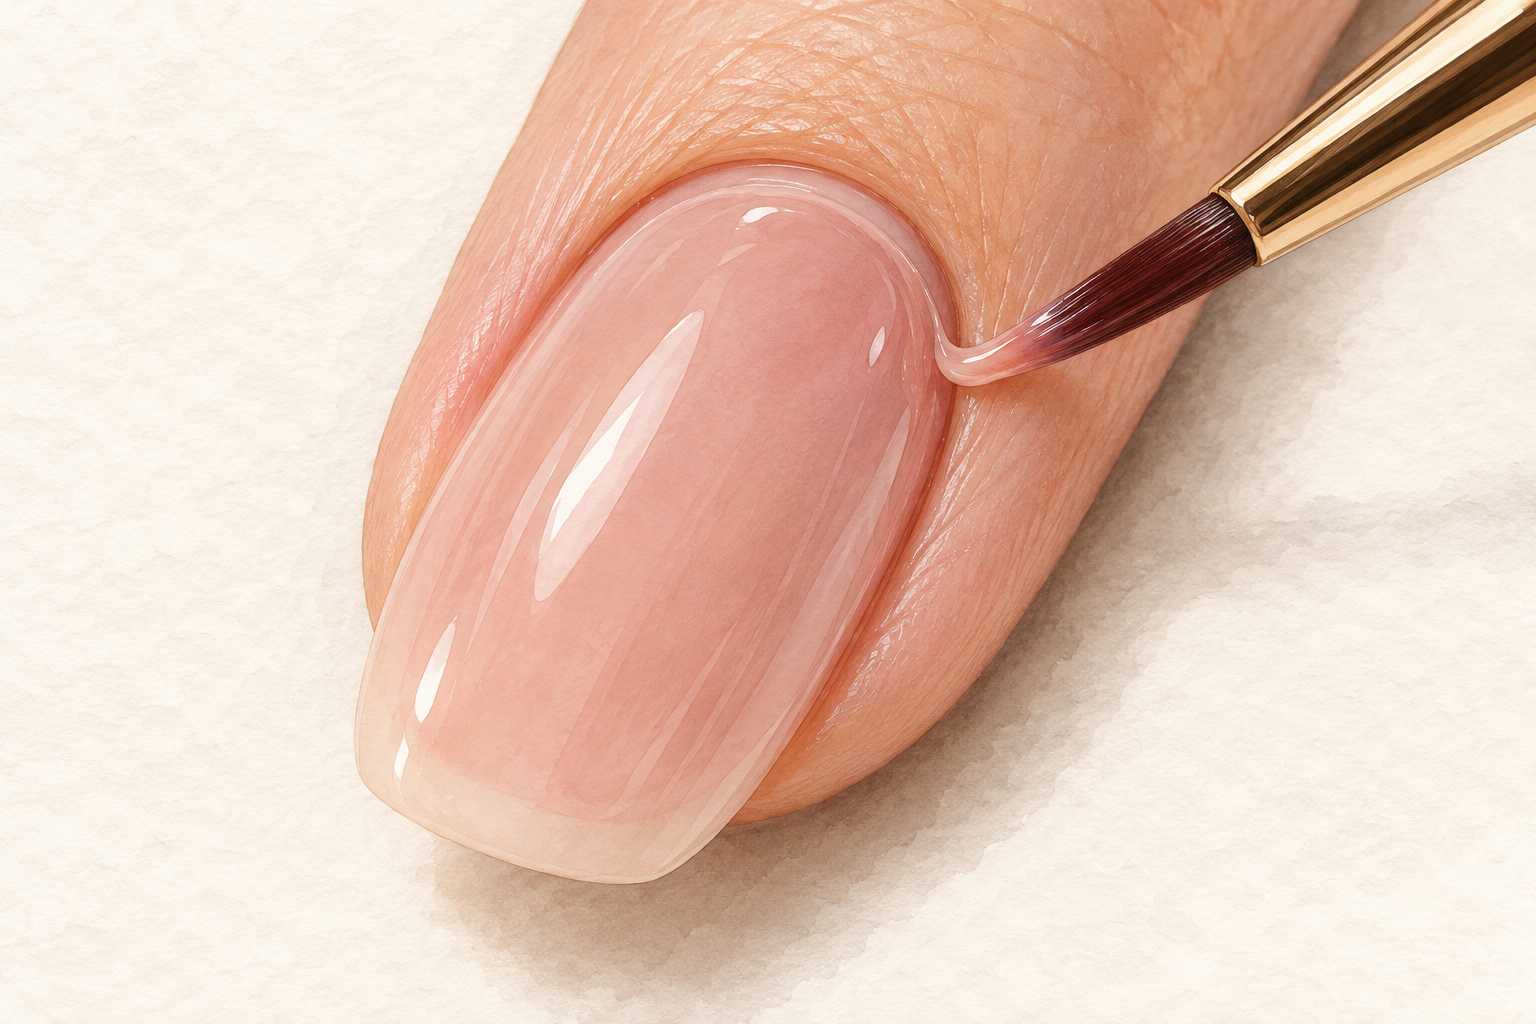
Wipe your brush clean and run it along the cuticle and sidewalls to take off any excess. Gel pools along these edges, and thick spots are where wrinkles start, because the top cures before the layer beneath it. Leave a gap of about one millimeter from the skin. If a wrinkle has already cured, file it gently flat, wipe off the dust and add one thinner layer over it. Never cure a thick puddle, since it traps wet gel underneath, and you will see the ripples within the hour. Pat the edges with a dry brush to lift away extra gel before curing.
8. Match the cure time to the thickest part
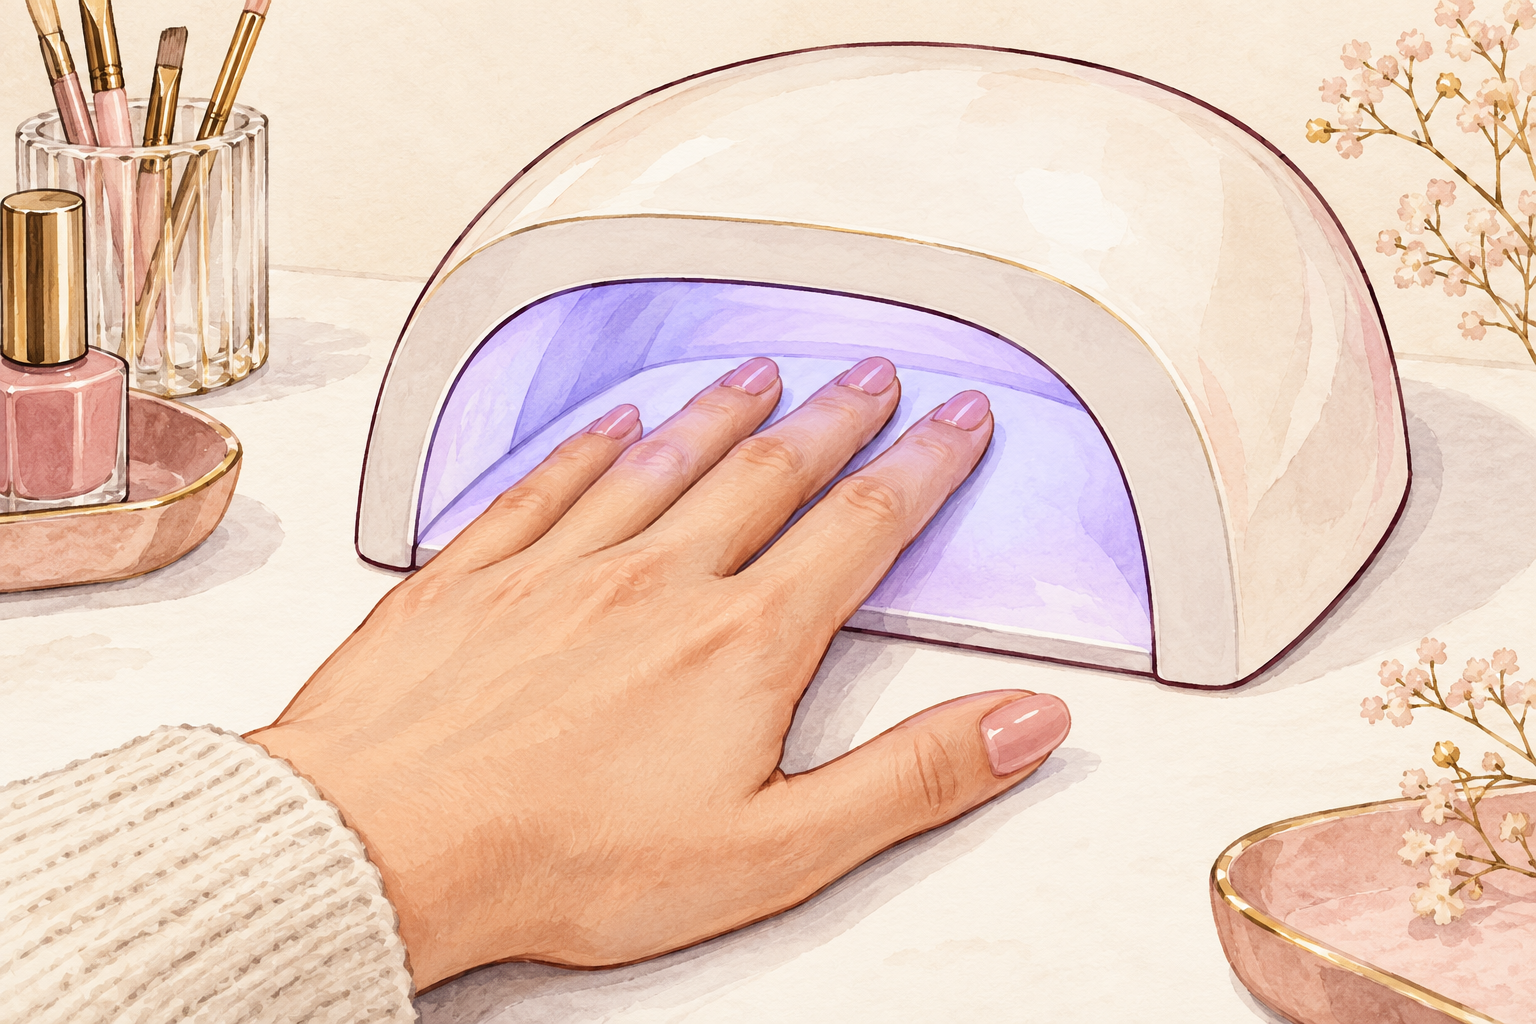
The thickest part of a nail sets how long it needs, not the thinnest. If you used a heavier hand on the tip, cure in two shorter rounds, and check that the surface feels dry afterwards. That is how to do ombre nails with gel on a heavy hand without wrinkles. Do not keep your hand in for a long stretch, since heat can build and feel uncomfortable. Pull out for a breath, then go back in. Cure in short bursts instead, and let each layer cool between rounds. A calm cure beats a long hot one every time.
9. Soften a harsh line with a sponge or a second pass
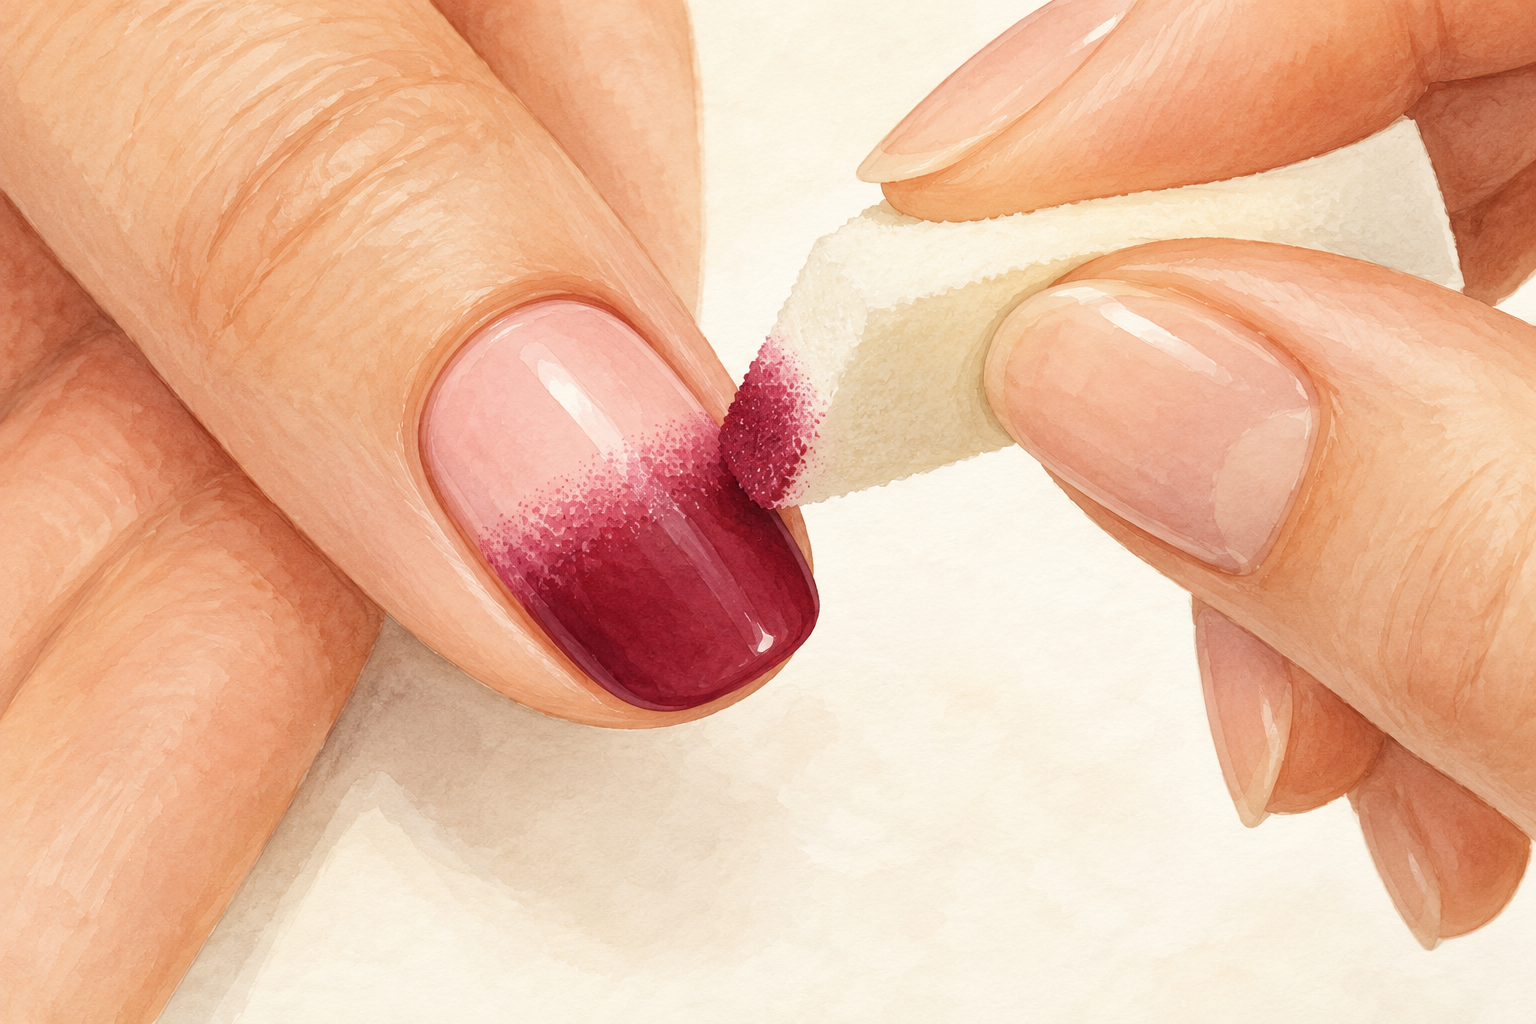
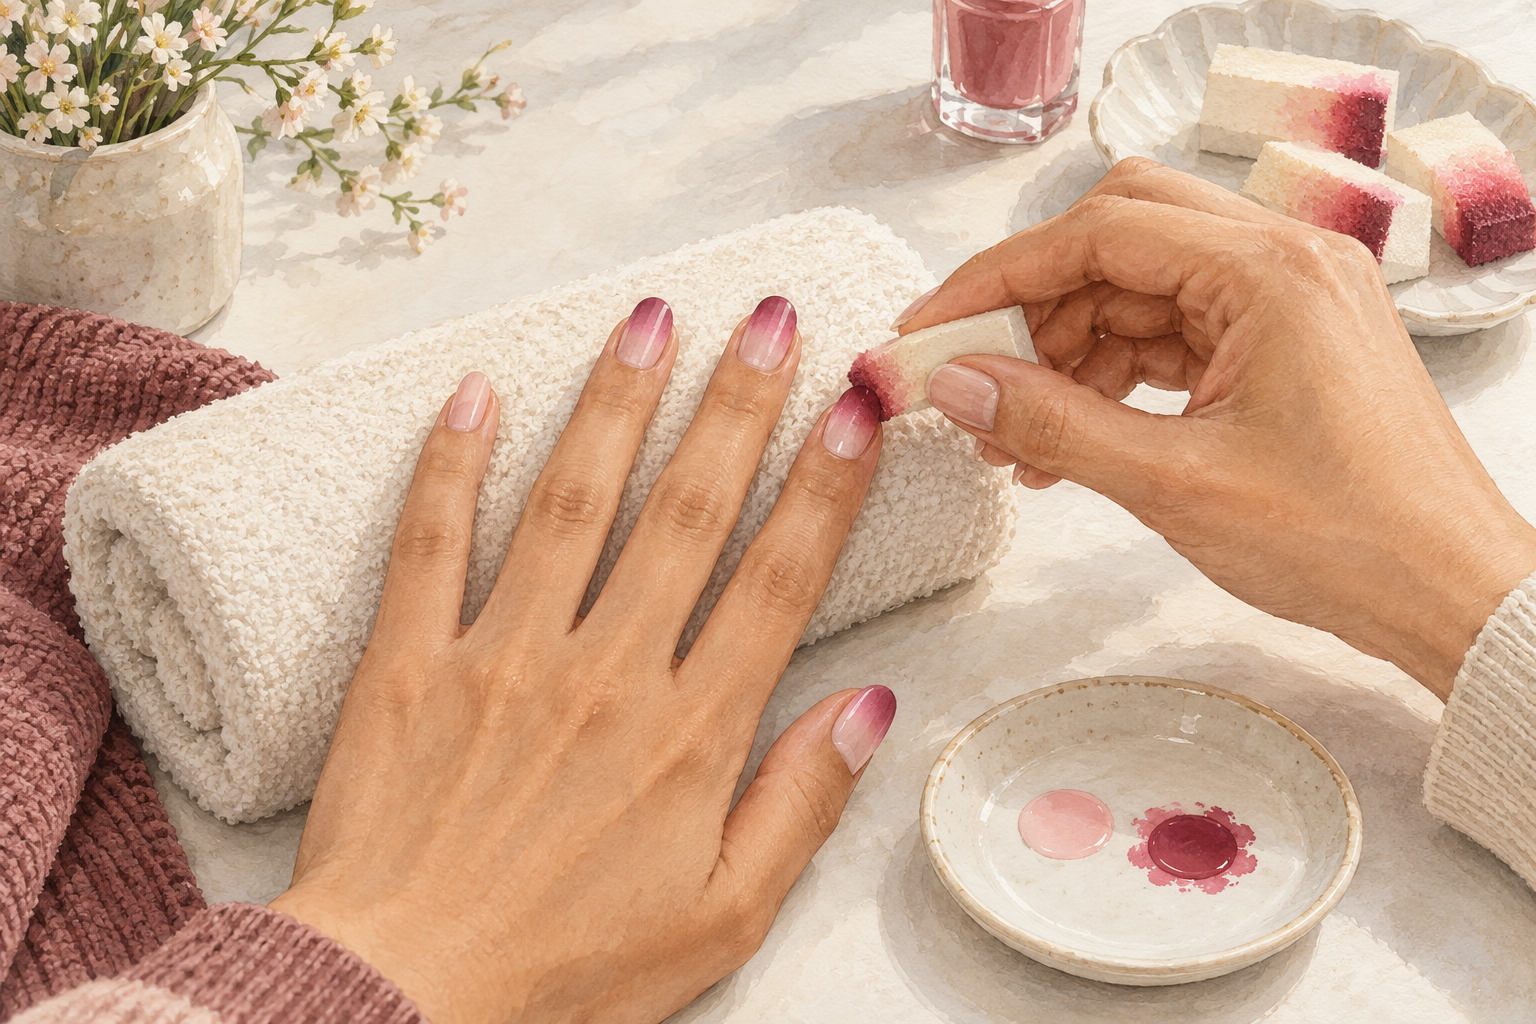
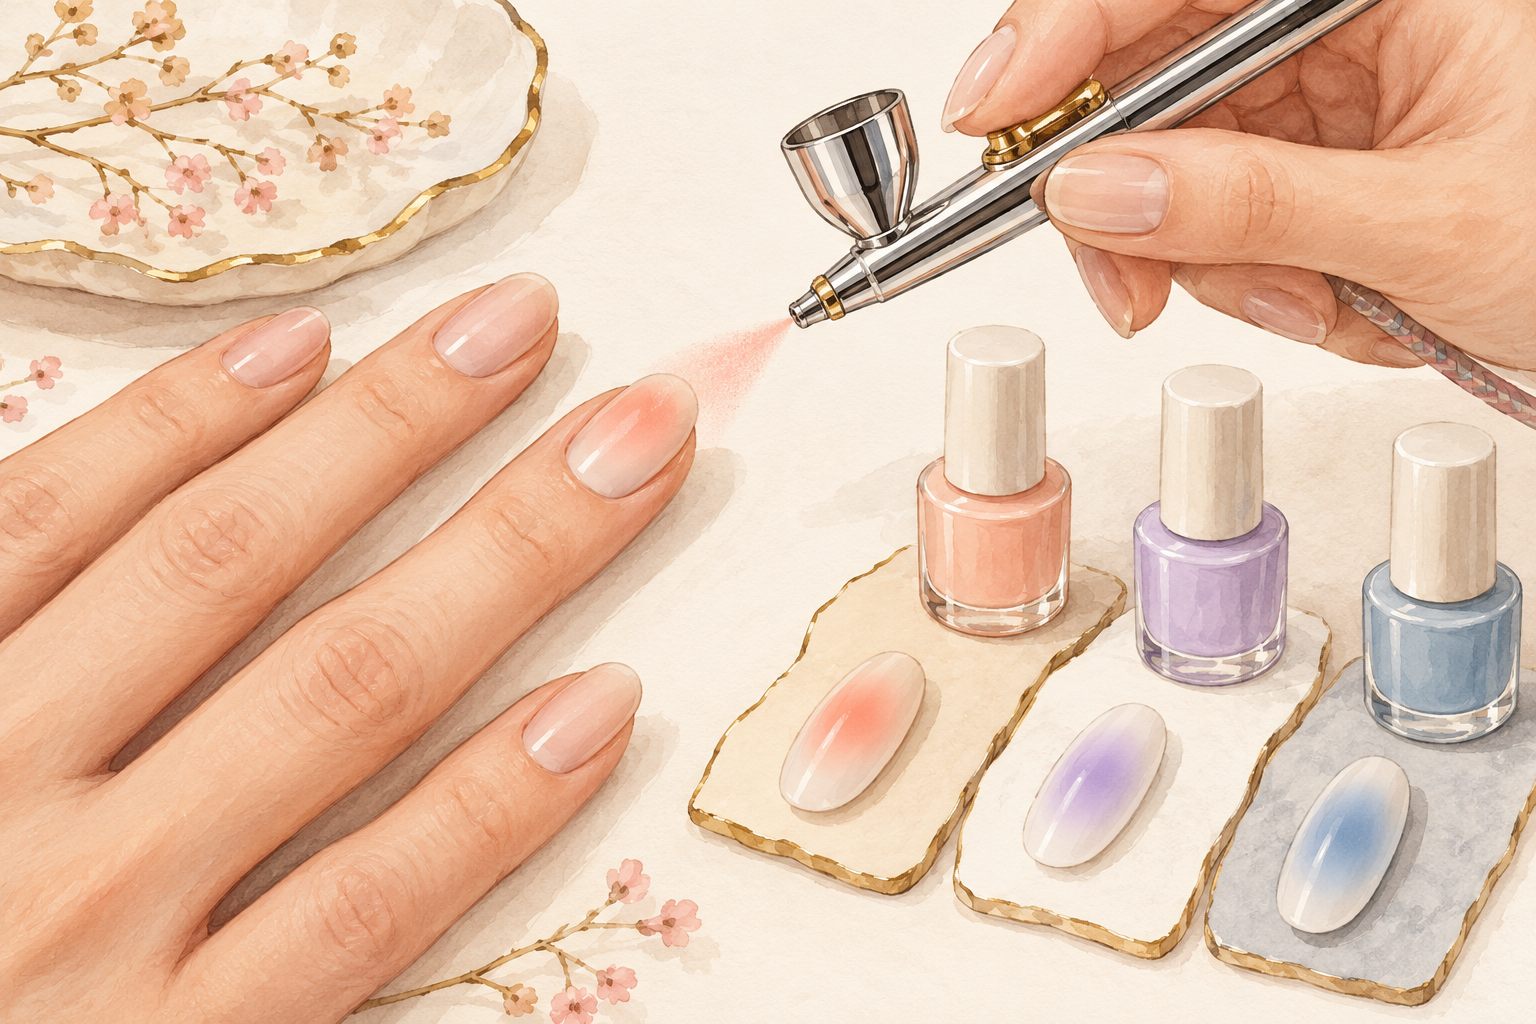
Press a clean piece of makeup sponge lightly onto the wet line, using a fresh corner each time. Dab and do not rub, because a sponge softens a line more than a brush will. If the line is hard, add another thin layer of the lighter color over the middle, cure it and blend again. The extra layer sits on top and softens what is underneath. Resist doing all of it in one go. Patience is most of how to do ombre nails with gel, and a calm third pass beats a heavy first one. If the fade still looks stripy, one more thin pass usually fixes it. A close cousin of this look is how to do aura nails, which leans on soft layers.
10. Seal it and wipe the sticky layer
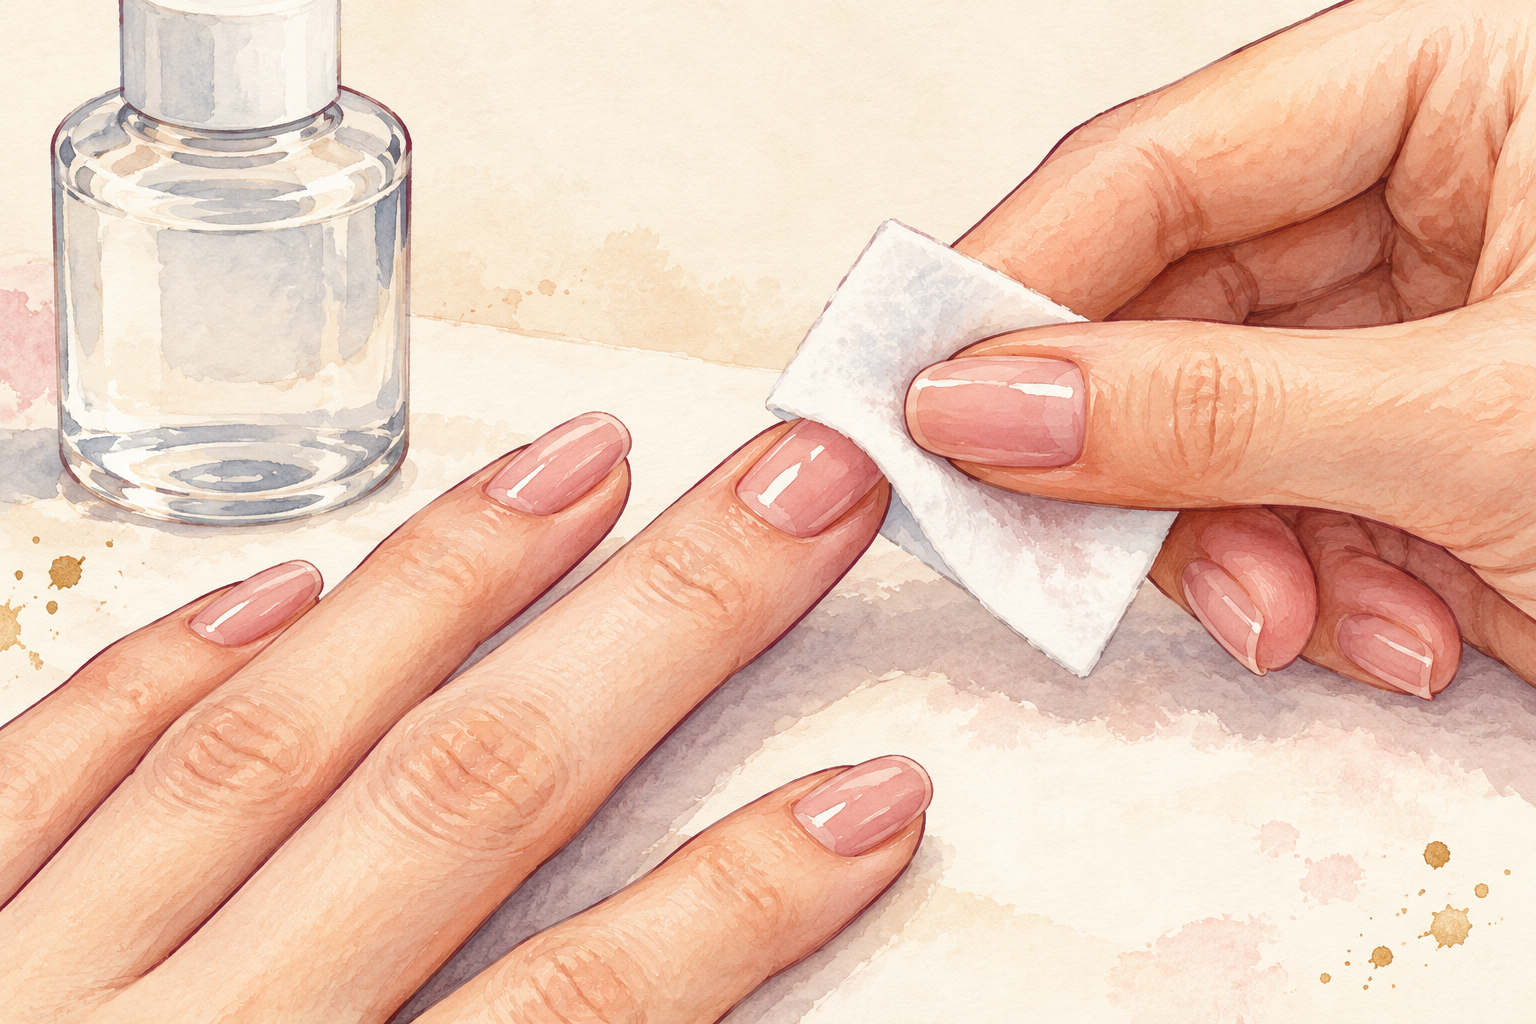
Apply a thin top coat over the whole nail, going over the free edge, and cure it. Then wipe the tacky layer off with a lint free wipe and a little isopropyl alcohol, with a window open. A gel top coat keeps the gradient smooth, so do not skip it. If your top coat wrinkles, it is almost always too thick. Thin and even wins here as it does in every step of this set. Wash your hands afterwards and rub a drop of oil into each cuticle, because the alcohol leaves the skin feeling dry and tight.
11. Try a new color story next time
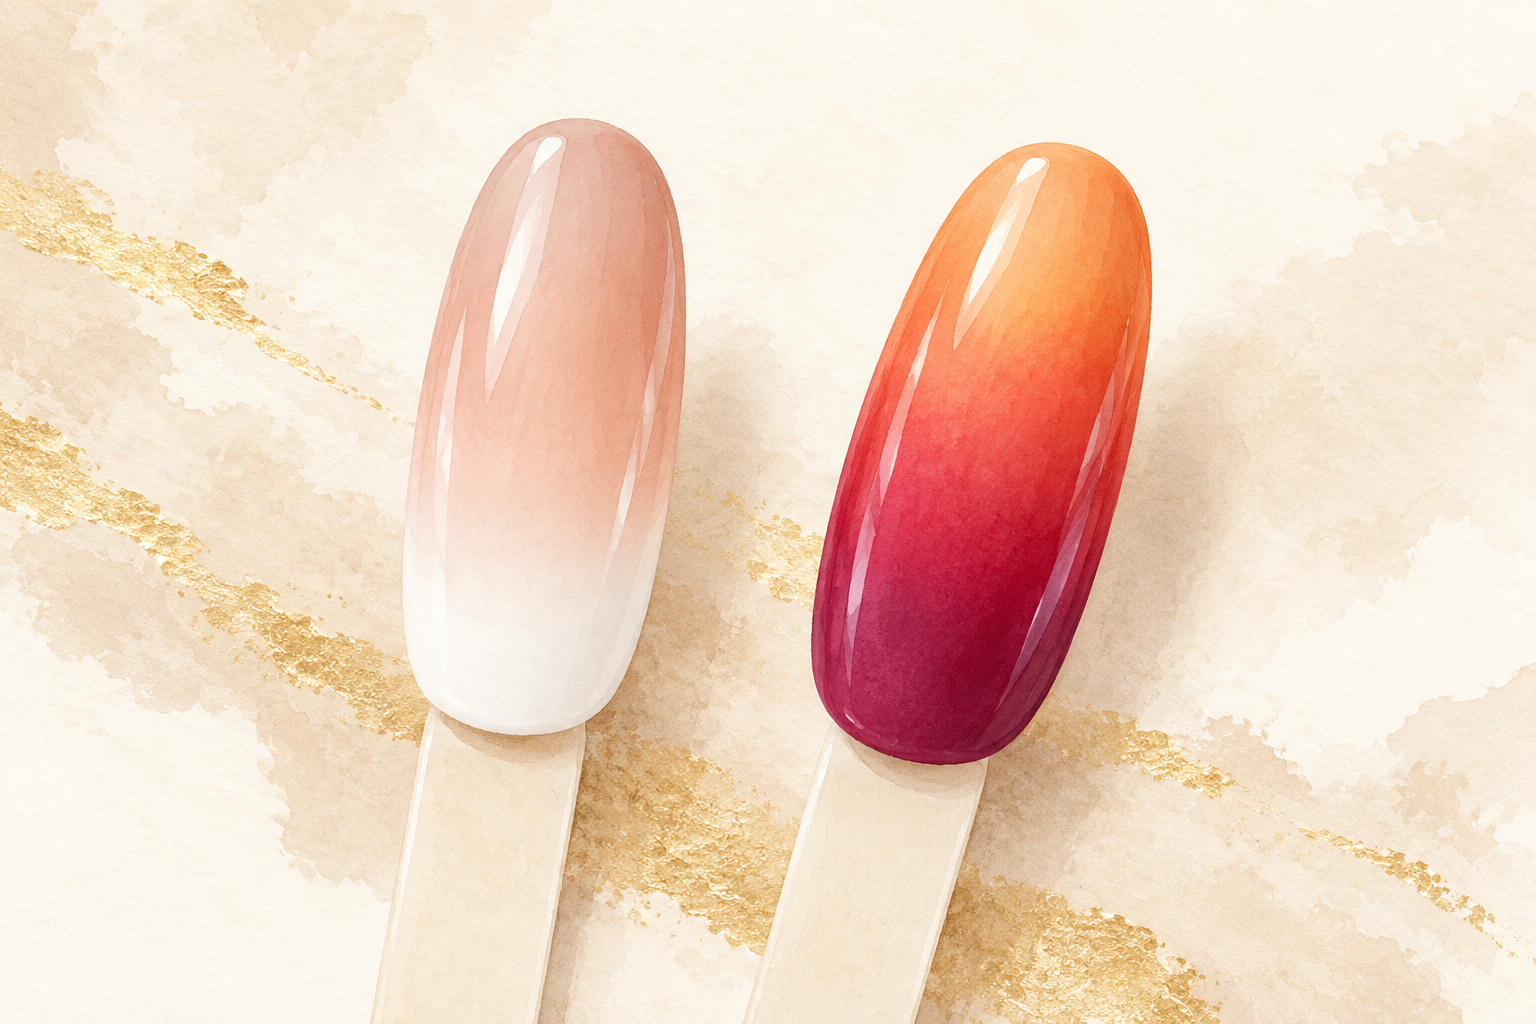
Swap in a soft nude with white for a French fade, or try sunset orange, lilac and blue. Once you have the thin layers and the short cures, any pair works. Keep the shades close together at first, and write down the combinations you love so you can repeat them. A glitter top coat over the fade is a pretty extra, and so is a single solid accent nail. Take a photo of each set so you can copy the exact shades later. Sets get better when you repeat them, not when you change colors every time.
12. Take it off properly and rest your nails
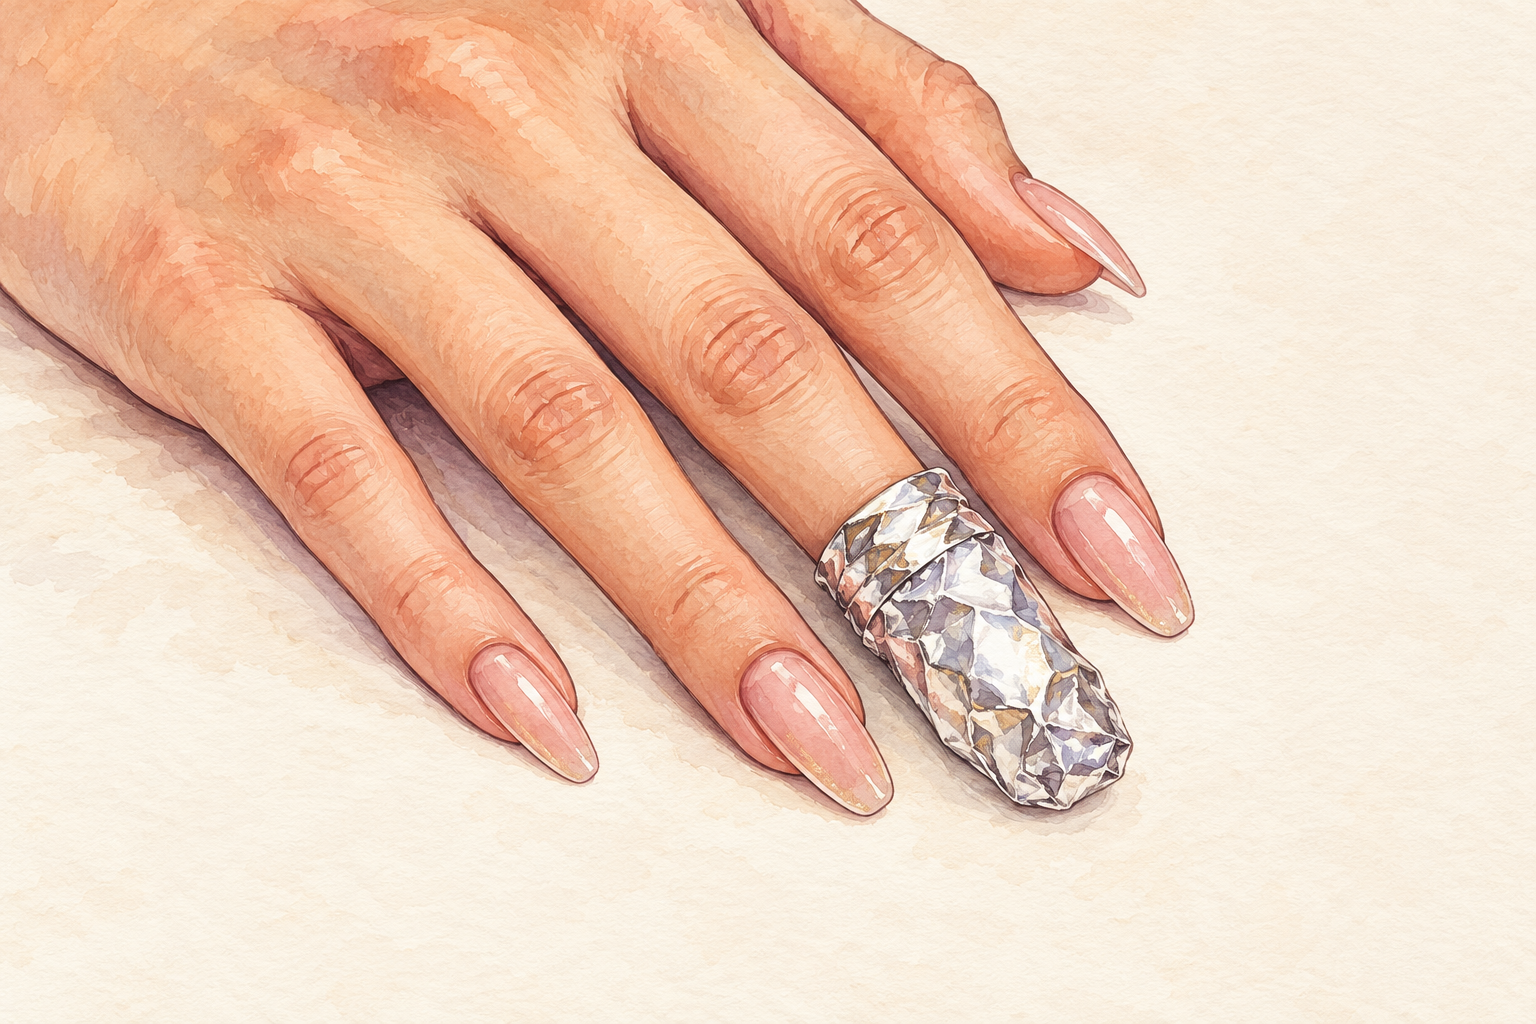
When the set is done, soak it off with acetone and foil, and never pick at lifted gel. Picking pulls up a layer of nail. Then rest your nails for a week or two, using cuticle oil every night. Repeated gel sets with no break can leave the nail thin and bendy. If a nail still feels sore after four weeks, give it plain oil and a long polish break. A tidy removal makes your next gradient look better, because the nail starts smooth and clean. Keep your oil by the bed during the rest week, and do not be tempted to file the surface.
Complete the Look: How to Do Ombre Nails With Gel Again Next Week
Tonight, swatch your two shades on a practice tip and run one blend, so the thin layers feel easy before the real set. Repeats make blends feel natural, so there is no hurry. When your hands feel steady, the guides below offer more looks to explore.