Your gel polish went on smooth, then came out of the lamp wrinkled, or it looked perfect for two days and peeled off in one sheet. How to do gel nails at home comes down to a clean dry nail, coats thinner than you think and enough time under the light. Here are 12 steps in the order that works, so start at number one tonight.
1. Match your lamp to your polish
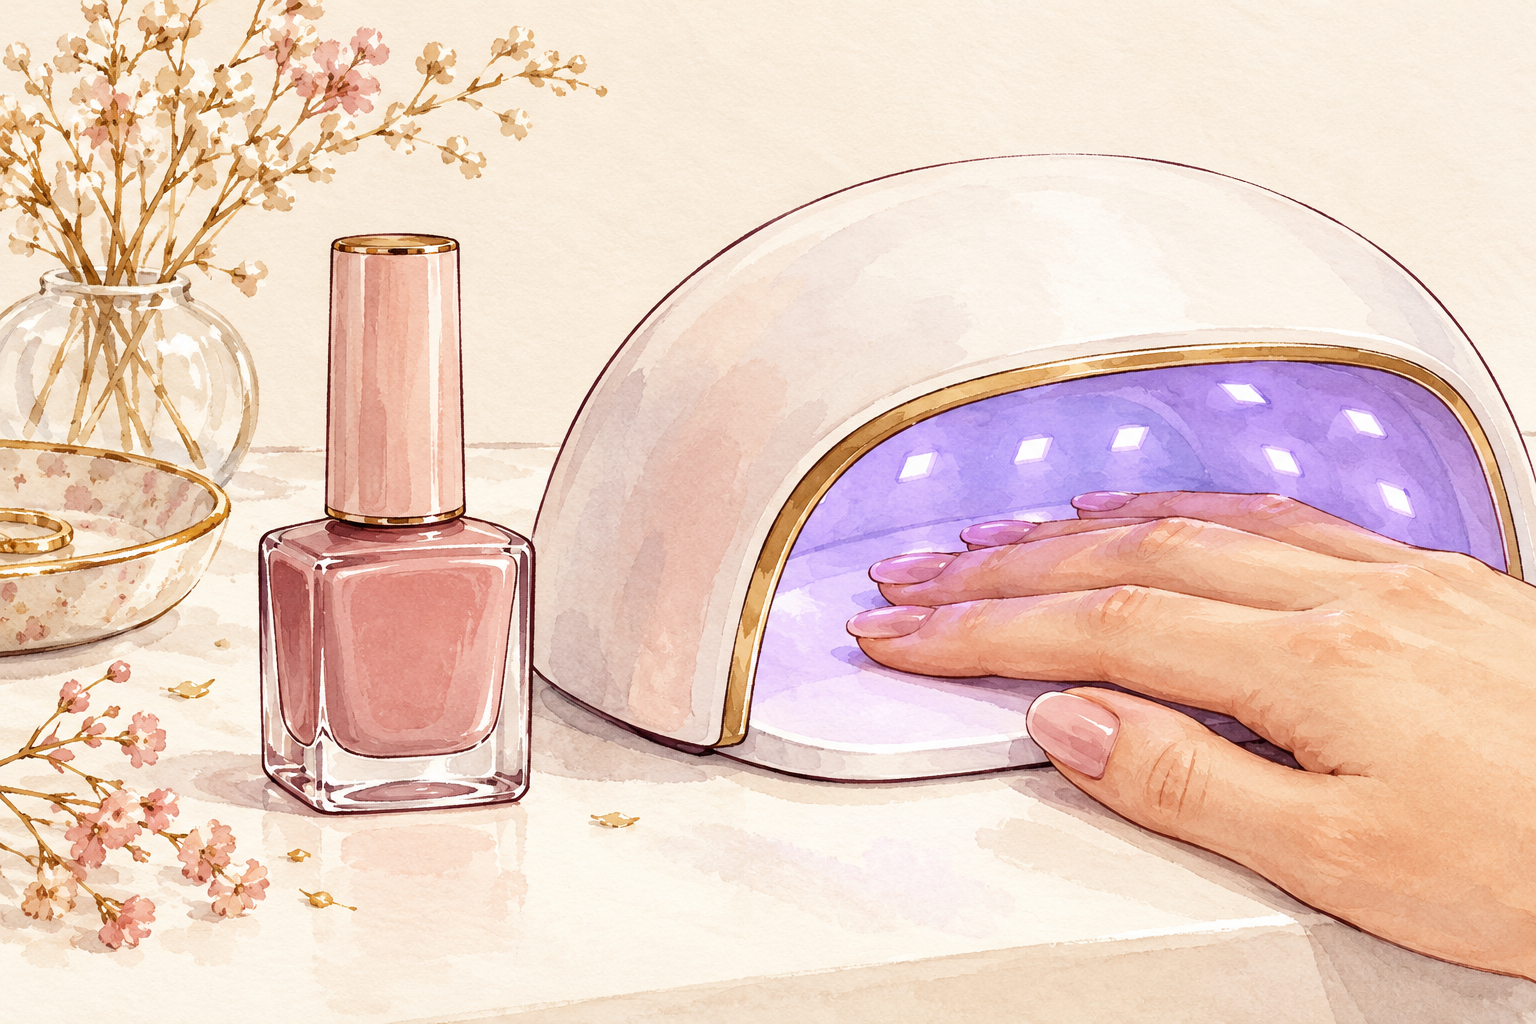
Check that your bottle and your lamp suit each other before you open anything. Gel only hardens under the right light, and some need an LED lamp while others need UV. A lamp that does not fit the polish leaves it tacky underneath, which is the usual reason for peeling. Make sure the lamp is wide enough to take four fingers at once. Keep the instructions beside you for the first few sets, and write the cure times on a sticky note. Practice on one nail before you attempt ten. Matching the gear is the first thing to check when a set goes wrong. Lamp and polish first, then gel nails at home once the gear matches.
2. Prep the nail plate properly
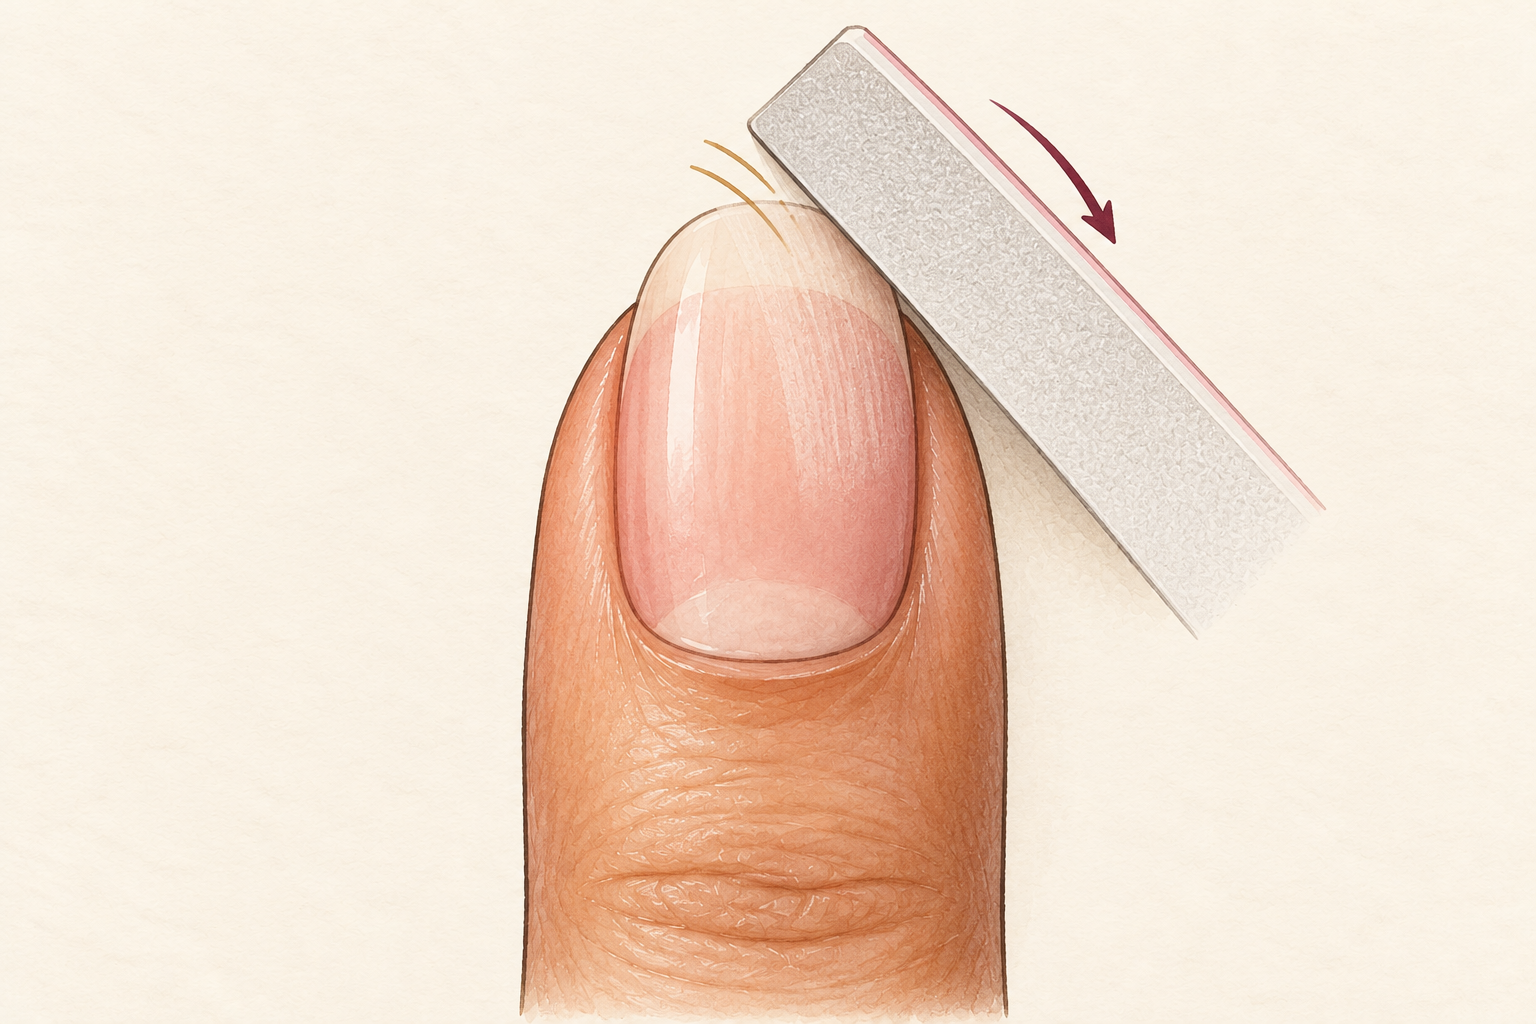
Push the cuticles back gently with an orange stick, shape the nail, then buff the surface just until the shine goes. Gel grips a slightly matte nail far better than a glossy one. Three or four light passes is enough, because over buffing makes the nail thin and sore. Wipe away the dust with a lint free pad and a little nail cleanser, then stop touching the nails. Even a fingerprint of oil is enough to make gel lift at the edge a week later. Cut any hangnails now, not after polish. A smooth, dust free nail is what the gel needs to grip.
3. Protect your skin before the light
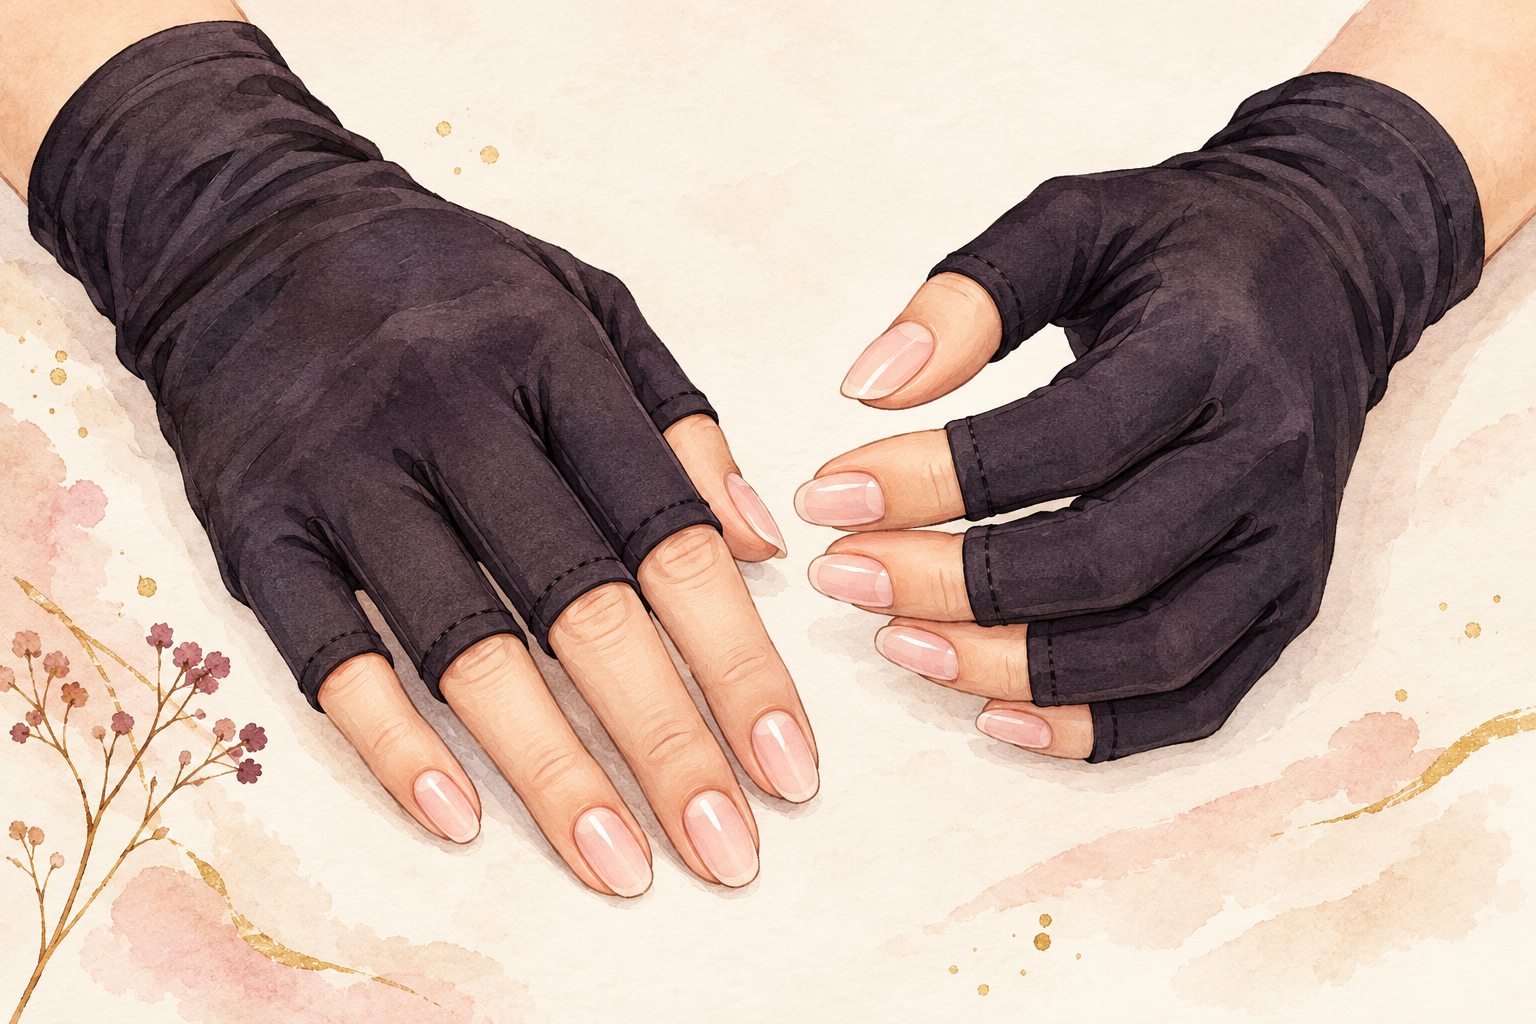
Smooth sunscreen on the backs of your hands about fifteen minutes before the lamp, or wear dark gloves with the fingertips cut off. Lamp light adds up over many sets, and your hands show age first. It takes one minute and is easy to forget when you are excited. If you plan a lot of sets, ask yourself how often you really need them. Fewer, better sets are kinder to your nails than constant ones. Rub the sunscreen in well, and keep it off the nails themselves, or the gel will not stick. Let the sunscreen sink in fully before the next step.
4. Brush on a thin base and cap the edge
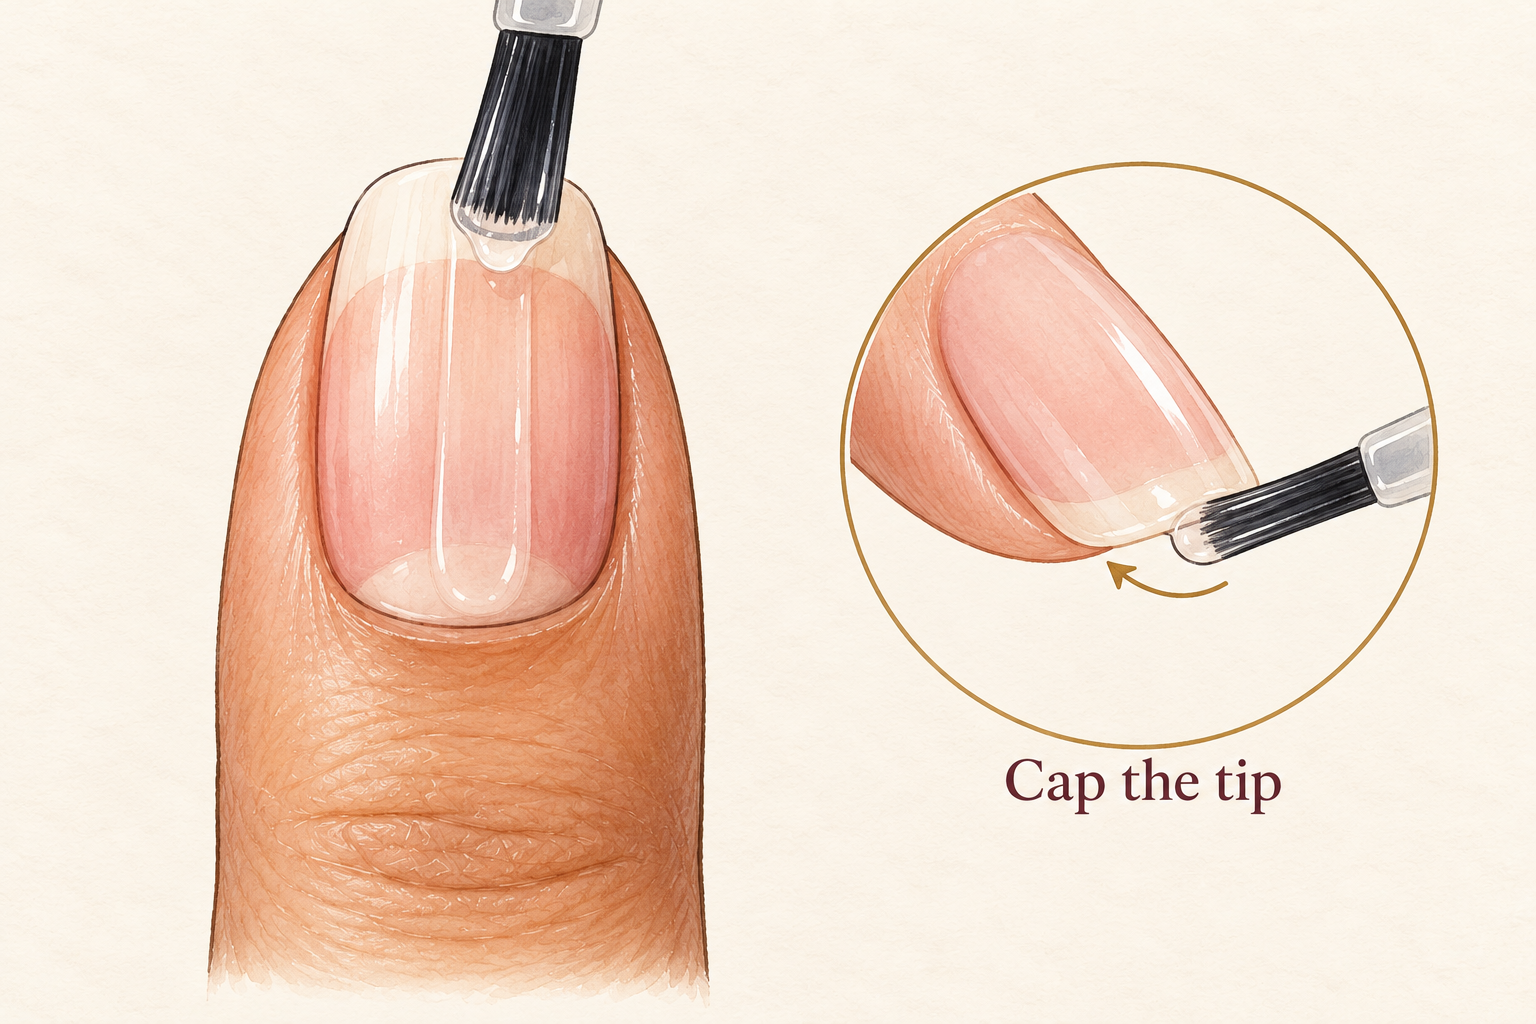
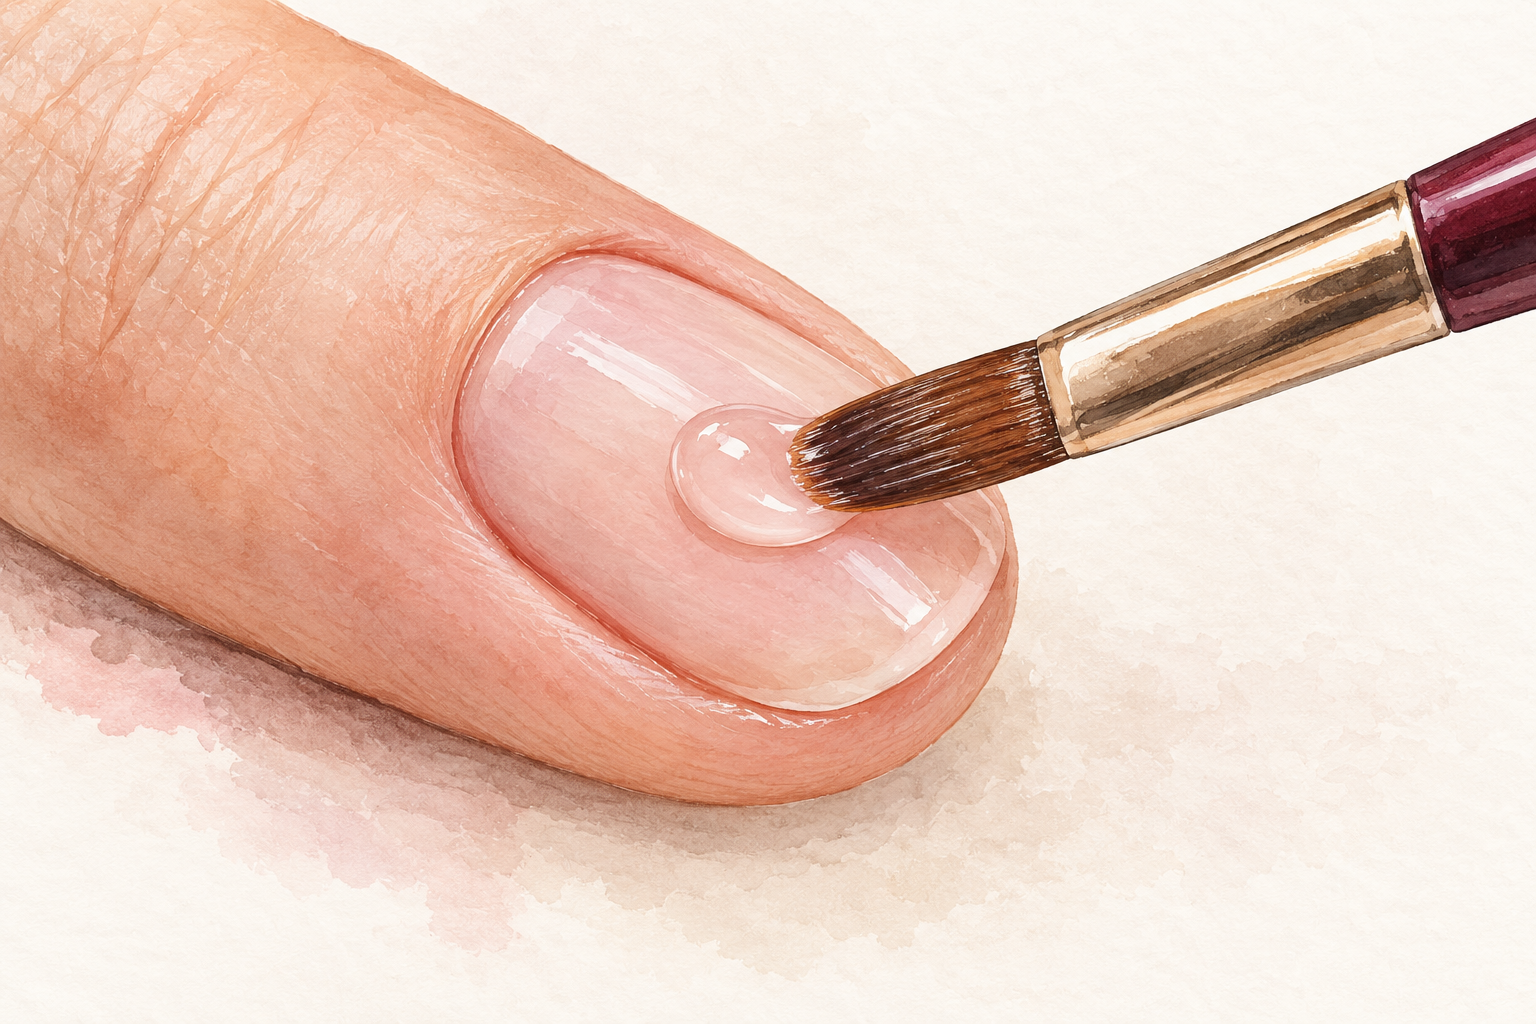
Wipe most of the gel off the brush on the neck of the bottle, then paint one very thin layer from just off the cuticle to the tip. Run the brush along the free edge to seal it. Keep gel off the skin, since gel on skin lifts later and can irritate. Cure for the time on your bottle, which is often thirty to sixty seconds in an LED lamp and longer in UV. The base should look almost wet but not pooled. If gel creeps toward the cuticle, wipe it away before it cures. A cotton bud dipped in cleanser tidies it in seconds.
5. Paint a sheer first coat of color
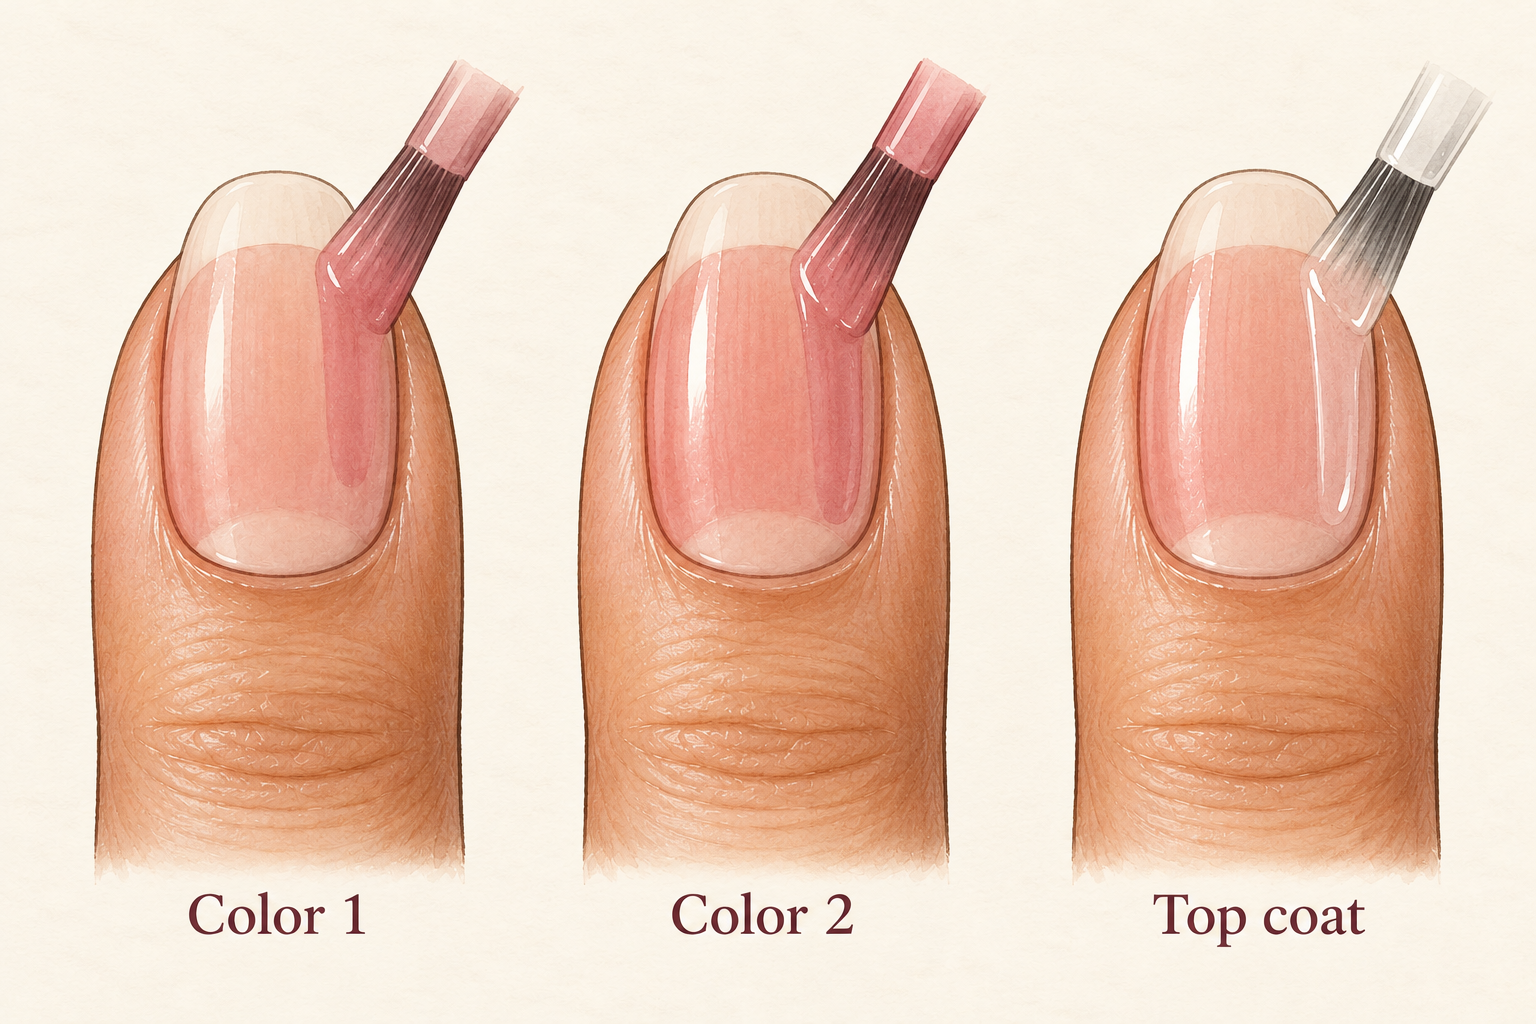
This is the thin coat rule, so the first layer of color should look almost see through. It will not cover, and that is fine, because three thin layers cure better than one thick one. Leave a hair’s width gap at the cuticle and sides. Cure for the time your polish recommends before you add the next layer. A thick coat cures on the surface but stays liquid underneath, which is exactly what causes wrinkling. How to do gel nails at home that last is mostly about patience at this stage. Resist the urge to chase full color in the first coat.
6. Add the second coat, and a third if needed
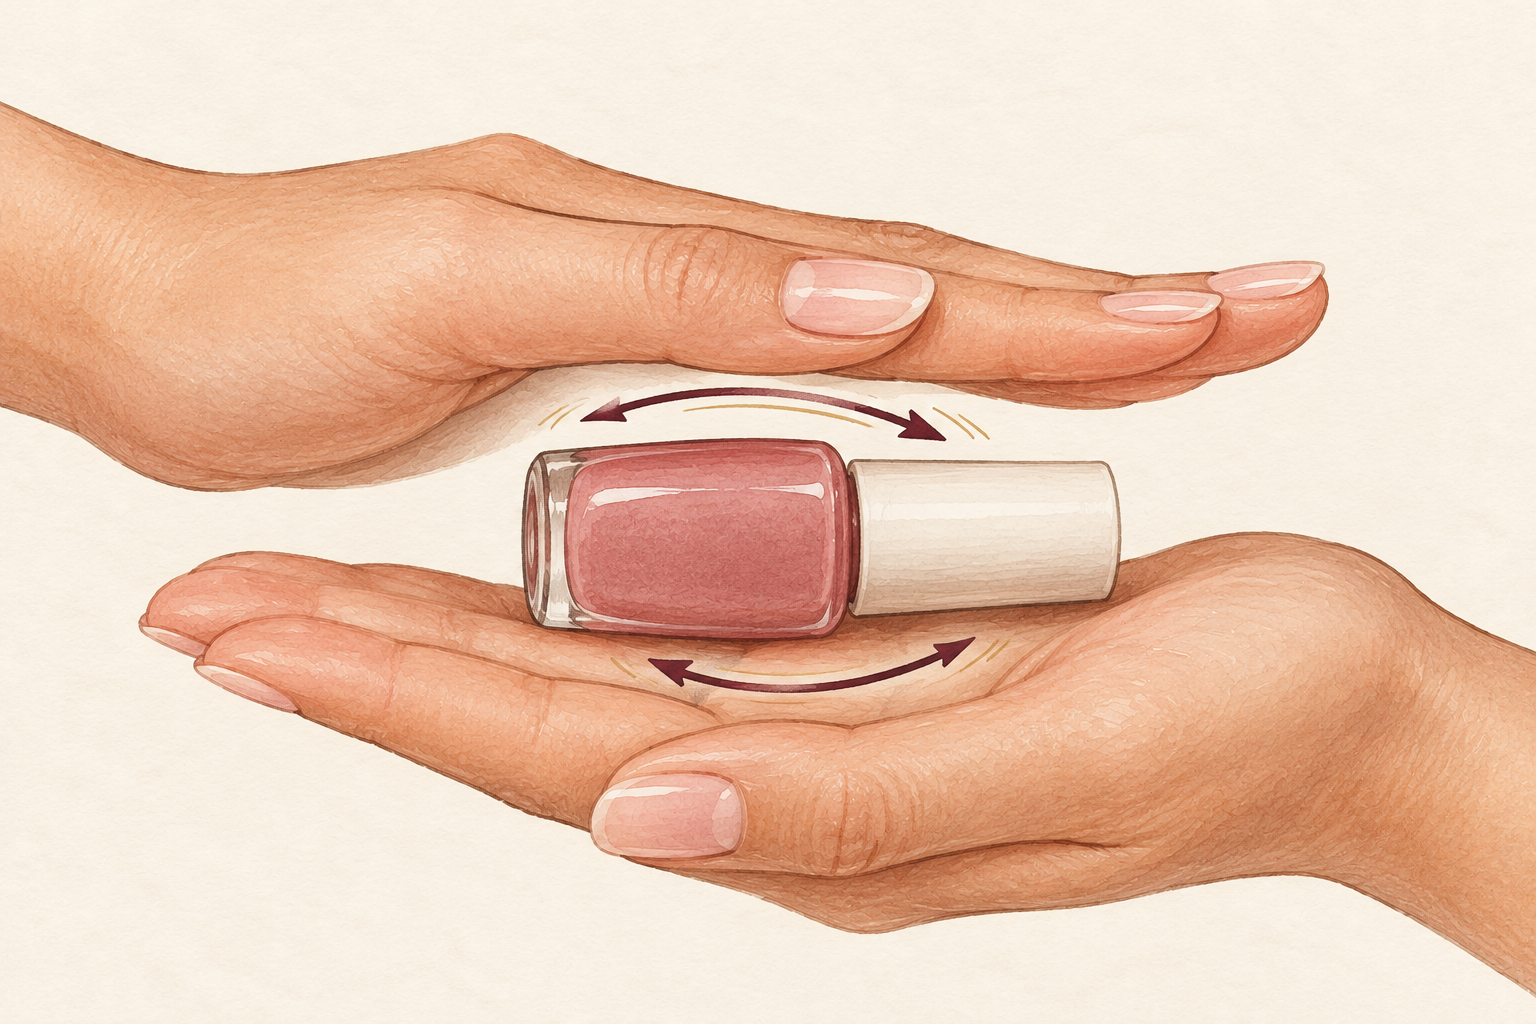
Roll the bottle between your palms, then brush on another thin layer and cure it fully. Shaking hard adds bubbles, so be gentle. If the color is still streaky, add a third thin layer rather than a thick second one. Dark shades often need a longer cure, so follow your bottle. Time every layer on your phone instead of guessing, because under cured gel is the hidden reason many sets peel. Keep your fingers still during the cure, since moving them blurs the polish and creates ripples. Two thin coats of dark shades often look richer than one thick one.
7. Cure each coat for the full time
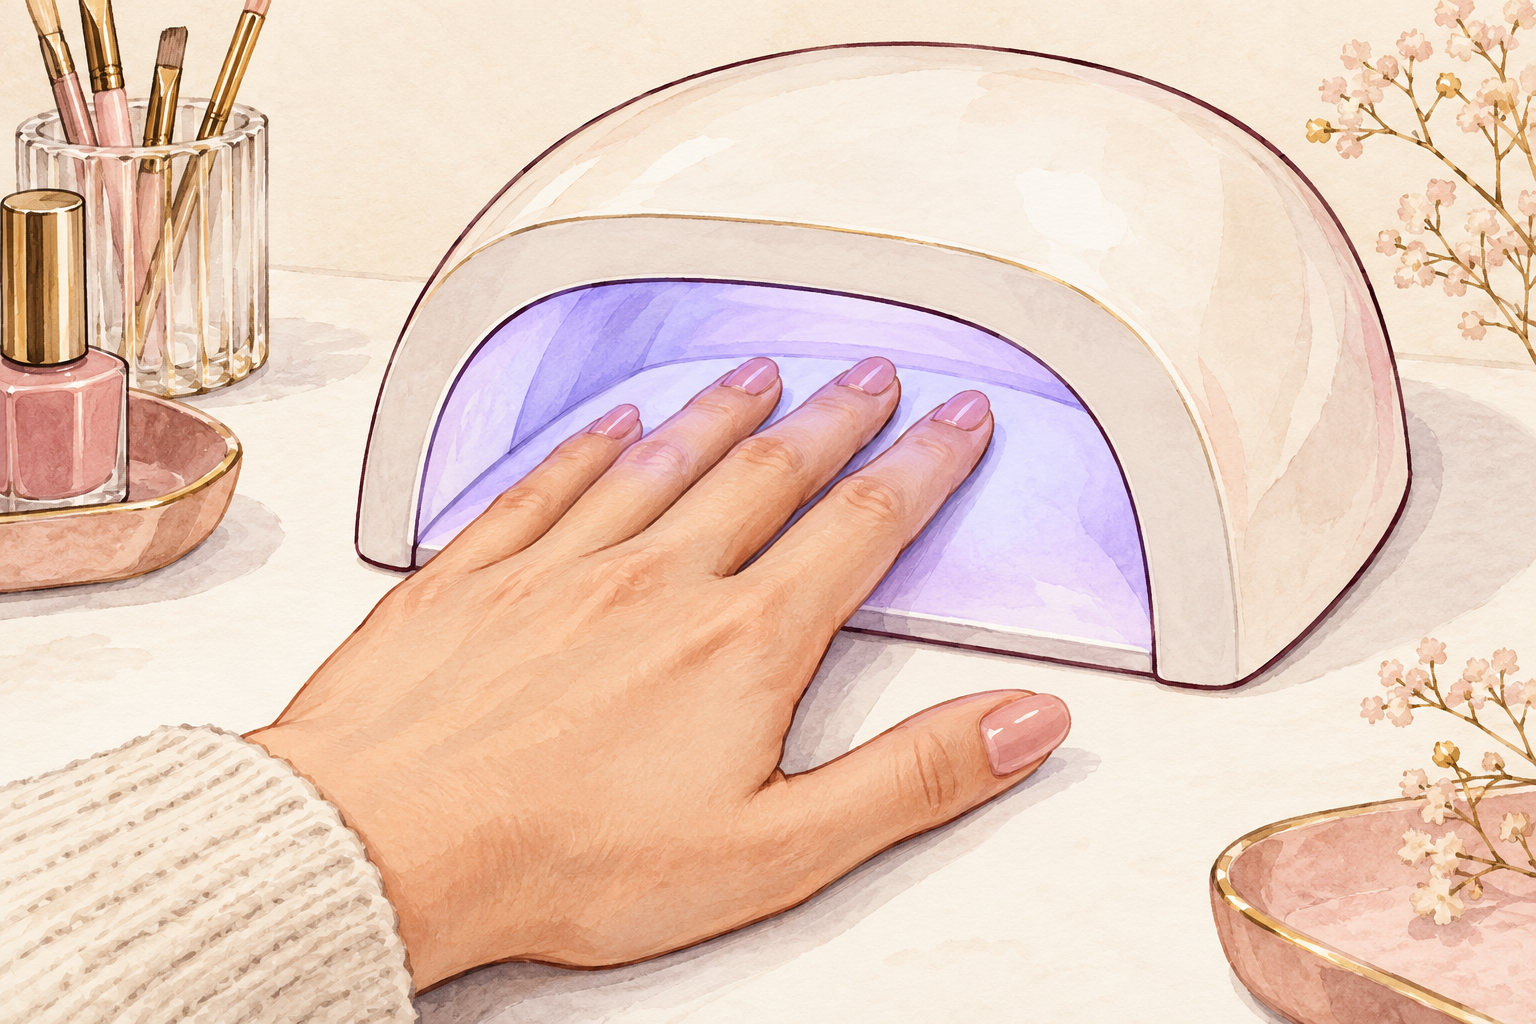
Place four fingers flat in the lamp and cure the thumb on its own. Most LED lamps need thirty to sixty seconds per coat, and UV lamps often need two minutes. If you feel heat, pull your hand out for a few seconds and slip it back in. Do not cut a cure short because the surface looks dry. It can look hard while the layer beneath is still soft. A timer on your phone keeps you honest, and a few extra seconds are safer than a few too few. Wash your hands afterwards, since the lamp can leave a warm tingle.
8. Seal with a top coat and cap the tip
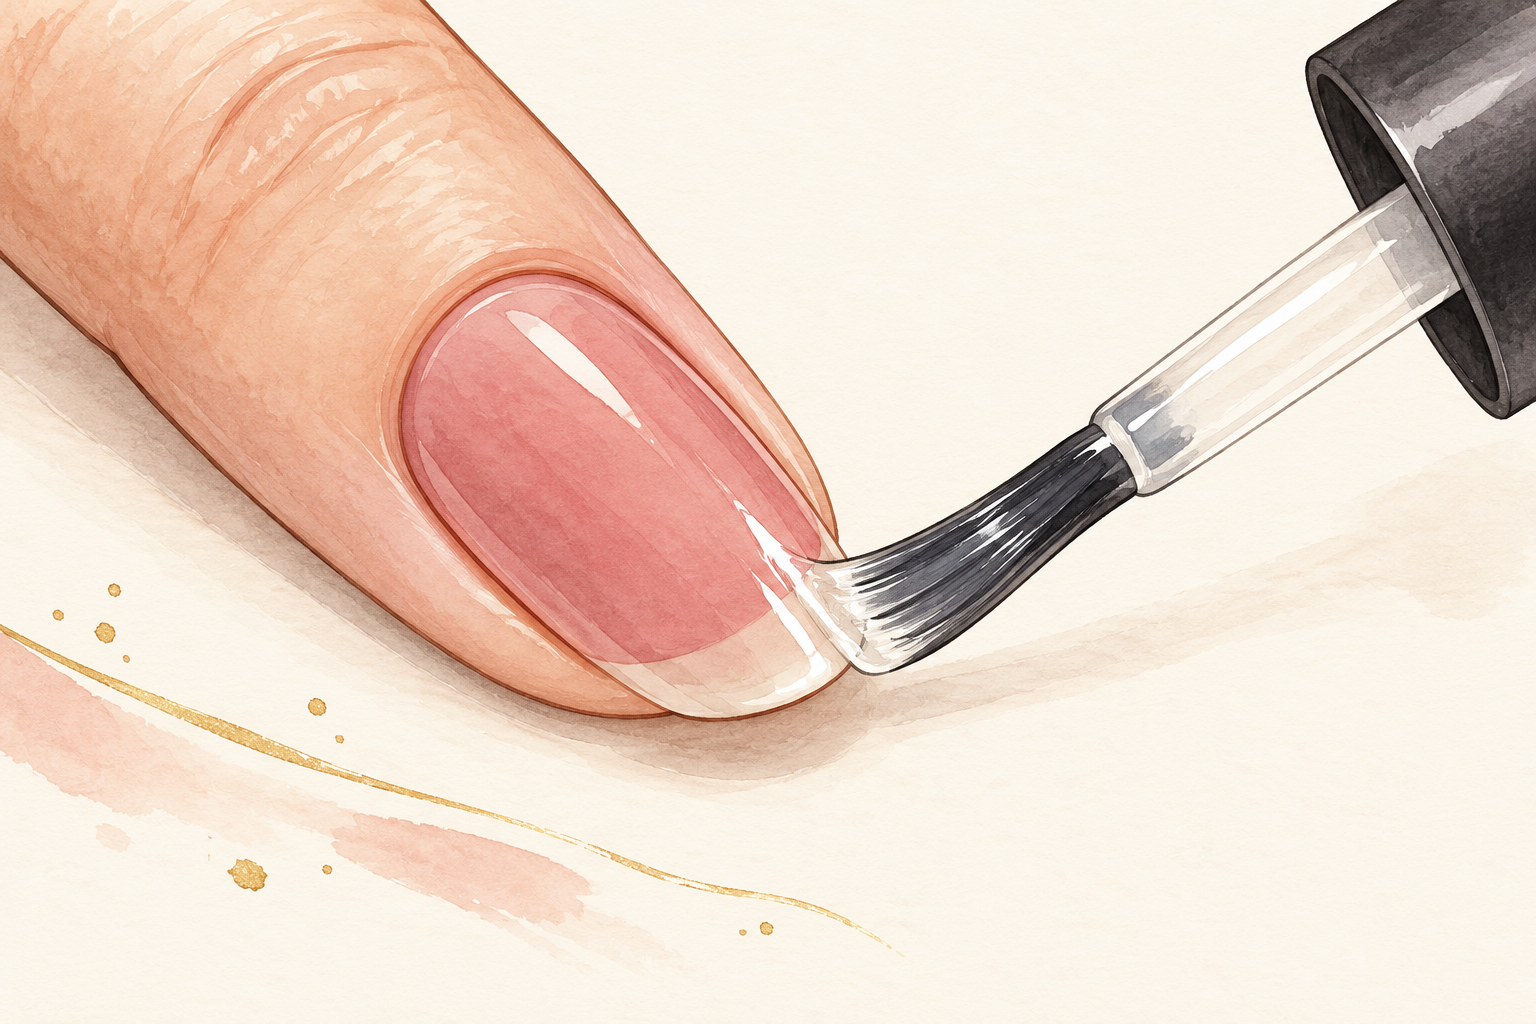
Sweep a thin top coat over the whole nail, float the brush so it does not drag the color, and run it along the free edge. Sealing the tip stops water creeping under the color, which is where lifting begins. Keep the top coat off your skin, just like the color. Cure for the full time, with the thumb on its own again. A top coat that is too thick will wrinkle, so go thin and let the lamp do the work. Check that the shine looks even from every angle before moving on. Rotate your hand under the lamp if one side looks thin.
9. Wipe the sticky layer if your top coat leaves one
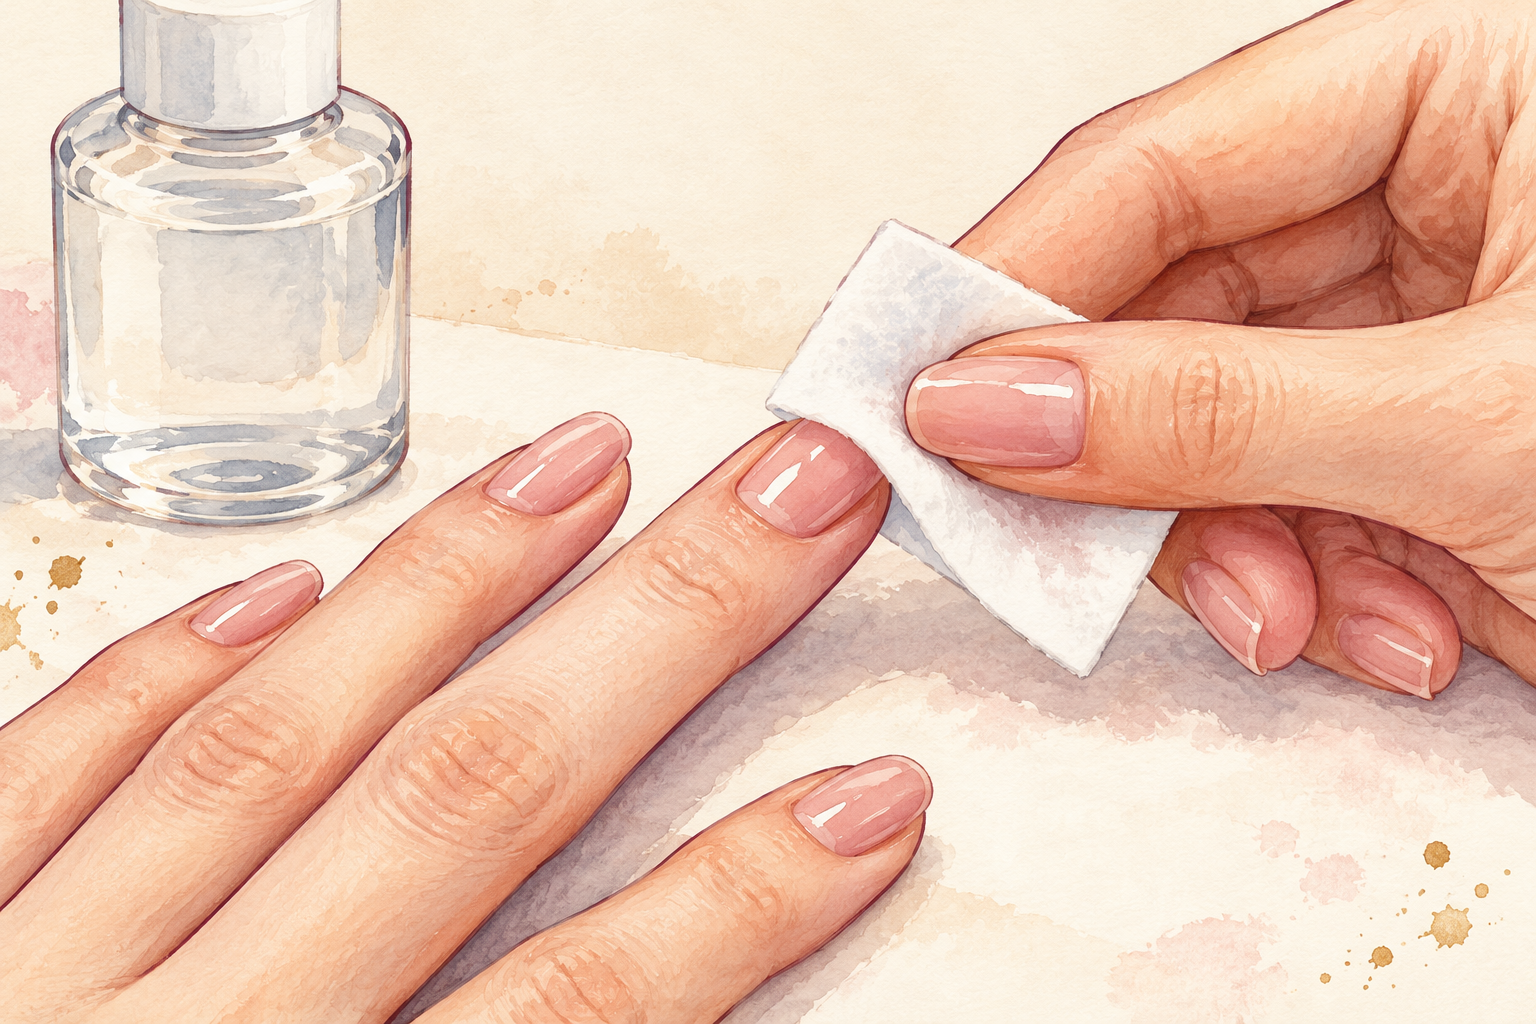
Wipe each nail with a lint free pad and a little cleanser until it looks glossy and smooth. Some top coats leave a tacky film after curing, and that film is meant to come off. Skip this step if your top coat is labeled no wipe. Do not touch the nails with your fingers before wiping, as oil will dull the shine. Finish with a drop of cuticle oil on the skin, never on the nail. Keep this step in the same place every time, and it becomes automatic. Your nails should feel completely smooth and dry after this step.
10. Fix wrinkling and bubbles
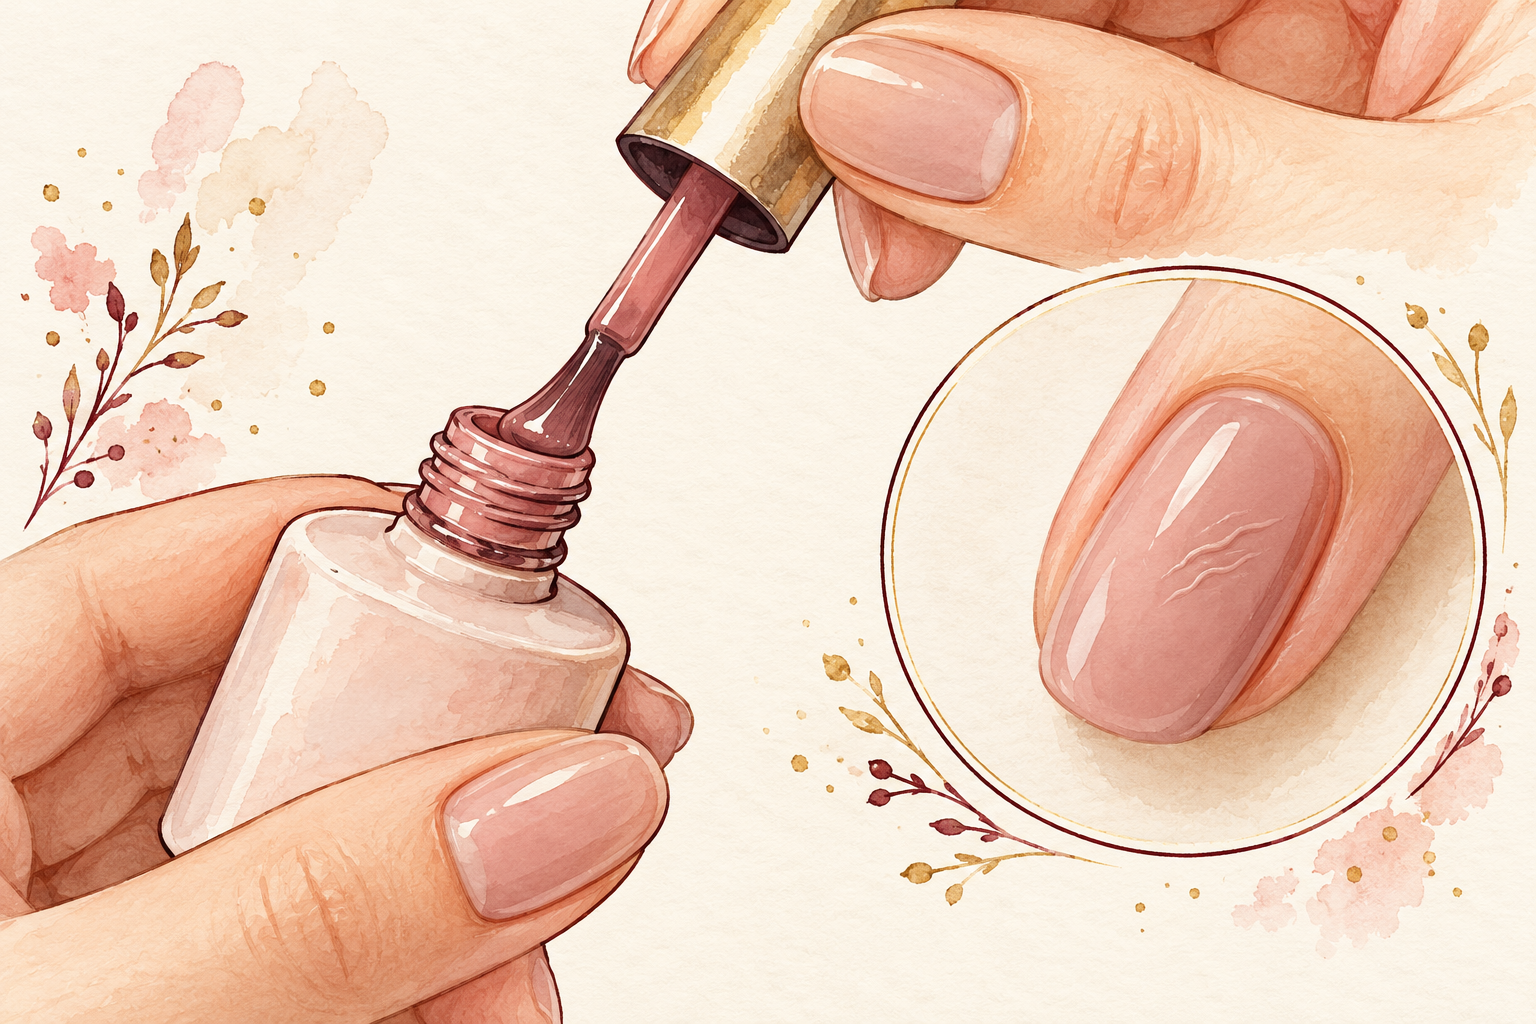
Wrinkling means a thick layer cured on top but stayed liquid underneath, so the fix is thinner coats and sometimes a longer cure. File the wrinkled patch smooth, wipe off the dust, and brush on one thin new layer. Bubbles come from shaking the bottle or from a thick, overloaded brush, so roll it gently and wipe the brush well. If wrinkles keep appearing with dark colors, add an extra thin layer in place of a thick one. Learning how to do gel nails at home is mostly learning what thin really looks like. Keep your brush wiped clean between coats, and your results will improve quickly.
11. Fix lifting at the edges
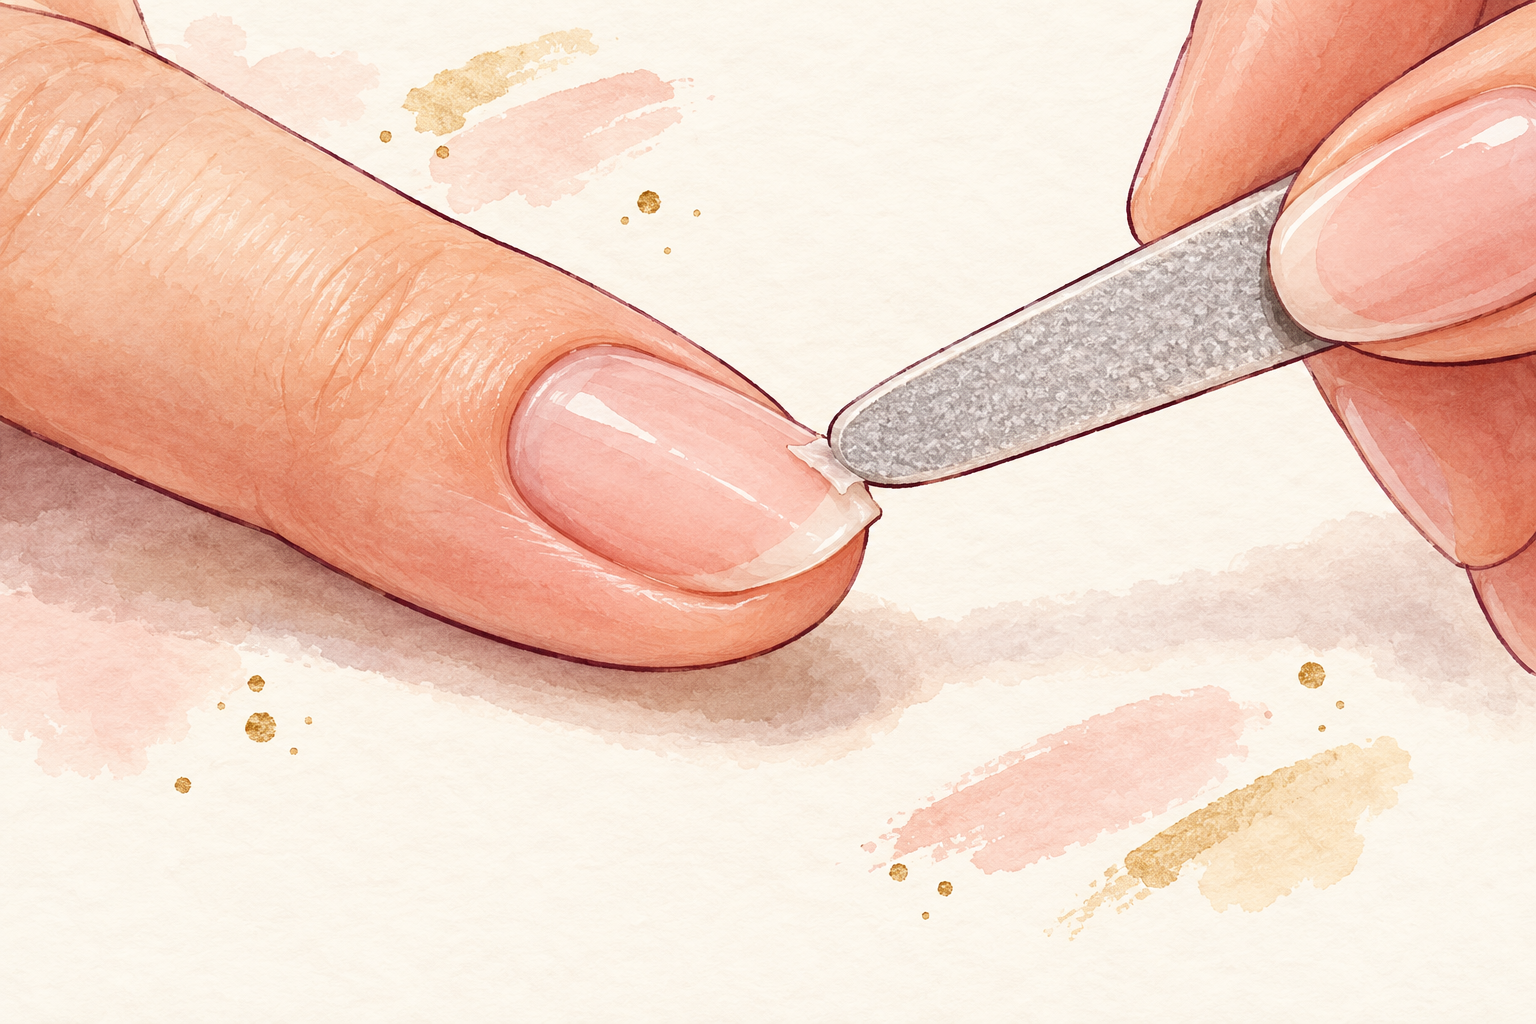
Gel that lifts at the cuticle usually touched the skin, or went over oil or damp. Next time, prep more carefully, leave a small gap at the skin and cap the tip. Never pick at a lifted edge, because it peels layers off your own nail. File it flat and cover it with a thin top coat, or take the set off if it keeps lifting. Water trapped under a lifted edge is unpleasant, so do not leave it for more than a few days. Wash up in gloves while the set is new. Sleeping in a loose pair of cotton gloves is a gentle way to keep them safe.
12. Know the wear time and how to take it off
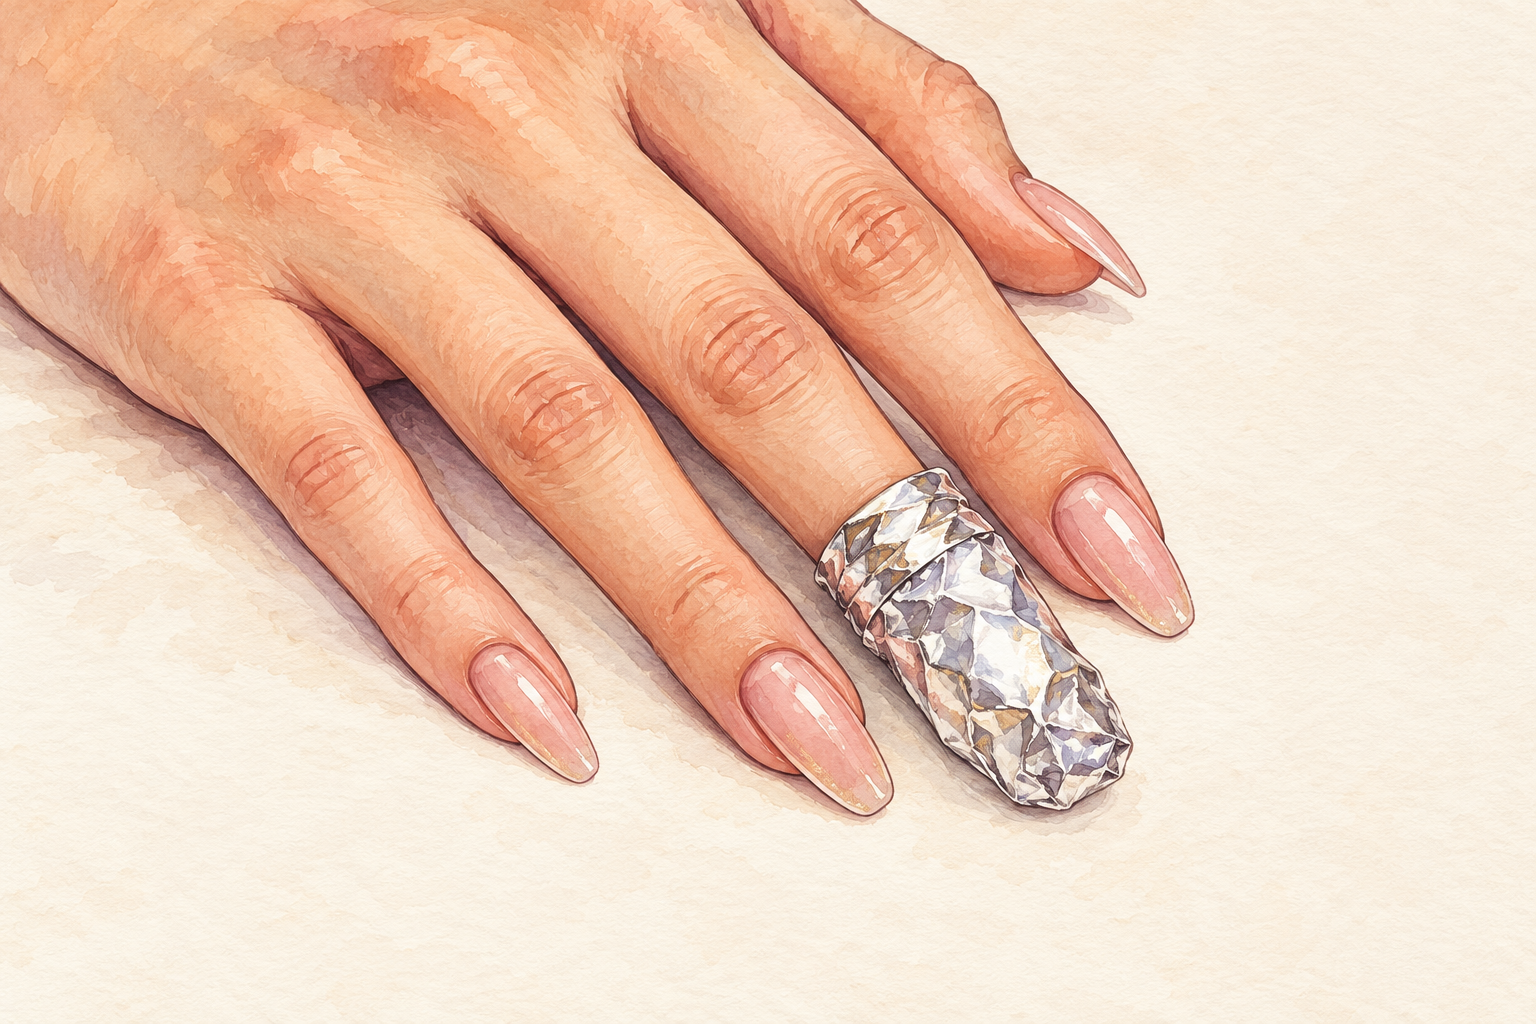
In week one a good set stays glossy and flat, by week two a small gap shows at the cuticle, and by week three it is time to remove it. Never peel or pick gel off, because it takes layers of your own nail with it. Wrap each nail in acetone soaked cotton and foil for about fifteen minutes, then nudge the softened gel off with an orange stick. Work near an open window, since acetone fumes are strong. Give your nails a week of oil and cream before the next set. Short nails and a gentle file make the second round of gel go on much more smoothly. When it is time to come off, read remove gel nails at home before you pick at anything.
Complete the Routine: How to Do Gel Nails at Home Safely
Tonight, put your lamp’s instructions and sunscreen beside your tools and practice one thin coat on a single nail. Gel gets easier with each set, and the guides below will help you choose the next nail project to try.