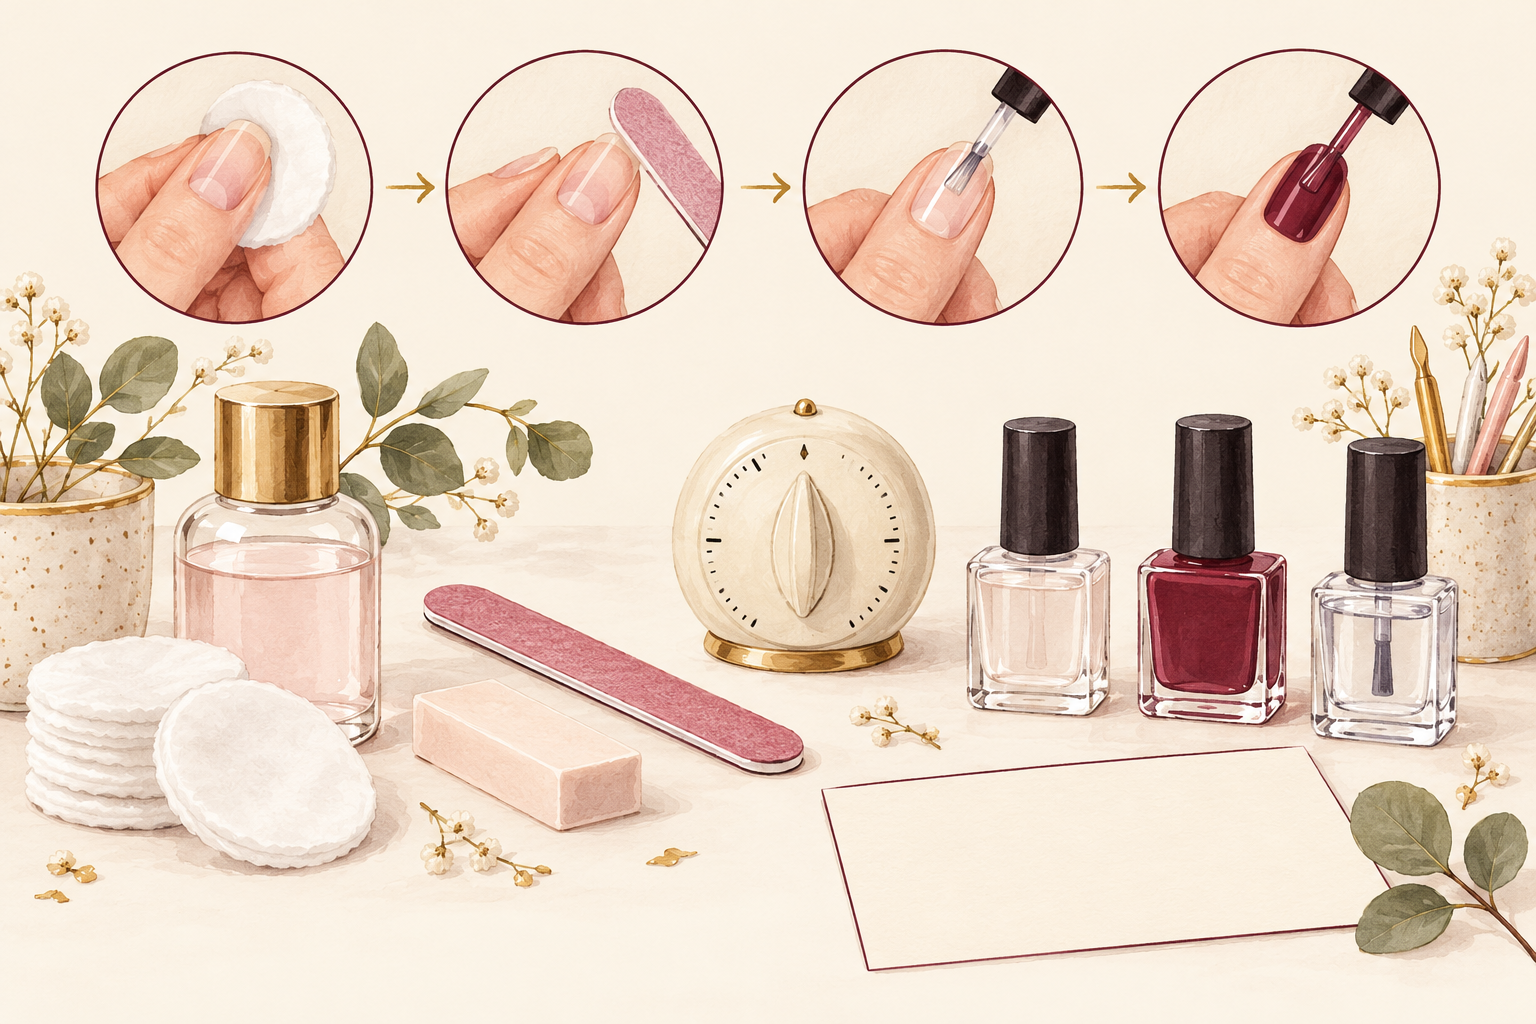
You pressed them on Saturday night, and by Monday morning one thumb has a lifted corner that catches your sleeve every time you reach for something. Most people wonder how to make press on nails last longer, and the answer is mostly in the ten minutes before the glue comes out. Here are 12 fixes, from spotting why they lift to aftercare, so start at number one.
1. Spot where the lift starts
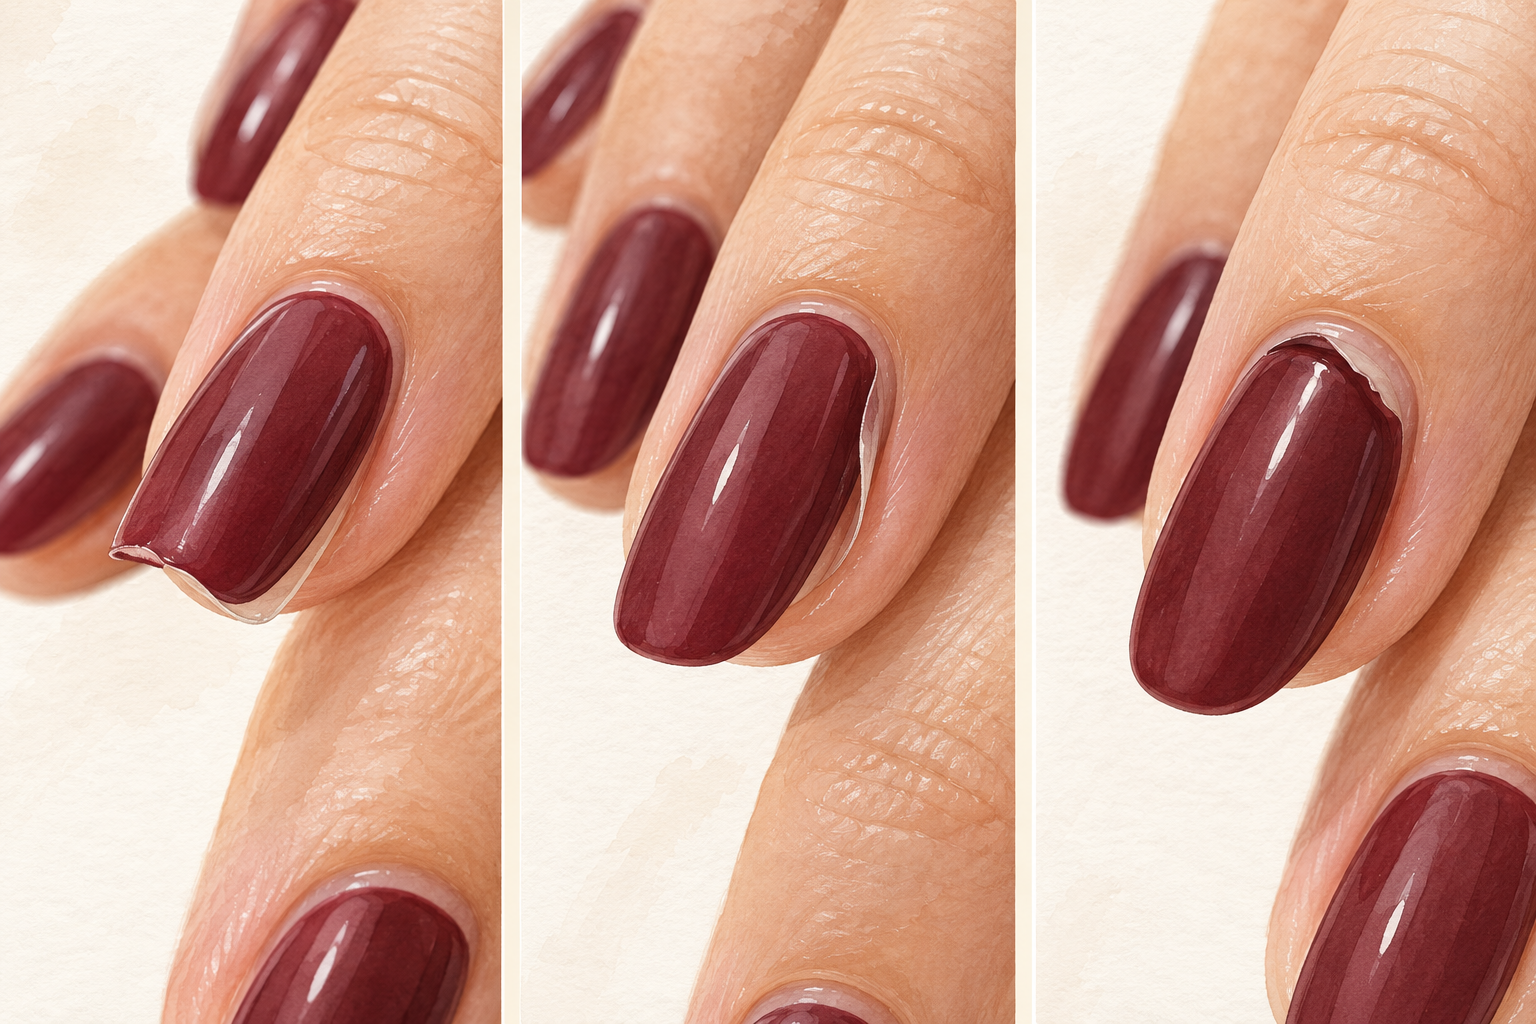
Check whether yours lift at a corner, along the sides or from the cuticle end, because each place points to a different cause. A lift on day one usually means oil on the nail or a poor fit. A corner lifting around day four often means water got in or the nail was too long. A lift at the cuticle end suggests the nail was pressed too far down onto the skin. Write down where it started, and you will know which fix below to use first. Take a photo of the lifted nail before you press it back down, so you can compare with your next set. Pinning down where the lift starts is quicker with how to do nails at home open.
2. Match each size before any glue comes out
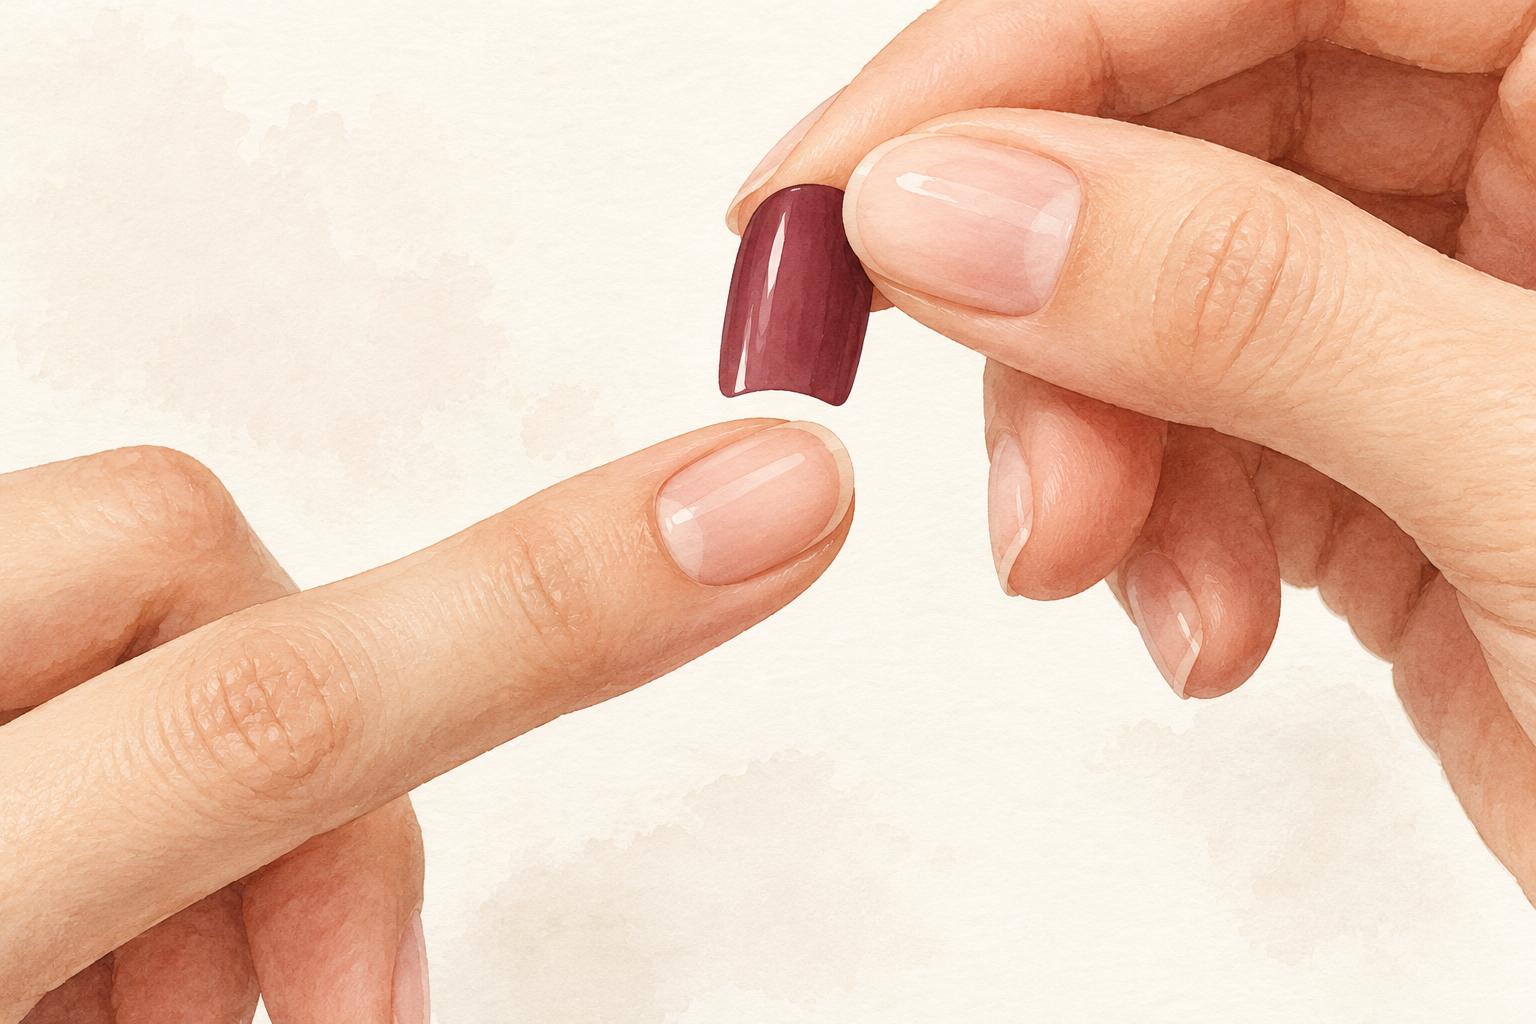
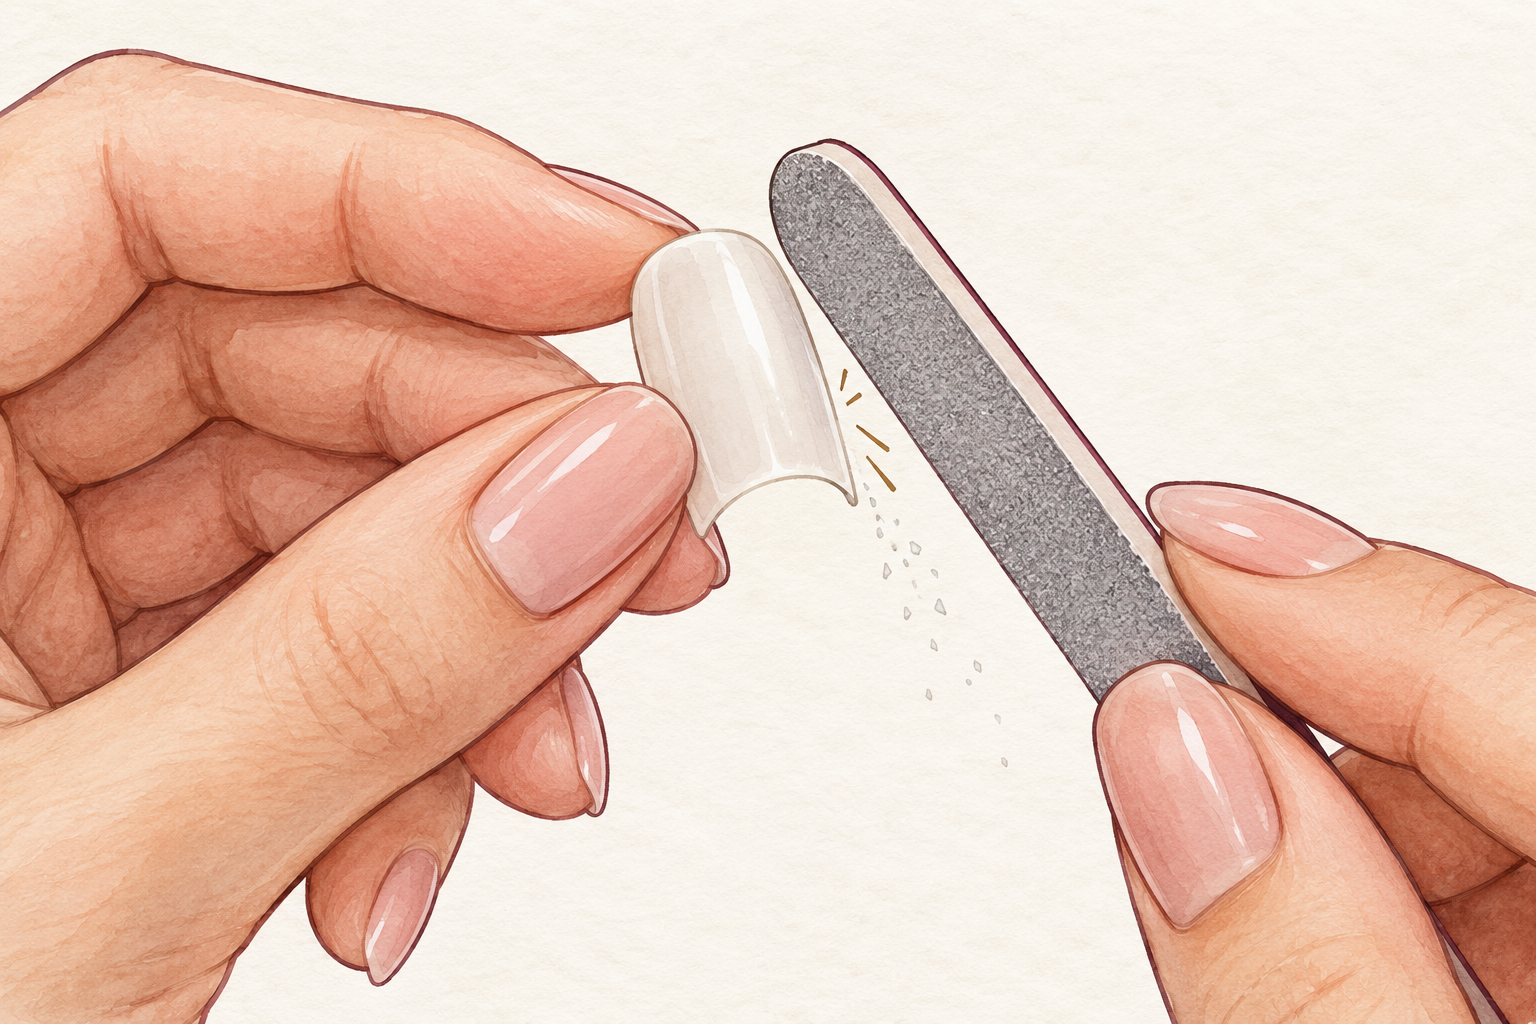
Lay the full set out and hold each nail against its finger, checking it reaches from sidewall to sidewall without covering skin. If you are between sizes, choose the smaller one and file the sides, since a nail that is too wide lifts at the edges. Number the sizes on a strip of tape if you like, so you do not mix them up with sticky fingers. This takes two minutes and prevents most early lifting. It is also the easiest check to repeat before every set, and a quick glance tells you if any nail is too big or small.
3. Look for the gap that makes corners pop
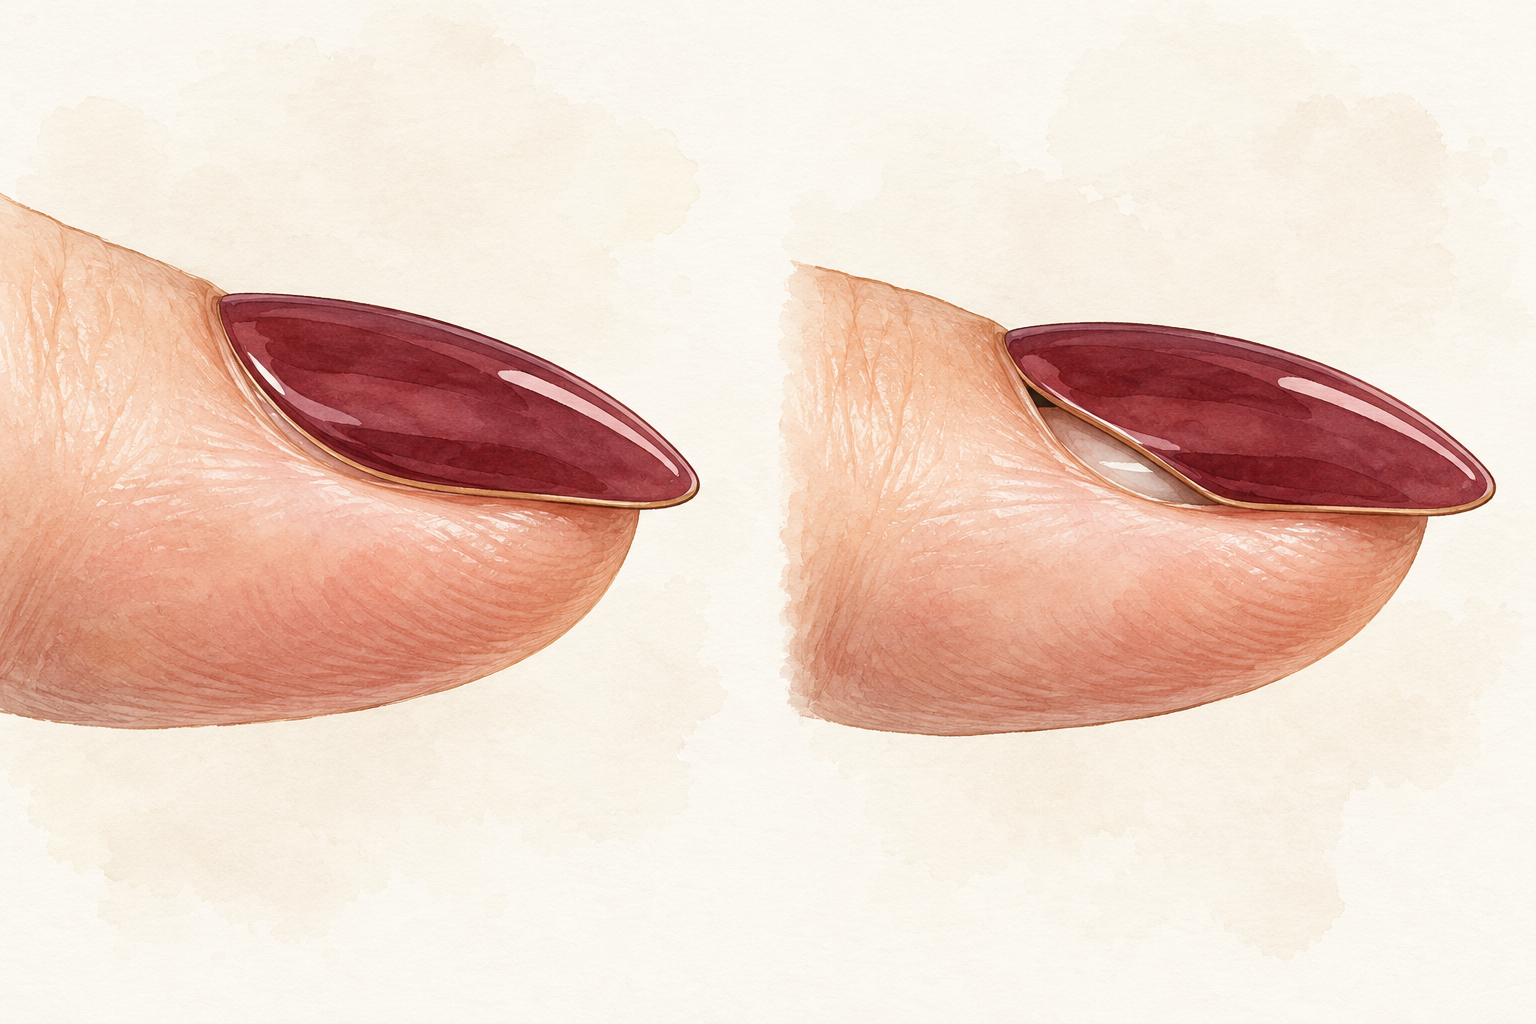
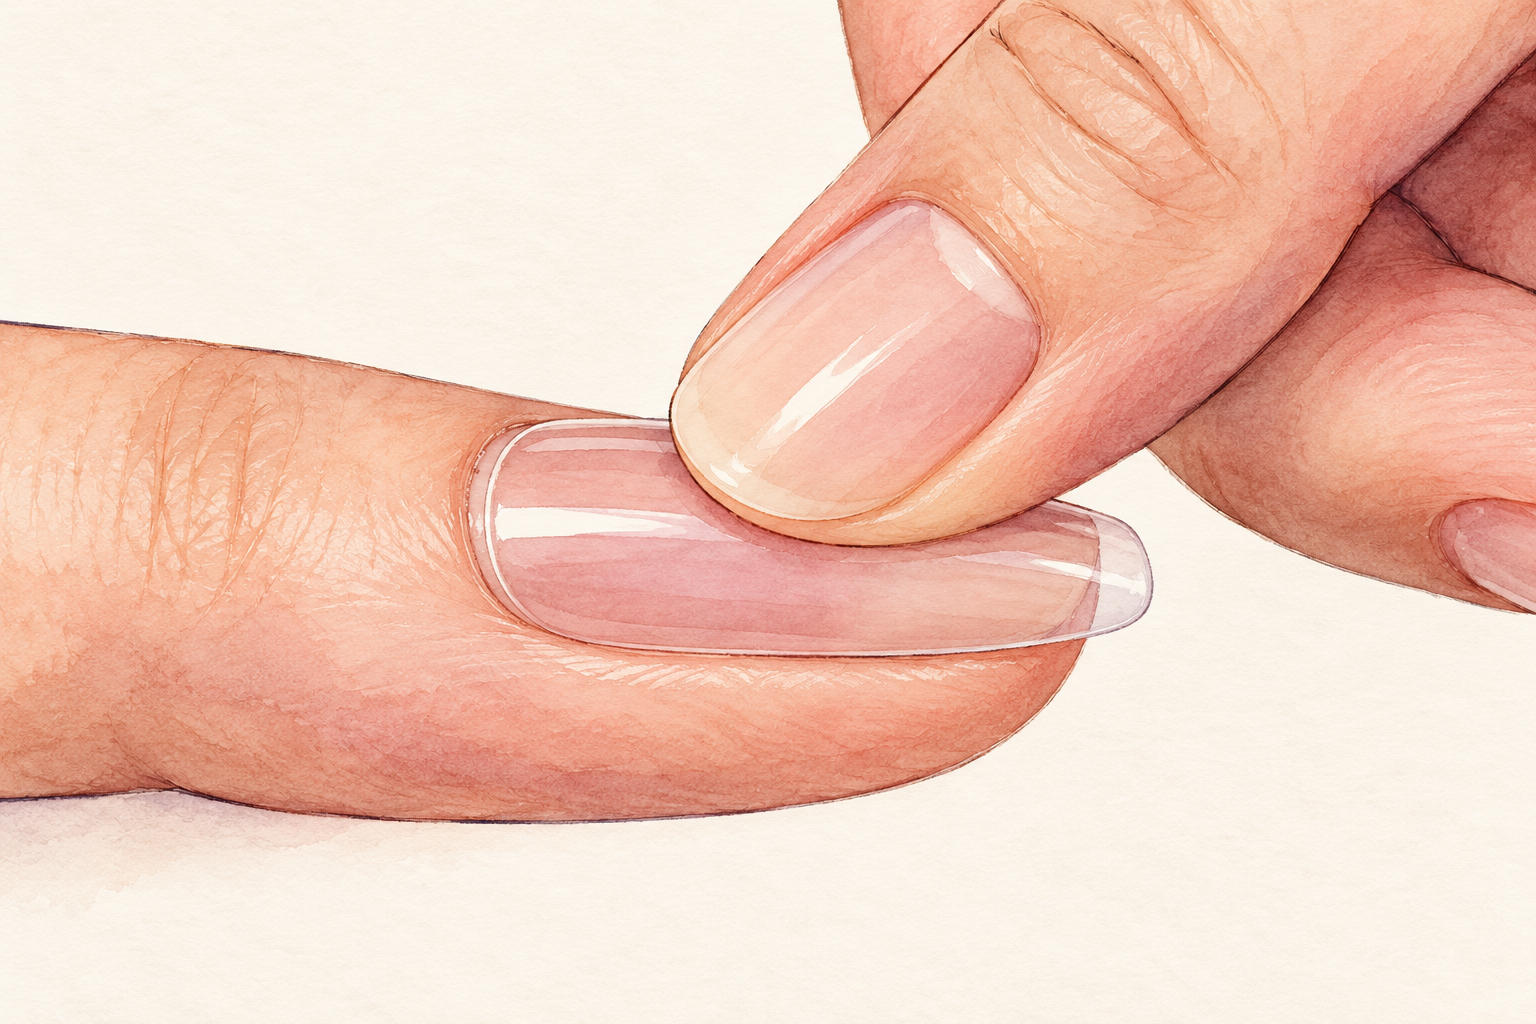
Press each nail on your finger and check it from the side for gaps along the edges. A nail that does not match your curve will pop up at the corners. A softer curve fits a rounded nail better, and a flatter one suits a flat nail. If the sides gap, try another size from the set. Pressing hard to flatten a nail only moves the stress to the corner, and it lifts later. A tiny gap at the very tip is fine, since the glue fills it. Gaps at the sides are the ones that cause trouble, so check those twice.
4. Stop soaking your hands first
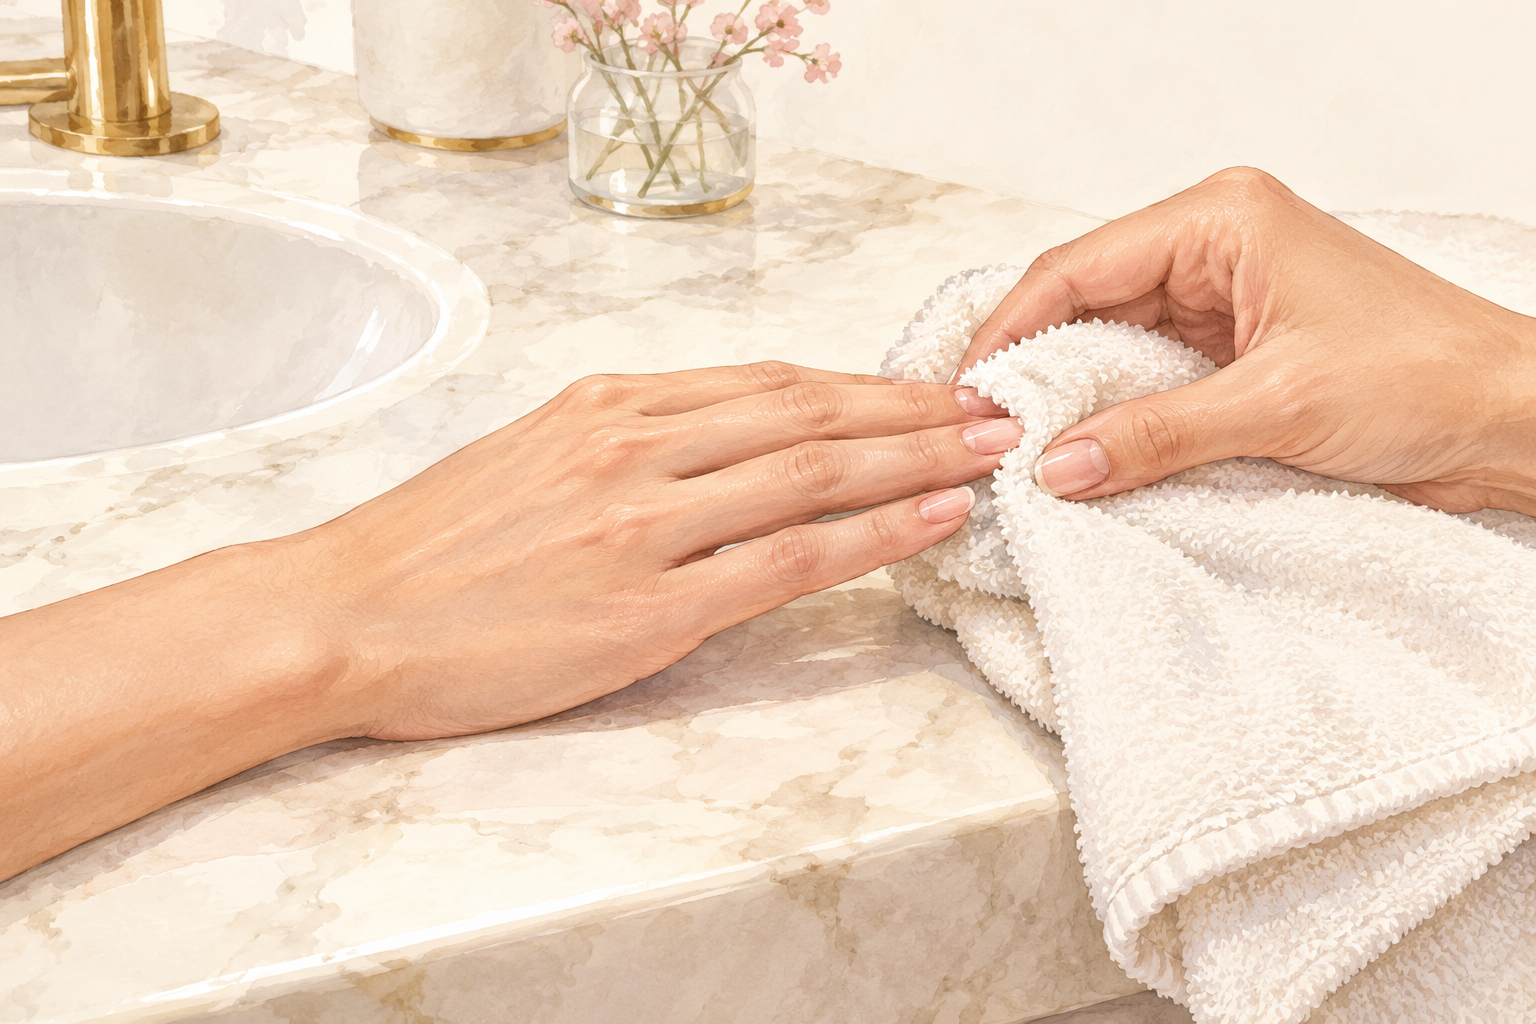
Skip long hot showers, washing up and baths for a few hours before you apply. Water swells the natural nail, then it shrinks as it dries, and the glue lets go along with it. Press them on when your hands have been dry for a while. Do not rub cream into your fingertips either, since it leaves a film that blocks the glue. Keep a tissue handy to dab away damp skin. If your hands tend to be oily, wash them with soap and dry them well first, then wait ten minutes before you start.
5. Push back the cuticles and clear the skin
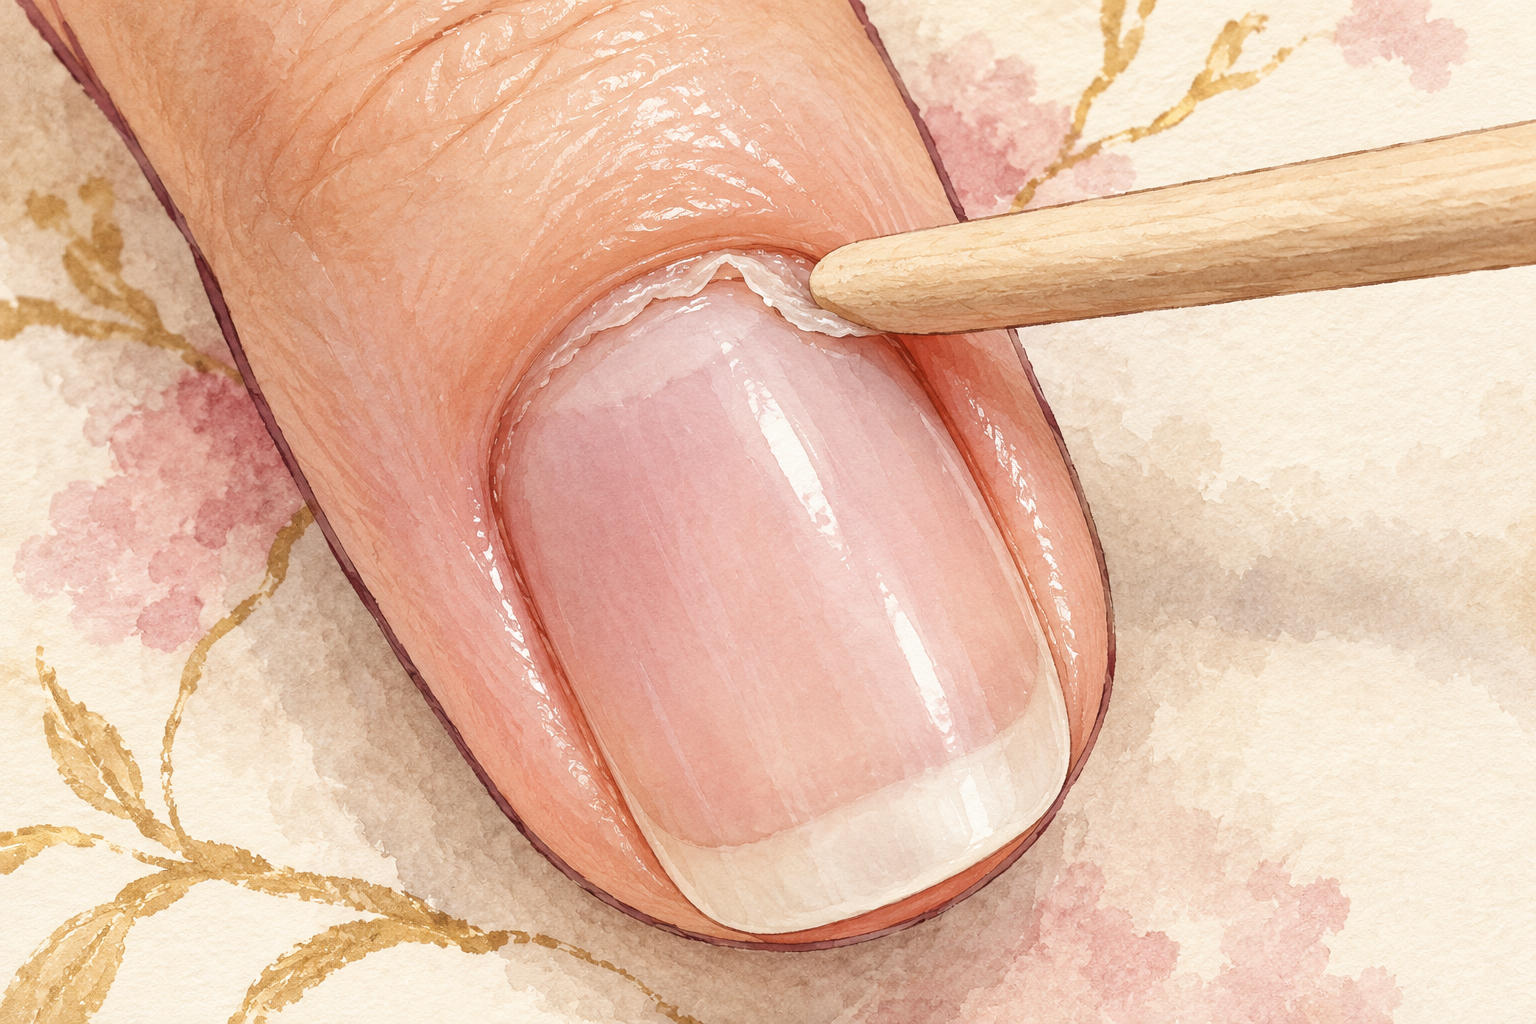
Ease the cuticle back gently with a soft pusher after a warm wash, and wipe away any film from the nail plate. Press ons need bare nail to stick to, so a leftover bit of cuticle under the edge becomes a lifting point. Do not cut the cuticle, because it is the little seal that protects the nail edge. Do this the night before if you can, so the skin has time to calm down. Keep your nails dry once you have pushed them back, and do not oil the skin around them until the set is on.
6. Buff the shine off lightly
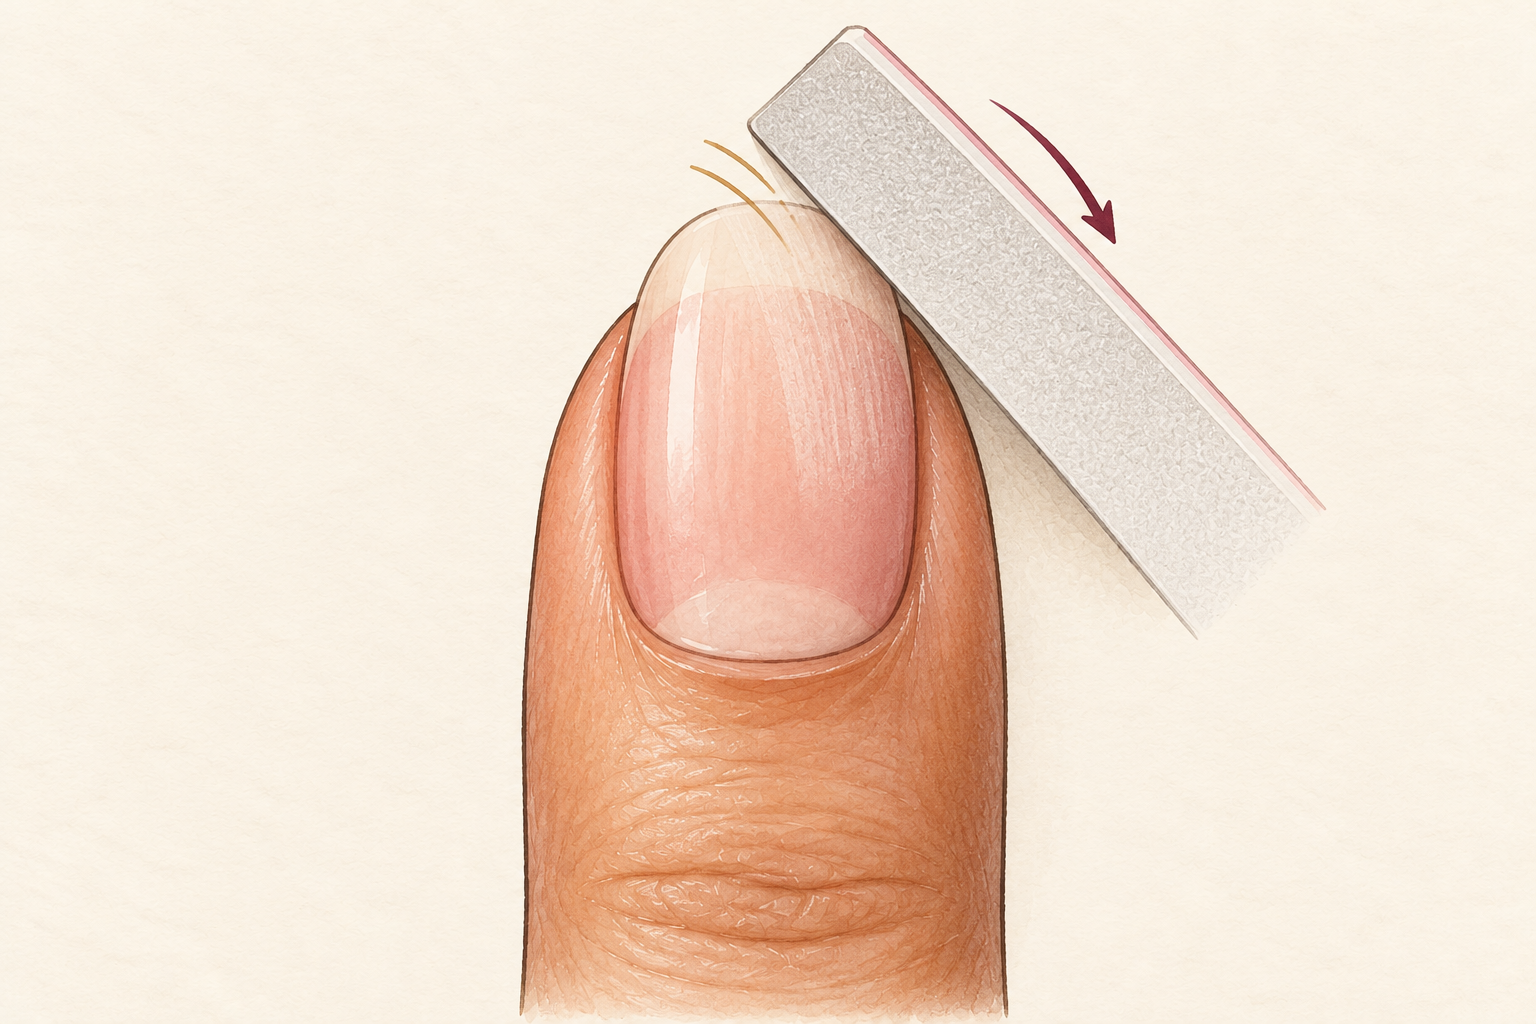
Make two or three light passes with a soft buffer until the nail looks matte. A smooth, glossy nail gives the glue very little to grip. Do not overdo it, because a thinned nail is a weak nail. Stop the moment the shine is gone, and brush off the dust with a clean, dry brush. If you press hard, you will feel the nail get warm, and that is your sign to stop. Buff only the surface, leaving the edges alone, and stop on any nail that already feels thin.
7. Wipe each nail with alcohol
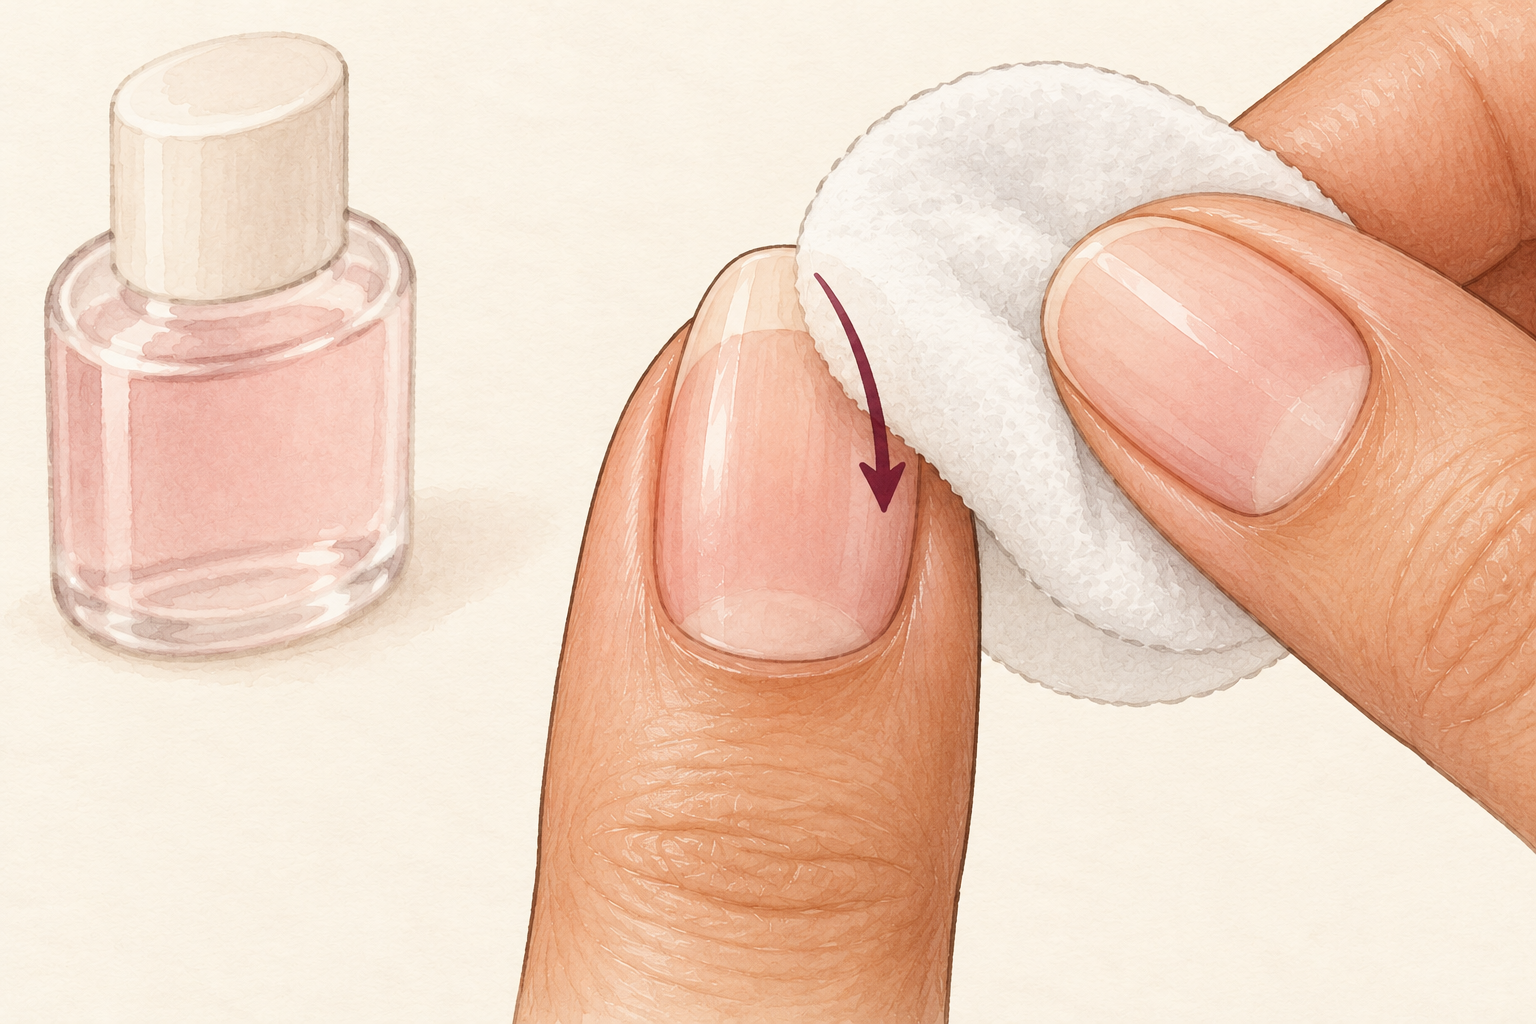
Wipe every nail with a lint free pad dipped in isopropyl alcohol and let it dry for a minute. This removes the oil that glue cannot bond to. Work with a window open, since the fumes are strong, and keep it away from heat. Once the nails are wiped, do not touch them with your fingers. This single step is a big part of how to make press on nails last longer. Wipe the underside of each press on as well, because dust sits there too and weakens the grip. Dust is the quiet enemy of a good press on, so keep manicure at home in mind for everyday work.
8. Choose glue for a week and tabs for a day or two
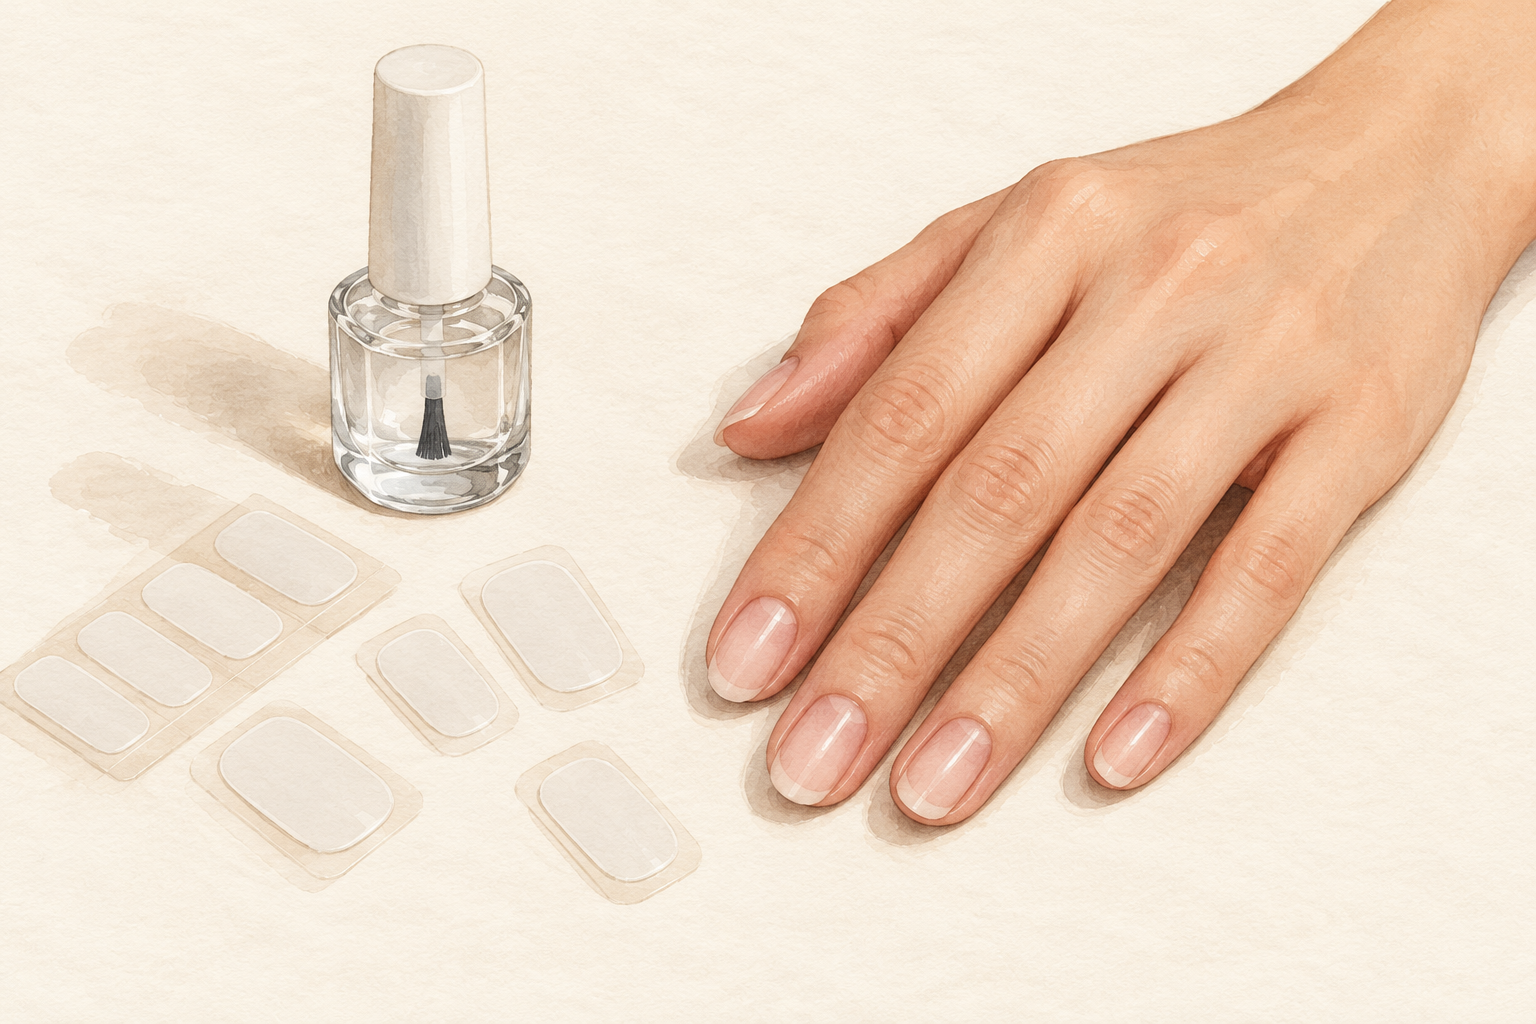
Use nail glue when you want a week or more of wear, and adhesive tabs for a night out. Tabs are gentler and hold for a few days. Some people mix them, with tabs at the sides and glue in the middle. Glue is the bigger commitment, so be sure of the fit before you use it. If your skin gets itchy or red from a glue, stop using that brand, because reactions can appear at any time. Keep the bottle capped tightly and wipe the nozzle after each use, so the glue stays fluid and does not turn gummy.
9. Use thin glue and press from the cuticle forward
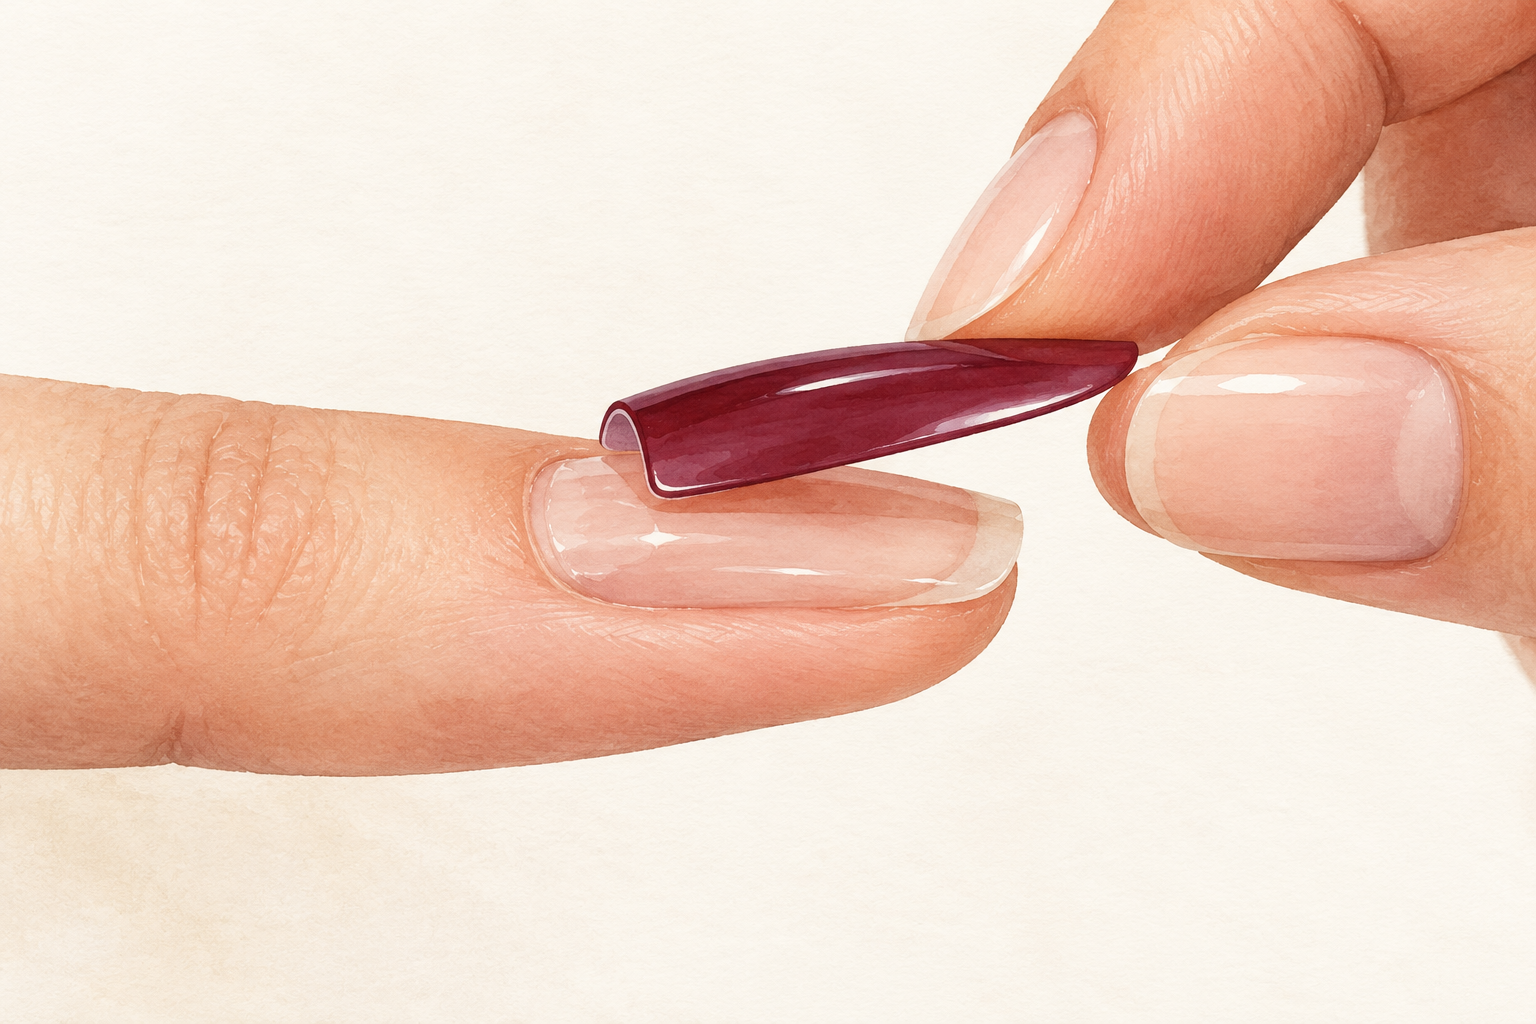
Put a small bead on the natural nail and a smaller one on the back of the press on, then set the cuticle edge down first and lower it toward the tip. Press and hold for about thirty seconds, with firm pressure at the edges. Too much glue squeezes out onto the skin, and too little leaves a hollow that traps water. Wipe any squeeze out straight away with a tissue. Hold every nail for the full time, even if your arm gets tired. A set done in a rush lifts first. Count the thirty seconds out loud, or time it on your phone, and keep your finger still so the nail cannot slide while the glue grabs.
10. Keep them dry for an hour, short and gloved
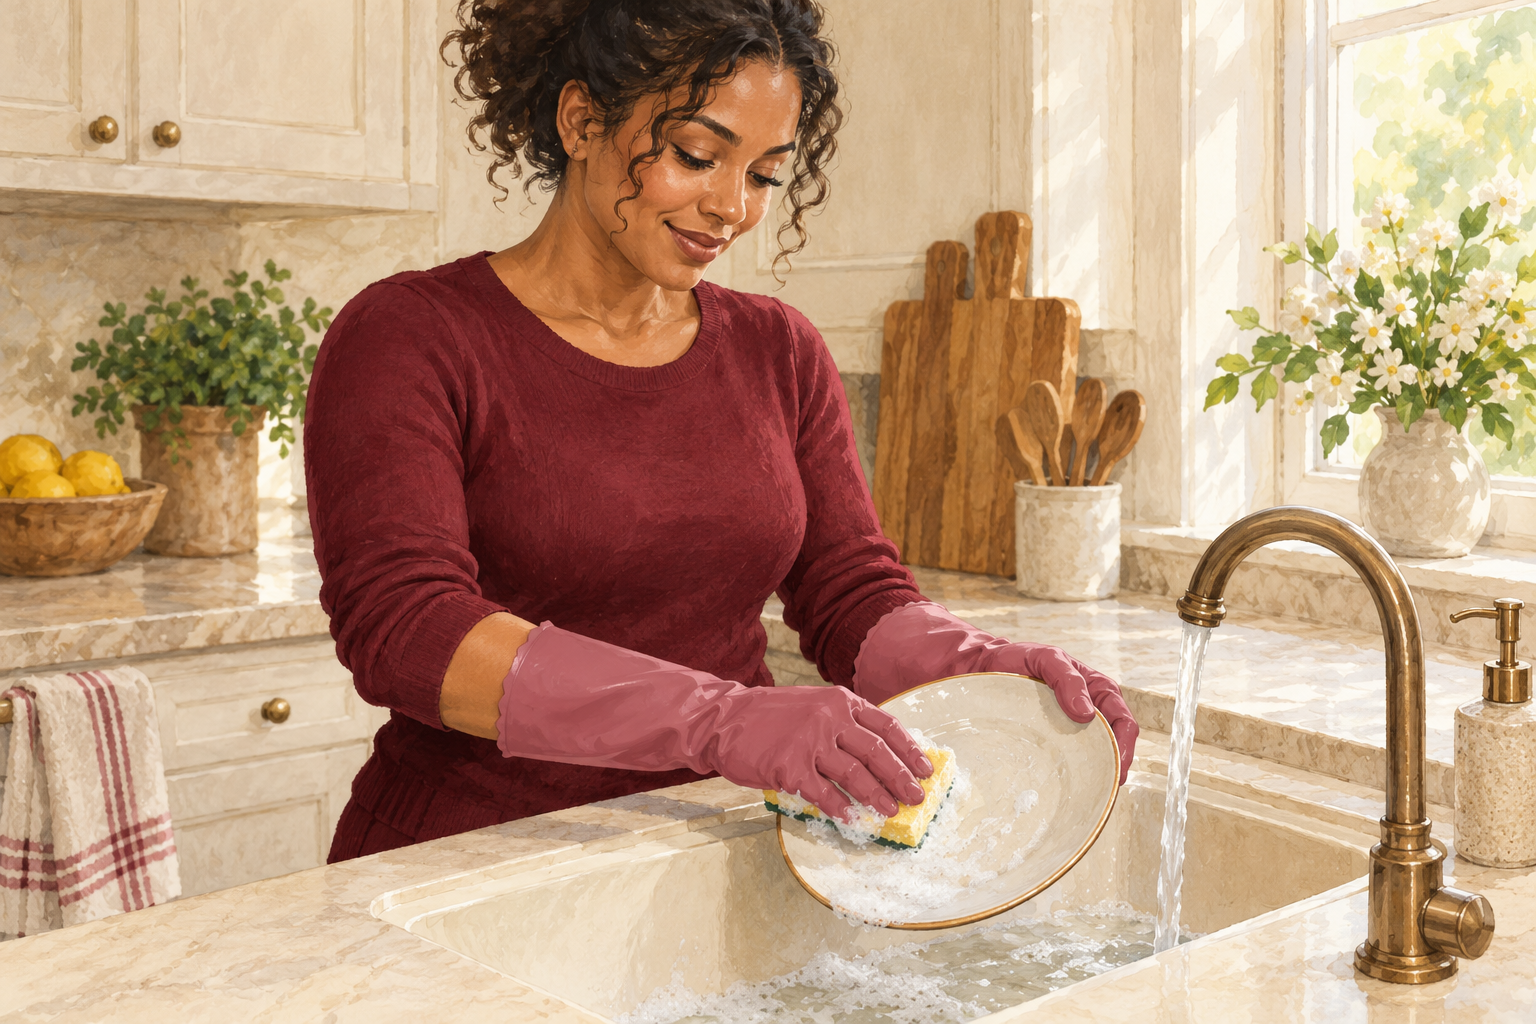
Avoid water for at least an hour after applying, then wear gloves for dishes and keep showers short. Water that gets under a nail stays damp and can leave the skin sore and the nail loose. Keep the length short, because the longer the nail, the more leverage it has to pry itself loose. File it down if you lift often, and use the pad of your finger for cans and buttons, not the tip. A short set lasts much longer than a long one, and a shape like short squoval or oval is kind to the corners.
11. Fix a lifting corner the same day
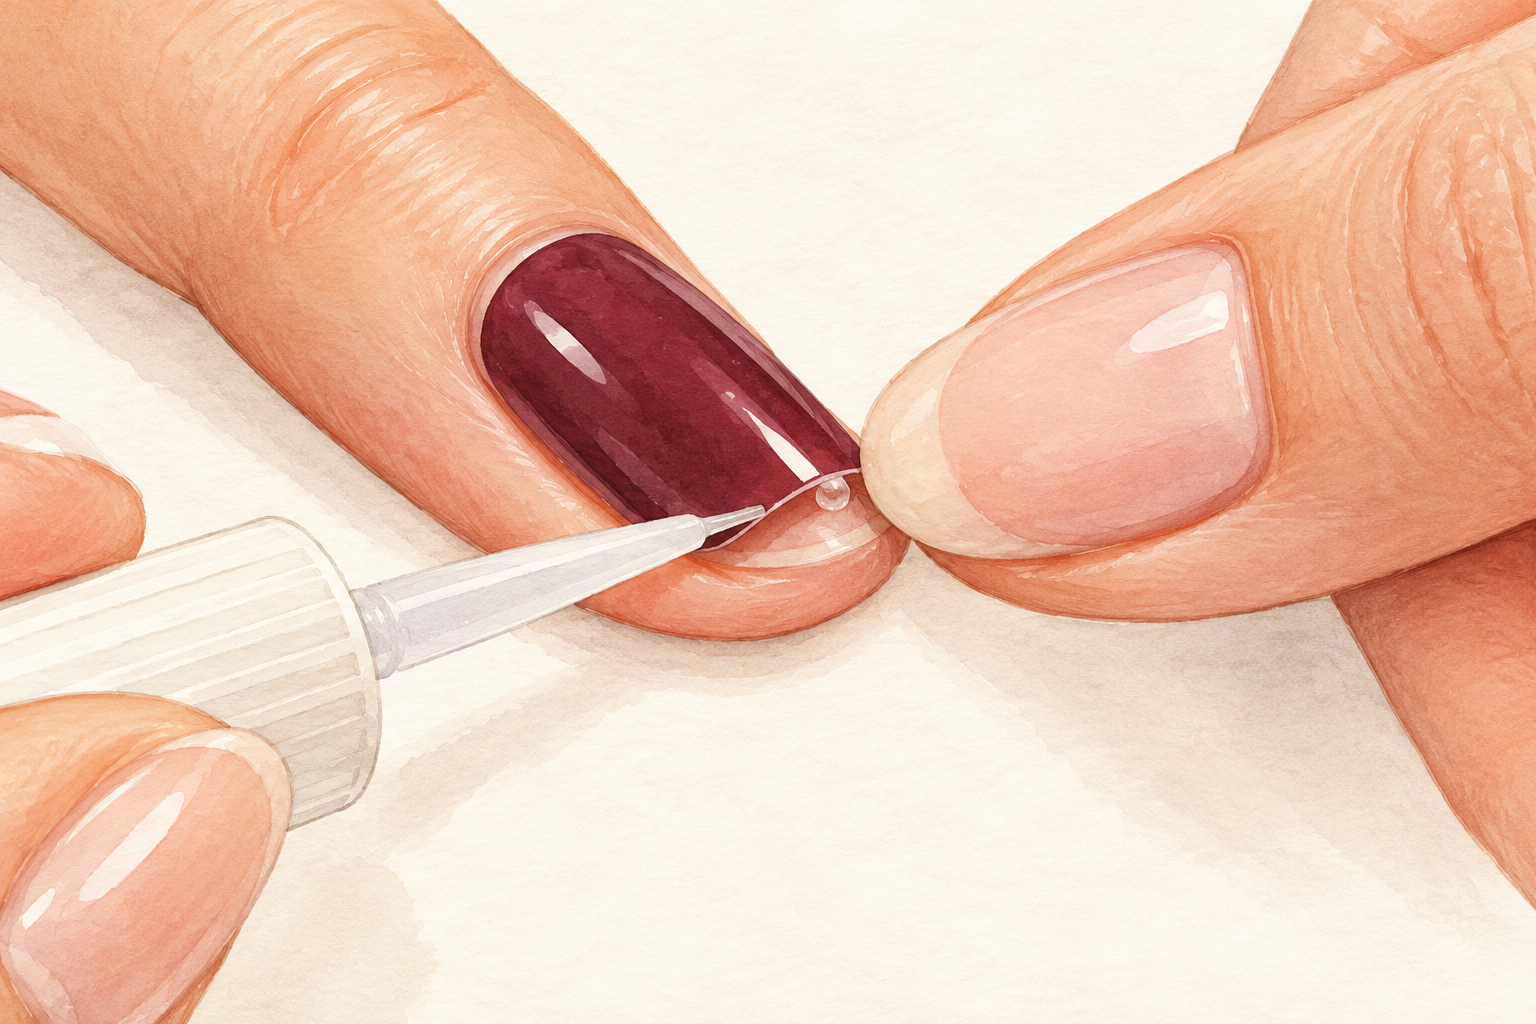
Lift the corner carefully, clean under it, add a small dab of glue and hold it down for thirty seconds. Do it before the nail pops off completely. If it has already come off, repeat the prep on that nail and glue it again. Never put glue over the top of a lifting nail, because it dries white and looks messy. A quick fix on day two often gives you the extra days you wanted.
12. Track each set and know what to expect
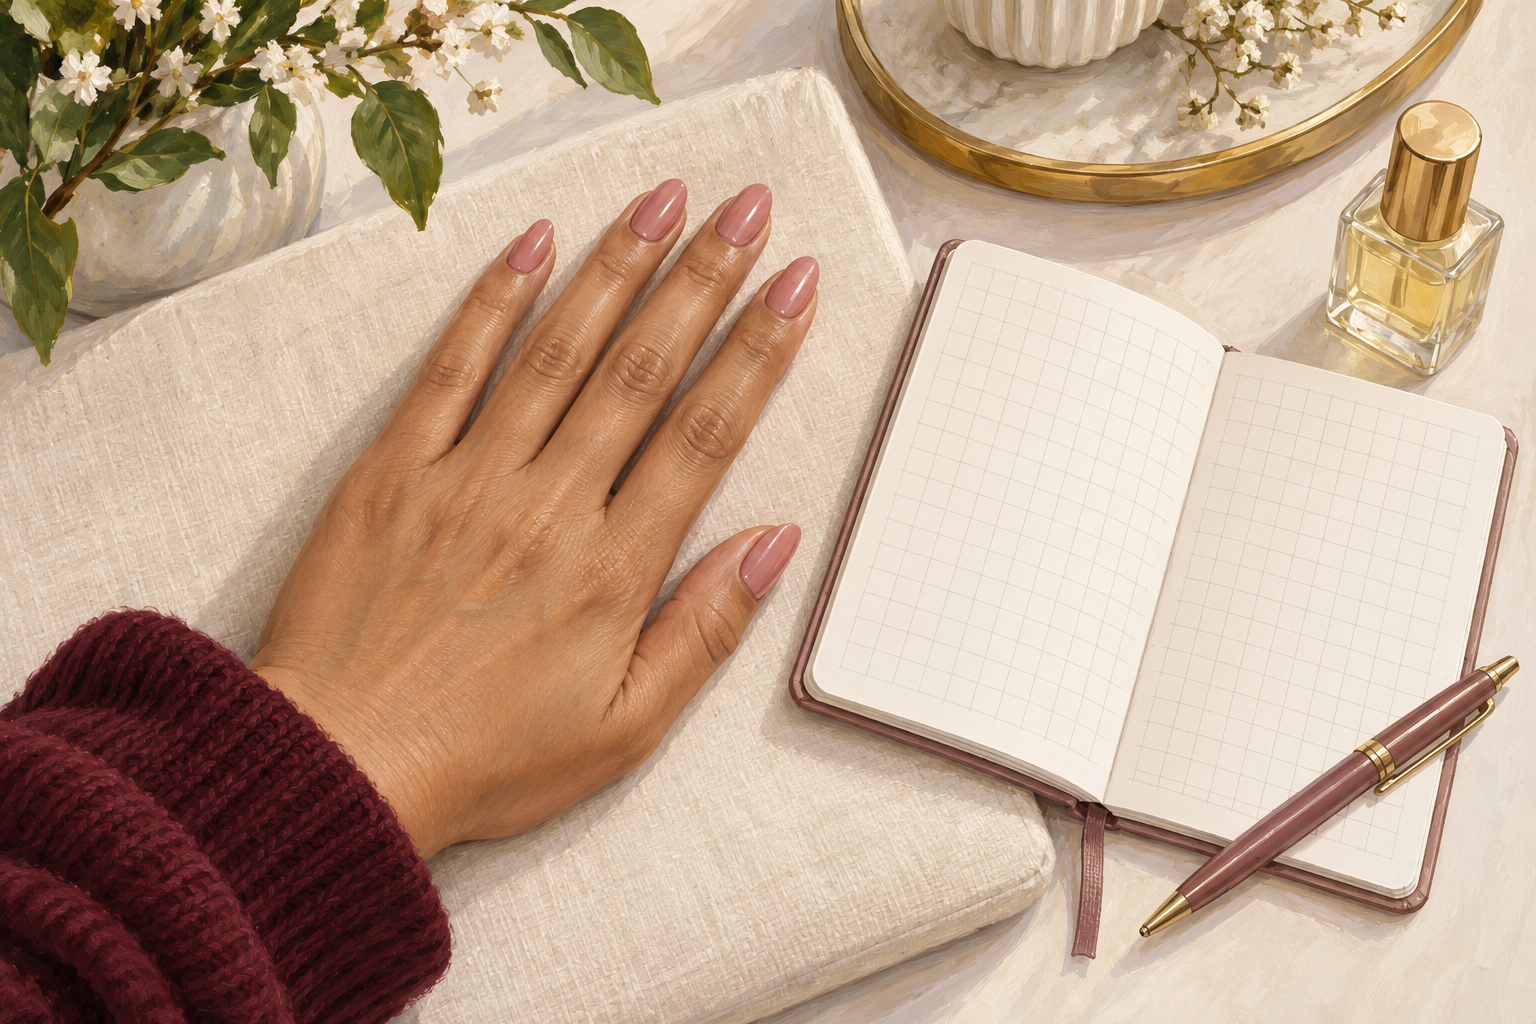
Write down how long each set lasted and what you changed. By the third set you will have your own answer. A good set lasts about a week, and a very good one can reach ten days. Give your natural nails a few days of rest between sets, with a drop of oil each night. To take a set off, soak your fingertips in warm soapy water for ten minutes and ease each nail from the side, because ripping them off takes layers of nail with it. If you ever see swelling, heat or a green tint under a nail, take the set off and see your doctor if it does not calm down within a few days.
Complete the Routine: How to Make Press On Nails Last Longer Next Time
Tonight, wash your hands, wipe each nail with alcohol and size your set, so lasting longer is about prep and not luck. Lovely press on sets are easier than they look once the prep is right. The guides below keep more ideas for your next set.