You paint a deep navy base, wait for it to dry, and your first star comes out like a squashed spider with one leg too long. Stars look hard because five points have to meet in the middle, but the secret is thin polish and a steady wrist, not talent. Here are 12 steps for how to draw stars on nails, so start at number one.
1. Start with a dark, fully dry base
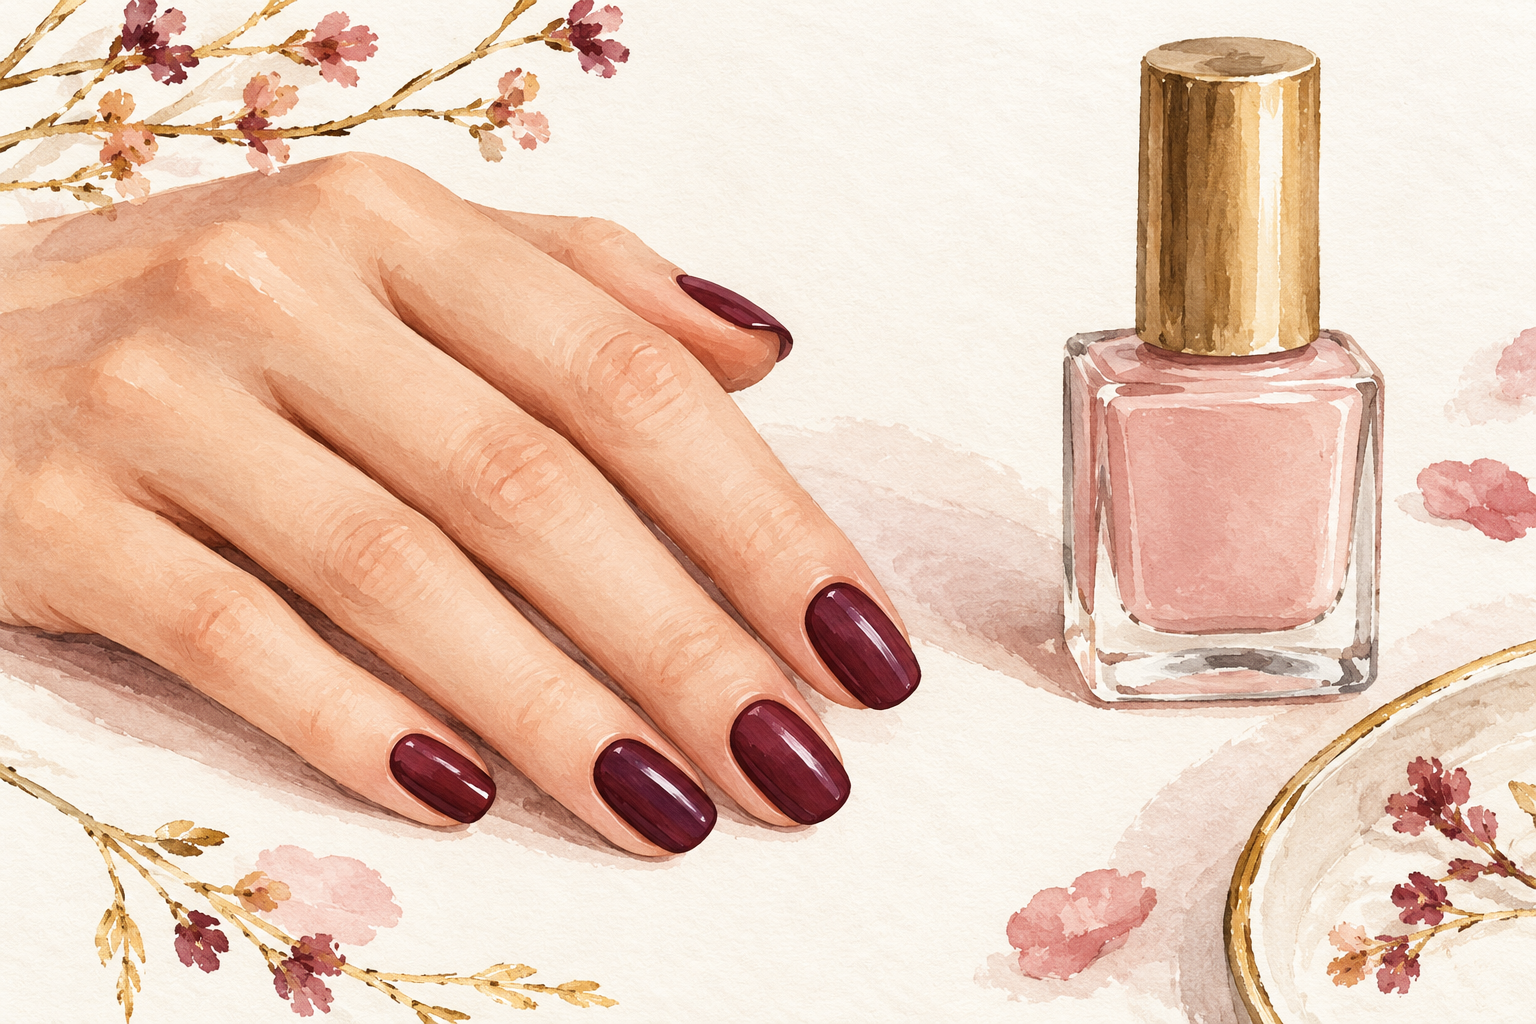
Paint two thin coats of navy, black or deep purple, and let them dry for at least ten minutes. A base that is still soft drags when the tool touches it, and you end up with smears instead of points. Dark bases make light stars glow, and pale bases suit dark stars. Do not add a top coat yet, because a glossy surface makes the tool skid. Give the polish a gentle poke on the very edge of the nail, and if it dents, wait five more minutes. A fully dry base is the reason stars stay crisp.
2. Pick a dotting tool, a striper or a toothpick
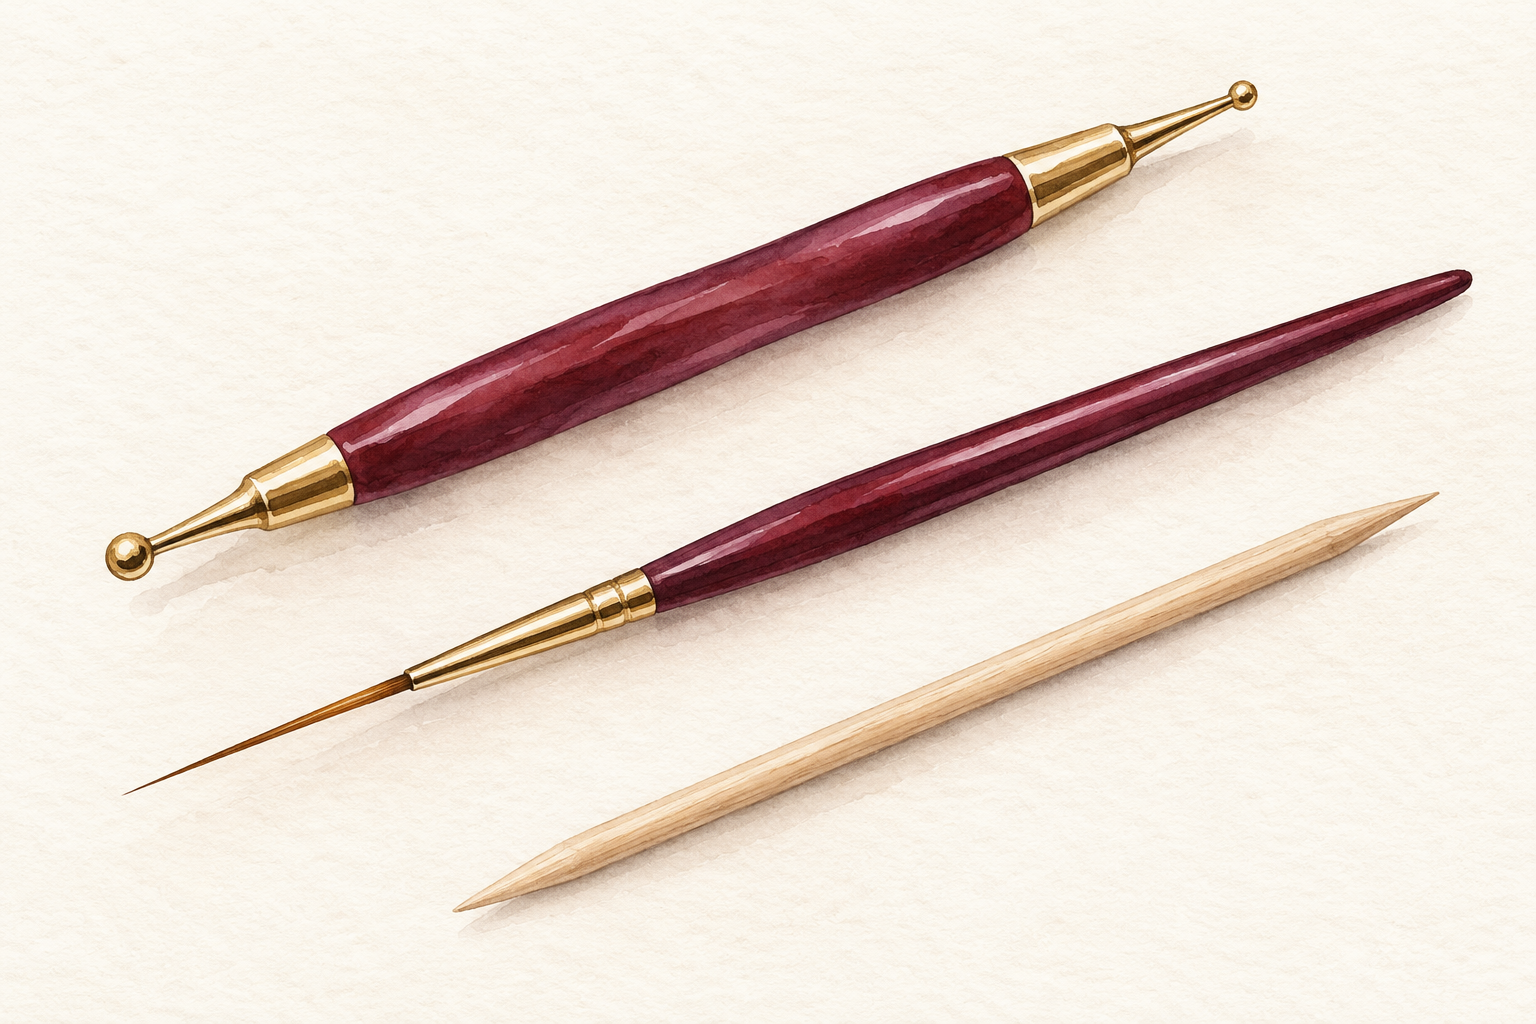
Choose the tool by the size of the star you want to make. A dotting tool is the best place to start, because the ball gives round, even points. A striper is a long, thin brush that makes crisp lines for a classic outlined star. A toothpick works for very tiny stars when you have nothing else. Whatever you pick, how to draw stars on nails stays the same: short, light strokes with very little polish. Keep a spare tool within reach, because the tip clogs after a few stars, and a clean tip draws a clean point.
3. Load a tiny bead on a palette
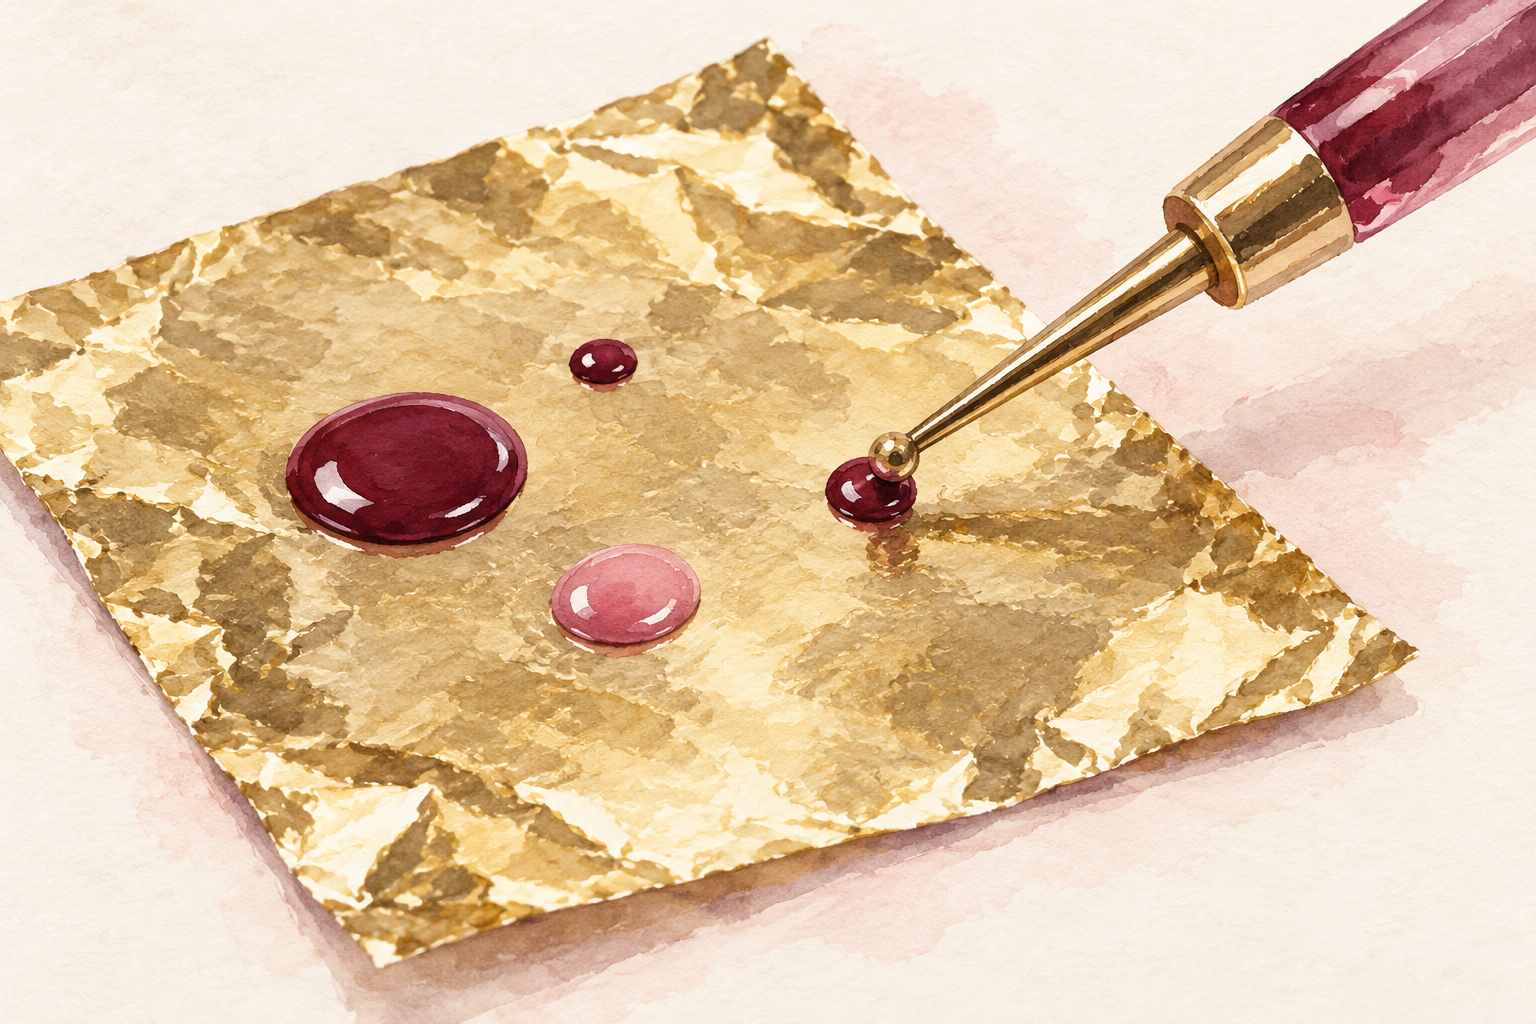
Put a drop of polish on a piece of foil or a plastic lid instead of working from the bottle brush. Dip the tool into the edge of the drop, take a little, and dab the extra off at the side. Thick polish gives blobs and runs, so if yours has gone gloopy, add a drop of thinner or open a fresh bottle. The bead dries fast, so remake it every few stars. Wipe the tool on a tissue between nails, and the points stay sharp. Thin the polish only a little, or the color turns pale.
4. Make a four point sparkle first
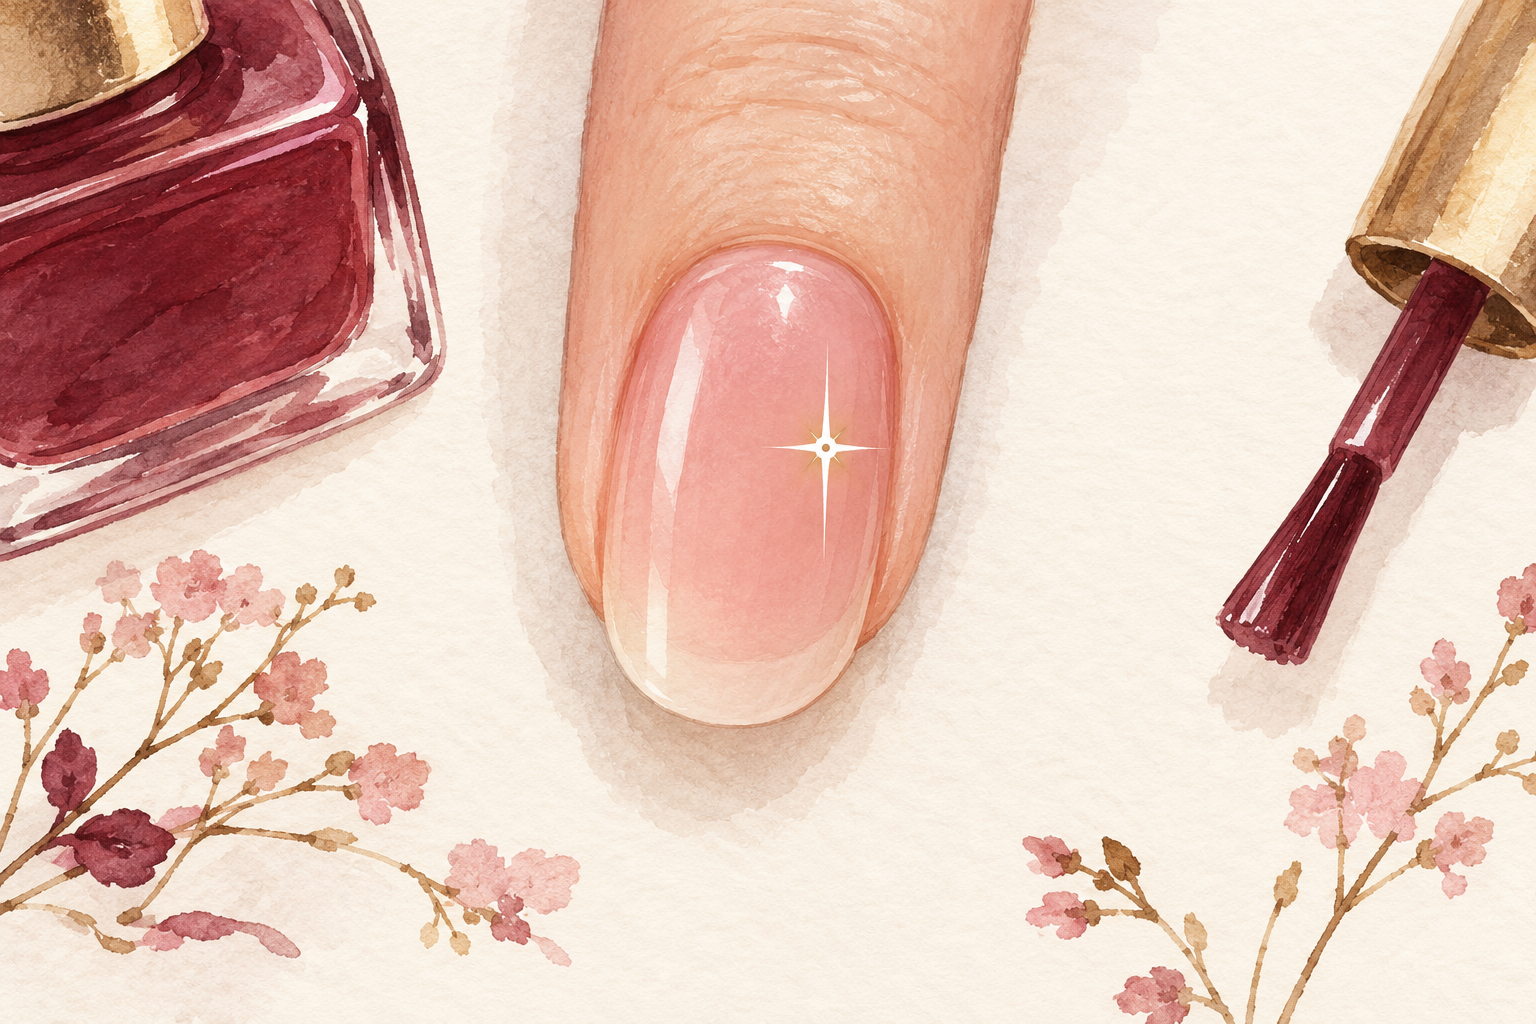
Draw a short vertical line, cross it with a shorter horizontal one, then add a small dot where they meet. Pull each line outward from the center so the tips taper. Keep the vertical line a little longer than the horizontal, because that gives the sparkle its twinkle. This is the easiest star, and it hides wobbles well. It looks like a glint more than a classic star, which is exactly why beginners start here. Practise three on a scrap of paper before you touch your nail, and keep the best one for the nail you look at most.
5. Draw a five point star in one zigzag
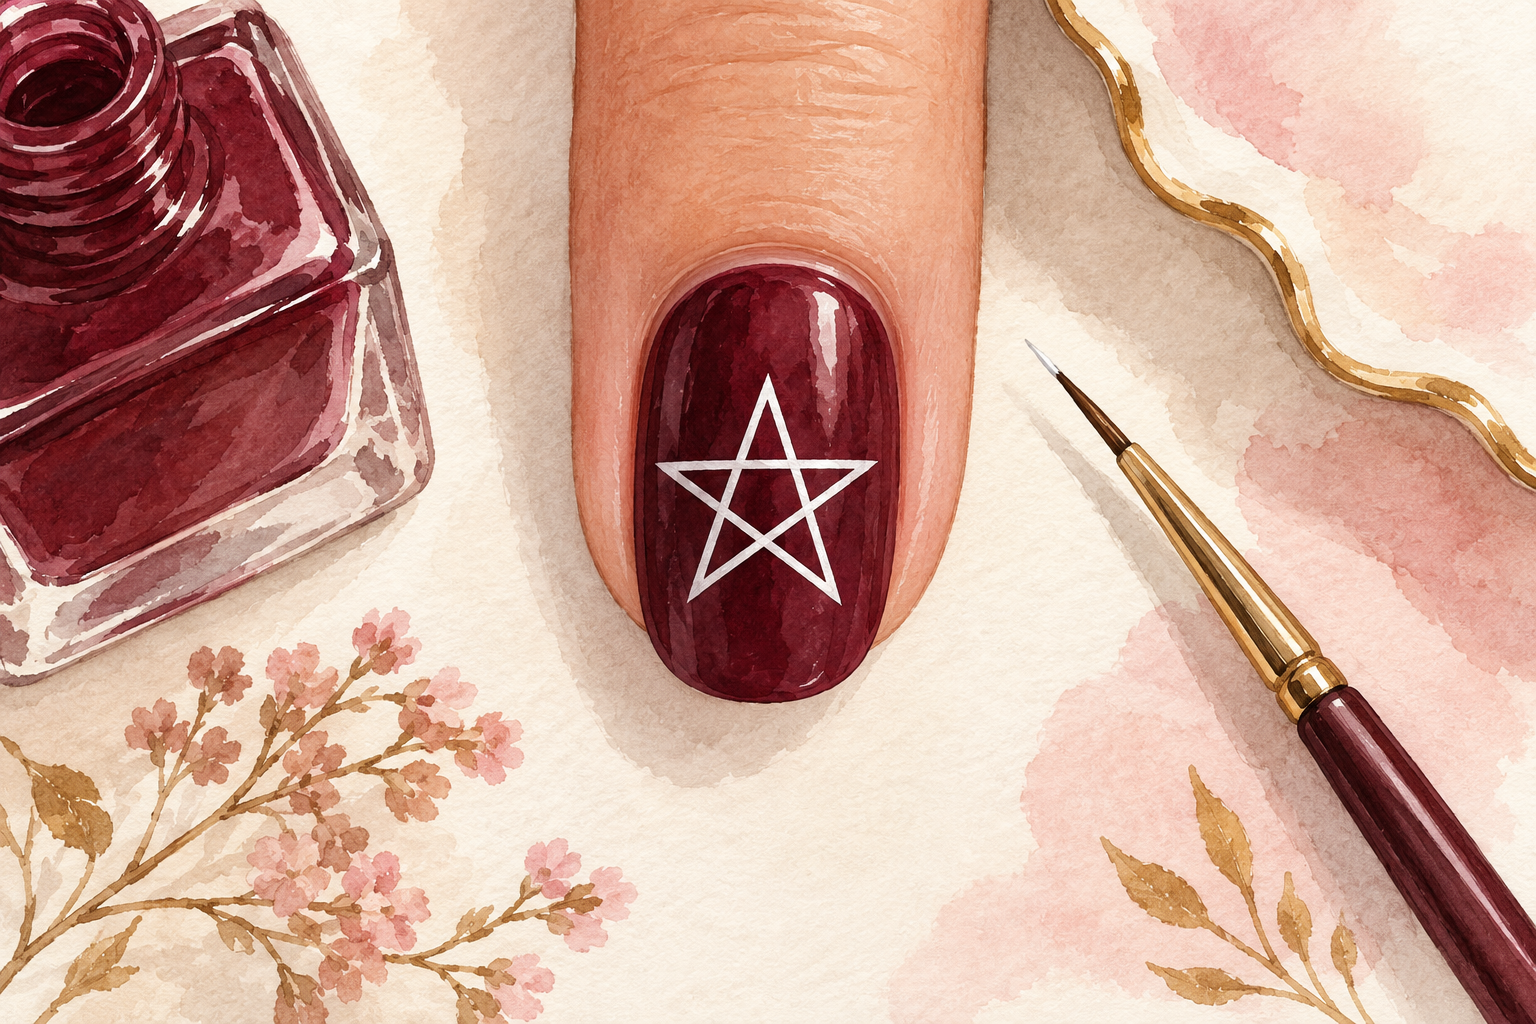
With a striper, start at the top, pull down to the lower left, then up and across to the right, down to the lower right, up to the top left, and back to the start. The five lines cross and make the star in one motion. Go lightly and quickly, because pressing hard makes thick, clumsy lines. If it comes out lopsided, fill the middle with polish and call it a chunky star. A little wobble reads as hand drawn, and that is the charm. Draw each star in under three seconds, so your hand has no time to shake. Quick, light strokes like these carry over to how to draw a bow on nails, which is a natural next step.
6. Build a dot star by dragging out the points
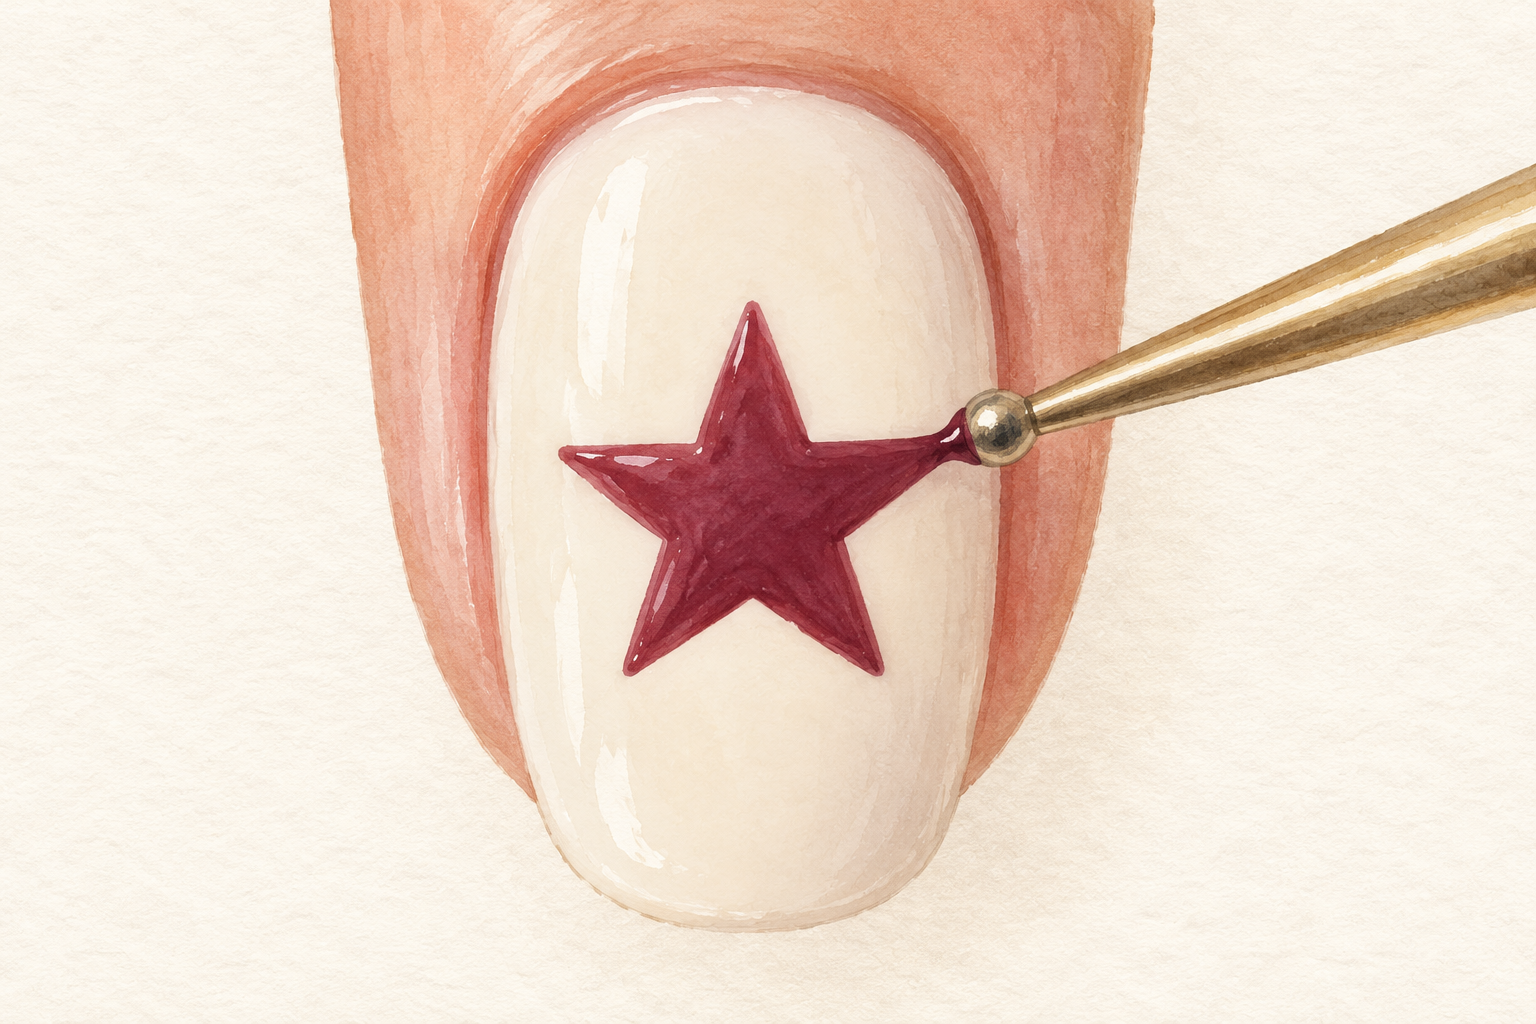
Place one medium dot in the center, then touch the tool to its edge and drag outward in five short strokes, like petals. Space them evenly, like the points of a clock face, and lift off at the end of each stroke. This gives a soft, rounded star that is more forgiving than straight lines. Use a small dotting tool and press only enough to leave a round mark. Let each dot dry for a few seconds before you add the next star beside it. Keep the strokes the same length, and the star looks tidy even if the points curve.
7. Brace your hand before you touch the nail
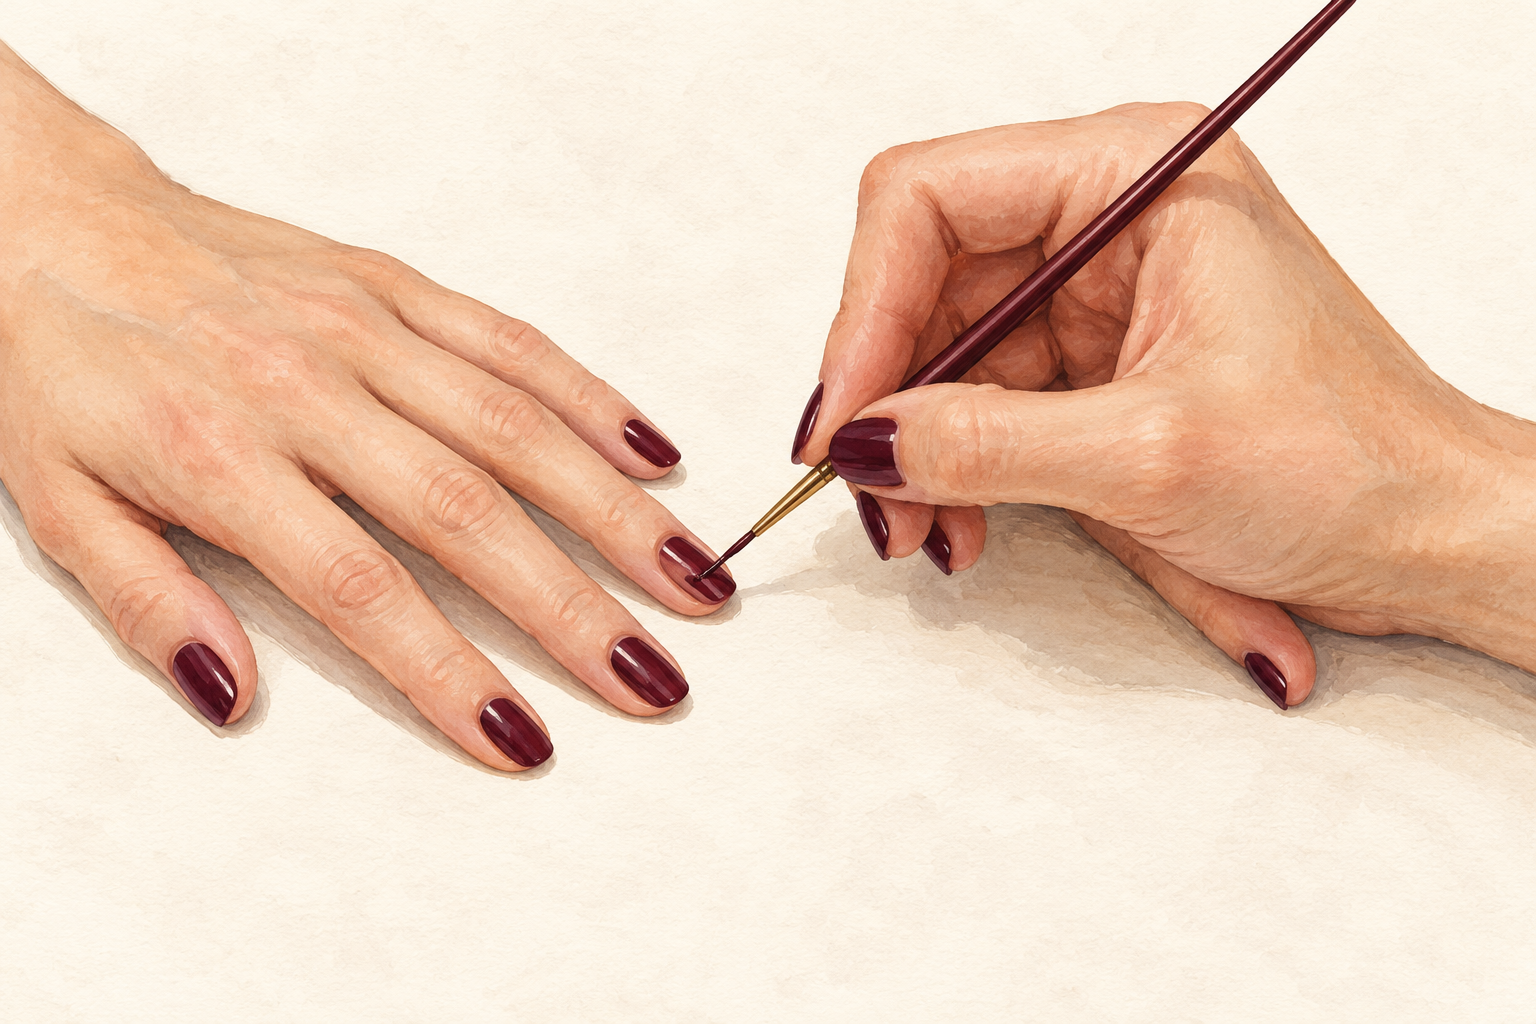
Rest your wrist on the table and brace your little finger against the surface or against the hand you are painting. Move the tool with your fingers, not your whole arm. Practise a few stars on a sheet of paper or a spare nail sticker first, which warms up the hand. If you are shaky, draw toward your body, where you have the most control. The best tip I know for how to draw stars on nails with unsteady hands is to support the hand and draw in short strokes.
8. Place one star per nail and vary the size
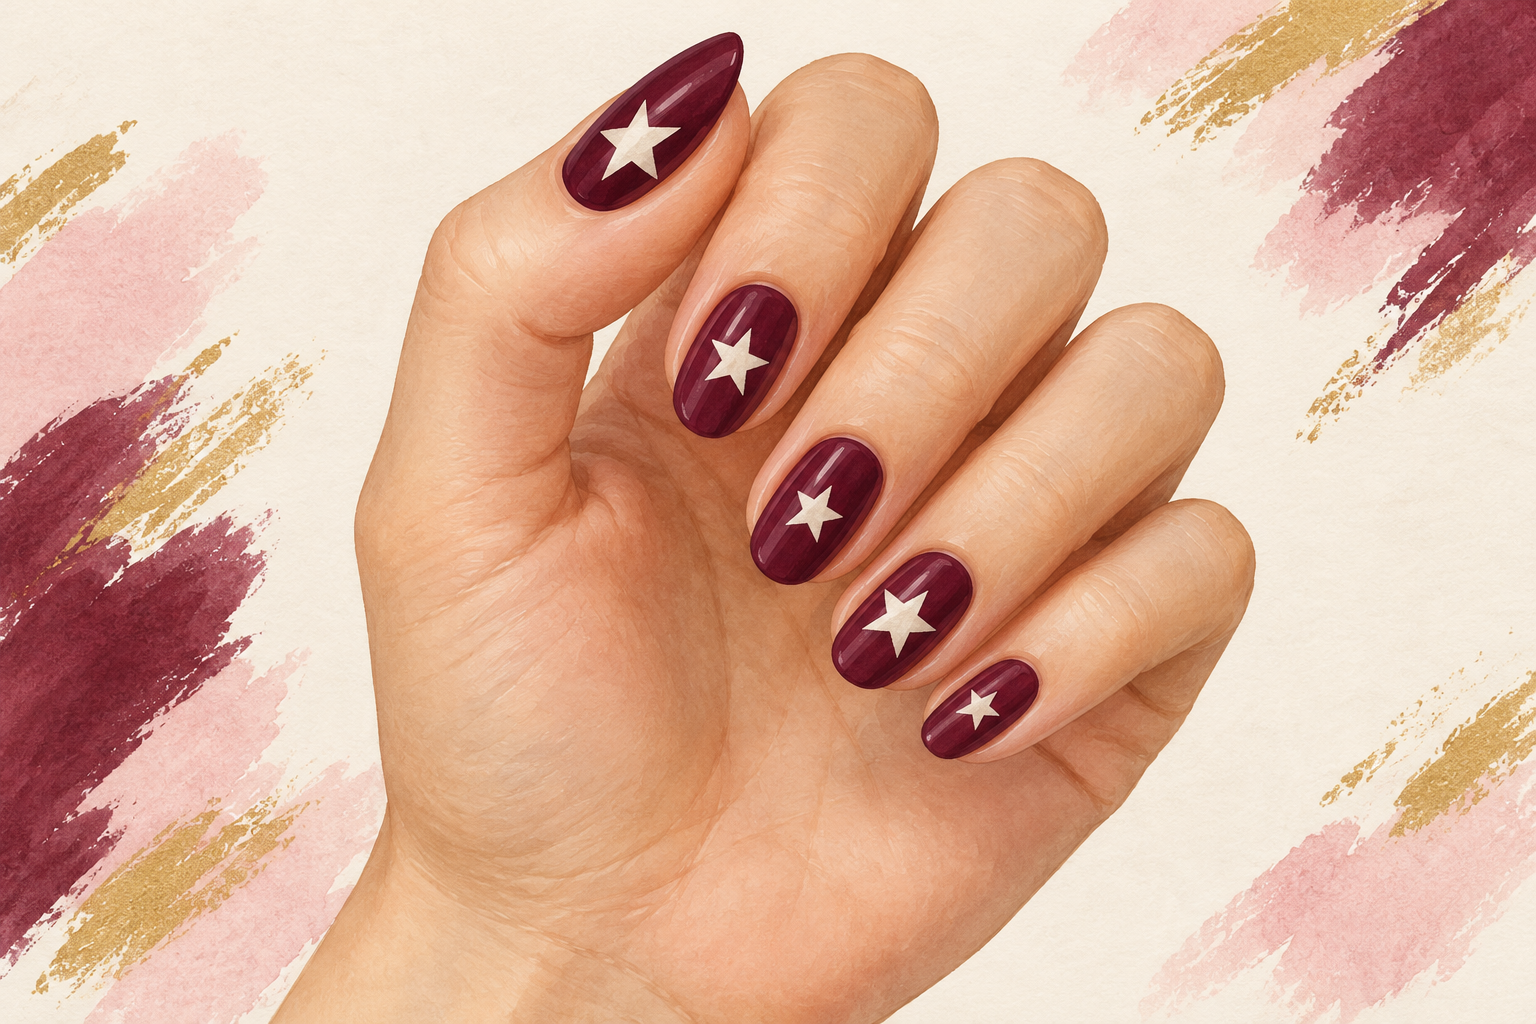
Begin with a single star on each nail, set slightly off center and away from the cuticle. Make a few large and a few tiny, then fill the gaps with small dots so they look scattered on purpose. Too many stars crowd the design and show every wobble. Keep the stars off the sidewalls, where the curve makes them hard to draw. If you want a pattern, sketch it on paper first so you know where each one goes, and draw the biggest star first, because the small ones then fit in the gaps.
9. Add tiny details for sparkle
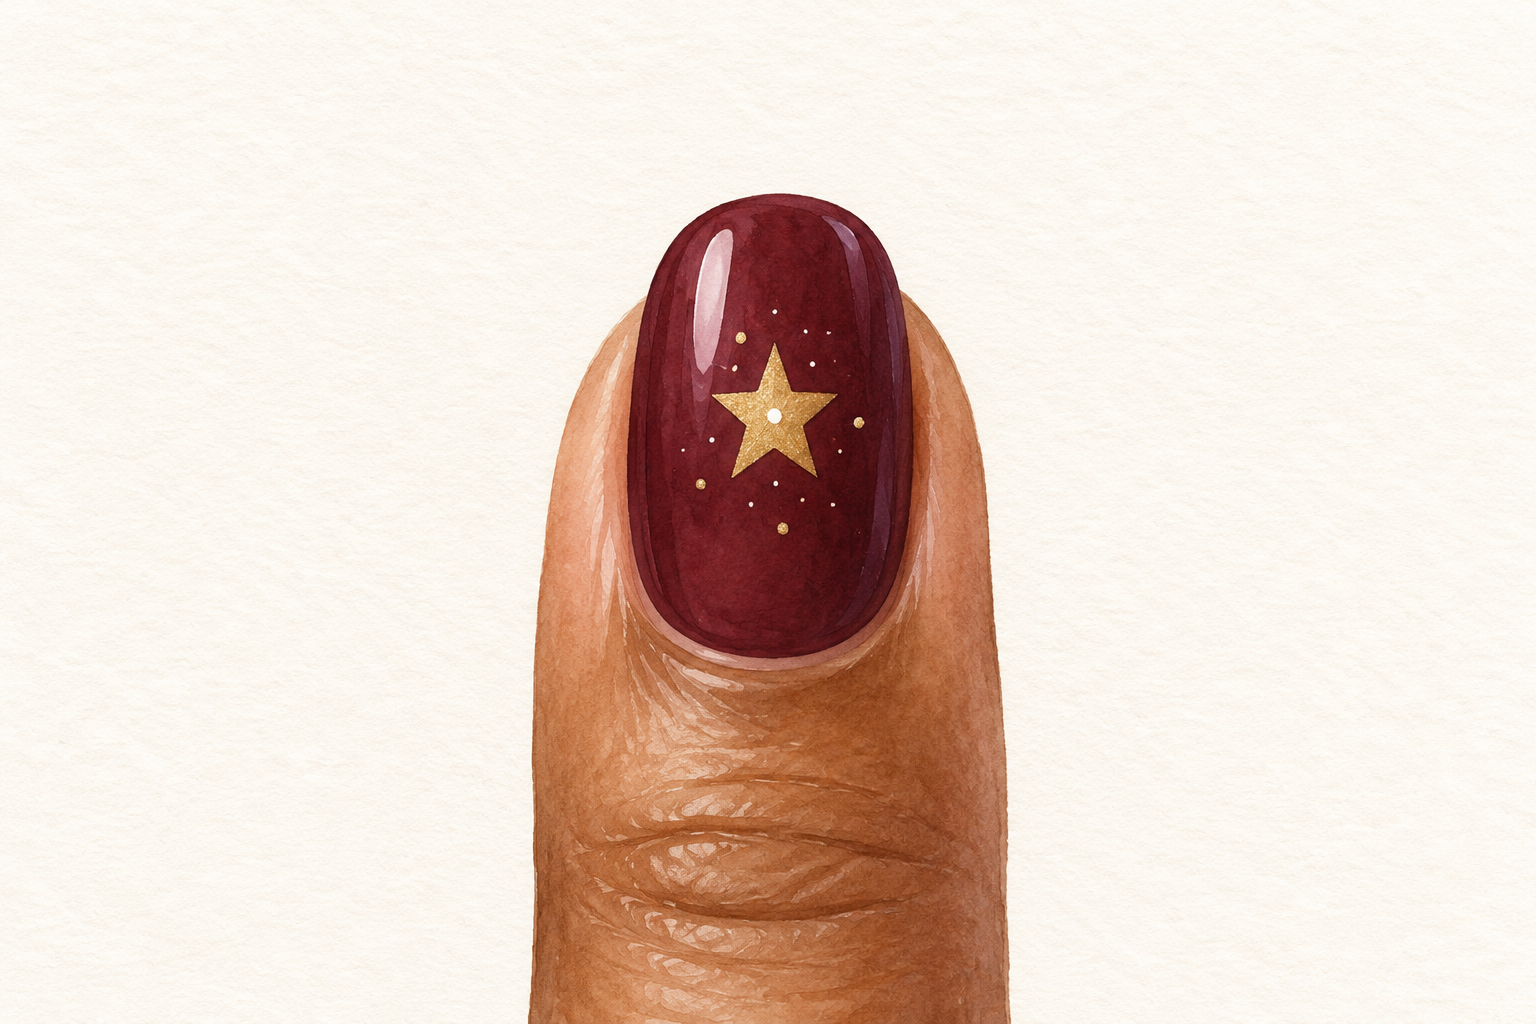
Dot a pin sized white highlight in the center of a few stars, or add a row of tiny dots beside the big one. These small details make the sky look full without crowding the design. Use the very tip of a toothpick, and let each star dry before you add a dot on top of it. A silver dot between gold stars looks lovely too. Stop while the nail still has space around the stars. Empty space is part of the design, and a calm nail looks more finished than a crowded one.
10. Tidy wonky points with a fine brush
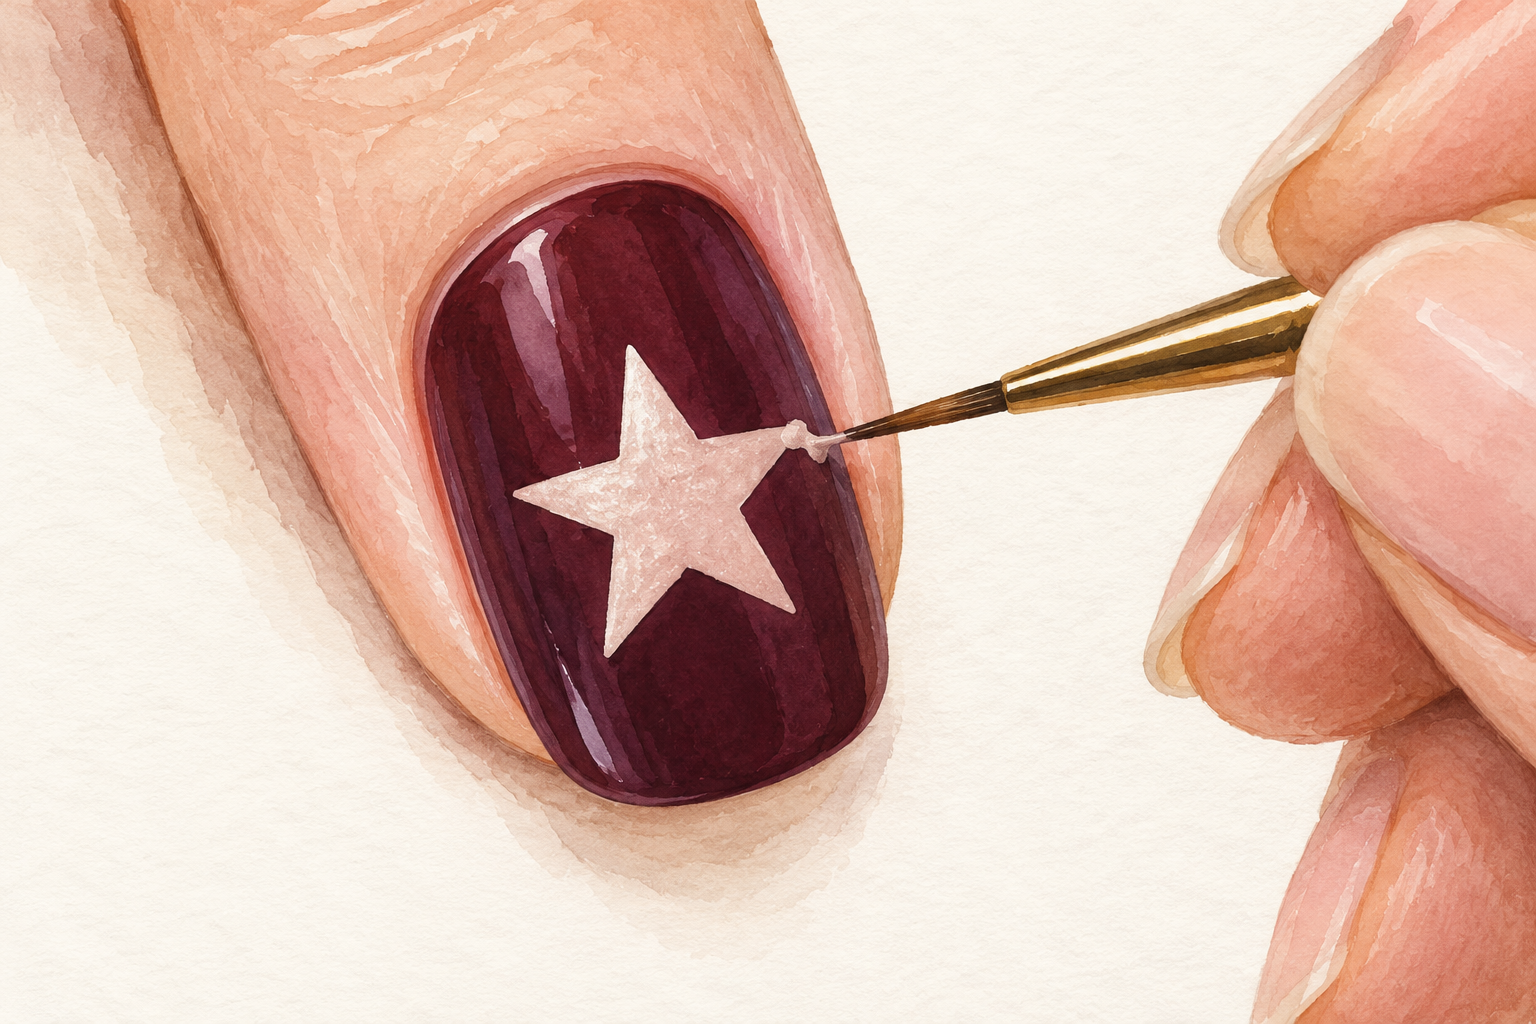
Wait for the star to dry fully, then dip a thin brush into a drop of remover, blot it on a tissue, and trim the extra polish off the points. Work in small touches, because too much remover dissolves the star and the base as well. Keep the room ventilated, since remover fumes build up quickly. If a star is beyond saving, leave it, repaint that spot with the base color, and try again once it has dried. Practise over three sessions, and the shapes come out cleaner each time. Wipe the brush on a tissue between touches so it never drags old color back.
11. Seal with a top coat that floats
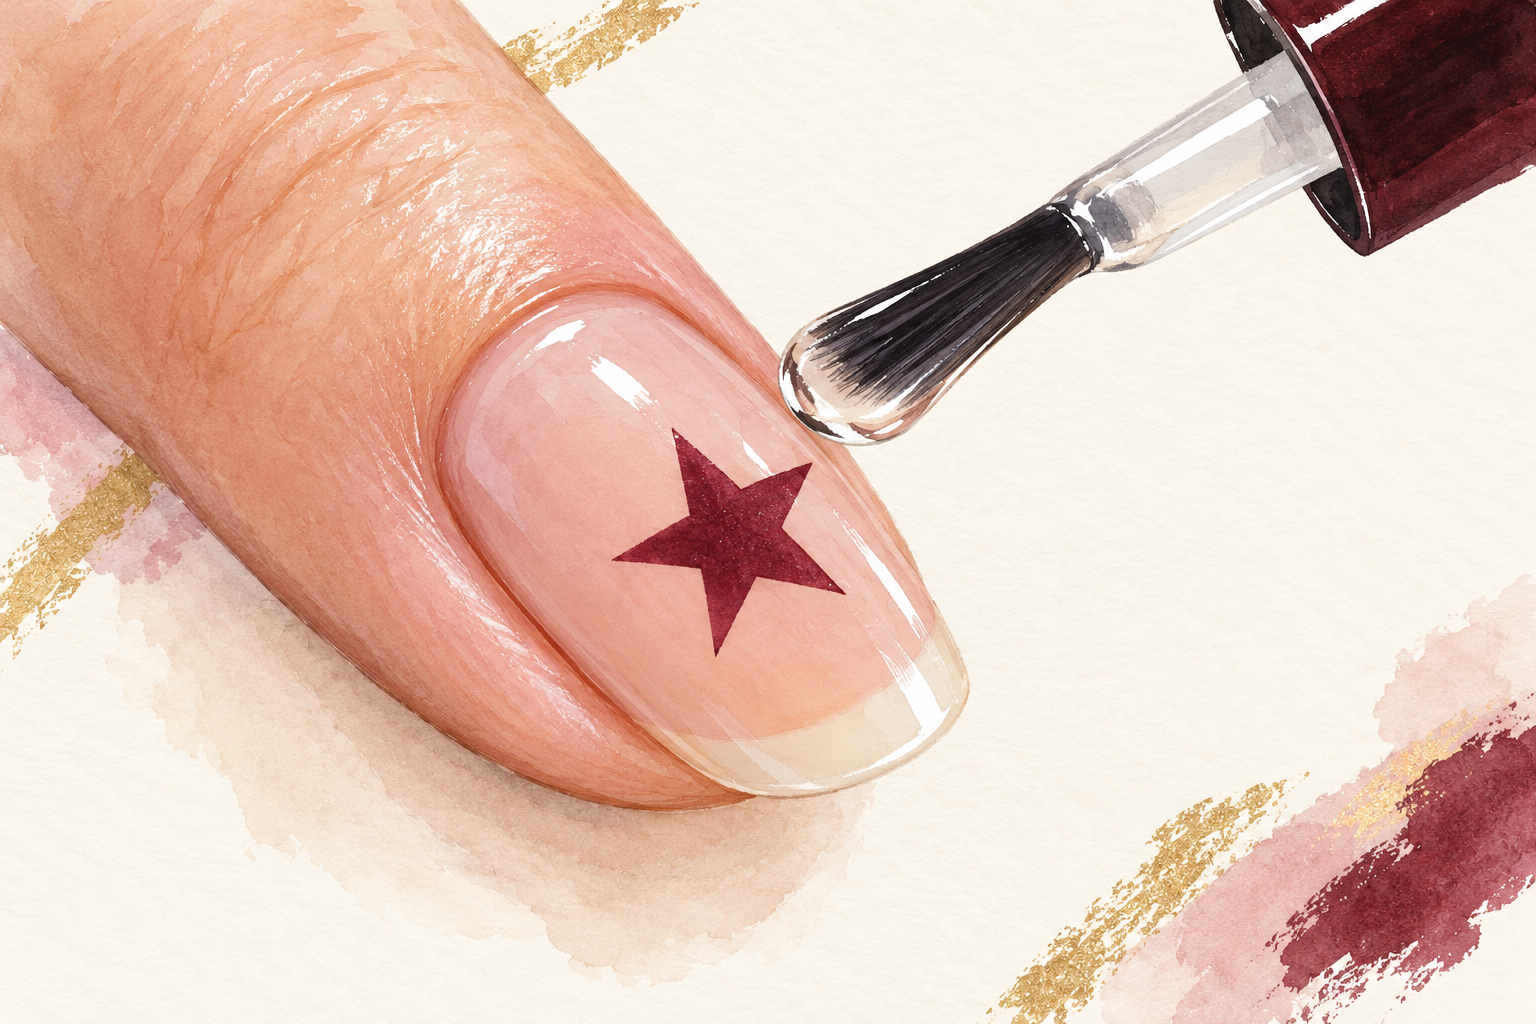
Let the stars dry for at least five minutes, longer if the polish was thick, then load the top coat brush well. Glide it over the nail without pressing, so it floats on the surface instead of dragging the stars. Cap the tip with the edge of the brush, which stops the stars chipping from the free edge first. Dragging a dry brush over wet stars smears them into smudges. Add a fresh thin layer of top coat on day three to keep the shine. Wear gloves for dishes, because hot water softens the stars.
12. Try a new color story next time
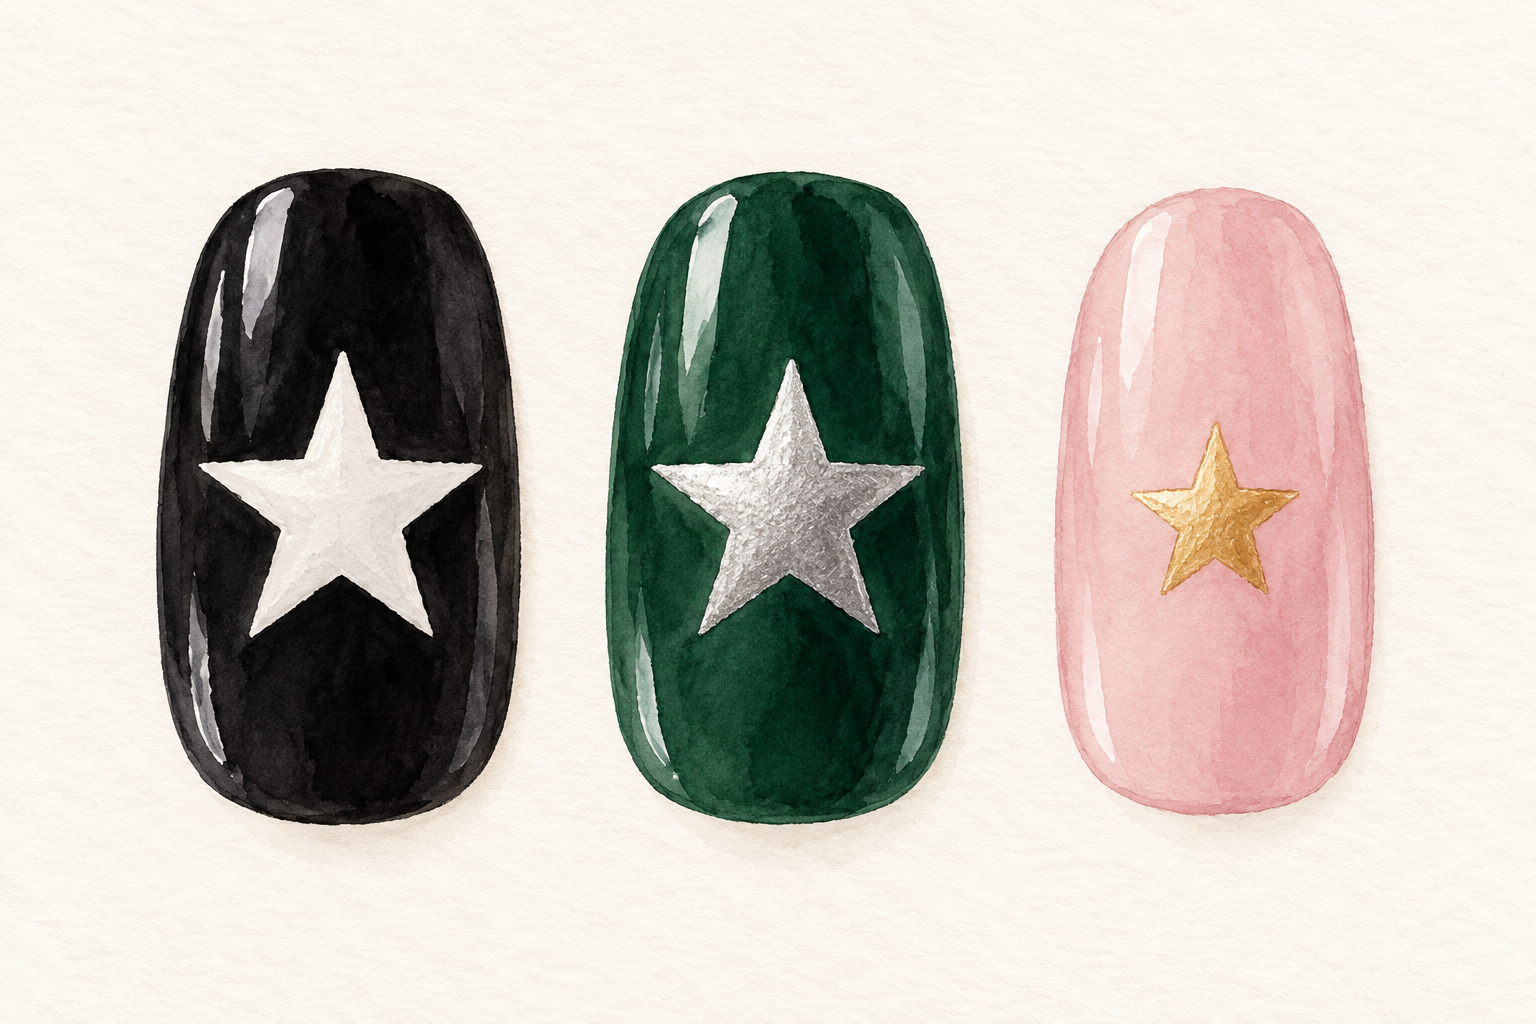
Swap in white stars on a soft black, silver on deep green, or tiny gold stars on a pale pink base. Once you have the dot and the pause, any colors work. A few glitter stars in clear polish are easy and forgiving for a first try. Photograph every set you love so you can copy the exact shades later. A single star on the accent nail and a plain base on the rest is a pretty way to start. The next time you ask how to draw stars on nails, you will have your own answer. Keep a list of your favorite pairings in your notes app. Pairings like these are a fun base for how to do ombre nails, if you want a gradient next.
Complete the Look: How to Draw Stars on Nails This Weekend
Tonight, paint a dark base on one nail, let it dry, and draw three four point sparkles with a toothpick. Let these stars settle first, then pick one guide from below to try this week and see how the set feels.