You squeezed out the poly gel, and it clung to the brush, stuck to your fingers and spread into a lumpy mess before you could lift the lamp. It happens to everyone on the first try. Here is how to do poly gel nails at home in 12 steps that fix the three beginner traps: slip solution, dual forms and shaping. Start at number one.
1. Lay out everything before you begin
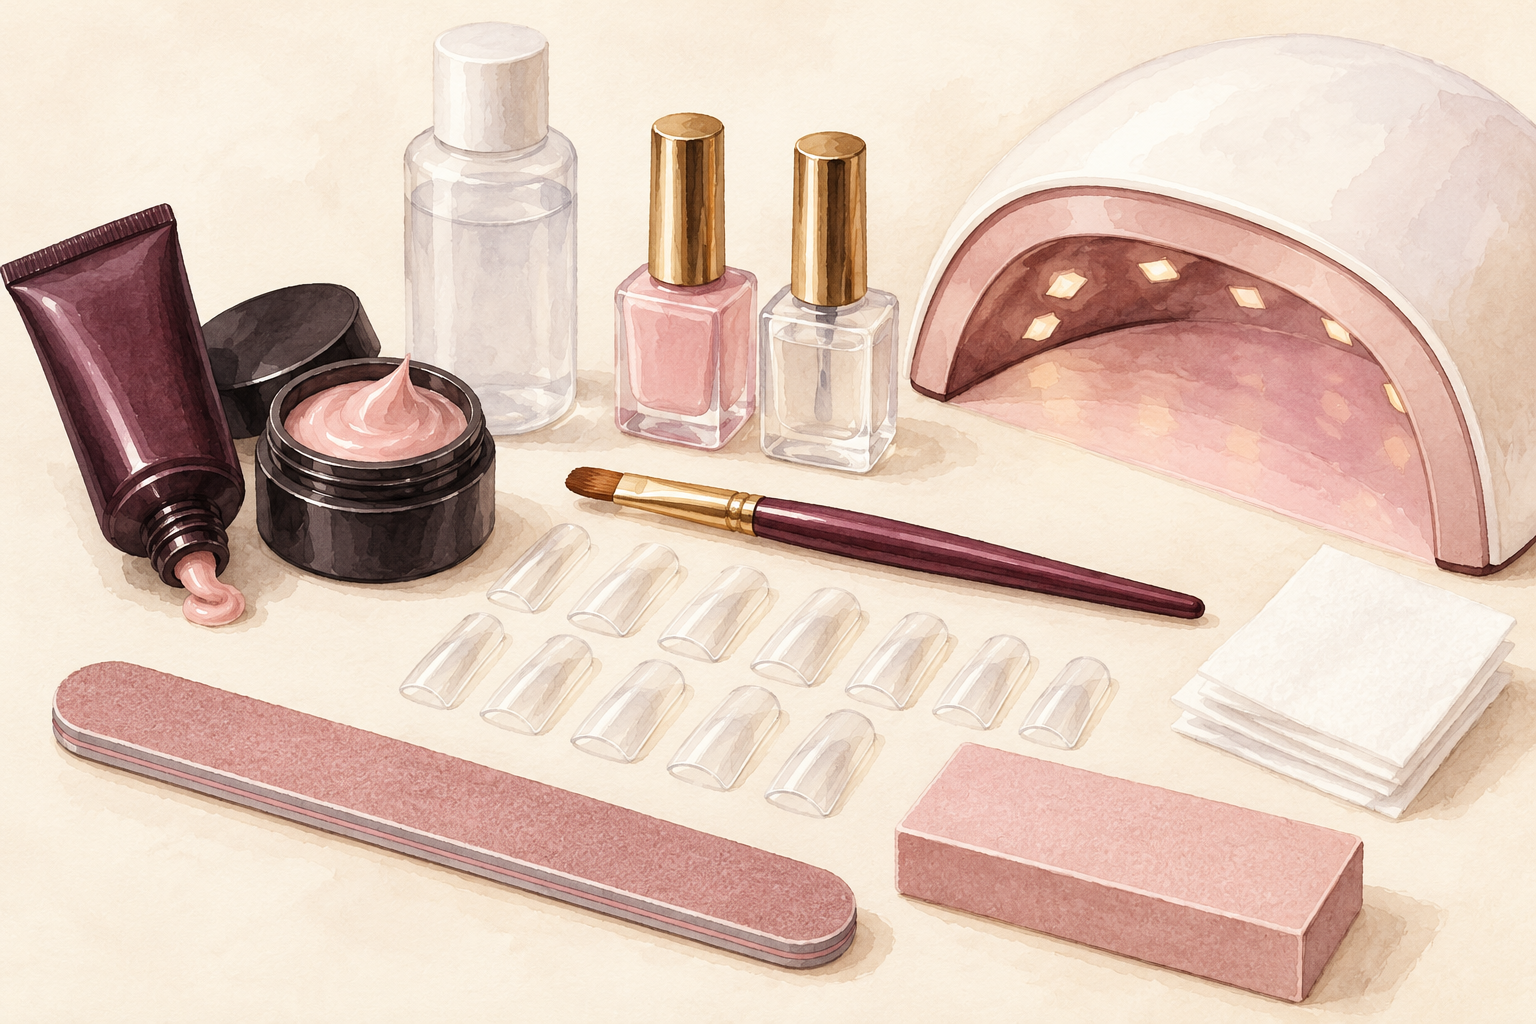
Set out the poly gel, slip solution, brush, forms, base gel, top coat, file, buffer and lamp on a clean towel. Poly gel will not wait for you to hunt around for a missing tool, because it softens in warm hands and starts to slide. Put the lamp where your hand fits comfortably under it. Pour a little slip solution into a small dish with a lid. Have a lint free wipe and a cleanser close by. Tie your hair back and wash your hands, as dust and oil spoil the grip. Work in good light, because shadows hide thin spots and uneven edges. Once the setup feels calm, how to do nails at home is a good one to open next.
2. Prep gently and leave the cuticles alone
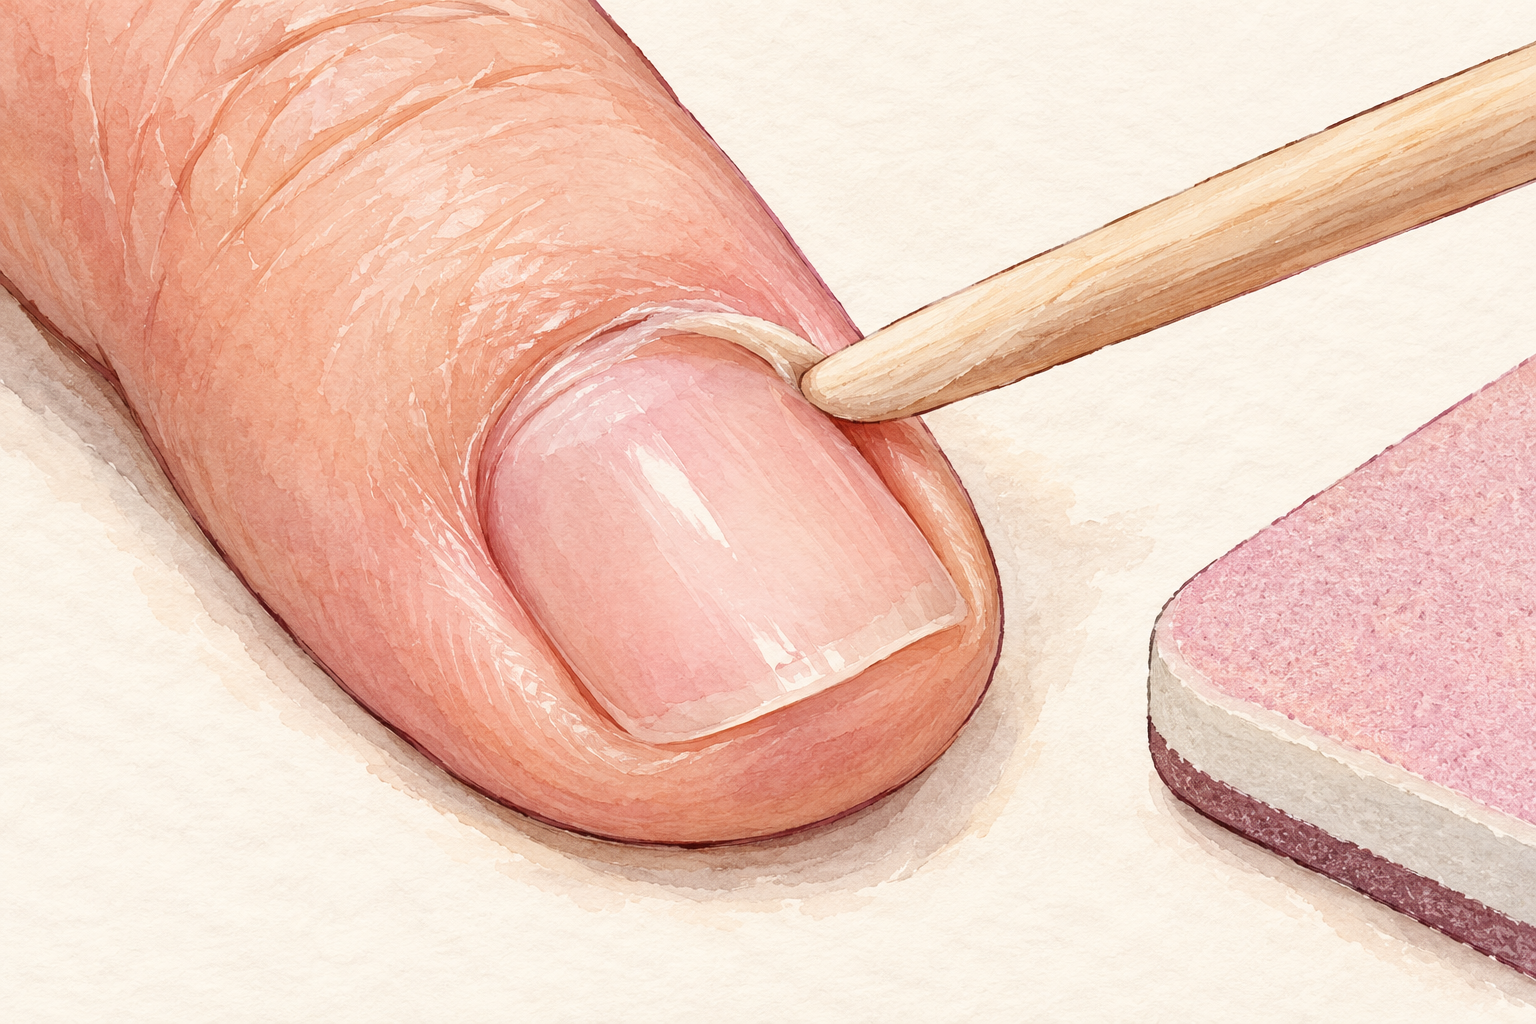
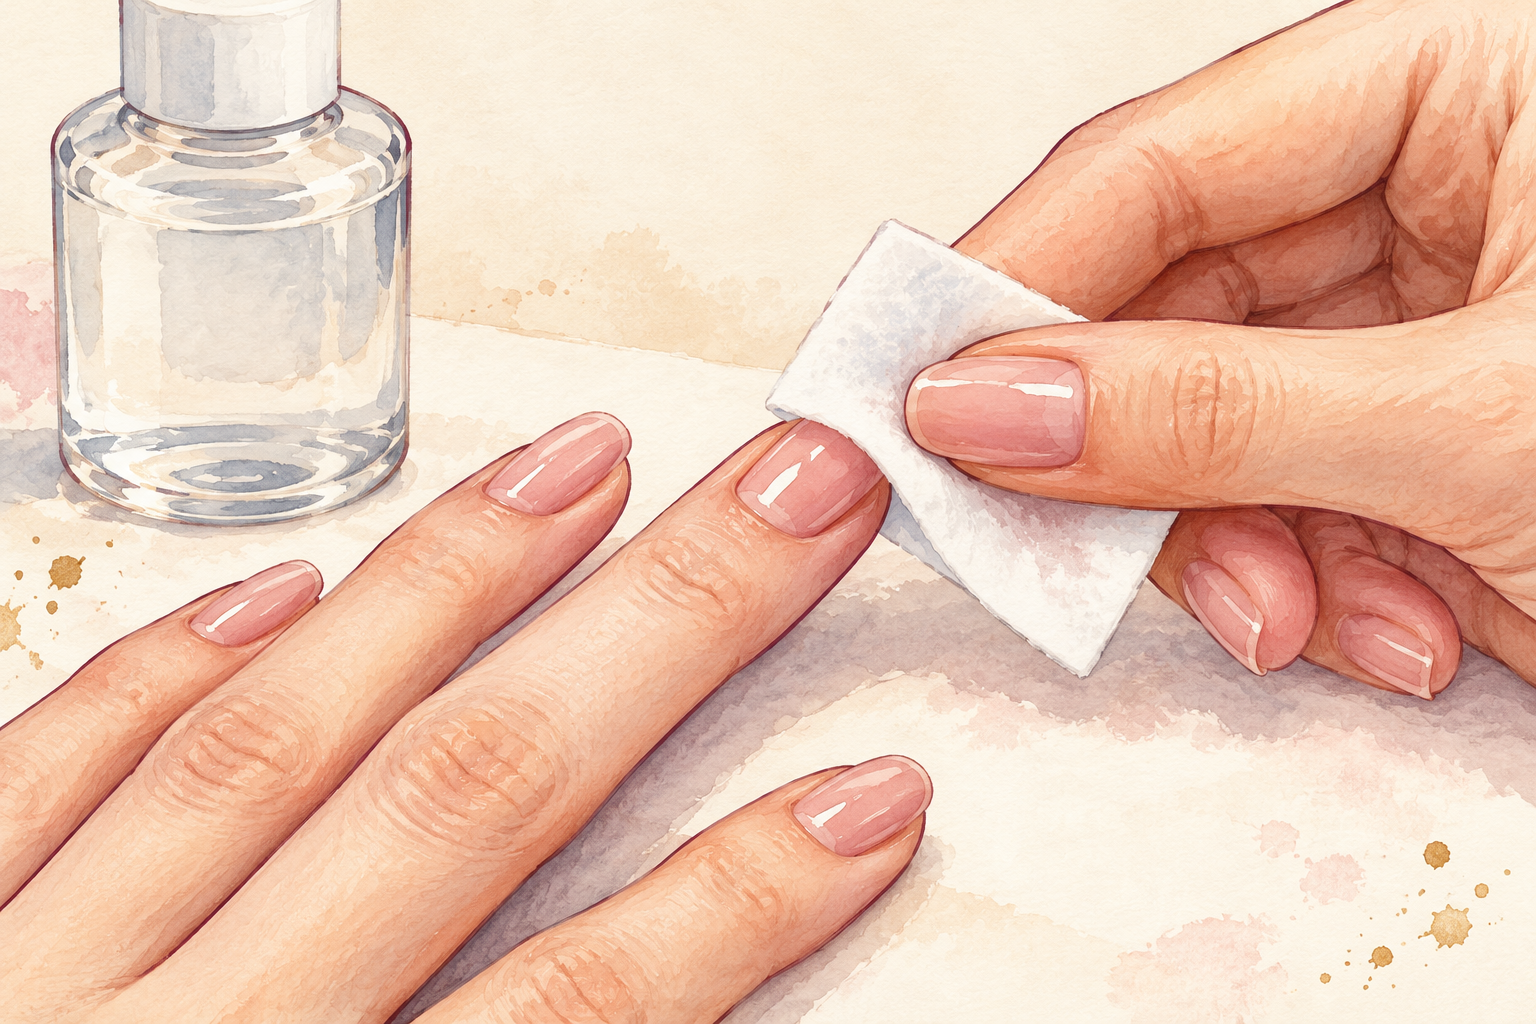
Push the cuticles back softly, buff the shine off each nail and wipe it with cleanser. Never cut the cuticle, because it seals the skin, and gel on cut skin lifts and stings. Buff only until the nail looks dull and chalky, which takes about ten seconds, because pressing hard thins the nail. Dust is the enemy of grip, so brush it off and wipe again. A clean, dry, dull surface is the foundation of the whole set. Skip this step and the gel will pop off in two days. This is the dull part of how to do poly gel nails at home, and it decides how long the set stays on.
3. Apply a thin base gel and cure it
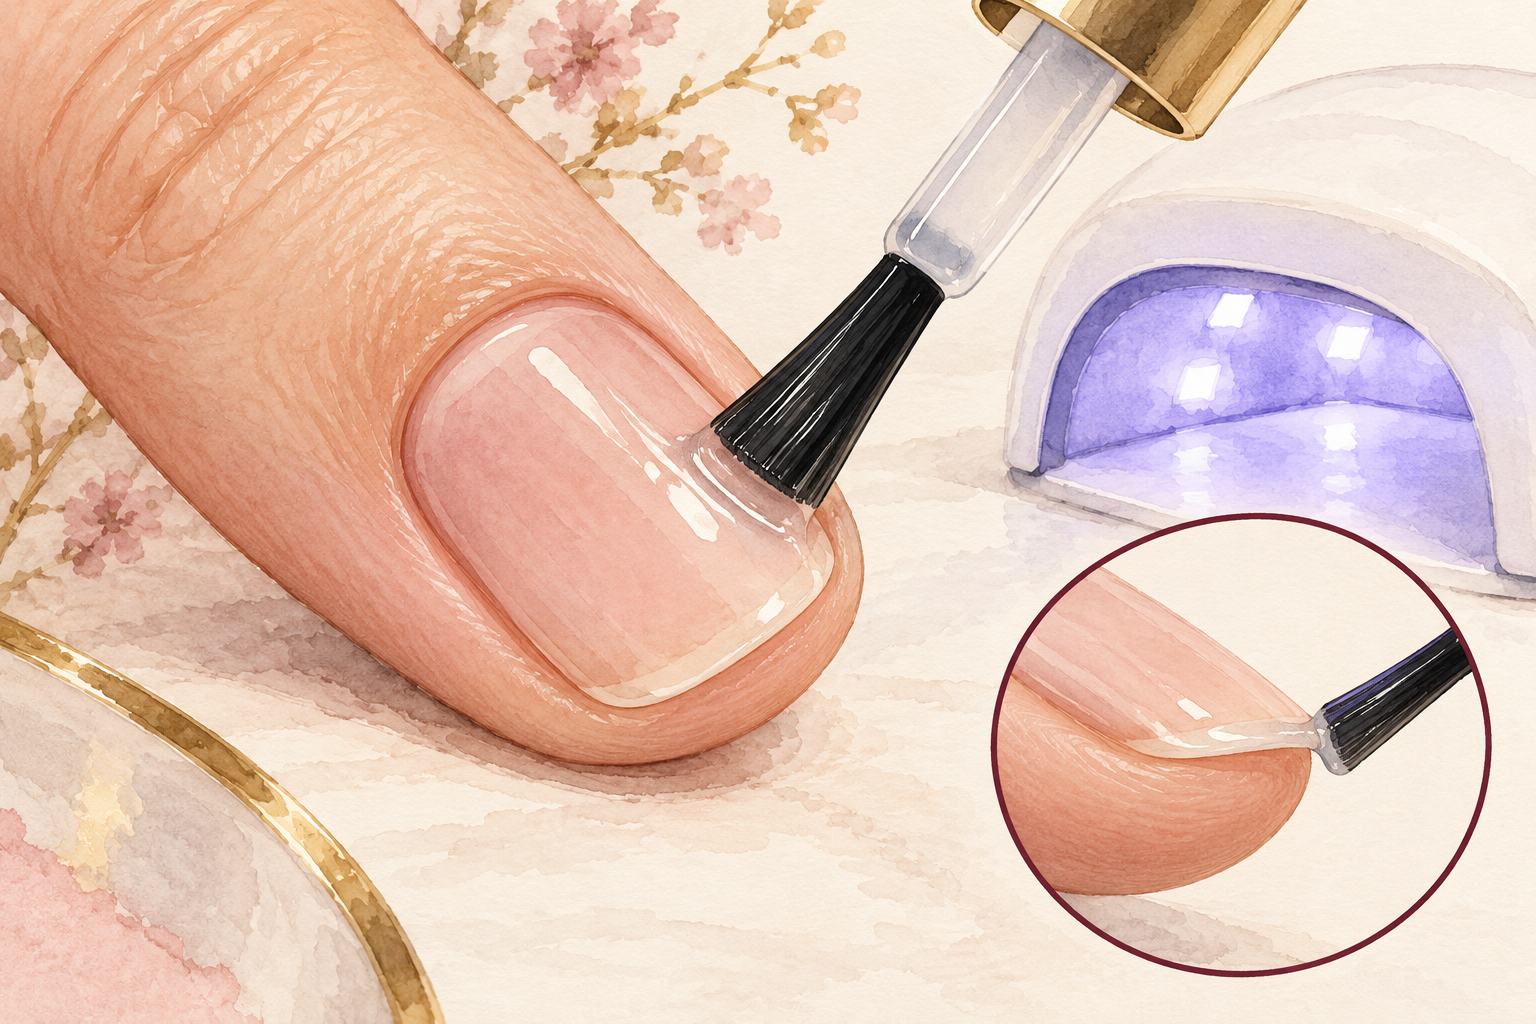
Paint one very thin coat of base gel, cap the free edge and cure it for the time on the bottle. This is the glue that holds the poly gel on, so do not skip it or flood the cuticle. Keep it off the skin by leaving a hair’s width gap. Check for a slightly tacky film after curing, since the poly gel grips that stickiness. If the surface feels wet, cure ten seconds longer. If you wipe it with cleanser by mistake, the grip is lost, so just add one more thin layer. Cure the thumb last if you do each hand in one go, since it sits at a different angle in the lamp. Plain gel is a gentler place to begin with how to do gel nails at home if poly feels fussy.
4. Understand what slip solution is for
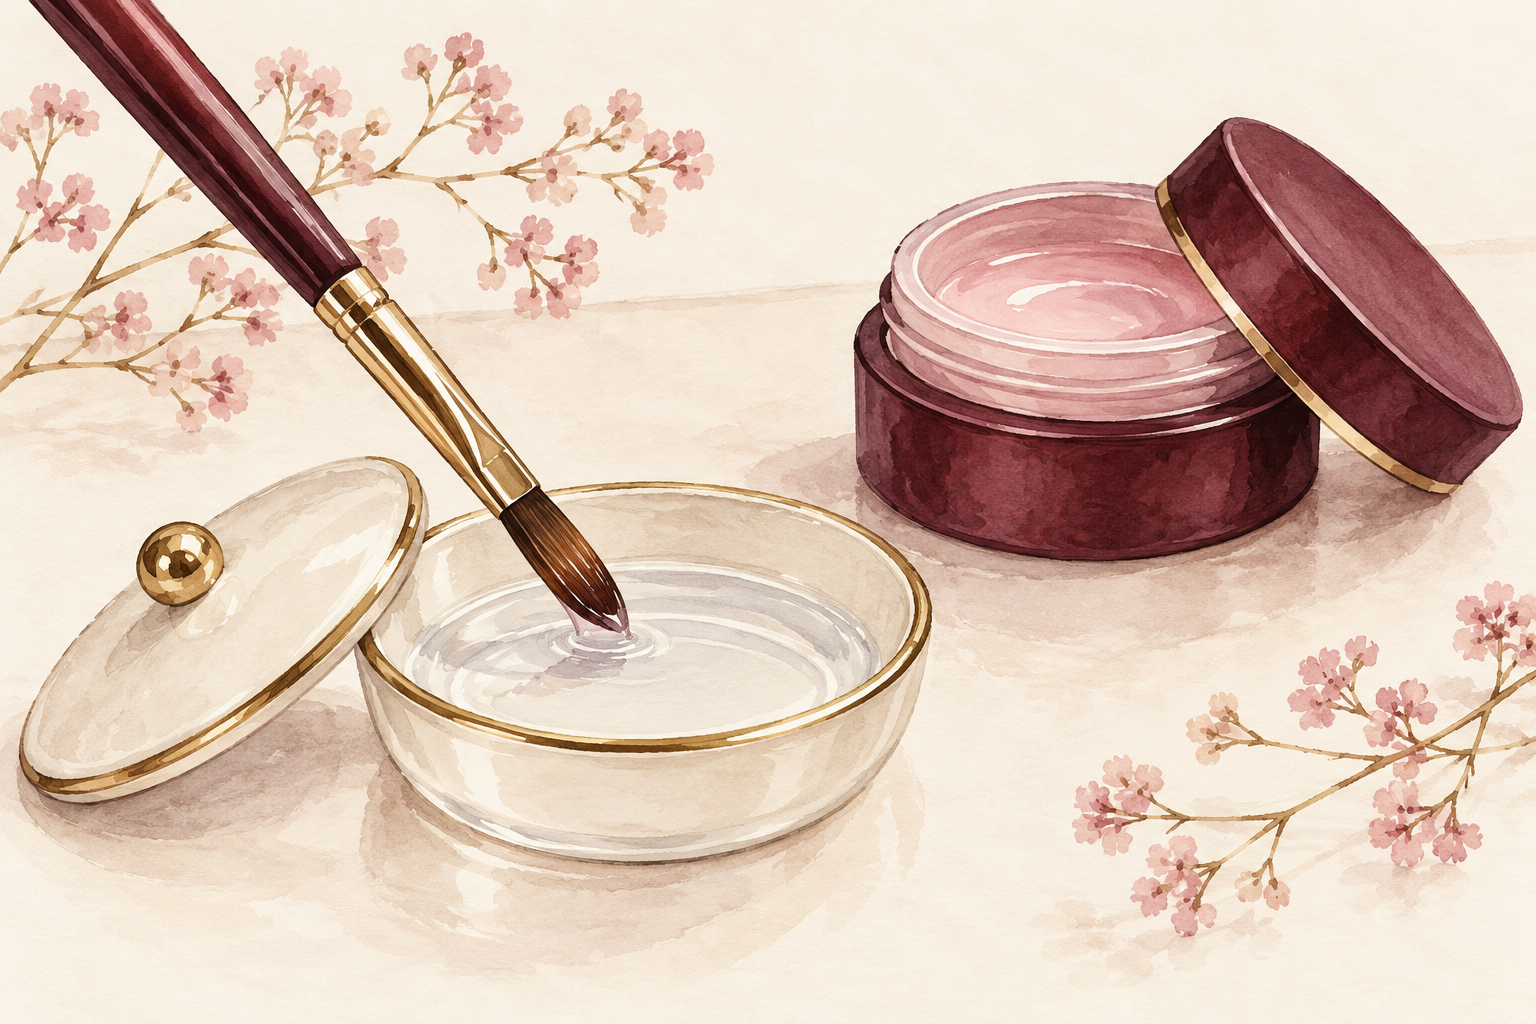
Slip solution is a liquid that lets the gel glide so you can shape it without it sticking to the brush. It is not meant to be drenched on. Think of it like a little water on dough, enough to stop the stickiness and no more. Use a solution made for poly gel rather than plain water. It keeps the gel soft for a few seconds longer, which gives you time to move it. Too little and the gel drags, and too much and it turns to sludge. Keep the lid on between nails, as it evaporates fast and goes stale.
5. Keep the brush damp, not wet
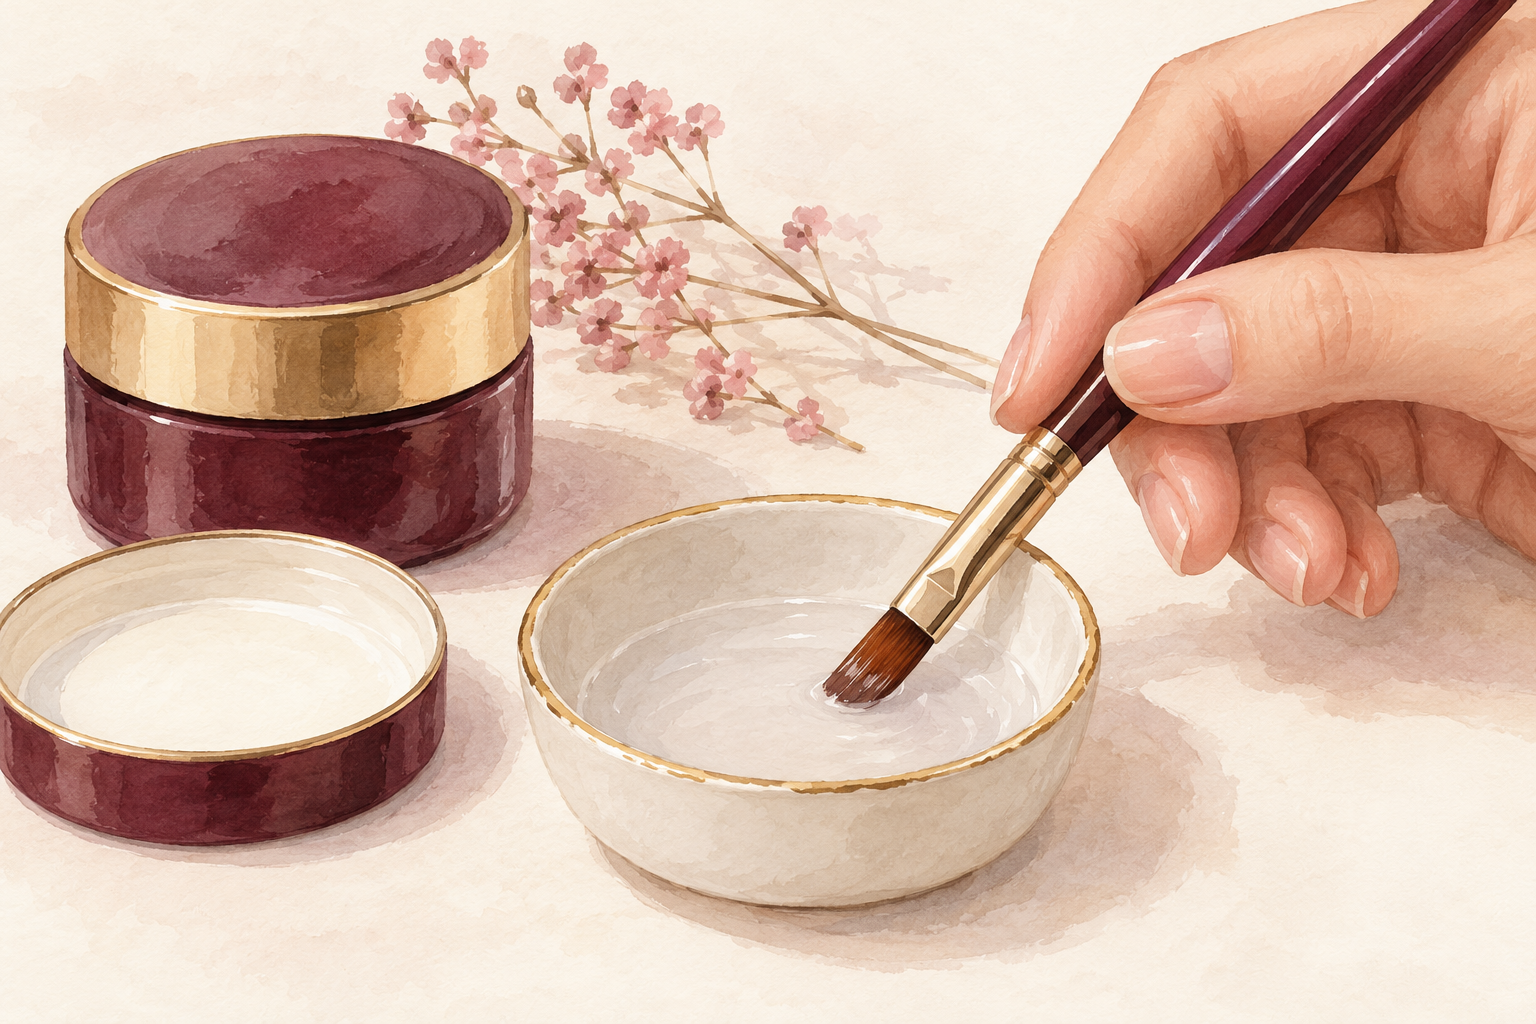
Dip the brush, then press it against the side of the dish until it only shines. A dripping brush floods the gel and makes it thin, cloudy and weak. A dry brush grabs the gel and drags it out of place. The right amount leaves a thin gloss on the bristles. Tap and test it on the back of your hand before you go near the nail. Dip again every nail or two, as it dries quickly. This one habit is why some people’s sets look smooth, and the rest of us end up with ridges. Practice on your least used hand first, so your best hand gets the calmest try.
6. Warm the bead and pat it flat before you spread
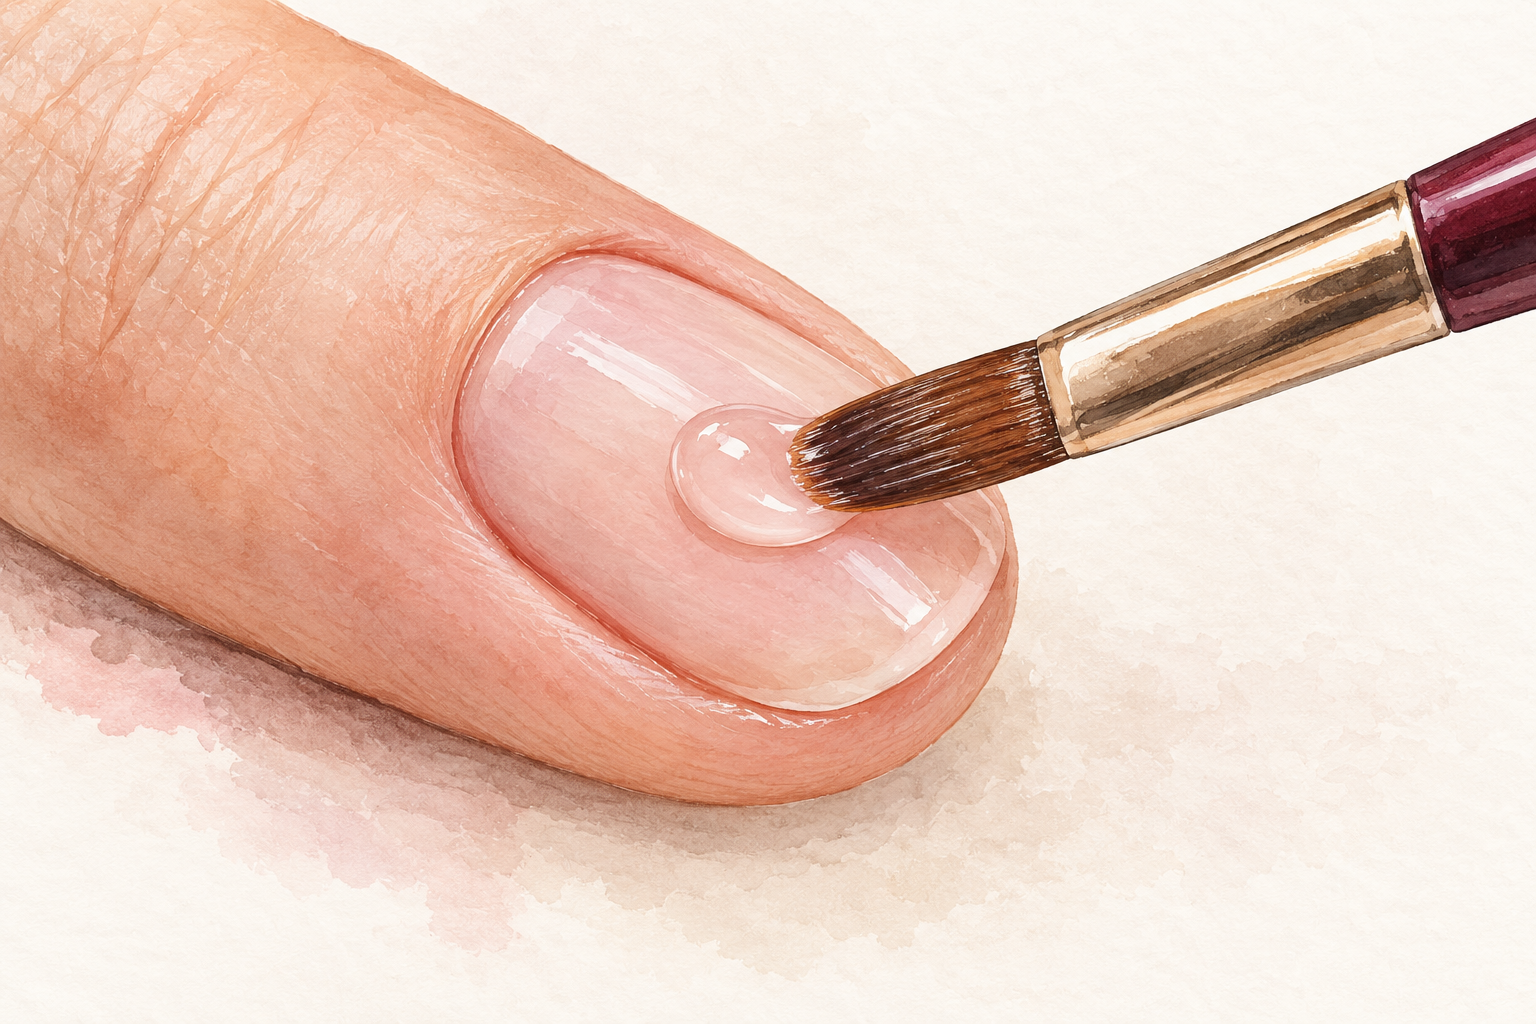
Squeeze out a bead about the size of a grain of rice, and place it at the center of the nail. Wait ten seconds if the gel feels cold and stiff. Press the bead flat with the damp brush using little taps, rather than dragging it. Then guide it gently toward the cuticle and the sides, stopping just short of the skin. Lift your brush each time you want to move, never push. Patting first means the gel spreads itself, and you only need to nudge. If the gel starts to move on its own toward the skin, tilt your hand the other way for a second. A bead that sits is a bead that behaves.
7. Test the size of each form before you add gel
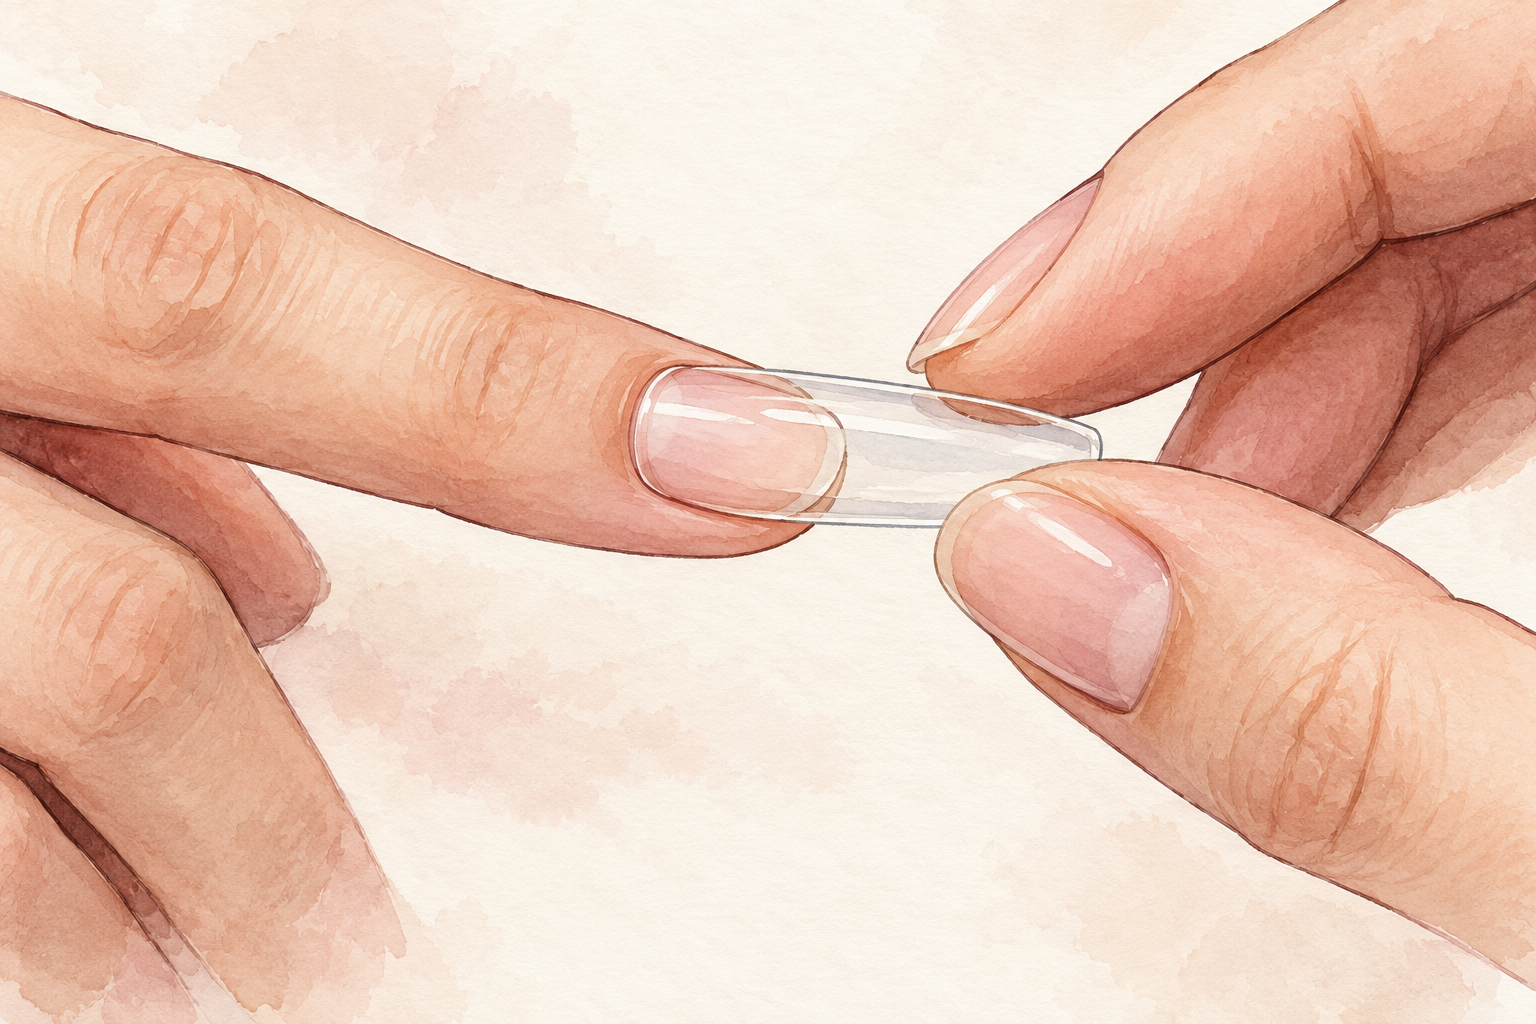
Match one dual form to every nail first, and lay them out in order on a strip of tape. A form should sit snug at the cuticle and stop at the sides without squeezing the skin. If it looks wide, go down a size, and if it pinches, go up. Press it on the dry nail with no gel in it. Trim the edge of the form if you need a shorter set. This five minute test saves a ruined nail, as a wrong form means gel everywhere. Mark each form lightly with a pencil dot on the back, so you remember which finger it belongs to.
8. Fill the form, press once and cure
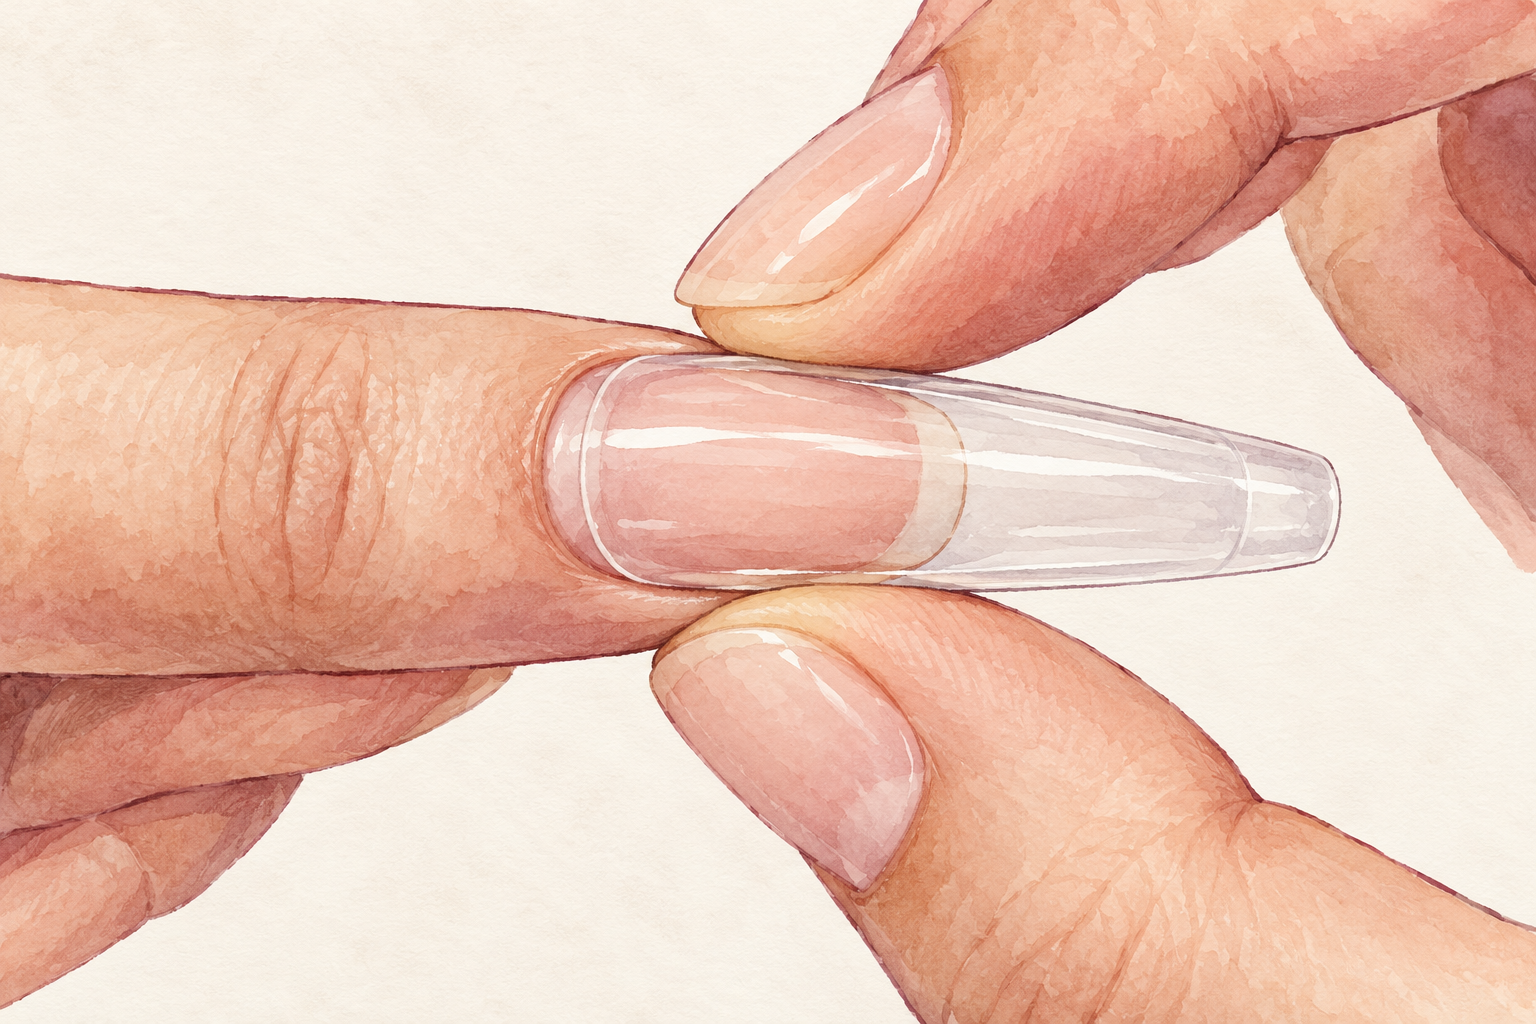
Fill the form with a bead of gel, flatten it to a smooth layer, and press it onto the nail in one steady movement. Hold it still and wipe the squeezed out gel from the sides with the damp brush. Cure for sixty seconds, or as your lamp states. Then let the form pop off. If you wiggle it, you tear the shape. Never press twice, because a second press drags the gel off center and traps air bubbles that you will see forever. If gel squeezes out at the cuticle, wipe it away before curing, since cured gel on skin lifts in a day or two and takes the edge with it.
9. File the sides first, then the free edge
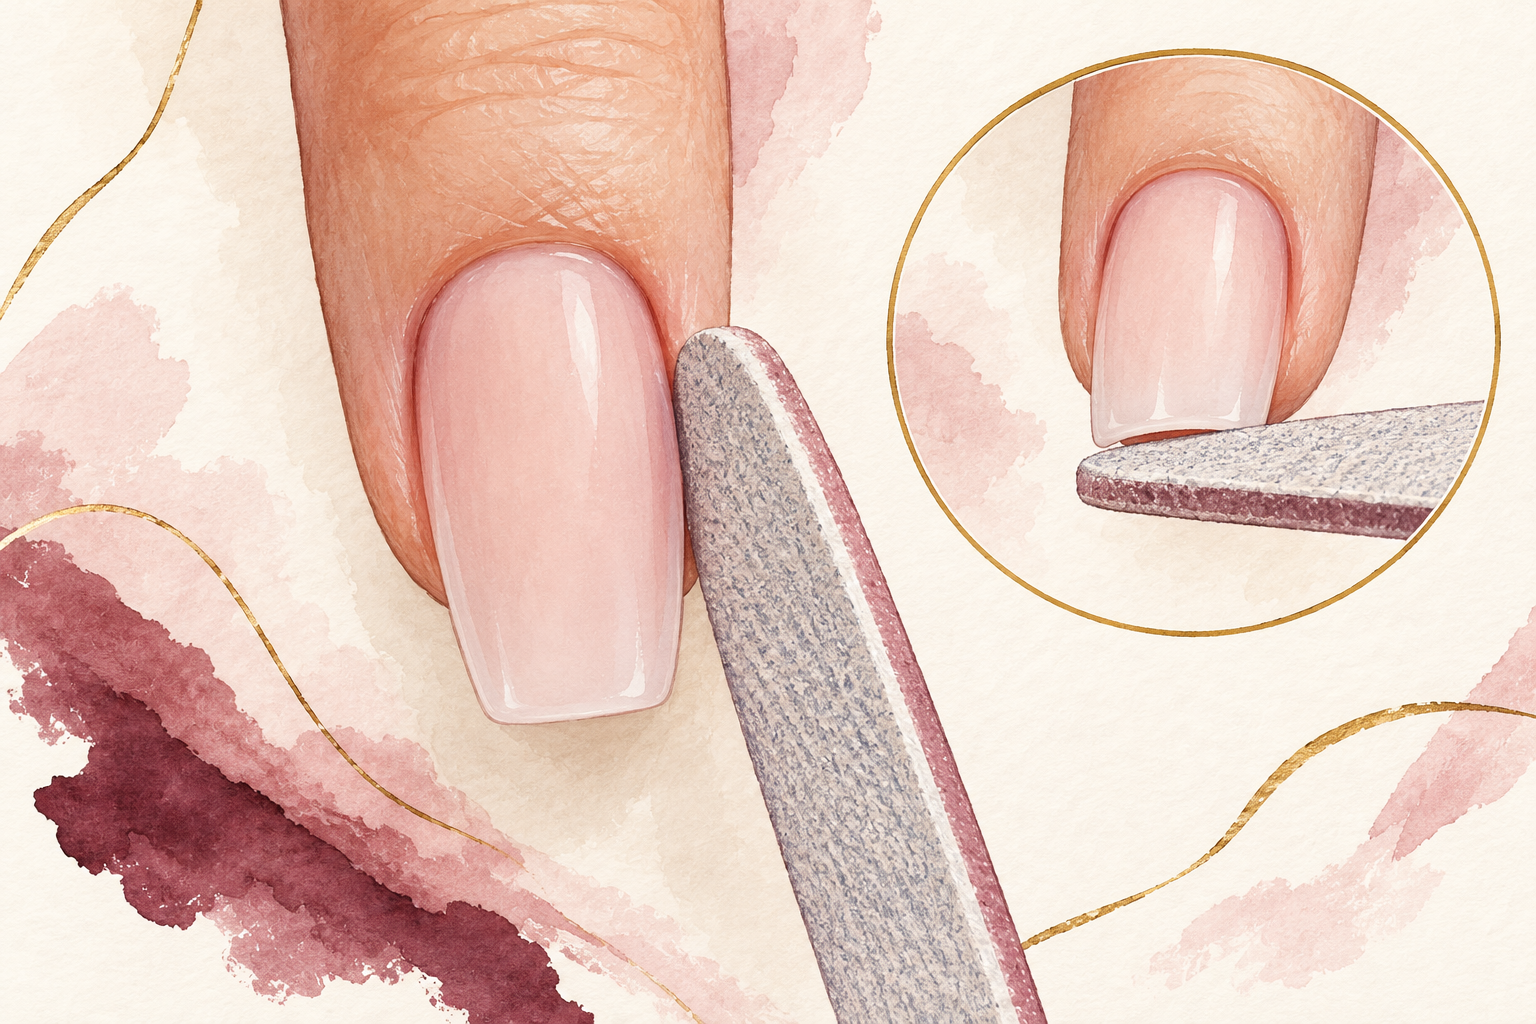
Use a coarse file on the sidewalls, then shape the tip, and finish by smoothing the top with a buffer. The sides need to run straight, like two parallel lines, so the nail looks slim from above. Work with short strokes in one direction. File the free edge last, so you do not chip it while you work the sides. Wipe the dust off and run a fingertip along the edge. Anything that snags will snag your hair too, so keep going until it glides. Finish by buffing the top lightly with a soft block, which removes tiny ridges before the top coat goes on.
10. Know how long the set should last
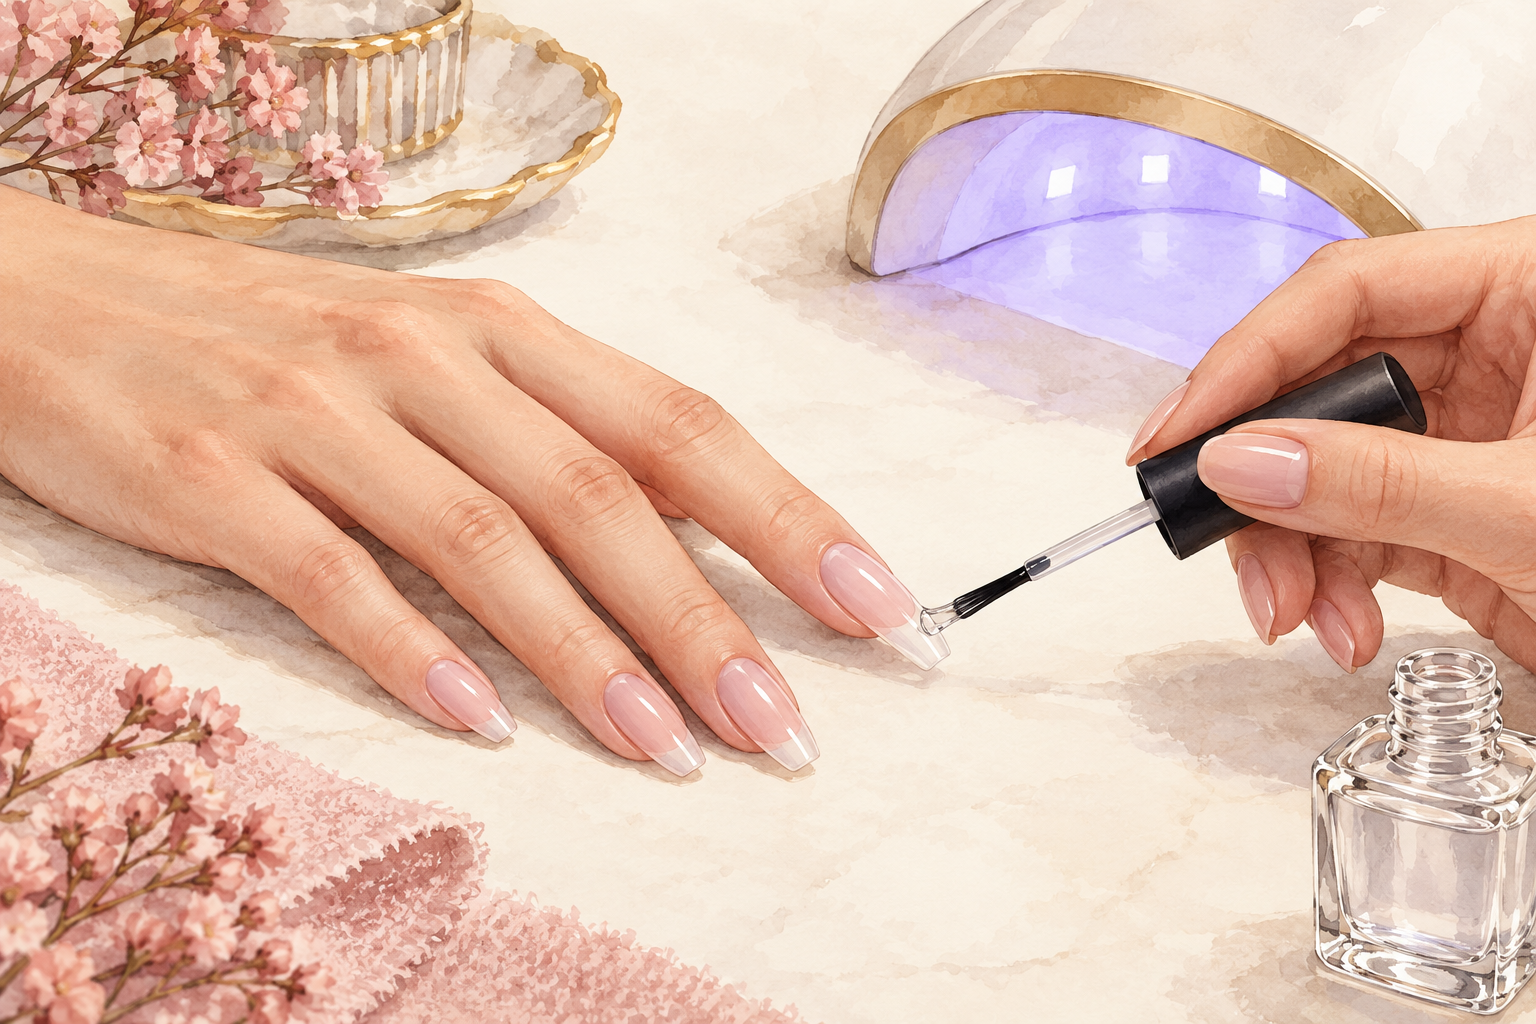
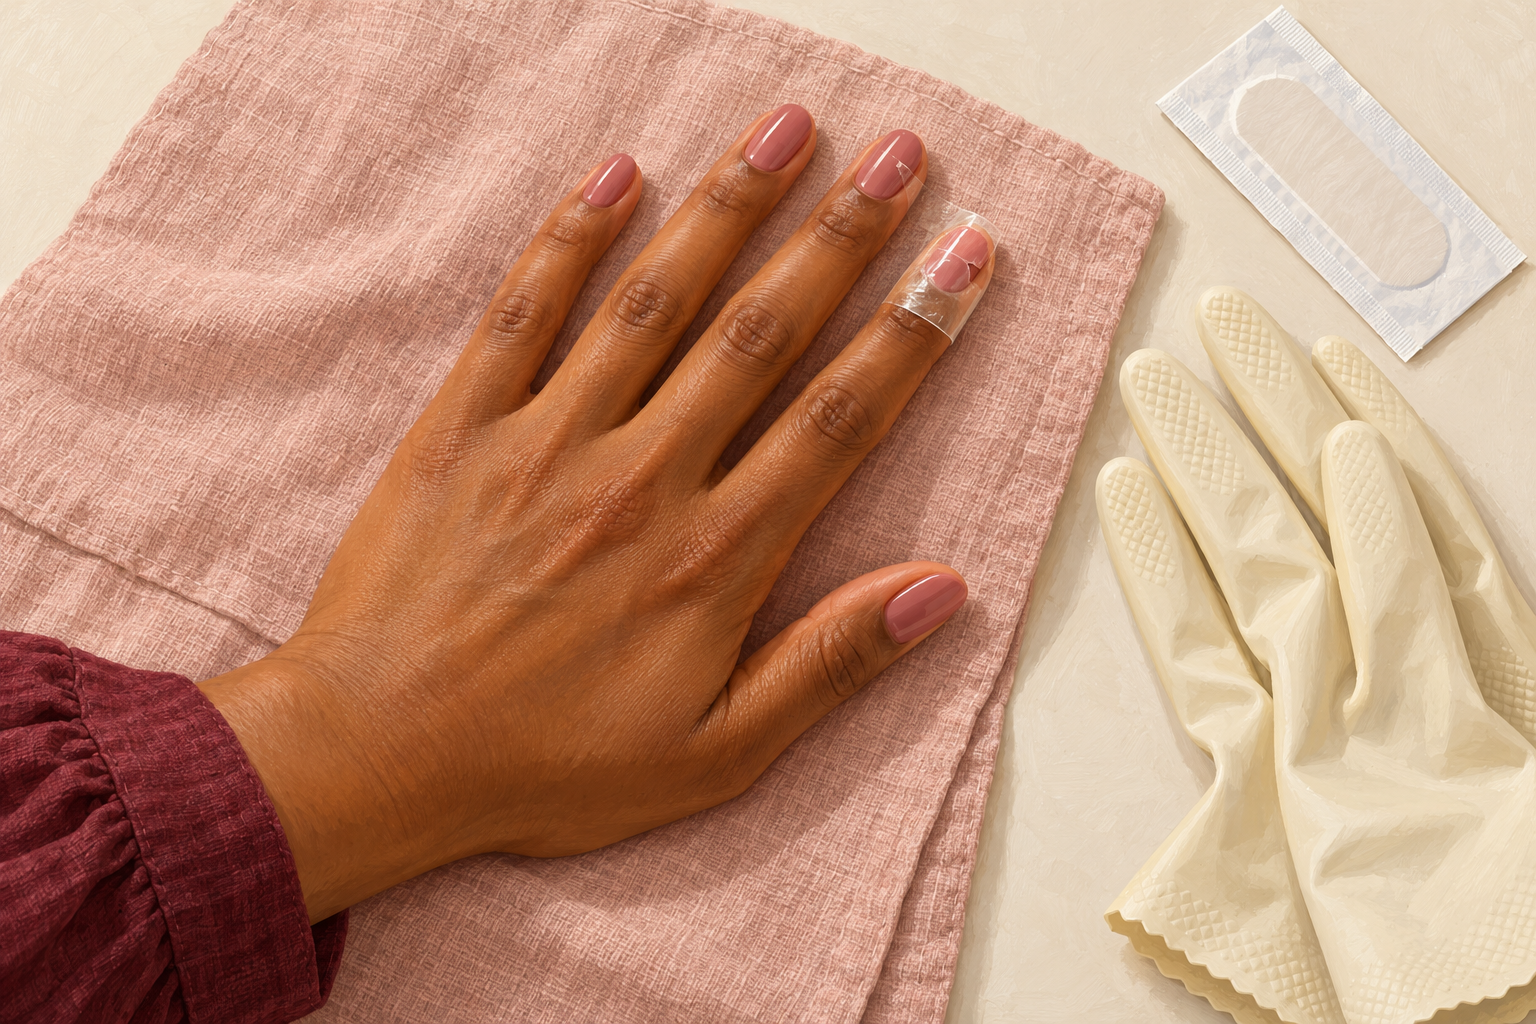
Finish with a thin top coat, cure it, then wipe off any tacky layer. A good set looks smooth and tidy for two to three weeks. In the first few days, the edge may feel thick, which is normal. You will notice the nails feel stronger and slightly heavier than bare ones. If a nail lifts at the cuticle after a week, it needs attention sooner, not later. Notice where the gap is and file it flat with a light touch, then seal the spot with a dab of top coat. Wear gloves for washing up, as long hot soaks loosen the edges.
11. Swap the habits that ruin the set
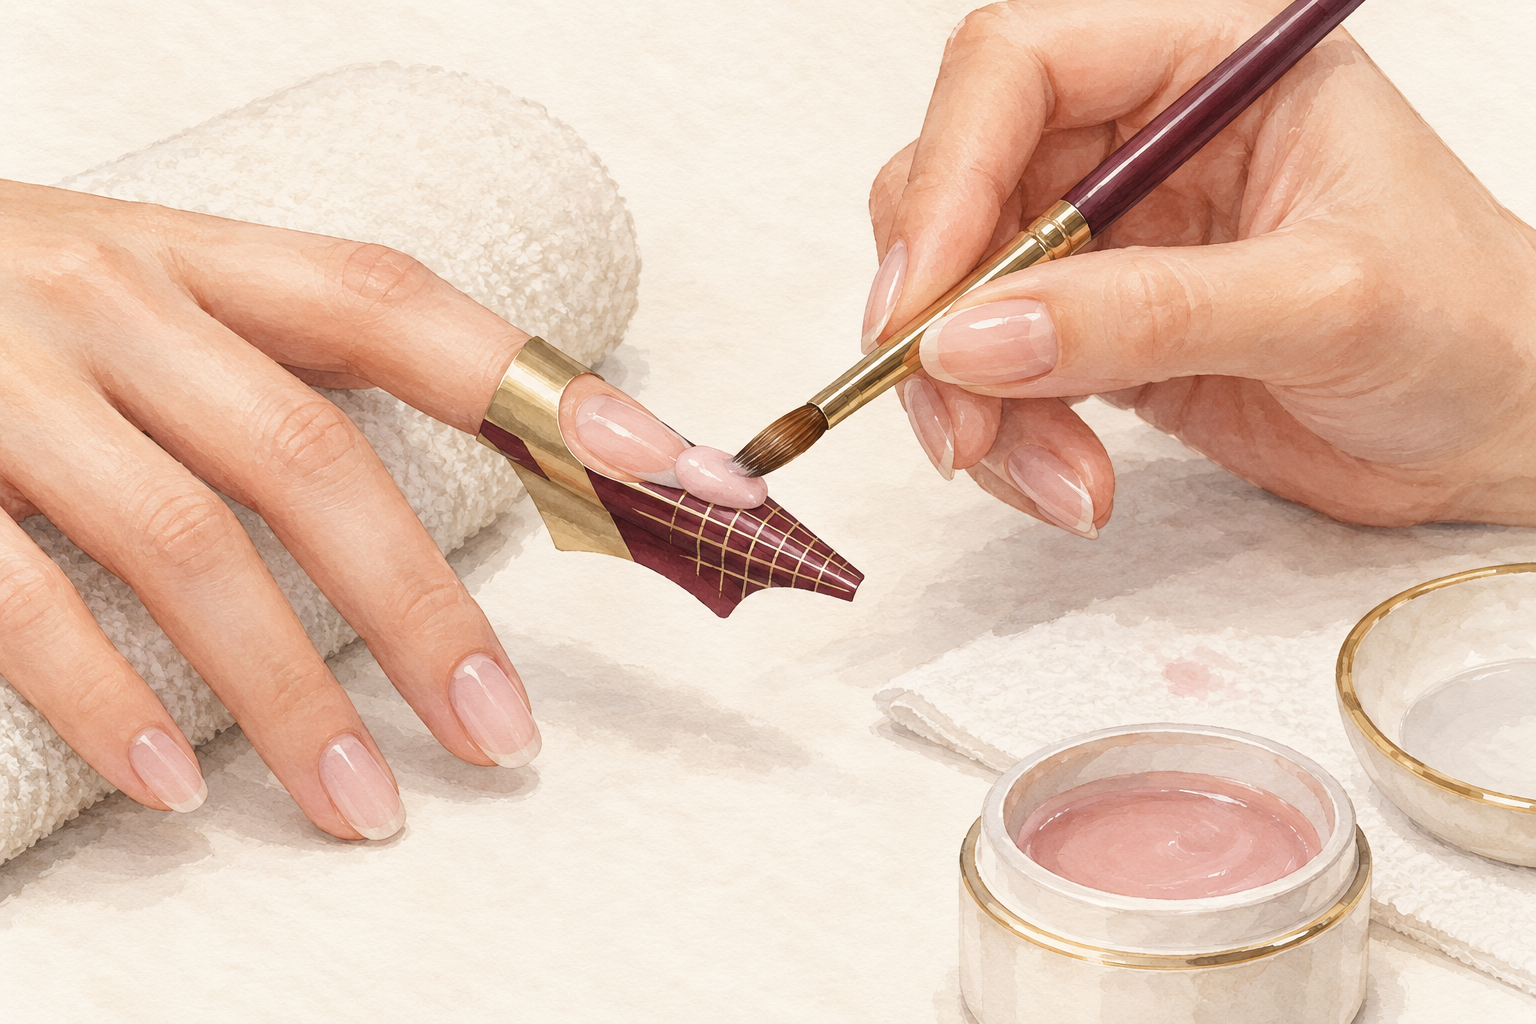
Use less gel, a damp brush and a smaller form, and stop touching the gel after you place it. Bubbles come from pressing twice. Lumps near the cuticle come from too much gel in one place. A lifted edge comes from gel on the skin or an unprepped nail. Rushing is the thread through all three. If you make a mistake, cure it, file it down, and add a thin layer of gel on top, then cure again. Nothing needs to be thrown away, and a repaired nail often holds better than the first attempt.
12. Plan the removal and the break before you start
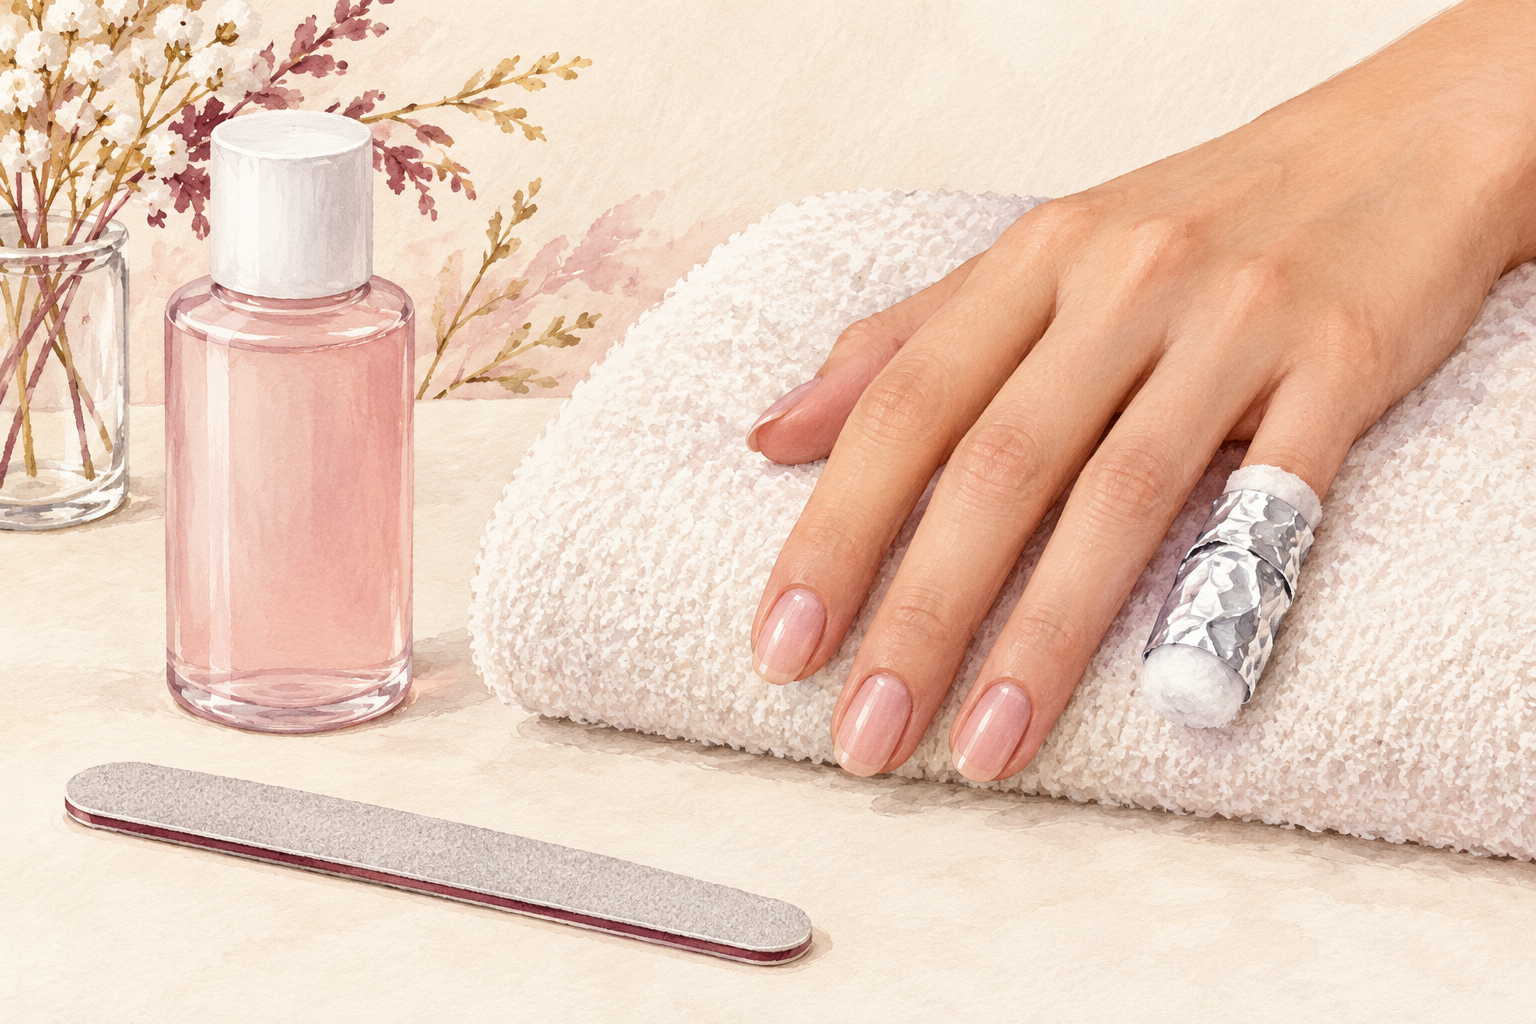
When the set is ready to go, file down the top layer, wrap each nail in remover soaked cotton and foil, and wait fifteen minutes. Slide the softened gel off gently with a stick, and never peel it. Wash your hands, then rub in cuticle oil. Give your nails a few days bare before the next set. Planning the removal and the break from the start helps you enjoy the set, because you know how it ends.
Complete the Routine: How to Do Poly Gel Nails at Home This Weekend
Pick a quiet evening and do one hand first, then the other. After that first set, try one more guide from below this week, and let each new step settle before the next.