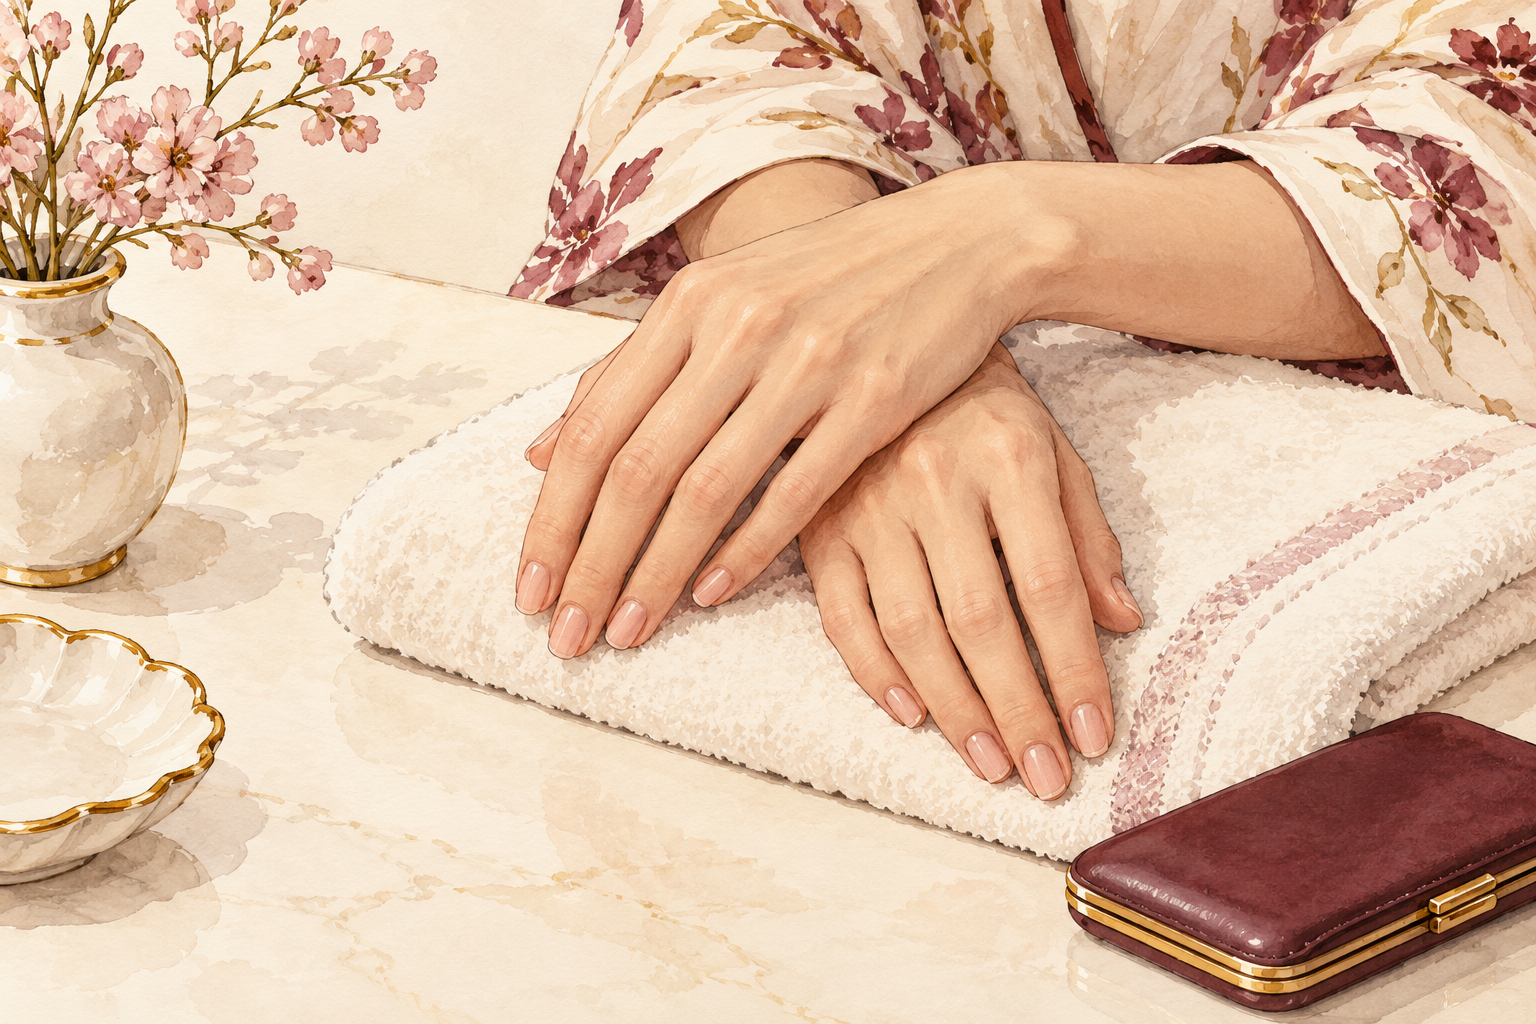
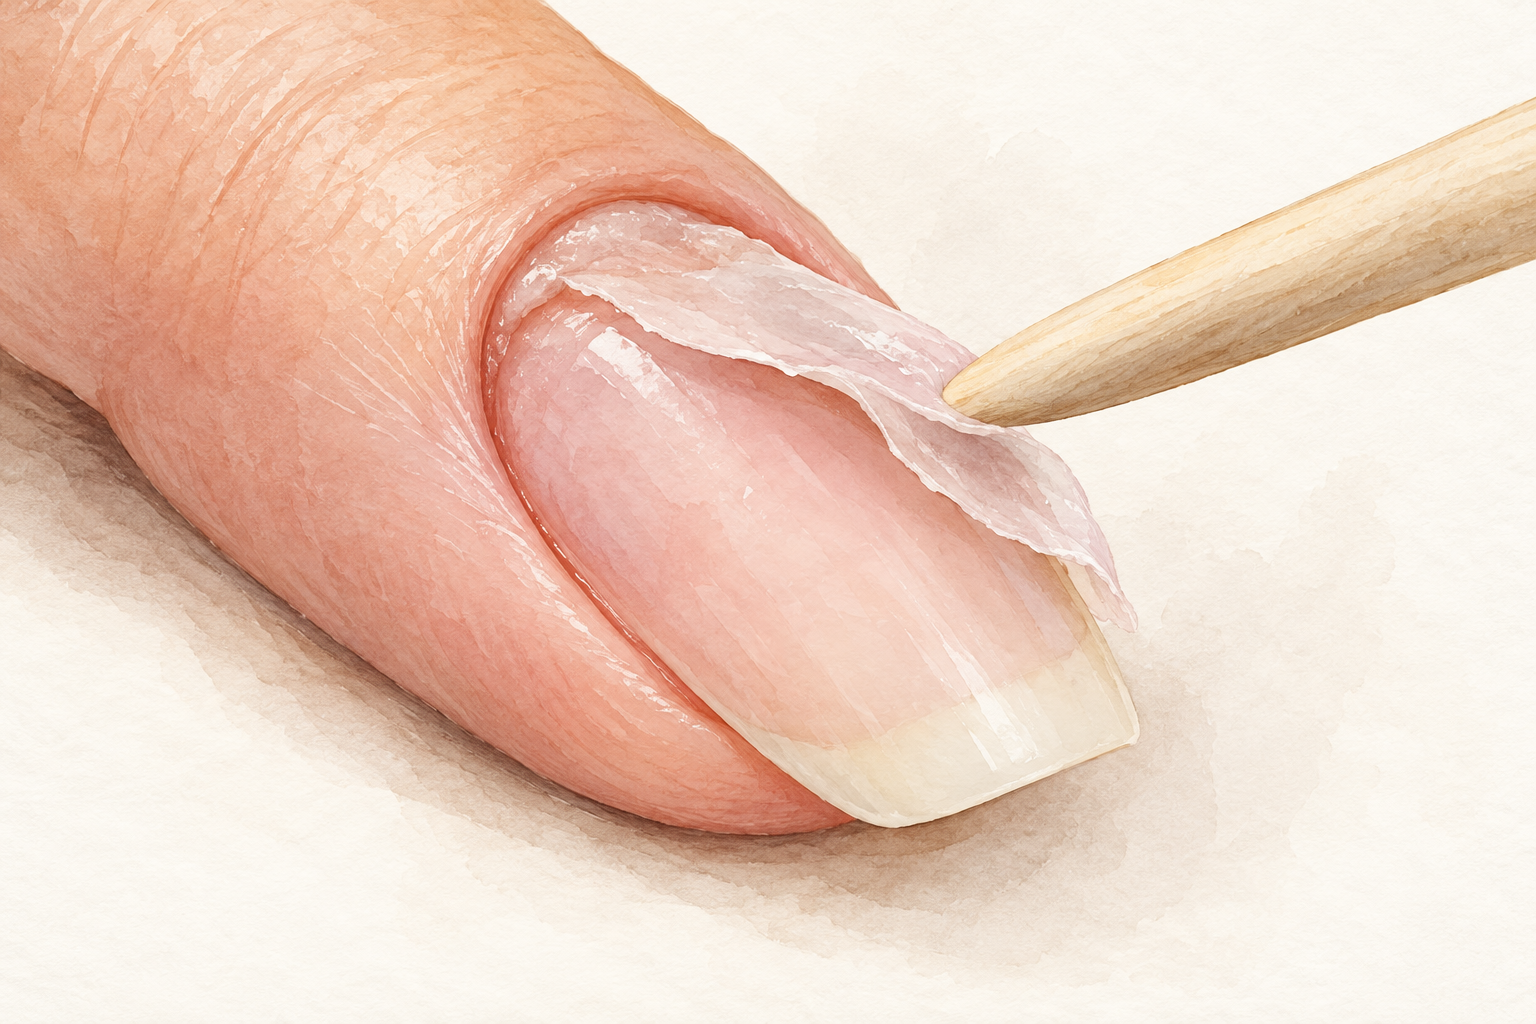
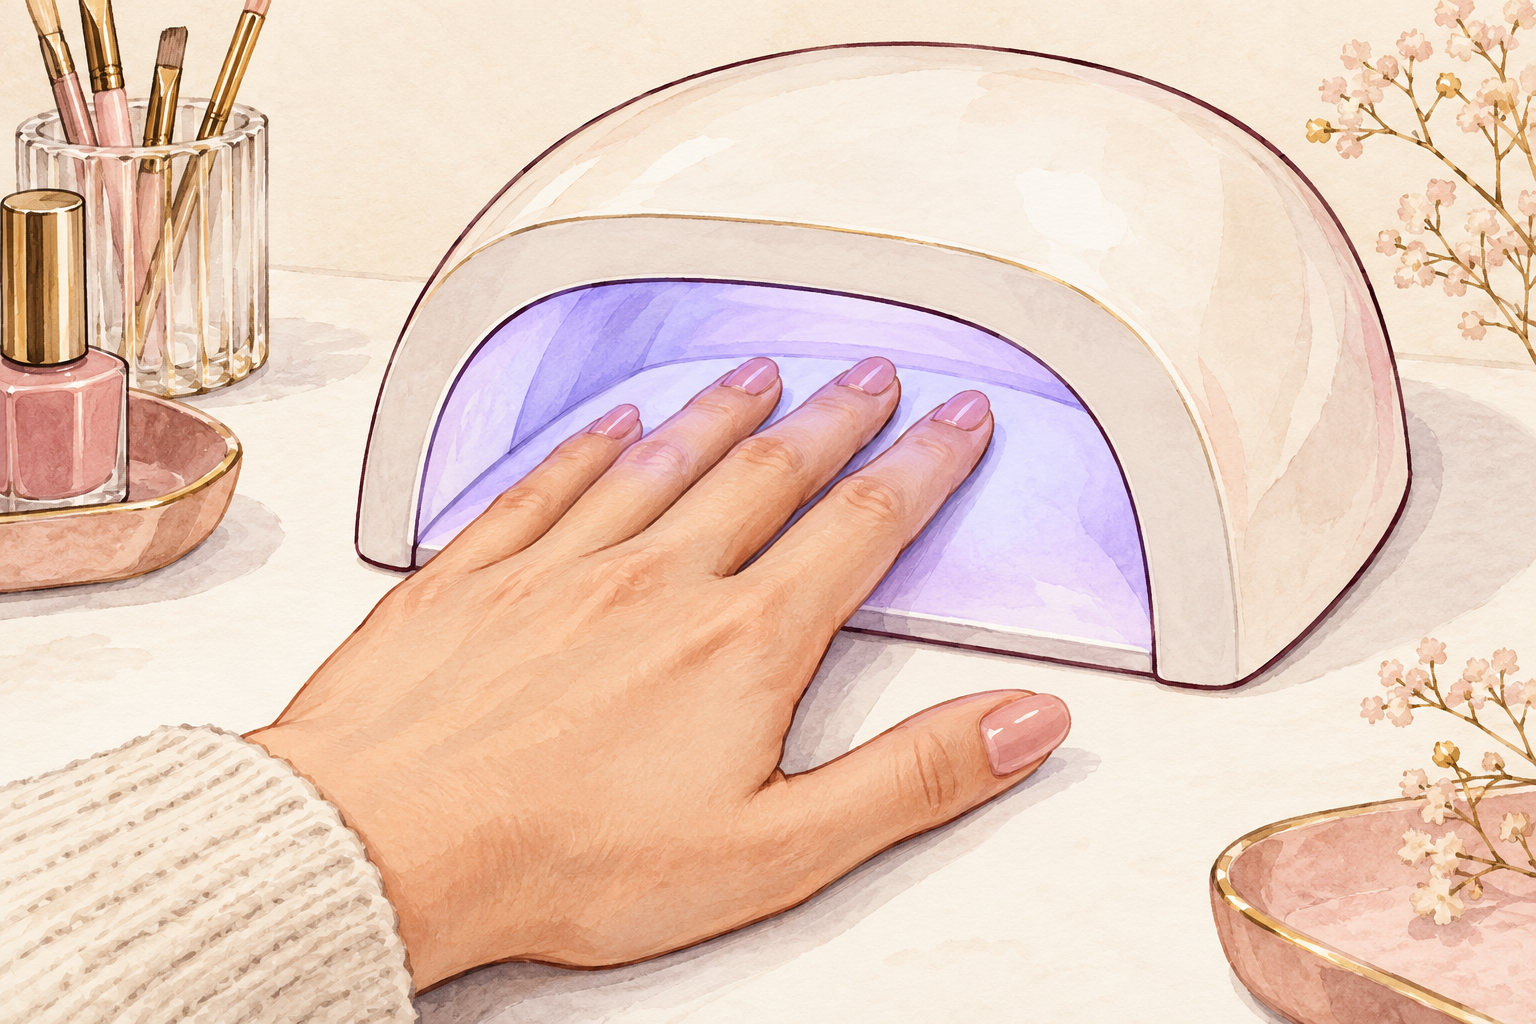
You want a manicure that lasts two weeks, and you are standing in front of a lamp, three small bottles and no idea what comes first. Gel nails at home are easy to learn, but the setup decides whether you get glossy nails or sticky, peeling ones with itchy fingertips. Start at number one tonight and take the 12 steps one by one.
1. Check that your bare nails are ready
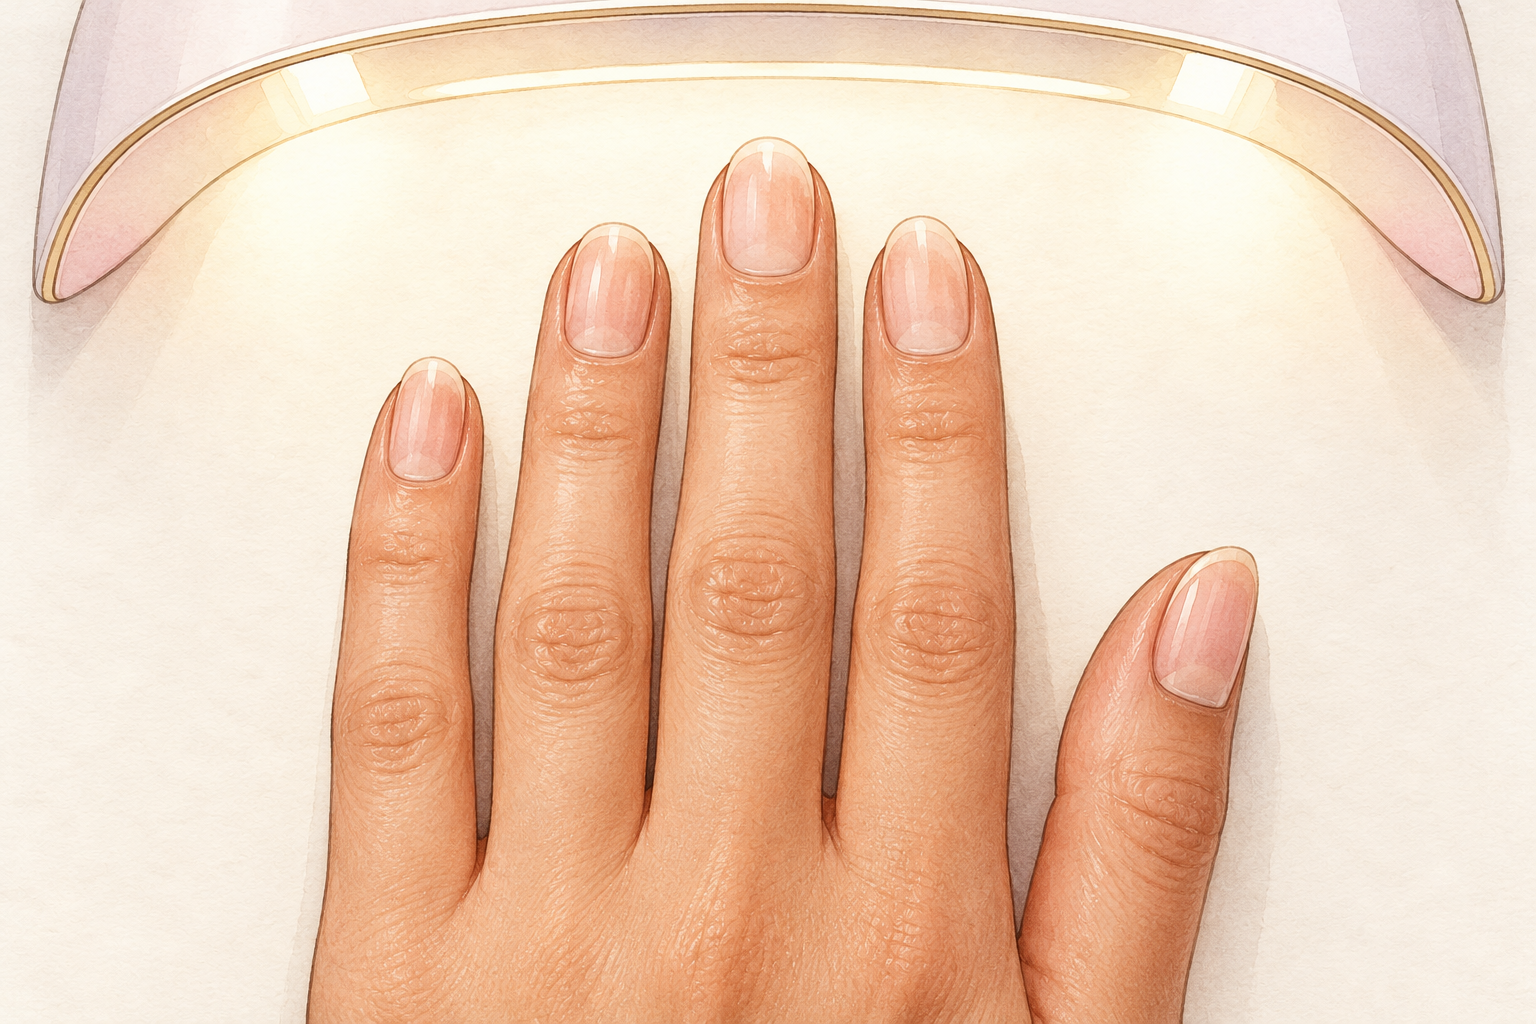
Look at each nail in good light before you seal anything over it. Gel locks in whatever sits underneath, so wait if a nail is loose, swollen, sore, or has a thick, white or crumbly patch. Gel should go on healthy nails, not cover up ones that are struggling. If your nails are peeling and splitting, regular polish and a few weeks of oil will treat them more gently. Decide now how long each set will stay on, and when your rest week will be. Two to three weeks is a good limit, with a break before the next set. Take a photo of your bare nails so you can compare after your rest week.
2. Set up a bright, airy space
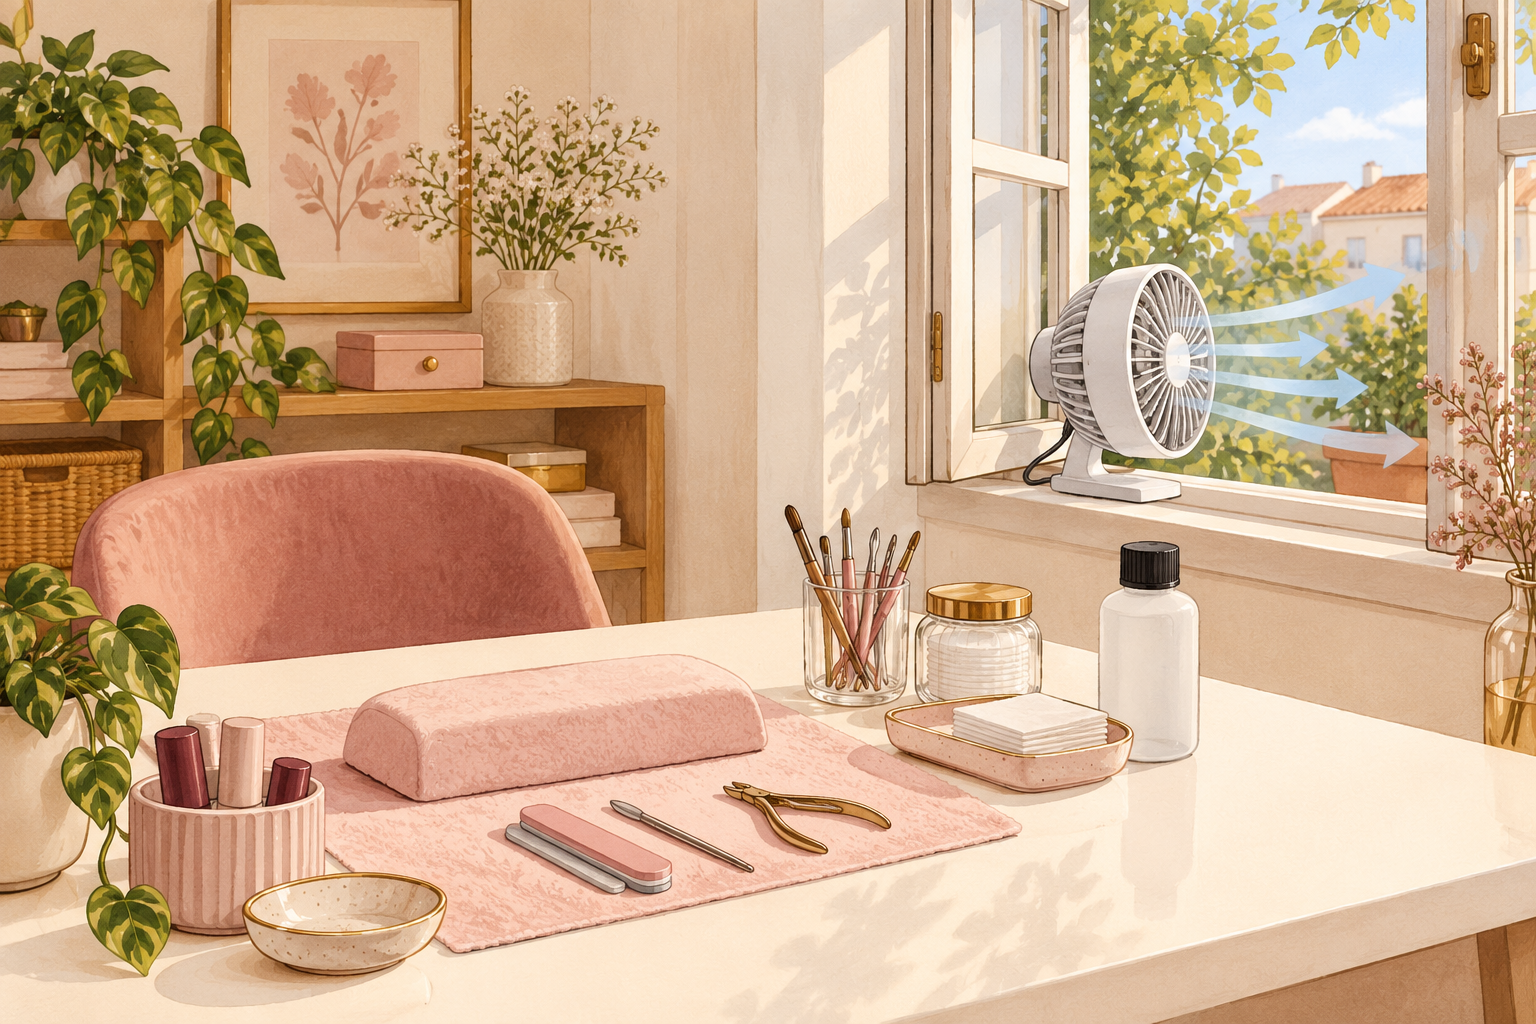
Pick a table near an open window, with good light on your hands and a clear surface. Gel and the wipes that go with it smell strong, so run a small fan or keep the window open. Lay a towel or sheet of paper under your hands so drips do not harden onto the table. Keep every bottle closed between coats, because ordinary room light can slowly set gel in the bottle. Work away from direct sun for the same reason. A clean, tidy space also keeps dust and stray hairs out of your finish. Sit comfortably with your elbows on the table so your hand stays steady.
3. Match the lamp to your gel
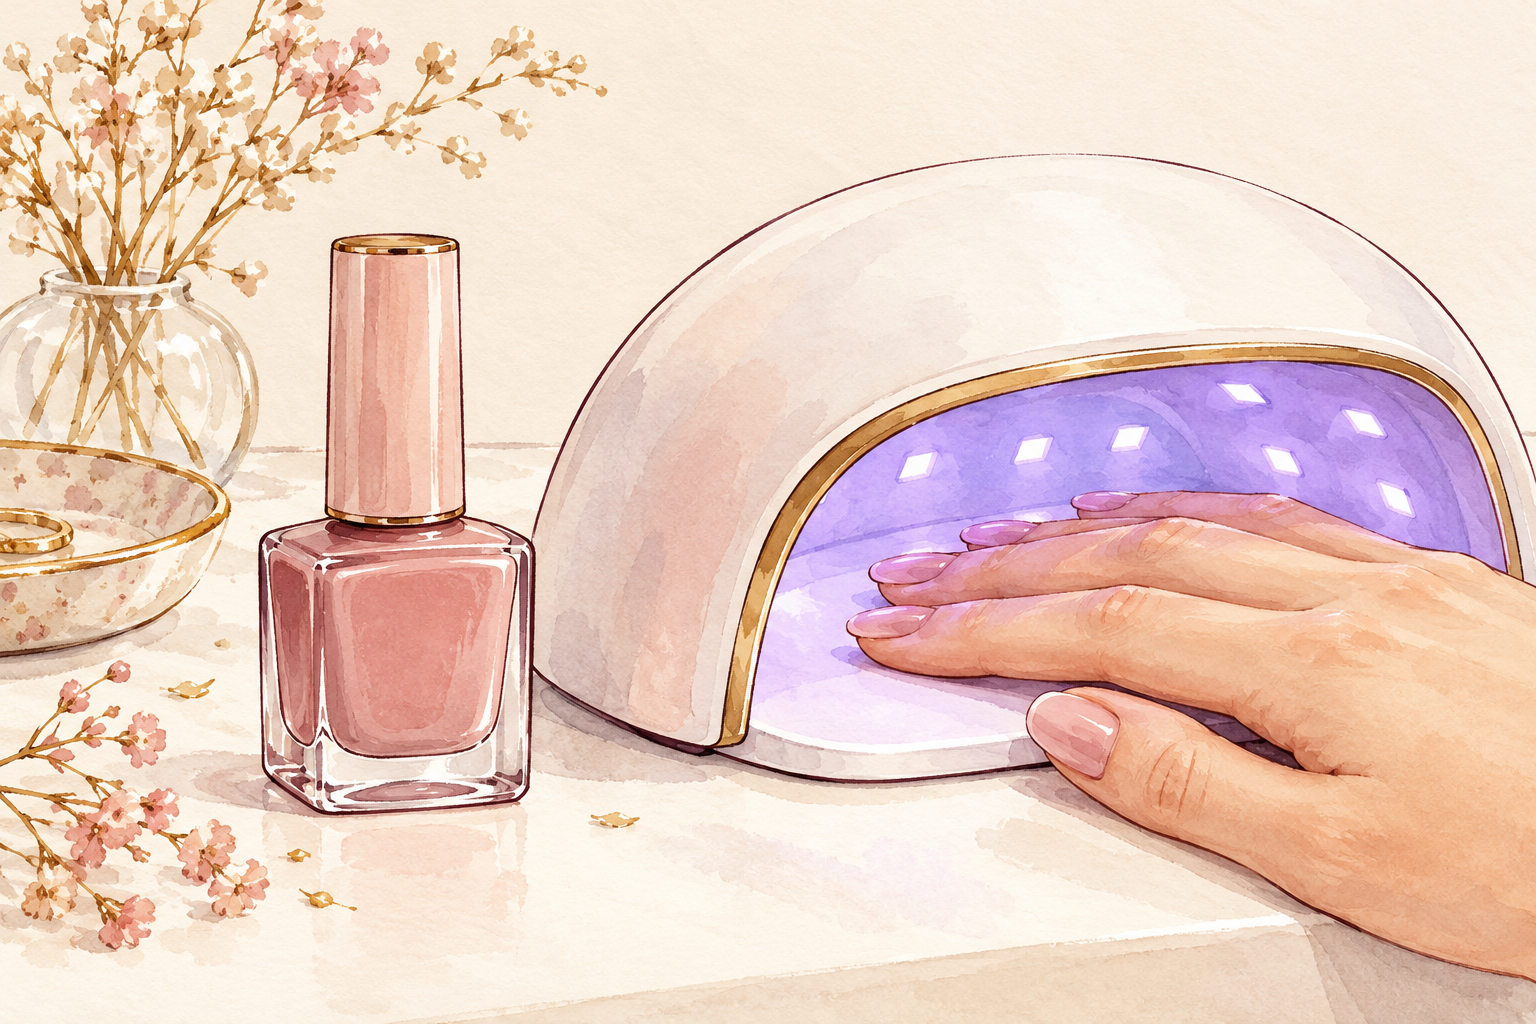
Read the bottle to see whether the gel cures under LED light, UV light or either one. A lamp that does not suit the gel leaves it soft, even after minutes under the light. Choose a lamp big enough for four fingers at once, with a way to cure your thumb separately, so the light reaches every nail. Clear timer settings help you stop guessing. A weak or tiny lamp is fine if you accept longer waits. When the lamp and the bottle disagree, the instructions on the bottle win. Switch the lamp on and off once to check the light and the timer both work.
4. Stick to one matching system
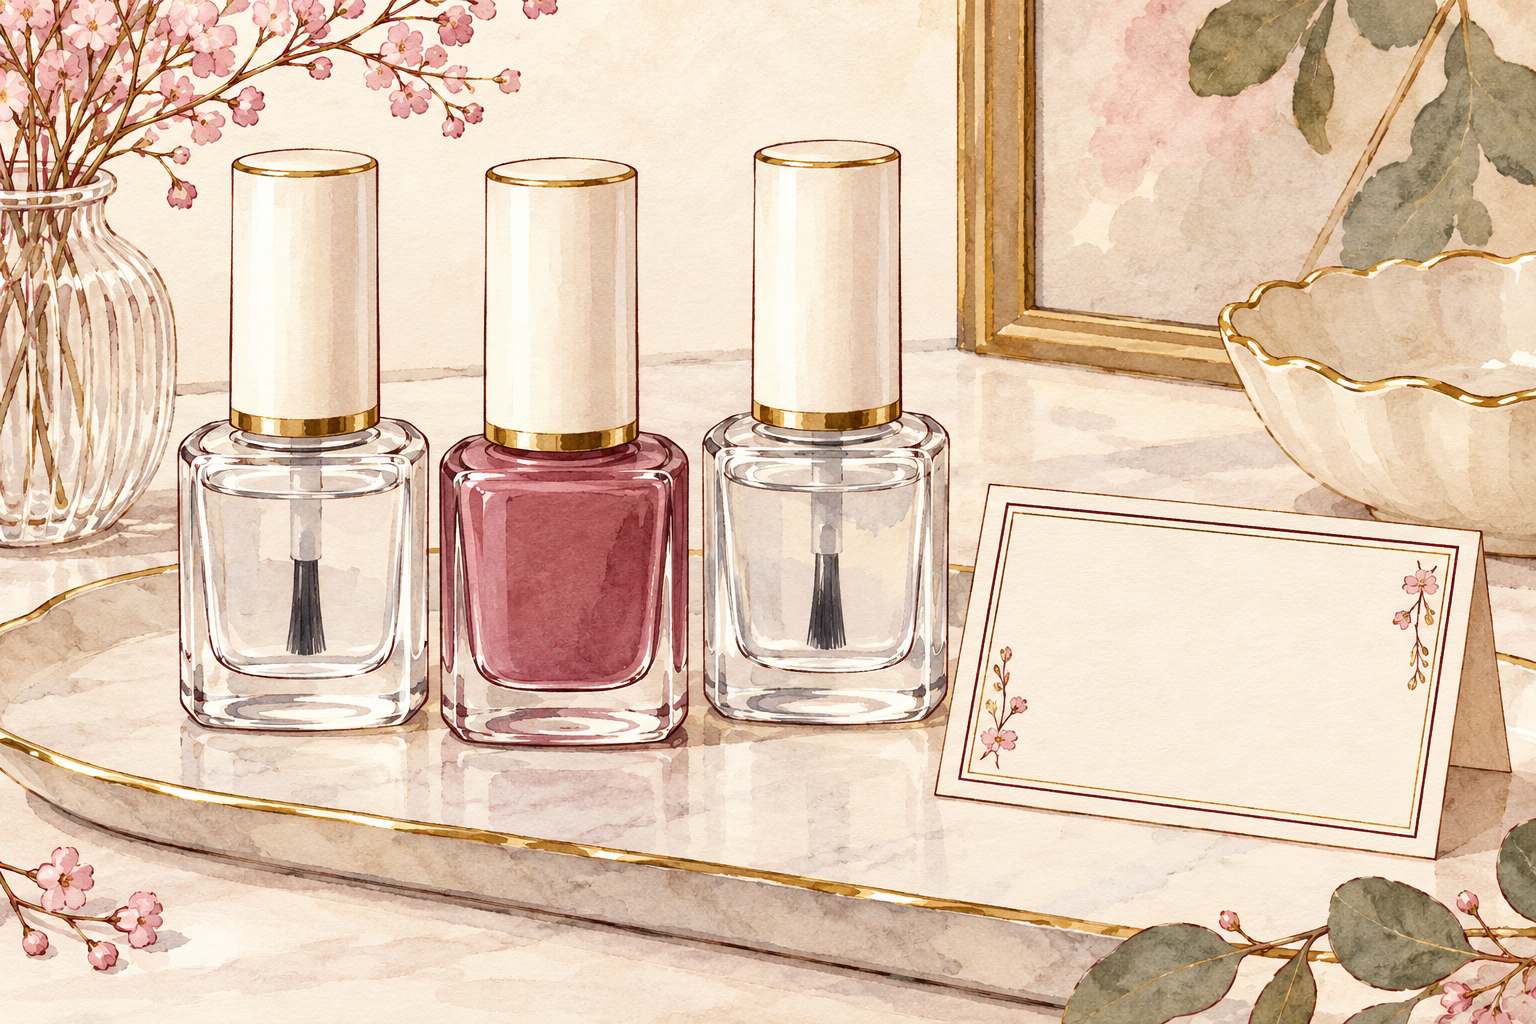
Buy your base coat, color and top coat from the same set while you learn. Gels from different systems can cure at different speeds or peel apart in layers. You need three layers: a base that grips, one or two thin color coats and a top coat for shine. Check whether the top coat is a wipe type or a no wipe type, because that changes the last step. Read the cure time on every bottle, since it can differ from layer to layer. Write the times on a sticky note and keep it by the lamp. Mixing sets saves nothing if you end up redoing the whole manicure.
5. Gather the small tools
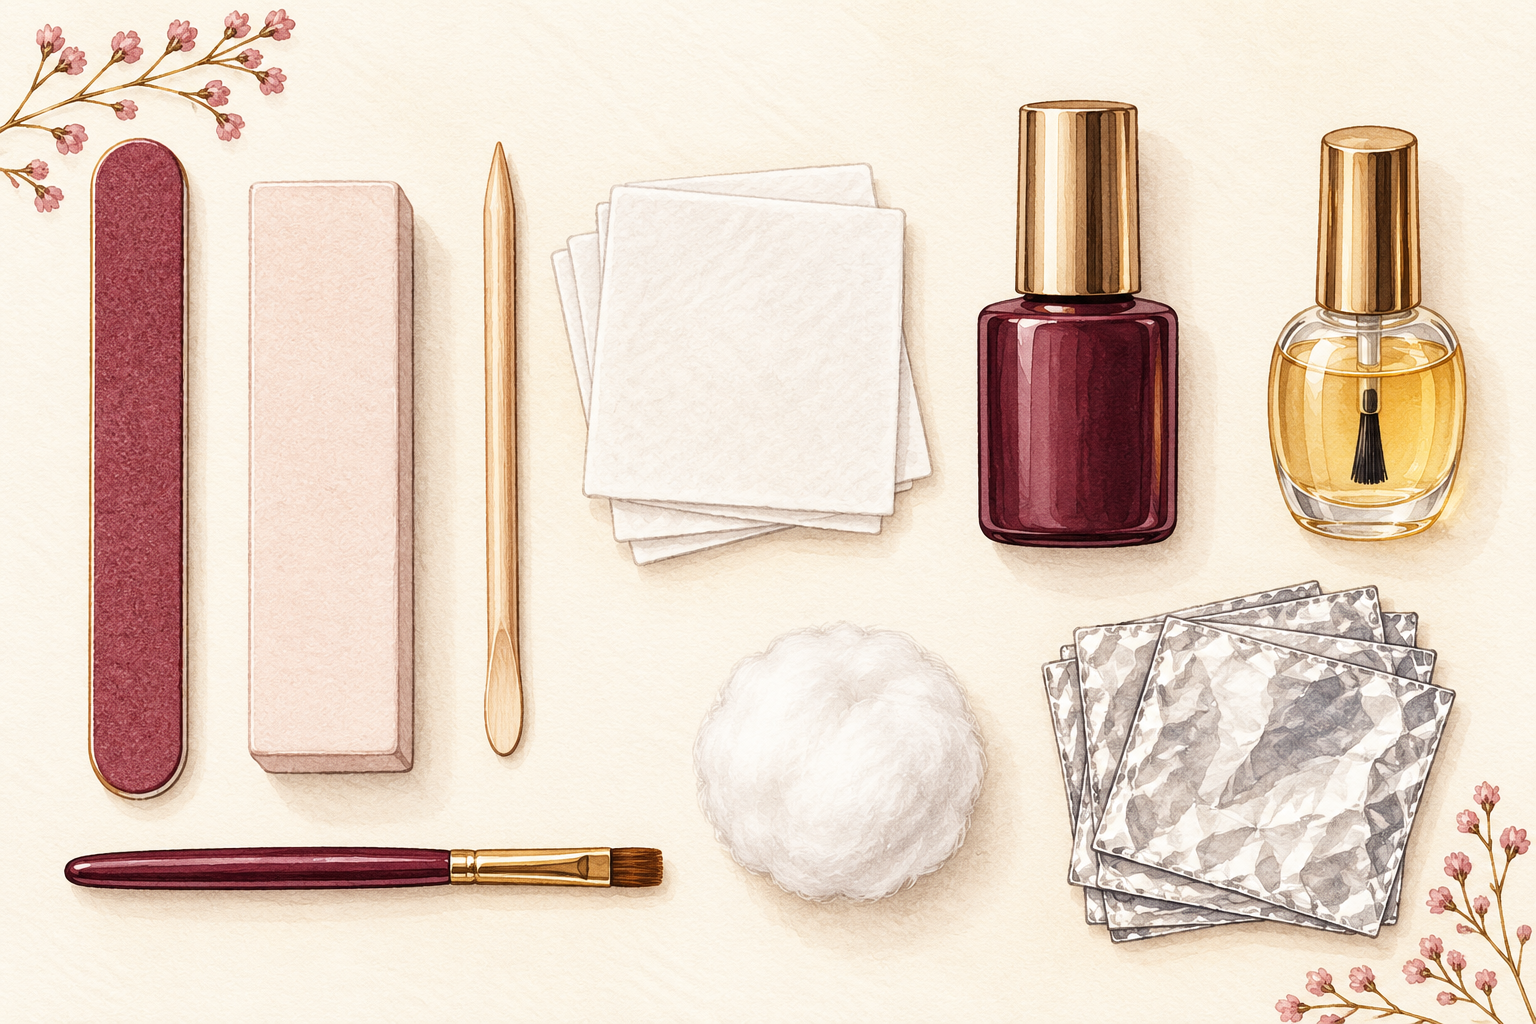
You need a fine file, a light buffer, a wooden pusher, lint free wipes and isopropyl alcohol. Add a small flat brush for tidying edges and a bottle of cuticle oil for afterwards. Keep foil squares and cotton ready for removal day. Have everything within arm’s reach, because you cannot leave your hand mid cure to hunt for something. Skip ordinary cotton pads for wiping the tacky layer, since they shed fibers that get stuck in the shine. A small pot to hold your brush between coats keeps the bristles clean. Lay them out in the order you will use them.
6. Cover your hands under the lamp
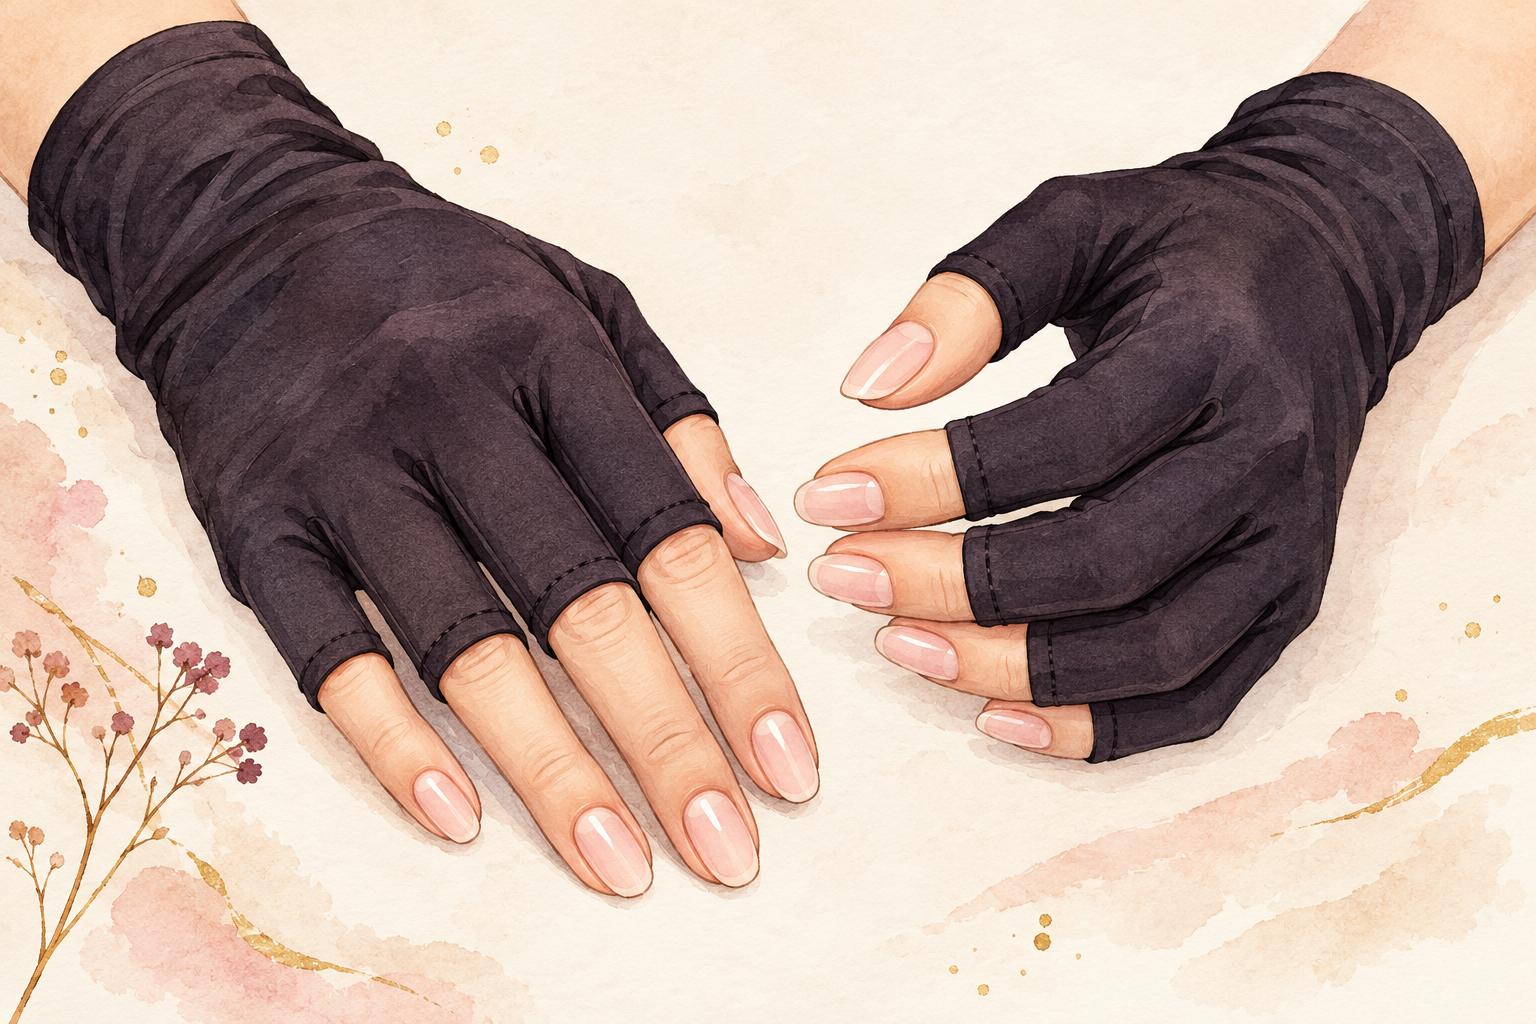
Smooth a water resistant sunscreen of SPF 30 or higher over your hands before you cure, or wear dark gloves with the fingertips cut off. Let it settle for a minute and keep it off the nail itself, or the gel will not grip. Lamp light adds up over many sessions, and this costs you one minute. Do the backs of your fingers and knuckles too, because the lamp covers them. Reapply if you wash your hands between coats. Treat it as part of the routine, not an extra. Wipe your nails with alcohol afterwards so no sunscreen is left on them.
7. Prep the nail surface lightly
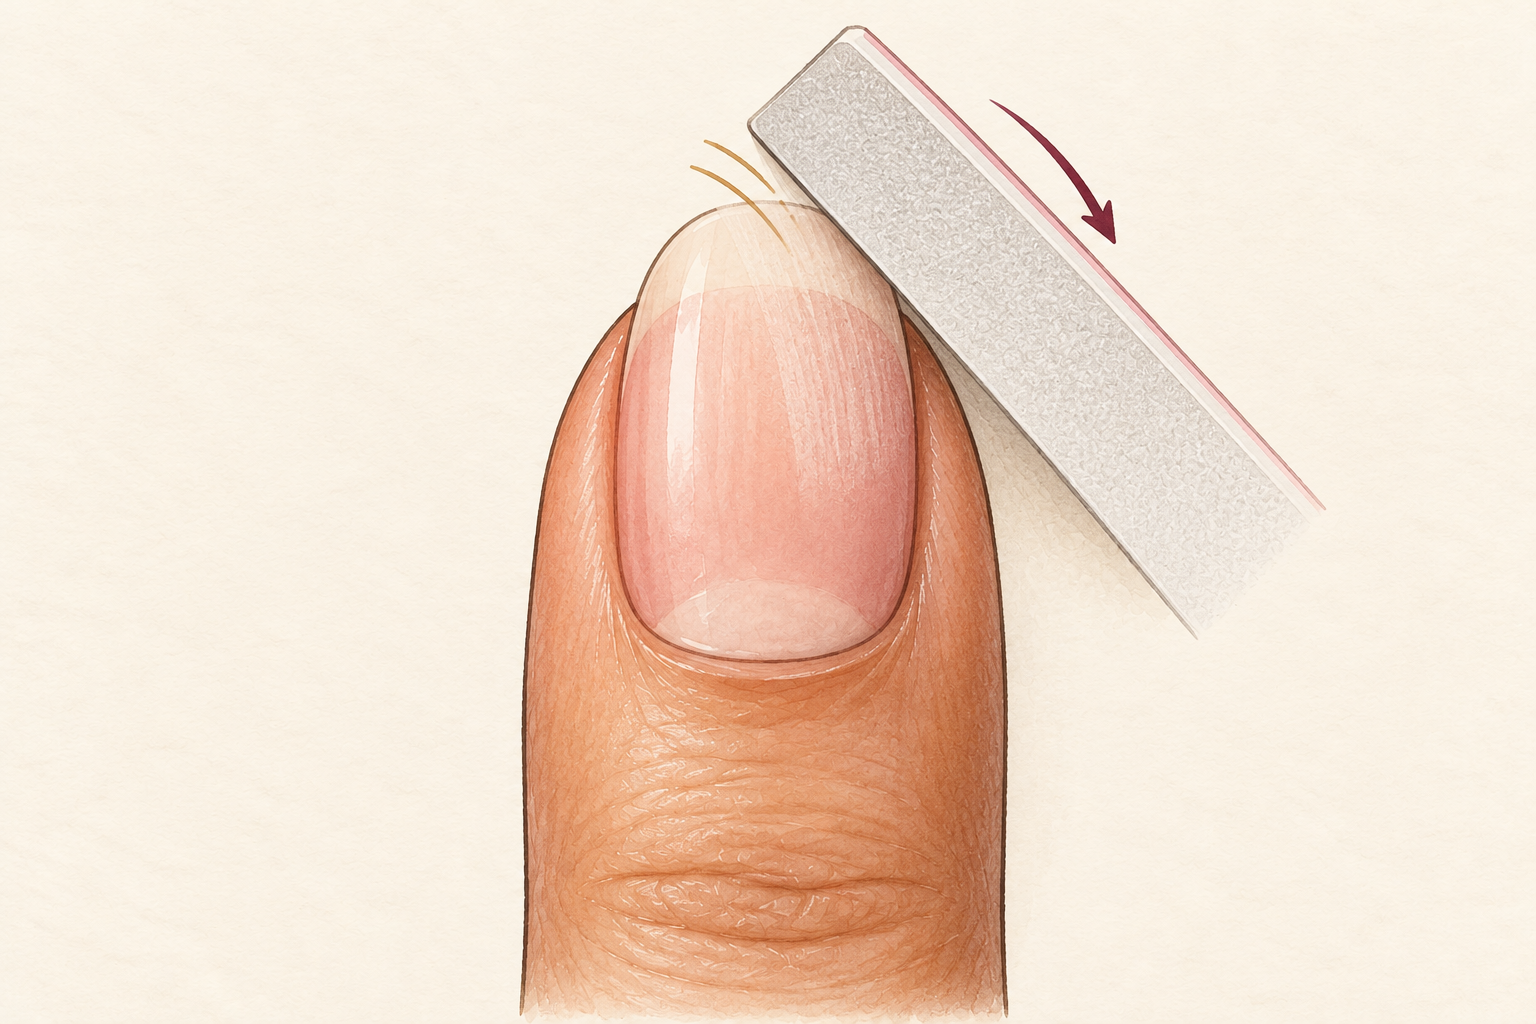
Ease the cuticle back with a wooden pusher after a warm wash, then buff the shine off with about ten light strokes. Gel grips a slightly dull surface better than a glassy one. Never cut the cuticle, and stop if the skin looks pink or raw. Press lightly, because heavy buffing thins the nail. Brush away the dust, then wipe each nail with a lint free wipe and alcohol. Do not touch the nail surface again, since oil from your fingertips is a common reason gel lifts. Take your time here, because this step decides how long the set lasts. Before the lamp comes out, open how to prep nails and read through the prep order.
8. Keep uncured gel off your skin
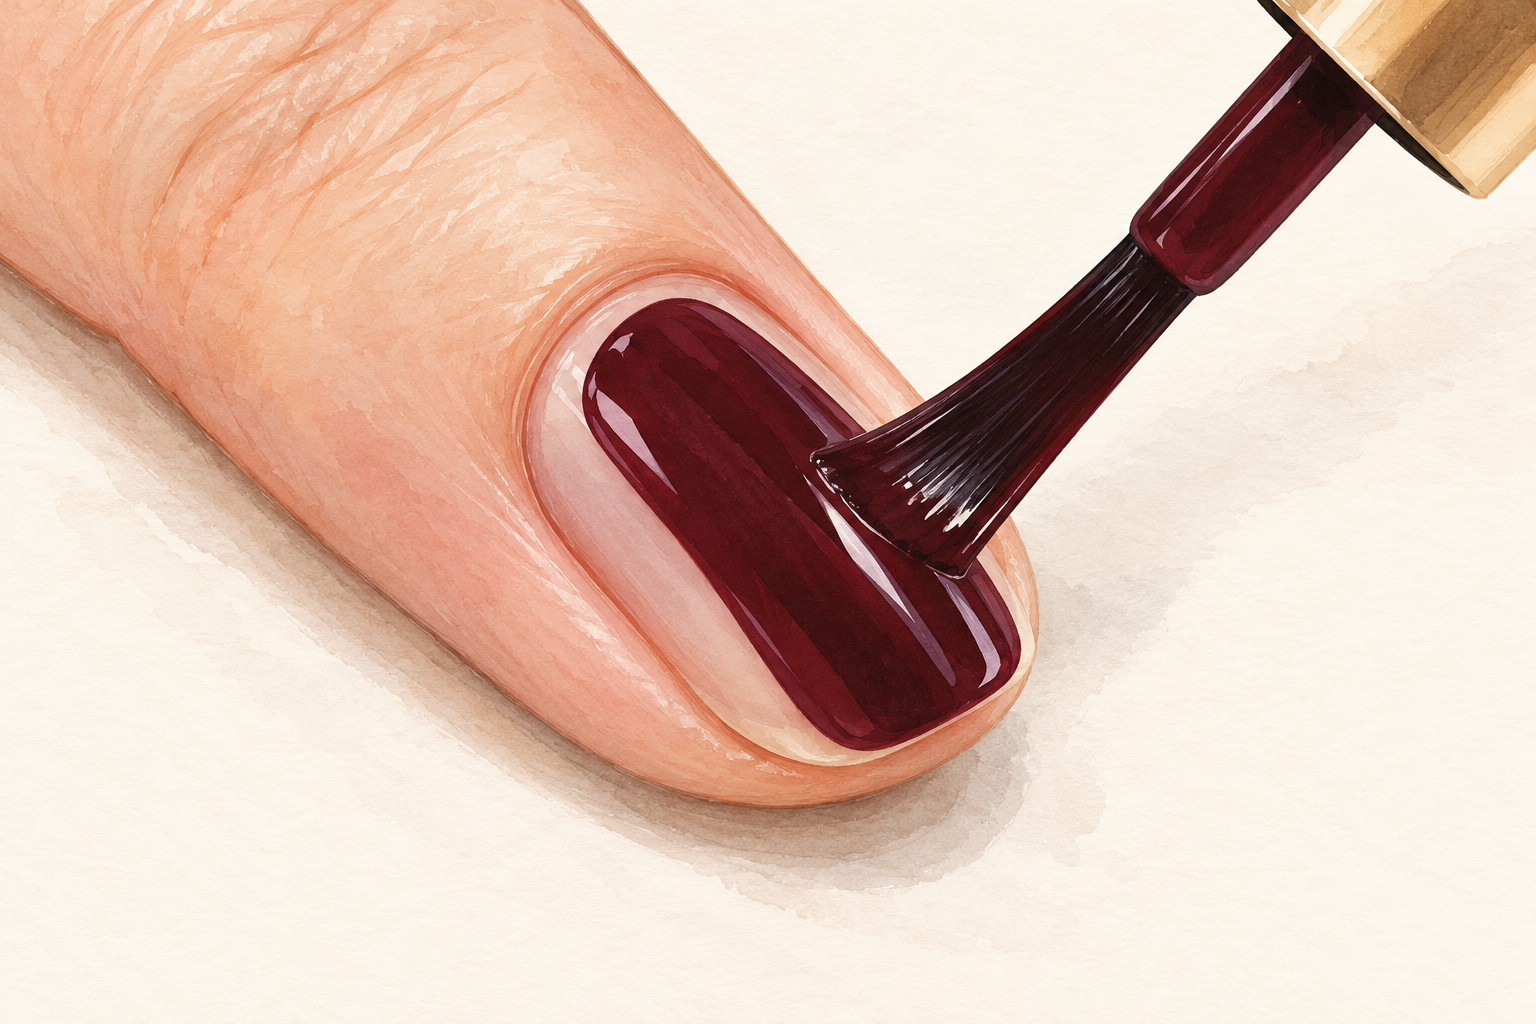
Leave a hair’s width of gap around the cuticle and sidewalls on every coat. Uncured gel on skin is what makes fingertips itchy and red, and repeated contact can turn into an allergy that stays. If gel touches the skin, wipe it off with a clean wipe or a flat brush before you cure. Wash your hands if any gets on them. If your fingertips start to itch or feel rough, stop using gel until they settle. A small angled brush helps you place color exactly where you want it. Clean the brush edge with a wipe whenever gel builds up on it.
9. Cure thin coats for the time on the bottle
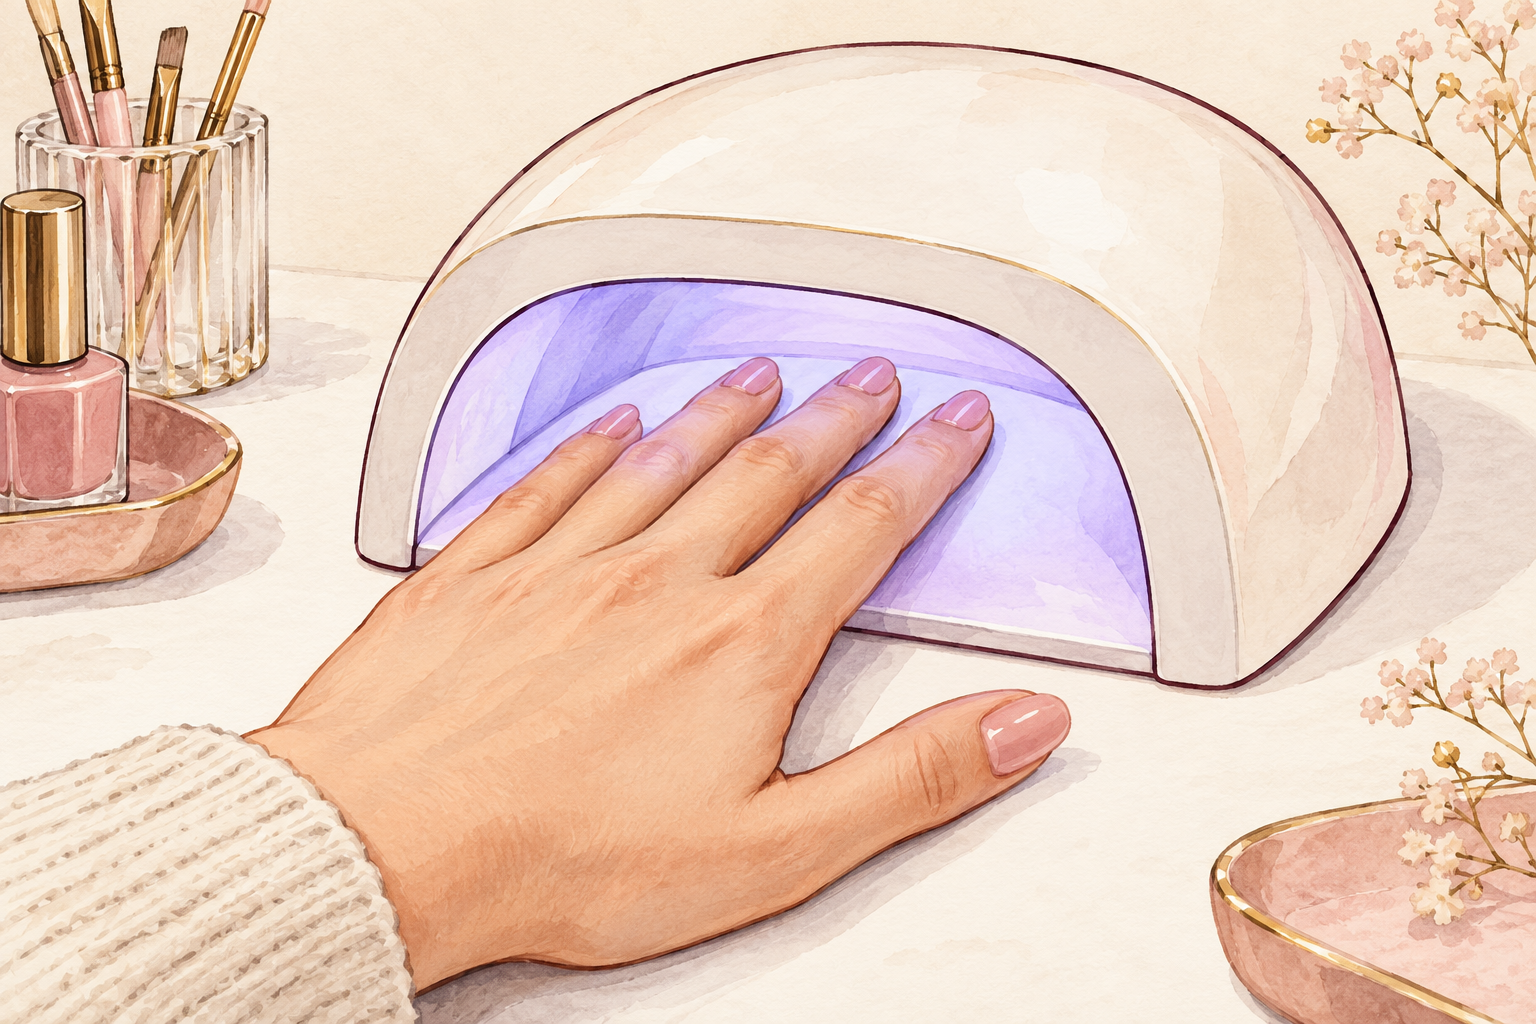
Paint a thin layer, cap the tip and cure for the time printed on that bottle. Many gels need around thirty to sixty seconds under LED and longer under UV, but your bottle and your lamp are the final word. A thick coat hardens on top and stays soft underneath, which causes wrinkles. Two thin color coats beat one heavy one. Cure your thumb on its own so it sits flat under the light. Wipe the brush on the bottle neck before each stroke to avoid pooling. Check the cure time again if you switch to a new bottle.
10. Wipe the sticky layer and test the cure
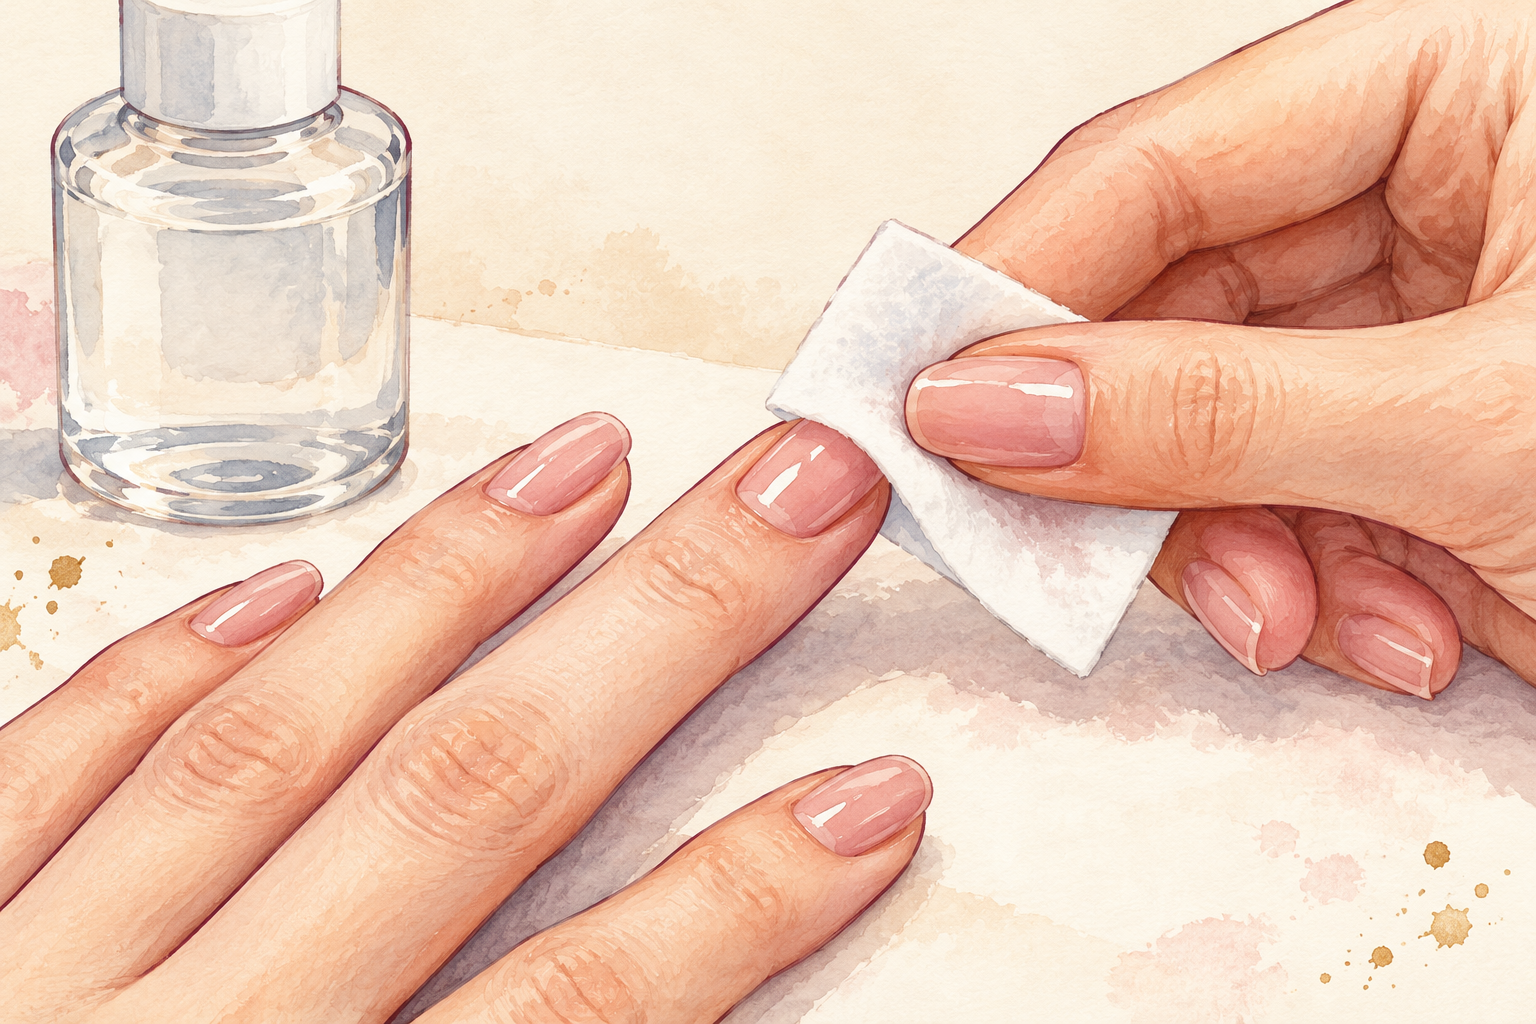
After the top coat, wipe the tacky layer with alcohol on a lint free wipe, unless yours is a no wipe type. A fully cured nail feels hard, smooth and slightly cool, with no sticky patches. Press a thumbnail lightly on it, and if it dents or wrinkles, put it back under the lamp for a few more seconds. Do not keep adding minutes beyond that, because extra light does not rescue a bad set. Wash your hands afterwards and look for any spot that still feels soft. A soft spot that stays tacky tells you the layer was too thick.
11. Fix wrinkles, soft spots and lifting early
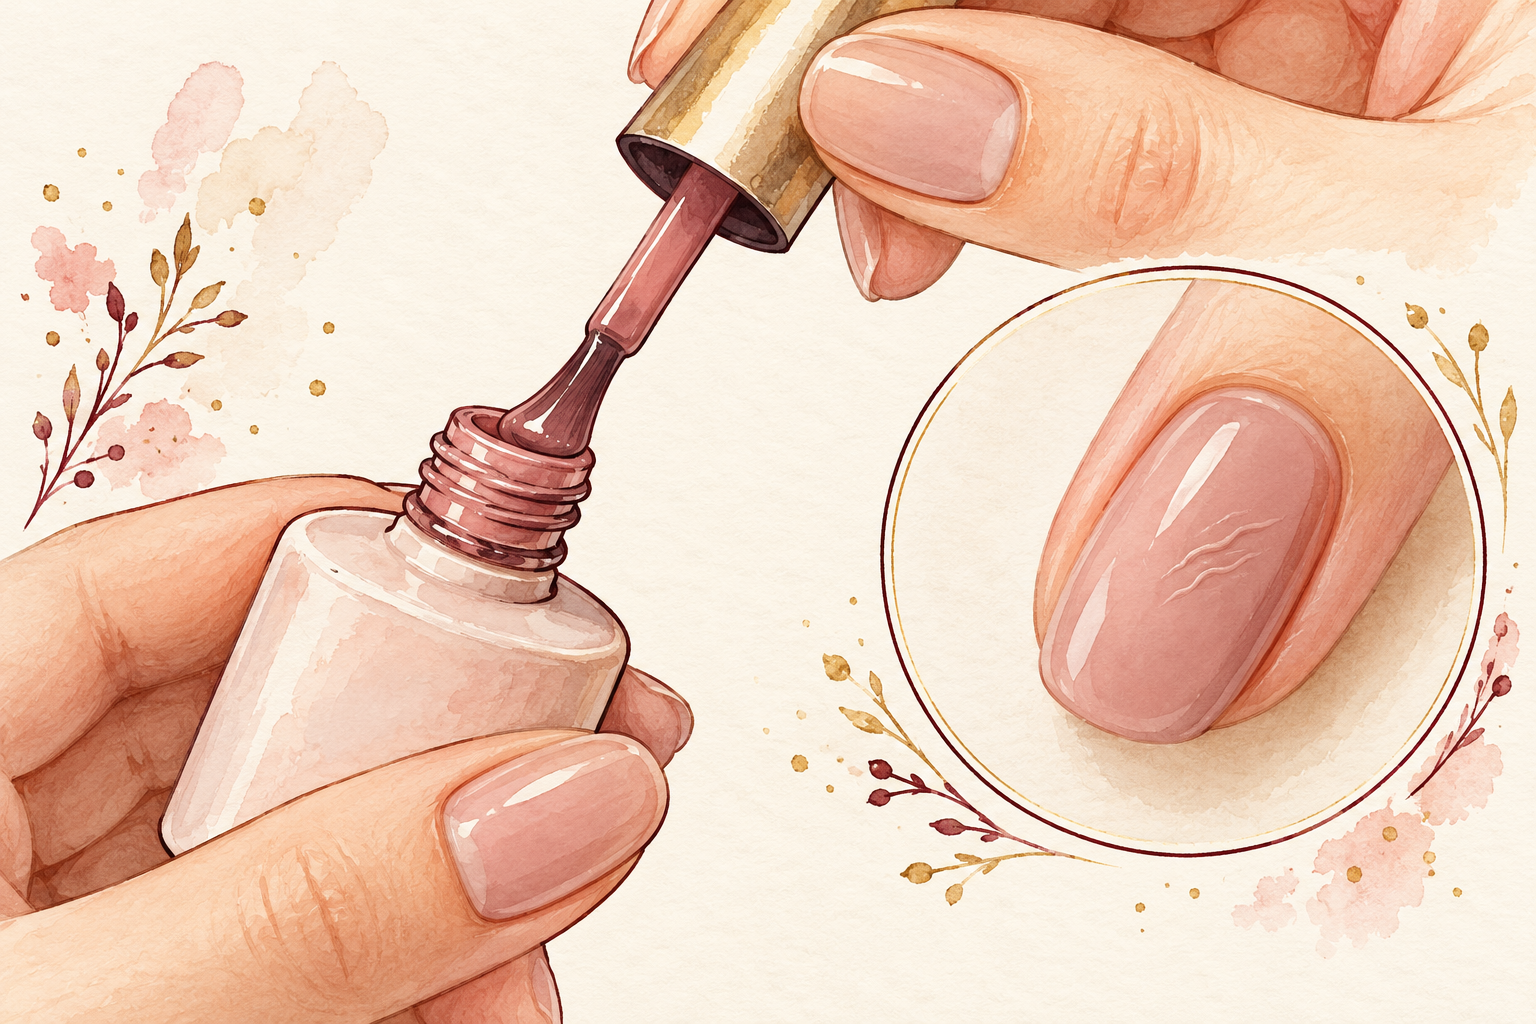
Wrinkles mean the coat was too thick, soft spots mean too little cure time, and lifting usually means oil or skin under the edge. Buff a wrinkle flat, wipe the nail and add one thin new layer. For a lifting corner, trim the loose bit, buff the edge, wipe and seal with a thin dab of top coat. Do not peel anything, because peeling takes layers of your own nail with it. Write down what went wrong, and your next set will improve quickly. Small repairs early keep a set going for the full two weeks.
12. Take it off gently and rest your nails
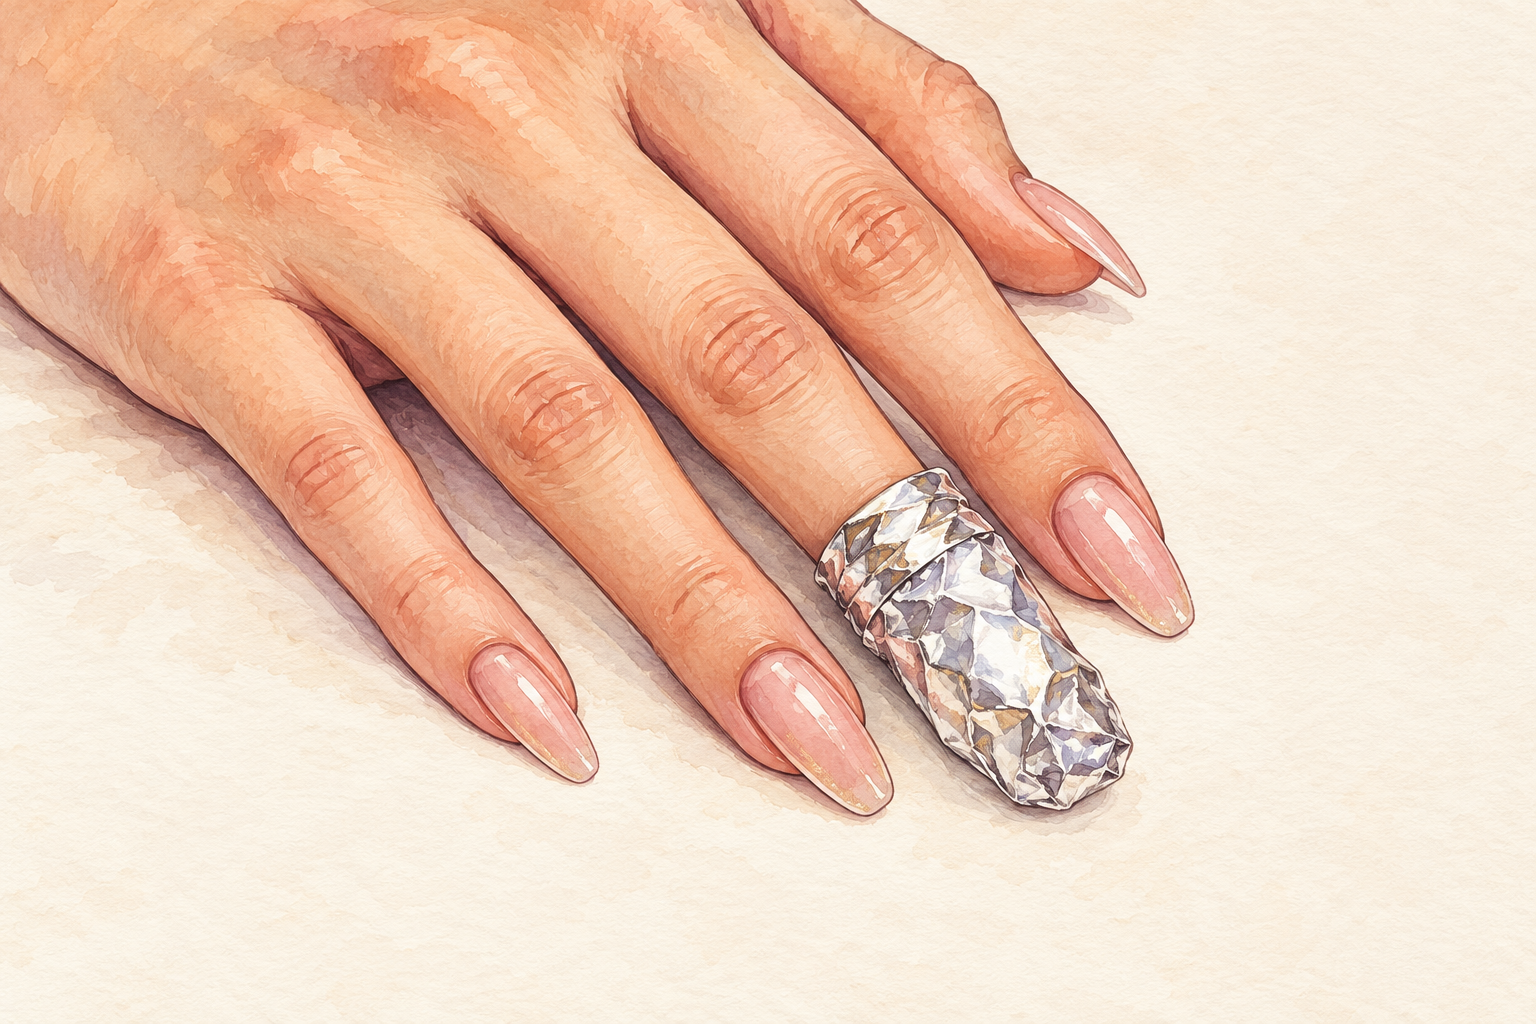
Buff off the shine of the top coat, press acetone soaked cotton on each nail and wrap it in foil for about fifteen minutes. Keep the window open and stay away from flames. Slide off what has loosened and give stubborn bits another round, never a scrape. Finish with rich hand cream and cuticle oil, then leave your nails bare for a week or two. Expect the nail to look dull and slightly thin for a few days, then to bounce back with oil and rest. Never pick at an edge that has started to lift, because it tears the nail beneath. Lifted edges tempt everyone, so when removal day comes, remove gel nails at home is the one to read.
Complete the Routine: Gel Nails at Home Prep for Tonight
Tonight, read the label on your lamp and your gel, set up a bright airy spot and lay your tools out beside the sunscreen. Gel can feel like a lot of rules at first, and that is normal for anyone new to it. Bit by bit, the guides below will make each step feel more familiar.