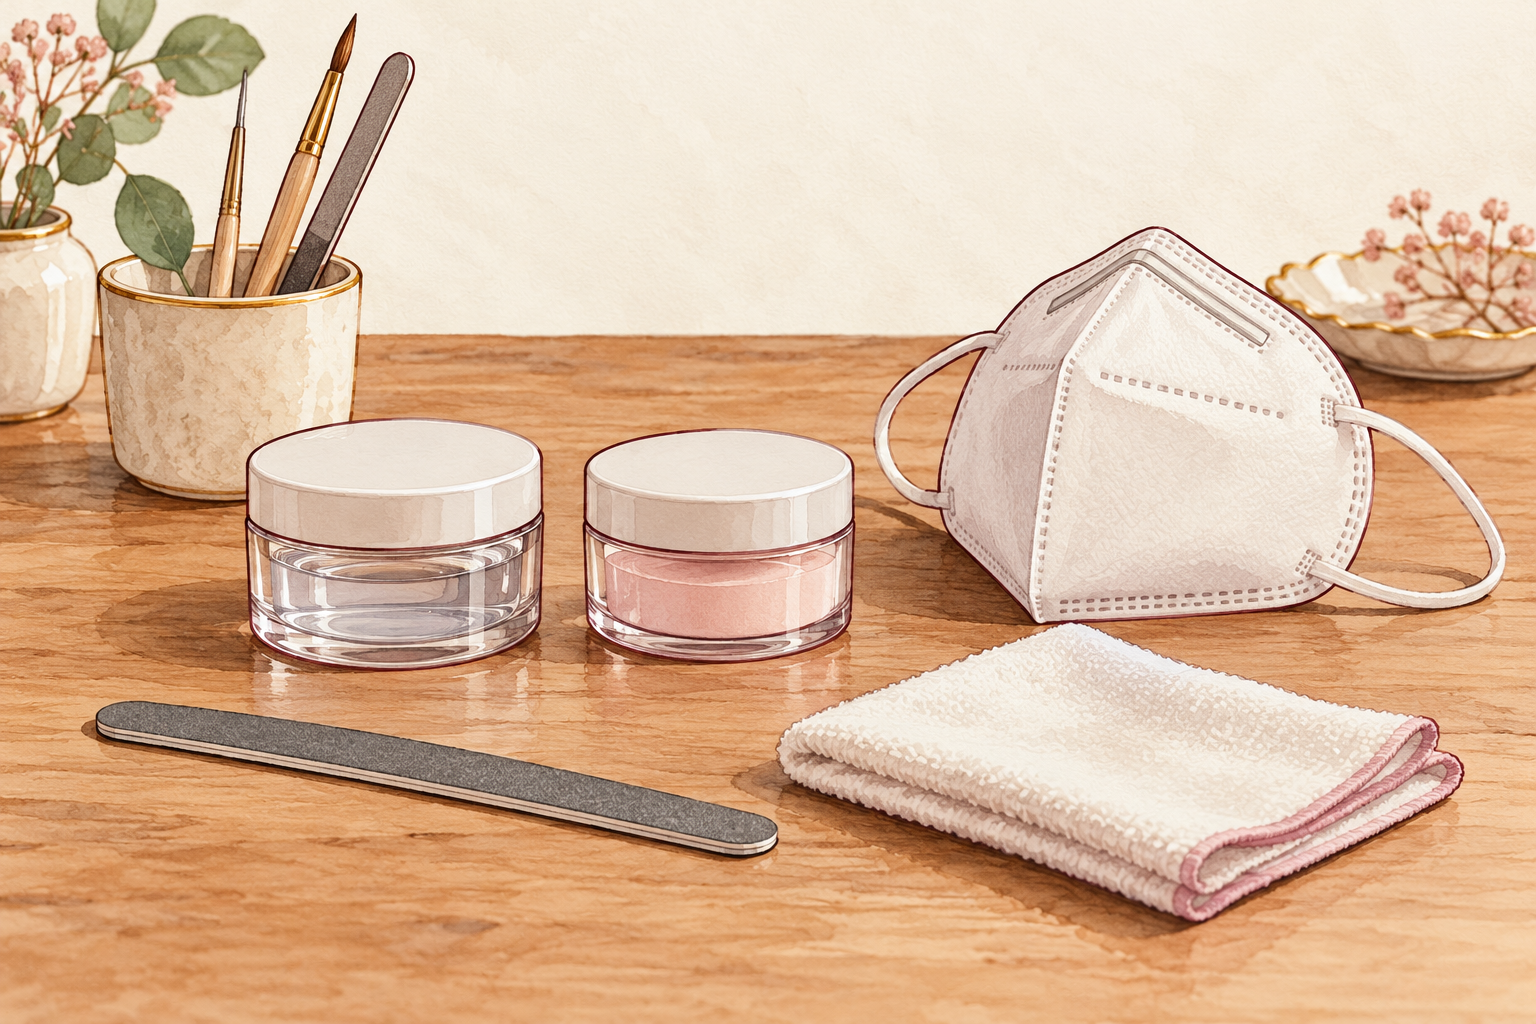
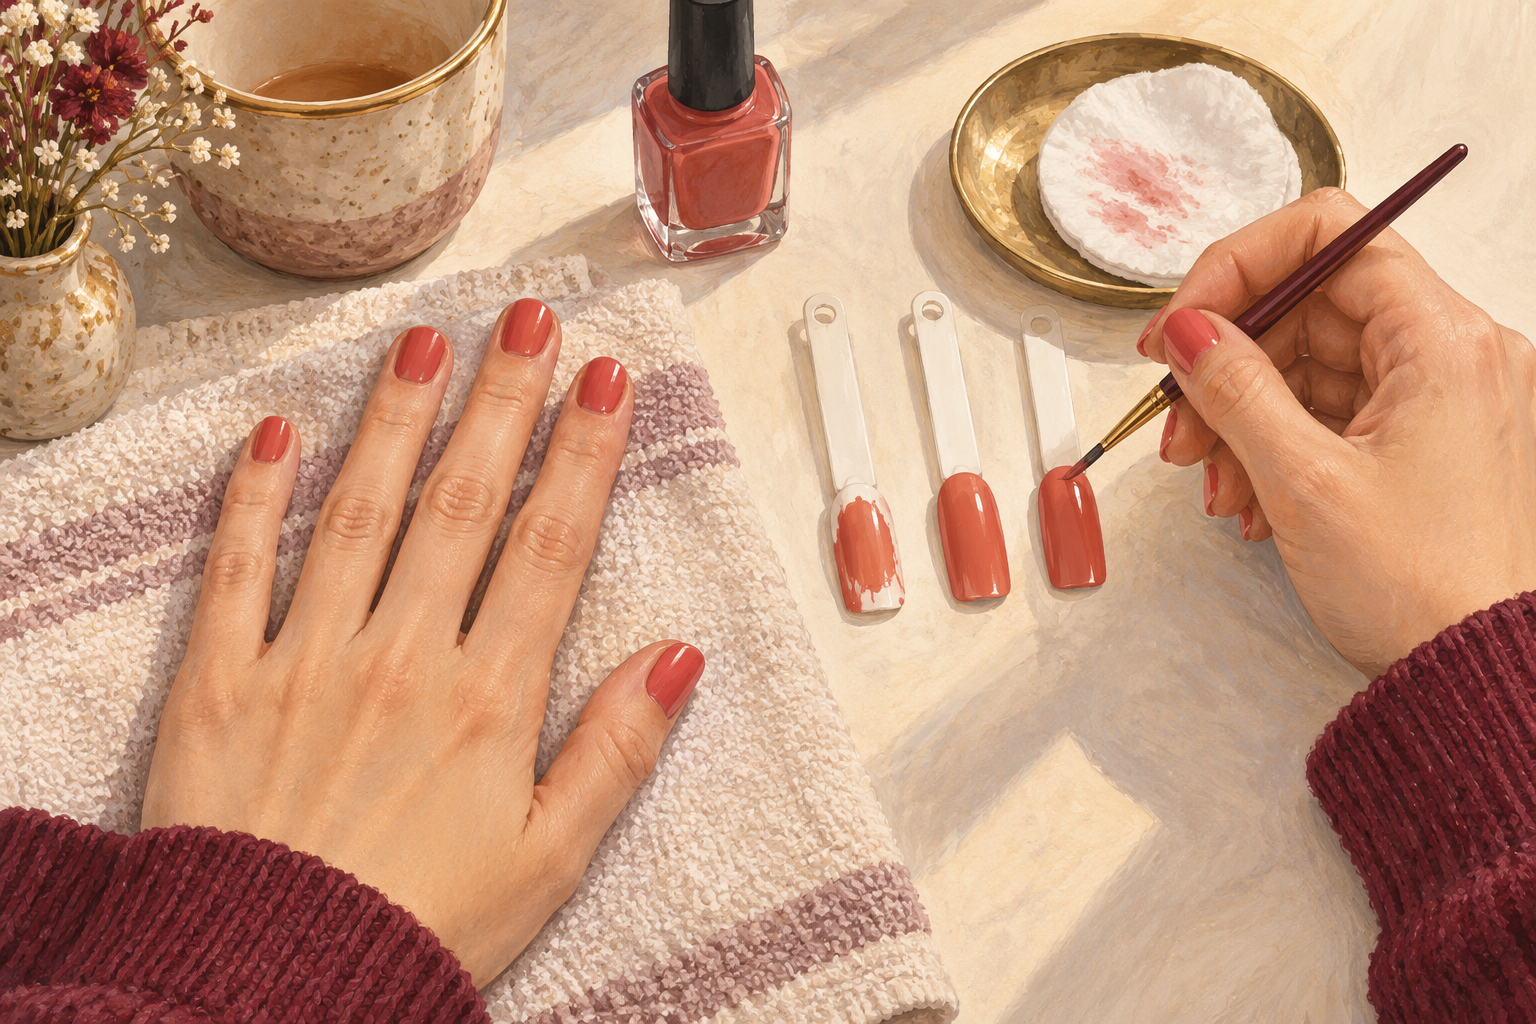
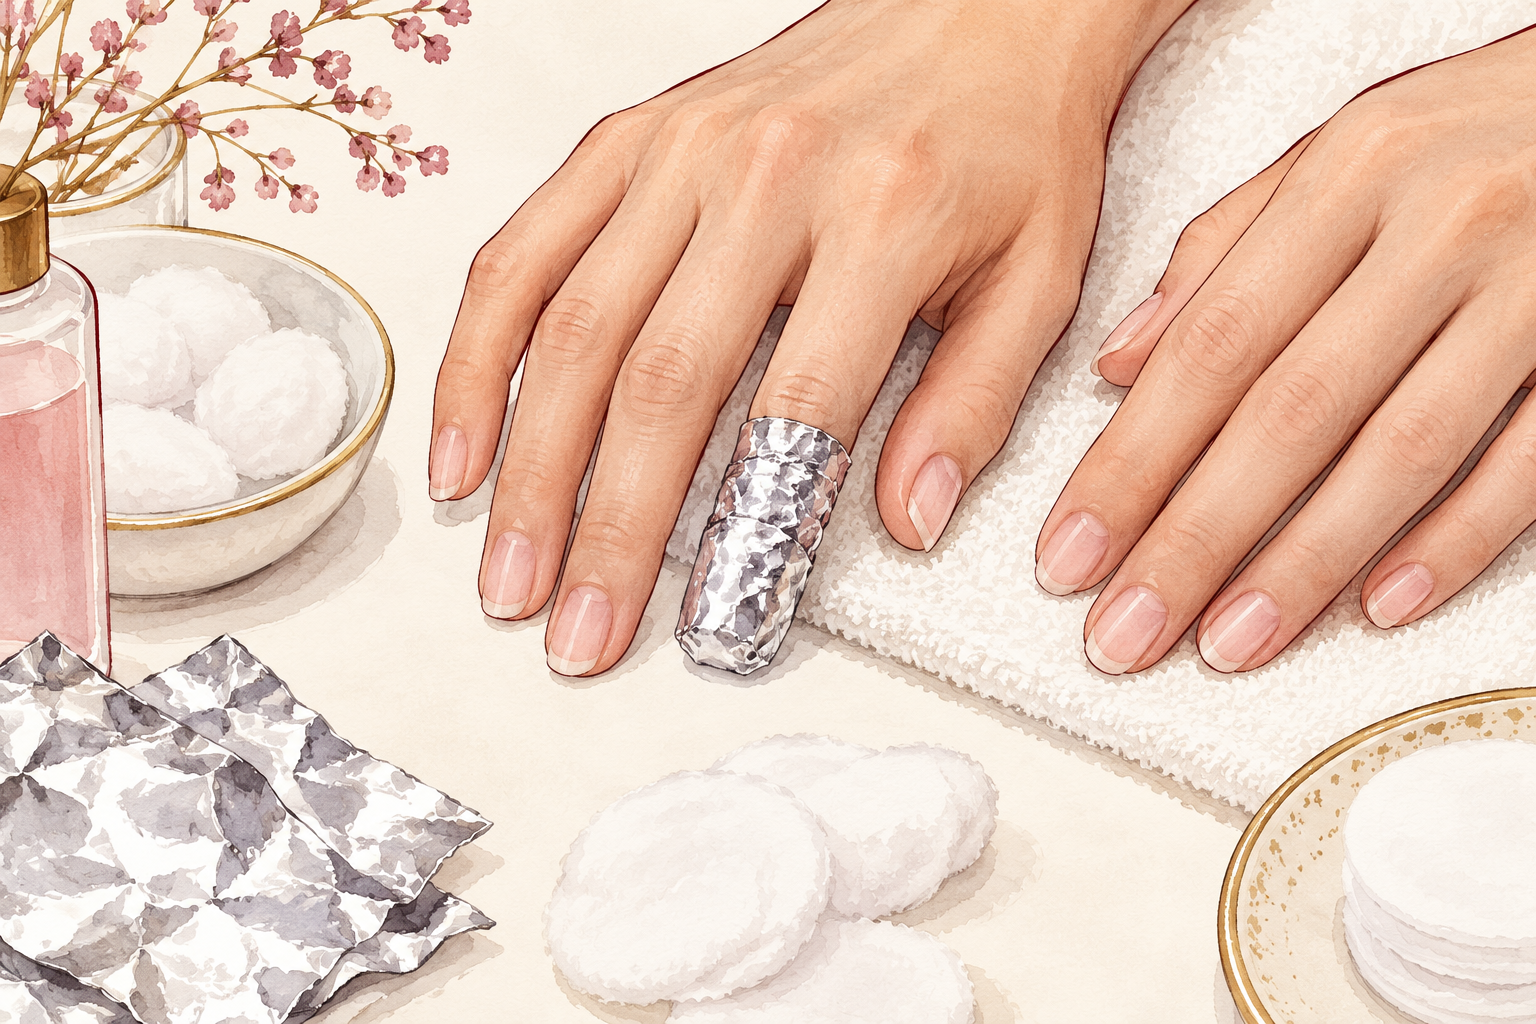
You scoop up a ball of product, press it down, and get a runny puddle at your cuticle or a dry crumb that sets in lumps. How to apply acrylic powder to nails comes down to one thing more than any other, and that is how wet the bead is when it lands. These 12 steps follow the order the problems show up, so start at number one tonight.
1. Open a window and pour a little liquid

Work beside an open window and pour only a small amount of liquid into a lidded dish. The smell is strong, so take a break if you feel headachy. Put the lid back between dips, because the liquid thickens as it sits open. Never pour used liquid back into the bottle, since it picks up powder and changes how your next bead behaves. Keep it off your skin and wash it away at once if it lands. A calm, airy setup fixes more lumps than any clever technique, and it keeps the whole process relaxed. Tie your hair back and keep a damp cloth close for wiping the brush.
2. Prep the nail so the product can grip
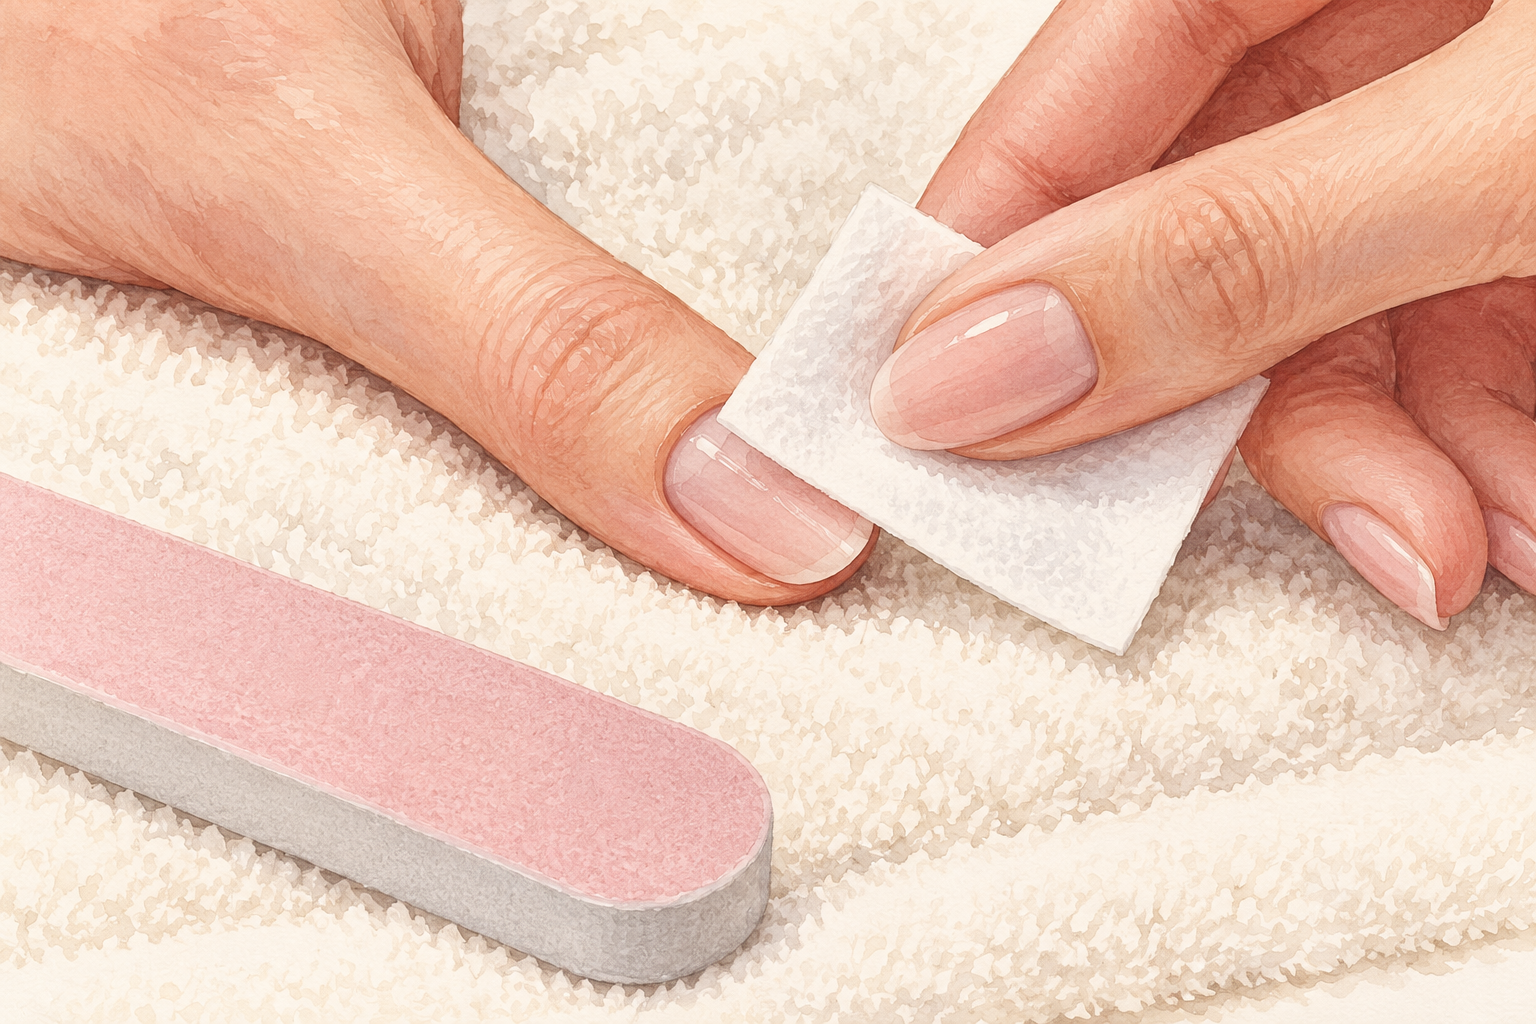
Wipe the nail with a lint free wipe, ease the cuticle back and take the shine off with a few light buffer strokes. Remove as little as you can, because roughing up the nail helps acrylic bond but also thins it. Oil and moisture are the real enemies of grip, so skip hand cream and cuticle oil until you are finished. Dry, clean and matte is the goal. If a set lifts within days, the cause is usually this step and not your bead. Wash your hands first, then do not touch the nail plate again once it is clean.
3. Practice on a tip before your own nails
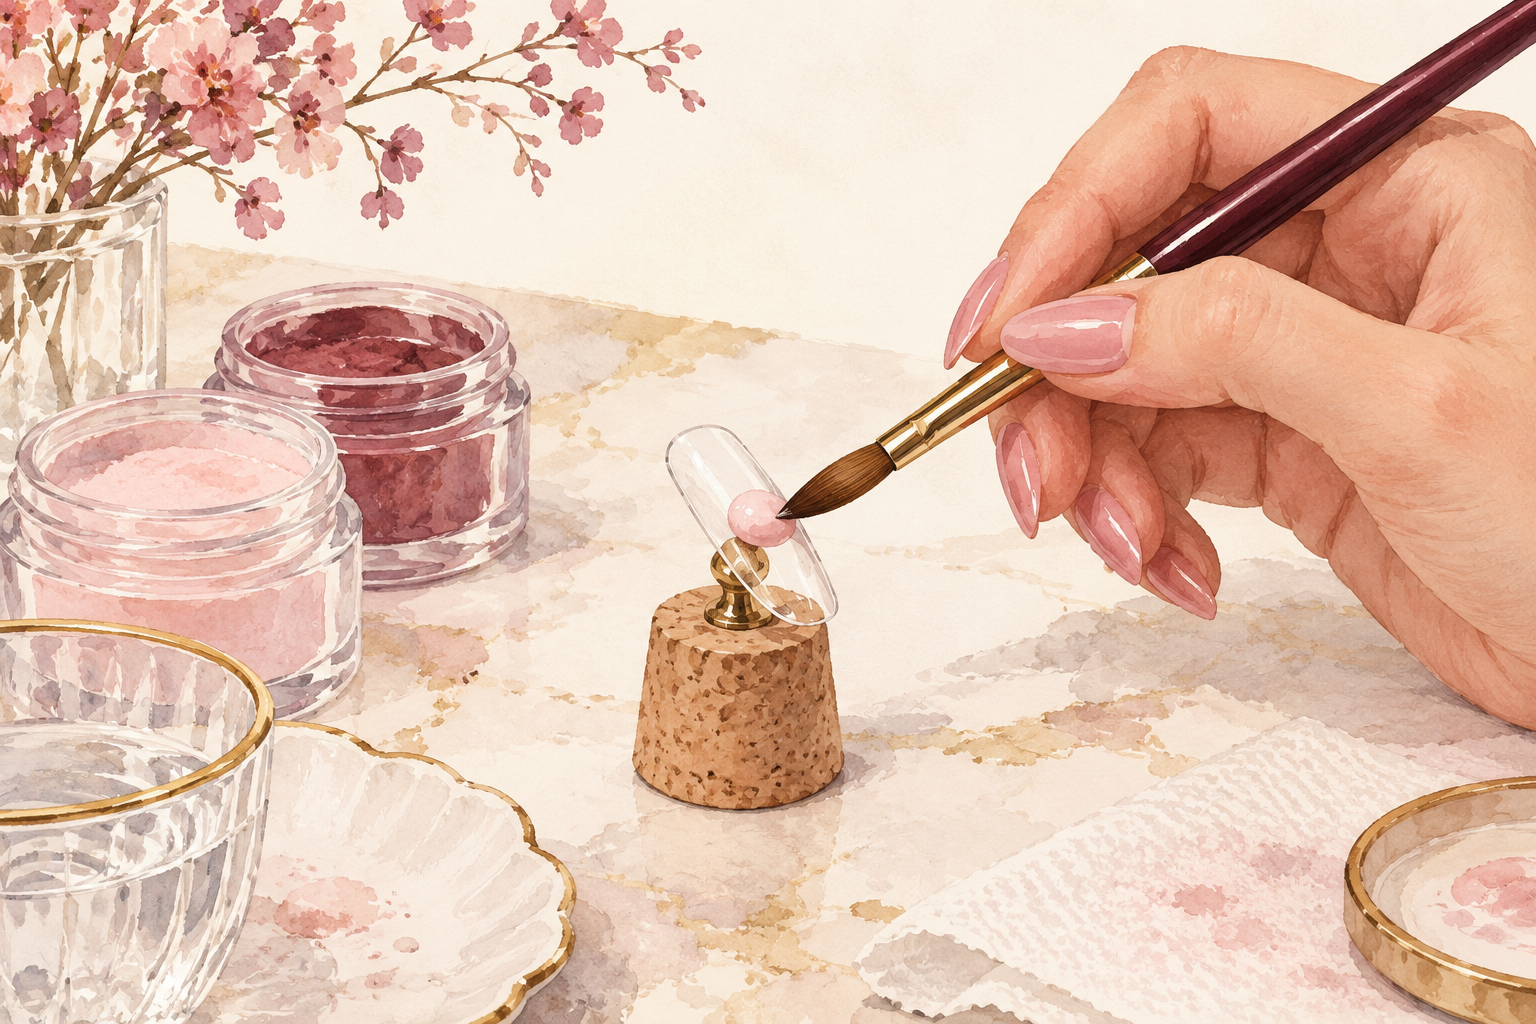
Stick a practice tip onto putty or a cork and do four whole nails before you touch your hand. This is where you learn what your brush does when it is too wet or too dry, with no sticky cuticle to worry about. Set your hand on a towel so your wrist stays steady. Stop when your fingers feel tired, because tired hands make heavy, lumpy beads. Then carry the same feel over to your own hand. Five minutes of practice a day beats one long frustrating evening, and it keeps your wrist loose. Short daily sessions build that feel, and when your wrist is loose, how to do acrylic nails at home is the next read.
4. Wet the brush, then wipe off the extra
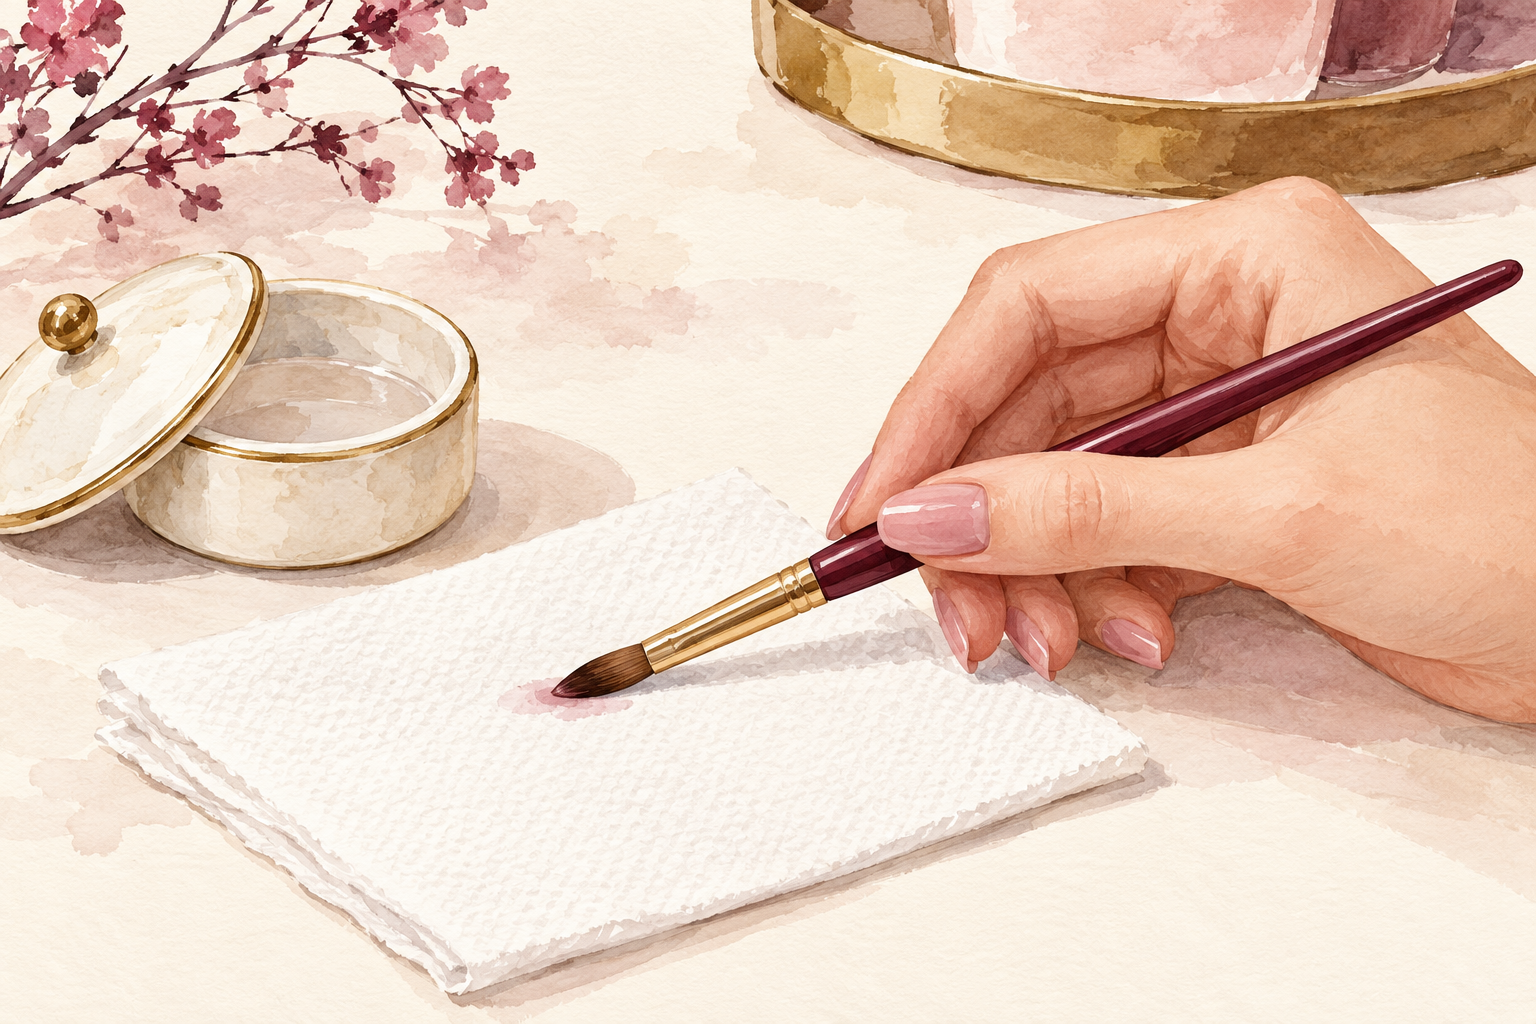
Dip the brush in the liquid, wipe one side on the dish edge and touch the tip to a paper towel. You want a damp brush and not a dripping one. Extra liquid on the bristles is the quiet reason behind most runny beads, because it adds to whatever you scoop. If you pause halfway through a nail, wet the brush again, since a dry brush grabs dry powder. Keep your paper towel flat and close, and check the bristles come to a soft point. A frayed brush never makes a clean bead, no matter how careful you are.
5. Aim for a glossy bead that holds its dome
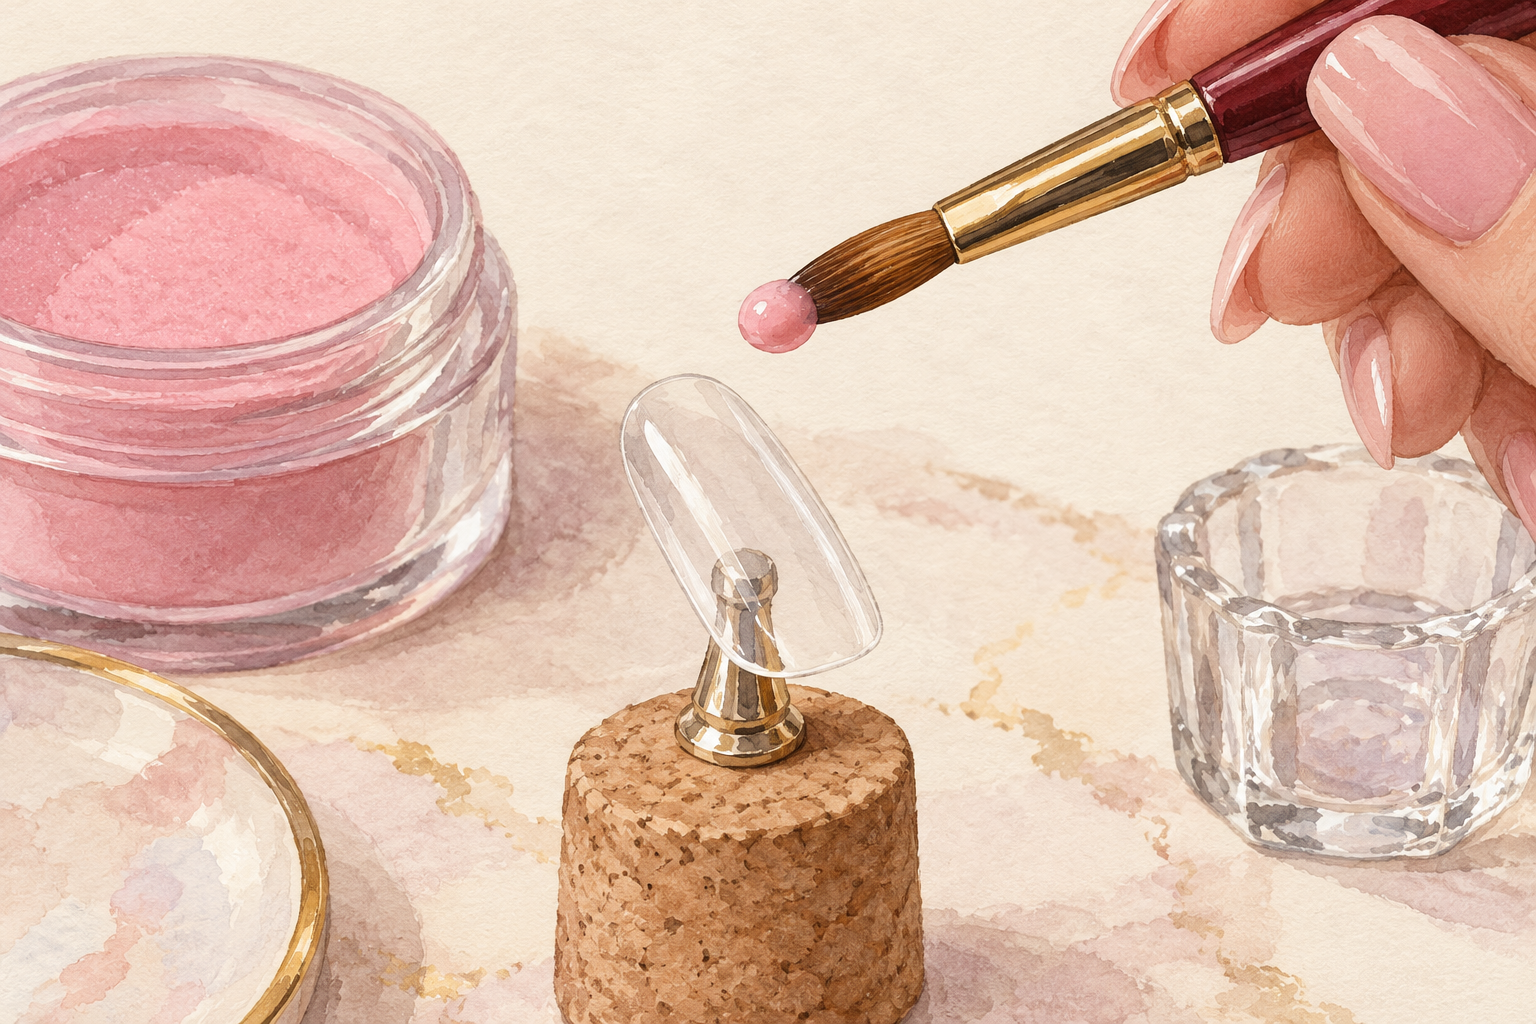
Touch the damp brush to the powder and roll it until a ball forms. A good bead is shiny and round, and it keeps its shape on the brush without slumping or crumbling. A common starting picture is one part liquid to two parts powder by eye, but your kit’s own directions beat any number here. If the bead runs, wait two seconds before you place it. If it looks matte and sandy, touch the brush to the liquid again and roll it once more. Keep the dish lid on so the liquid stays the same strength from nail to nail.
6. Pick up beads the size of a grain of rice
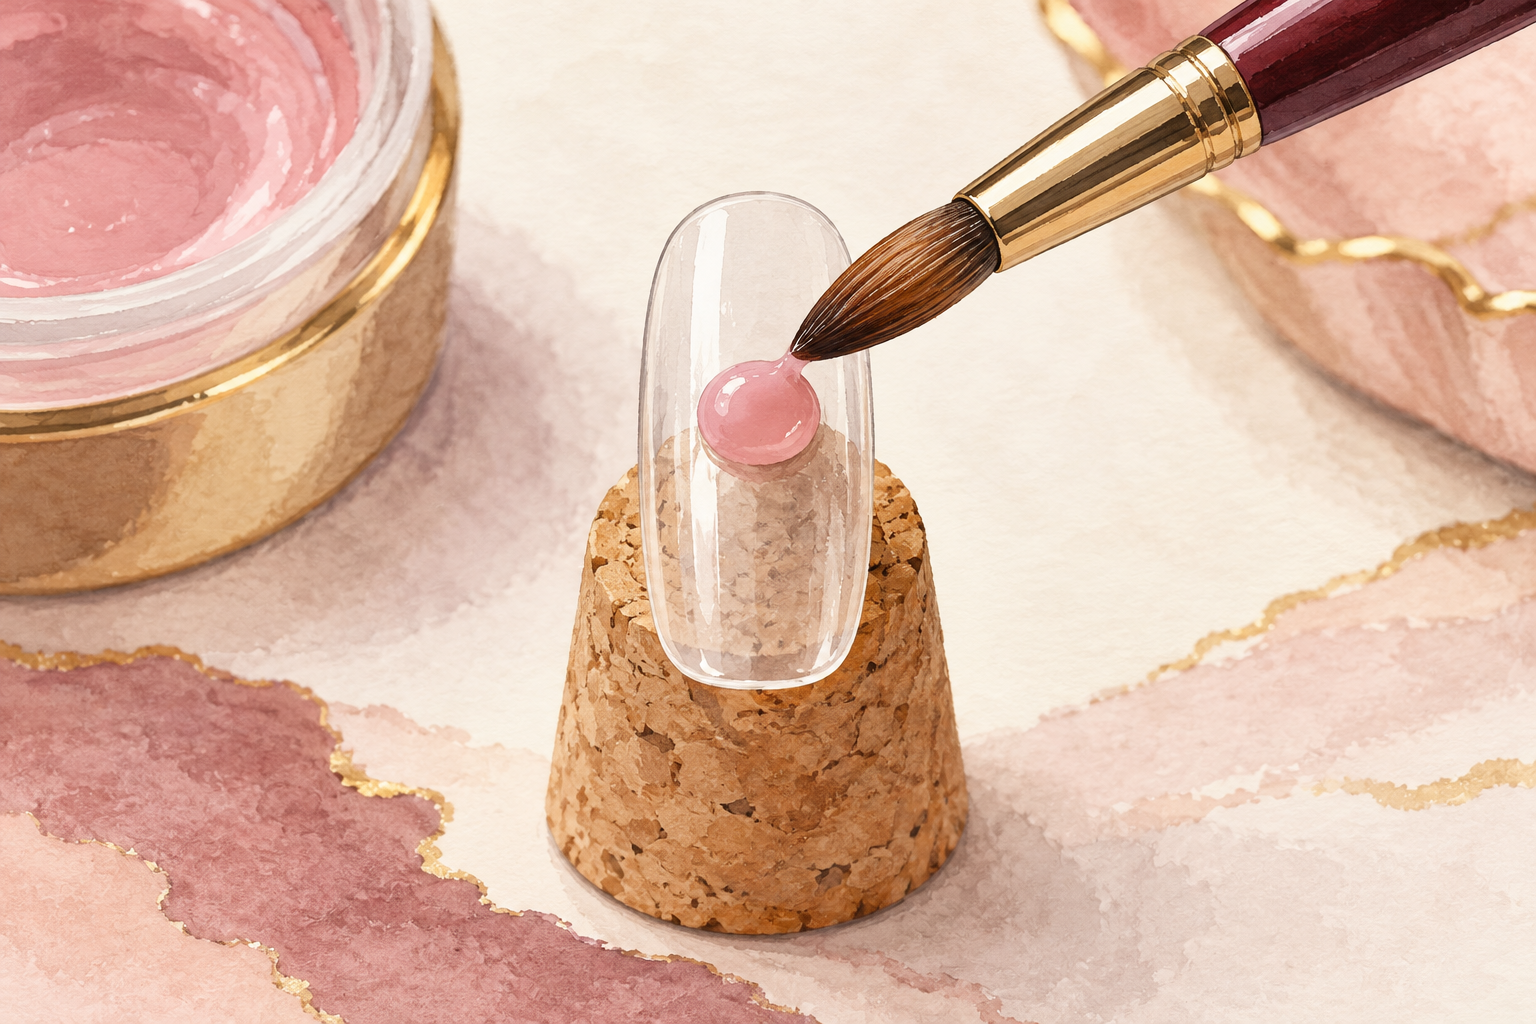
Keep every bead small, about a grain of rice, because big beads are behind most bumps. A grain sized bead is plenty for the cuticle area, and the free edge can take one slightly larger. You can always add a second small bead, but you cannot take a big one back without filing. Big beads also stay wet in the middle and trap air, which shows up later as bubbles. Two small beads will always look neater than one heavy one. If you are unsure, go smaller, because you will have more time to shape it.
7. Place the first bead in the middle
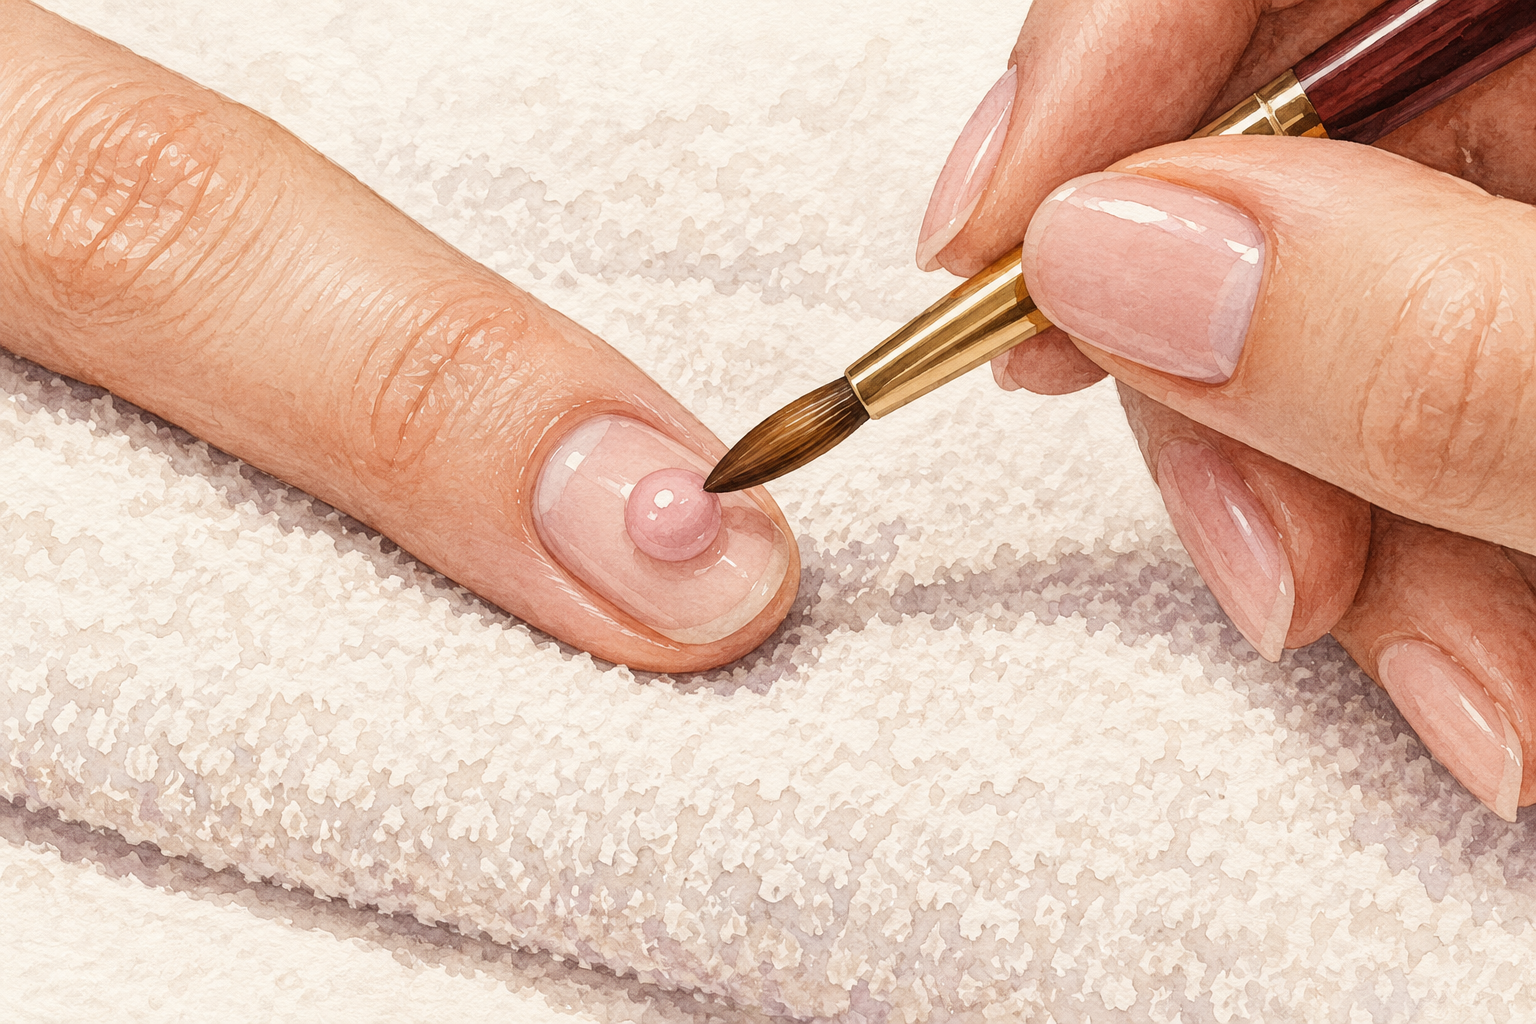
Set your first bead on the center of the nail, then guide it toward the cuticle and sides, stopping a hair short. A thin gap of bare nail all around keeps the product off your skin. Skin contact is where lifting and irritation start. If product does touch the skin, wipe it away before it sets, not after. Leave a little room at the cuticle and you will see fewer problems at week two. Tilt your finger slightly so the bead flows toward the tip. Gravity does half the shaping when you let it.
8. Pat and press, do not scrub
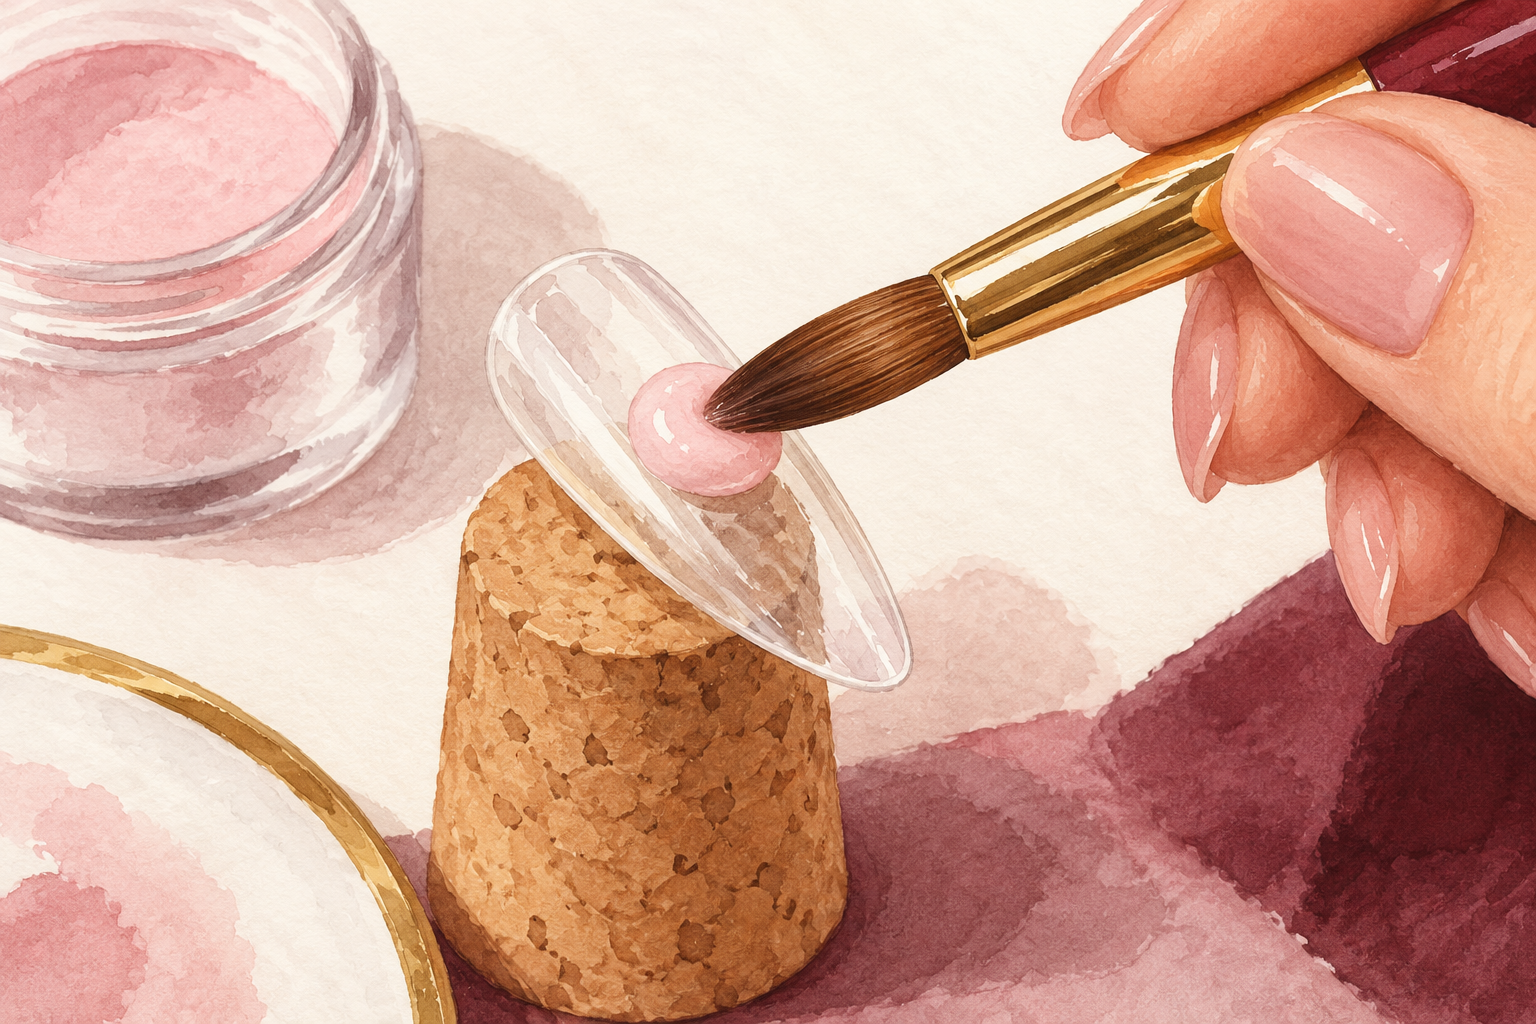
Pat the bead into place with the belly of the brush and let it smooth out under light pressure. Brushing back and forth drags product into ridges and tears the surface as it starts to set. You only have a short working time, so use a couple of confident pats and then leave it alone. Resist tidying a bead that has gone tacky, because every extra stroke makes a new bump. Think of smoothing frosting on a cake, one soft press and done. If the bead feels stuck to the brush, rewet the tip and lift it away cleanly.
9. Work out which bump you have
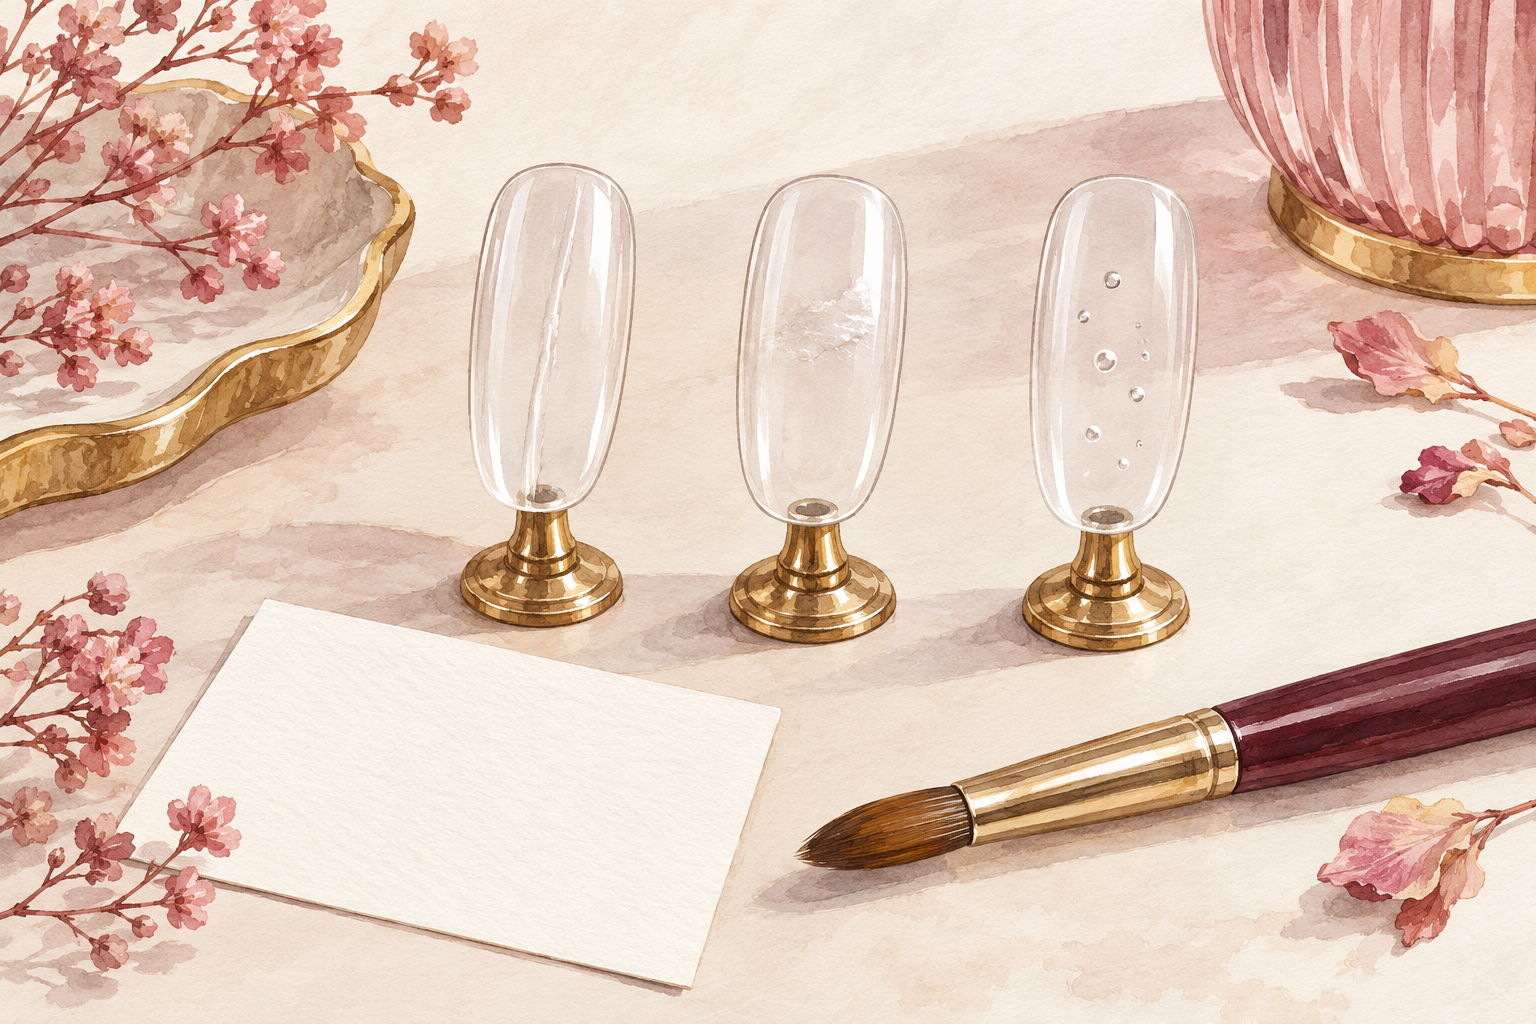
Look at the nail before you fix anything, because each bump has its own cause. Lumps usually mean the bead was too dry to flow. Ridges mean you set one bead down, let it start to harden, and then added another beside it. Bubbles mean there was too much liquid or the bead was too big and trapped air. The fix is simple in each case: wetter, faster or smaller. Adding more product on top only builds a bigger bump. Note which bump shows up most often on your nails, since that tells you what to change next time.
10. File bumps level with light pressure
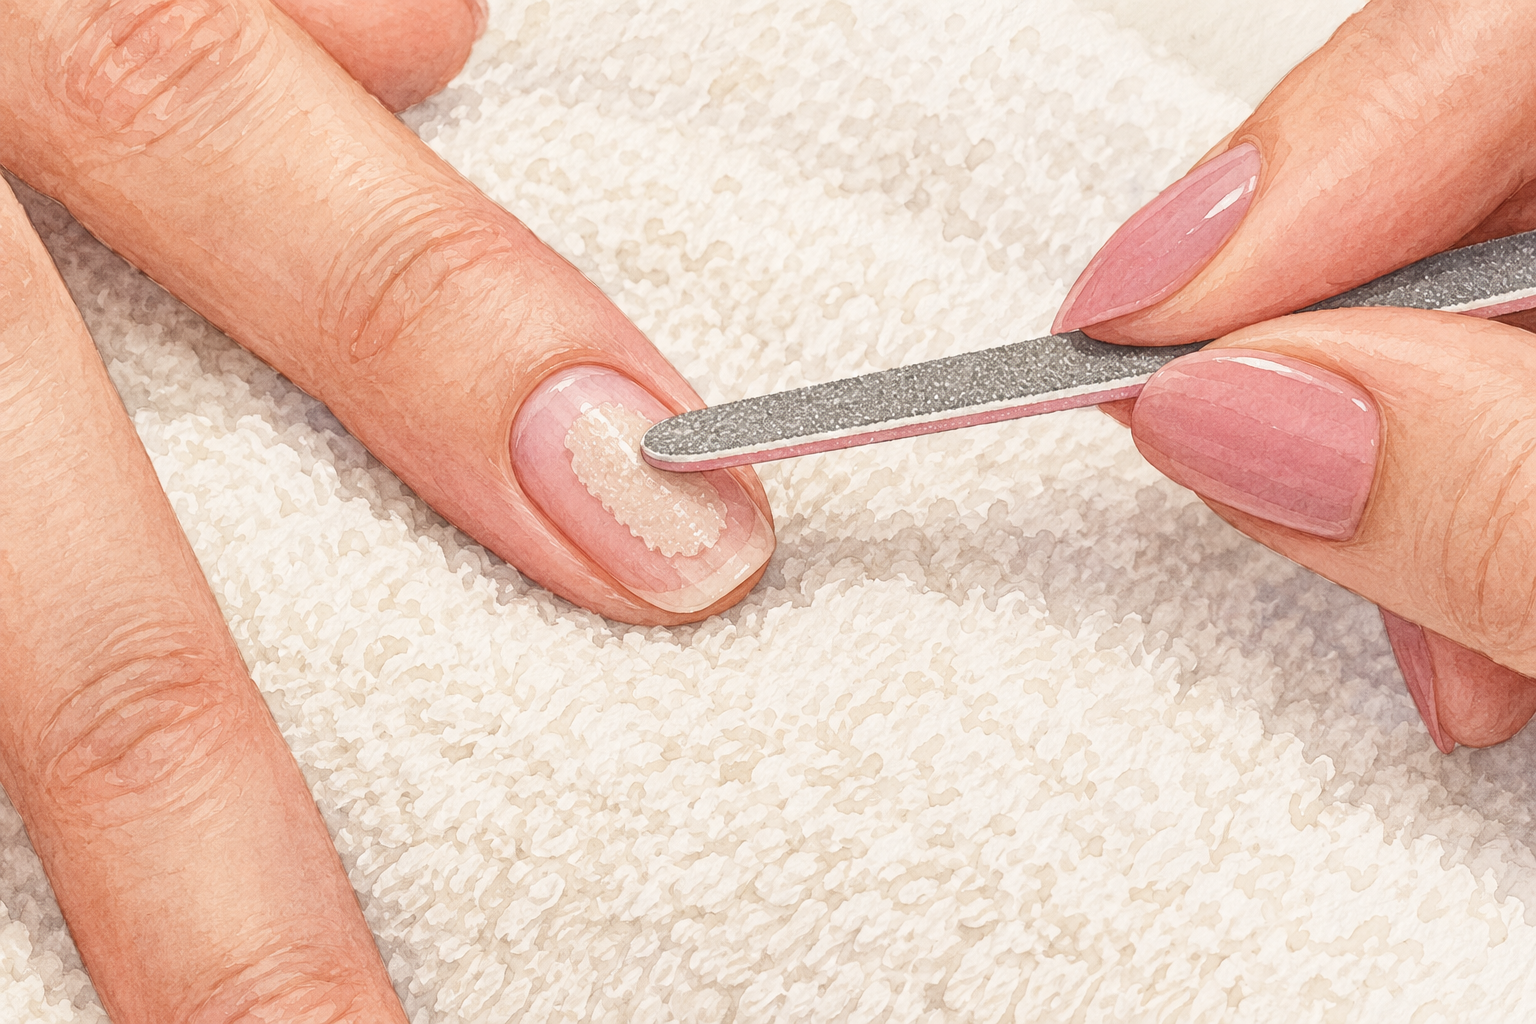
Wait until the product is fully hard, then file the high points with a medium file and smooth with a finer one. Hold the file almost flat and stay on the acrylic, away from the natural nail at the edges. Wear a mask for the dust and wipe the nail clean before color goes on. Stop when the surface feels level under your fingertip. Over filing thins the product and leaves weak spots that crack, so use short, light passes and check often. A soft brush sweeps the dust away before you look.
11. Know what to expect by week eight
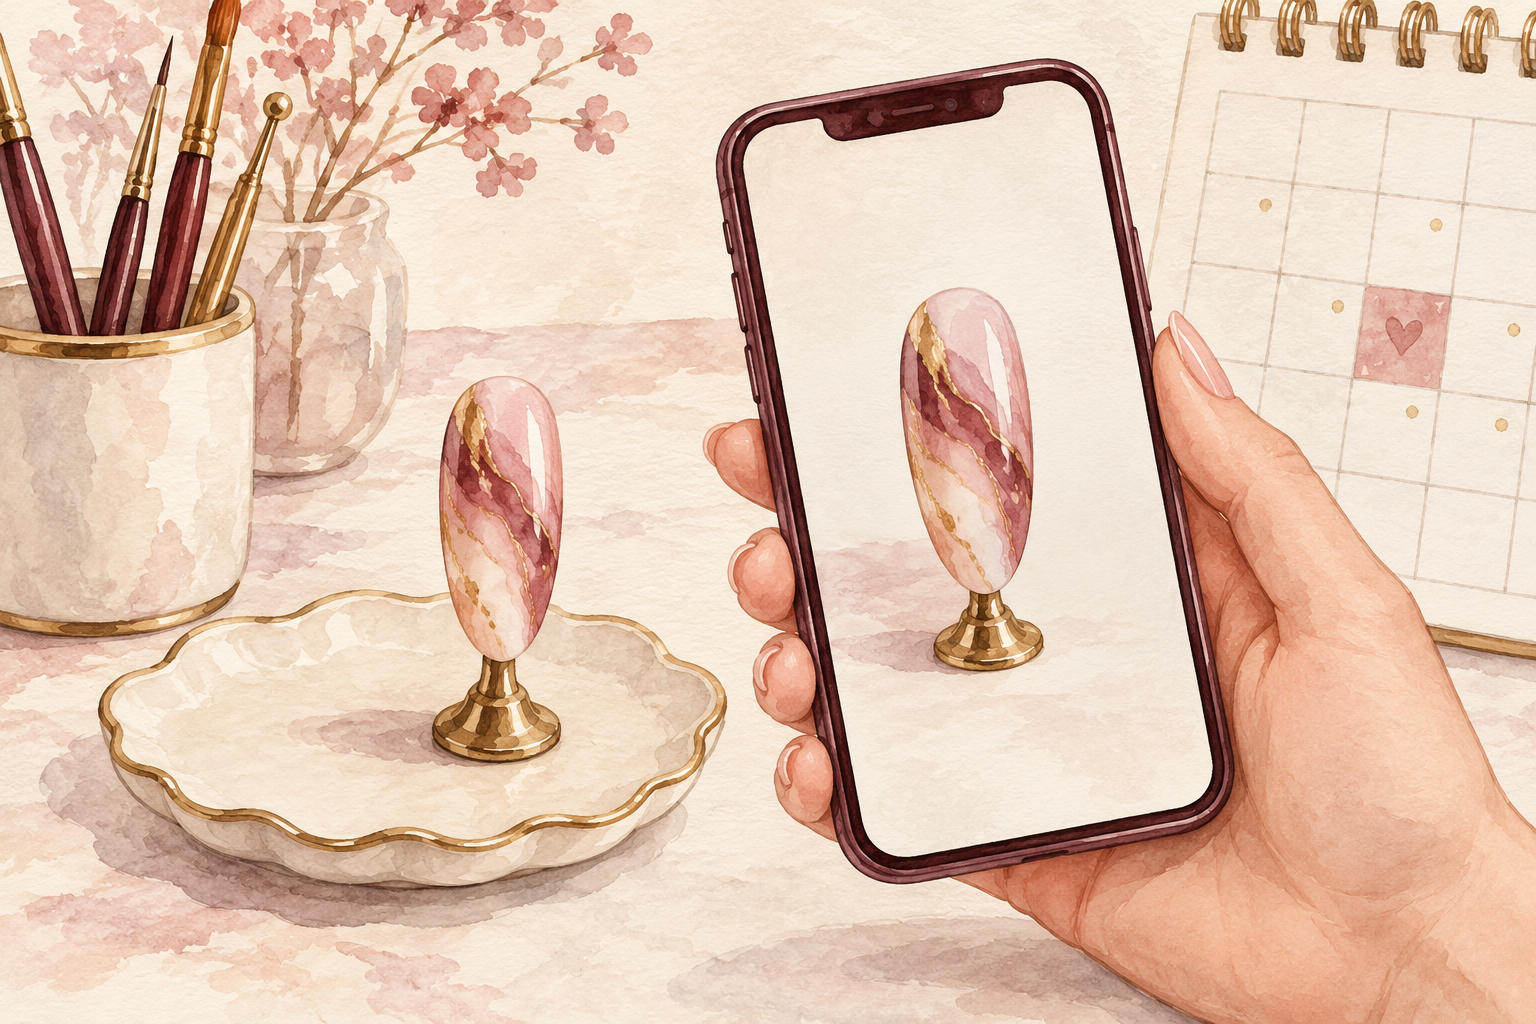
Do not judge how to apply acrylic powder to nails by your first set. Expect a few bumps and maybe one lifted edge in week one. By week four, after a few more practice rounds, your beads should land smoother and more even. By week eight the gap at the cuticle shows how much your nail has grown, and it is time to rebalance or take the set off. A set done by a trained hand can last about eight weeks with fills, so a first home set needs touching up sooner. Take a photo each week and you will see your beads improve. Control comes from repetition, not from reading, so be patient with your hands. Repetition beats reading here, and for a first pass, how to do nails for beginners fits well.
12. Rest your nails between sets
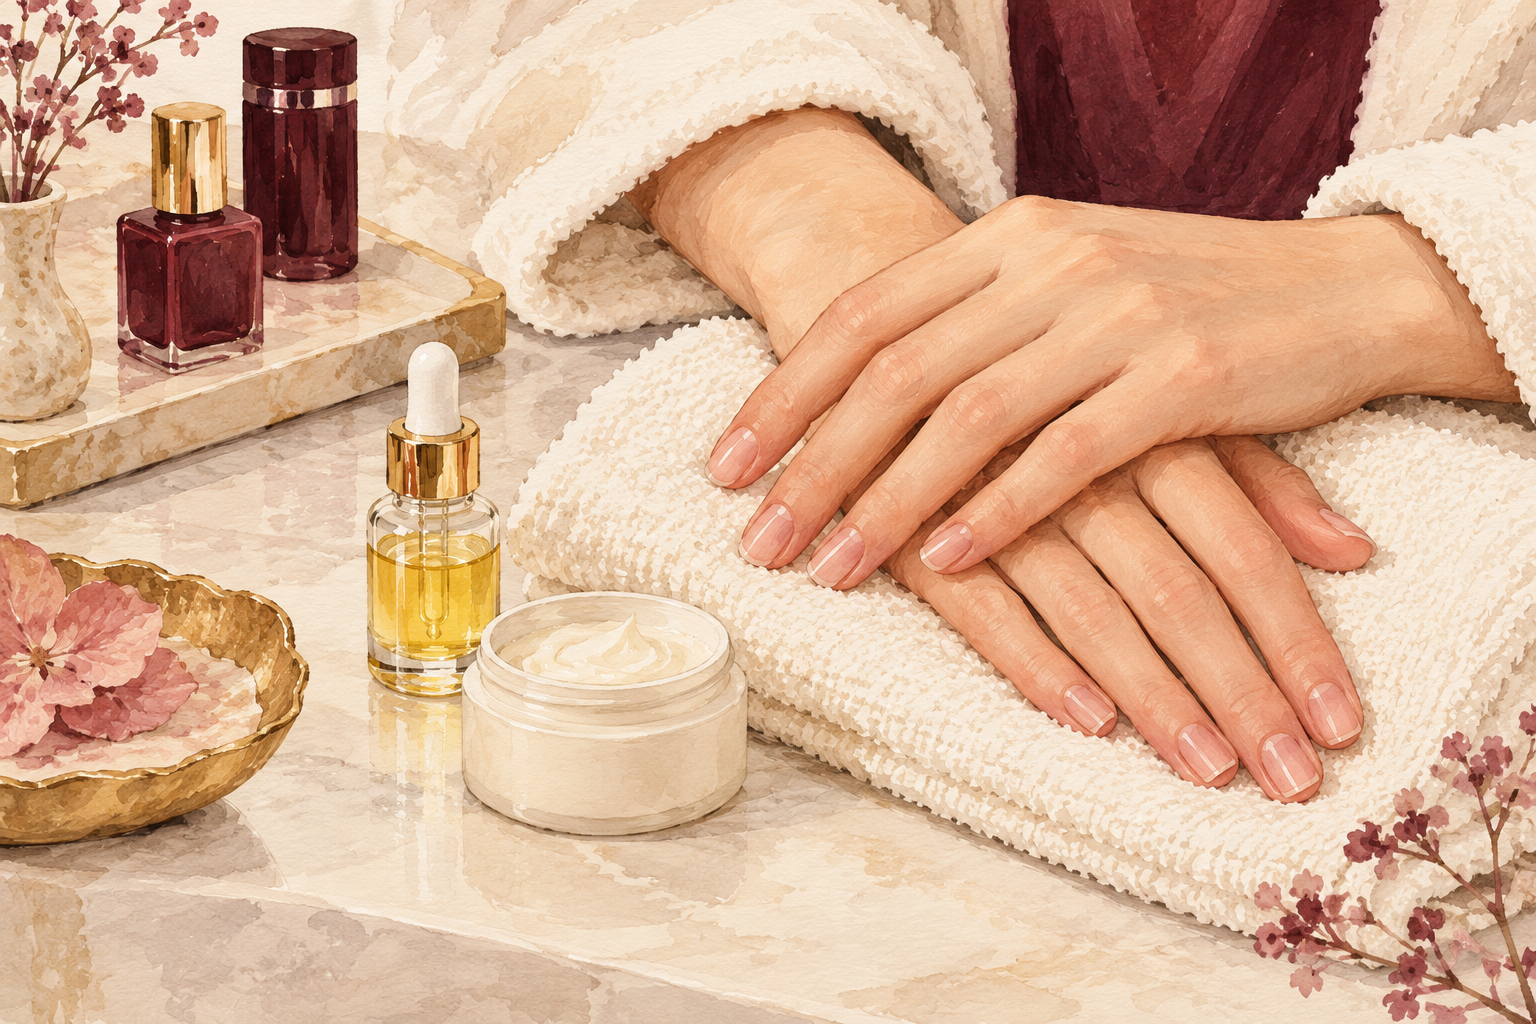
Leave a few weeks bare between sets and press oil into your cuticles every evening. Acrylic sits on top of the nail and can leave it thinner underneath, so give it time to recover. If you notice itching, dryness or peeling skin around the nails, stop using the liquid. Take sets off slowly, because soaking in acetone dries the skin and nail. Moisturize afterwards and keep your nails short while they recover. If the skin around a nail looks red and sore, take the set off and give it two weeks of oil and bare nails.
Complete the Routine: How to Apply Acrylic Powder to Nails and Take Them Off Kindly
Practice on one bare tip a day for three days, with your window open, and notice how the bead feels when it is wet enough. Lumpy beads fade with time and short practice, so when your hand feels steadier, pick one guide below for this week.