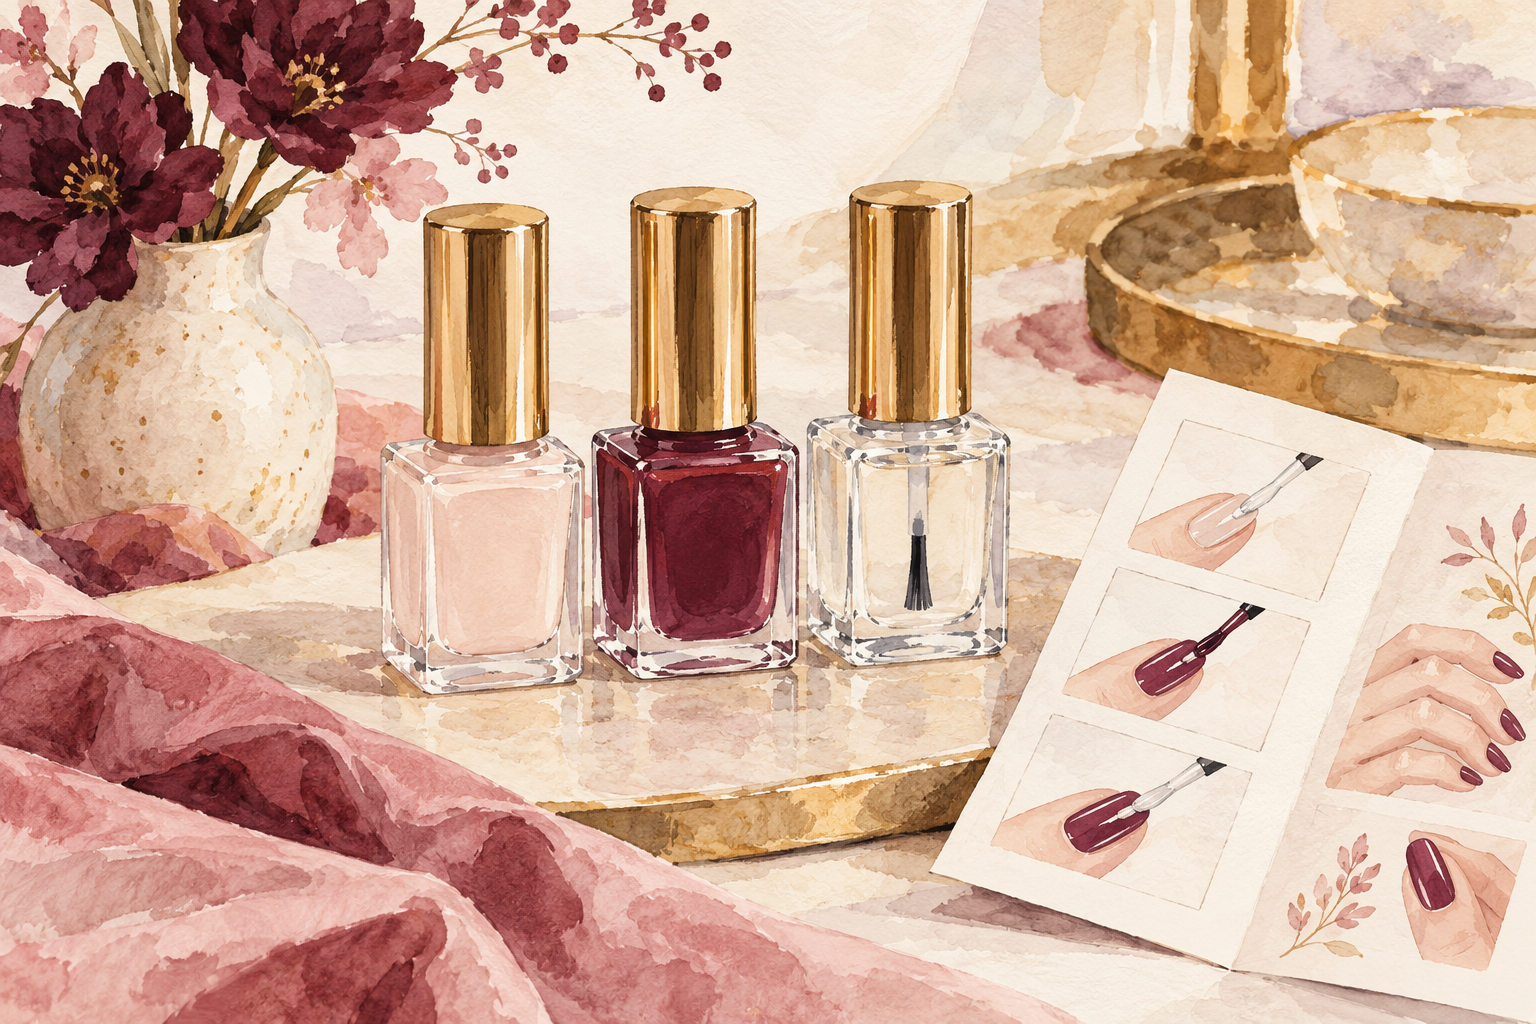
You watched a video where the acrylic glides on like butter, then tried it yourself and ended up with a lumpy, crooked nail and product on your fingertip. Acrylics take practice, and a first set is rarely perfect. These 12 safe steps show you how to do acrylic nails at home, one nail at a time, so start at number one tonight.
1. Check your natural nails first
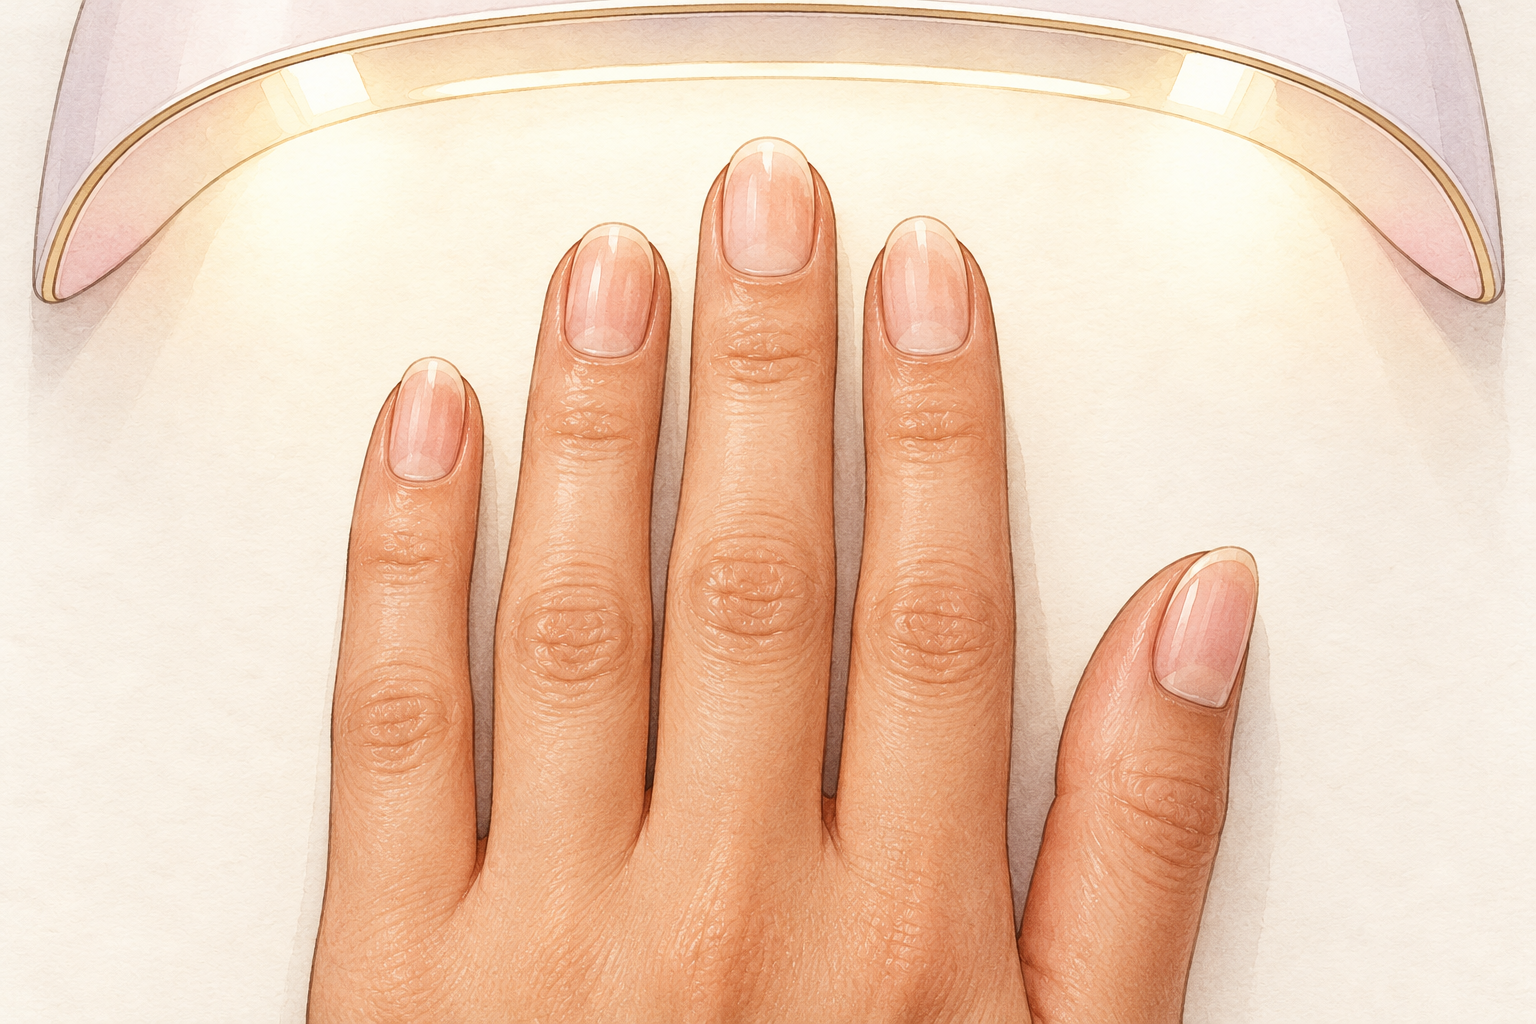
Look at all ten nails in bright light and only go ahead if they are healthy and whole. Acrylics suit nails that are firm and intact. If yours are very thin, peeling, sore, lifting from the bed or an odd color, wait and sort that out first, because covering a problem can make it worse. Check the skin around each nail for cuts too, since the product should never sit on broken skin. If you reacted badly to a nail product before, stay with regular polish. A quick check costs nothing and saves a lot of regret. Ask a friend to look at your nails in daylight if you are unsure. Beginners who want a lighter start can use how to do nails for beginners as a companion.
2. Open a window and work where air moves
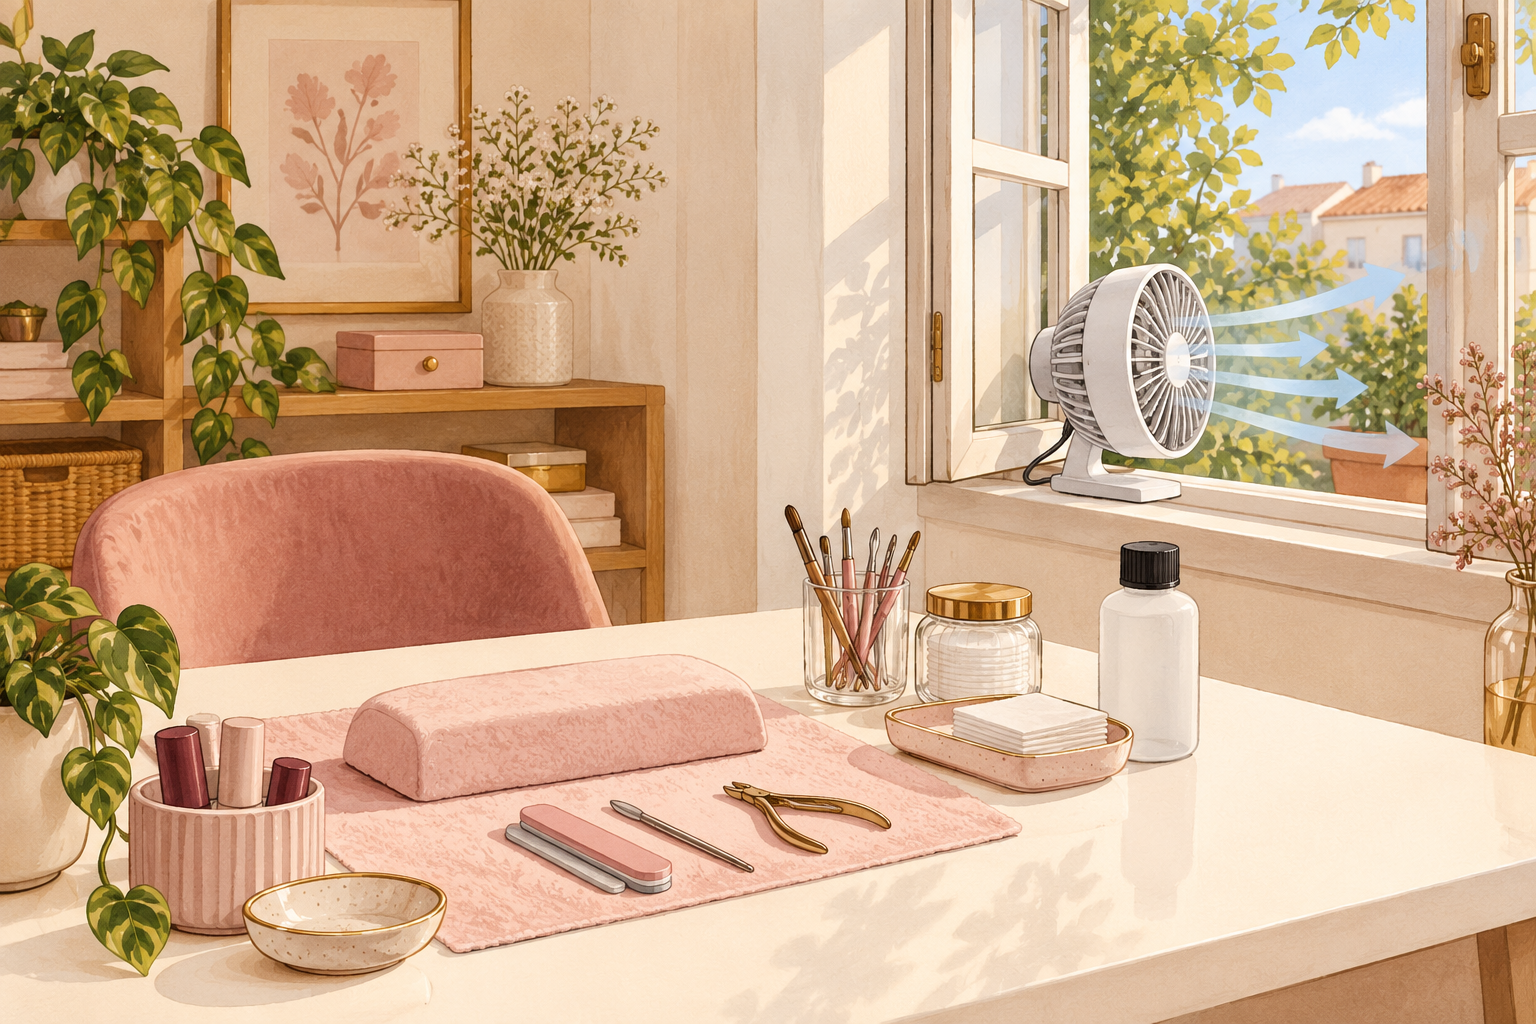
Set up beside an open window with a small fan pushing air outward. Acrylic liquid has a strong smell, and the fumes build up quickly in a closed room, so never work in the bedroom where you sleep. Keep the lid on the liquid whenever you are not scooping. Take the used pads out of the room afterwards, because wet cotton keeps giving off fumes. The liquid burns easily, so keep it away from candles, flames and cigarettes. If you get a headache or feel dizzy, stop and step outside for fresh air. Take a break every half hour, even when everything is going well.
3. Keep the liquid off your skin and the dust out of your lungs
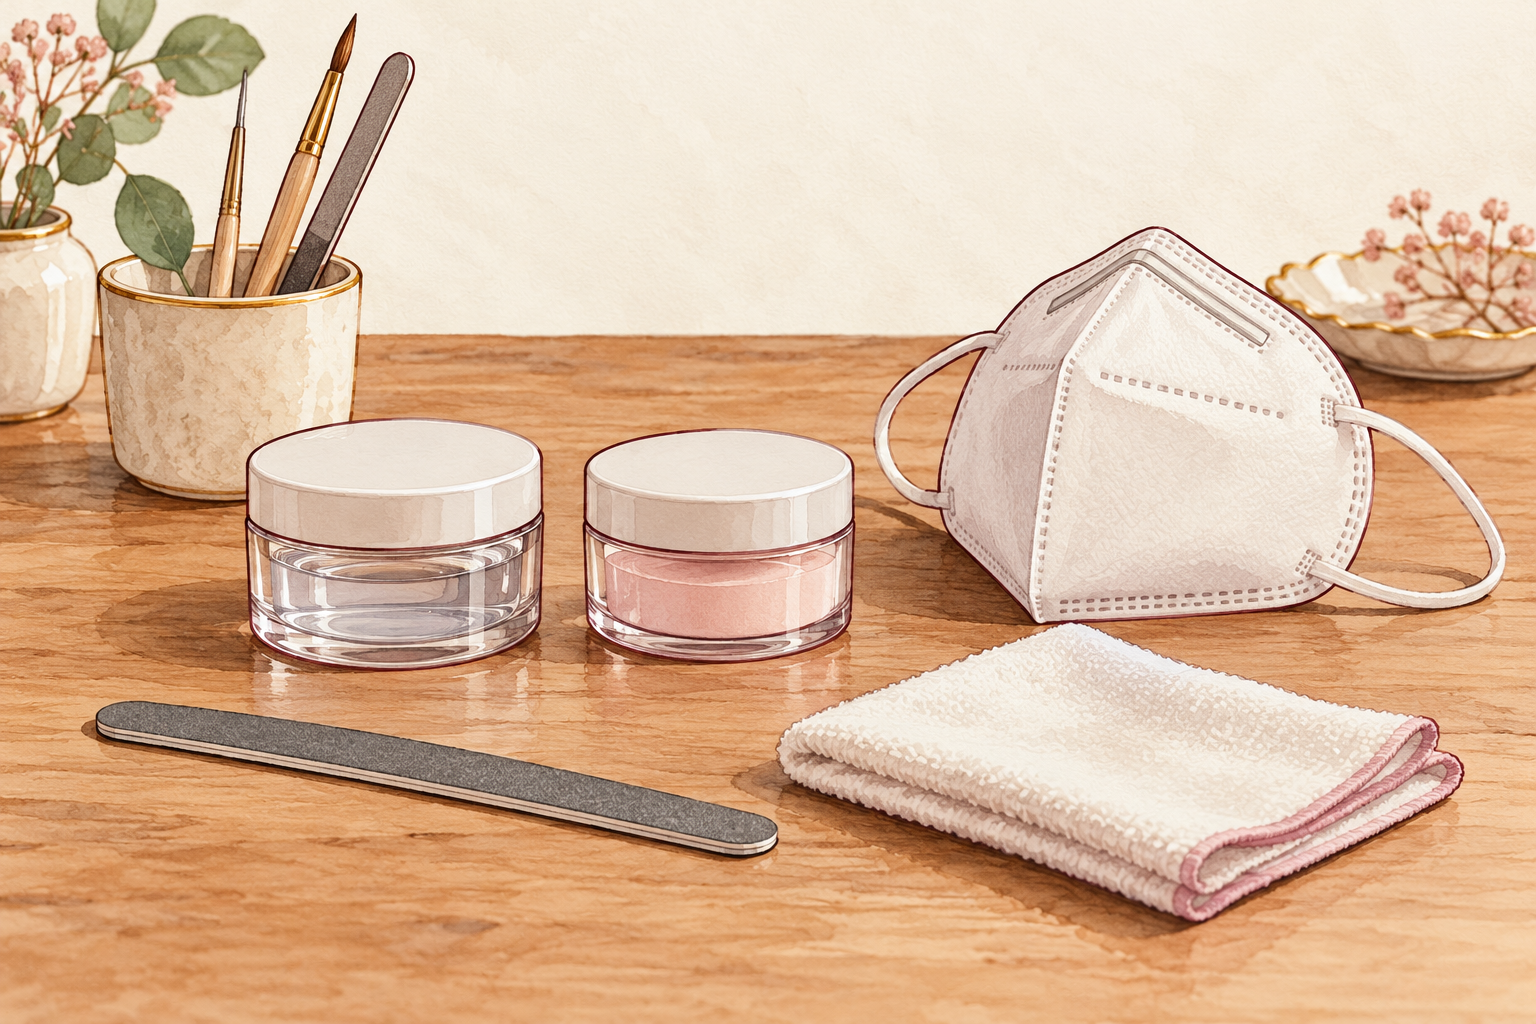
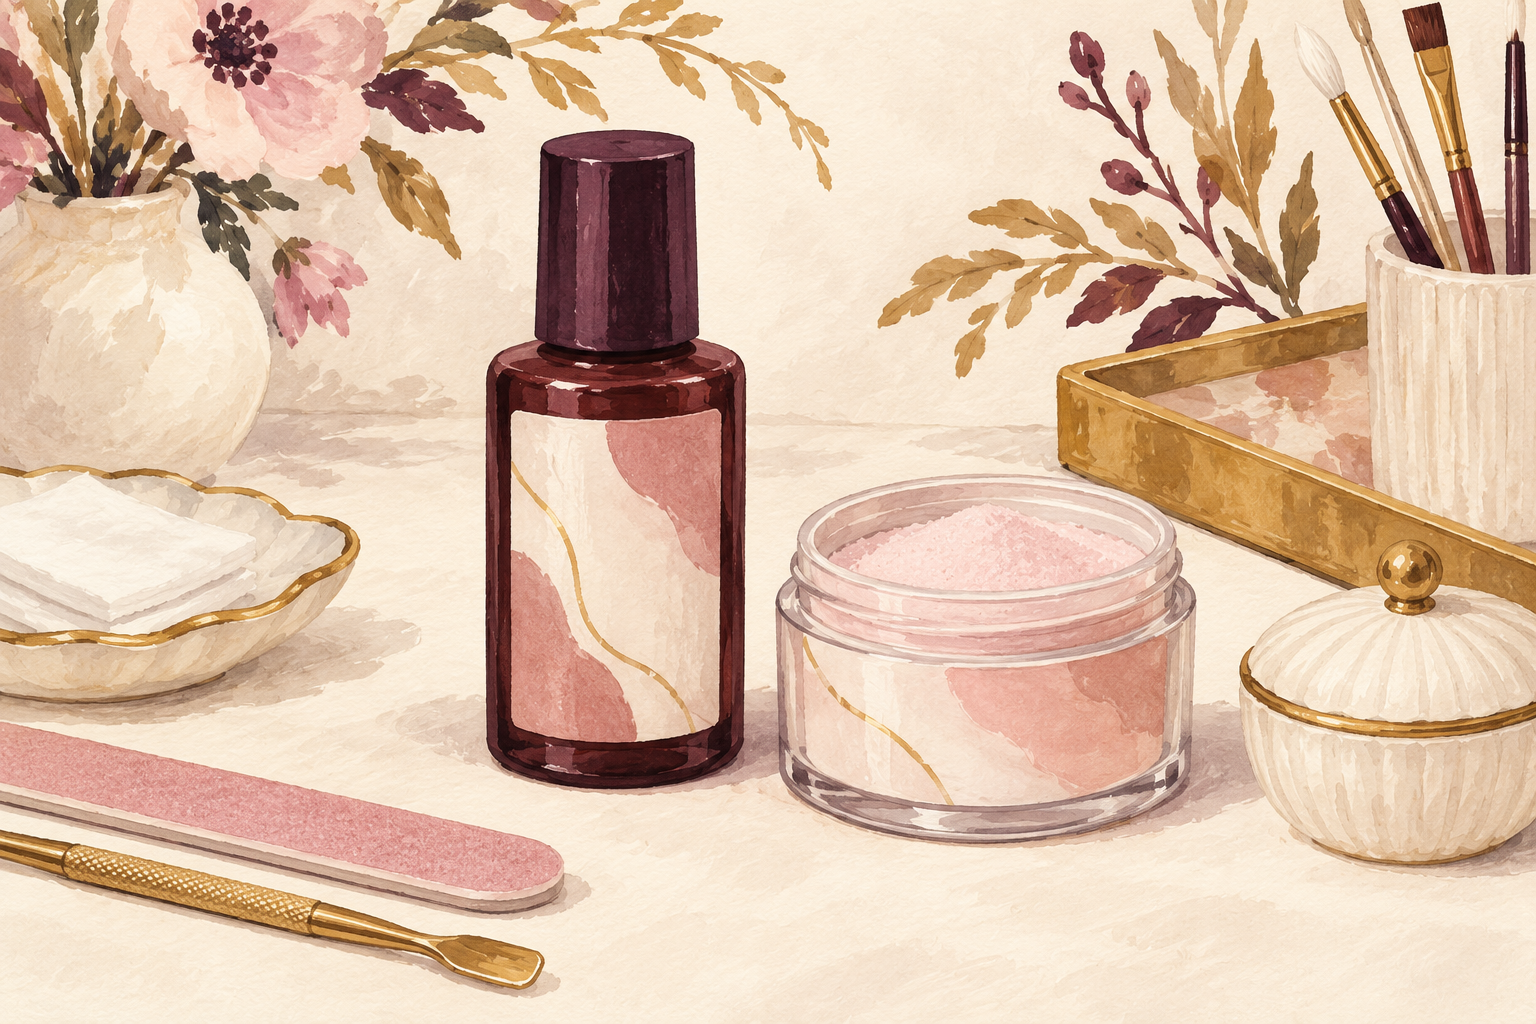
Pour only a small amount of liquid into a lidded dish, so you can close it between dips. If it touches your skin, wipe it off right away and wash with soap and water. Repeated contact is how people end up with rashes and itching that never goes away. Wear a simple dust mask whenever you file, because acrylic dust is fine and floats everywhere. If a rash, itching or swelling shows near your nails, stop using the product and let your skin rest. Keep your face away from the dish too. Wash your hands before you eat or touch your face.
4. Prep the nail gently
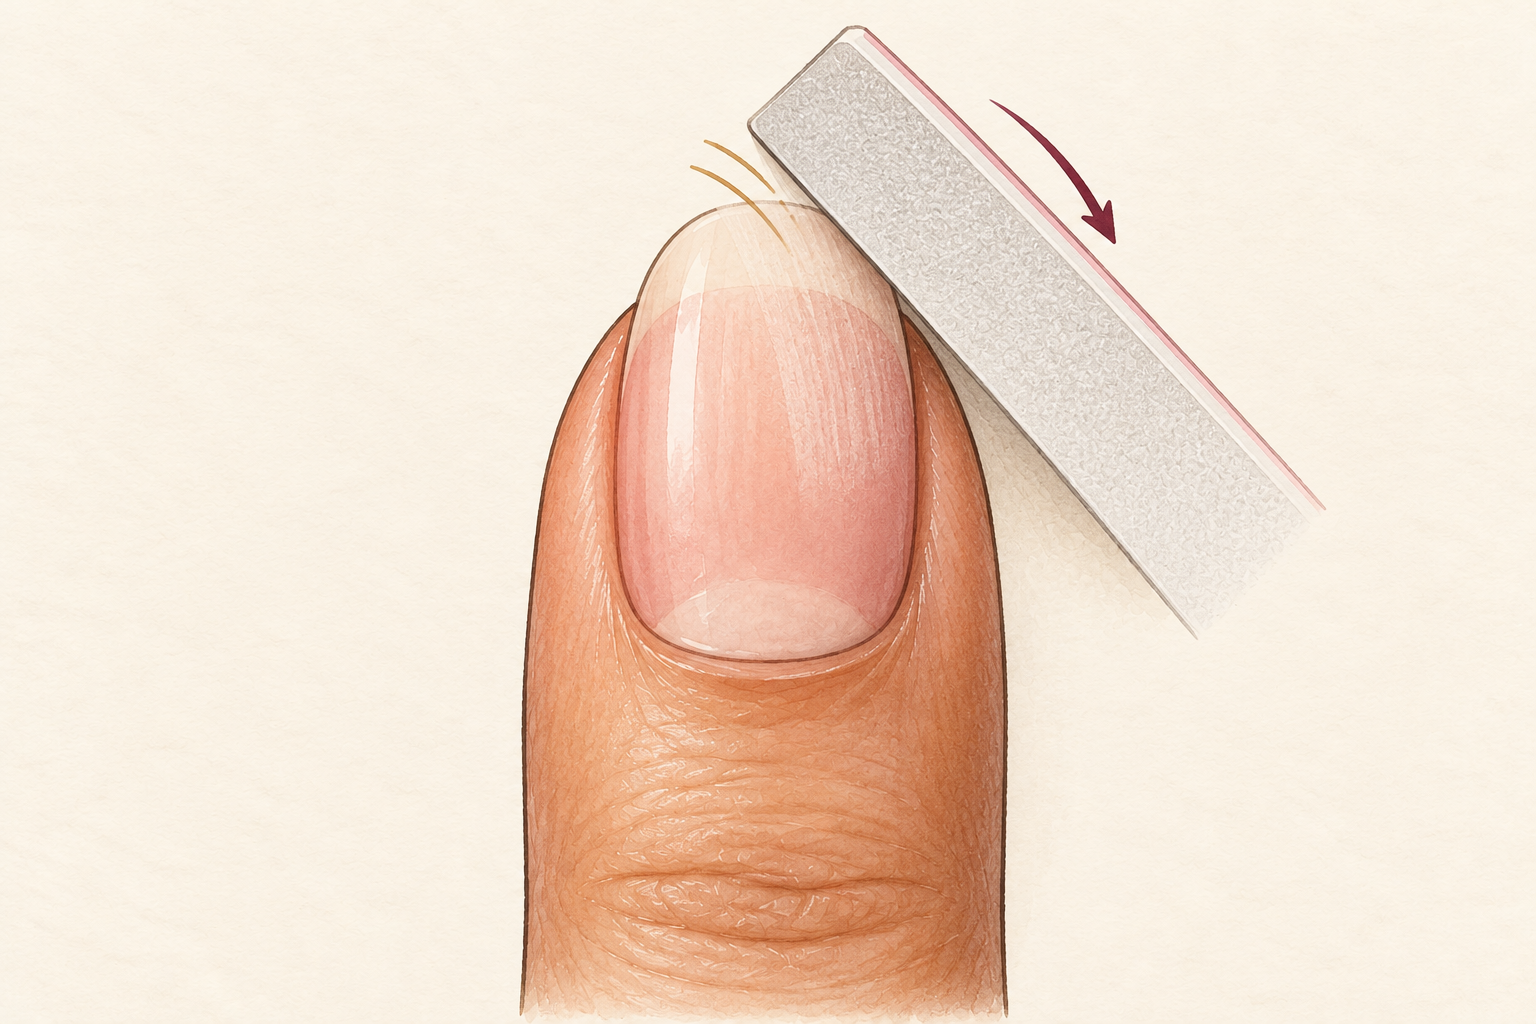
Wash your hands, ease the cuticle back with a wooden stick, and buff off the shine with a few light strokes. The acrylic needs a slightly dull surface to hold on to. Wipe off the dust with a lint free pad. Never cut the cuticle. Overbuffing thins the nail and makes lifting worse, so stop the moment the shine has gone. Nothing about how to do acrylic nails at home rewards a heavy hand, so keep this step light. Your nail should look chalky, not rough, when you finish. Take a second to wipe away every speck of dust.
5. Fit a form that matches your nail
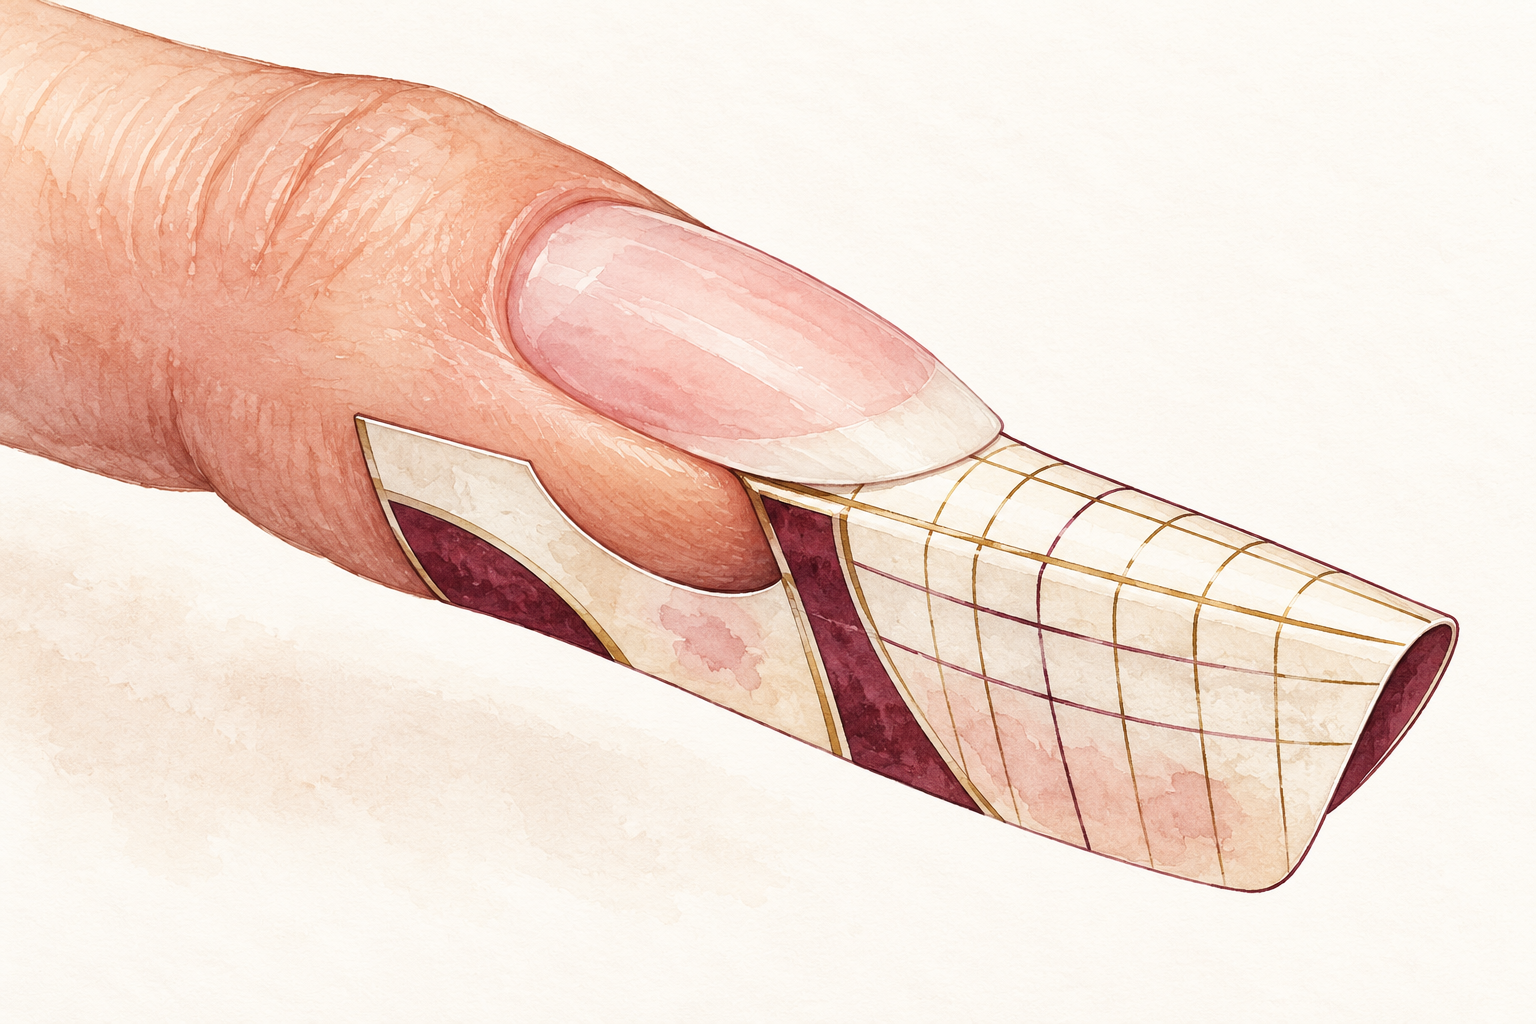
Choose a form or tip the same width as your nail, with no gaps at the sides. Slide the form under the free edge so it sits level, or press a tip on at the right angle and trim it to length. A twisted form gives you a crooked nail, whatever you do after. If the fit is poor, peel it off and redo it. This is the cheapest mistake to fix, and the most annoying to ignore. Press the sticker firmly at the sides so nothing leaks through. Trim the form if it overlaps the next finger.
6. Keep your brush and pots clean
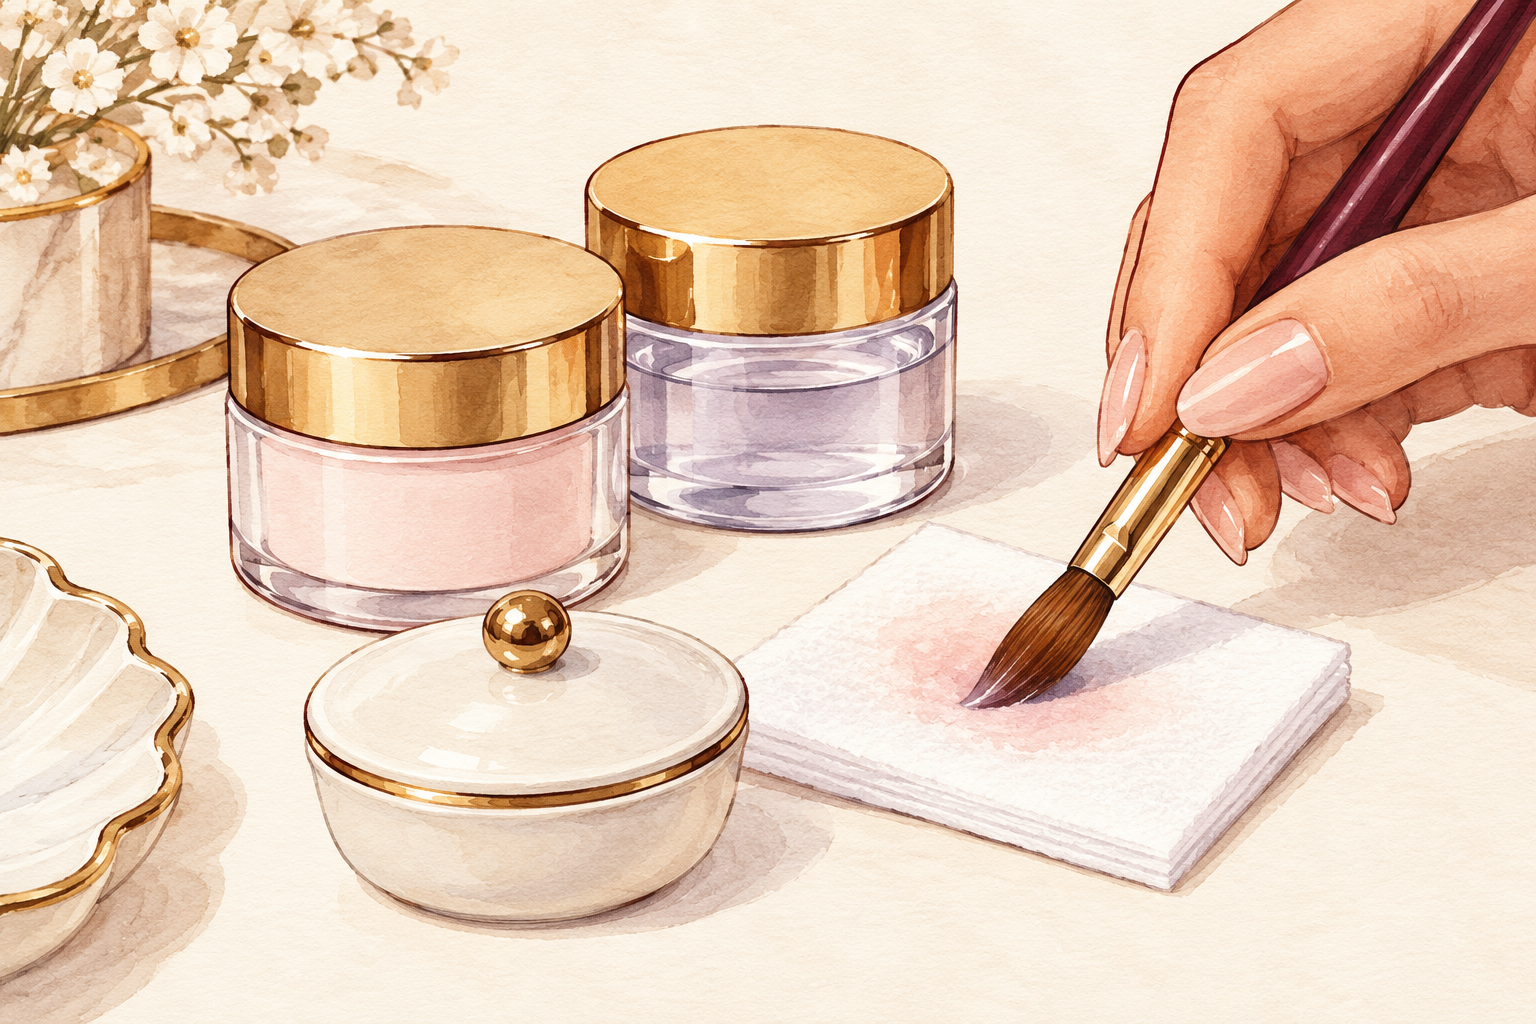
Dip the brush in liquid, wipe one side on a lint free pad, and shape the tip into a point. Never put a wet or dirty brush into the powder pot, because it turns the whole pot lumpy. Wipe the brush after each nail, and clean it with fresh liquid at the end. A well kept brush gives you control, and control is most of the skill. Close both pots between nails so nothing dries out. Pour a little powder into a separate dish if that feels safer. That way the main pot stays clean for your next set.
7. Aim for a bead that holds its shape
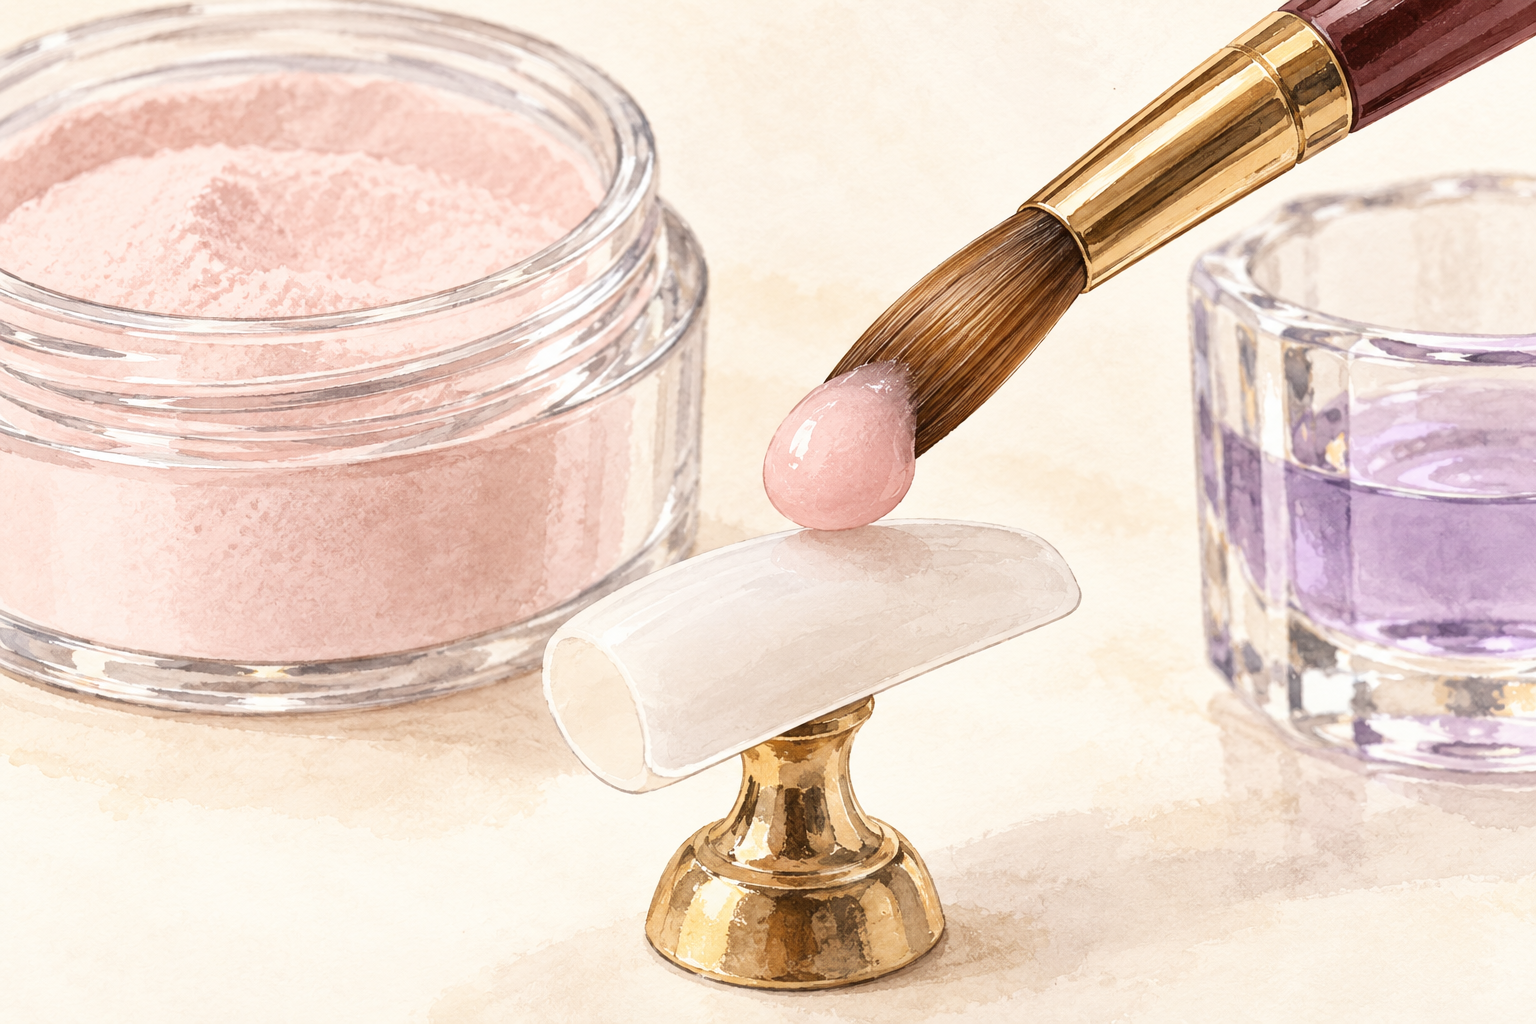
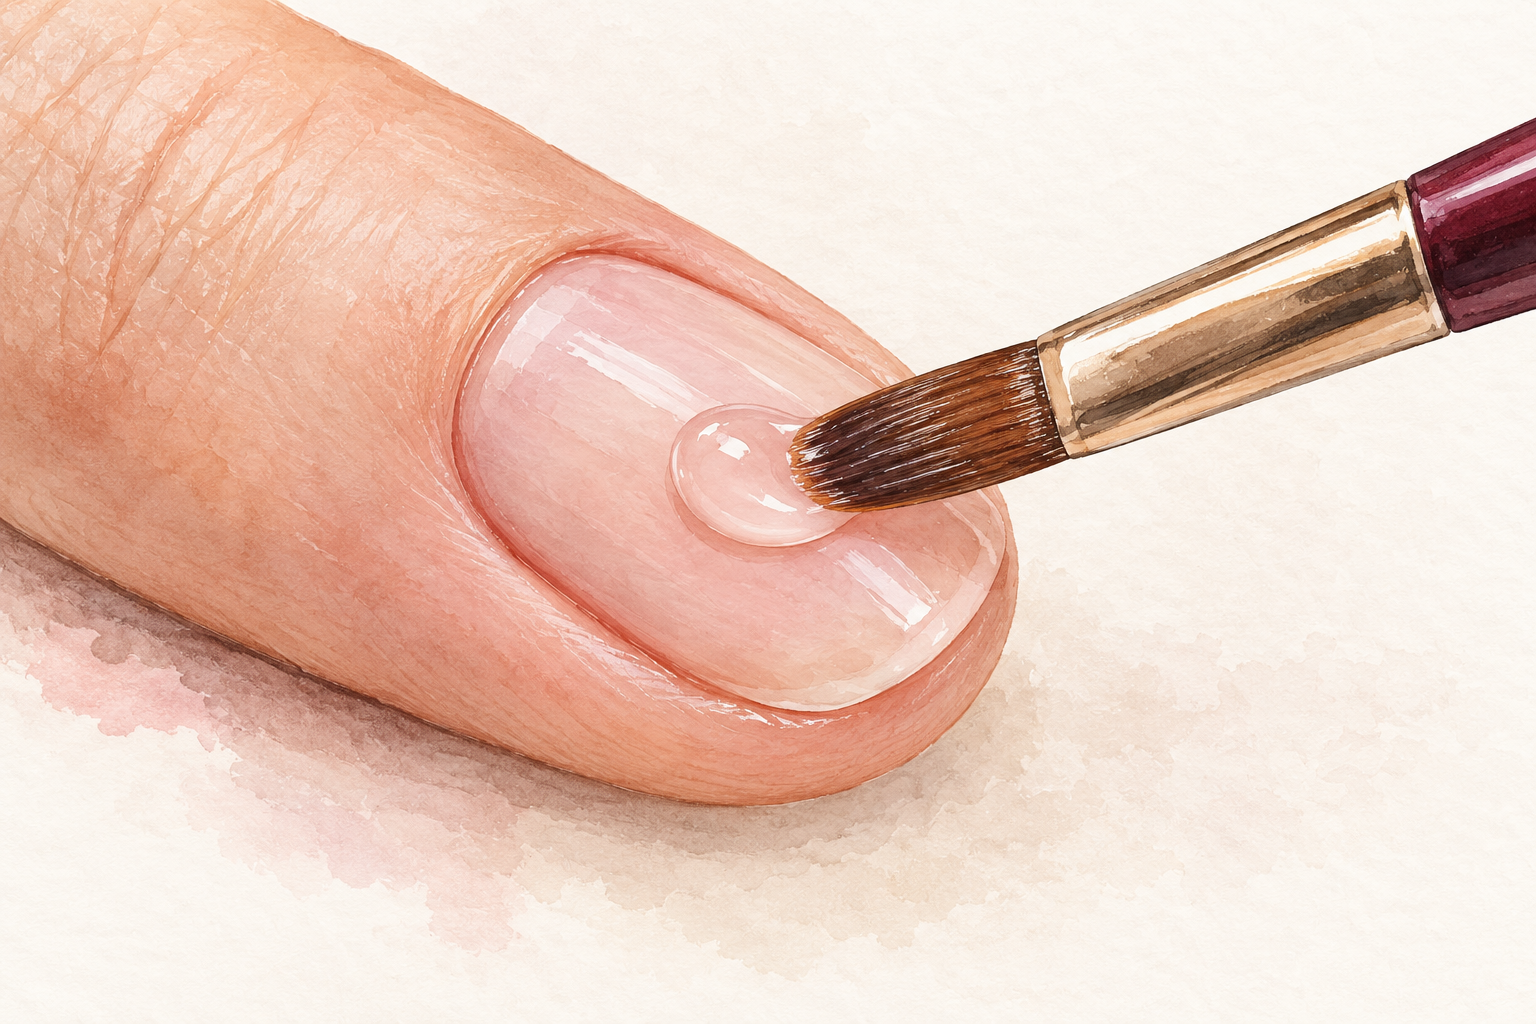
Press the brush into the liquid, touch it to the powder and roll slightly, until you lift a rounded ball that looks wet but not runny. A common starting point is about two parts powder to one part liquid, but check your kit, because products differ. Too much liquid floods toward the skin, and too much powder turns dry and crumbly. Practice on a spare form until the same ball sits where you put it. This ratio matters more than any fancy shape. Write down what worked on the form, so you can repeat it on your own nail.
8. Place three beads and leave a gap at the skin
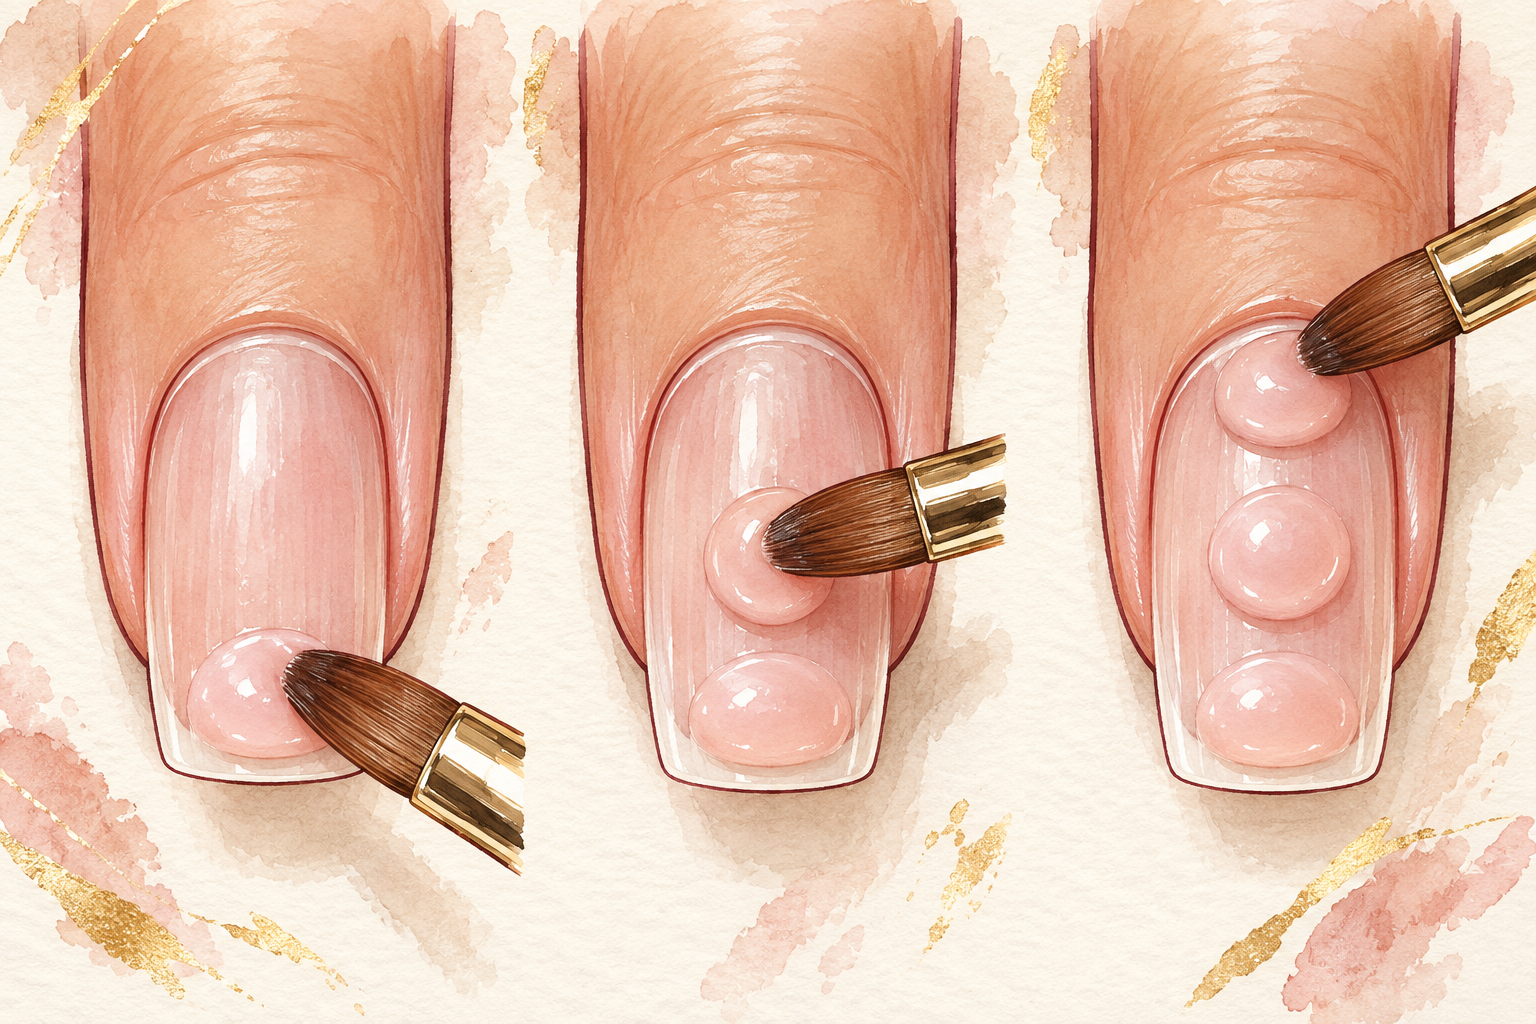
Set the first bead near the free edge where the nail needs strength, the second in the middle, and the third near the cuticle. Leave a hair’s width of space from the skin. Press and smooth with the flat of the brush, working toward the cuticle without pushing into it. Do one nail at a time, so the product does not set before you shape it. Acrylic touching the skin lifts early and can irritate it. If a drop lands on your skin, wipe it off at once. Work slowly, because speed is how product ends up on skin.
9. Wait until it is hard, then file lightly
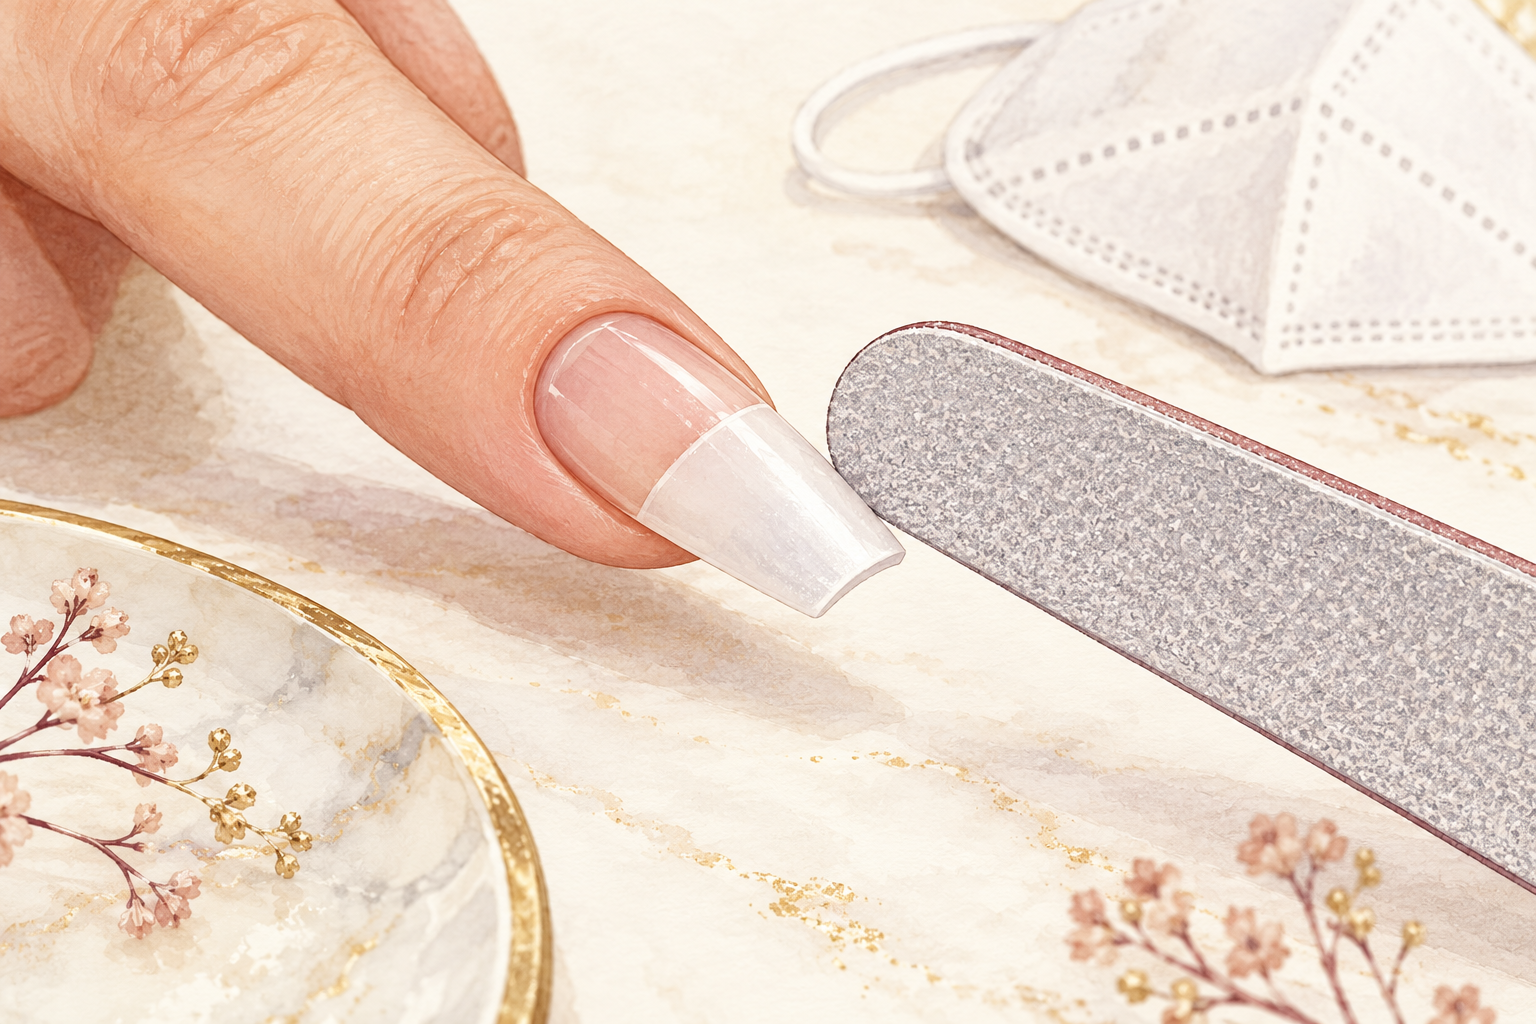
Tap the nail with the end of the brush, and when it clicks hard, the set is ready. Acrylic cures in a few minutes. Remove the form, then shape the free edge and smooth the surface using a medium file and light passes. Do not file your natural nail underneath, and stop if the nail feels warm. Keep the mask on, since this is where the dust flies. Wipe the table with a damp cloth afterwards, not a dry one, so the dust does not travel. Open the window a little wider while you tidy up. If gel is your next project, how to do gel nails at home is worth keeping open.
10. Seal with top coat and oil the cuticles
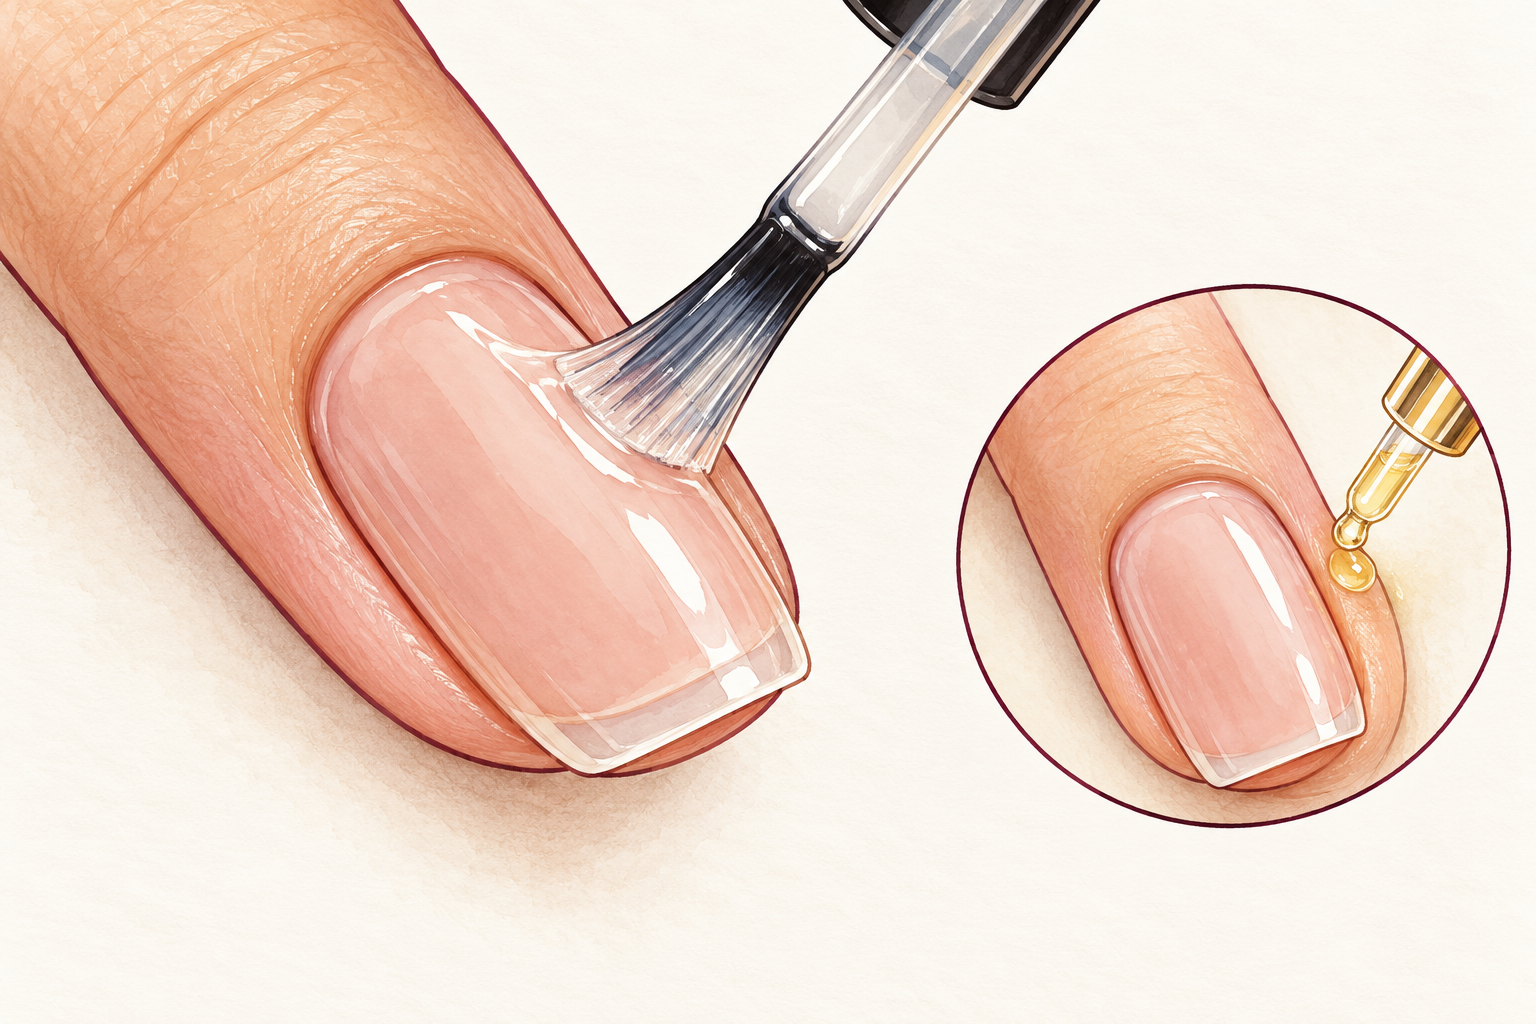
Wipe the dust away, then finish with a thin top coat or polish and cap the free edge. Rub cuticle oil around the nail the next day, not before you paint. Wash your hands one more time to remove any leftover dust and liquid. The set should feel solid and smooth, with no ridge at the cuticle. Run a fingertip along the sides to check for rough spots, and file them down gently. Let the top coat harden fully before you touch anything. A fresh drop of oil each night keeps the skin soft around the set.
11. Know what week one, two and three look like
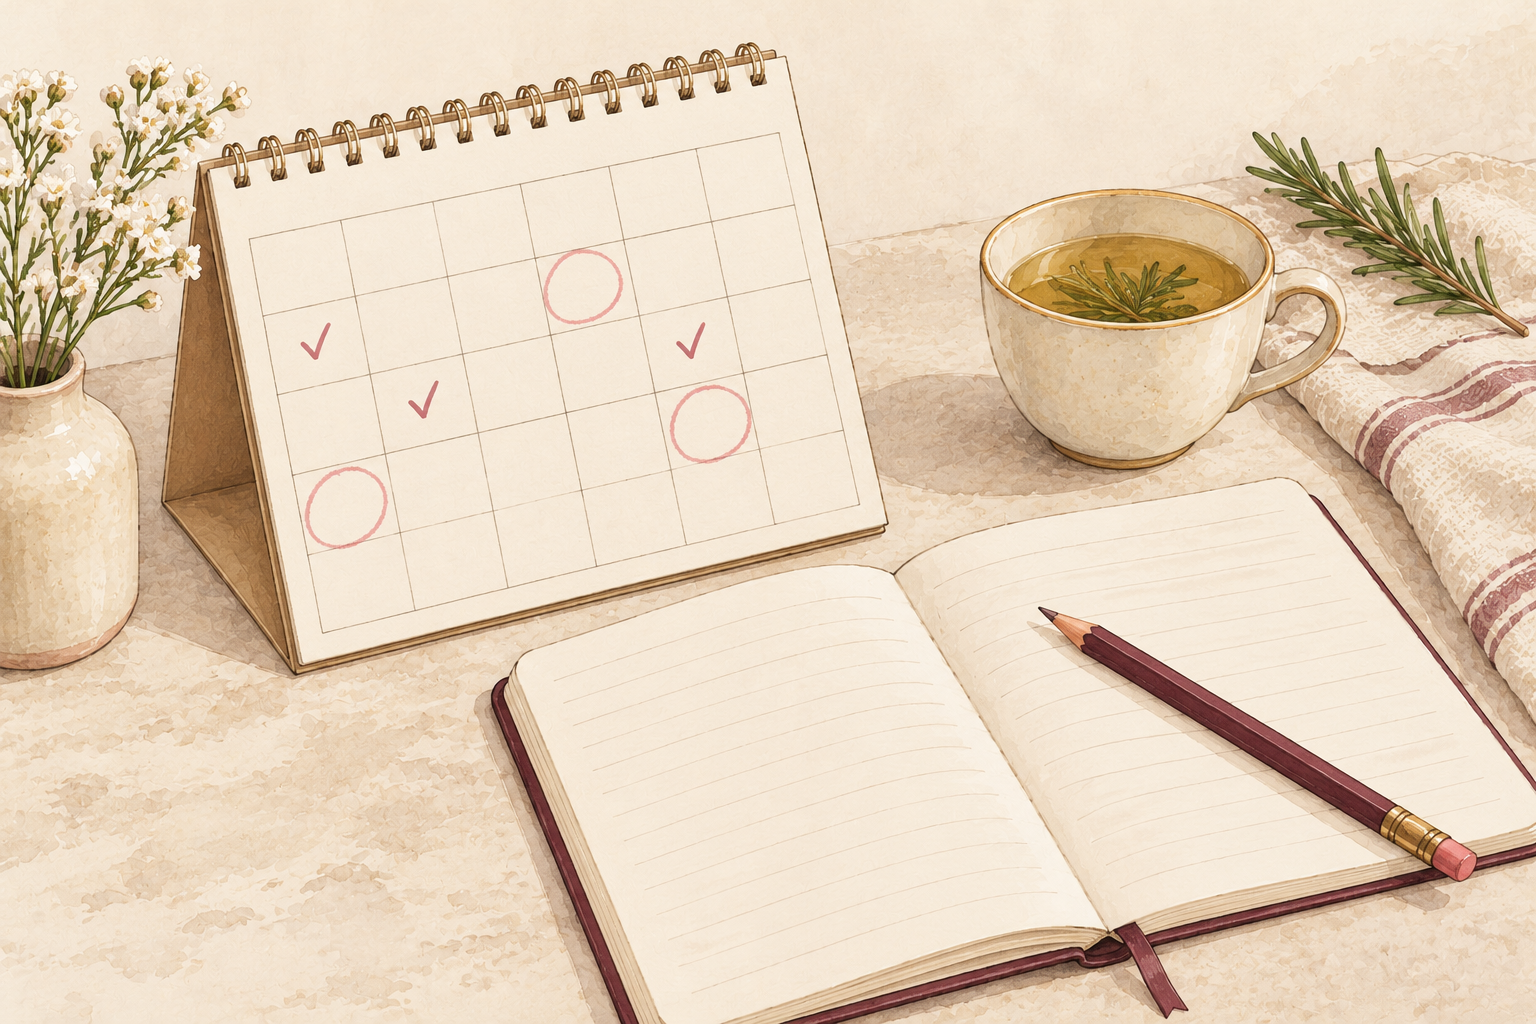
Expect a firm set with no lifting in week one. By week two, a small gap shows at the cuticle as your nail grows, so check the edges for lifting. By week three, plan to take the set off instead of wearing it for months. Gaps trap water, which is why a lifted corner needs attention quickly. Wear time for how to do acrylic nails at home is shorter than most videos suggest, and taking the set off on time protects the nail underneath. Mark the dates on a calendar so you do not forget.
12. Avoid the mistakes that cause lifting and pain
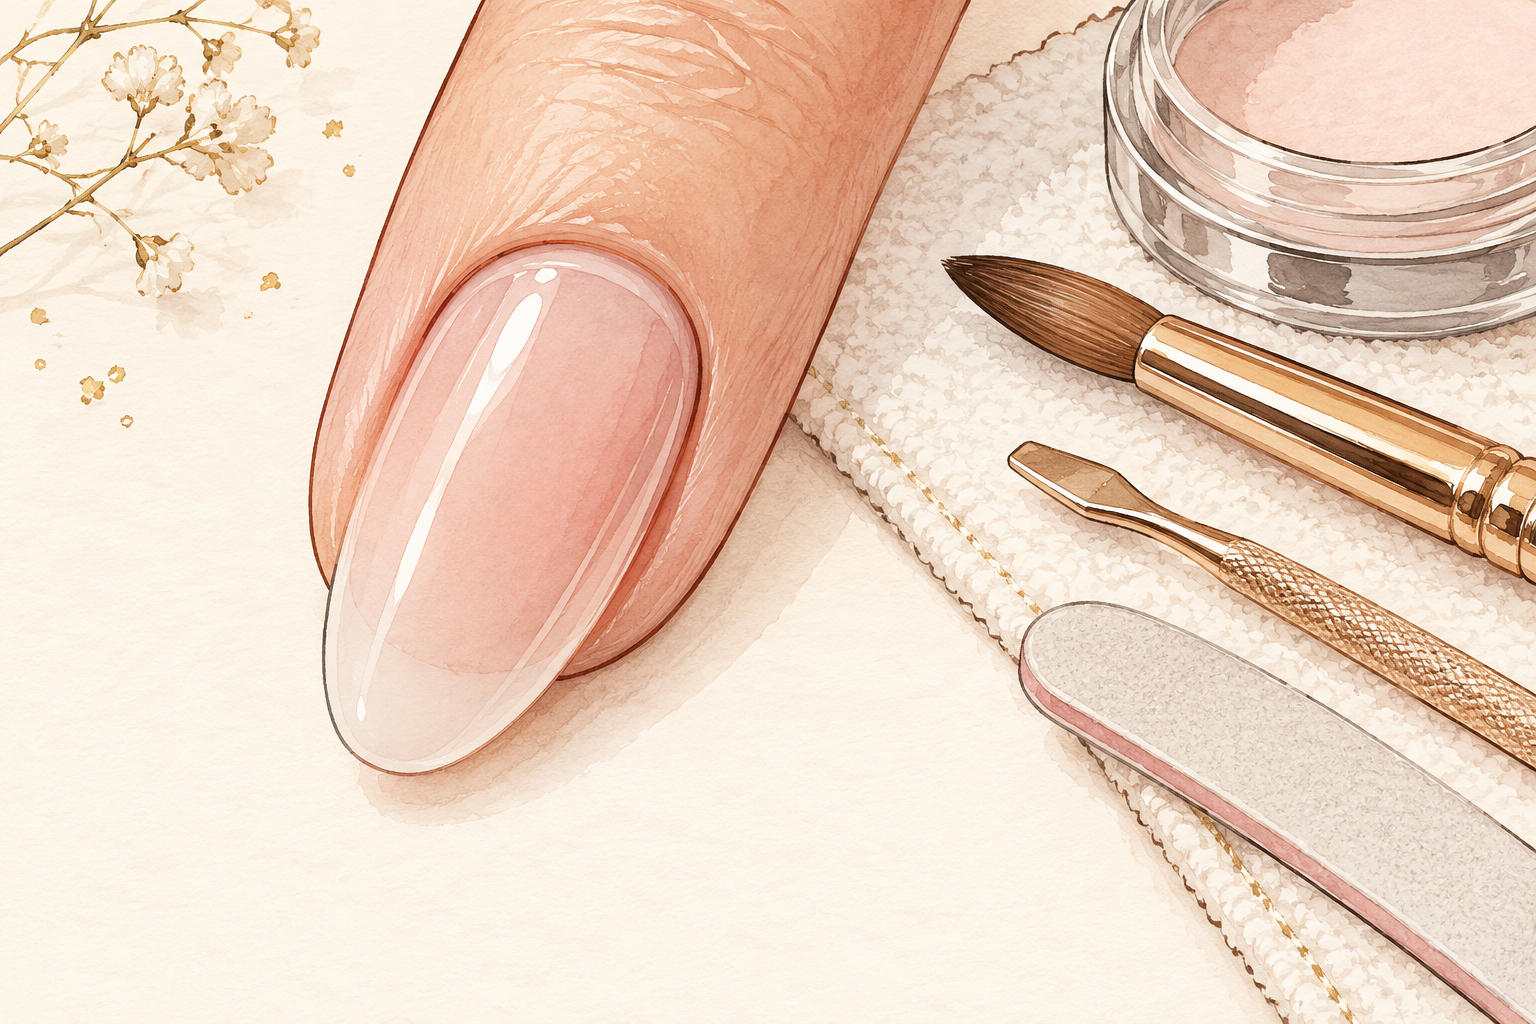
Thick blobs at the cuticle, product on the skin, overbuffing and damp nails are the usual causes. If a corner lifts, do not pick at it, because that peels layers off your own nail. If you see green or dark patches under the acrylic, or the nail hurts, take the set off and give your nails a long break with oil and cream. For a first attempt, do one hand and stop when your arms get tired. A tired hand makes messy beads, and messy beads make a lumpy nail.
Complete the Routine: How to Do Acrylic Nails at Home Safely Next Time
Tonight, open a window, find a nail form and practice ten beads on it before you touch your own hand. Patience with the first set pays off, so use the guides below to pick your next project once the basics feel steady.