You add a big acrylic set to your basket, and a week later half of it sits in a drawer while your nails still look uneven. DIY acrylic nails at home need far fewer supplies than the online bundles suggest. These 12 decisions cover what to buy, where to work and what to skip, so start at number one before you order.
1. Know what a starter kit really needs
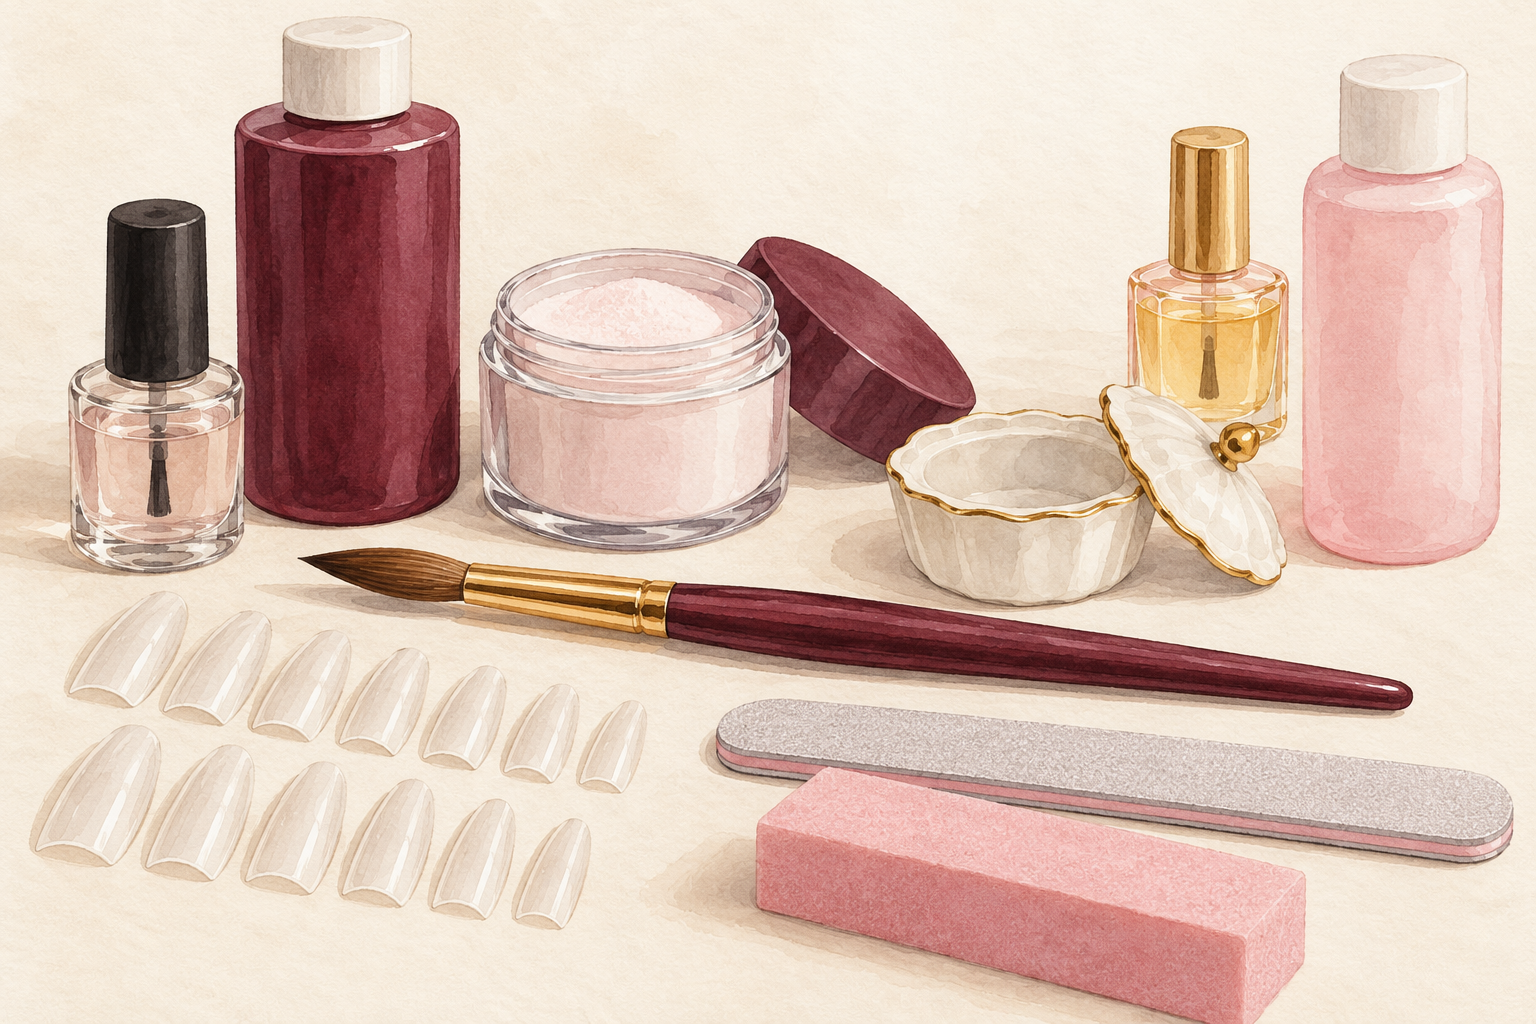
You need a liquid, a powder, a brush, a small lidded dish, tips or forms, a file, a buffer and a primer. That is the whole list, and everything else is a bonus. Write it on your phone before you shop, so a fancy bundle does not talk you into extras. Check that the liquid and powder are made for each other, because mixing random bottles gives you a bead that sets too fast or never sets. Add cuticle oil and remover to the list, since you will need both on the day. DIY acrylic nails at home go far smoother when the kit is small and fresh.
2. Choose a liquid made for nails
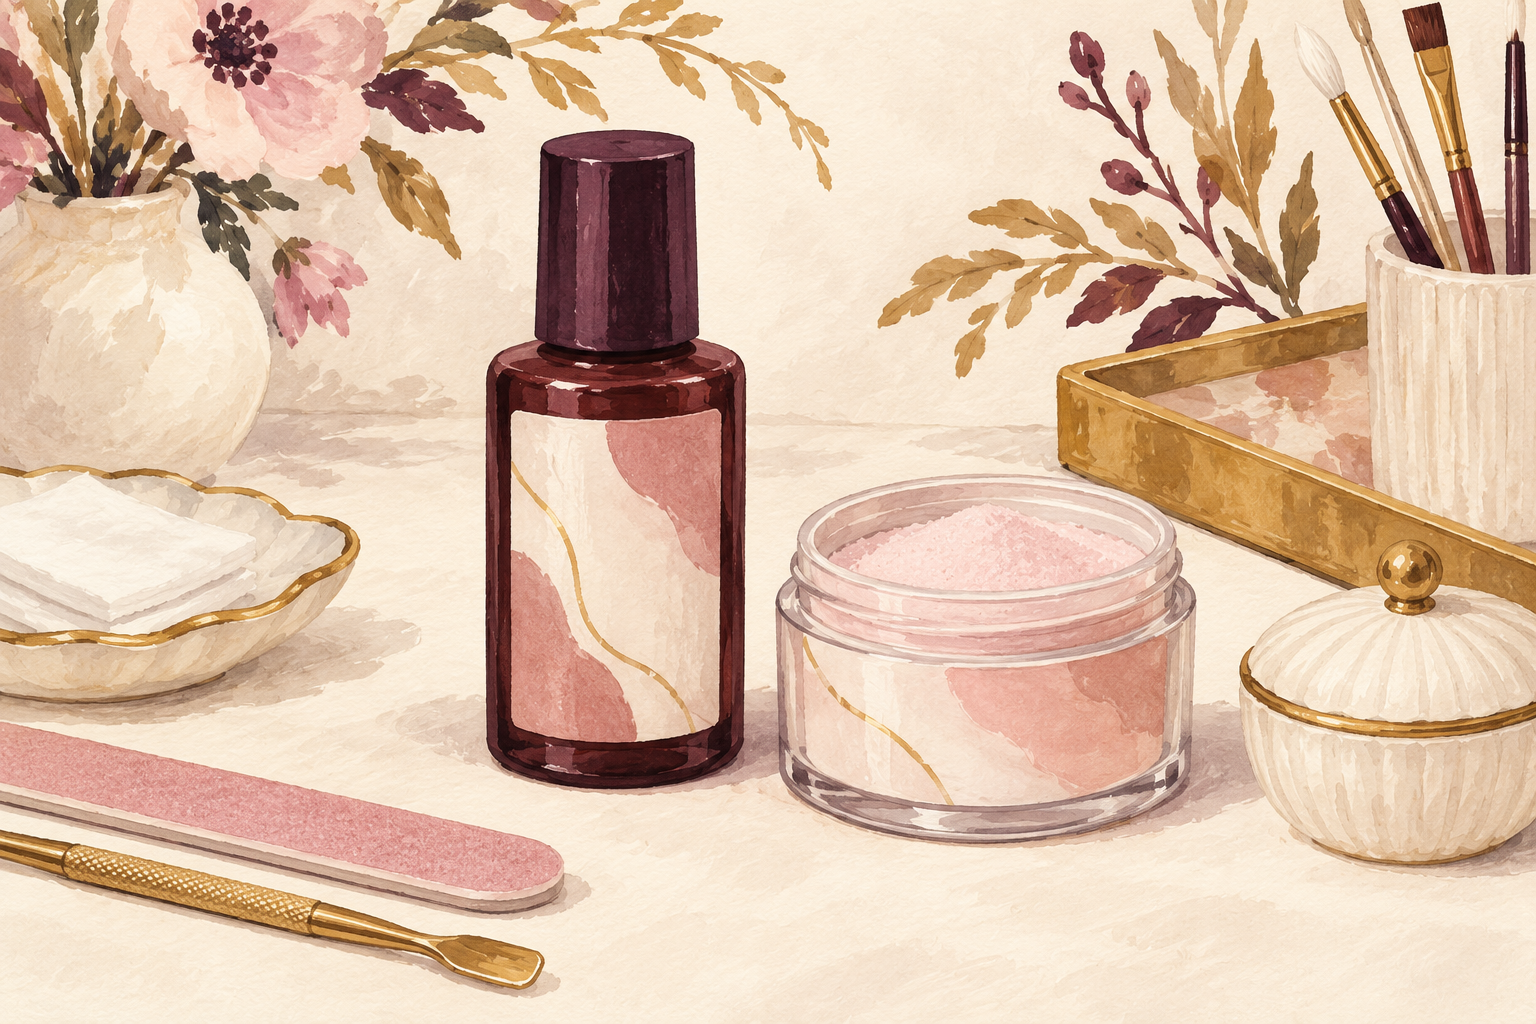
Pick a liquid that says it is made for nail acrylic, and never swap in anything from a hardware shop. It should come with a clear ingredient list on the label. The smell is strong, so pour only a little into the dish and close the lid each time. A small bottle lasts a long time at home. A liquid that smells sweet and sharp is normal, while one that burns your nose is too strong for a small room, so choose a lower odor one if you can. Read the label for a clear ingredient list, and keep the bottle upright and tightly closed.
3. Start with one or two powders
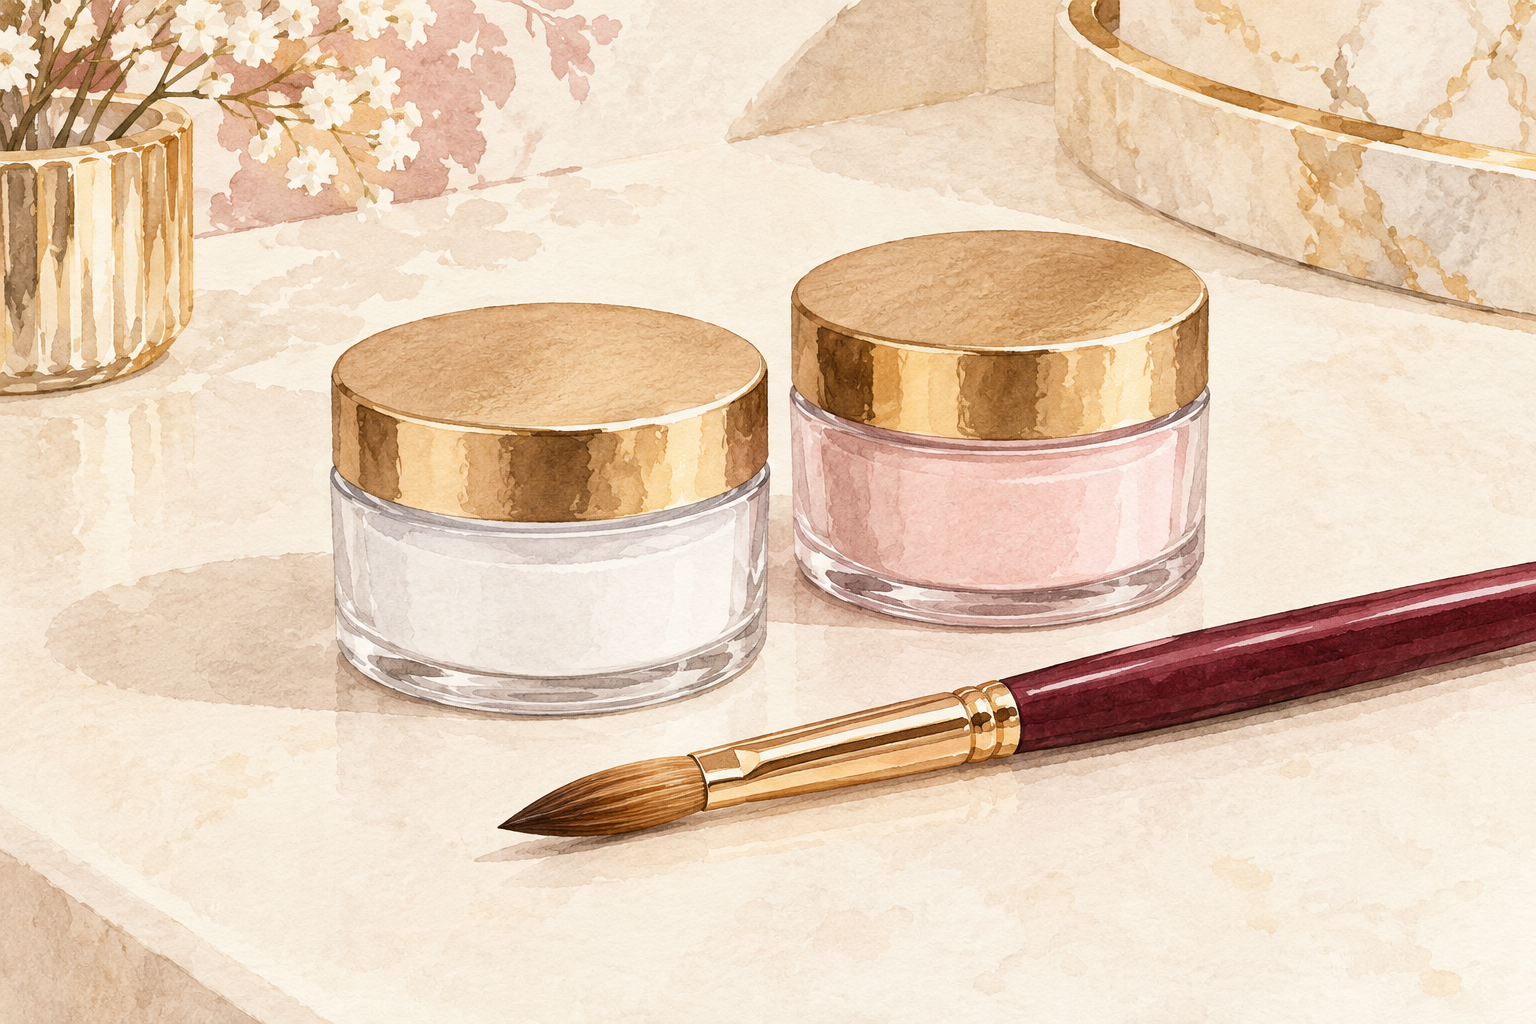
Buy a clear powder and a pale pink one, and leave the rainbow set on the shelf. Those two cover a natural look, a French tip and most everyday colors. A big color collection tempts you, but each jar needs to be fresh when you use it, and beginners rarely finish them. Powder that sat open turns lumpy and forms bumpy nails. Keep the jar lids tight and the powder dry. You can add a bold shade later, once your first set feels easy. A small jar of powder lasts for many sets, so there is no hurry to stock up.
4. Spend your effort on one good brush
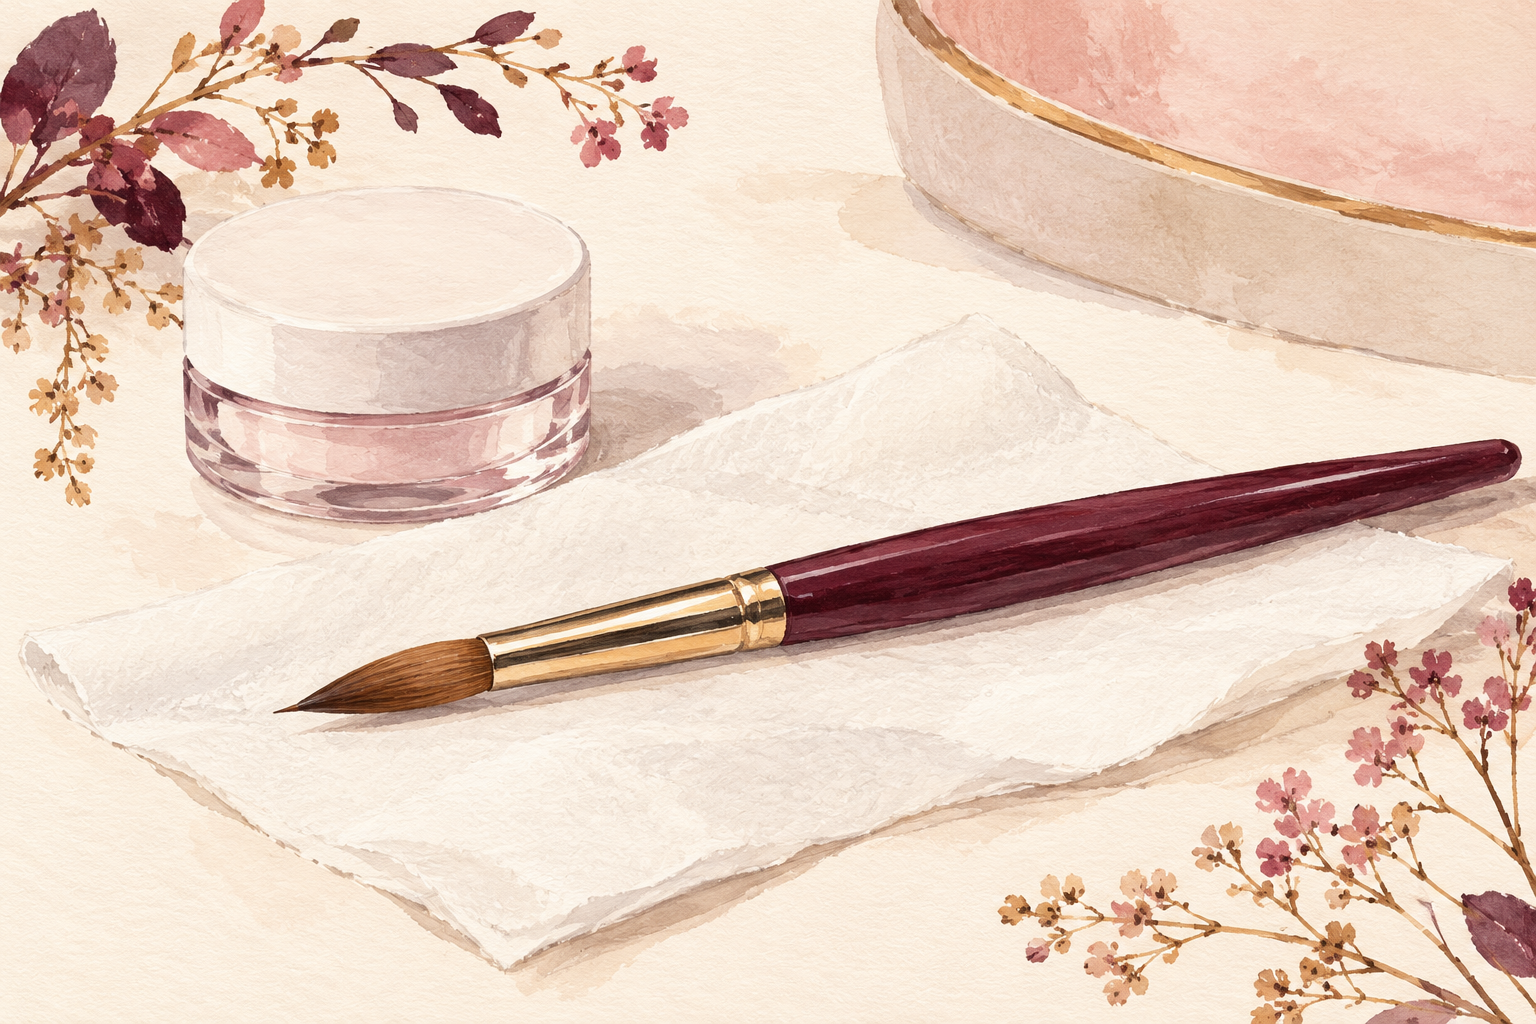
Choose one round brush, around a size eight, with a full belly and a sharp tip. The brush picks up the bead and shapes it, so it matters more than the powder. A thin, floppy brush drops the bead and makes you rush. Keep it only for acrylic, and wipe it on a tissue after each nail. Never leave it standing in liquid. Store it flat so the tip keeps its shape. Treat it like a good makeup brush and it will last for many sets. Wipe the handle clean after each use so no sticky residue builds up.
5. Pick tips over forms for your first set
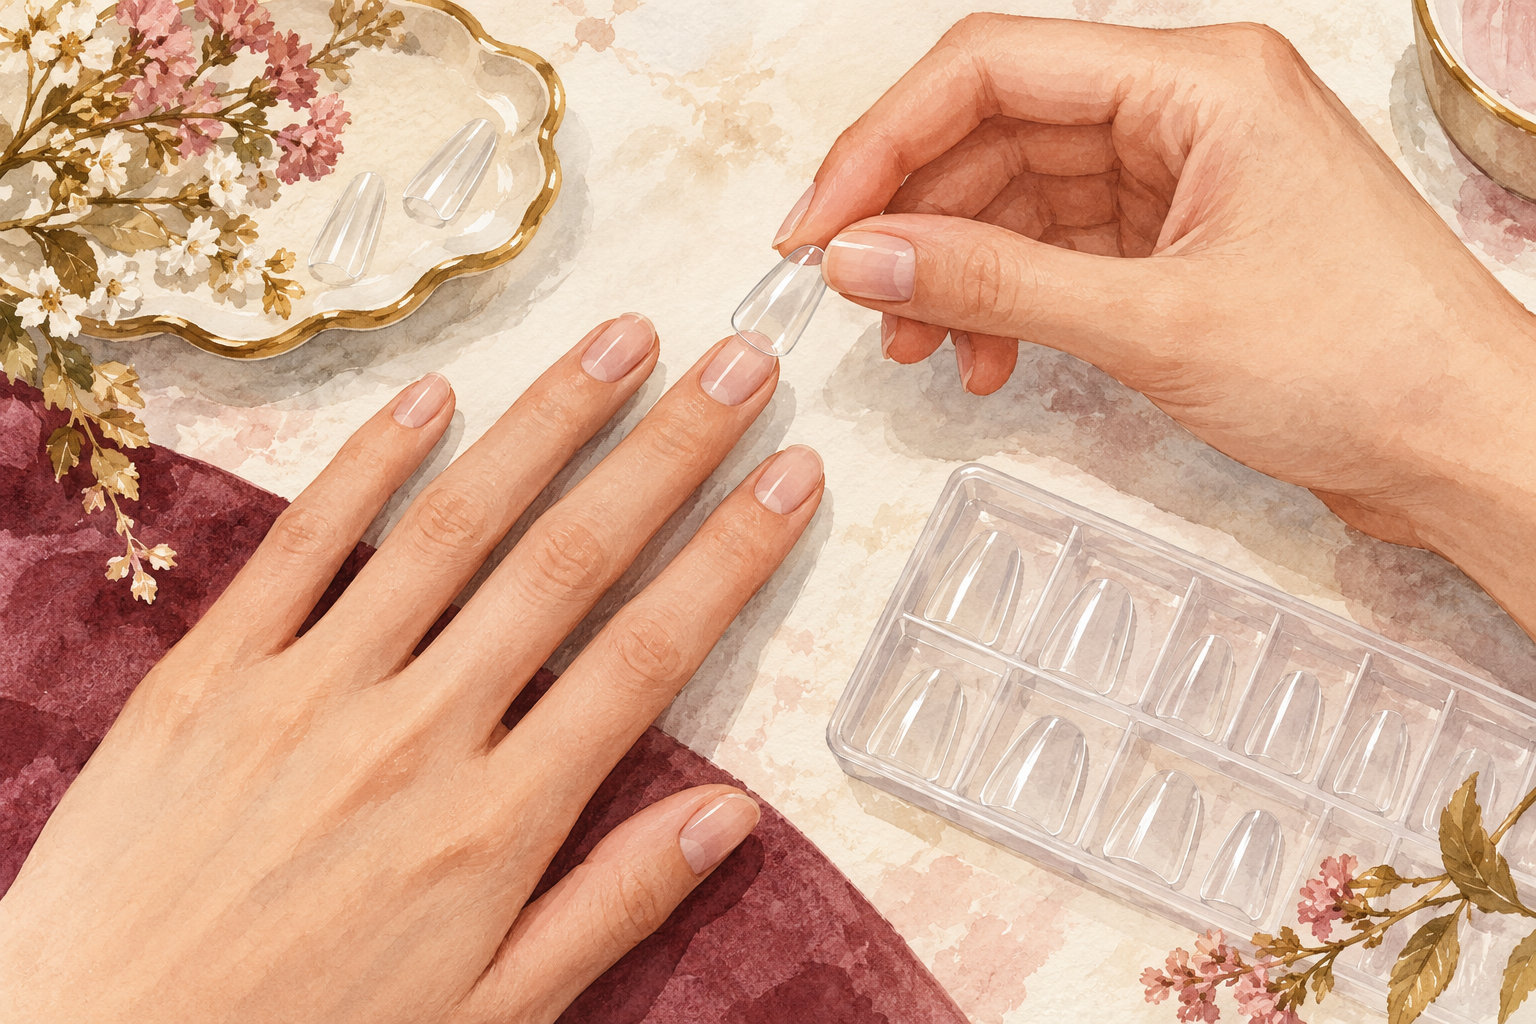
Buy a pack of tips with a full range of sizes, because they are easier than forms to start with. A tip gives you a ready made shape and stays on while you build over it. Forms need a steady hand, because you sculpt the whole length freehand. Match each tip to the width of the nail, side wall to side wall, and size down if you are in between. Choose a short length for your first set. Short nails are easier to build evenly and kinder to your natural nail. Keep a few spare tips in the next size up and down in case one pops off.
6. Prep properly or the set will lift
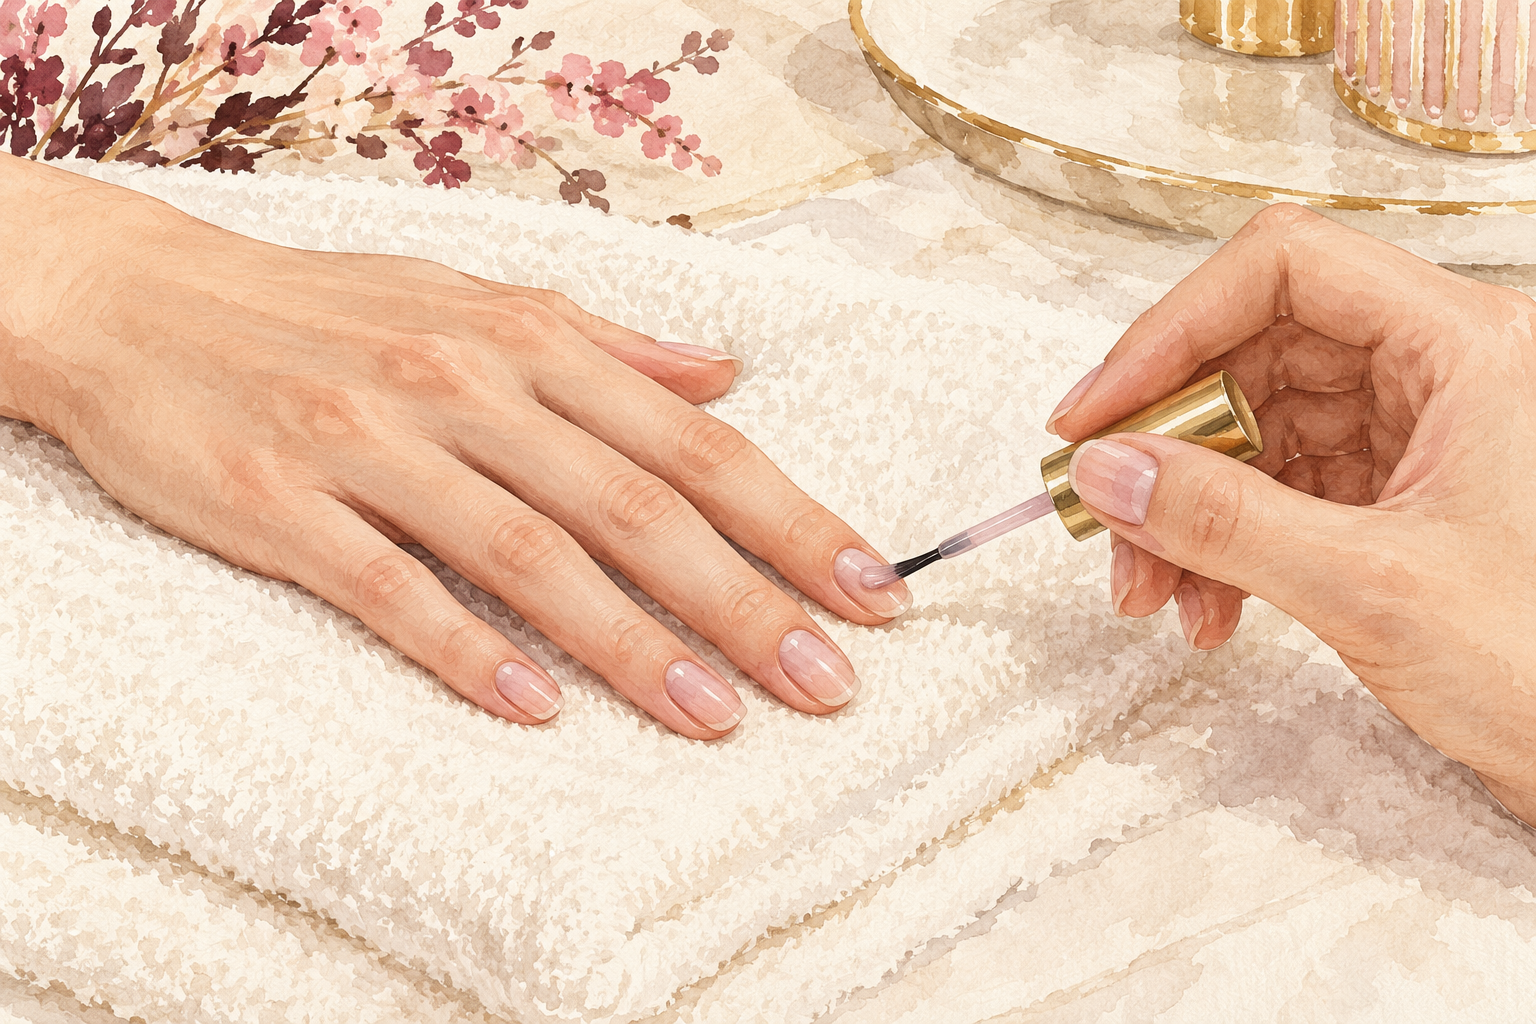
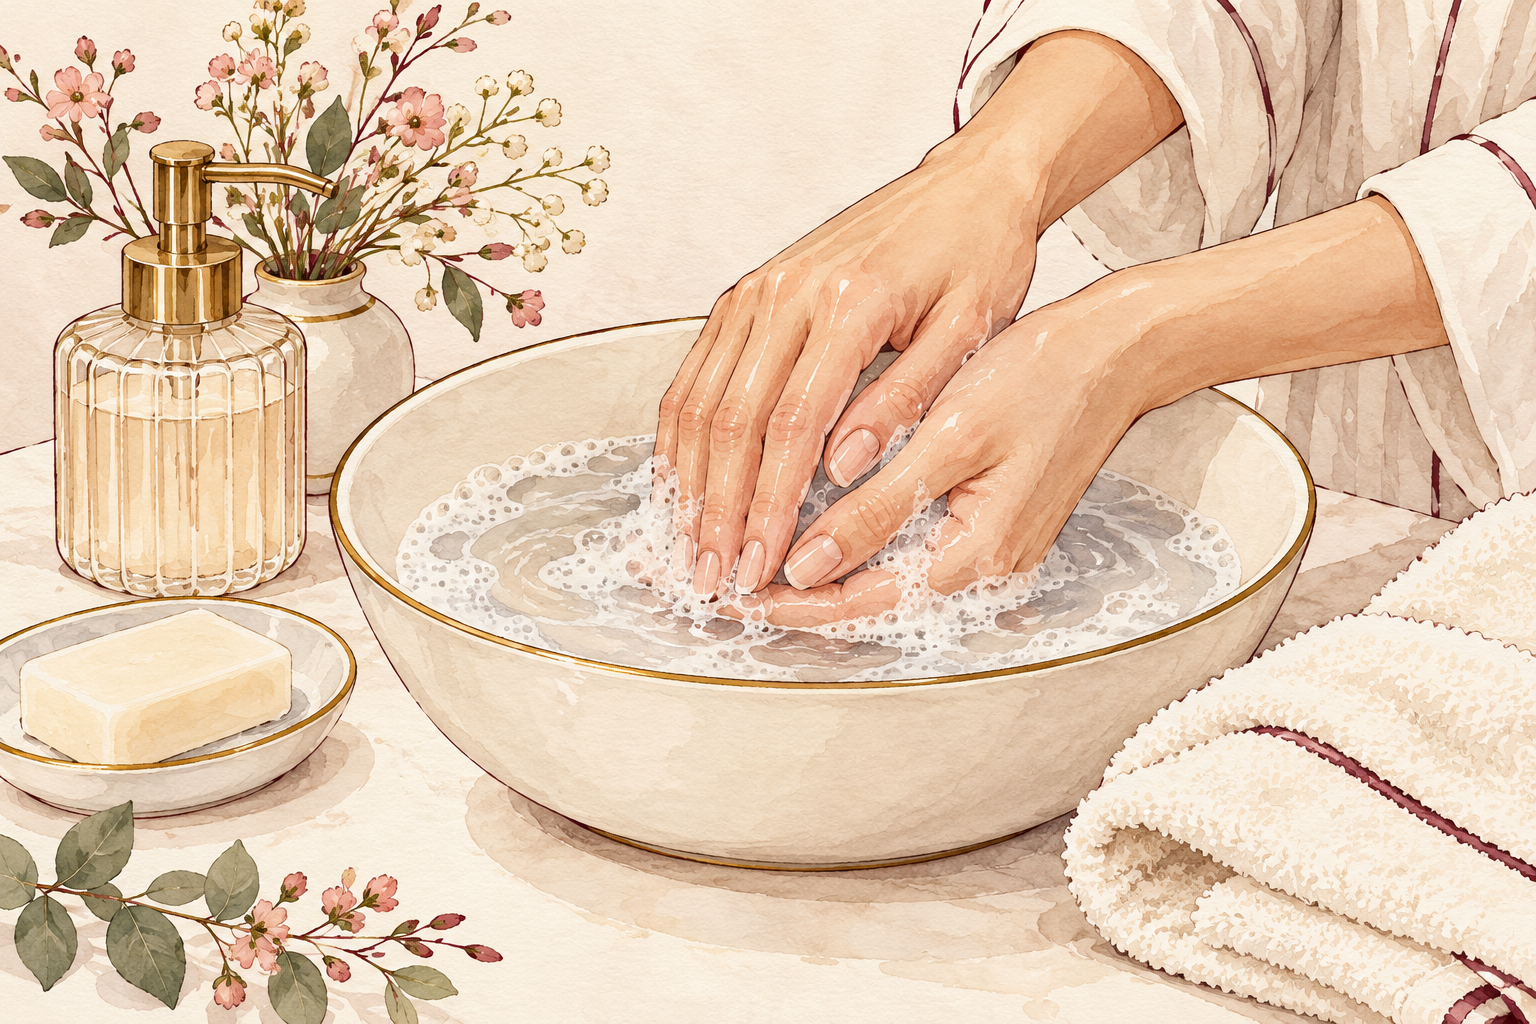
Push the cuticles back, buff the shine off each nail, wipe with cleanser, and brush on a thin layer of primer. Acrylic only holds on a clean, dry, lightly roughed up nail. Buff for about five seconds per nail and no more, since too much takes away your own nail. Keep the primer on the nail plate and off the skin, as it can sting. Let it dry until it looks chalky. This five minute prep is the difference between a set that lasts two weeks and one that pops off on day two. Wash your hands and dry them well before the first coat of primer.
7. Set up fresh air before you open the liquid
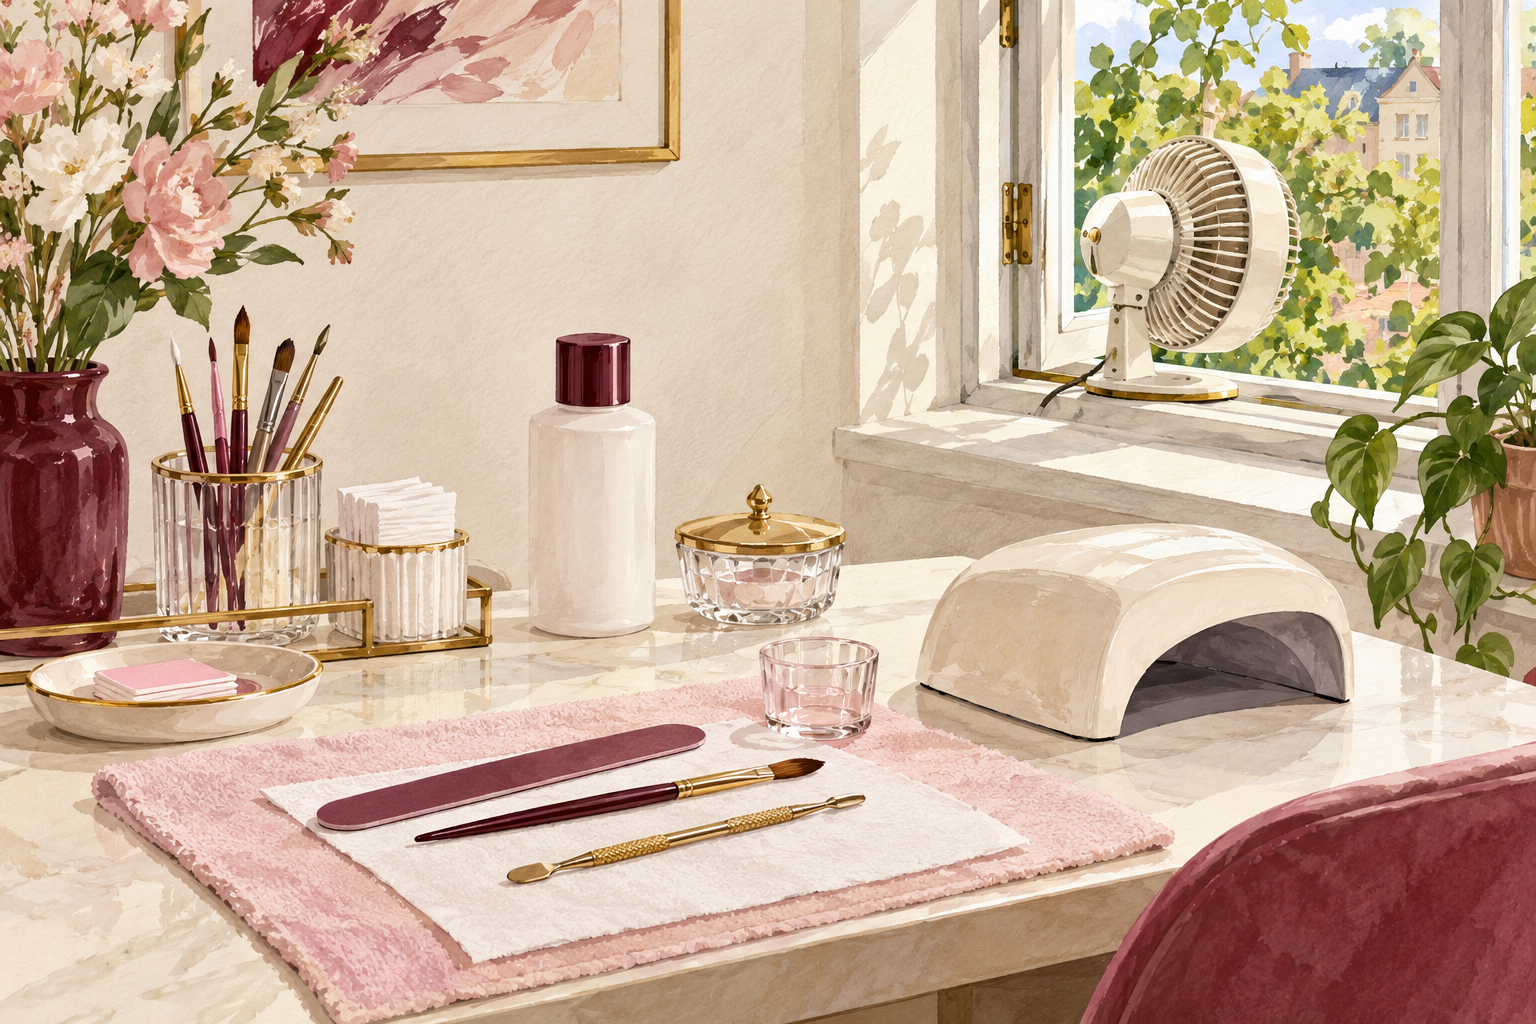
Work beside an open window with a small fan blowing the fumes away from your face. Acrylic liquid smells strong, and a closed bathroom builds up the fumes fast. Keep the dish lid on between nails, take a break outdoors every half hour, and never work with a baby or a pet in the room. A simple mask over your nose and mouth helps. Do your set in the morning when you can air the room out afterwards, and wipe the table and the dish when you finish. If your head aches or your eyes sting, stop and step outside until it passes.
8. Practice the bead on a tip first
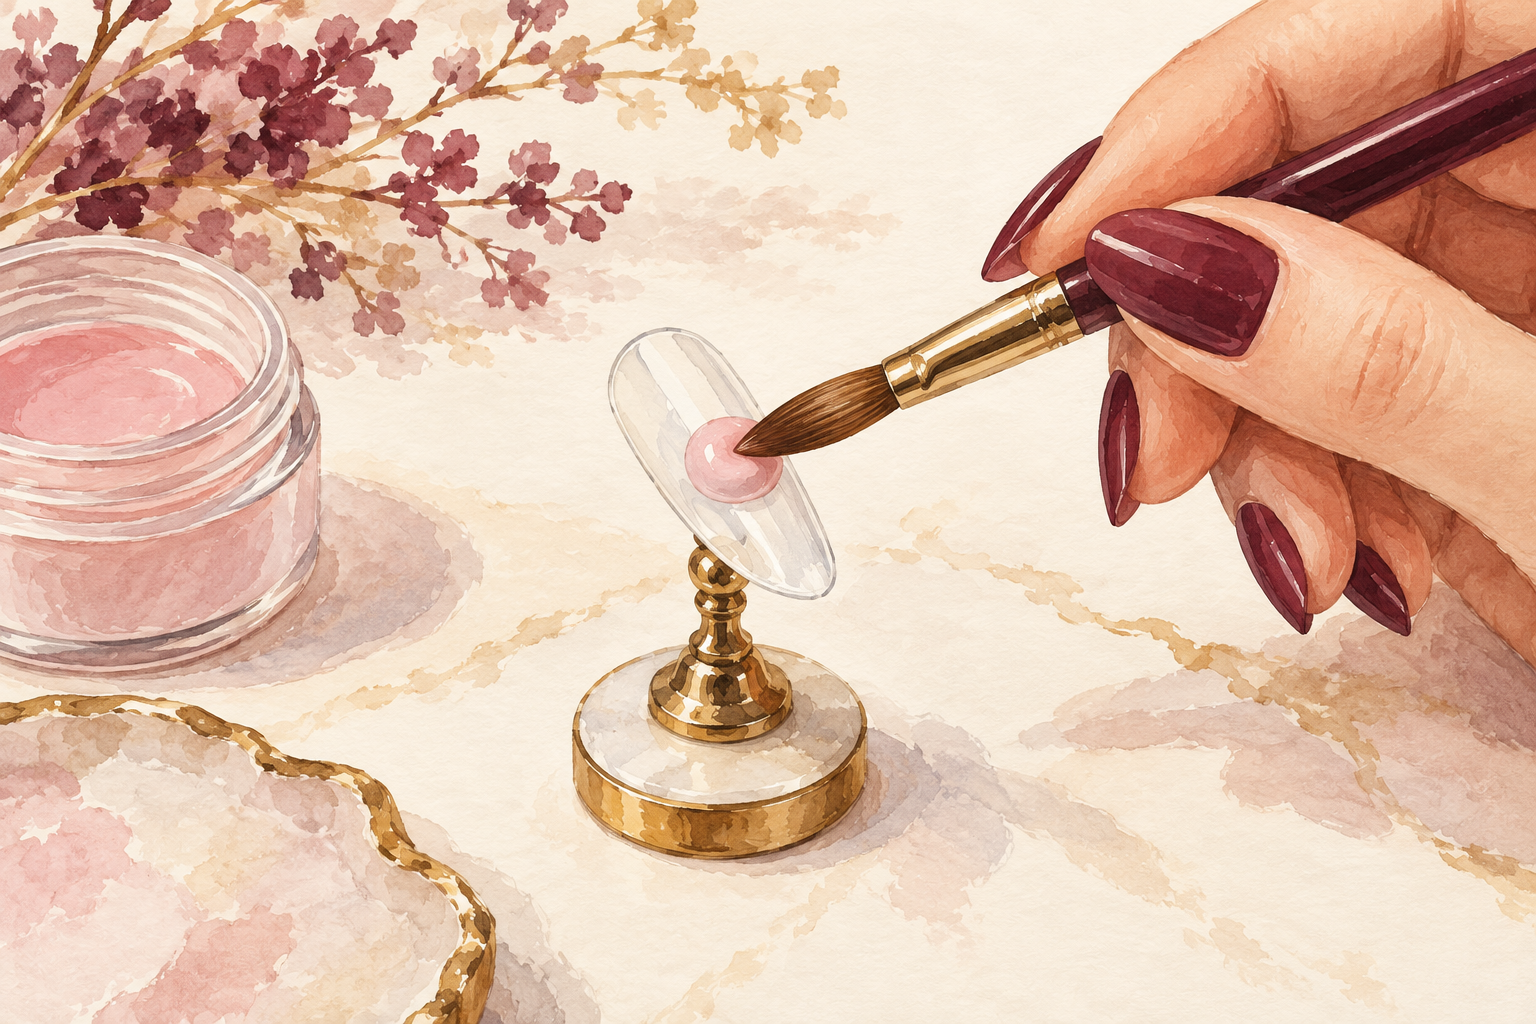
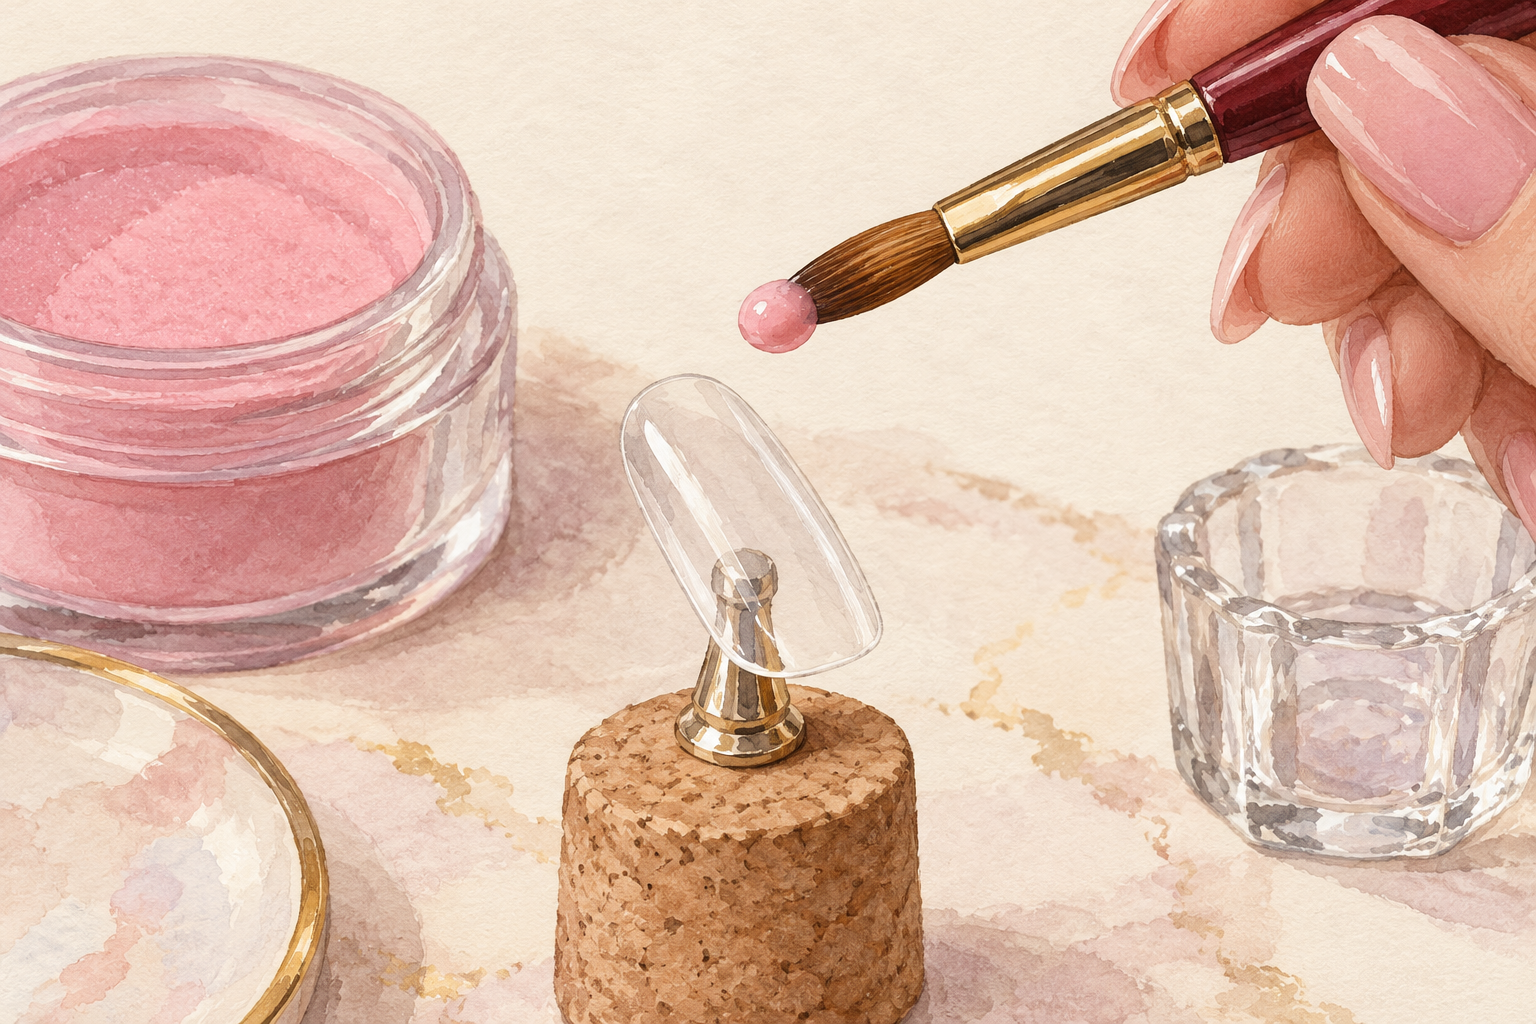
Dip your brush in the liquid, press it on a tissue, then touch the powder and roll until you have a bead the size of a small pea. Place it on the nail near the cuticle, tap it, and move it toward the tip. The bead should look wet and shiny. If it looks dry and crumbly, it needs more liquid, and if it runs, it needs more powder. Practice on a fake hand or on tips stuck to a piece of card. Expect a few messy tries, and do not judge your first nail. Wipe the brush on a tissue between nails so the bead stays clean. Bead control takes time, and a read on how to do acrylic nails at home can run alongside it.
9. Skip the supplies beginners overbuy
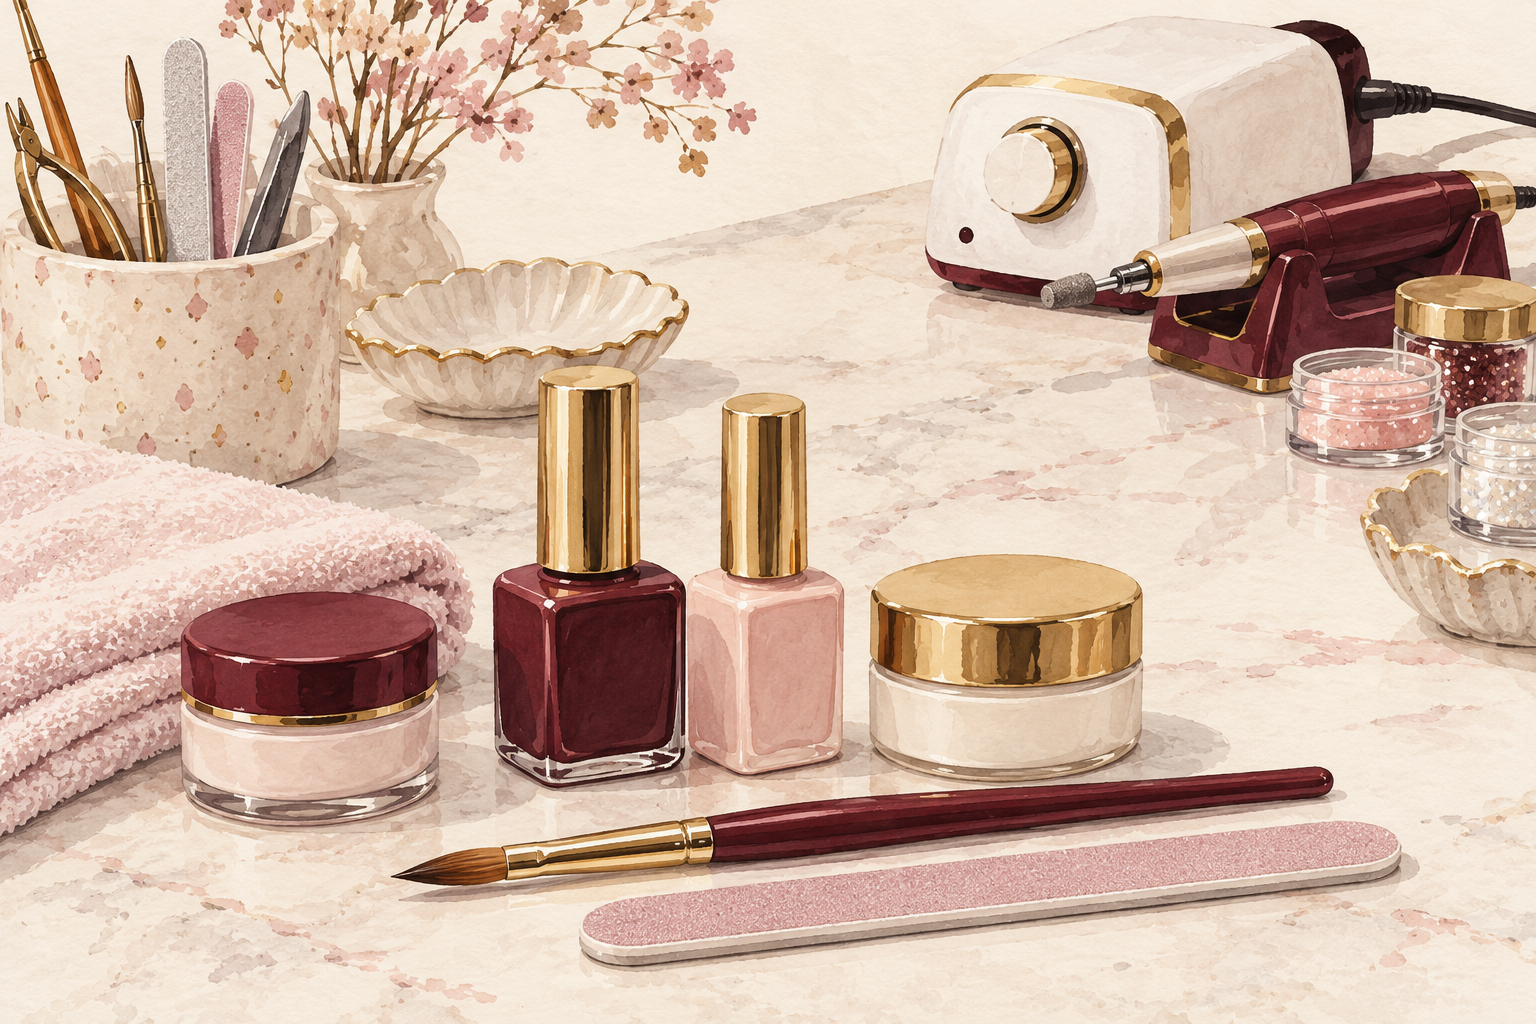
Leave out the nail drill, the huge glitter bundle, the hundred tip pack and the fifty color sets. A drill is easy to misuse and can thin the nail in seconds, so hand files are safer to start with. Glitter and gems can wait until you can build a smooth nail. Spend that effort on a good brush and a fresh bottle of primer. Beginners tend to use the same three items, so buy small and replace only what you finish. A few good basics will carry you through your first ten sets. Starting with fewer tools is easier while you learn, with how to do nails for beginners as the guide.
10. Avoid the mistakes that waste your kit
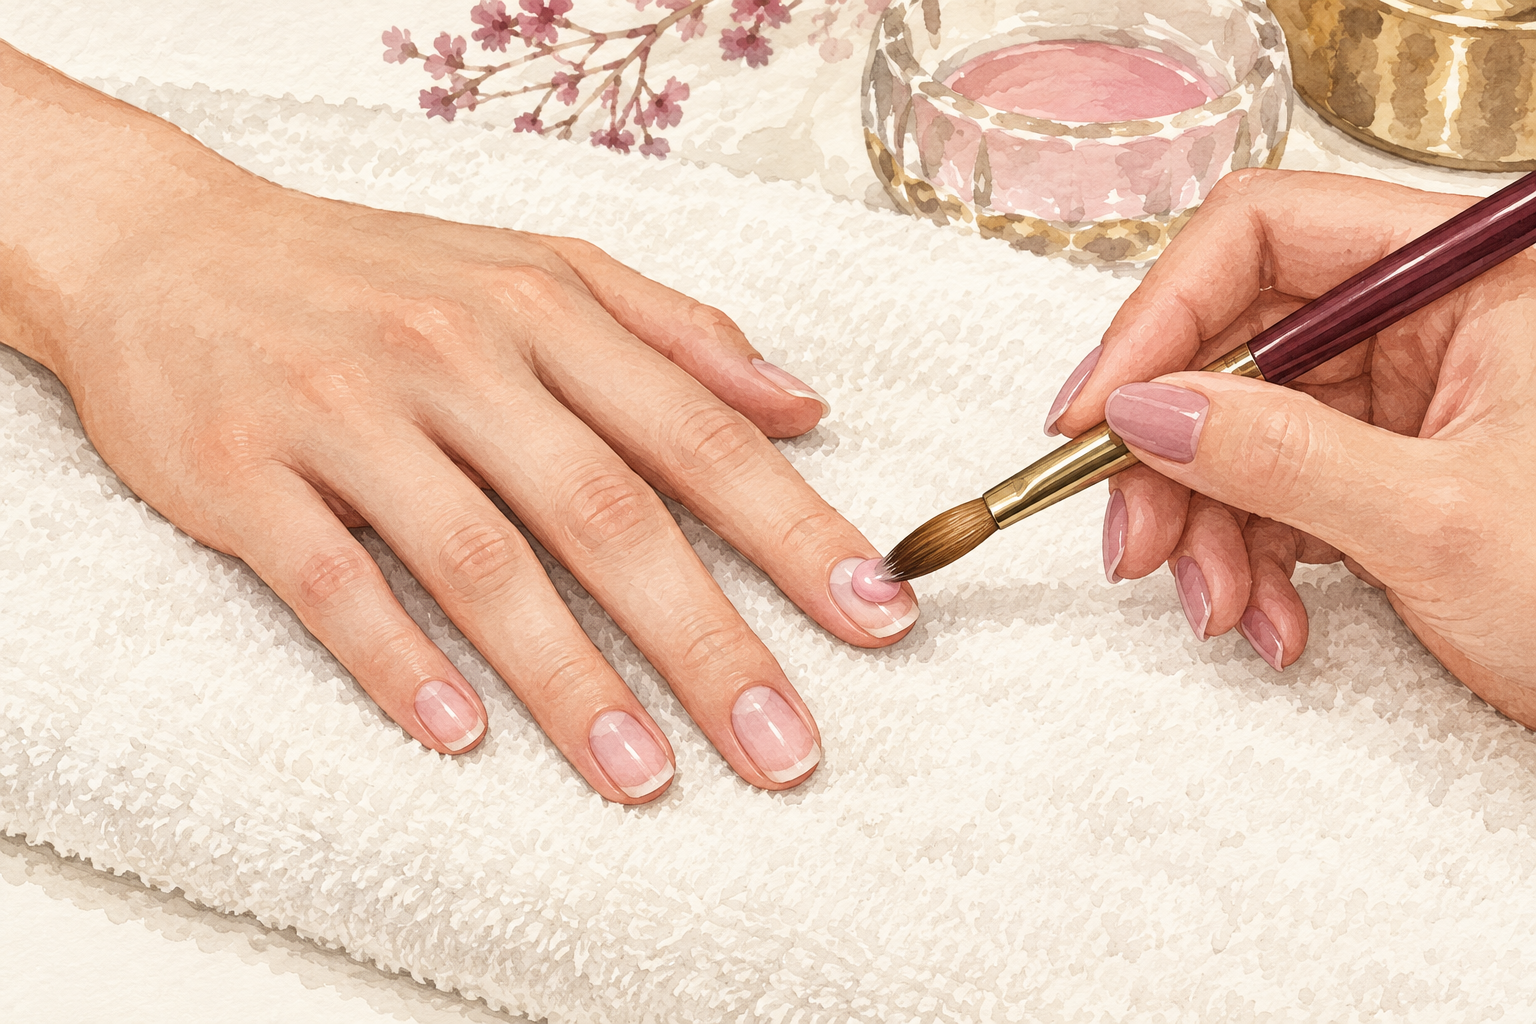
Keep the bead off the skin, never place it right against the cuticle, and work one nail at a time. Acrylic that touches skin lifts and traps dirt under it. Leave a hairline gap at the cuticle and file the thick spots later. Acrylic sets in a minute or two, so a nail you leave unfinished turns into a hard lump. Wipe the brush on a tissue after every nail. Go slowly and thin, because you can always add more but you cannot easily take away. Keep your hand supported on a towel while you work, because a wobbling brush leaves lumps.
11. Check that the set is working
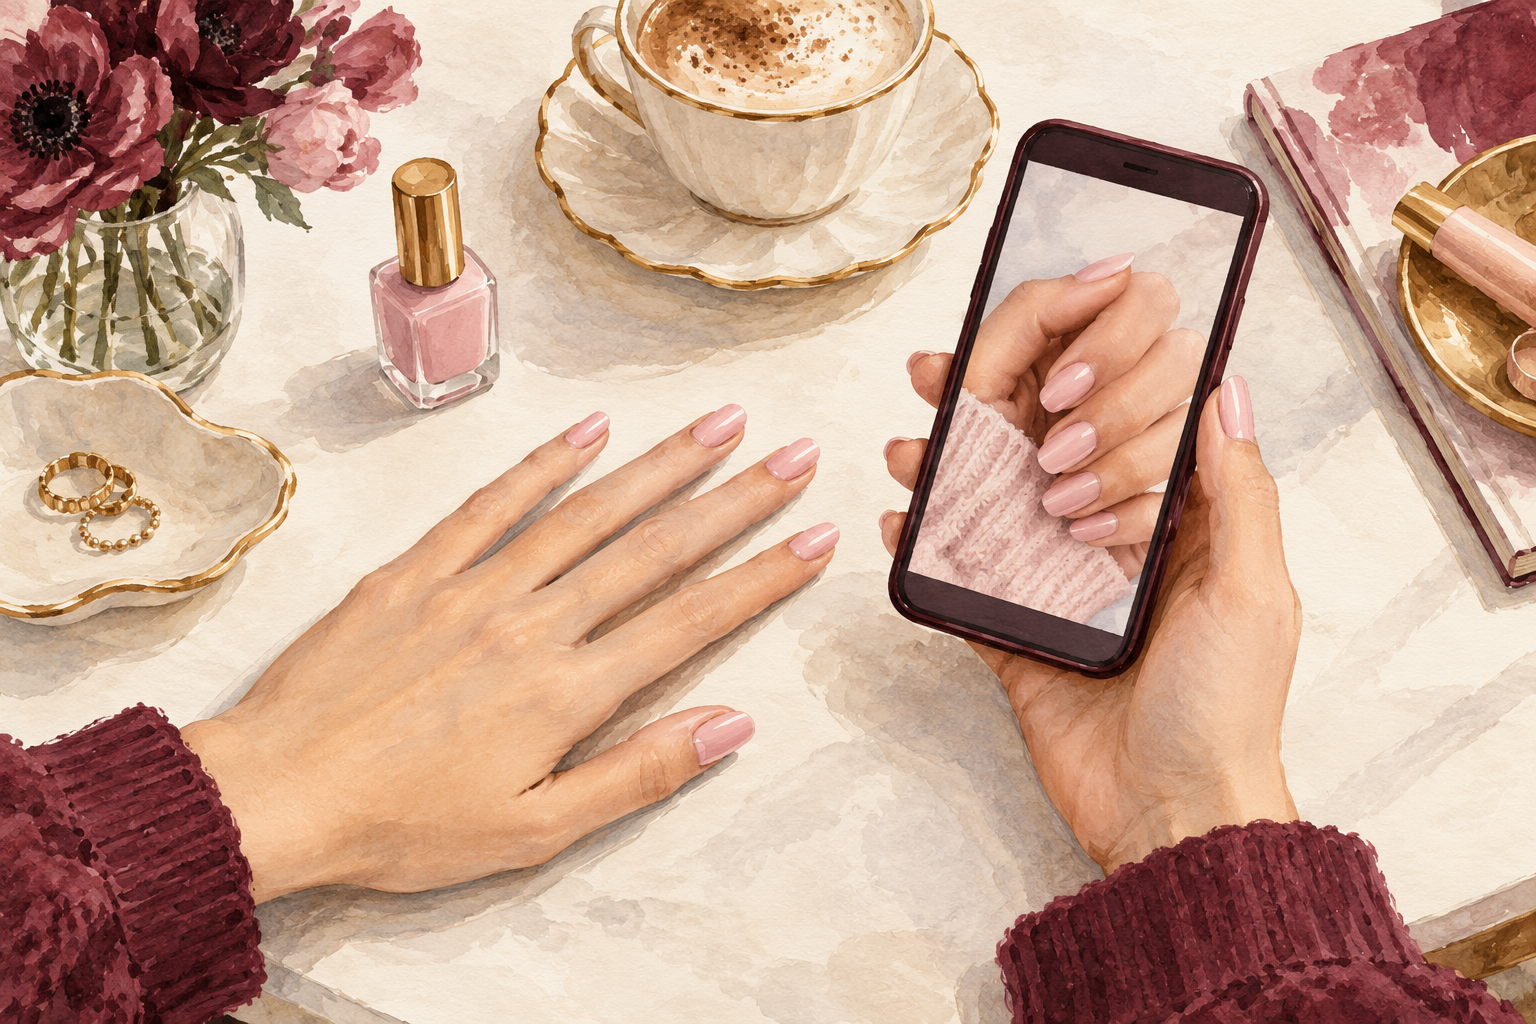
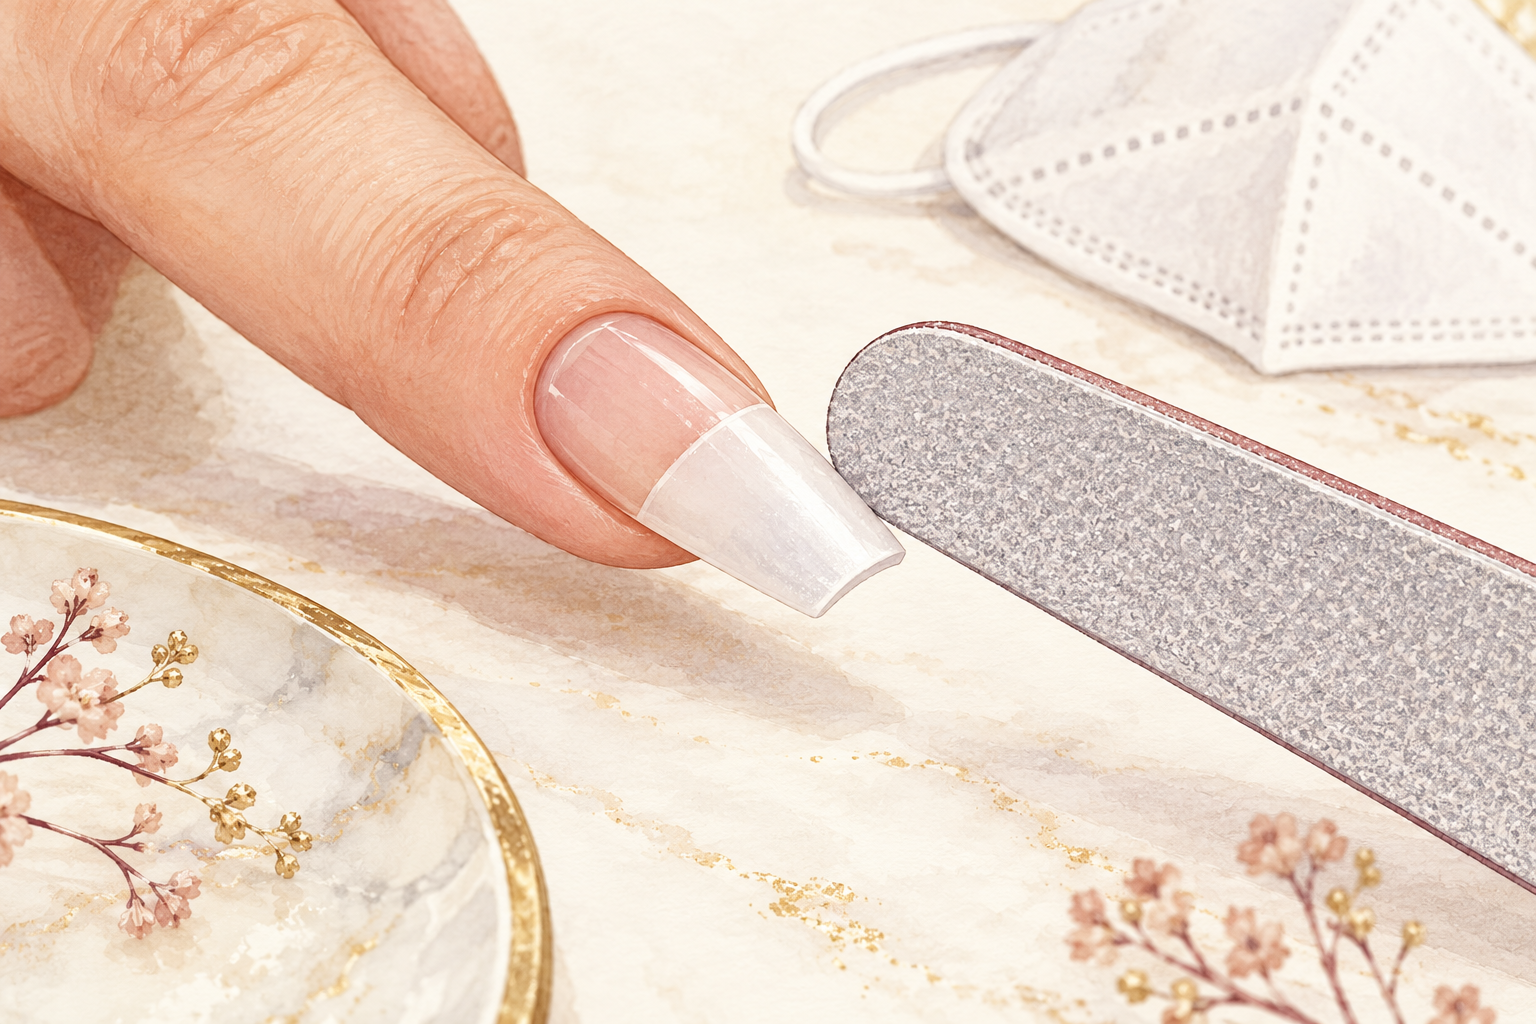
A good set feels light, smooth and comfortable, with no pinching, itching or heat. Run a fingertip over the edges, and if you feel a bump, file it flat with a fine file. Look for a gentle slope from the cuticle to the tip, with no gaps at the sides. Press the tip gently, and if the edge lifts, the prep missed something. A well done set lasts about two to three weeks before it needs a fill. Take a photo on day one to compare. File gently in one direction to smooth rough edges, and finish with a buff.
12. Know when to skip it
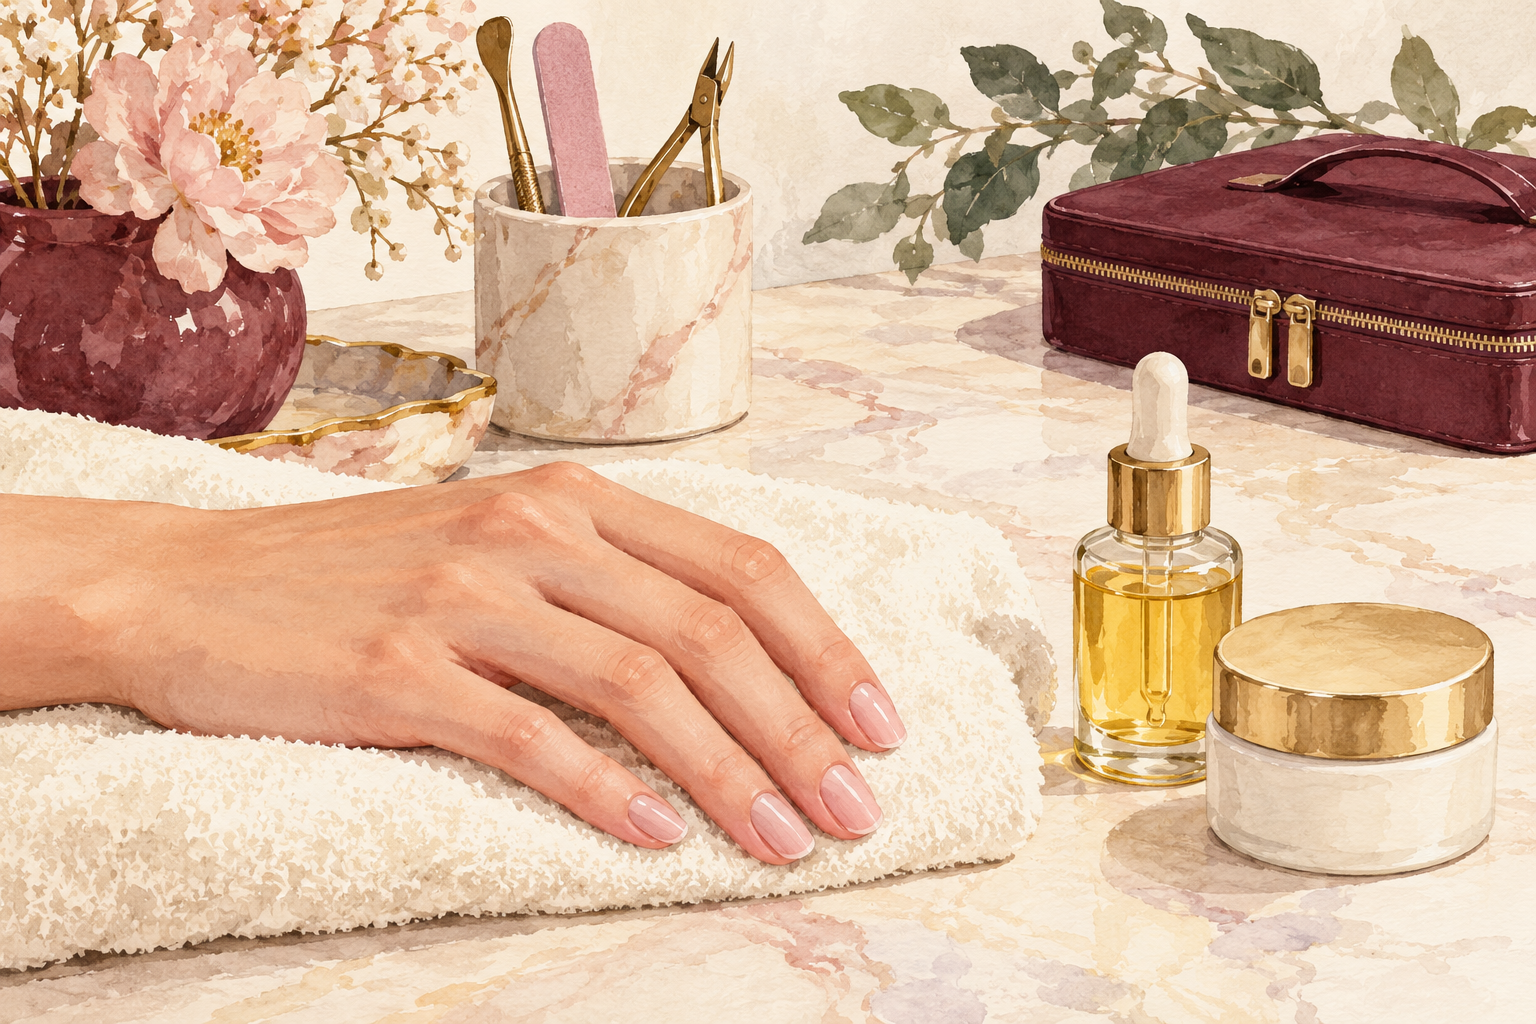
Skip acrylic if your nails are already peeling, if your skin itches near the liquid, or if you have no space to ventilate. If you wear a set, plan the removal as carefully as the application: soak the nails in acetone until the acrylic softens, and never pry. Rest your nails for a couple of weeks between sets, with oil each night. If acrylic at home feels like too much, press on nails or gel are gentler ways to try a new look. Rest your cuticles with oil, and give your nails a week bare before you start again.
Complete the Routine: DIY Acrylic Nails at Home, Step by Step
Tonight, write your short supply list and set up a window and a fan. Acrylic rewards a careful beginner, so try one guide below this week and keep the kit small and tidy.