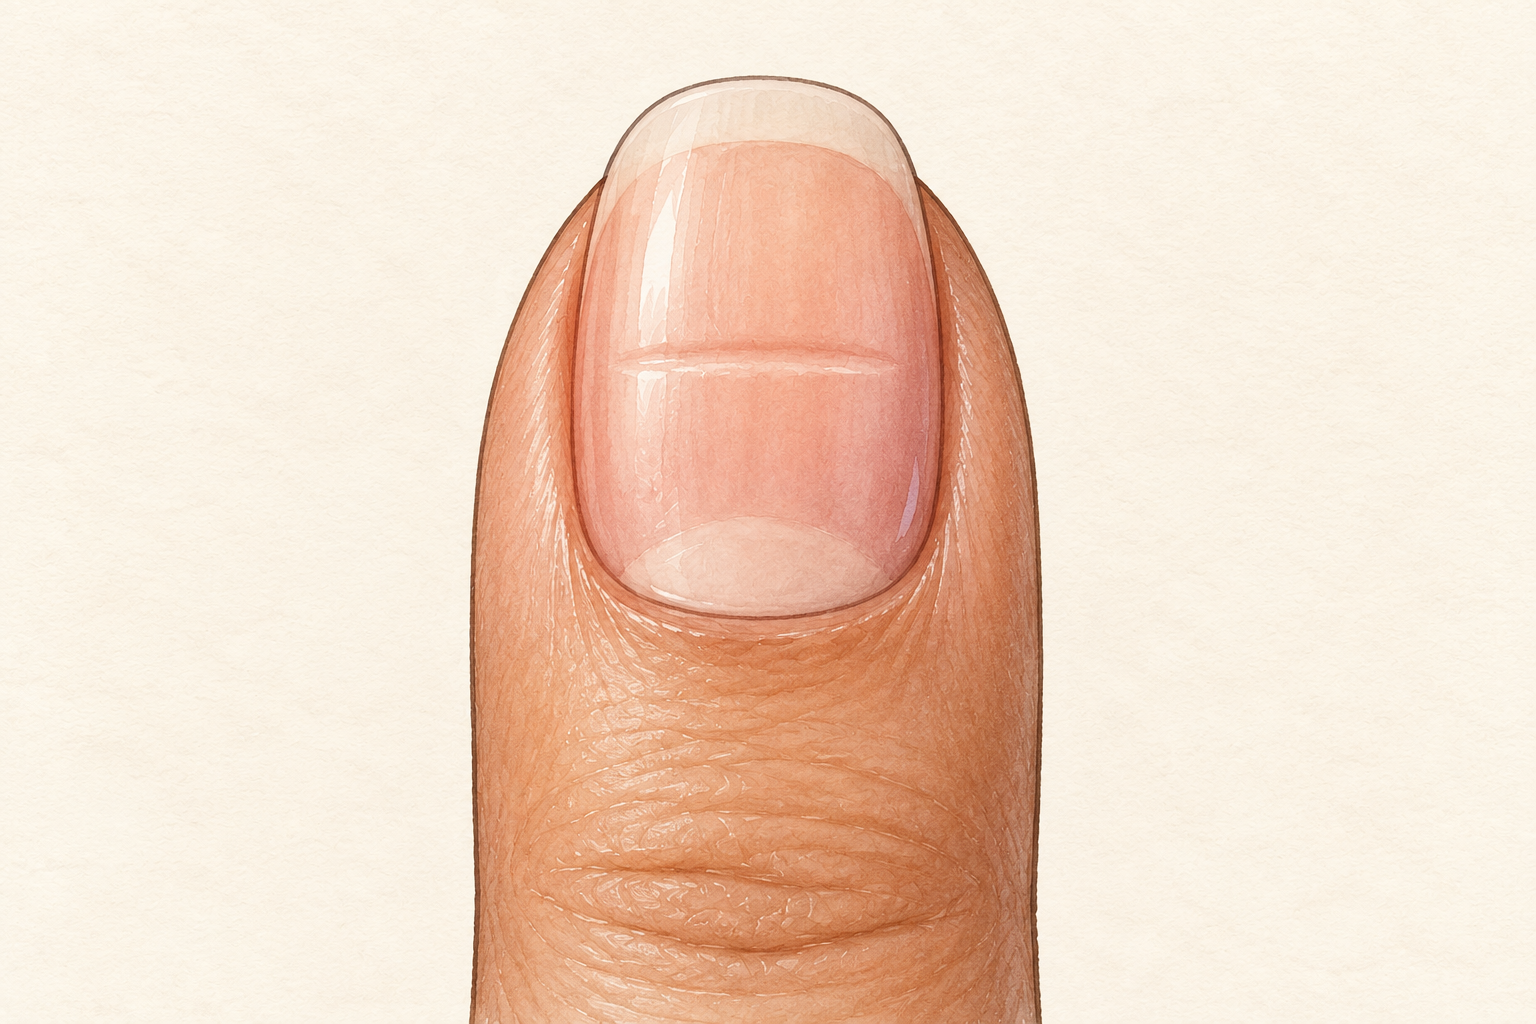
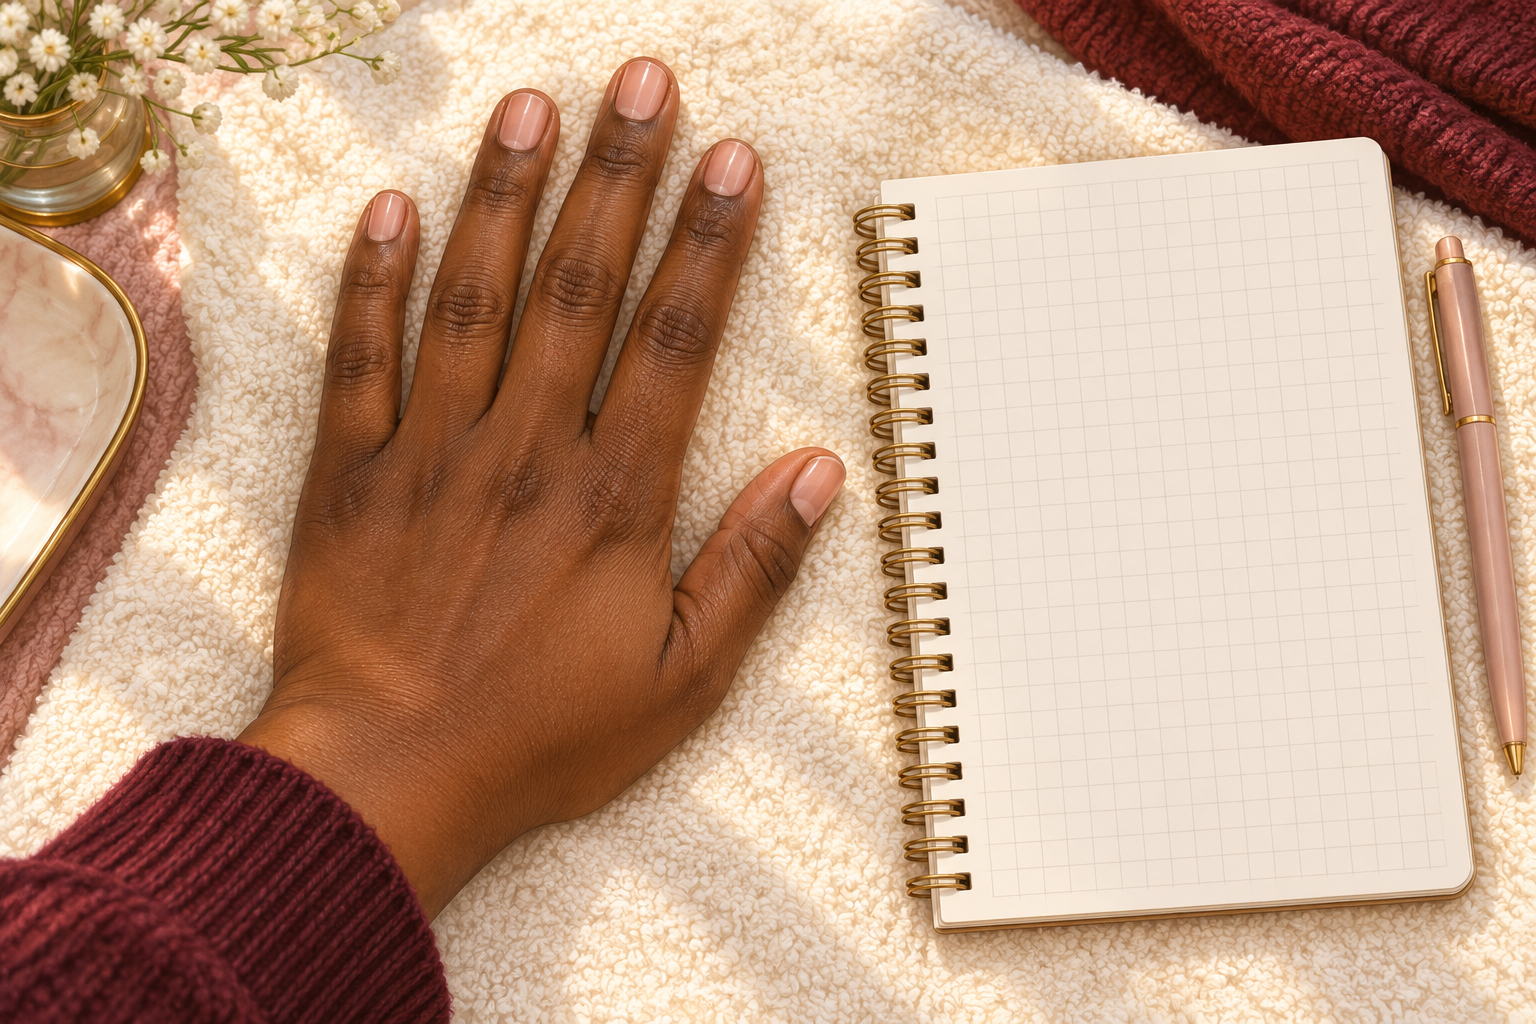
Your nails peel at the tips, snap at the corners and feel thin as paper, and every quick fix you tried faded by Friday. Strong nails come from small habits repeated for weeks, not one big treatment. Here is how to get healthy nails in 12 easy steps over eight weeks, so start at number one tonight.
1. Gather a small kit
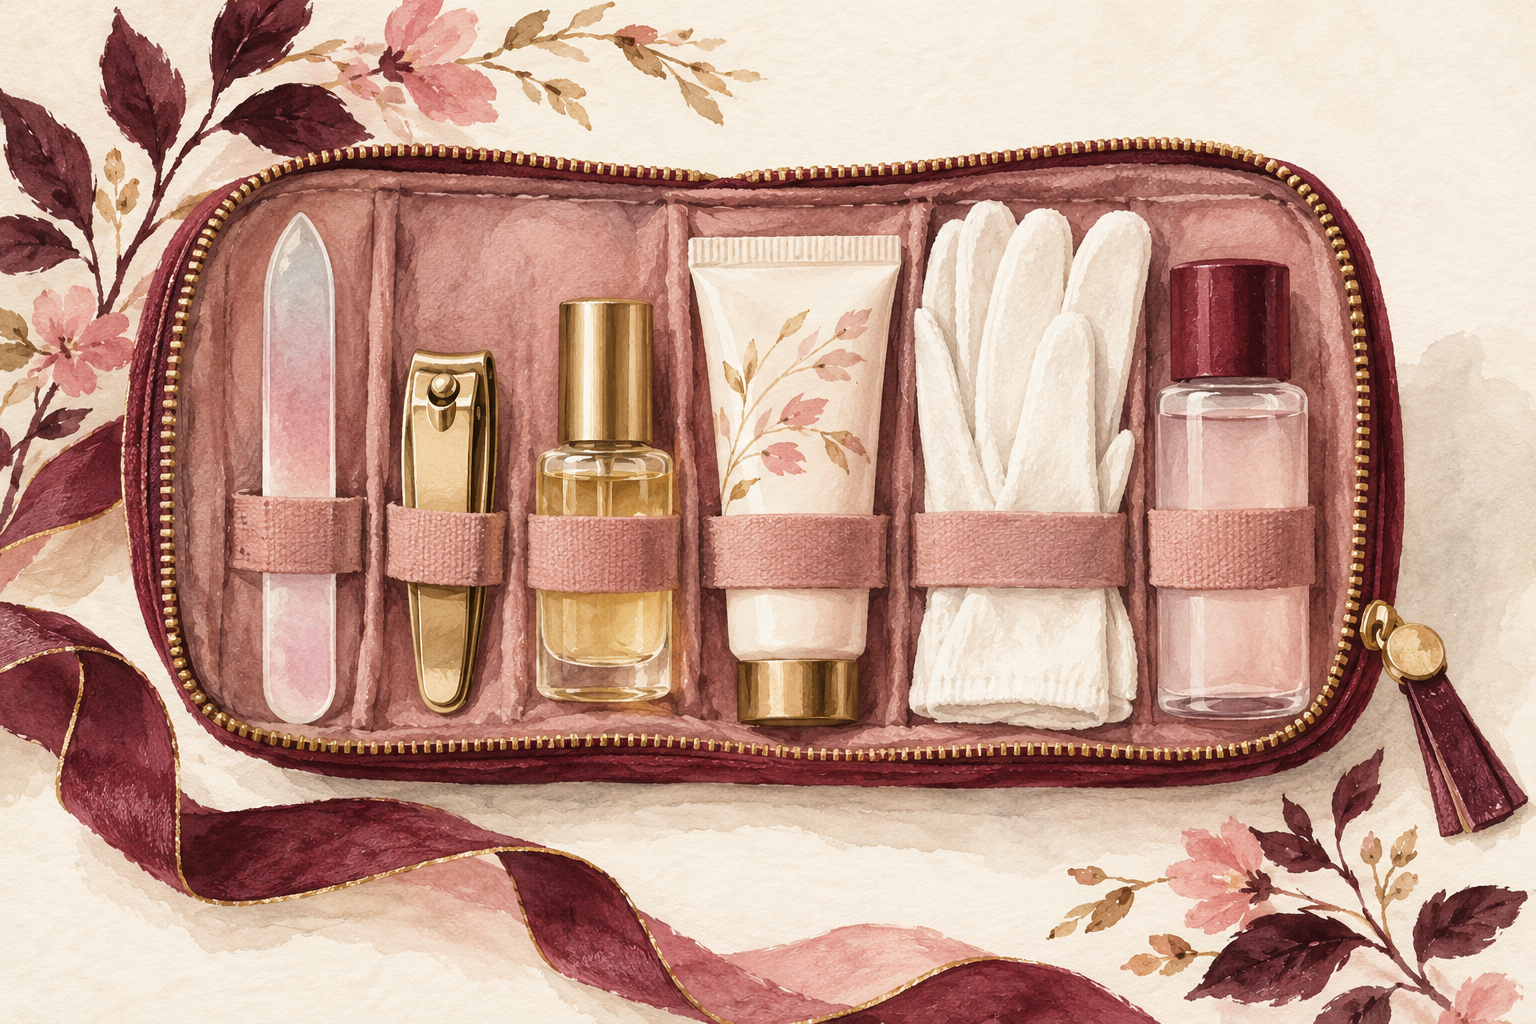
Put a glass file, clippers, cuticle oil, hand cream, cotton gloves and a gentle remover in one pouch. That is everything you need for the eight weeks. A glass file is smooth on the edge and easy to rinse clean, so it is a small upgrade worth making. Choose a hand cream that is rich but not greasy, so you actually use it. Keep the pouch by the sofa, not in a cupboard. When the kit is within reach, you do the steps without thinking about it. If a drawer is all you have, a zip bag works just as well.
2. Start with a photo and a few notes
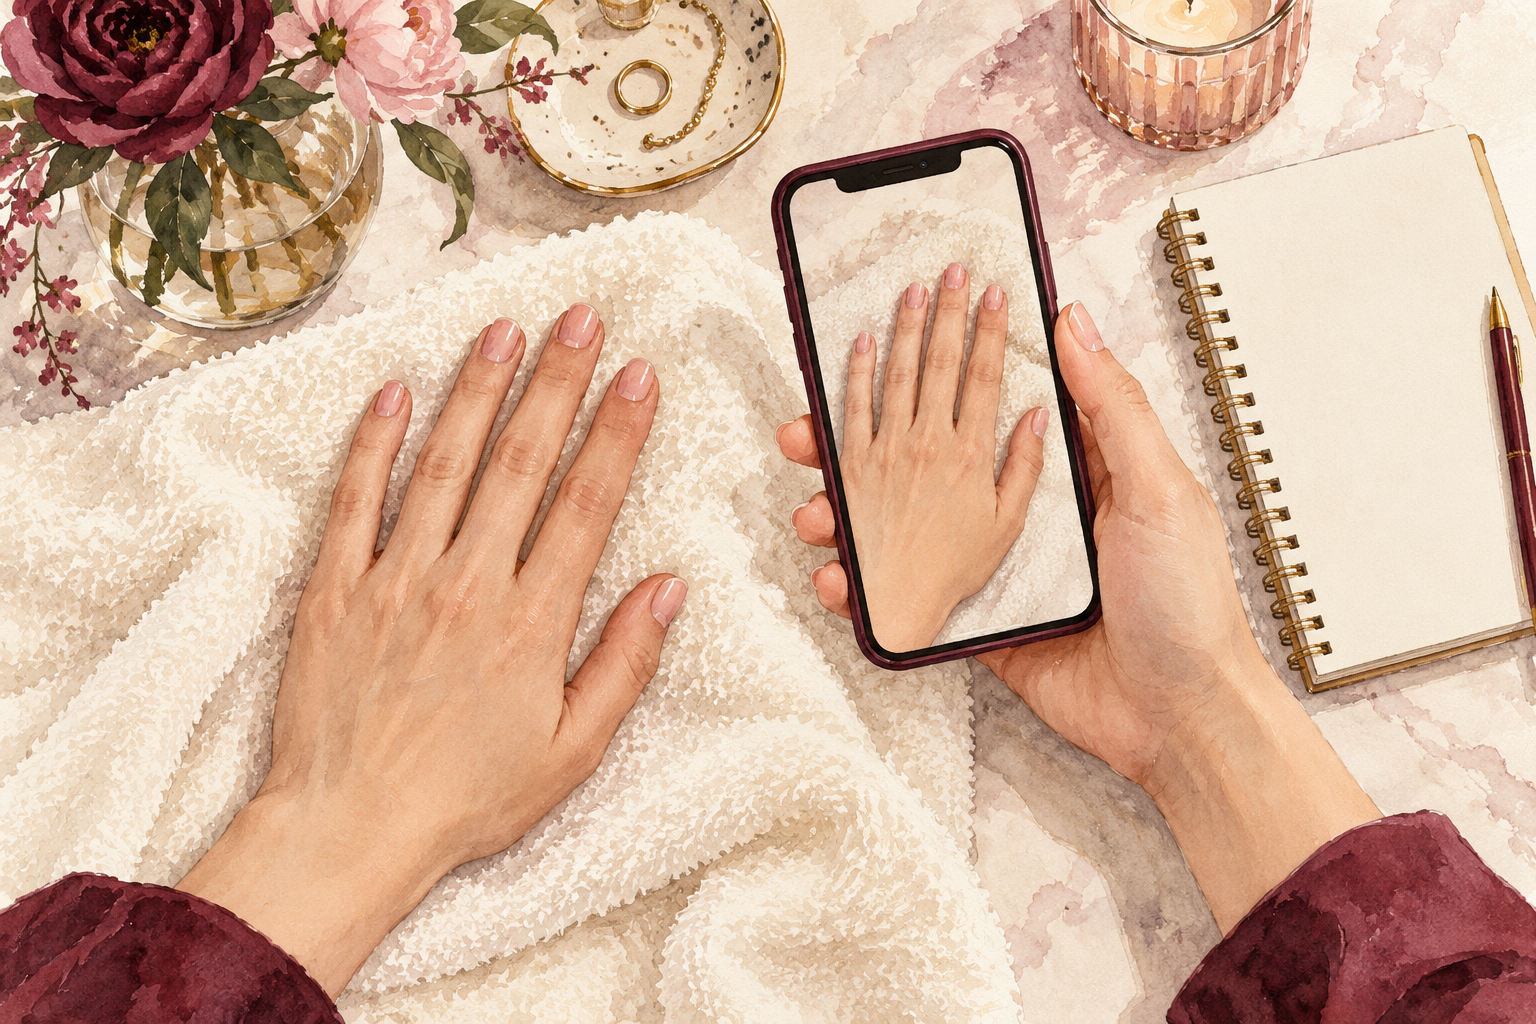
Photograph your nails in daylight today, then write down what bothers you most. Peeling usually means dryness, while snapping at the corners points to length and shape. Note how many nails break in a week, too. Take the same photo each week, in the same light and with your hand in the same spot. Progress is slow, and you see your hands every day, so the camera spots change that your eyes miss. A single page in your notes app is plenty. Write the date on the note so you can see how far you have come. Do not judge what you see, just notice it, and you have a fair starting line.
3. Week one: stop biting and picking, then trim
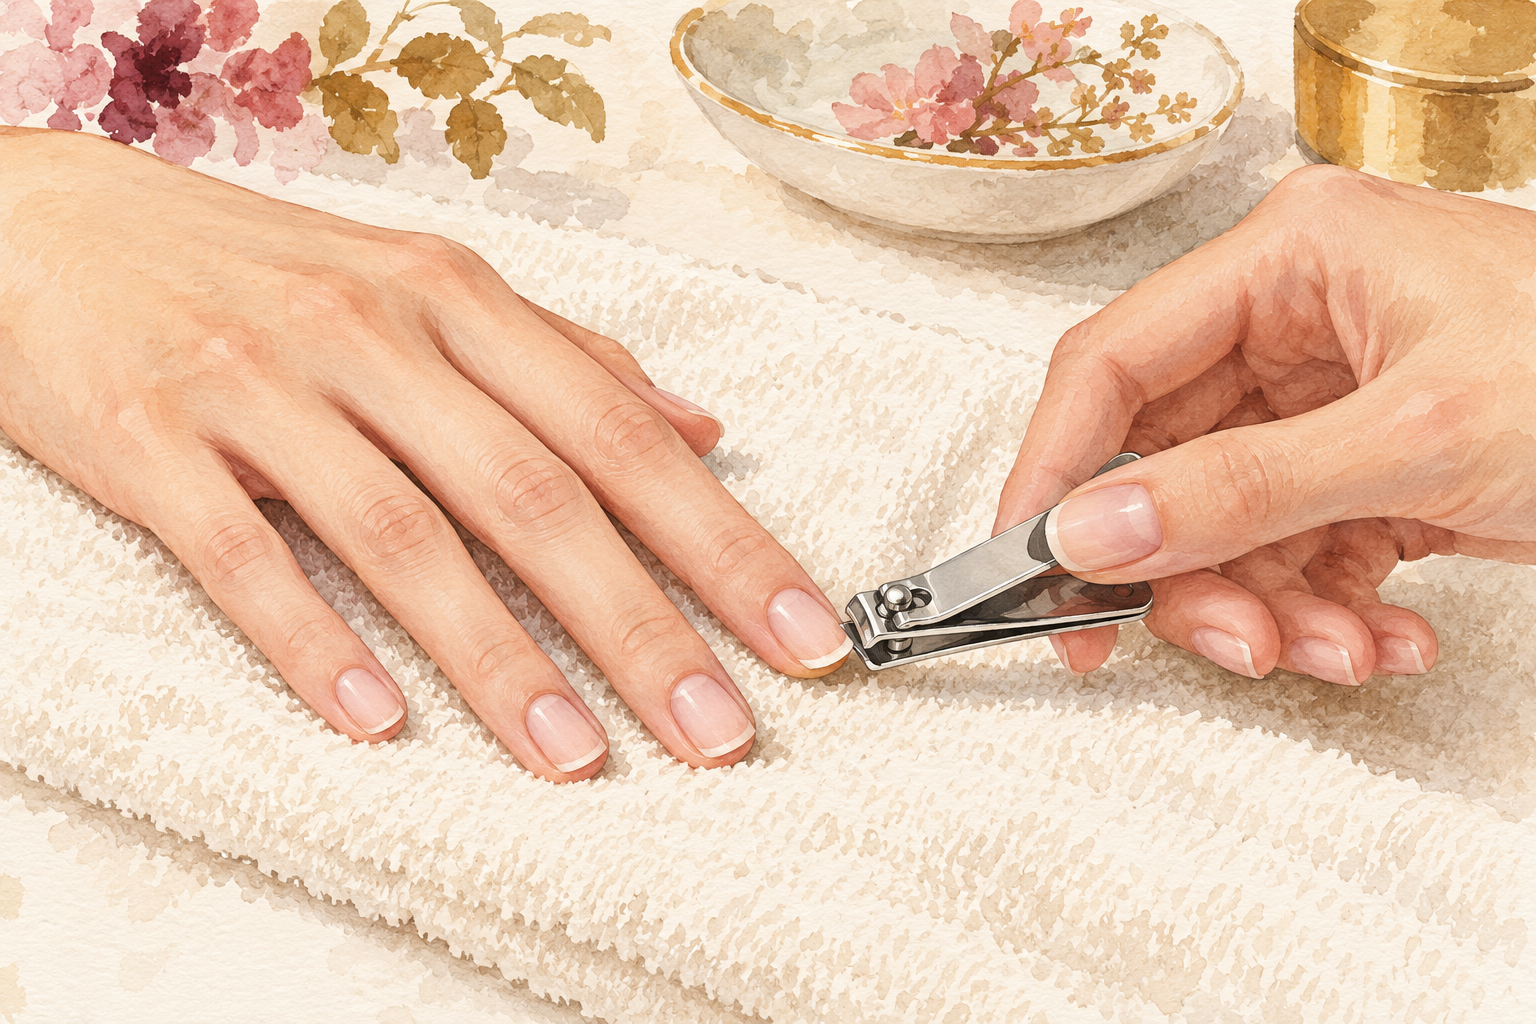
Cut your nails short and straight across, and stop peeling or biting the edges. Short nails break less, because there is less lever for the tip to snap on. Trim after a wash, when the nail is a little soft, and leave a rim of white. Round the corners only slightly. If you bite, keep a file in your bag and use it the moment you feel a rough spot. Tell yourself it is only for eight weeks, since the habit loosens its grip in about that time. Pick the shape you can keep, such as a short oval or a soft square. You can grow length again later.
4. Week one: file in one direction
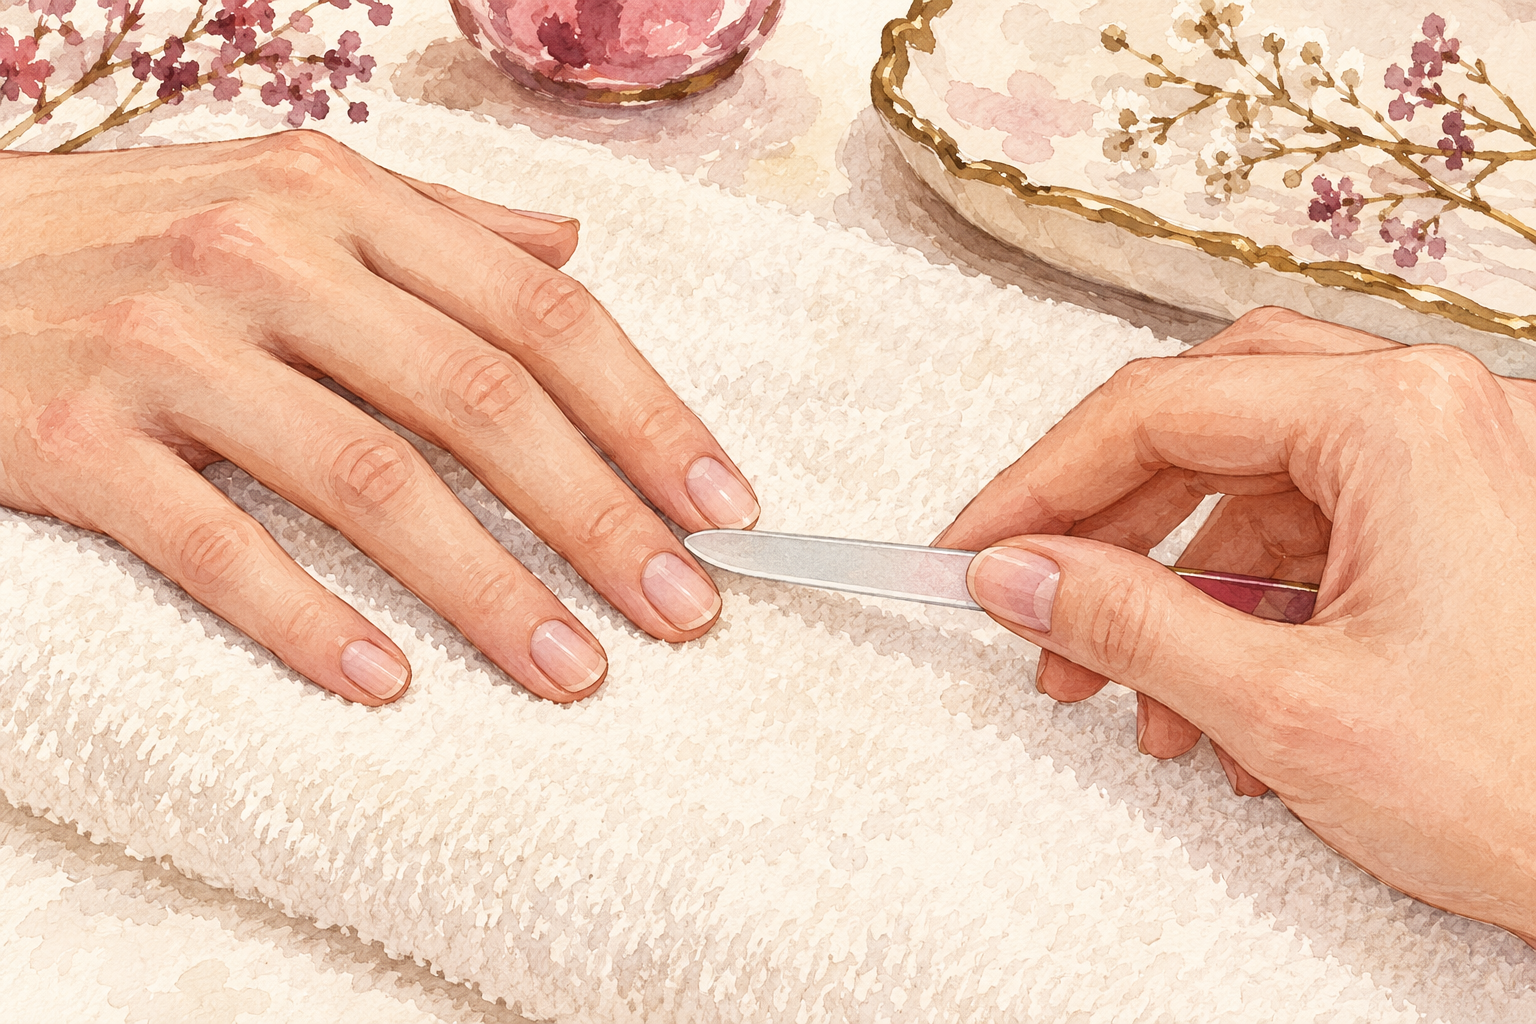
File from the outside edge toward the middle, and never saw back and forth. Sawing tears the layers apart and leaves a rough edge that catches on everything. Hold the file almost flat against the tip. Two or three light strokes per side is all you need. If the file starts to scrape, ease off the pressure. Finish by running a fingertip around the edge, and if it snags, give it one more pass. A smooth edge is the quickest way to stop peeling before it starts. Do this after every trim and any time a nail catches.
5. Week two: oil your cuticles every night
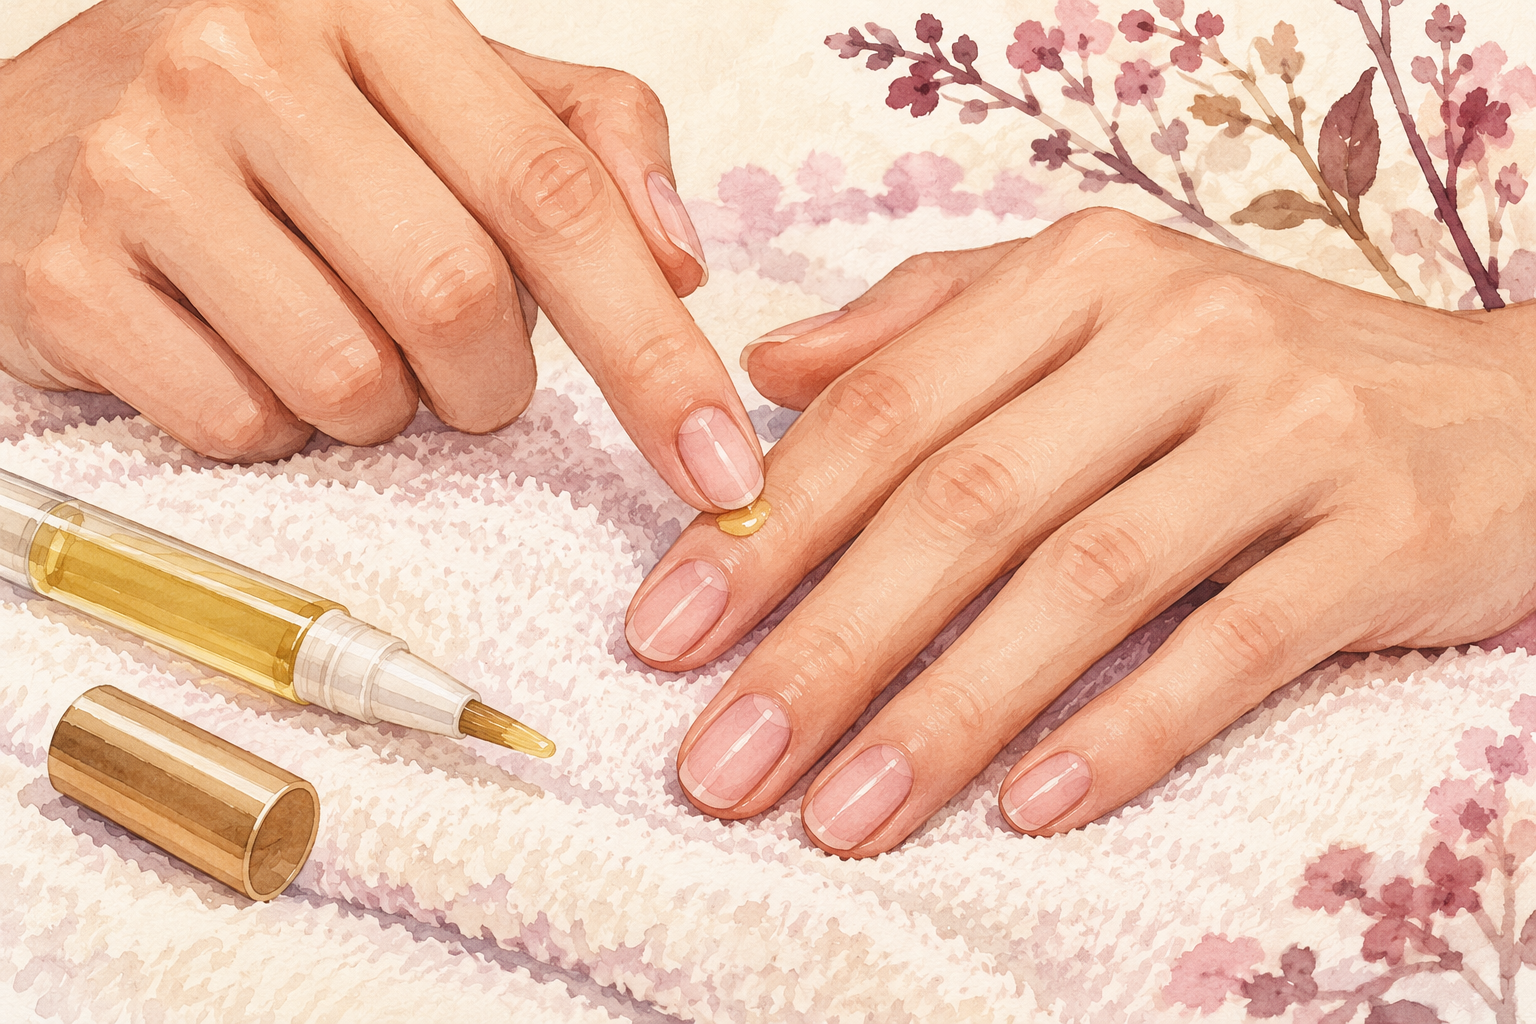
Press one drop of cuticle oil into each nail for ten seconds before bed. The oil keeps the nail flexible, so it bends instead of snaps. Massage the skin around the nail as well, since that is where new nail is born. Keep the bottle by your bed so you never forget. Your nails will look glossier even when they are bare. If you only keep one habit from this list, make it this one. Rub any leftover oil into the backs of your hands. Skipping a night is fine, since the next night starts you off again. Strength starts with flexibility, so the page on how to strengthen nails is a natural read.
6. Week two: wear gloves for water and cleaners
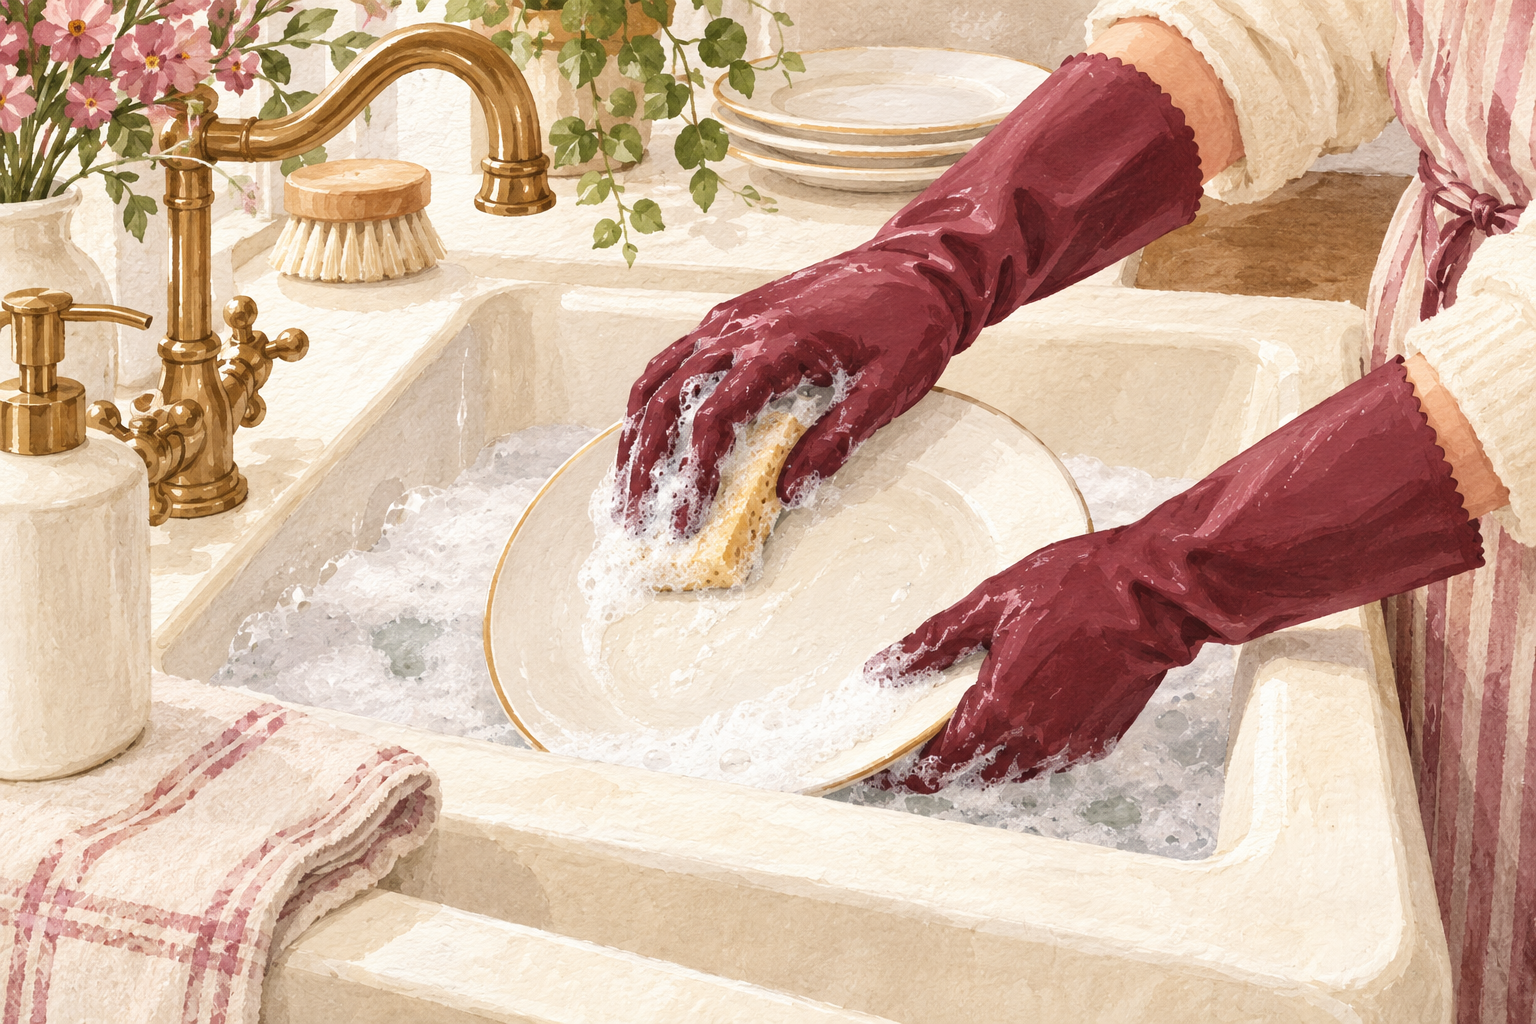
Slip on gloves for washing up, cleaning the bathroom and anything with harsh sprays. Water makes nails swell, and then they shrink as they dry, which splits the layers over time. Hot water and soap make this worse. Keep the gloves hanging by the tap so they are within reach. Cotton lined ones feel nicer on long jobs. After you take them off, rub in hand cream. The change feels small, but it protects your nails every day. Use a different pair for the kitchen and the bathroom if you like, so they never smell. If you cannot wear gloves, keep your nails out of the water as much as you can.
7. Week three: feed your nails from the inside
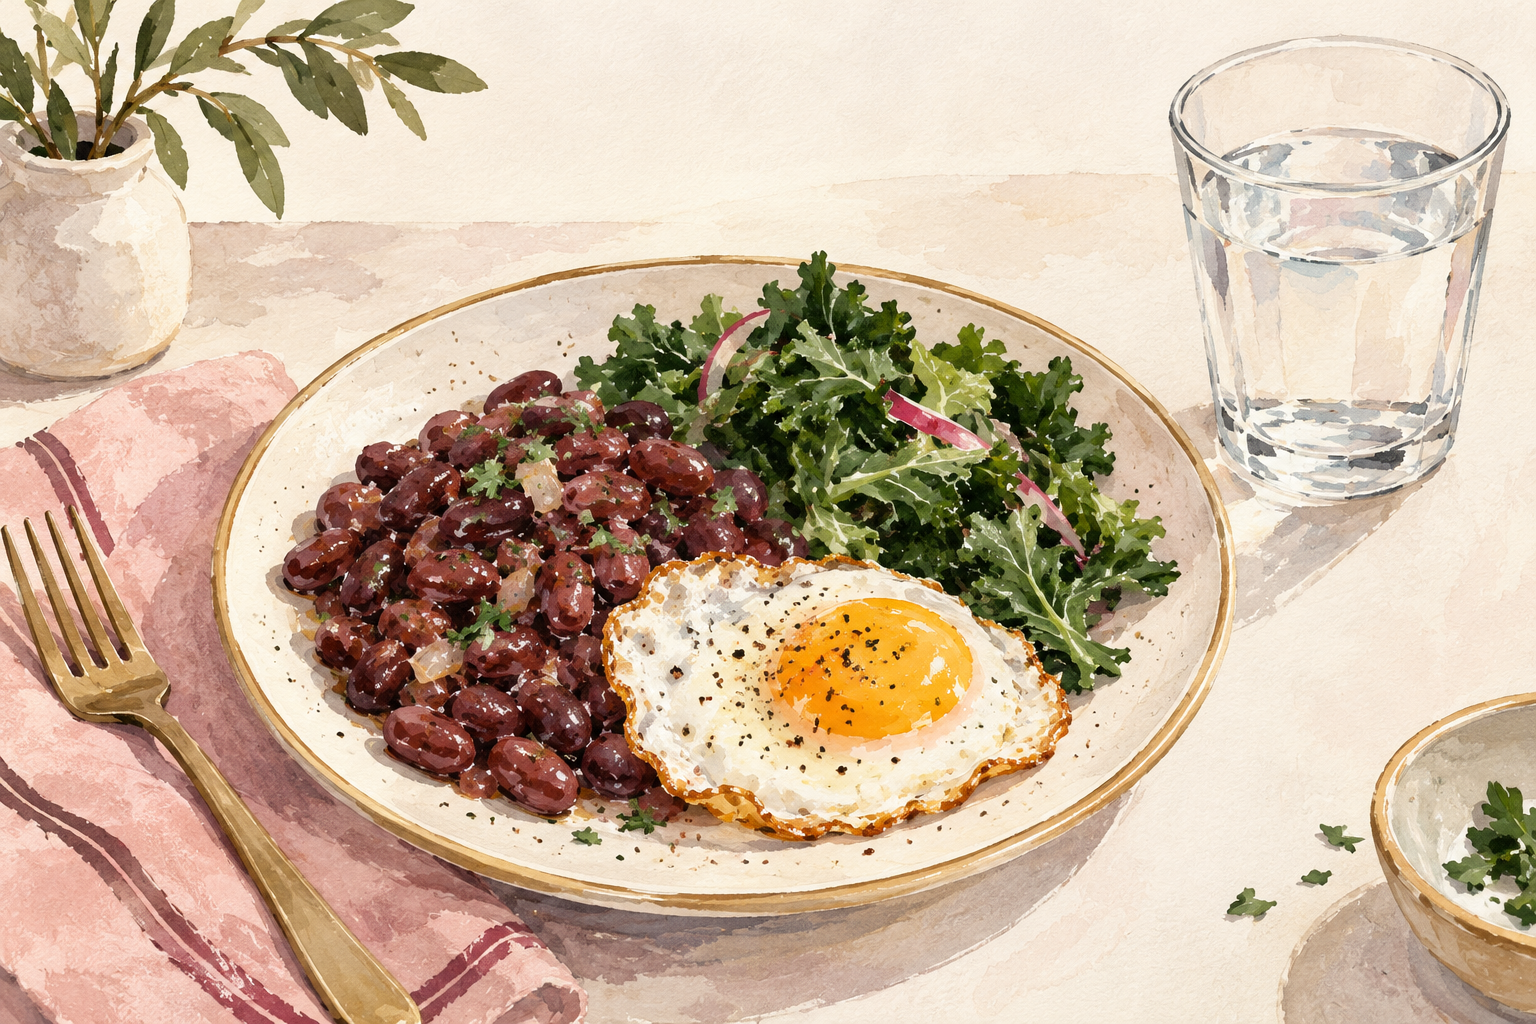
Add one protein and one green vegetable to two meals a day, and drink water through the day. Nails are made of protein, so eggs, beans, fish and nuts all give them something to build with. Leafy greens bring iron, which supports growth. You will not see this in a week, because new nail takes months to grow out. Think of it as quiet help, working in the background. Eating regular meals matters more than any single food. Aim for a glass of water with each meal. With meals like these in place, healthy nails is a good topic to explore next.
8. Week four: add a Sunday oil soak
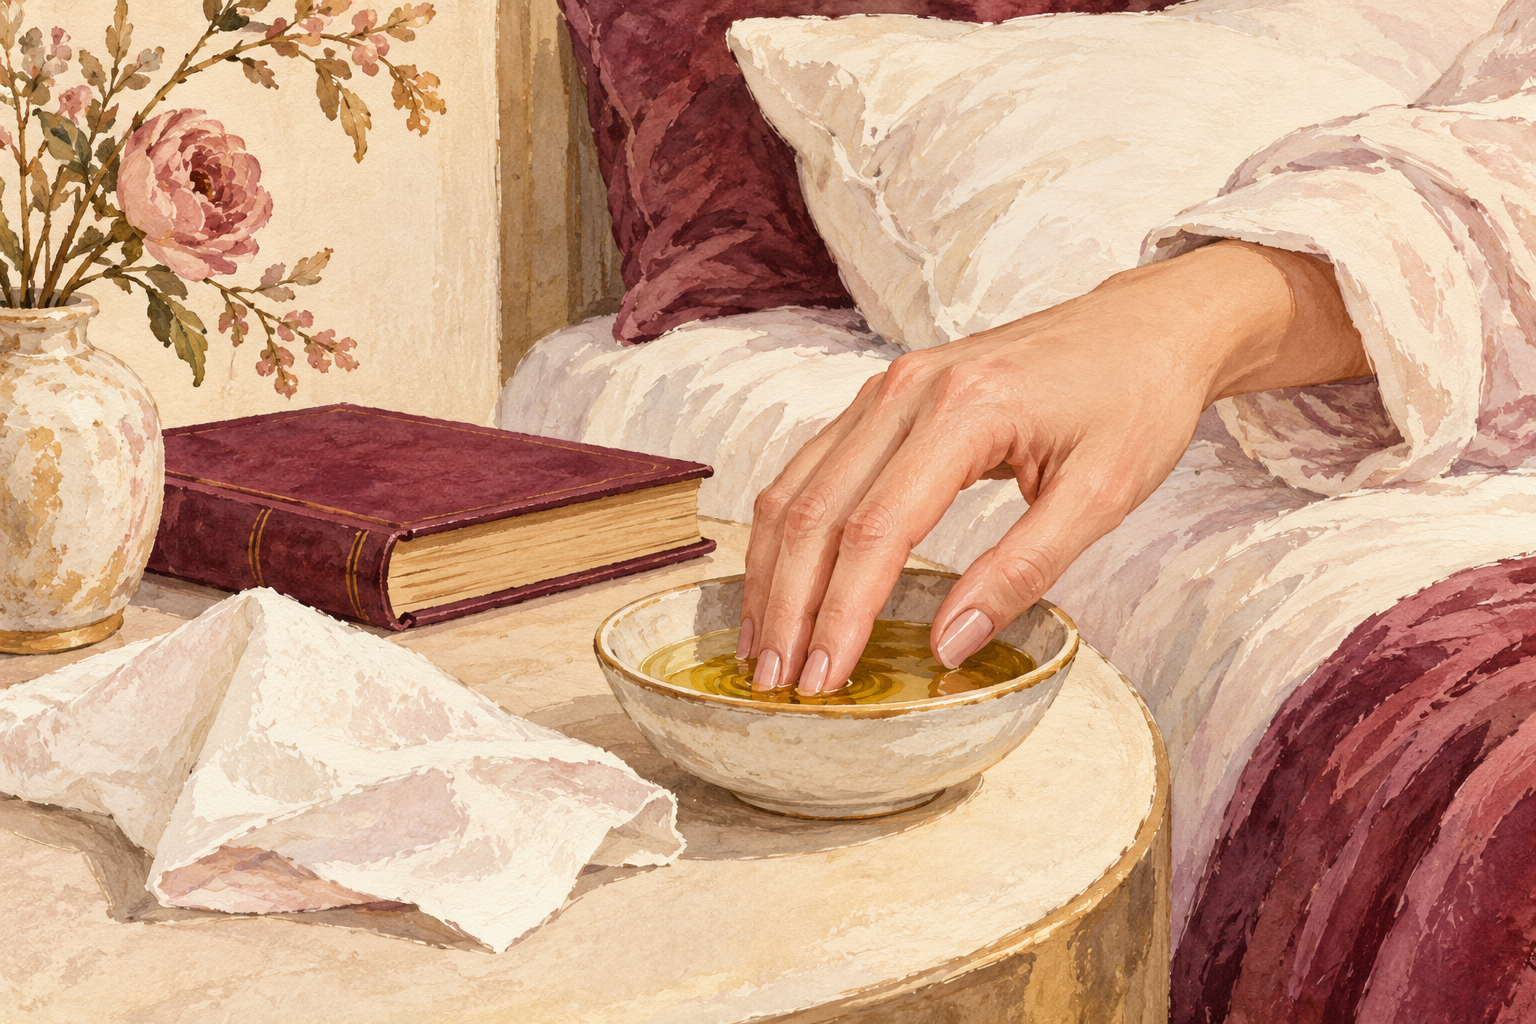
Warm two tablespoons of olive oil and soak your fingertips for ten minutes once a week. Wipe off the extra with a tissue instead of rinsing it away. It leaves dry nails noticeably softer by the next morning. Test the oil on your wrist first so it is warm, not hot. If your skin reacts to it, skip this step and stay with cuticle oil. Pick the same evening every week, and the soak becomes a small ritual you look forward to. Add a minute of cuticle massage at the end of the soak. Afterwards, wash your hands with a mild soap so the oil does not stay on the surface.
9. Week five: give polish a rest
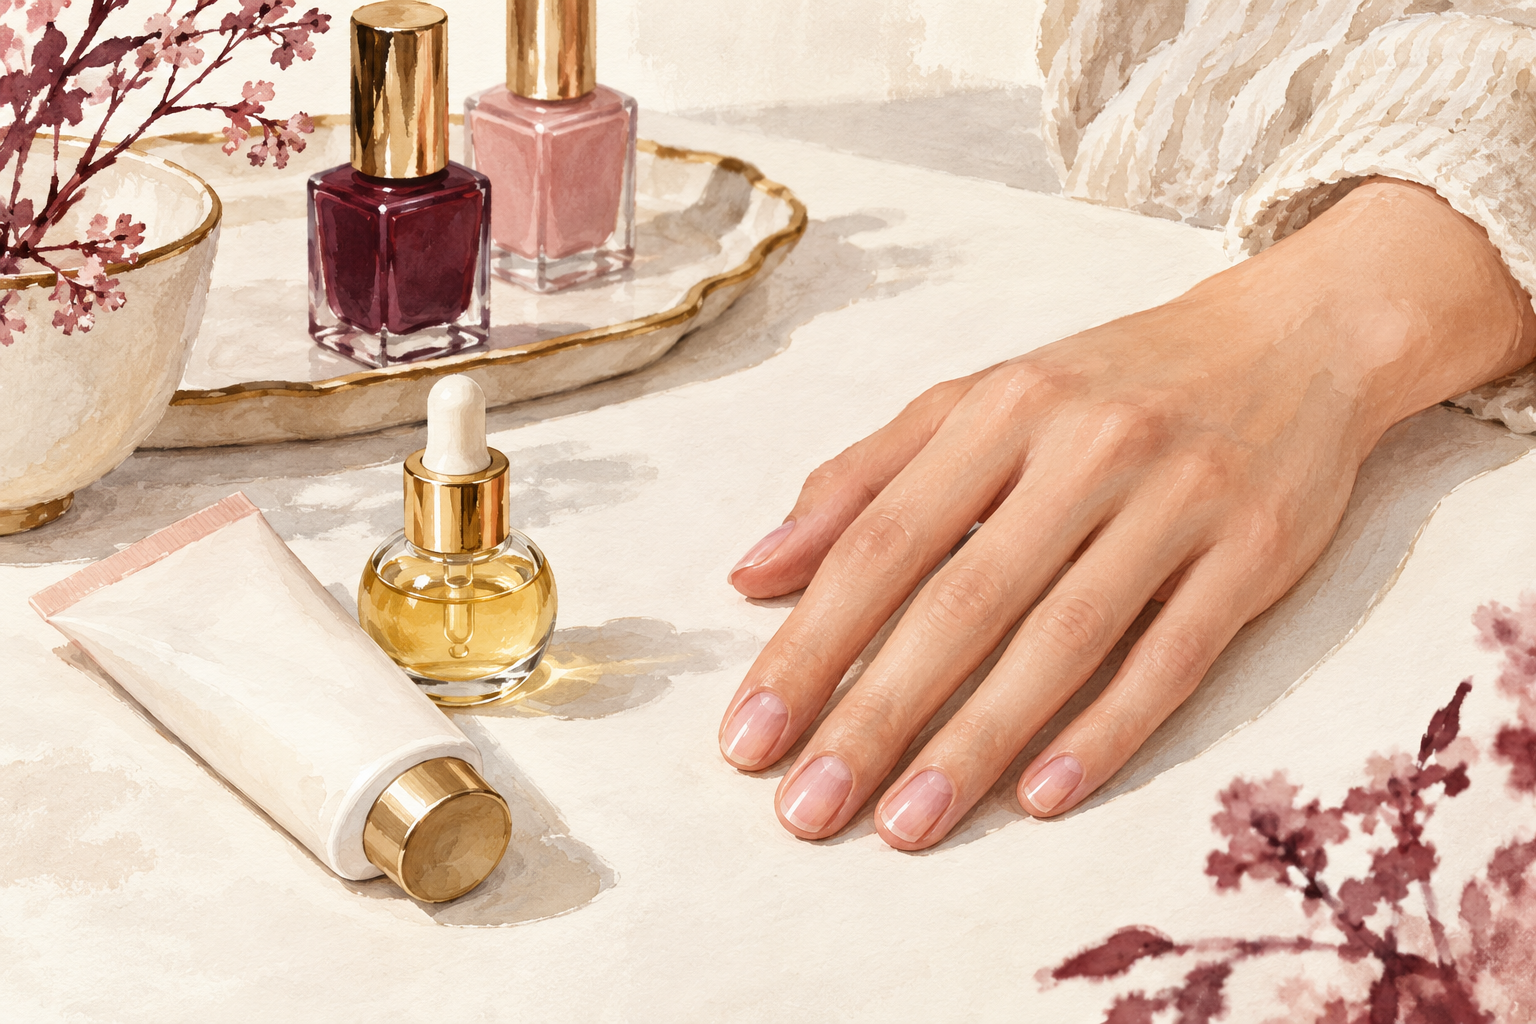
Go bare for a full week, then keep polish to three weeks at a time. Polish and remover both dry out the nail, and a break lets it catch up. Use that week for extra oil and cream. If you wear gel, rest for two weeks between sets and never peel it off. Choose a remover without acetone for any polish you do wear. Your natural shine will return, and you will see just how your nails look at their healthiest. Take your photo at the end of the rest week, when the nails look natural. If going bare feels dull, a clear strengthening coat is a gentle middle ground.
10. Week six: swap nails for tools
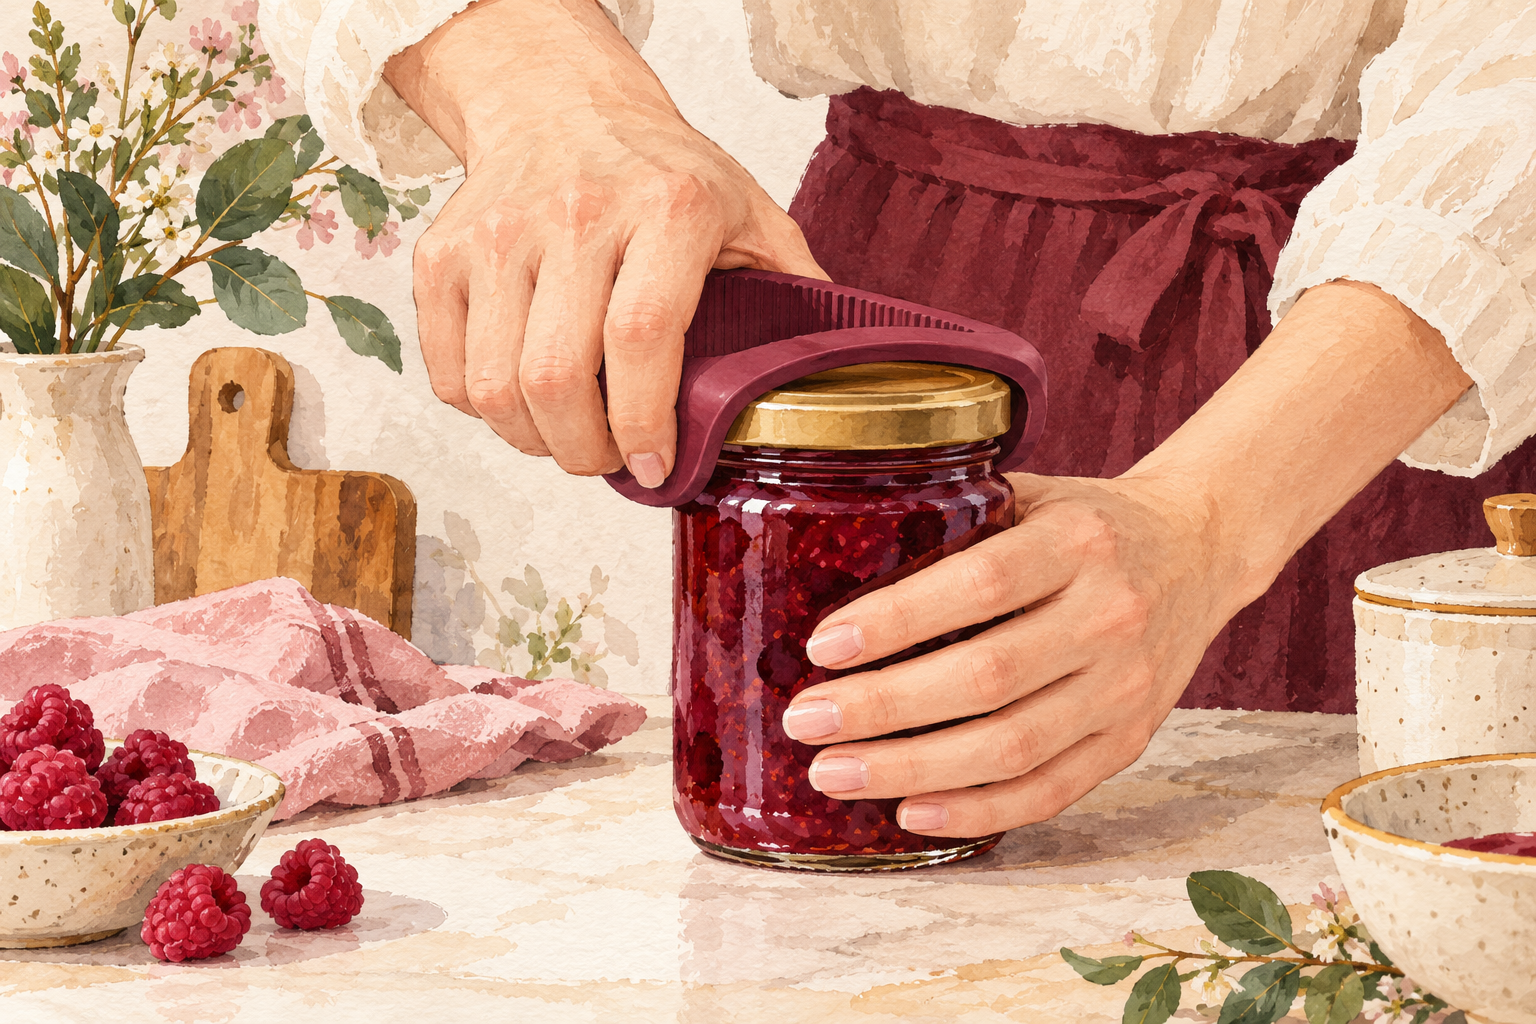
Open tins, lift lids and scrape labels with a spoon, a key or tweezers, never your nails. Nails are not screwdrivers, and the tip pays each time. Keep a small tool near the places where you usually pry. Press buttons with the pad of your finger. These tiny swaps add up to fewer breaks every month than any bottle you could buy. It feels a bit fussy for the first week and natural by the third.
11. Week seven: try a cotton glove night
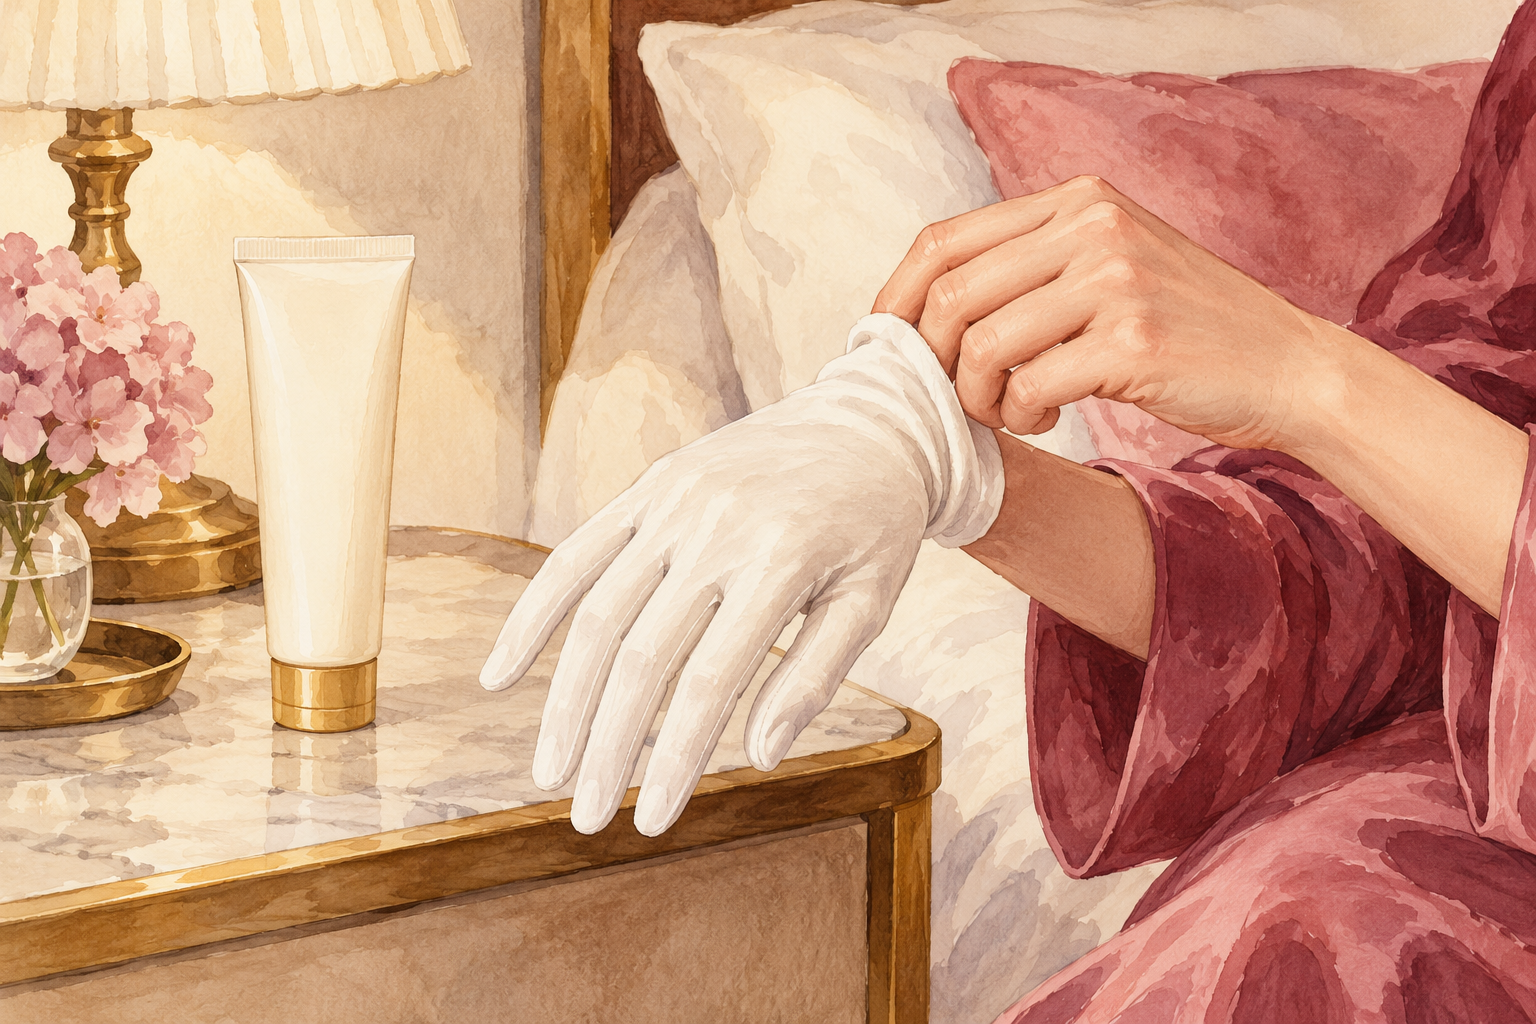
Rub a generous layer of thick hand cream into your nails and put on cotton gloves for the night. Do it once this week, and maybe twice if your hands are very dry. You will wake up with soft skin and nails that bend instead of crack. Wash your gloves afterwards so they are clean for next time. This is the nicest step in how to get healthy nails, so treat it like a small spa evening. Light, clean cotton works best because it lets your hands breathe.
12. Week eight: compare and expect gradual change
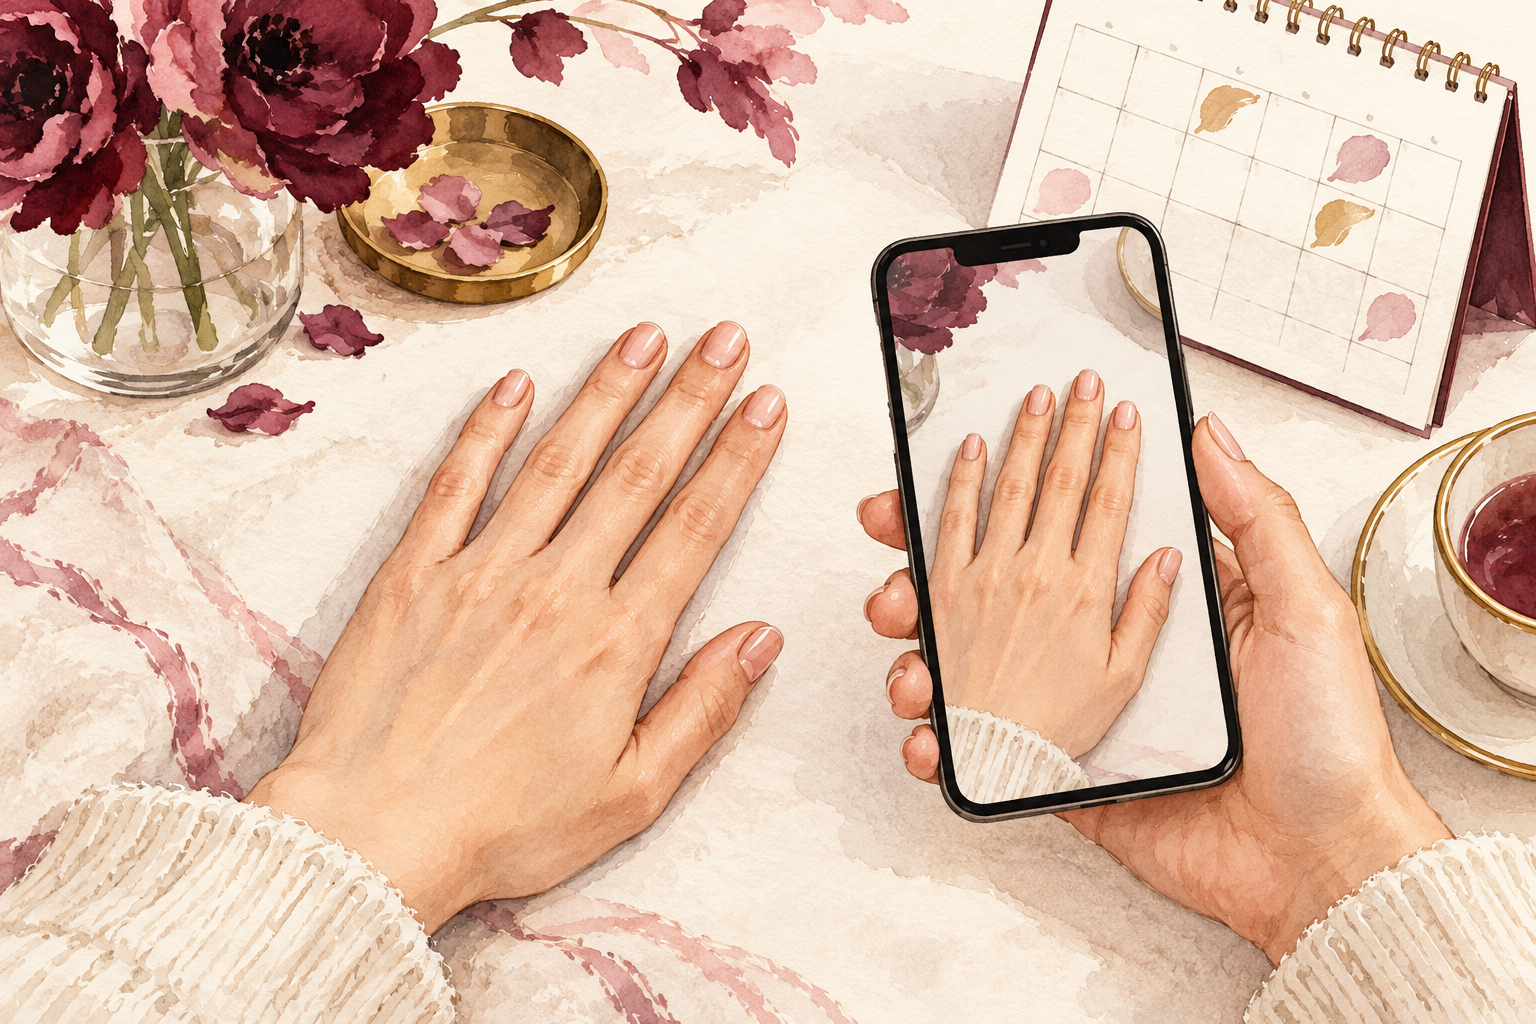
Put your day one photo beside today’s and look for fewer snags, less peeling and a nicer shine. In the first two weeks you mostly notice softer skin around the nails. By week four there are fewer breaks, and by week eight you should see a smoother new band of nail at the base. A nail that stays thin, lifts, turns a dark color or hurts is a good reason to see your doctor, whatever the plan says. Keep going after week eight, because healthy nails come from repeating small habits for months. Take a final photo and put it beside the first. Choose your next goal, such as longer nails, and keep your best habits going.
Complete the Routine: How to Get Healthy Nails for Good
Keep the three simple habits that did the most for you: oil at night, gloves for water, and a smooth file. Habits that feel automatic are the goal, so bring one guide below into this week and see what sticks.