One toenail has turned a dull yellow, gone a little thick and started to crumble at the edge, and you wonder if it is nail fungus. At midnight the internet hands you a dozen remedies, each with a confident story. Here are 12 steps that sort what helps from what only stings, so start at number one tonight.
1. Look at what the nail is doing
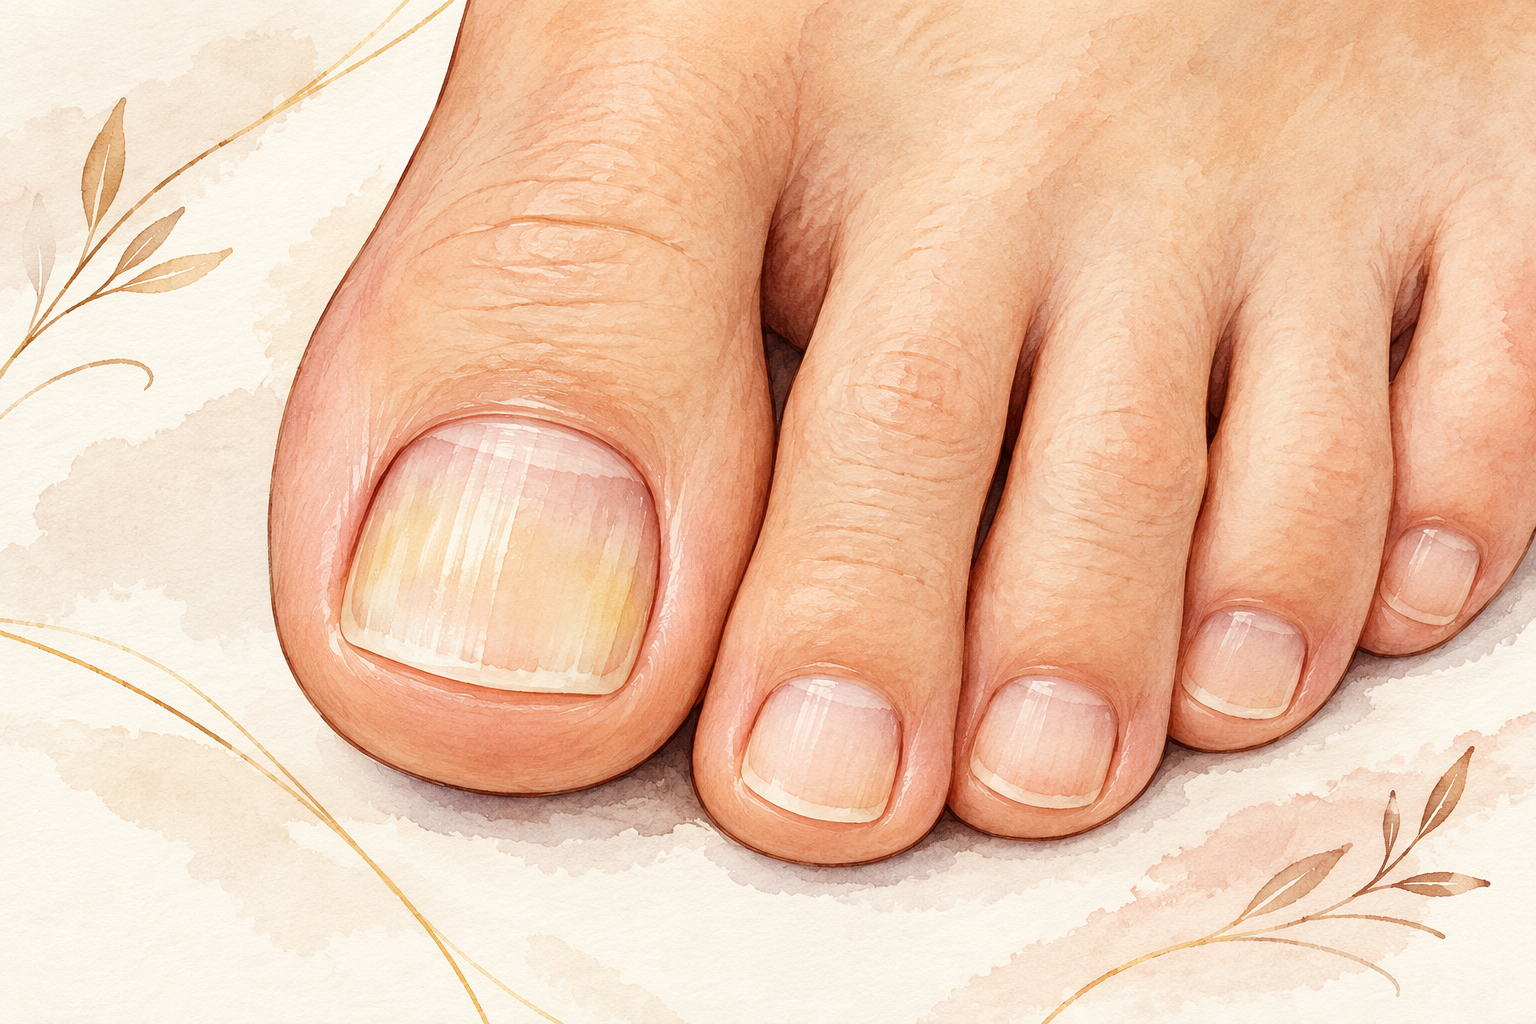
Check the nail in daylight for yellow, white or brown patches, thickness and a crumbly edge. Fungus often starts at the tip or the side of one nail and creeps back slowly. The nail may lift a little from the skin under it or look bent out of shape. Press gently, because a nail that is sore to touch is telling a different story. A mix of color, thickness and crumbling points to nail fungus as a good guess, so keep reading. Check the other toes too, since it likes to spread to the next one along. Note how many toes are affected, because one nail and three nails call for different levels of patience.
2. Rule out the look alikes
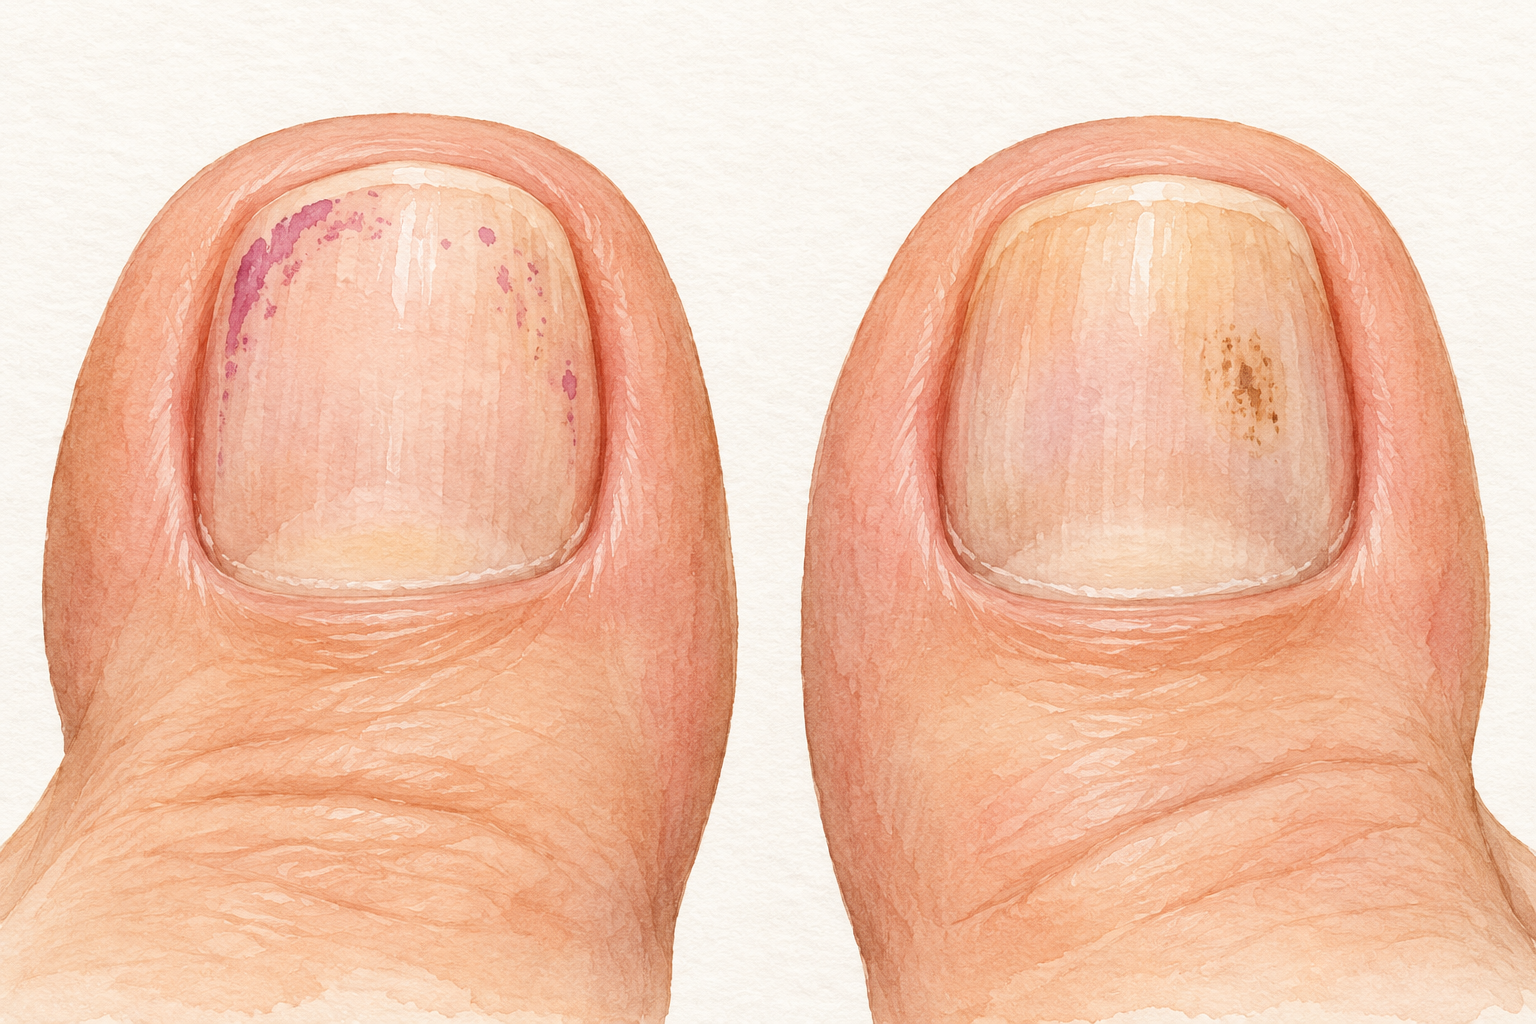
Ask yourself whether the nail has been knocked, squeezed or stained before you blame fungus. A dark patch that moves up the nail as it grows is usually an old bump from tight shoes or a dropped weight. Dark polish can leave a yellow tint that fades in a few weeks. Very dry skin can also leave nails ridged and pitted. A streak that keeps getting darker, or a shape change that appears from nowhere, deserves a weekly photo. Do not assume every odd nail is nail fungus. A quick wipe with remover on a stained nail will tell you a lot, since a stain comes off and fungus does not.
3. Take a dated photo

Snap the nail in the same window light today and again every two weeks. Toenails change so slowly that you will swear nothing is happening, and a photo proves otherwise. Keep the angle and the distance the same each time. Write the start date and whether it ever hurts in your phone notes. The pictures also stop you from switching remedies every few days out of worry. After a month you will see whether the nail is staying the same, getting worse or growing out clearer at the base. Take the photo before you moisturize, so shine does not hide the real texture.
4. Understand what feeds it
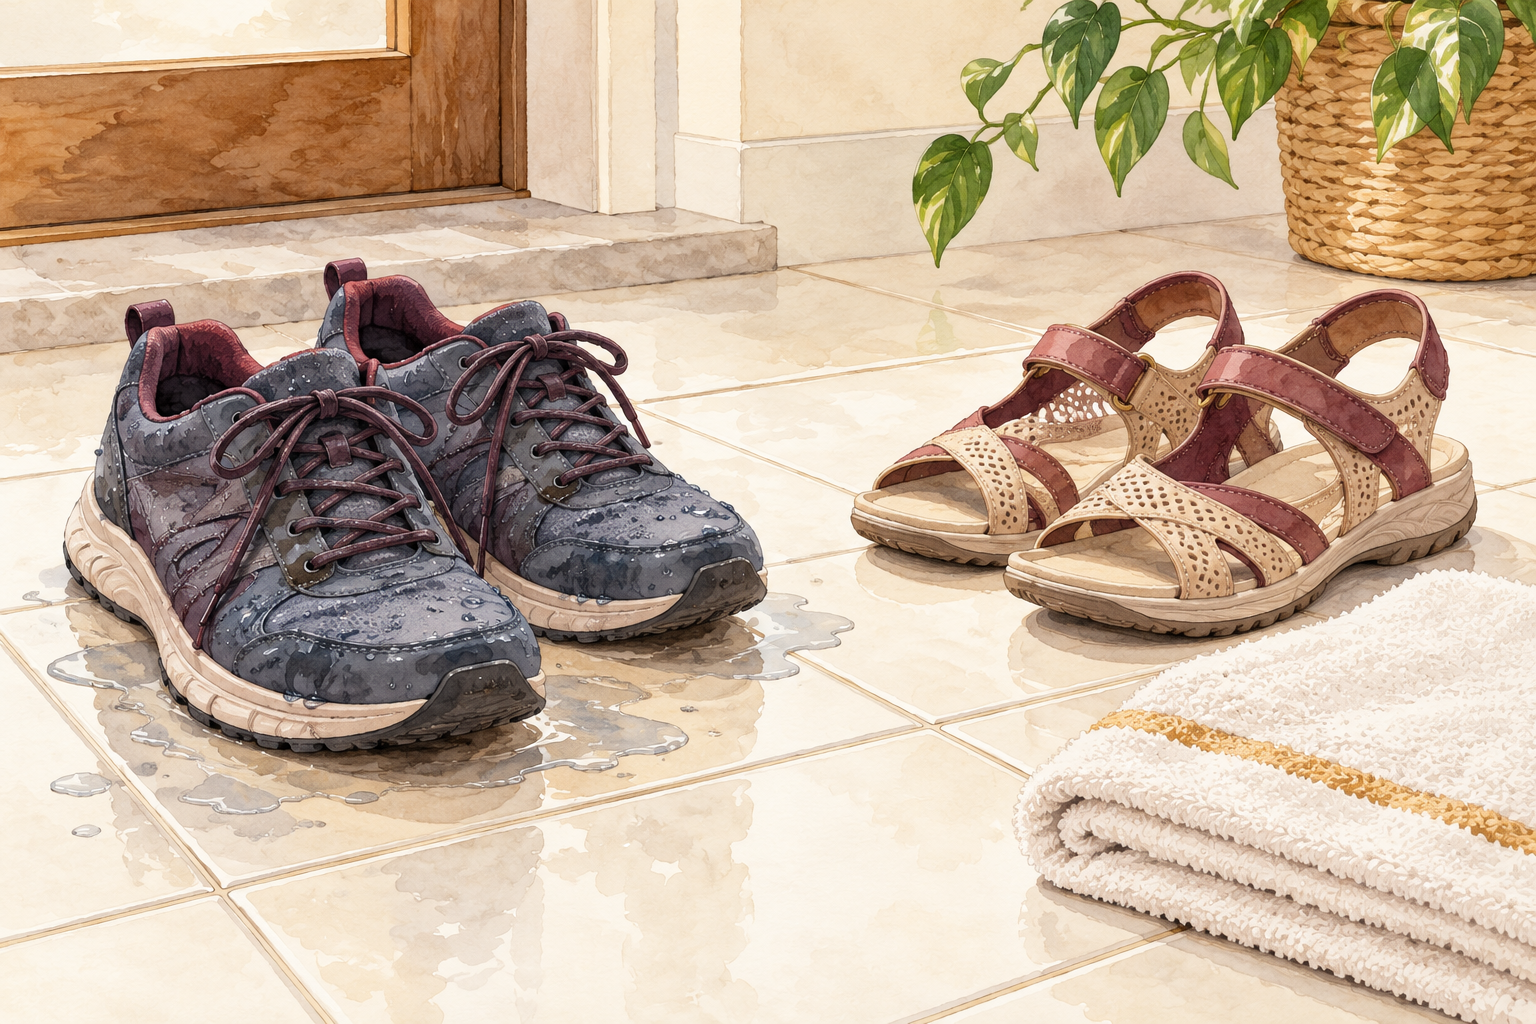
Fungus loves warm, damp, closed in places, so think about where your feet spend the day. Sweaty shoes, wet socks after the gym, walking barefoot on damp floors and small knocks to the nail all open the door. A nail that is already damaged lets it in more easily. This is nothing to be embarrassed about, because nearly everyone meets it at some point. Once you know what feeds it, the next steps make sense: dry it out, keep it clean and stop it from spreading to your other toes. Tight pointed shoes squeeze the toes together and keep every nail warm all day.
5. Dry your feet and change your socks
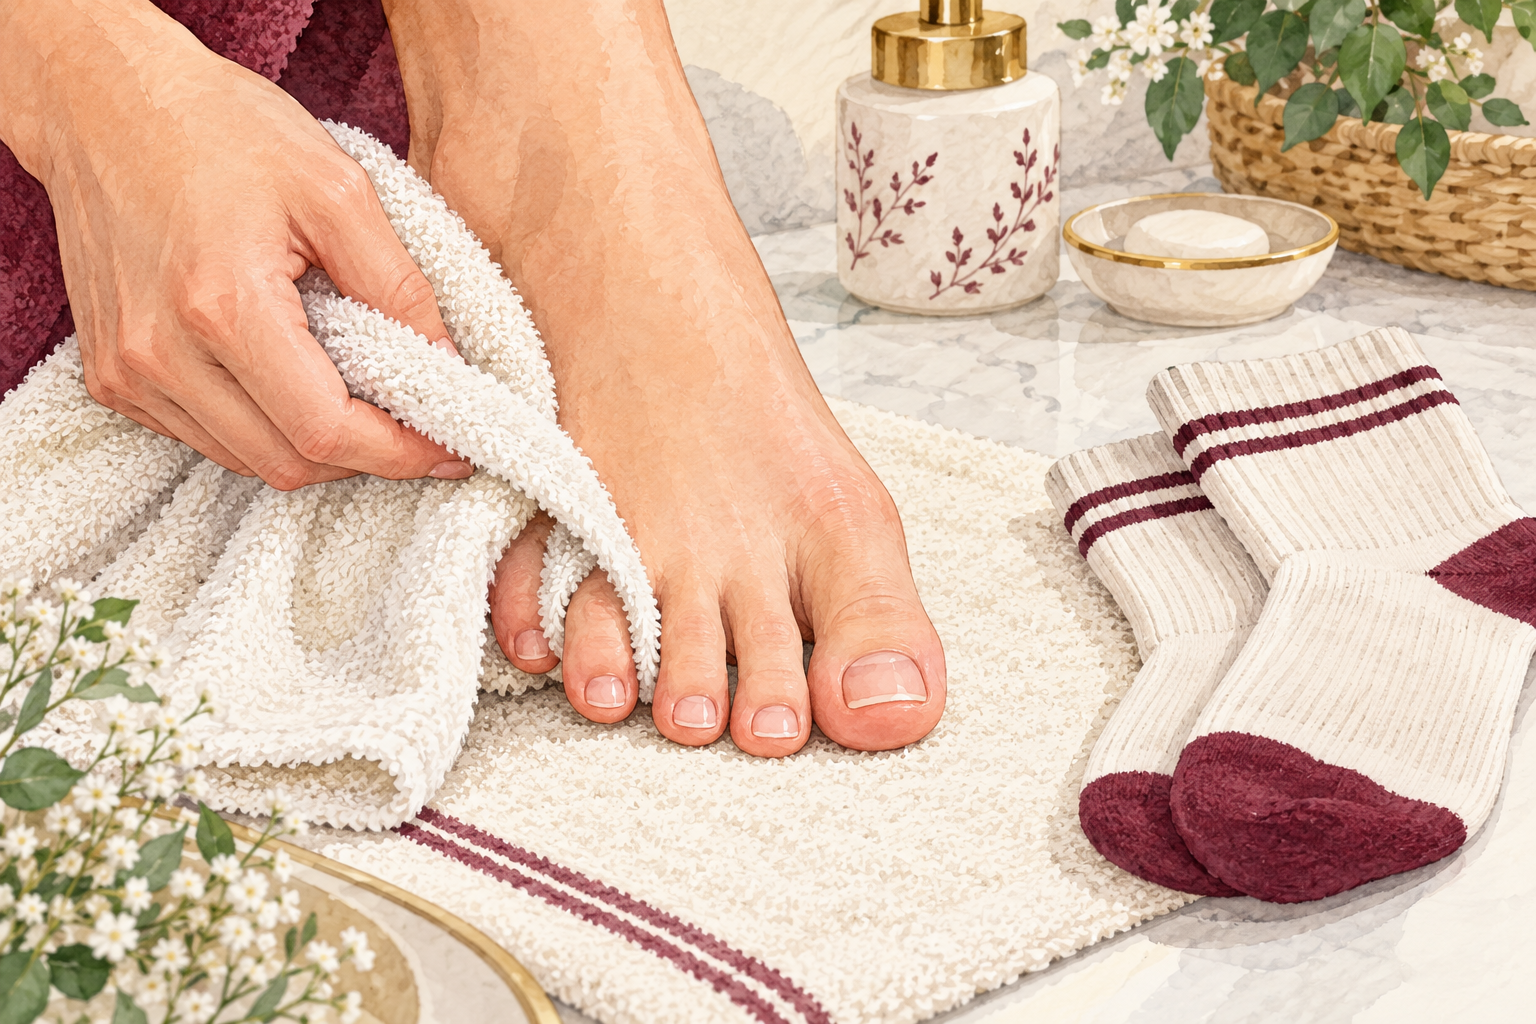
Dry between every toe after a shower, then put on clean cotton or moisture wicking socks. Change your socks as soon as they feel damp, even at midday if you have to. Let shoes air out for a full day between wears, and stuff them with paper if they stay damp. Thick synthetic socks trap sweat, so skip them in warm weather. Dry feet will not clear nail fungus alone, but they take away the damp it needs to thrive. Keep a spare pair in your bag for long days. Rotate two pairs of shoes through the week so each one gets a proper rest. Dry feet and dry skin go together, so pair this with nail cuticle care for the cuticles.
6. Keep your tools and towels to yourself
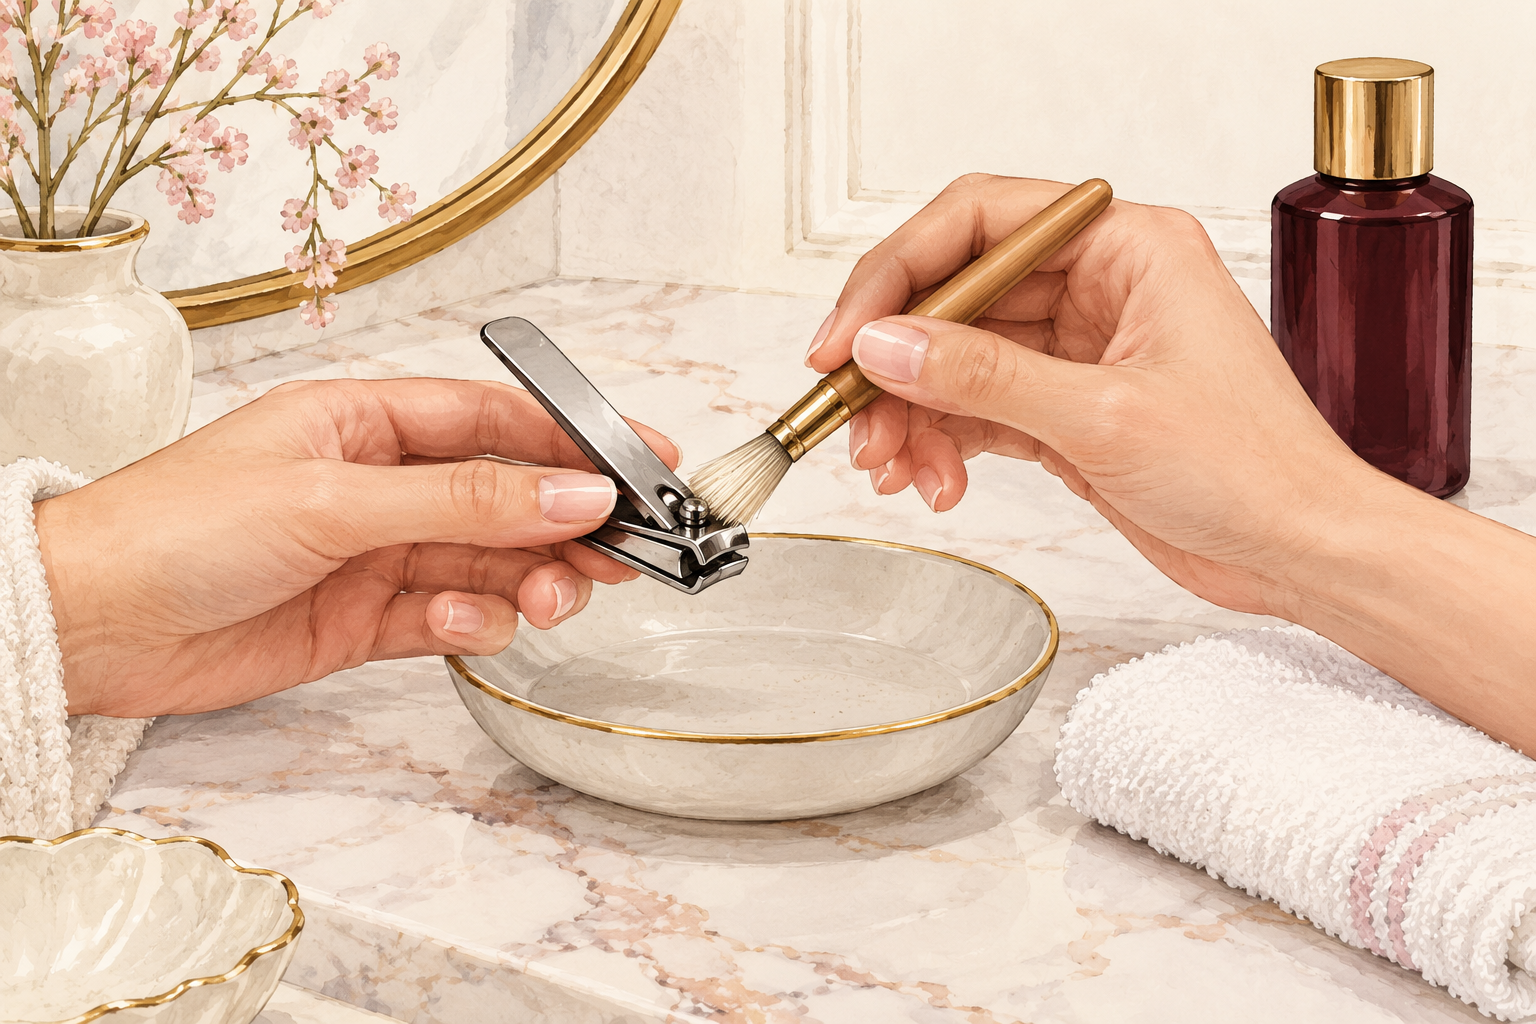
Use a separate clipper and file for the affected nail, and never share them. Wipe both with rubbing alcohol after every use and let them dry fully. Wash towels and socks hot, since lukewarm water does little. Trim the nail straight across and short, which leaves less room for debris to hide. Do the affected nail last so you do not carry anything onto healthy ones. Keep this set in its own bag where family cannot borrow it by mistake. A plain emery board is fine too, as long as you throw it away once the nail has cleared.
7. Wear sandals in damp shared spaces
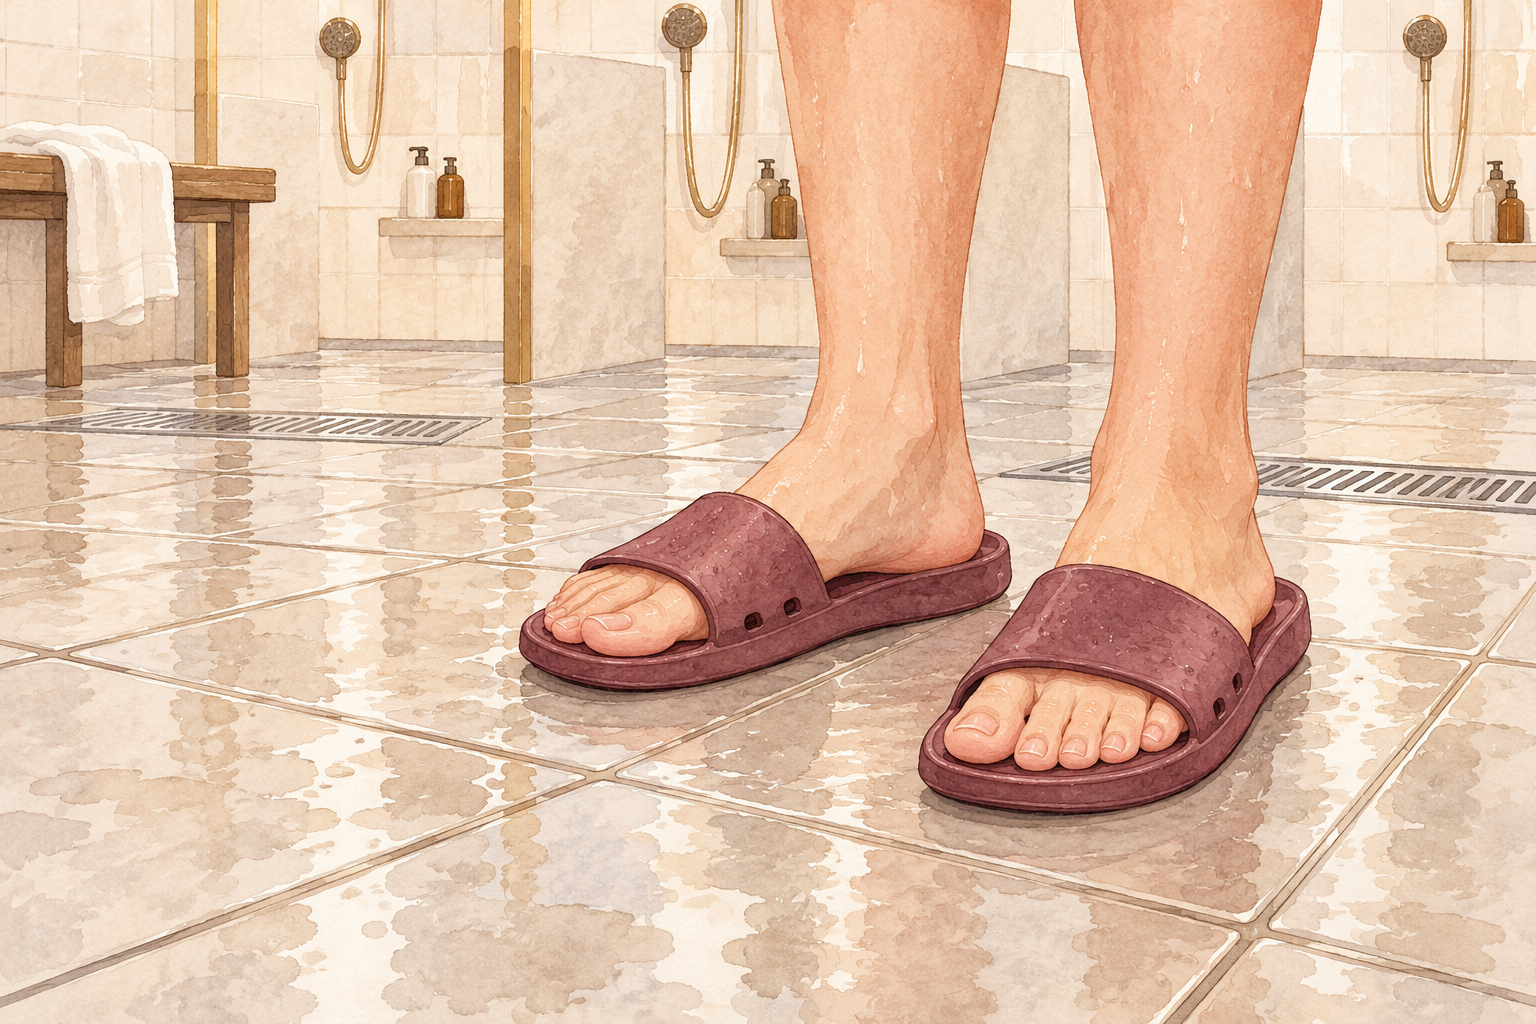
Slip on flip flops at the gym shower, the pool edge and in hotel bathrooms. These warm wet floors are where fungus is picked up and passed on. Dry your feet fully before you put your socks on, because a damp foot in a sock is a ready made home. Check the skin between your toes now and then for itching or peeling, which often shows up first. If you spot it, treat the skin early with a cream made for feet, so it does not climb into the nail. Pack the flip flops in your gym bag the night before so you never walk in without them.
8. Go carefully with vinegar and baking soda
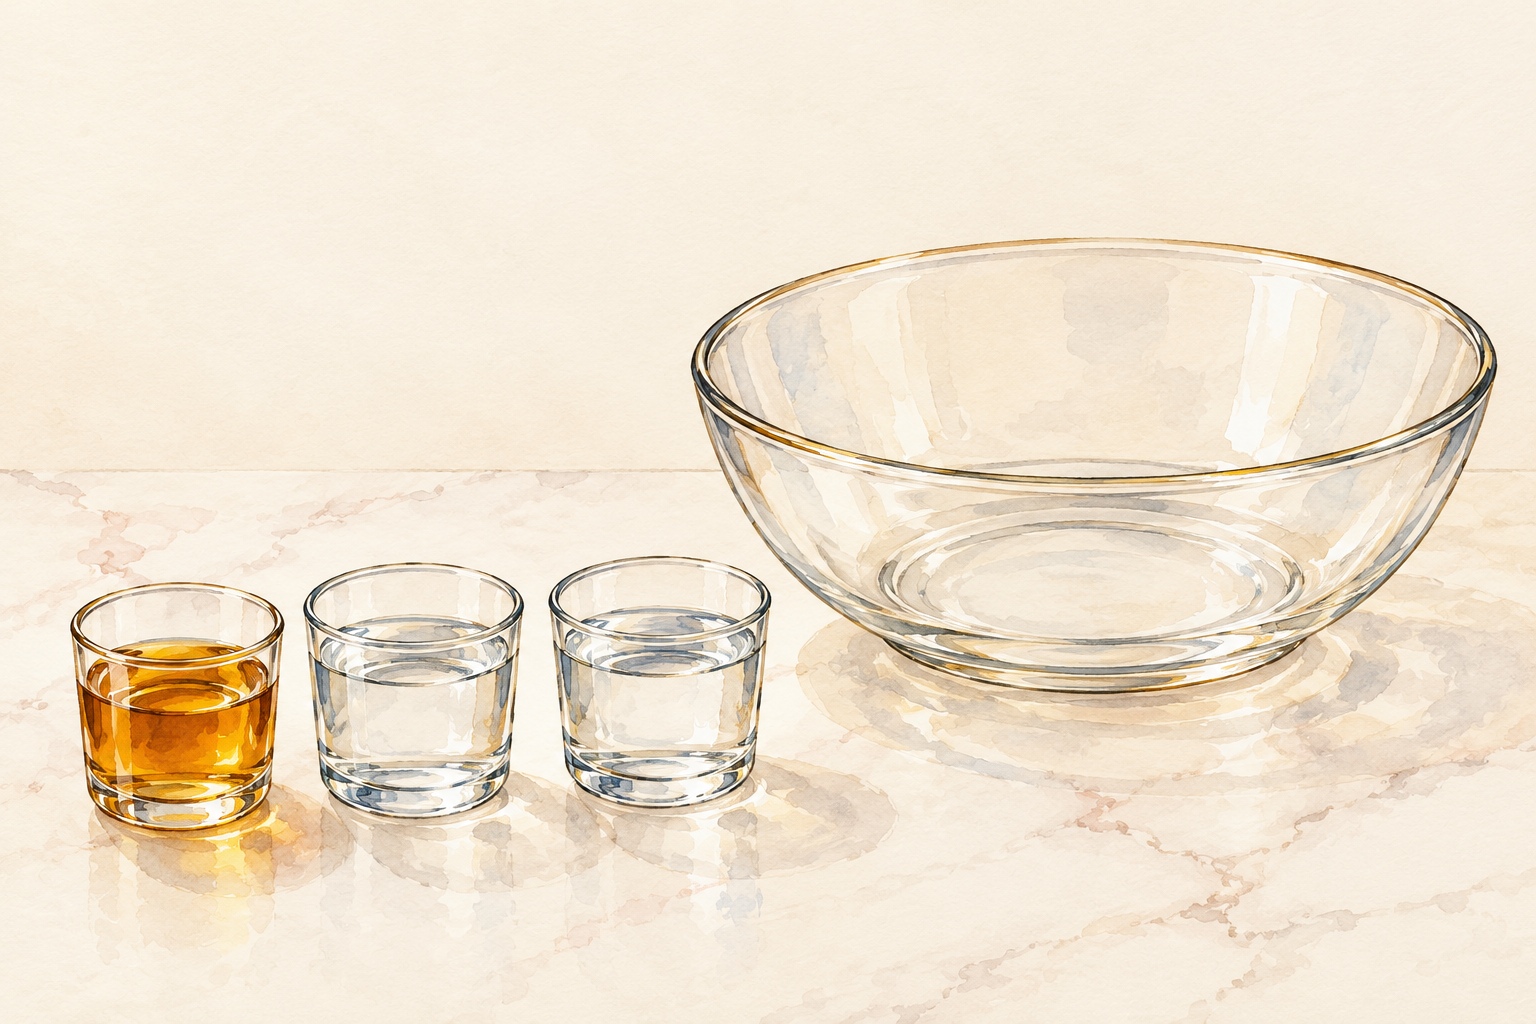
If you try a soak, mix one part vinegar to two parts warm water and keep it to ten minutes. Vinegar rarely reaches under the nail, and strong vinegar can burn the skin. Baking soda may leave feet drier, but it can also dry the skin out and make it crack. Dry thoroughly afterwards, especially between the toes. Stop at once if your skin stings or turns red, and never soak cracked skin. Think of a soak as a comfort for tired feet, not a cure, and do not expect the nail to change. Write down the day you start, so a month later you can judge fairly whether the soak did anything.
9. Treat essential oils and garlic as long shots
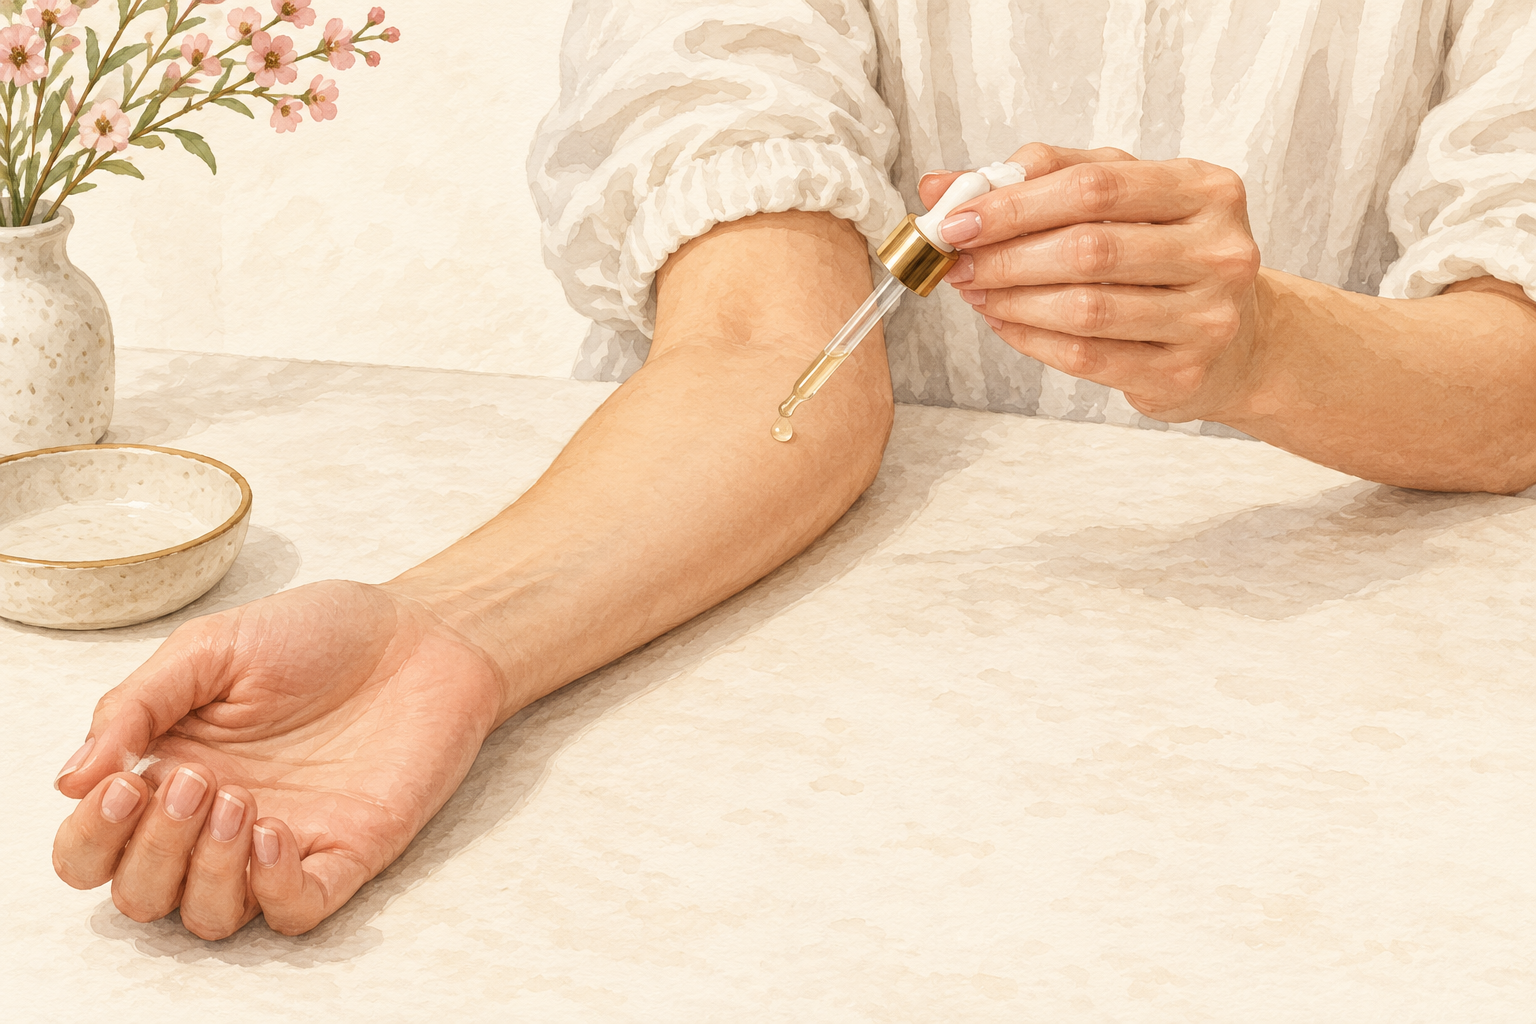
If you still want to try a diluted oil, patch test it on your inner forearm for a day first. Tea tree and other oils are popular for toenails, but they act slowly and often cause red, itchy skin. Always dilute them in a plain carrier oil and keep them off broken skin. Garlic is unlikely to do anything useful. Try one thing at a time, because three remedies at once means you cannot tell which one caused a reaction. Keep oils away from children and pets. Stop straight away if the skin around the nail itches, burns or turns pink.
10. Ask the pharmacy for something made for the job

Choose an antifungal nail lacquer or cream made for toenails and use it every day as the box says. It reaches the nail far better than anything from your kitchen. File the surface lightly first so it can soak in. Be ready to use it for months, because the nail has to grow out completely. Skipping days is the usual reason it seems not to work. Put it next to your toothbrush, so you do it at the same time as something you never forget. Ask the pharmacist to show you the options, and say plainly that it is for a toenail.
11. File thick spots and let the nail breathe
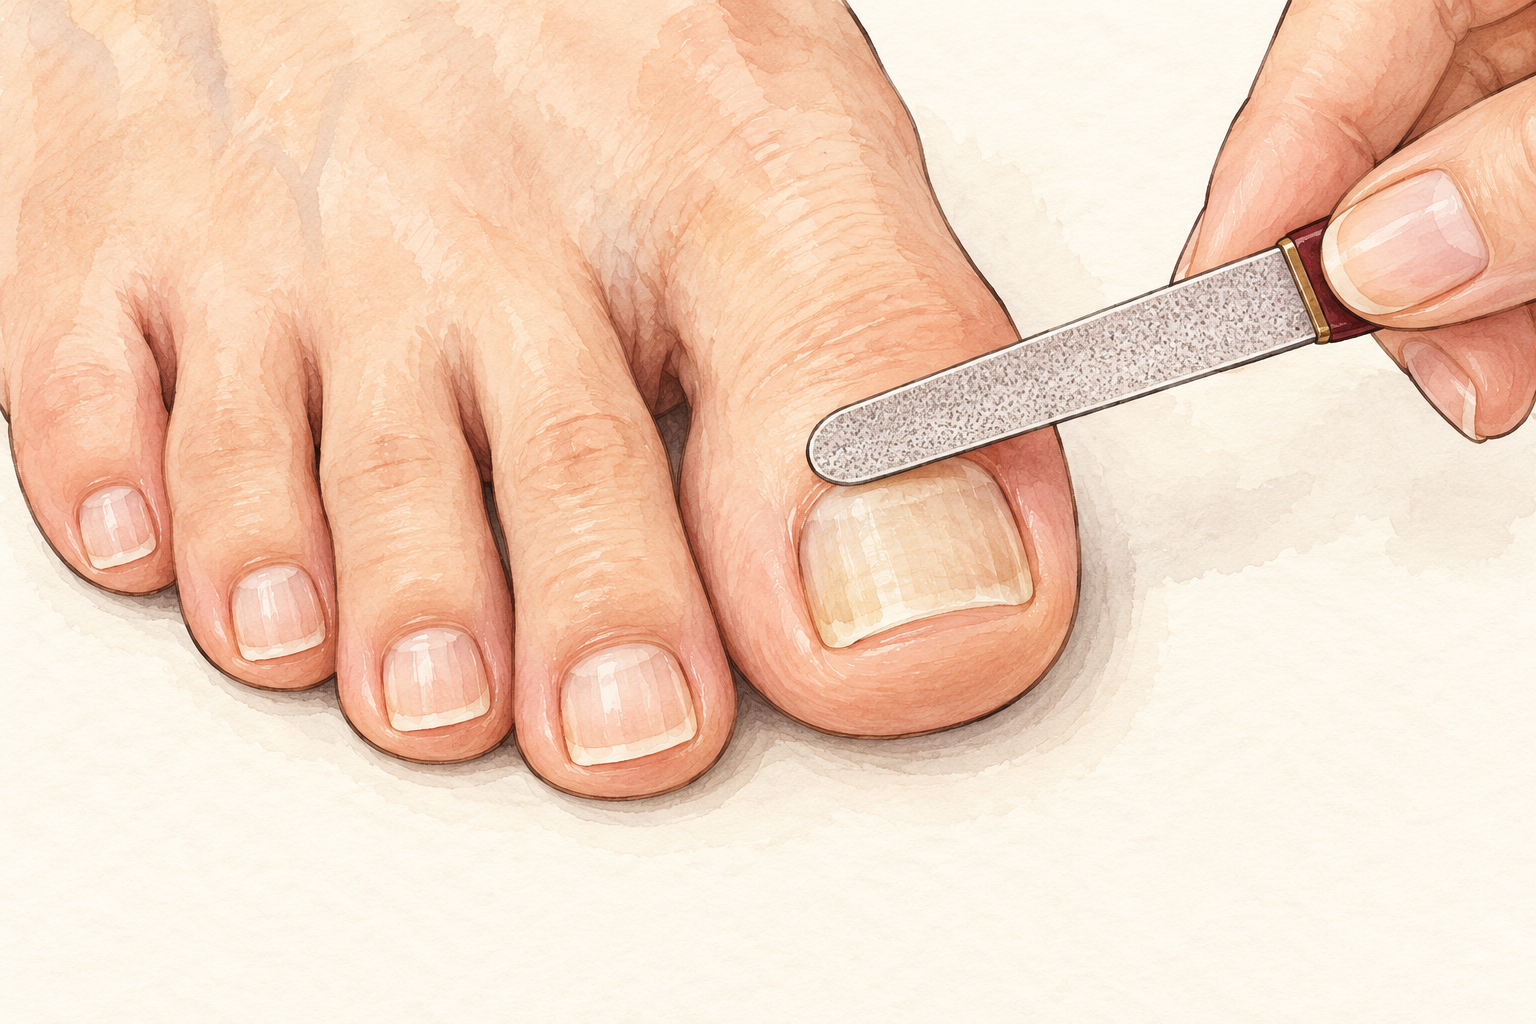
Smooth the surface of a thick nail with a clean file once a week, and keep it short and straight across. A thick nail presses on the toe and snags on socks, which is how it ends up sore. Stop if it hurts or bleeds. Take polish off while you sort this out, so you can see what the nail is doing and moisture does not get trapped underneath. Do not pick or dig under the nail, because that opens it up to more trouble. Keep that file for that nail only. Wear roomy shoes while it grows out, so nothing presses on the sore, tender part. Clipping a thick nail calls for extra care, so keep how to cut nails close.
12. Expect months, not days

Toenails grow slowly, so the damaged part will not vanish, it will grow out. In week one you only need your habits sorted and your first photo taken. By week four the old part looks the same, but new growth at the base should look clearer. By week eight you may see a clean band, though full clearing usually takes many months. If it hurts, spreads, or you have numb feet or diabetes, see your doctor instead of waiting it out. Otherwise stay steady and keep the photos coming. Take heart, since a clear band at the base is the first real sign that things are moving.
Complete the Routine: Stay on Top of Nail Fungus This Week
Tonight, take your first photo, wipe your clippers and put on dry socks. Fungus takes patience, and a clear plan can make the months feel lighter. Keep an eye on the guides below for the next step, whenever you want one.